How to survive Escape Room 15 Mysterious Palace? Any tips? Where can I find the graphic guide for all levels? Escape Room 15 Mysterious Palace is the latest game in the Escape Room series. I believe many players still don’t know exactly how to break through the level. Below, the editor will bring you all the answers to the detailed Escape Room 15 Mysterious Palace guide.

Chapter One (This chapter is relatively short, only two scenes in total)
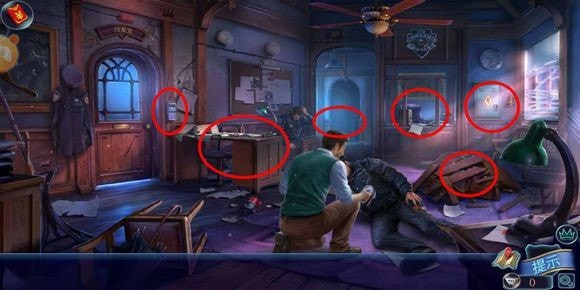
Scene 1: Police Office: After the plot, the main task (restoring the power of the archives room)
1. Click on the desk in the middle to pick up the "keychain, click on the newspaper and finally get the tweezers".
2. Use tweezers to pick up the "password paper" from the pile of wooden boards on the ground.
3. Click on the duty room window, turn on the intercom to get two batteries, click on the glass cabinet to use the password paper, and get the "electronic door card".
4. Click on the power distribution box on the right side of the duty room, get the "Flashlight" next to it, replace it with a new battery, press the red switch, then go to the "Power Distribution Room" on the left side of the duty room, use a flashlight to illuminate it, and pick up the "Hexagonal Wrench" ", go back and open the distribution box and get the "fuse panel". Go back to the power distribution room, install the panel, pull the yellow starter, and the power is restored.
5. Come to the archives room, use the electronic key card to open the door, and go in.
Scene 2: Come to the archives room, go through the plot, main tasks, and check the computer monitoring
1. Click on the dead guard and pick up the "Police Badge".
2. Click on the desk, pick up the "Pencil", put the police badge on it, and get the "Evidence Cabinet Key Map, Pencil Sharpener".

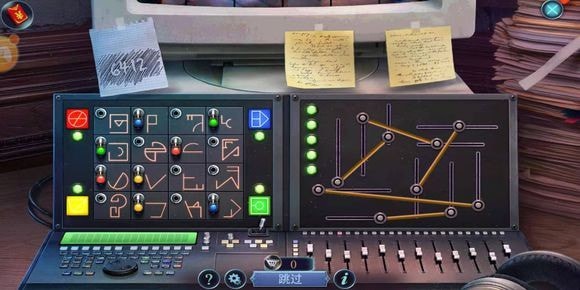
3. Use a pencil sharpener to sharpen the pencil, then return to the duty room window in the previous scene with the pencil, trace "Computer Password 6412" and tear it off. Go to the archives room to open the computer and play a mini game. The mini game on the right (Picture 1): Move Lines , so that they all do not cross (there should be several solutions to this, I played it twice, and it was different twice); small game on the left (Figure 1): According to the prompts on the four corners, put the lights on the corresponding In the picture, the puzzle (Picture 2) is too fast and the screenshots are not taken properly. Just change the positions of the last few pictures.
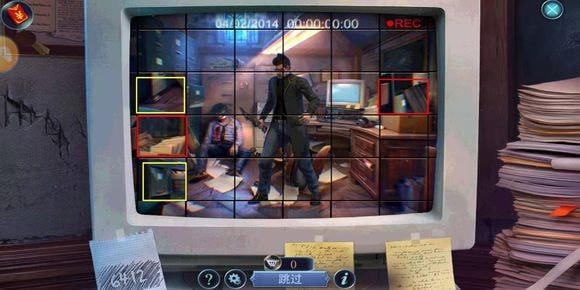
4. Find the key on the keychain according to the key map, and open the evidence cabinet to get the "saw". Use the saw to cut the pile of wooden boards, get the suitcase, and play mini-games with objects. After completing all the mini-games, you will get the "Fingerprint Collection Toolbox".

Adjust the two places to the positions as shown in the picture, and then move the lower horizontal bar.

Adjust in order, the direction is towards the lower left corner.

puzzle.
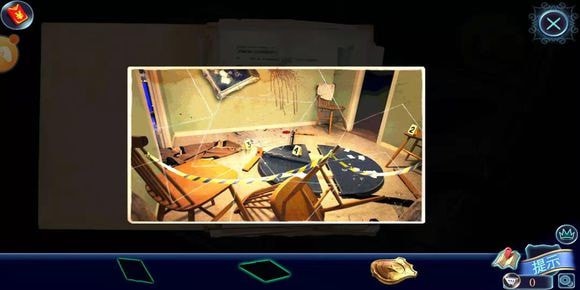
5. Use the fingerprint collection tool box to collect fingerprints, then open the evidence cabinet to get a "crowbar", use the crowbar to open the cabinet next to it to get the "File Investigation Book", click on the newspaper on the left to get a "map", find Gaylord's mansion. Start a new chapter.
Chapter 2 Gaylord's Mansion (This one has a little more content)
Scene 1 Main task: Find another way to enter the door (Picture 9)
1. The distribution box on the telephone pole requires a triangle button to open.
2. Click on the mound in the lower left corner to get the "rope ladder and wooden board", which will prompt that there are animals.
3. Click on the cabin to get the "hammer and nails", put the plank on the wooden frame and cut it with a saw to get the "ladder rung". It reminds you that the badge on the wall requires tools to remove the screws.
4. Click on the window on the right side of the door to get the "key", which prompts that the wooden board needs tools to be removed, and the glass cannot be picked up casually.
5. Use the key to open the door and pick up the "bolt cutters and vacuum cleaner without batteries", which will prompt the locker to require a special button.
6. Use bolt cutters to cut the wooden board next to the window to collect three "ladder rungs". Use ladder rungs and hammer nails to repair the stairs and climb up to open the Scene 2 terrace.
7. Not unlocked: special buttons inside the car; the badge on the cabin requires a screwdriver.

Scene 2 Terrace (Figure 10)
1. Click on the flower bed on the right and pick up: Valve
2. Click on the hole, put up the rope ladder, rescue the little raccoon and get "rag".
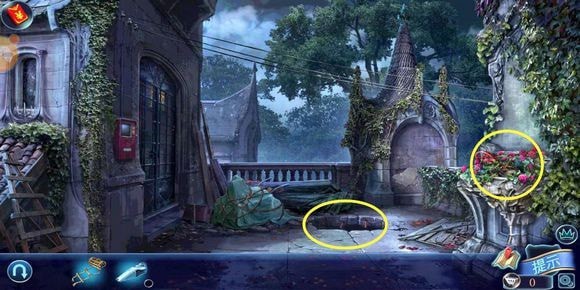
3. Return to scene 1, the mound in the lower right corner, the little raccoon needs some food. Use a rag to pick up the glass from the windowsill.
4. Return to the terrace, use the sharp glass to cut off the rope on the pile of debris on the ground, and get "rubber gloves and small shovel", which prompts that the screwdriver needs oil and the automatic feeder needs coins.
5. Use rubber gloves to push away the thorns on the flower bed to get a "music score", and use a small shovel to shovel the soil to get a "triangular power button".
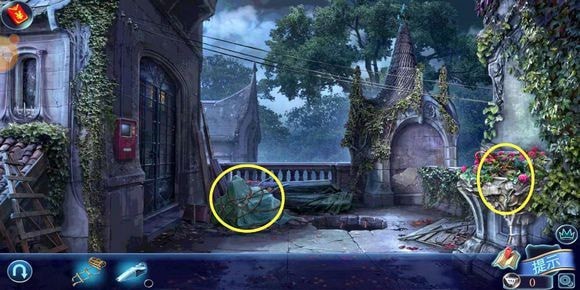
6. Return to scene 1, put the triangular power button in the distribution box on the pole, and get a "coin", indicating that the fuse is broken.
7. Return to the terrace in scene 2, use coins to open the automatic feeding machine to get "animal feed", return to scene 1 to feed the little raccoon, start the mini game and walk to get "2 fuses". (This is relatively simple and I won’t go into details. One is on the right and the other is in the upper right corner.)
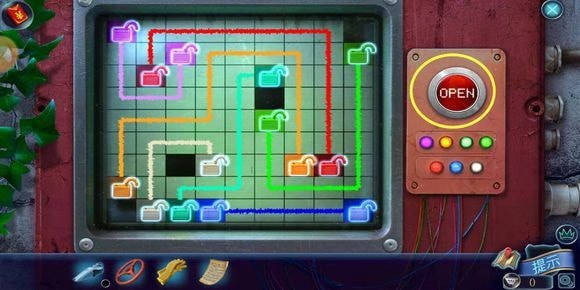
8. Open the distribution box on the telephone pole and use two fuses to restore the power. Return to the terrace in scene 2 and click the door opener next to the door to play the connecting game.
Start a new scene 3 and come to an attic.
9. Not untied: The screwdriver on the debris needs to be greased; the soil on the wall is very brittle and requires tools.
New scene 3 attic
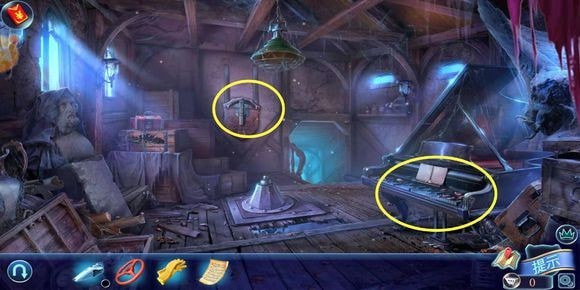
1. Click on the piano, put the music score, and press the corresponding key as prompted. The piano is missing one pedal. Exit the screen and find the secret compartment under the shield on the wall to open and get the "oil can". Return to scene 2 and use oil to remove the "screwdriver" from the debris pile, then continue back to scene 1 and use a screwdriver to remove the "badge" of the cabin.
2. Return to the attic in scene 3 and put the badge on the crossbow on the wall to get a "crossbow", but you still need arrows.
3. Unsolved: The hole in the floor shows that the demon downstairs is fighting the owner (help is needed). There is something big on the floor that cannot be moved by one person; a red suitcase requires a graphic password, and the rotten wooden box The contents cannot be taken directly by hand; the piano requires a pedal; the wall shield requires tools to remove the screws. Now go downstairs and check out scene 4.

Scene 4 Hall
Go through the plot to get an "arrow patch".
1. Click on the leaking pipe, press the valve on the leaking pipe to get a "wrench", indicating that the tape is stuck inside. Return to the attic in scene 3, use a wrench to remove the hidden grid on the shield on the wall, and get the "safe code".
2. Return to scene 4, click on the display cabinet to get the "vacuum cleaner battery", merge it with the vacuum cleaner, use the vacuum cleaner to pick up the "paper ball" under the door on the left, open the paper ball, and get the "badge, graphic password".
3. Return to Scene 3 Attic and use the graphic code to unlock the red box and get the "Chisel and Hammer".
4. Continue to return to the terrace in Scene 2, use a chisel and hammer to break up the soil on the wall, and use gloves to pick up the "insert" and a "handle". At this time, all the clues on the terrace in Scene 2 have been searched, and there is still a special button in the car in Scene 1.
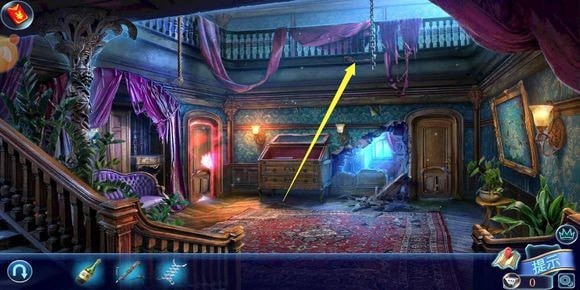
5. Now return to the lobby of scene 4, use 2 inlays to open the display cabinet to get an "arrow", combine it with the crossbow, and use the bow to shoot down the rope on the top. Then a hole was opened, opening a new scene 5, which should be the exhibition hall.
6. Unsolved: The painting on the right wall shows that there is something under the paint; it indicates that the tape is stuck inside; there is something similar to a feather duster at the railing on the second floor that needs to be shot down, but the crossbow has no arrows.

New scene 5 exhibition hall
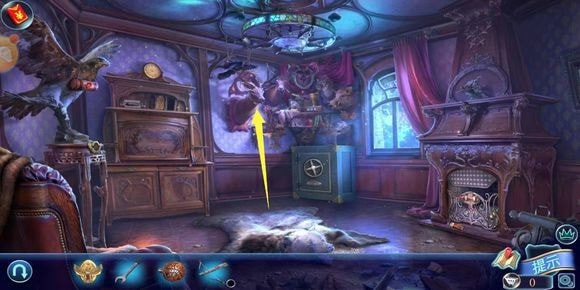
1. Click on the cabinet on the right to get "matches". Use the handle to open the cabinet and pick up "solvent". It will prompt you that there is something in the ashes.
2. Click on the eagle statue on the left to get a "cylinder" with beeswax. Use the picked matches to unwrap the beeswax (the matches need to be scratched on the side of the match box to light them), and open it to get a "time code paper". Install it with the "Eagle Block" obtained previously and take out the "Pointer".
3. Click on the clock on the wooden cabinet, insert the pointer, and adjust the time to "12::15". Then open the cabinet and you will find an explosives making table and requirements.
4. Open the safe with the safe password you obtained before, and get "arrow and piano pedal", which will remind you that there are important things inside.

5. Return to scene 4 and shoot down the "duster" upstairs with an arrow (Picture 1). Use the duster to clean up the ashes in the fireplace (Picture 2) to get the "Pistol Insert". Return to the safe with the pistol insert and open the box inside to get "Gunpowder".

6. Next, spray solvent on the oil painting in the lobby of Scene 4 (Picture 20), and then play the matching game (Picture 21) to get the "Car Storage Box Password".


7. Take the car storage box password to the car in scene 1, open the storage box, and get the "detonating device".
So far, all the clues for Scenario 1 and Scenario 2 are complete.
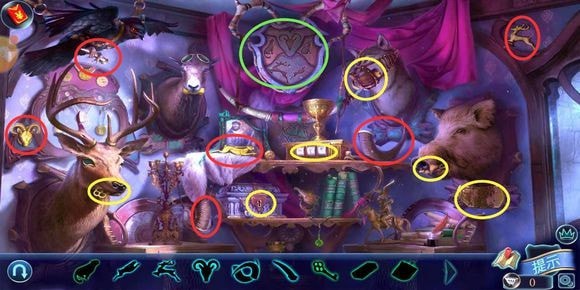
8. Return to scene 3, press the piano pedal and get the "weapon key". Then return to the Scene 5 exhibition hall, click on the statue deer, press the weapon key, and continue clicking to play the mini-game (the red circle means picking it up directly, and the yellow circle needs to be obtained by combining other actions). After collecting all the statues, put them into the insert to get a "Metal Glove".
9. Do you still remember the rotten wooden box in the attic in scene 3? Go back there and use the metal gloves to pick up the "retractable clamps" inside. Use the retractable clamps to pick up the "duct tape" that was stuck in scene 4.

10. Return to the gunpowder production table and make "explosives" from the previously obtained props "detonating device, gunpowder, and tape" in order. At this time, all the clues in scenes 1, 2, 4, and 5 have been searched. At this time, return to the area in the attic of scene 3 where you need help. Press the dynamite to expand and go through the plot, then go down and have a chat. Enter through the left door in the lobby of Scene 4, start a new chapter through the plot, and find the purpose of the devil.
