Everyone must be very curious about how to import zenly data into jagat. If you are interested, you can take a look at the guide to importing zenly data into jagat!

Step 1: Select authorized account
Import within the App: When you import data into Jagat, please directly select the account you want to import data from and click Upload Data;

If you import it from the official website
Please click "Zenly Data Import", use Scan in Jagat (open Jagat-Add friends in the upper right corner-Scan), scan the code to log in to the account you want to import data, and click to upload data.

Step 2: Select the file name of "locations" and import it
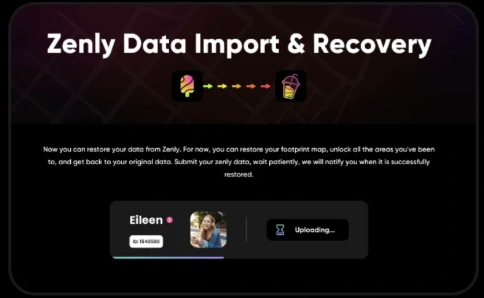
After you have decompressed the zenly data, please find the "locations" folder and compress it separately into a zip format for upload. After the upload is successful, your data will be displayed as "in queue", and then you will see "uploading" progress bar;
Mac diagram

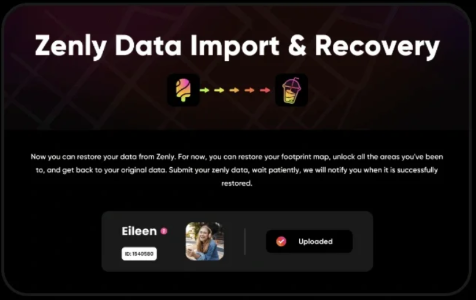
step 3: Wait for the upload to be successful
When the progress bar is loaded, you will see the "Upload Completed" prompt indicating that you have completed all operations. Congratulations, Jagat will recreate your precious memories!
Kind tips
1. If the following prompt appears, it means your data upload failed, please try to upload again;

The possible reasons why this prompt may appear are:
a. The network is unstable and causes transmission failure:
b. The uploaded format is incorrect;
2. If the following prompt appears, it means that your data has been uploaded successfully and the Jagat team is restoring your data. Please wait patiently:
