在 keras 中实现各种深度图像分割模型。
链接到完整的博客文章和教程:https://divamgupta.com/image-segmentation/2019/06/06/deep-learning-semantic-segmentation-keras.html
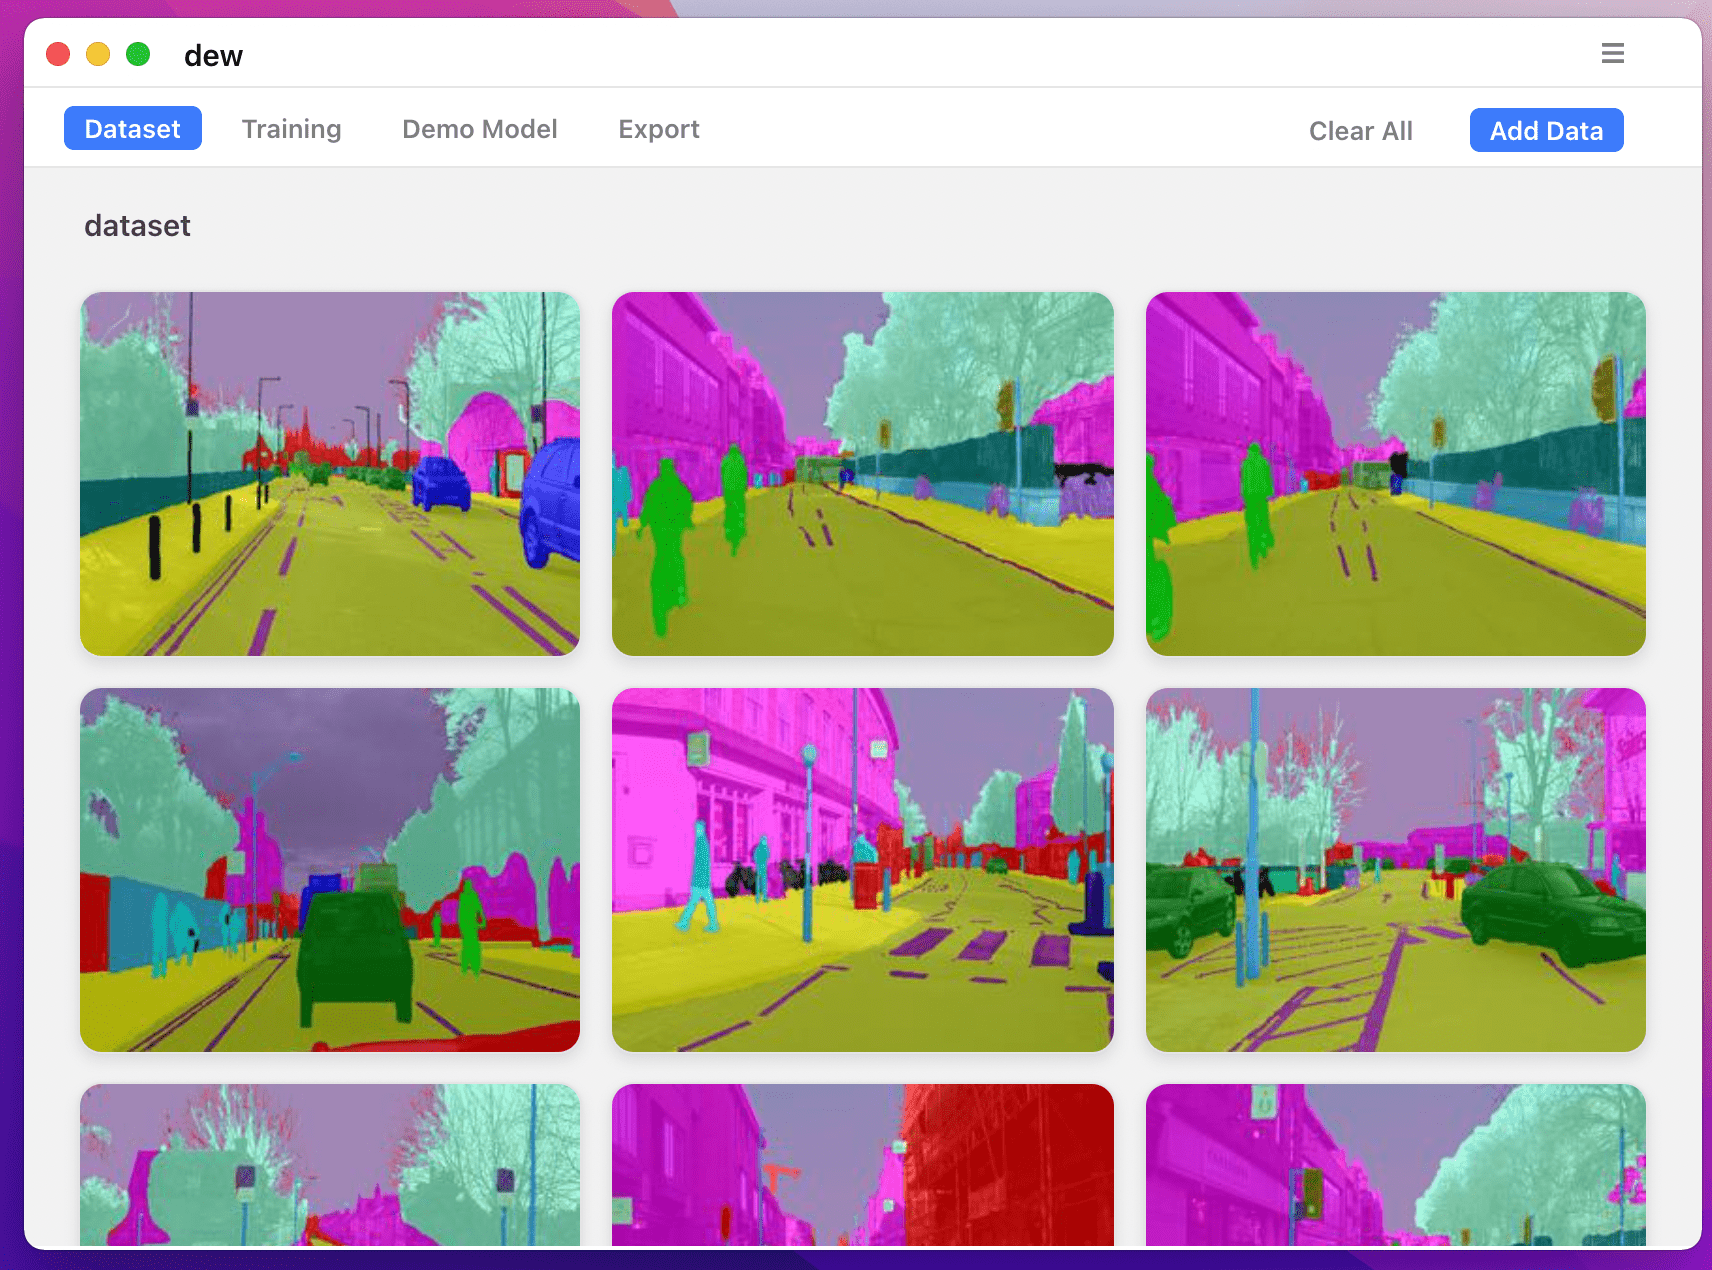
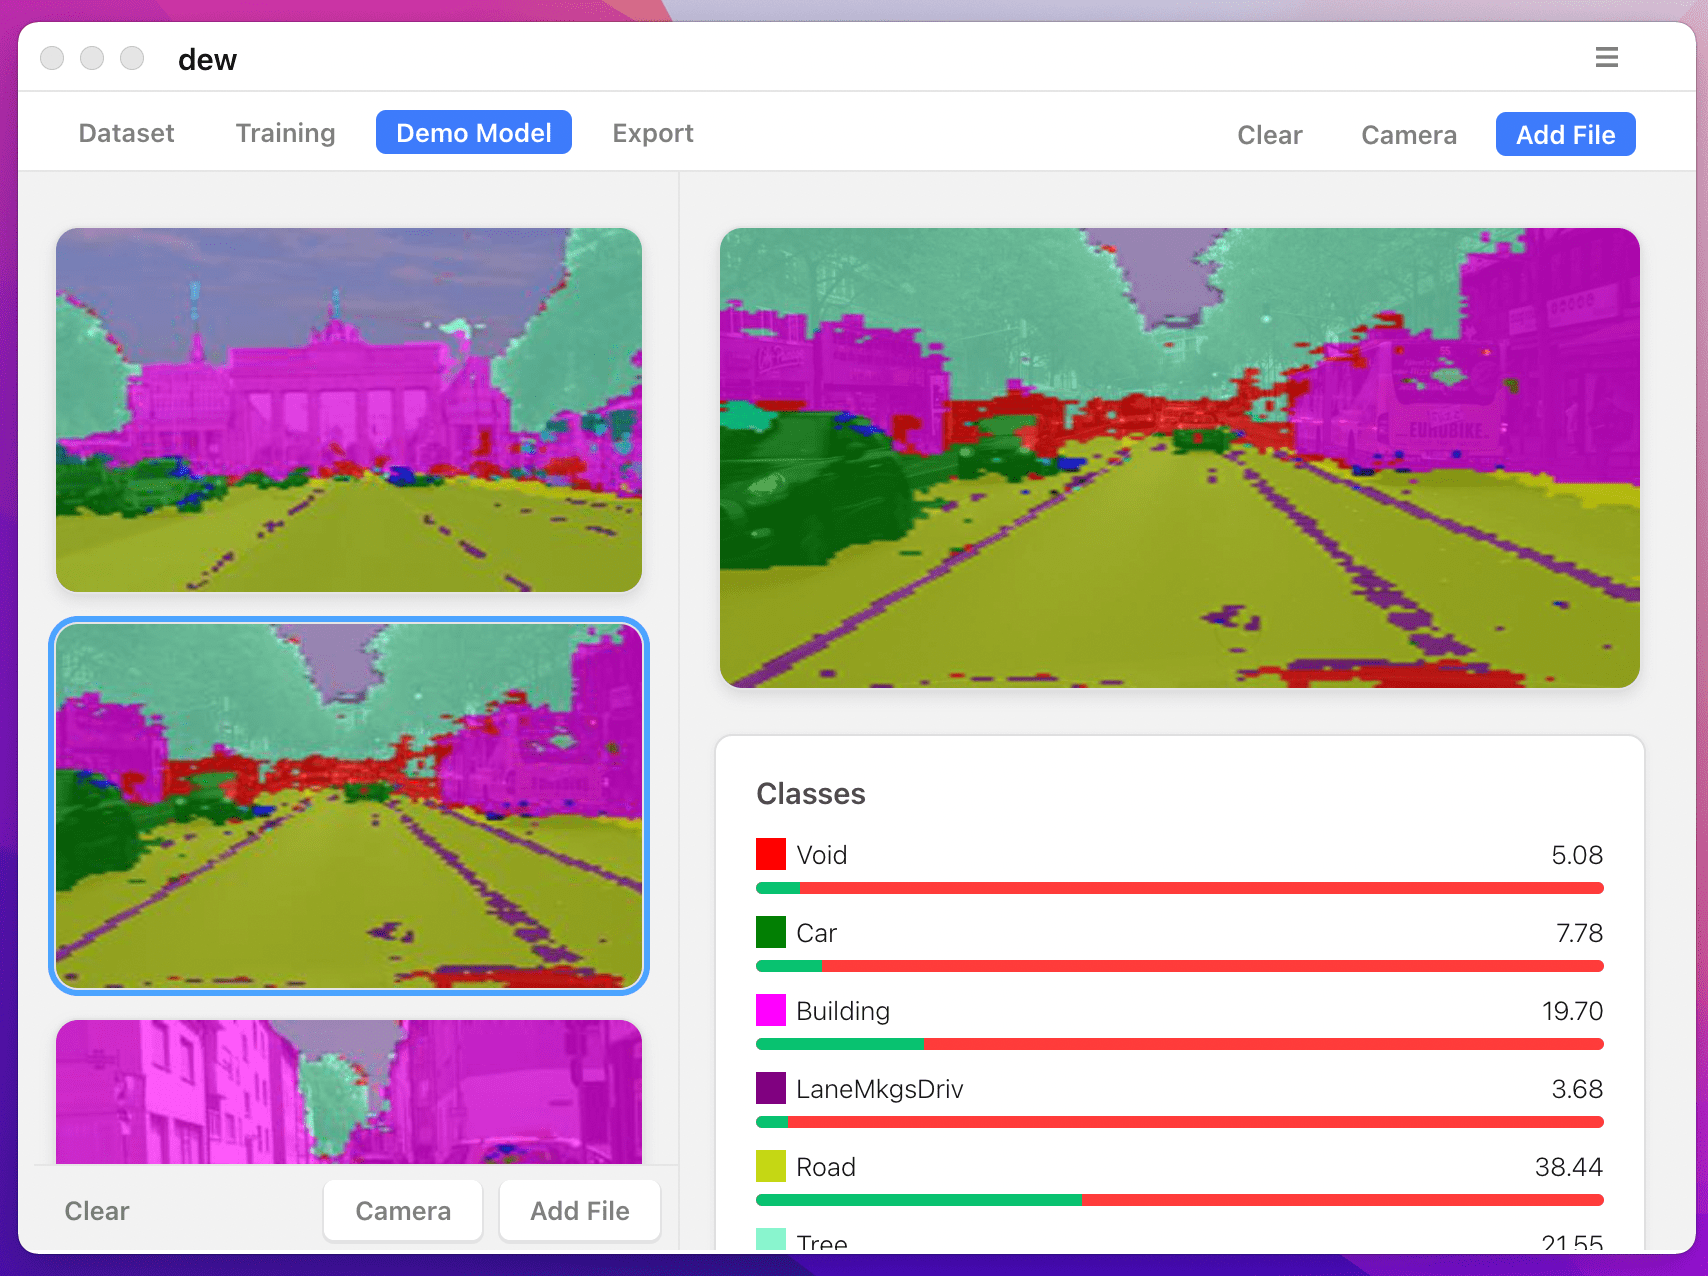
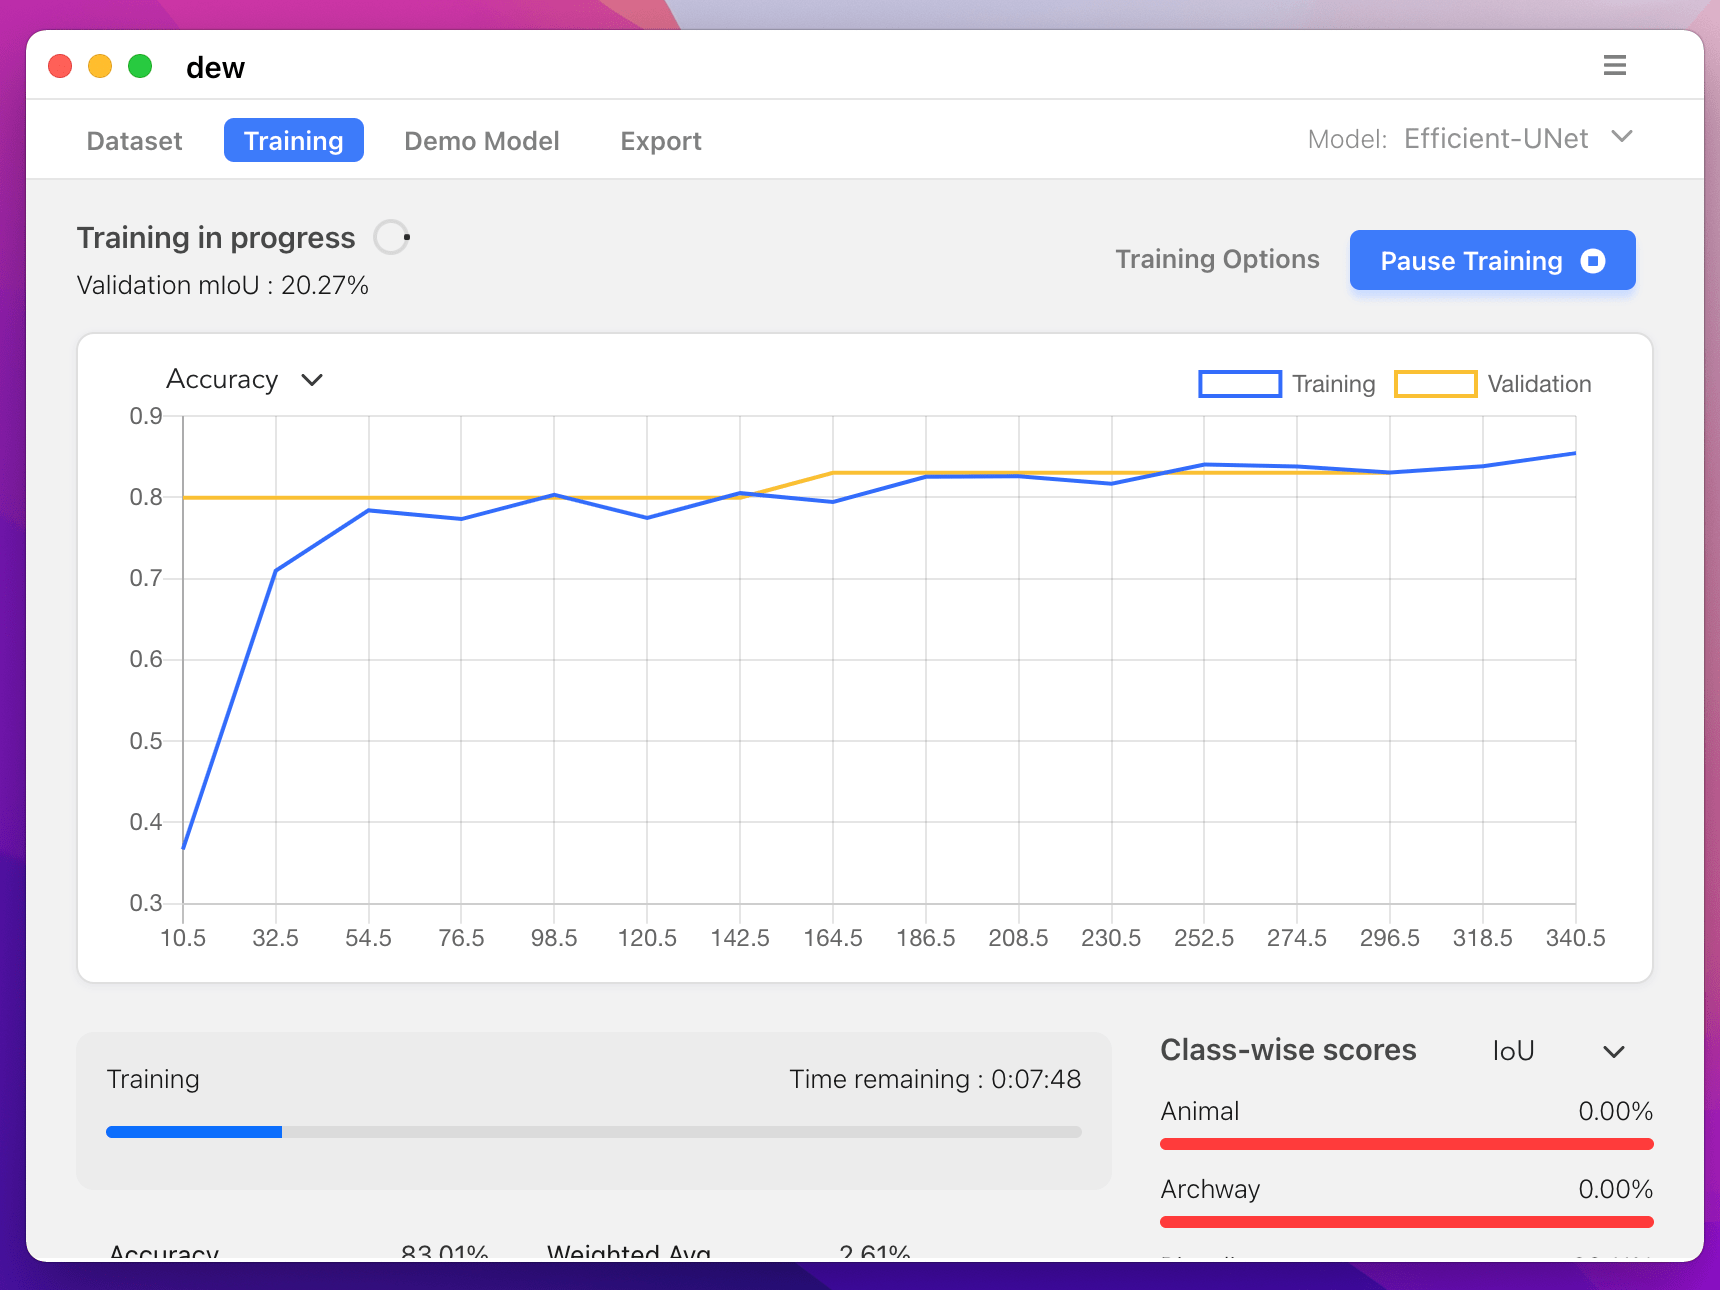
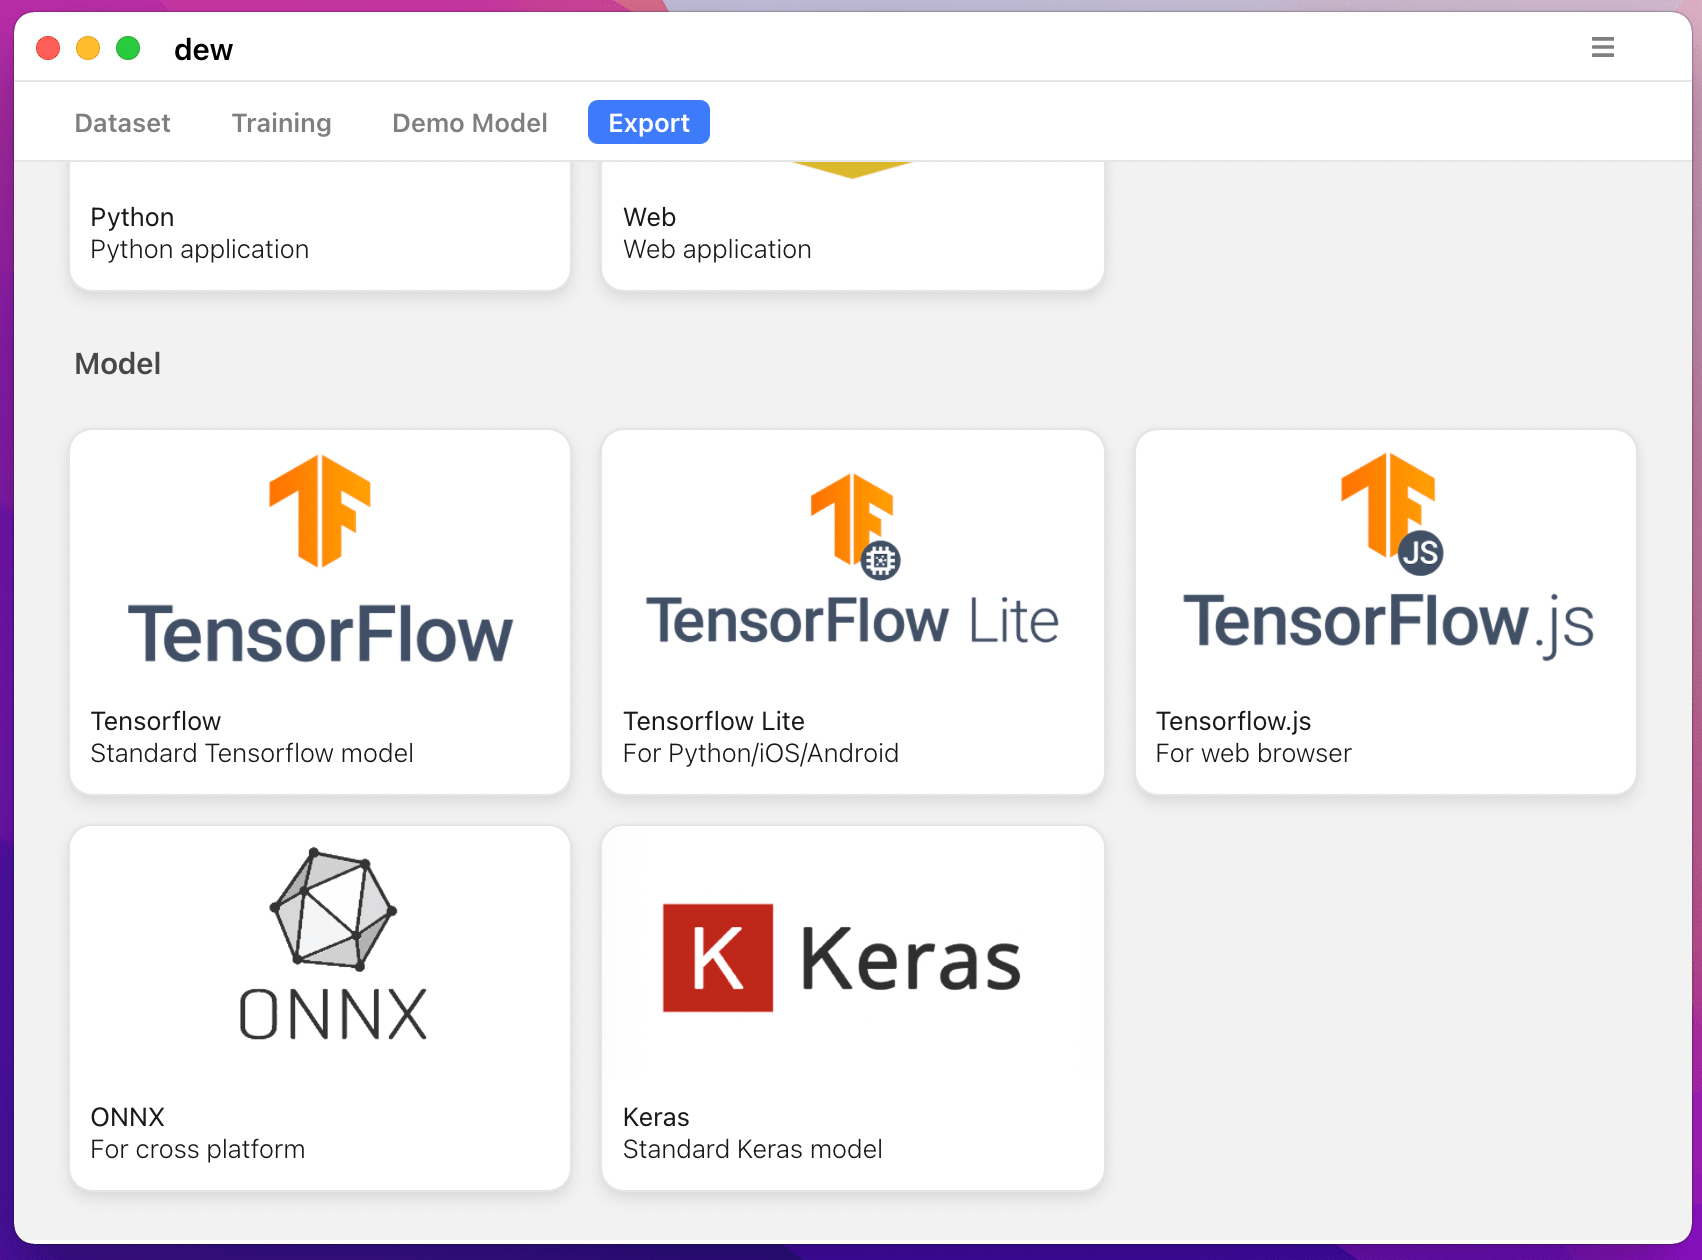
您还可以使用 https://liner.ai 在计算机上训练分割模型
| 火车 | 推理/导出 |
|---|---|
 |  |
 |  |
支持以下型号:
| 型号名称 | 基础型号 | 细分模型 |
|---|---|---|
| fcn_8 | 普通美国有线电视新闻网 | FCN8 |
| fcn_32 | 普通美国有线电视新闻网 | FCN8 |
| fcn_8_vgg | VGG 16 | FCN8 |
| fcn_32_vgg | VGG 16 | FCN32 |
| fcn_8_resnet50 | RESNET-50 | FCN32 |
| fcn_32_resnet50 | RESNET-50 | FCN32 |
| fcn_8_mobilenet | 移动网络 | FCN32 |
| fcn_32_mobilenet | 移动网络 | FCN32 |
| 个人电脑网络 | 普通美国有线电视新闻网 | PSP网络 |
| pspnet_50 | 普通美国有线电视新闻网 | PSP网络 |
| pspnet_101 | 普通美国有线电视新闻网 | PSP网络 |
| vgg_pspnet | VGG 16 | PSP网络 |
| resnet50_pspnet | RESNET-50 | PSP网络 |
| unet_mini | 普通迷你 CNN | 优网 |
| 乌内特 | 普通美国有线电视新闻网 | 优网 |
| vgg_unet | VGG 16 | 优网 |
| resnet50_unet | RESNET-50 | 优网 |
| mobilenet_unet | 移动网络 | 优网 |
| 塞格内特 | 普通美国有线电视新闻网 | 塞格内特 |
| vgg_segnet | VGG 16 | 塞格内特 |
| resnet50_segnet | RESNET-50 | 塞格内特 |
| mobilenet_segnet | 移动网络 | 塞格内特 |
提供的预训练模型的示例结果:
| 输入图像 | 输出分割图像 |
|---|---|
 |  |
 |  |
如果您正在使用该库,请使用以下方式引用:
 @article{gupta2023image,
  title={Image segmentation keras: Implementation of segnet, fcn, unet, pspnet and other models in keras},
  author={Gupta, Divam},
  journal={arXiv preprint arXiv:2307.13215},
  year={2023}
}
apt-get install -y libsm6 libxext6 libxrender-dev
pip install opencv-python安装模块
推荐方式:
pip install --upgrade git+https://github.com/divamgupta/image-segmentation-keraspip install keras-segmentationgit clone https://github.com/divamgupta/image-segmentation-keras
cd image-segmentation-keras
python setup.py install from keras_segmentation . pretrained import pspnet_50_ADE_20K , pspnet_101_cityscapes , pspnet_101_voc12
model = pspnet_50_ADE_20K () # load the pretrained model trained on ADE20k dataset
model = pspnet_101_cityscapes () # load the pretrained model trained on Cityscapes dataset
model = pspnet_101_voc12 () # load the pretrained model trained on Pascal VOC 2012 dataset
# load any of the 3 pretrained models
out = model . predict_segmentation (
inp = "input_image.jpg" ,
out_fname = "out.png"
)您需要创建两个文件夹
注释图像的文件名应与 RGB 图像的文件名相同。
对应RGB图像的注释图像的大小应该相同。
对于 RGB 图像中的每个像素,注释图像中该像素的类标签将是蓝色像素的值。
生成注释图像的示例代码:
 import cv2
import numpy as np

ann_img = np . zeros (( 30 , 30 , 3 )). astype ( 'uint8' )
ann_img [ 3 , 4 ] = 1 # this would set the label of pixel 3,4 as 1

cv2 . imwrite ( "ann_1.png" , ann_img )
注释图像仅使用 bmp 或 png 格式。
下载并解压以下内容:
https://drive.google.com/file/d/0B0d9ZiqAgFkiOHR1NTJhWVJMNEU/view?usp=sharing
您将得到一个名为 dataset1/ 的文件夹
您可以在 python 脚本中导入 keras_segmentation 并使用 API
 from keras_segmentation . models . unet import vgg_unet

model = vgg_unet ( n_classes = 51 ,  input_height = 416 , input_width = 608  )

model . train (
    train_images =  "dataset1/images_prepped_train/" ,
    train_annotations = "dataset1/annotations_prepped_train/" ,
    checkpoints_path = "/tmp/vgg_unet_1" , epochs = 5
)

out = model . predict_segmentation (
    inp = "dataset1/images_prepped_test/0016E5_07965.png" ,
    out_fname = "/tmp/out.png"
)

import matplotlib . pyplot as plt
plt . imshow ( out )

# evaluating the model
print ( model . evaluate_segmentation ( inp_images_dir = "dataset1/images_prepped_test/" , annotations_dir = "dataset1/annotations_prepped_test/" ) )您还可以仅使用命令行来使用该工具
您还可以可视化准备的注释以验证准备的数据。
python -m keras_segmentation verify_dataset
 --images_path= " dataset1/images_prepped_train/ "
 --segs_path= " dataset1/annotations_prepped_train/ "
 --n_classes=50
python -m keras_segmentation visualize_dataset
--images_path= " dataset1/images_prepped_train/ "
--segs_path= " dataset1/annotations_prepped_train/ "
--n_classes=50要训练模型,请运行以下命令:
python -m keras_segmentation train
 --checkpoints_path= " path_to_checkpoints "
 --train_images= " dataset1/images_prepped_train/ "
 --train_annotations= " dataset1/annotations_prepped_train/ "
 --val_images= " dataset1/images_prepped_test/ "
 --val_annotations= " dataset1/annotations_prepped_test/ "
 --n_classes=50
 --input_height=320
 --input_width=640
 --model_name= " vgg_unet "
从上表中选择 model_name
获得经过训练的模型的预测
python -m keras_segmentation predict
 --checkpoints_path= " path_to_checkpoints "
 --input_path= " dataset1/images_prepped_test/ "
 --output_path= " path_to_predictions "
获取视频的预测
python -m keras_segmentation predict_video
 --checkpoints_path= " path_to_checkpoints "
 --input= " path_to_video "
 --output_file= " path_for_save_inferenced_video "
--display如果您想在网络摄像头上进行预测,请不要使用--input ,或传递您的设备编号: --input 0
--display打开一个包含预测视频的窗口。使用无头系统时删除此参数。
获取 IoU 分数
python -m keras_segmentation evaluate_model
 --checkpoints_path= " path_to_checkpoints "
 --images_path= " dataset1/images_prepped_test/ "
--segs_path= " dataset1/annotations_prepped_test/ " 以下示例展示了如何微调具有 10 个类别的模型。
 from keras_segmentation . models . model_utils import transfer_weights
from keras_segmentation . pretrained import pspnet_50_ADE_20K
from keras_segmentation . models . pspnet import pspnet_50

pretrained_model = pspnet_50_ADE_20K ()

new_model = pspnet_50 ( n_classes = 51 )

transfer_weights ( pretrained_model , new_model  ) # transfer weights from pre-trained model to your model

new_model . train (
    train_images =  "dataset1/images_prepped_train/" ,
    train_annotations = "dataset1/annotations_prepped_train/" ,
    checkpoints_path = "/tmp/vgg_unet_1" , epochs = 5
)
以下示例显示将知识从较大(且更准确)的模型转移到较小的模型。在大多数情况下,与使用普通监督学习训练的相同模型相比,通过知识蒸馏训练的较小模型更准确。
 from keras_segmentation . predict import model_from_checkpoint_path
from keras_segmentation . models . unet import unet_mini
from keras_segmentation . model_compression import perform_distilation

model_large = model_from_checkpoint_path ( "/checkpoints/path/of/trained/model" )
model_small = unet_mini ( n_classes = 51 , input_height = 300 , input_width = 400  )

perform_distilation ( data_path = "/path/to/large_image_set/" , checkpoints_path = "path/to/save/checkpoints" ,
teacher_model = model_large , student_model = model_small , distilation_loss = 'kl' , feats_distilation_loss = 'pa' )以下示例展示了如何定义用于训练的自定义增强函数。
 from keras_segmentation . models . unet import vgg_unet
from imgaug import augmenters as iaa

def custom_augmentation ():
    return  iaa . Sequential (
        [
            # apply the following augmenters to most images
            iaa . Fliplr ( 0.5 ),  # horizontally flip 50% of all images
            iaa . Flipud ( 0.5 ), # horizontally flip 50% of all images
        ])

model = vgg_unet ( n_classes = 51 ,  input_height = 416 , input_width = 608 )

model . train (
    train_images =  "dataset1/images_prepped_train/" ,
    train_annotations = "dataset1/annotations_prepped_train/" ,
    checkpoints_path = "/tmp/vgg_unet_1" , epochs = 5 ,
    do_augment = True , # enable augmentation
    custom_augmentation = custom_augmentation # sets the augmention function to use
)以下示例显示如何设置输入通道数。
 from keras_segmentation . models . unet import vgg_unet

model = vgg_unet ( n_classes = 51 ,  input_height = 416 , input_width = 608 ,
                 channels = 1 # Sets the number of input channels
                 )

model . train (
    train_images =  "dataset1/images_prepped_train/" ,
    train_annotations = "dataset1/annotations_prepped_train/" ,
    checkpoints_path = "/tmp/vgg_unet_1" , epochs = 5 ,
    read_image_type = 0  # Sets how opencv will read the images
                       # cv2.IMREAD_COLOR = 1 (rgb),
                       # cv2.IMREAD_GRAYSCALE = 0,
                       # cv2.IMREAD_UNCHANGED = -1 (4 channels like RGBA)
)以下示例展示了如何设置自定义图像预处理函数。
 from keras_segmentation . models . unet import vgg_unet

def image_preprocessing ( image ):
    return image + 1

model = vgg_unet ( n_classes = 51 ,  input_height = 416 , input_width = 608 )

model . train (
    train_images =  "dataset1/images_prepped_train/" ,
    train_annotations = "dataset1/annotations_prepped_train/" ,
    checkpoints_path = "/tmp/vgg_unet_1" , epochs = 5 ,
    preprocessing = image_preprocessing # Sets the preprocessing function
)以下示例展示了如何为模型训练设置自定义回调。
 from keras_segmentation . models . unet import vgg_unet
from keras . callbacks import ModelCheckpoint , EarlyStopping

model = vgg_unet ( n_classes = 51 ,  input_height = 416 , input_width = 608 )

# When using custom callbacks, the default checkpoint saver is removed
callbacks = [
    ModelCheckpoint (
                filepath = "checkpoints/" + model . name + ".{epoch:05d}" ,
                save_weights_only = True ,
                verbose = True
            ),
    EarlyStopping ()
]

model . train (
    train_images =  "dataset1/images_prepped_train/" ,
    train_annotations = "dataset1/annotations_prepped_train/" ,
    checkpoints_path = "/tmp/vgg_unet_1" , epochs = 5 ,
    callbacks = callbacks
)以下示例展示了如何为模型添加额外的图像输入。
 from keras_segmentation . models . unet import vgg_unet

model = vgg_unet ( n_classes = 51 ,  input_height = 416 , input_width = 608 )

model . train (
    train_images =  "dataset1/images_prepped_train/" ,
    train_annotations = "dataset1/annotations_prepped_train/" ,
    checkpoints_path = "/tmp/vgg_unet_1" , epochs = 5 ,
    other_inputs_paths = [
        "/path/to/other/directory"
    ],


#     Ability to add preprocessing
    preprocessing = [ lambda x : x + 1 , lambda x : x + 2 , lambda x : x + 3 ], # Different prepocessing for each input
#     OR
    preprocessing = lambda x : x + 1 , # Same preprocessing for each input
)以下是一些使用我们库的项目:
如果您在公开项目中使用我们的代码,请在此处添加链接(通过发布问题或创建 PR )