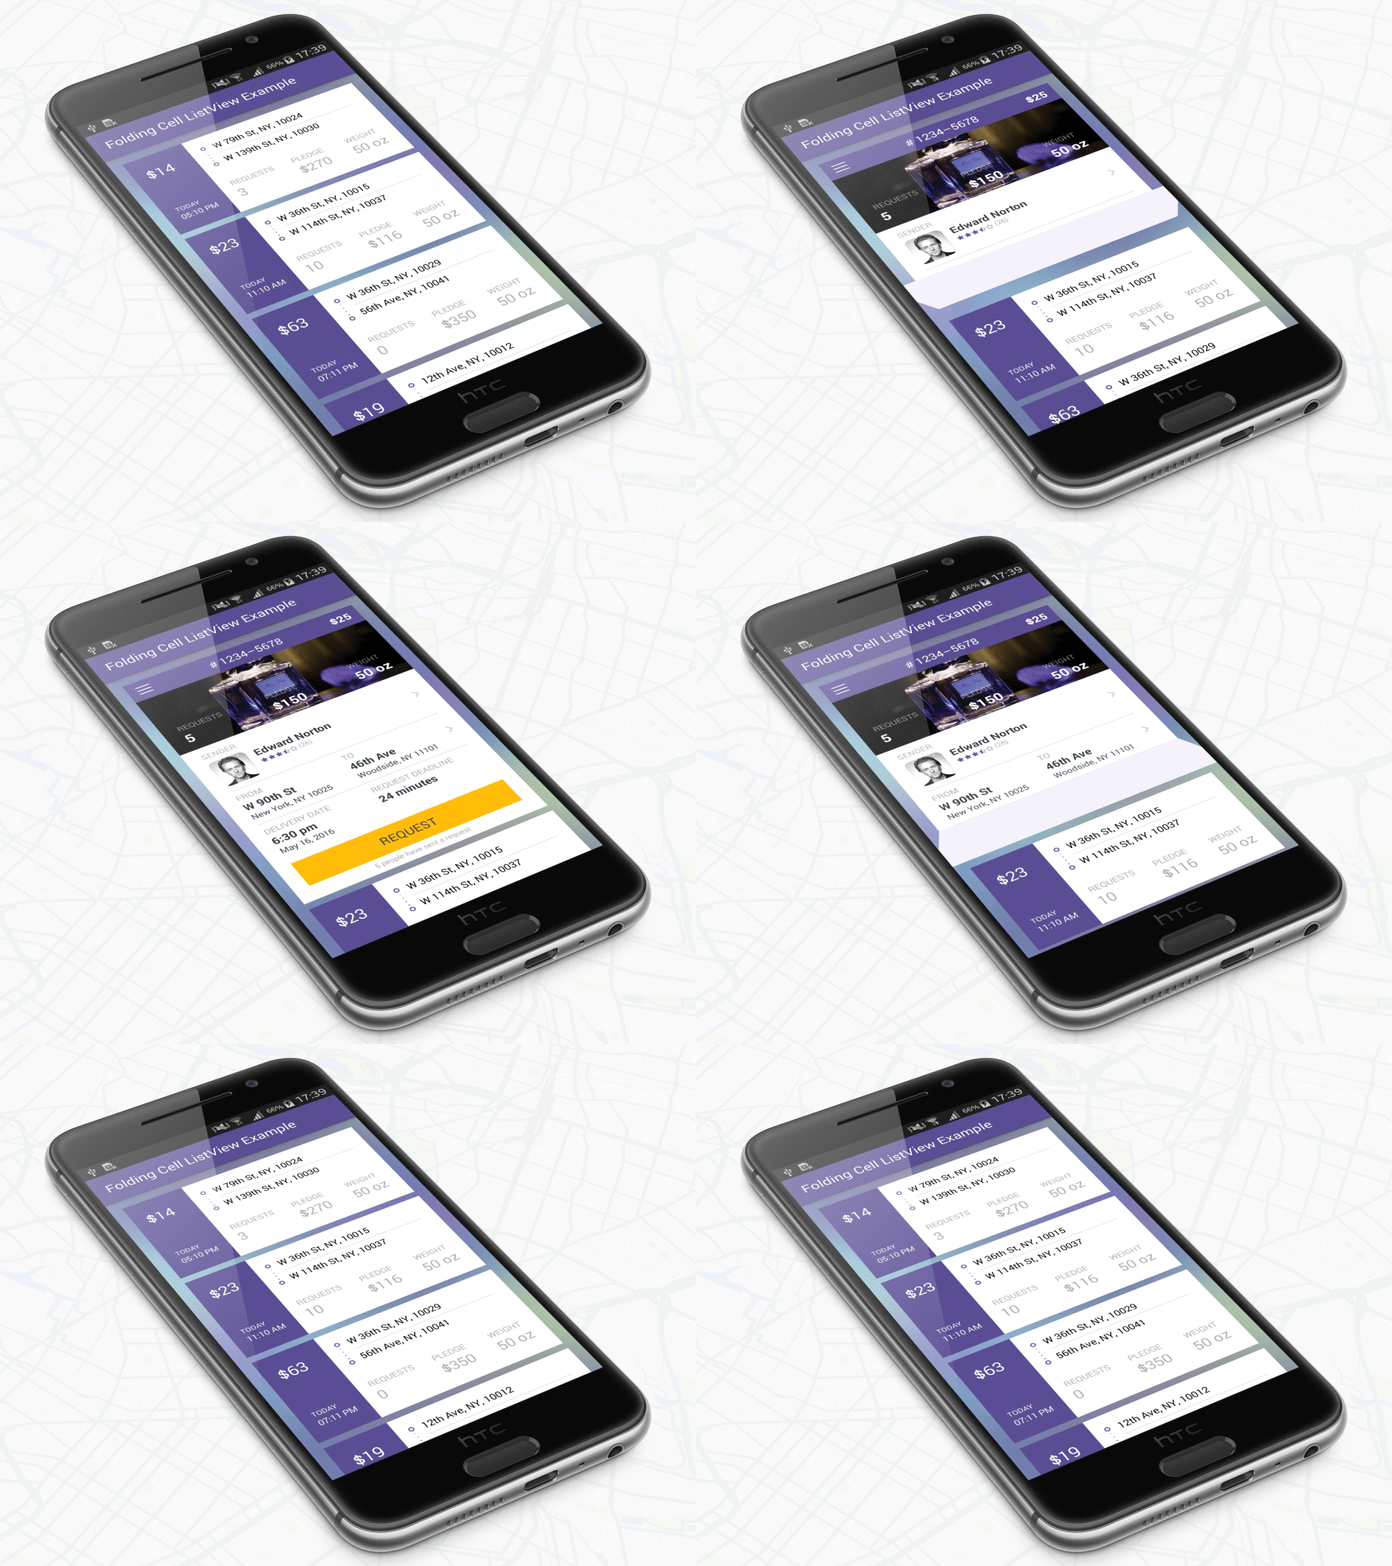

只需从此处下载包并将其添加到您的项目类路径中,或者仅使用 Maven 存储库:
摇篮:
' com.ramotion.foldingcell:folding-cell:1.2.3 '科学技术试验:
libraryDependencies += " com.ramotion.foldingcell " % " folding-cell " % " 1.2.3 "行家:
< dependency >
	< groupId >com.ramotion.foldingcell</ groupId >
	< artifactId >folding-cell</ artifactId >
	< version >1.2.3</ version >
</ dependency >
com.ramotion.foldingcell.FoldingCell添加到您的布局< com .ramotion.foldingcell.FoldingCell
xmlns : android = " http://schemas.android.com/apk/res/android "
android : id = " @+id/folding_cell "
android : layout_width = " match_parent "
android : layout_height = " wrap_content " >
</ com .ramotion.foldingcell.FoldingCell> 2. 在单元格中添加两个子元素。第一个子视图(内容视图)始终表示展开状态布局,第二个子视图(标题视图)表示折叠状态布局。当然,这些布局可以包含任意数量的子元素,并且它们可以具有任意复杂性,但要正常工作,存在一些限制:内容视图高度必须至少是标题视图高度的2 倍,并且每个元素的高度这些布局必须设置为android:layout_height="wrap_content" 。如果您想在dp中设置精确的高度,您可以在内容视图或标题视图内的您自己的布局中设置子元素的高度。此外,您需要使用android:visibility="gone"隐藏内容视图布局。
< com .ramotion.foldingcell.FoldingCell
xmlns : android = " http://schemas.android.com/apk/res/android "
android : id = " @+id/folding_cell "
android : layout_width = " match_parent "
android : layout_height = " wrap_content " >
< FrameLayout
android : id = " @+id/cell_content_view "
android : layout_width = " match_parent "
android : layout_height = " wrap_content "
android : background = " @android:color/holo_green_dark "
android : visibility = " gone " >
< TextView
android : layout_width = " match_parent "
android : layout_height = " 250dp " />
</ FrameLayout >
< FrameLayout
android : id = " @+id/cell_title_view "
android : layout_width = " match_parent "
android : layout_height = " wrap_content " >
< TextView
android : layout_width = " match_parent "
android : layout_height = " 100dp "
android : background = " @android:color/holo_blue_dark " />
</ FrameLayout >
</ com .ramotion.foldingcell.FoldingCell> 3.快完成了!还剩两步!为了获得正确的动画,您需要在折叠单元的根元素上设置两个属性:
android:clipChildren="false"
android:clipToPadding="false" 4.最后一步!将 onClickListener 添加到MainActivity.java中的折叠单元以切换动画:
@ Override
protected void onCreate ( Bundle savedInstanceState ) {
super . onCreate ( savedInstanceState );
setContentView ( R . layout . activity_main );
// get our folding cell
final FoldingCell fc = ( FoldingCell ) findViewById ( R . id . folding_cell );
// attach click listener to folding cell
fc . setOnClickListener ( new View . OnClickListener () {
@ Override
public void onClick ( View v ) {
fc . toggle ( false );
}
});
} 5. 额外步骤 - 自定义单元格设置。目前,有三个主要参数 - 动画时间、背面颜色和附加翻转次数。如果前两个不会引起问题,那么第三个需要一些解释。它是第一次(主)翻转后要执行的翻转计数。默认值为0 (自动选择)。还有第四个附加参数 - 相机高度,它控制 3D 效果的级别(深度)。有两种方法可以更改单元格设置: 从具有res-auto命名空间xmlns:folding-cell="http://schemas.android.com/apk/res-auto"的 xml 布局文件:
folding-cell:animationDuration="1000"
folding-cell:backSideColor="@color/bgBackSideColor"
folding-cell:additionalFlipsCount="2"
folding-cell:cameraHeight="30"
或者来自代码:
 // get our folding cell
final FoldingCell fc = ( FoldingCell ) findViewById ( R . id . folding_cell );
// set custom parameters
fc . initialize ( 1000 , Color . DKGRAY , 2 );
// or with camera height parameter
fc . initialize ( 30 , 1000 , Color . DKGRAY , 2 );您可以在此存储库中找到此示例以及其他更复杂的示例

Folding Cell 是在 MIT 许可下发布的。有关详细信息,请参阅许可证。
该库是我们精选的最佳 UI 开源项目的一部分
如果您在项目中使用开源库,请确保注明并反向链接到 www.ramotion.com
在我们的 Android 应用程序中尝试这个 UI 组件和更多类似的组件。如果有兴趣请联系我们。