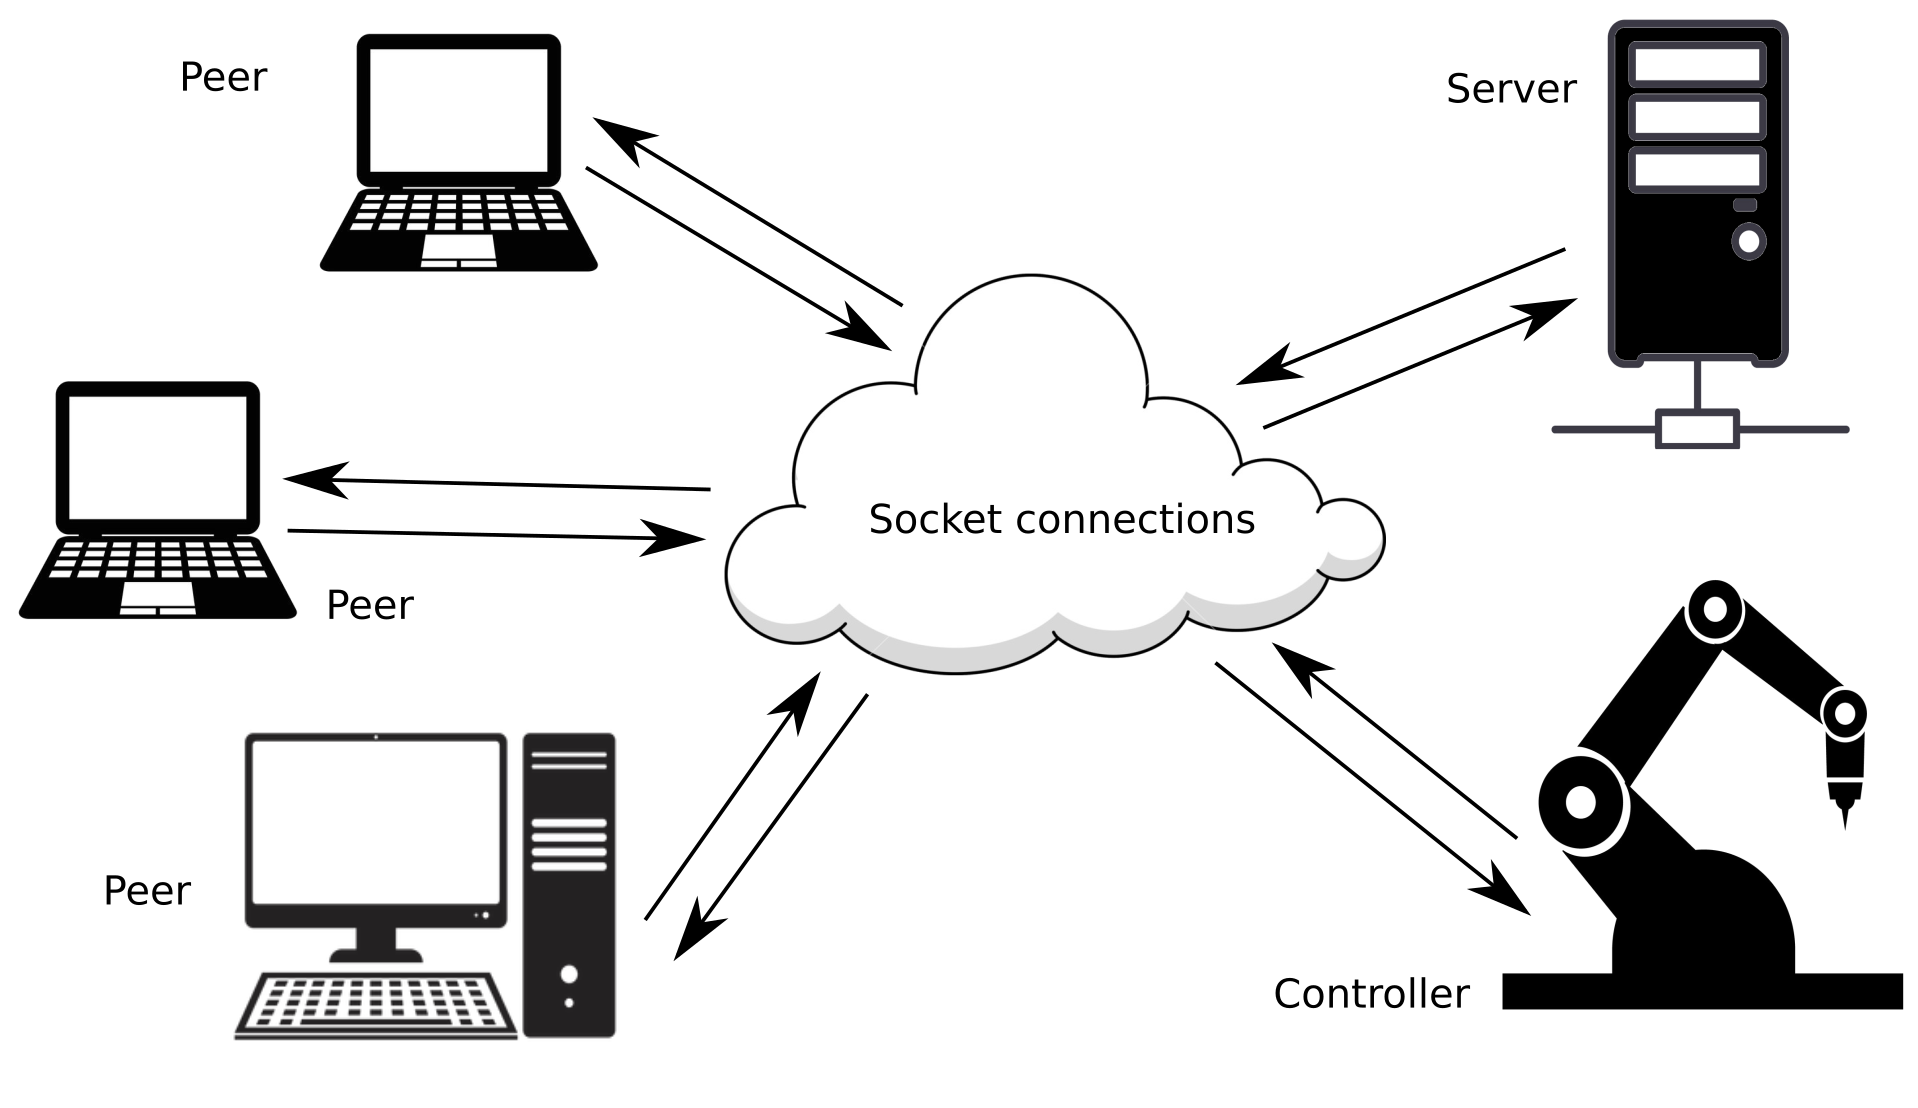
MinimalSocket为您提供了一个现代C++库,以完全与平台无关的方式设置和创建tcp和udp套接字连接。支持的系统有: Windows 、任何Linux发行版和MacOS 。
功能部分详细介绍了MinimalSocket的各种功能。阅读用法和示例,了解使用MinimalSocket是多么容易。
这是一个CMake项目,检查 CMake 支持以了解如何集成该库。
如果您发现这个库有用,请记得留下一颗星。
还没有留下星星吗?现在就做吧;)!
MinimalSocket允许您构建和设置tcp和udp连接。消息可以通过字节缓冲区或字符串缓冲区来发送和接收。事实上,这实际上是套接字所需的唯一功能,因为可以使用 Google Protocol Buffers 或 NanoPb 等方法将更复杂的消息序列化到字节缓冲区中或从字节缓冲区内部化。
这些是MinimalSocket最显着的特征:
下表总结了可以使用MinimalSocket创建的套接字的阻塞和非阻塞行为之间的差异:
| 阻塞行为,调用者被阻塞,直到完成或达到超时(如果指定了) | 非阻塞行为,函数立即返回 | |
|---|---|---|
| 接受新客户端(仅限 TCP) | 调用者线程被吸收,直到新客户端实际请求连接或达到超时(如果指定了) | 如果来自客户端的连接请求在调用accept函数之前已经排队,则返回一个新的连接处理程序,否则返回nullopt。 |
| 接收新消息(tcp 和 udp) | 调用者线程被吸收,直到新消息发送到套接字或达到超时(如果指定了) | 如果在调用接收函数之前消息已发送并已在套接字缓冲区中排队,则返回该消息,否则返回空消息。 |
| 发送新消息(tcp 和 udp) | 如果套接字的缓冲区未满并且可以完全容纳要发送的消息,则该消息实际上会写入缓冲区,并且该函数几乎立即返回。相反的情况,调用者线程被吸收,直到缓冲区中的空间耗尽(因为消息从另一侧被消耗),之后消息被实际写入并且函数完成。 | 如果套接字缓冲区中有足够的空间,则写入消息并且函数返回。相反的情况下,函数立即返回,而不实际发送消息(可以稍后重试发送) |
还没留下星星吗?现在就做吧;)!
要创建经典的阻塞tcp服务器,您只需要构建一个tcp::TcpServer对象:
# include < MinimalSocket/tcp/TcpServer.h >

MinimalSocket::Port port = 15768 ; // the port to bind
MinimalSocket::tcp::TcpServer< true > tcp_server (
    port, MinimalSocket::AddressFamily::IP_V4);
打开它:
 // open the server: binds the port and start to listen on the port
bool success = tcp_server.open();
现在您已准备好接受新客户:
 // accepts the next client that will ask the connection
MinimalSocket::tcp::TcpConnectionBlocking accepted_connection =
    tcp_server.acceptNewClient(); // blocking till a client actually asks the
                                // connection
您现在可以通过简单地执行以下操作与接受的客户端交换消息:
 // receive a message
std:: size_t message_max_size = 1000 ;
std::string
    received_message // resized to the nunber of bytes actually received
    = accepted_connection.receive(message_max_size);
// send a message
accepted_connection.send( " a message to send " );
如果您需要一个非阻塞服务器,您可以以类似的方式创建它:
MinimalSocket::Port port = 15768 ; // the port to bind
MinimalSocket::tcp::TcpServer< false > tcp_server (
    port, MinimalSocket::AddressFamily::IP_V4);
tcp_server.open();
此服务器版本将是非阻塞的,这意味着接受函数将立即返回:
 // check if a client asked for the connection. If no, the function immediately
// returns a nullopt. On the contrary, the returned optional contains the
// handler to the connected client
std::optional<MinimalSocket::tcp::TcpConnectionBlocking>
    maybe_accepted_connection = tcp_server.acceptNewClient();
请注意,即使服务器本身是非阻塞的,但最终接受的客户端处理程序是阻塞的。您也可以通过将套接字传输到非阻塞处理程序来将其转换为非阻塞套接字:
MinimalSocket::tcp::TcpConnectionNonBlocking accepted_connection_nn_block =
maybe_accepted_connection-> turnToNonBlocking ();要创建tcp客户端,您只需要构建一个tcp::TcpClient对象:
# include < MinimalSocket/tcp/TcpClient.h >

MinimalSocket::Port server_port = 15768 ;
std::string server_address = " 192.168.125.85 " ;
MinimalSocket::tcp::TcpClient< true > tcp_client (
    MinimalSocket::Address{server_address, server_port});
打开它:
 // Open the server. Here, the client will ask the connection to specified
// server. After that, the client will be actually connected.
bool success =
    tcp_client.open(); // blocking till the connection is actually established
现在,您只需执行以下操作即可通过远程服务器接收和发送信息:
 // send a message
tcp_client.send( " a message to send " );
// receive a message
std:: size_t message_max_size = 1000 ;
std::string
    received_message // resized to the nunber of bytes actually received
    = tcp_client.receive(message_max_size);
如果您需要一个非阻塞客户端,您可以创建它并以类似的方式使用它:
MinimalSocket::Port server_port = 15768 ;
std::string server_address = " 192.168.125.85 " ;
MinimalSocket::tcp::TcpClient< false > tcp_client (
    MinimalSocket::Address{server_address, server_port});
tcp_client.open();

std:: size_t message_max_size = 1000 ;
// non blocking receive: returns immediately with an empty message in case no
// new data were available, or with a non empty message in the contrary case
std::string received_message = tcp_client.receive(message_max_size);要创建普通的udp套接字,您只需要构建一个udp::Udp对象:
# include < MinimalSocket/udp/UdpSocket.h >

MinimalSocket::Port this_socket_port = 15768 ;
MinimalSocket::udp::Udp< true > udp_socket (this_socket_port,
                                        MinimalSocket::AddressFamily::IP_V6);
打开它:
 // Open the server. This will bind the specified port.
bool success = udp_socket.open();您现在可以使用其他udp套接字接收和发送信息:
 // send a message to another udp
MinimalSocket::Address other_recipient_udp =
    MinimalSocket::Address{ " 192.168.125.85 " , 15768 };
udp_socket.sendTo( " a message to send " , other_recipient_udp);
// receive a message from another udp reaching this one
std:: size_t message_max_size = 1000 ;
auto received_message = udp_socket.receive(message_max_size);
// check the sender address
MinimalSocket::Address other_sender_udp = received_message->sender;
// access the received message
std::string received_message_content // resized to the nunber of bytes
                                    // actually received
= received_message->received_message;您还可以决定将打开的udp套接字“连接”到特定地址。请注意,这仅仅意味着从其他对等点传入的消息将被过滤掉,因为udp套接字不是面向连接的:
MinimalSocket::Address permanent_sender_udp =
    MinimalSocket::Address{ " 192.168.125.85 " , 15768 };
MinimalSocket::udp::UdpConnected< true > udp_connected_socket =
    udp_socket.connect(
        permanent_sender_udp); // ownership of the underlying socket is
                                // transfered from udp_socket to
                                // udp_connected_socket, meaning that you can't
                                // use anymore udp_socket (unless you re-open
                                // it)
现在您可以发送和接收数据,而无需指定接收者/发送者:
 // receive a message
std:: size_t message_max_size = 1000 ;
std::string
    received_message // resized to the nunber of bytes actually received
    = udp_connected_socket.receive(message_max_size);
// send a message
udp_connected_socket.send( " a message to send " );您还可以创建和使用非阻塞udp套接字:
MinimalSocket::Port this_socket_port = 15768 ;
MinimalSocket::udp::Udp< false > udp_socket (
    this_socket_port, MinimalSocket::AddressFamily::IP_V6);
udp_socket.open();

std:: size_t message_max_size = 1000 ;
// non blocking receive: returns immediately with an empty message in case no
// new data were available, or with a non empty message in the contrary case
//
// struct ReceiveStringResult {
//   Address sender;
//   std::string received_message;
// };
std::optional<MinimalSocket::ReceiveStringResult> received_message =
udp_socket.receive(message_max_size);还没有留下星星吗?现在就做吧;)!
有关tcp套接字的使用示例可以在此处找到,而udp示例则在此处讨论。
注意力!!!示例执行可能会在第一次被防火墙阻止:正确设置防火墙或使用管理员权限运行示例
还没留下星星吗?现在就做;)!
为了使用这个库,您可以依赖 CMake。更准确地说,您可以获取此包并链接到MinimalSocket库:
 include (FetchContent)
set (BUILD_MinimalCppSocket_SAMPLES OFF CACHE BOOL "" FORCE) # you don't want the samples in this case
FetchContent_Declare(
min_sock
GIT_REPOSITORY https://github.com/andreacasalino/Minimal-Socket
GIT_TAG        master
)
FetchContent_MakeAvailable(min_sock)然后链接到MinimalSocket库:
 target_link_libraries ( ${TARGET_NAME}
    MinimalSocket
)所有系统特定模块都包含在内部并且不公开。此外,在Windows下, wsock32和ws2_32是私有链接的,您在使用MinimalSocket时不需要再次链接它们。