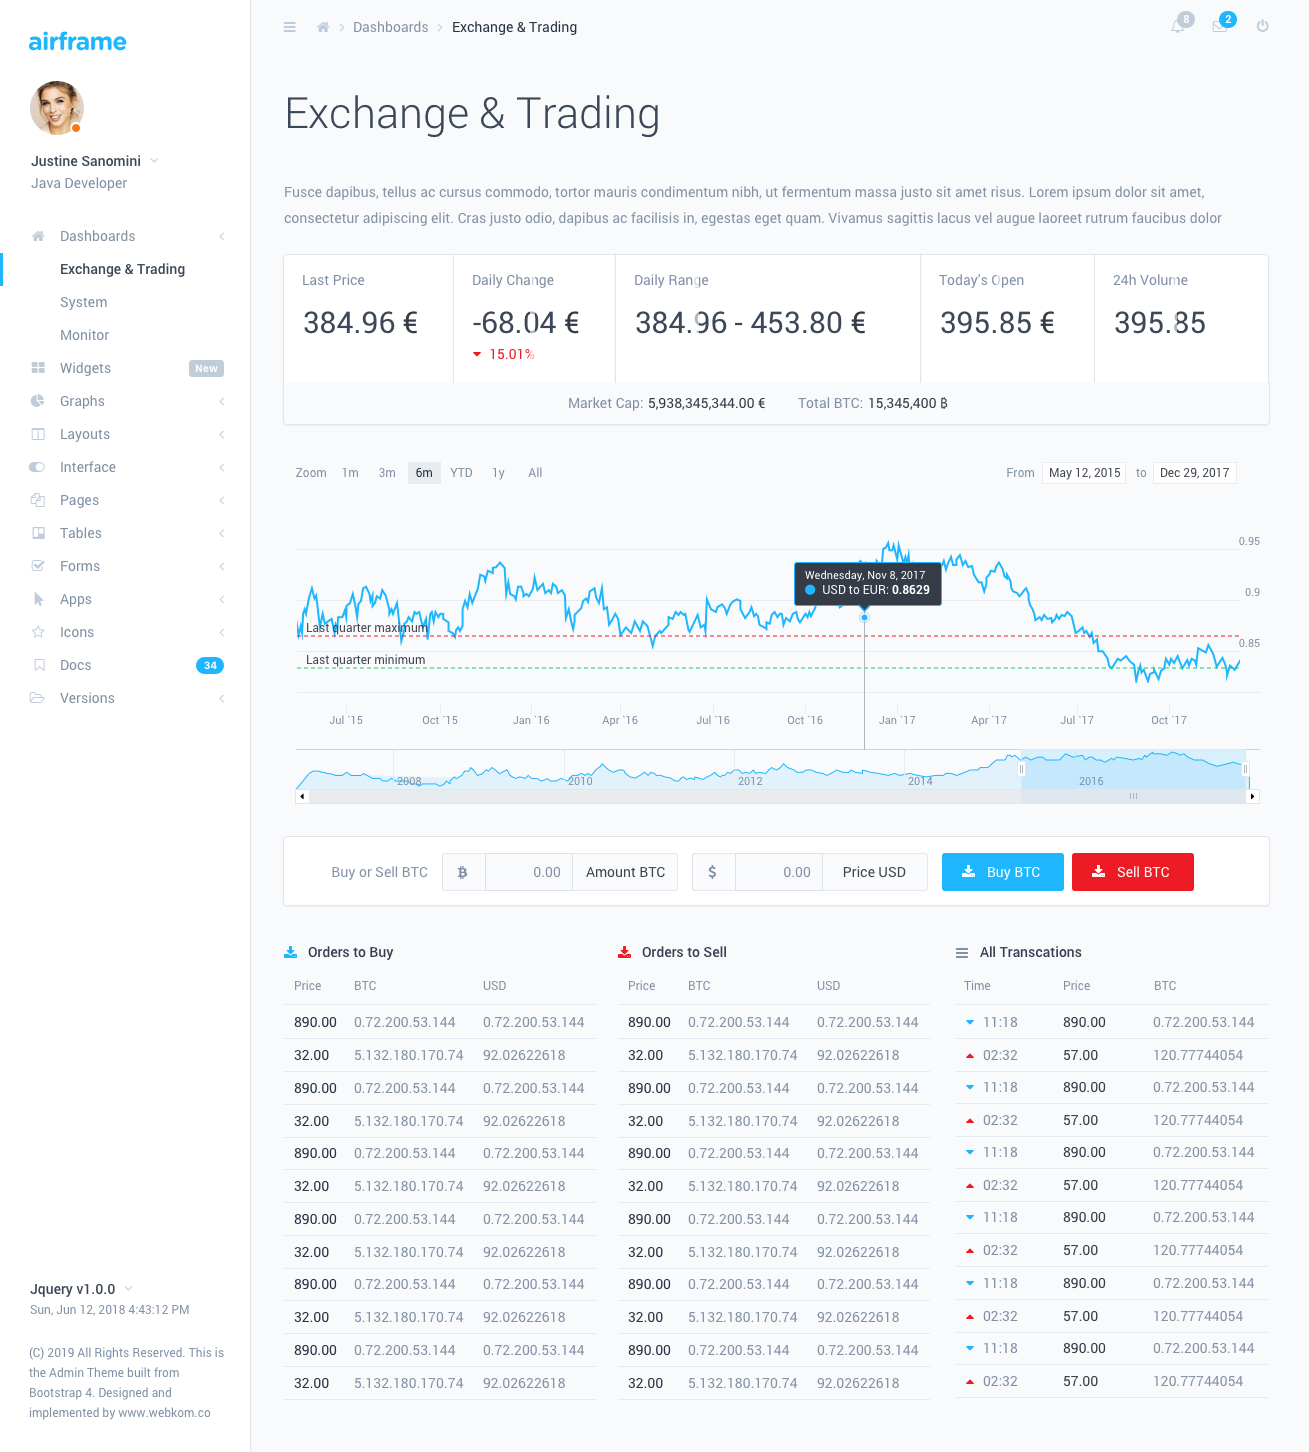
注意HTML/CSS 版本可在此处获取:https://github.com/0wczar/airframe
高品质仪表板/管理/分析模板,适用于任何智能手机、平板电脑或台式机。可作为MIT 许可证的开源版本。

机身仪表板采用简约设计和创新的 Light UI,让您能够构建具有出色 UI 的令人惊叹且功能强大的应用程序。专为大规模应用而设计,并提供详细的分步文档。
这个Airframe项目是一个典型的基于 Webpack 的 React 应用程序,React Router 还包含定制的 Reactstrap。该项目拥有所有最新的依赖项,并将定期更新。该项目不支持SSR。如果您需要它 - 使用基于 NextJs 的版本。
机身仪表板拥有大量组件,可用于多种组合和变化。它可用于所有类型的自定义 Web 应用程序,例如CRM 、 CMS 、管理面板、管理仪表板、分析等。
托马斯·奥恰奇克:
在尝试运行开发环境之前,您需要在本地计算机上安装 NodeJs (>= 10.0.0)。
npm install 。确保解压目录中有一个名为.npmrc的文件。这些文件通常隐藏在基于 Unix 的系统中。
要启动开发环境,请在控制台中输入npm start 。这将启动一个启用热重载的开发服务器。
要创建生产构建类型npm run build:prod 。该过程完成后,您可以从/dist/目录复制输出。输出文件已缩小并可以在生产环境中使用。
您可以通过调整 Webpack 配置文件来自定义构建以满足您的特定需求。这些文件可以在/build目录中找到。有关更多详细信息,请查看 WebPack 的文档。
关于该项目的项目结构的一些有趣的点:
app/components - 自定义 React 组件应该放在这里app/styles - 此处添加的样式不会被视为 CSS 模块,因此任何全局类或库样式都应放在此处app/layout - 可以在此处找到AppLayout组件,该组件在其内部托管页面内容;额外的侧边栏和导航栏应放置在./components/ subdir 中。app/colors.js - 导出具有仪表板定义的所有颜色的对象。对于基于 JS 的组件的样式很有用 - 例如图表。app/routes - PageComponents 应该在这里定义,并通过index.js导入。稍后会详细介绍。路由组件应放置在/routes/目录内的单独目录中。接下来,您应该打开/routes/index.js文件并附加组件。您可以通过两种不同的方式执行此操作:
静态导入的页面将与所有其他内容一起在 PageLoad 上急切地加载。导航到此类页面时不会有额外的加载,但初始应用程序加载时间也会更长。要添加静态导入的页面,应该像这样完成:
 // Import the default component
import SomePage from './SomePage' ;
// ...
export const RoutedContent = ( ) => {
    return (
        < Switch >
            { /* ... */ }
            { /* Define the route for a specific path */ }
            < Route path = "/some-page" exact component = { SomePage } />
            { /* ... */ }
        </ Switch >
    ) ;
} 动态导入的页面仅在需要时才会加载。这将减少初始页面加载的大小并使应用程序加载速度更快。您可以使用React.Suspense来实现此目的。例子:
 // Create a Lazy Loaded Page Component Import
const SomeAsyncPage = React . lazy ( ( ) => import ( './SomeAsyncPage' ) ) ;
// ...
export const RoutedContent = ( ) => {
    return (
        < Switch >
            { /* ... */ }
            { /*
                Define the route and wrap the component in a React.Suspense loader.
                The fallback prop might contain a component which will be displayed
                when the page is loading.
            */ }
            < Route path = "/some-async-page" >
                < React . Suspense fallback = { < PageLoader /> } >
                    < SomeAsyncPage />
                </ React . Suspense >
            </ Route >
        </ Switch >
    ) ;
} 有时您可能想在导航栏或侧边栏中显示其他内容。为此,您应该定义一个自定义的导航栏/侧边栏组件并将其附加到特定的路线。例子:
 import { SidebarAlternative } from './../layout/SidebarAlternative' ;
import { NavbarAlternative } from './../layout/NavbarAlternative' ;
// ...
export const RoutedNavbars  = ( ) => (
    < Switch >
        { /* Other Navbars: */ }
        < Route
            component = { NavbarAlternative }
            path = "/some-custom-navbar-route"
        />
        { /* Default Navbar: */ }
        < Route
            component = { DefaultNavbar }
        />
    </ Switch >
) ;

export const RoutedSidebars = ( ) => (
    < Switch >
        { /* Other Sidebars: */ }
        < Route
            component = { SidebarAlternative }
            path = "/some-custom-sidebar-route"
        />
        { /* Default Sidebar: */ }
        < Route
            component = { DefaultSidebar }
        />
    </ Switch >
) ; 您可以通过向应该包装<Layout>组件的<ThemeProvider>组件提供initialStyle和initialColor来设置侧边栏和导航栏的颜色方案。
可能的initialStyle值:
lightdarkcolor可能的initialColor值:
primarysuccessinfowarningdangerindigopurplepinkyellow您可以使用组件中的ThemeConsumer在运行时更改颜色方案。例子:
 // ...
import { ThemeContext } from './../components' ;
// ...
const ThemeSwitcher = ( ) => (
    < ThemeConsumer >
        ( { onChangeTheme } ) = > (
            < React . Fragment >
                < Button onClick = { ( ) => onThemeChange ( { style : 'light' } ) } >
                    Switch to Light
                </ Button >
                < Button onClick = { ( ) => onThemeChange ( { style : 'dark' } ) } >
                    Switch to Dark
                </ Button >
            </ React . Fragment >
        )
    </ ThemeConsumer >
) ; ThemeConsumer提供的选项:
此仪表板中使用的插件: