注意:該庫並未積極維護/構建,如果您想做出貢獻,請提出問題。
Simulate 是一個用於輕鬆建立和共享智慧代理(例如強化學習)或合成資料產生的模擬環境的函式庫。
使用簡單的pip install simulate安裝 Simulate(優先在虛擬環境中)注意: vtk不是為使用 Python 3.8 的 Apple Silicon 而建置的。在這種情況下,請安裝 >3.9。
建立虛擬環境,然後在本機安裝程式碼樣式/品質工具以及程式碼庫
pip install --upgrade simulate
在合併 PR 之前,先修復樣式(我們使用isort + black )
make style
Simulate 的 API 受到偉大的 Kubric API 的啟發。使用者建立一個Scene並在其中添加Assets (物件、攝影機、燈光等)。
建立場景後,您可以將其儲存為檔案並共用。這是一個 gIFT 文件,也稱為具有關聯資源的 JSON 文件。
您也可以使用後端渲染/類比引擎之一(目前為 Unity、Blender 和 Godot)來渲染場景或進行模擬。
保存/共享格式與引擎無關並使用圖形行業標準。
讓我們一起快速探索一下。
 import simulate as sm

scene = sm.Scene()
Python API 位於 src/simulate 中。它允許創建和載入場景,並向後端發送命令。
我們提供了幾個後端來渲染和/或運行場景。預設後端不需要特定安裝,並且基於 pyvista。它允許人們快速渲染/探索場景,但不處理物理模擬。為了允許物理模擬,可以透過設定engine="unity"來使用 Unity 後端(很快也可以設定 Godot 和 Blender Engines 後端)。 Unity 版本將自動下載(如果尚未)並產生以運行模擬。或者,您可以自行下載並使用 Unity 編輯器,然後必須使用 Unity 版本 2021.3.2f1 開啟該編輯器。
使用Scene.create_from()從本機檔案或 Hub 載入場景,在本機儲存或使用scene.save()或scene.push_to_hub()推送至 Hub:
from simulate import Scene
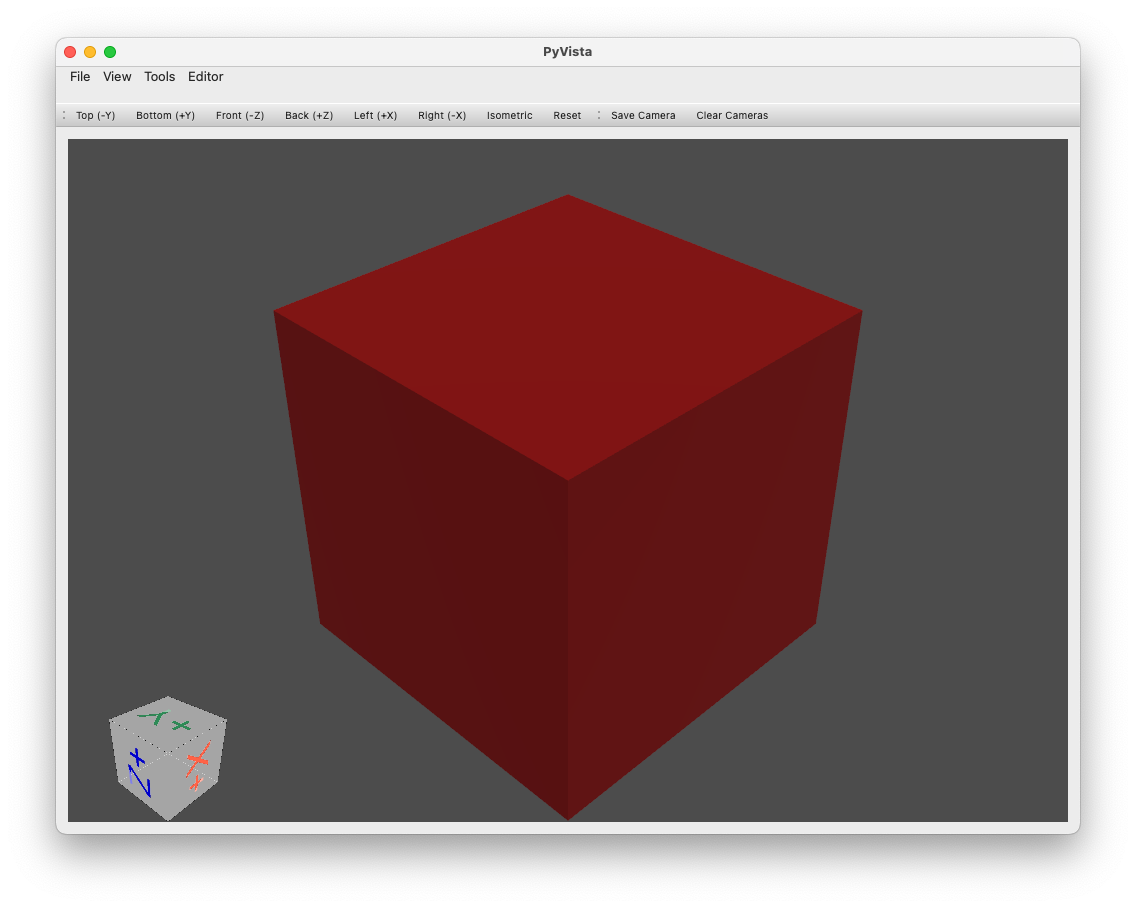
scene = Scene.create_from('tests/test_assets/fixtures/Box.gltf') # either local (priority) or on the Hub with full path to file
scene = Scene.create_from('simulate-tests/Box/glTF/Box.gltf', is_local=False) # Set priority to the Hub file
scene.save('local_dir/file.gltf') # Save to a local file
scene.push_to_hub('simulate-tests/Debug/glTF/Box.gltf') # Save to the Hub - use a token if necessary
scene.show()
建立上面有一個平面和一個球體的場景的基本範例:
 import simulate as sm

scene = sm.Scene()
scene += sm.Plane() + sm.Sphere(position=[0, 1, 0], radius=0.2)

>>> scene
>>> Scene(dimensionality=3, engine='PyVistaEngine')
>>> └── plane_01 (Plane - Mesh: 121 points, 100 cells)
>>>     └── sphere_02 (Sphere - Mesh: 842 points, 870 cells)

scene.show()
物件(以及場景)只是樹中的一個節點,提供可選的網格(在引擎蓋下創建/儲存/編輯為pyvista.PolyData或pyvista.MultiBlock物件)和材質和/或燈光、相機、代理特殊物體。
目前提供以下物件建立助理:
Object3D任何具有網格和/或材質的對象PlaneSphereCapsuleCylinderBoxConeLineMultipleLinesTubePolygonRingText3DTriangleRectangleCircleStructuredGrid其中許多物件可以透過運行以下範例來視覺化:
python examples/basic/objects.py
新增/刪除物件:
+ ) 運算子(或方法.add(object) )將新增一個物件作為前一個物件的子物件。- ) 運算子或.remove(object)指令刪除物件。.clear()清除整個場景。scene.sphere += sphere_child 。訪問對象:
name屬性指定或從類別名稱+建立計數器自動產生)。.get_node(name)從物件的名稱存取物件。tree_*屬性來快速導覽或列出節點樹的一部分。以下是一些操作範例:
 # Add two copy of the sphere to the scene as children of the root node (using list will add all objects on the same level)
# Using `.copy()` will create a copy of an object (the copy doesn't have any parent or children)
scene += [scene.plane_01.sphere_02.copy(), scene.plane_01.sphere_02.copy()]

>>> scene
>>> Scene(dimensionality=3, engine='pyvista')
>>> ├── plane_01 (Plane - Mesh: 121 points, 100 cells)
>>> │   └── sphere_02 (Sphere - Mesh: 842 points, 870 cells)
>>> ├── sphere_03 (Sphere - Mesh: 842 points, 870 cells)
>>> └── sphere_04 (Sphere - Mesh: 842 points, 870 cells)

# Remove the last added sphere
>>> scene.remove(scene.sphere_04)
>>> Scene(dimensionality=3, engine='pyvista')
>>> ├── plane_01 (Plane - Mesh: 121 points, 100 cells)
>>> │   └── sphere_02 (Sphere - Mesh: 842 points, 870 cells)
>>> └── sphere_03 (Sphere - Mesh: 842 points, 870 cells)
物件可以輕鬆平移、旋轉、縮放
這裡有幾個例子:
 # Let's translate our floor (with the first sphere, it's child)
scene.plane_01.translate_x(1)

# Let's scale the second sphere uniformly
scene.sphere_03.scale(0.1)

# Inspect the current position and scaling values
print(scene.plane_01.position)
>>> array([1., 0., 0.])
print(scene.sphere_03.scaling)
>>> array([0.1, 0.1, 0.1])

# We can also translate from a vector and rotate from a quaternion or along the various axis
編輯對象:
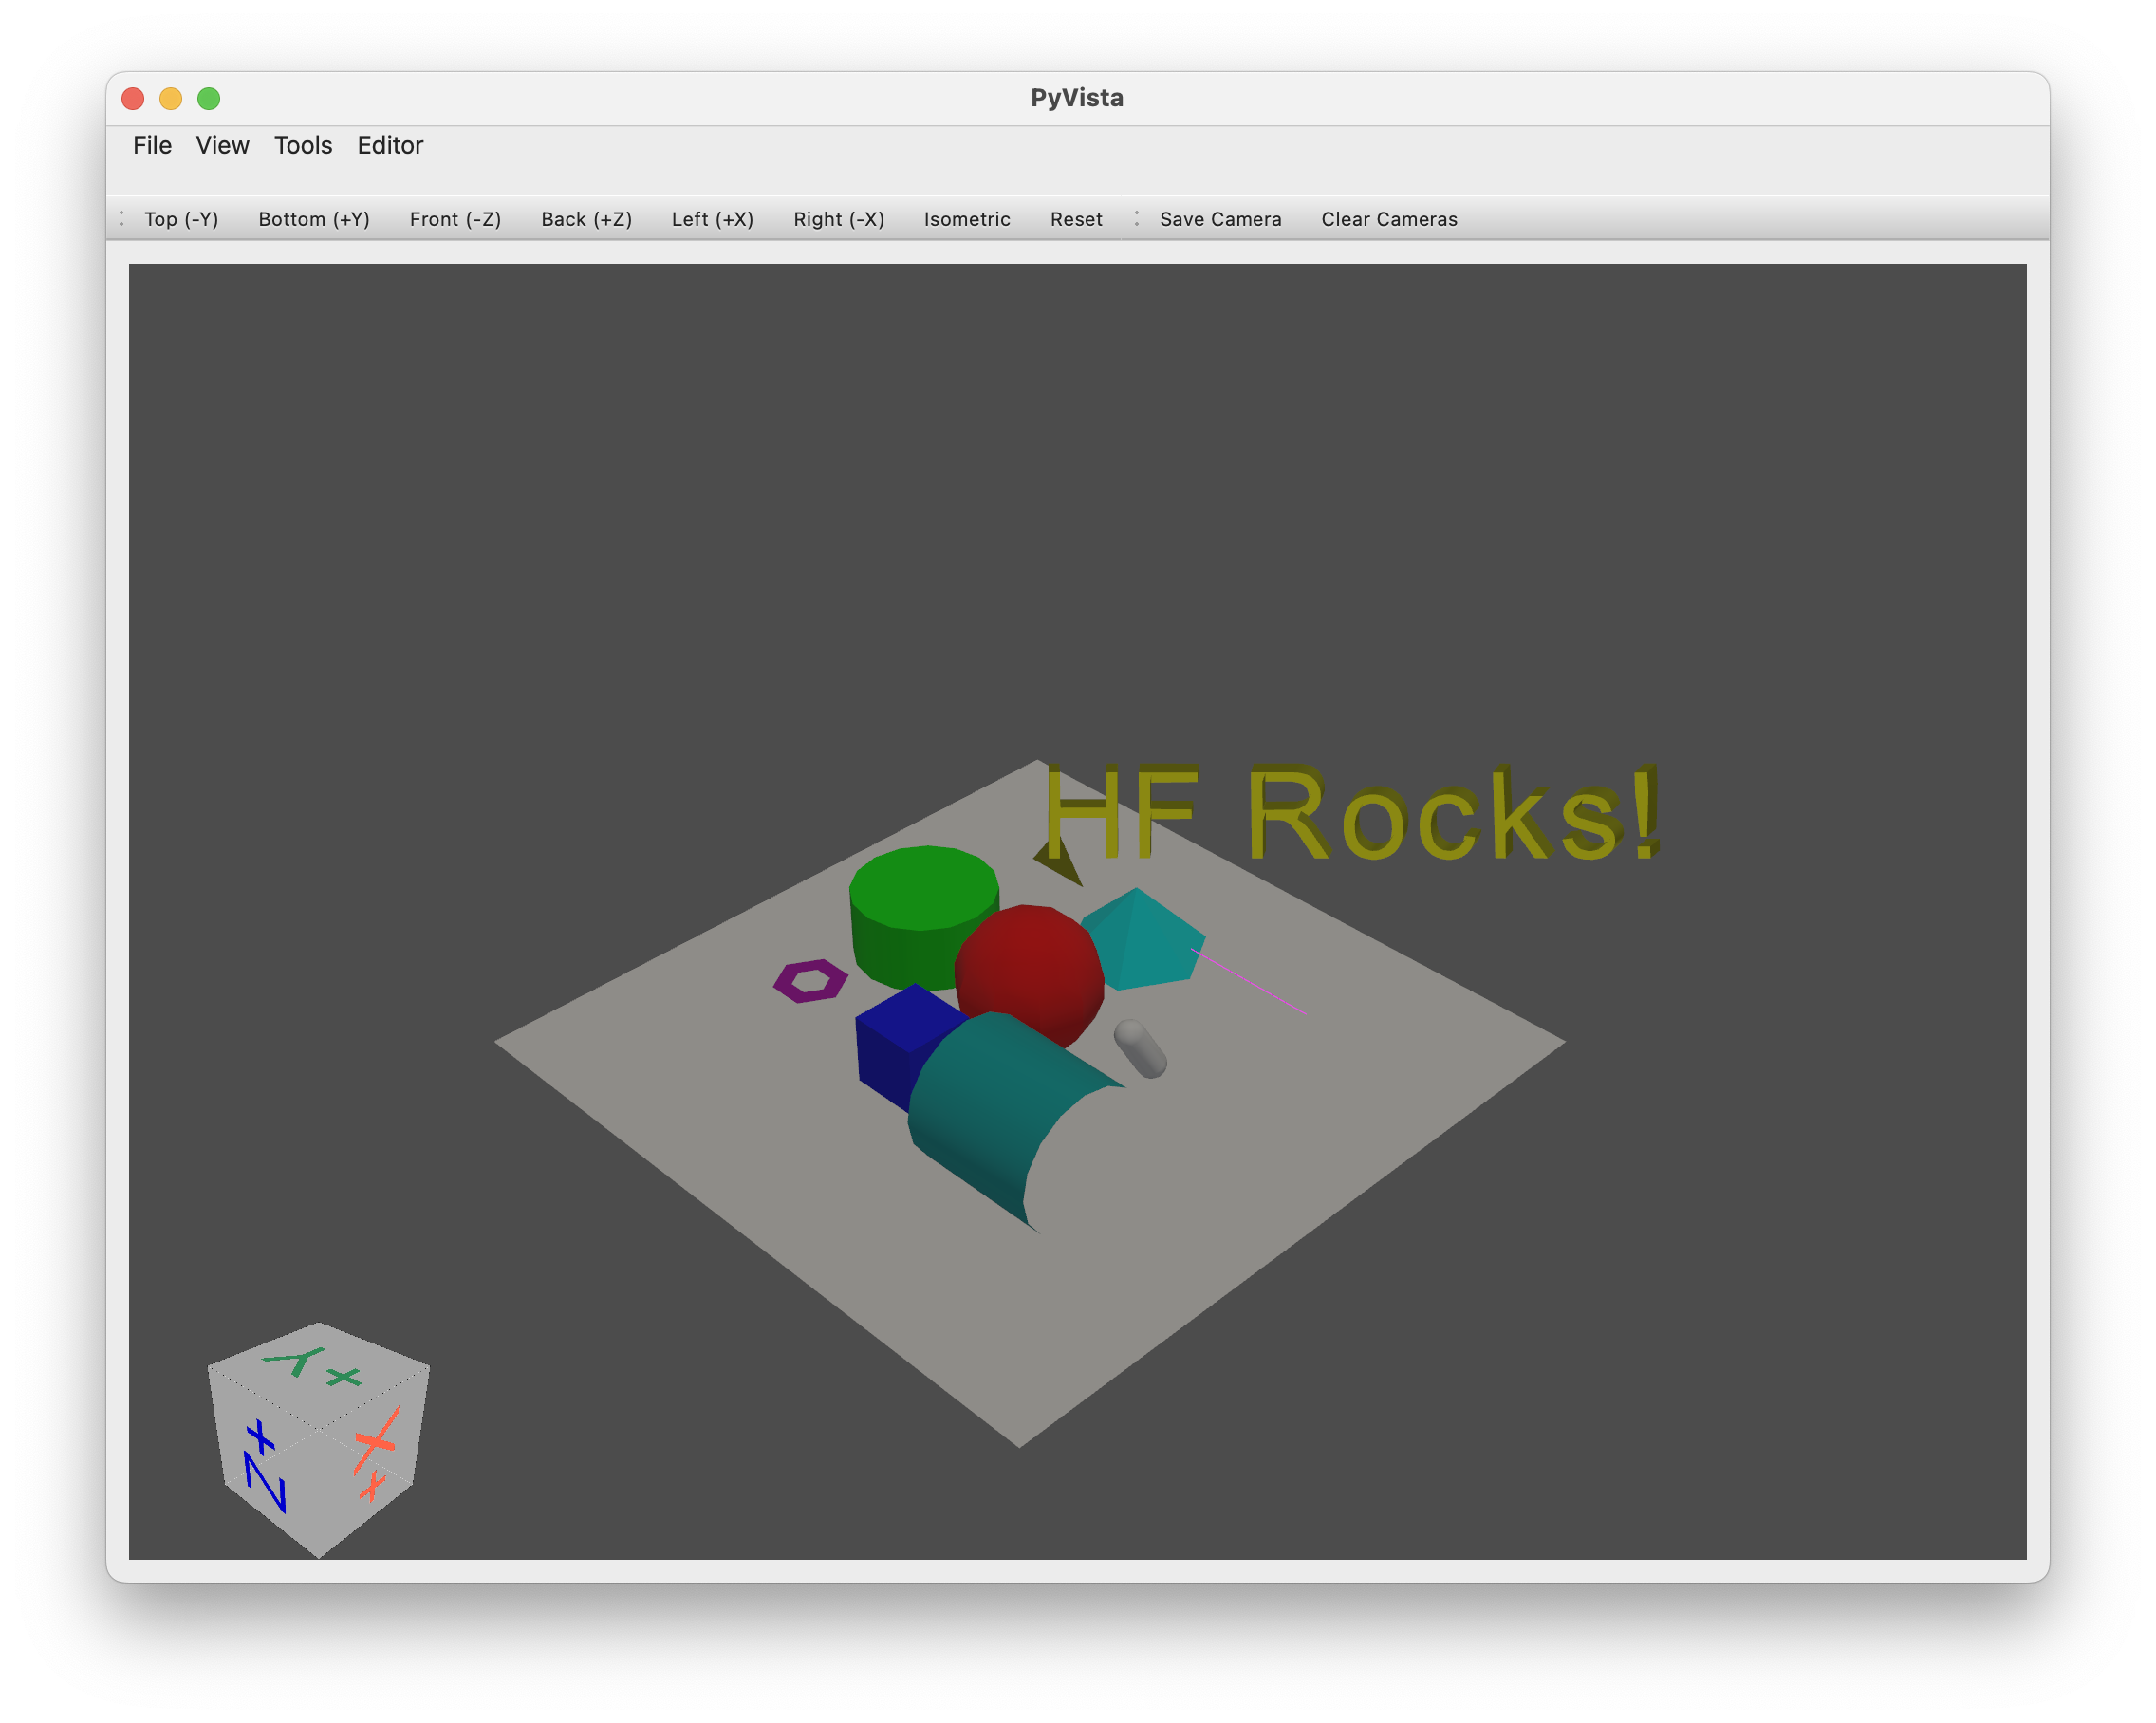
pyvista的 vtk 後端提供了預設的視覺化引擎。
只需使用.show()即可啟動視覺化引擎。
scene.show()
您可以在integrations目錄中找到與其他渲染/模擬引擎的橋樑。
如果您在 GCP 上運行,請記住不要安裝pyvistaqt ,如果安裝了,請在您的環境中卸載它,因為 QT 在 GCP 上運行不佳。
 @misc { simulate ,
  author = { Thomas Wolf, Edward Beeching, Carl Cochet, Dylan Ebert, Alicia Machado, Nathan Lambert, Clément Romac } ,
  title = { Simulate } ,
  year = { 2022 } ,
  publisher = { GitHub } ,
  journal = { GitHub repository } ,
  howpublished = { url{https://github.com/huggingface/simulate} }
}

