PersonalAIserver
1.0.0
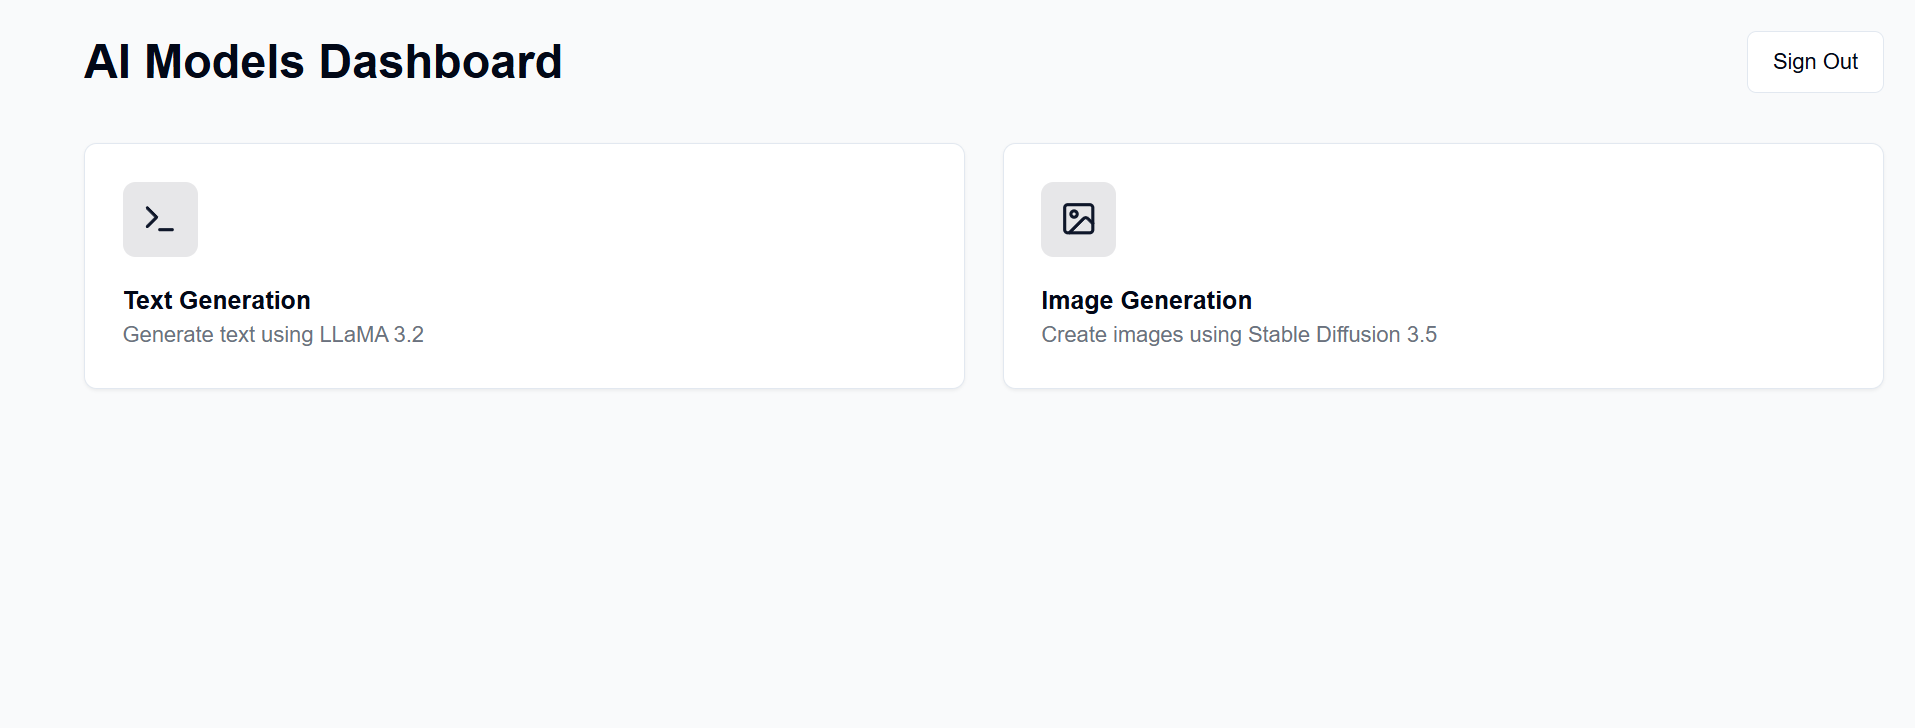
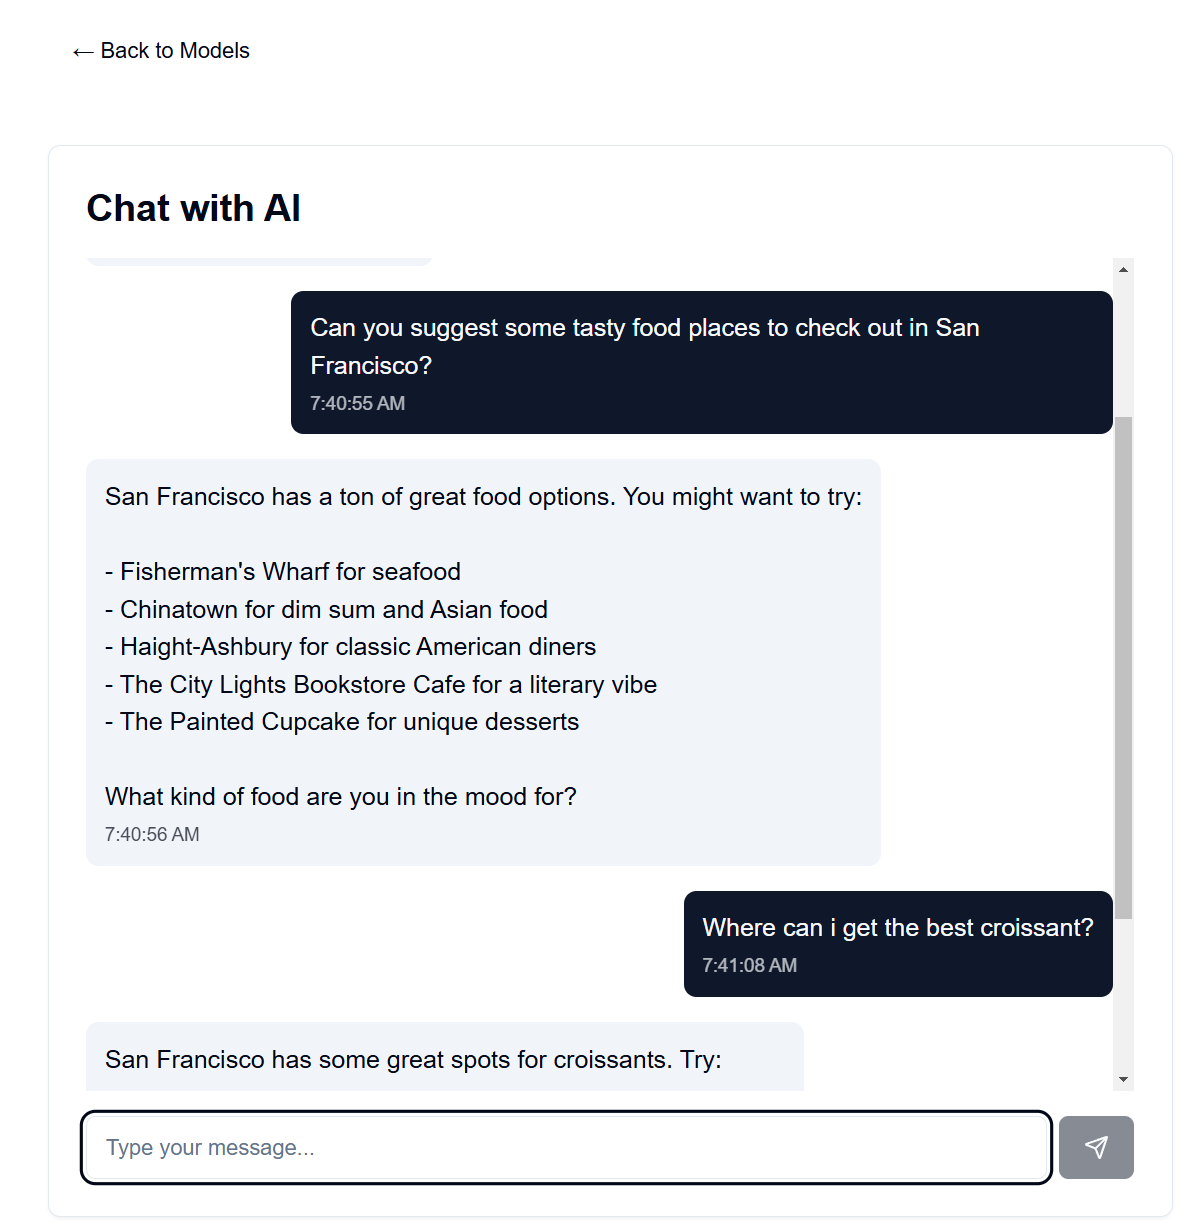
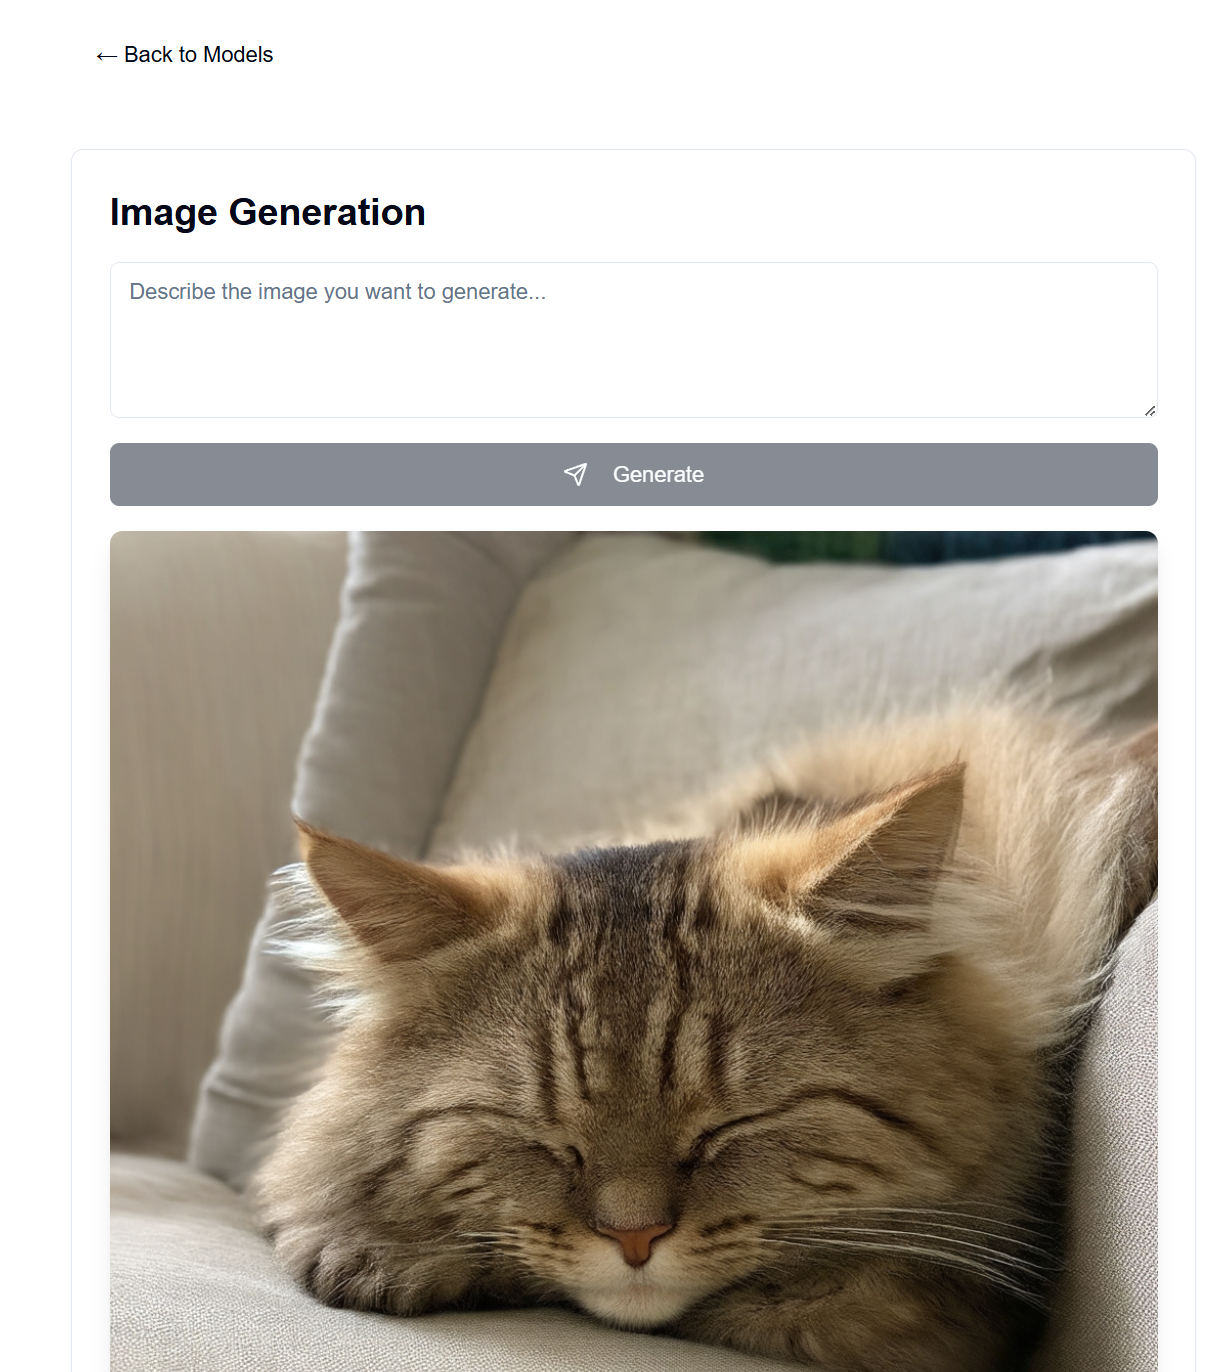
在您自己的可用硬體上建立 GenAI 伺服器。該專案提供了一個 Web 介面,可與 LLaMA 和穩定擴散模型(以及其他模型)交互,以生成文字、圖像、視訊和 3D。
許多人手頭上有一個不錯的 GPU,並且願意使用它,而不是從 OpenAI、Anthropic 等那裡付費訂閱。然後,您可以使用網頁瀏覽器從任何地方存取它,例如您的手機或另一台電腦。
其前端託管在 GitHub Pages 上,而後端託管在可用的伺服器電腦上。
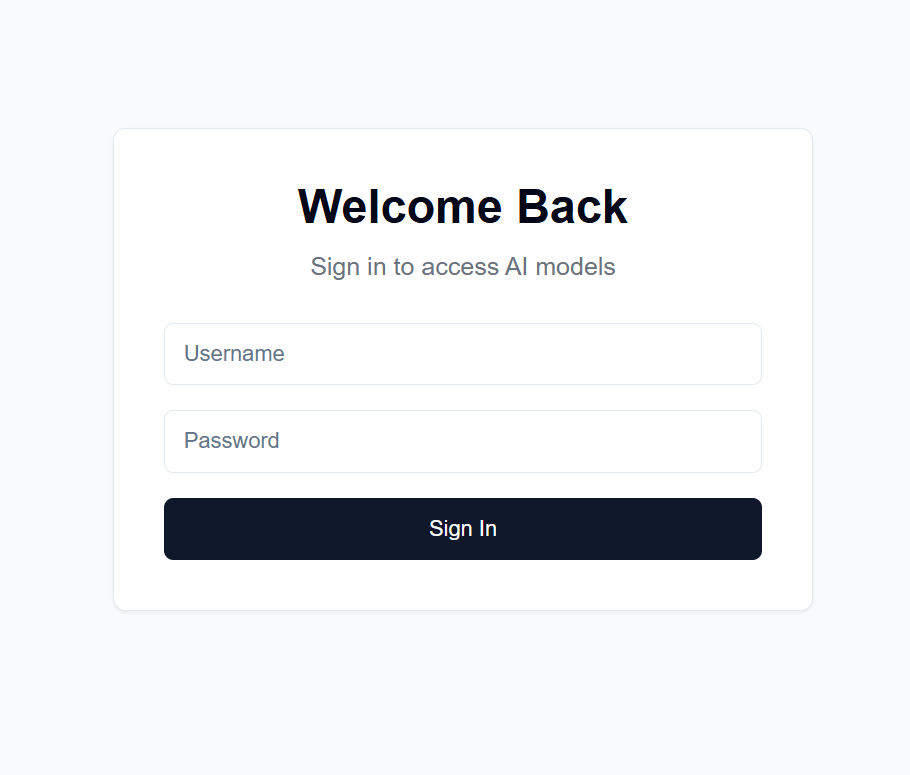
設定完成後,前端將在https://[username].github.io/PersonalAIserver上可用。請按照以下說明設定後端。
對於前端,只需要設定 GitHub 操作即可建立專案頁面。在您的分叉儲存庫中,導覽至Settings -> Pages -> Source ,並將其設定為「GitHub Actions」。當您推送到儲存庫時,建置將自動執行,這要歸功於.github/workflows/main.yml檔案。
如果您想在本機上運行前端,請按照以下說明操作。需要 Node.js,可從節點版本管理器 (nvm) 安裝。
 nvm install 20
npm install -D @shadcn/ui
npx shadcn@latest init # Select default style, any color, and dont use css variables.
npx shadcn@latest add alert button card input textarea # Accept defaults
npm install lucide-react
npm install -D @tailwindcss/typography
npm install clsx tailwind-merge
npm install
npm install sharp
npm run dev
這應該為前端提供服務http://localhost:3000 ,您可以使用網頁瀏覽器存取它。
它使用 conda 進行套件管理,但您可以隨意使用任何其他套件管理器。
在後端目錄的終端機中,執行以下命令:
 conda create -n personalai python=3.11
conda activate personalai
 pip install torch torchvision torchaudio --index-url https://download.pytorch.org/whl/cu124
pip install -r requirements.txt
users.json文件,格式如下: {
"username1": {
"username": "username1",
"password": "password1",
"disabled": false
},
"username2": {
"username": "username2",
"password": "password2",
"disabled": false
}
...
}
.secret檔案。這用於加密 JWT 令牌。我建議使用以下命令產生一個: import secrets
secret_key = secrets.token_hex(32)
print(secret_key)
然後複製輸出。
Settings -> Secrets and variables -> ActionsNEXT_PUBLIC_API_URL且值為後端伺服器 URL 的儲存庫金鑰(更多詳細資訊如下)。範例:https: https://api.example.com 。backend/backend.py中,調整第 40 行附近的CORSMiddleware以包含前端的 URL。huggingface-cli login來登入 Hugging Face,並使用上面建立的個人存取令牌作為密碼。python backend/backend.py --public運行後端,或者如果您只想在本機上執行伺服器,則刪除--public 。本地主機也要求您在本地運行前端。有許多選項可用於在公用 URL 託管後端,但我建議使用 Cloudflare Tunnel。 Cloudflare Tunnel 將流量從 Internet 路由到您的伺服器,而不會暴露連接埠或您的本機 IP。它還支援 HTTPS、SSL 加密和 DDoS 保護,以及您需要自行設定和維護的其他安全功能。
其他選項包括:
對於 Cloudflare Tunnel,您將需要一個網域和 Cloudflare 帳戶。
cloudflared tunnel login 。此步驟將開啟一個瀏覽器視窗以使用您的 Cloudflare 帳戶登入。cloudflared tunnel create genai-api 。此步驟產生隧道 ID,請注意後續步驟。 tunnel: <your-tunnel-id>
credentials-file: /home/user/.cloudflared/<tunnel-id>.json
ingress:
- hostname: <your-api-url>
service: http://localhost:8000
- service: http_status:404
<your-api-url>應是您在 Cloudflare 的名稱伺服器中註冊的域名,並且可以是子網域。例如,如果您擁有example.com ,則可以使用genai.example.com或api.example.com 。 5. 建立 DNS 記錄cloudflared tunnel route dns <tunnel-id> <your-api-url> 。這將為 Cloudflare 建立隧道,將流量從網際網路路由到您的伺服器,而無需暴露連接埠或您的本機 IP。
在backend/backend.py中,您可以更改使用的模型。在 Hugging Face 上找到您想要用於產生文字/圖像的模型,然後調整ModelManager模型配置(第 127 行)。預設情況下,使用 LLaMA 3.2-1B-Instruct 模型進行文字生成,使用 Stable Diffusion 3.5 媒體模型進行影像生成。以下是測試的每個型號的 VRAM 要求。
| 型號類型 | 型號名稱 | 顯示記憶體使用量 (GB) | 筆記 |
|---|---|---|---|
| 文字 | 元駱駝/駱駝-3.2-1B-指示 | 〜8 | 文字生成的基礎模型 |
| 影像 | 穩定性ai/穩定擴散-3.5-中 | 〜13 | 在 RTX 4090 上運作良好 |
| 影像 | 穩定性ai/穩定擴散-3.5-大 | 〜20-30 | 長提示超過 4090 VRAM |
注意:VRAM 使用情況可能會因影像解析度、文字提示長度和其他參數而異。顯示的值是預設設定的近似值。支援量化變壓器模型以進一步減少 VRAM 使用,但預設不使用(請參閱backend/backend.py第 178-192 行)。大型穩定擴散模型幾乎無法放入我的 4090 的量化 VRAM 中。我的 4090 上的聊天機器人速度非常快,1024x1024 影像的 100 個步驟的影像產生最多需要 30 秒。
語言模型的系統提示可以在backend/system_prompt.txt中找到。目前,它是 Anthropic 於 2024 年 10 月 22 日發布的 Claude 3.5 Sonnet 模型的旋轉版本。


