警告
強烈建議升級到 CodeIgniter4。
將 PHPUnit 與 CodeIgniter 3.x 結合使用的更簡單方法。
您根本不必修改 CodeIgniter 核心檔案。
您可以輕鬆編寫控制器測試。
也許沒有什麼是不可測試的。
有據可查。

PHP 7.3 或更高版本
如果您使用 Monkey Patching,則必須使用 PHP-Parser 4.2 或更高版本作為 Composer 依賴項。
代碼點火器 3.x
如果您想升級到 CodeIgniter4,請參閱#361。
PHPUnit 9.3 或更高版本
如果您想使用 PHPUnit 9.2 或更早版本,請使用 ci-phpunit-test 2.x。
網豆
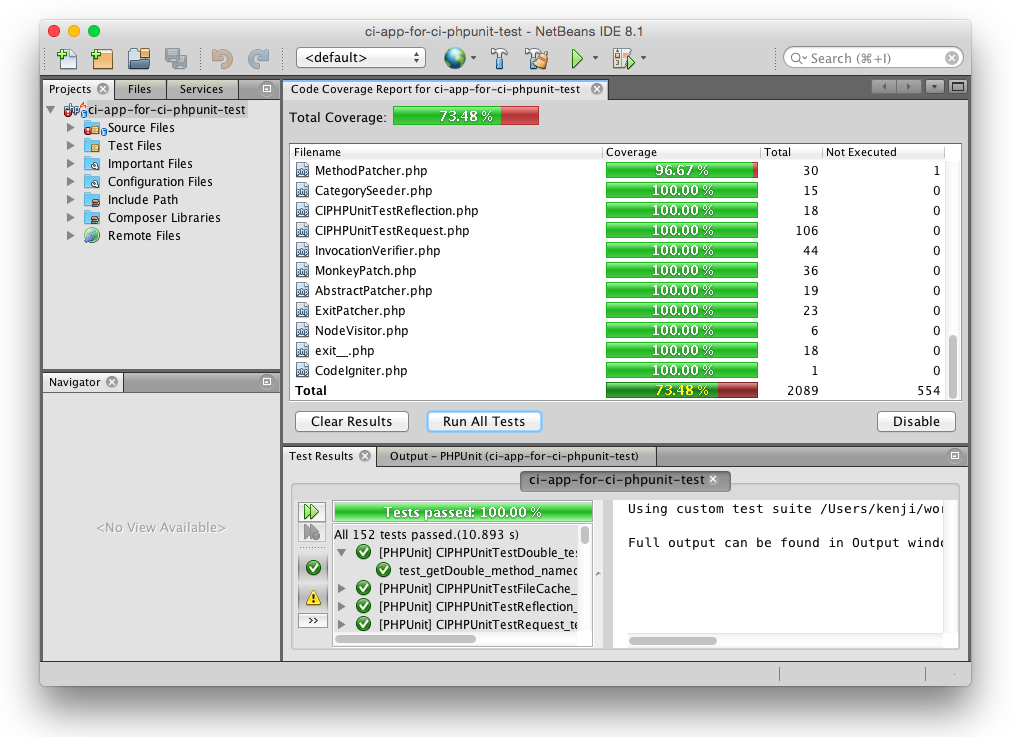
前往專案屬性 > 測試 > PHPUnit ,選取使用自訂測試套件複選框,然後選擇application/tests/_ci_phpunit_test/TestSuiteProvider.php 。
請參閱更改日誌。
codeigniter/
├── application/
│   └── tests/
│        ├── _ci_phpunit_test/ ... don't touch! files ci-phpunit-test uses
│        ├── Bootstrap.php     ... bootstrap file for PHPUnit
│        ├── DbTestCase.php    ... DbTestCase class
│        ├── TestCase.php      ... TestCase class
│        ├── controllers/      ... put your controller tests
│        ├── libraries/        ... put your library tests
│        ├── mocks/
│        │   └── libraries/    ... mock libraries
│        ├── models/           ... put your model tests
│        └── phpunit.xml       ... config file for PHPUnit
└── vendor/
從 https://github.com/kenjis/ci-phpunit-test/releases 下載最新的ci-phpunit-test 。
解壓縮並複製application/tests資料夾到 CodeIgniter 專案中的application資料夾中。
就是這樣。
$ cd /path/to/codeigniter/$ Composer require kenjis/ci-phpunit-test:^3.0 --dev
並運行install.php :
$ php供應商/kenjis/ci-phpunit-test/install.php --from-composer
上述命令始終覆蓋現有文件。
您必須在 CodeIgniter 專案根資料夾中執行它。
如果您使用自訂資料夾路徑,則可以使用選項參數指定application和public 。
$ php供應商/kenjis/ci-phpunit-test/install.php -a <應用程式目錄> -p <公共目錄> -t <單元測試目錄>
所以預設是:
$ php供應商/kenjis/ci-phpunit-test/install.php -a應用程式-p公共-t應用程式/測試
但有些路徑可能不正確,在這種情況下,請在tests/Bootstrap.php中修復它們。
從 https://github.com/kenjis/ci-phpunit-test/releases 下載最新的ci-phpunit-test 。
解壓縮並替換application/tests/_ci_phpunit_test資料夾。
閱讀更改日誌。
$ cd /path/to/codeigniter/$ 作曲家更新 kenjis/ci-phpunit-test
閱讀更改日誌。
如果您從建立了application/test/_ci_phpunit_test目錄的ci-phpunit-test先前版本升級,並且現在想要直接從 Composer 使用ci-phpunit-test ,則需要執行幾個額外步驟:
刪除舊的測試庫目錄:
$ rm -rf /path/to/codeigniter/application/tests/_ci_phpunit_test
編輯application/tests/Bootstrap.php檔案。在「設定主路徑常數」部分的底部,加入以下內容:
定義('CI_PHPUNIT_TESTPATH',內爆(DIRECTORY_SEPARATOR,
    [目錄名(APPPATH),'供應商','kenjis','ci-phpunit-test','應用程式','測試','_ci_phpunit_test']
).DIRECTORY_SEPARATOR);並替換__DIR__ . '/_ci_phpunit_test/或TESTPATH . '_ci_phpunit_test與CI_PHPUNIT_TESTPATH . ' 。 (因此,例如, __DIR__ . '/_ci_phpunit_test/CIPHPUnitTest.php'將變為CI_PHPUNIT_TESTPATH . '/CIPHPUnitTest.php' 。)
您需要在執行測試之前安裝 PHPUnit。
如果您使用作曲家:
$ 作曲家需要 phpunit/phpunit --dev
$ cd /path/to/codeigniter/$vendor/bin/phpunit -c application/tests/PHPUnit 9.5.4 by Sebastian Bergmann 與貢獻者.... 3 / 3 (100%) 時間: 00:00.102, 記憶體: 12.00 MBOK(3 個測試,3 個斷言)產生 Clover XML 格式的程式碼覆蓋率報告 ... 已完成 [00:00.002]產生 HTML 格式的程式碼覆蓋率報告 ... 已完成 [00:00.012]
要產生覆蓋率報告,需要 Xdebug。
如果您想執行單一測試案例檔案:
$供應商/bin/phpunit -c應用程式/測試/應用程式/測試/模型/Category_model_test.php
例如, Inventory_model的測試案例類別如下:
 <?phpclass Inventory_model_test 擴充 TestCase
{公用函數setUp(): void{$this->resetInstance();$this->CI->load->model('Inventory_model');$this->obj = $this->CI->Inventory_model;
    }公用函數 test_get_category_list()
    {$expected = [1 => '書',2 => 'CD',3 => 'DVD',
        ];$list = $this->obj->get_category_list();foreach ($list as $category) {$this->assertEquals($expected[$category->id], $category->name);
        }
    }公用函數 test_get_category_name()
    {$actual = $this->obj->get_category_name(1);$expected = '圖書';$this->assertEquals($expected, $actual);
    }
}
例如,Welcome 控制器的測試案例類別如下:
 <?phpclass Welcome_test 擴充測試用例
{公用函數test_index()
    {$output = $this->request('GET', 'welcome/index');$this->assertStringContainsString('<title>歡迎使用 CodeIgniter</title>', $output);
    }
}
有關詳細信息,請參閱如何編寫測試。
請參閱函數和類別參考。
請參閱提示。
ci-phpunit-test的一些功能可在以下獨立套件中使用。
https://github.com/kenjis/phpunit-helper
https://github.com/kenjis/monkey-patch
ci-phpunit-test 的 CodeIgniter 測試應用程式
CodeIgniter Composer 安裝程序
CodeIgniter 3.0 的 CLI
CodeIgniter 簡單且安全的 Twig
代碼點火器原則
CodeIgniter 部署程序
CodeIgniter3 檔案名稱檢查器
CodeIgniter 小工具(查看部分)範例
CodeIgniter3 命名空間控制器