GraXpert
3.0.2

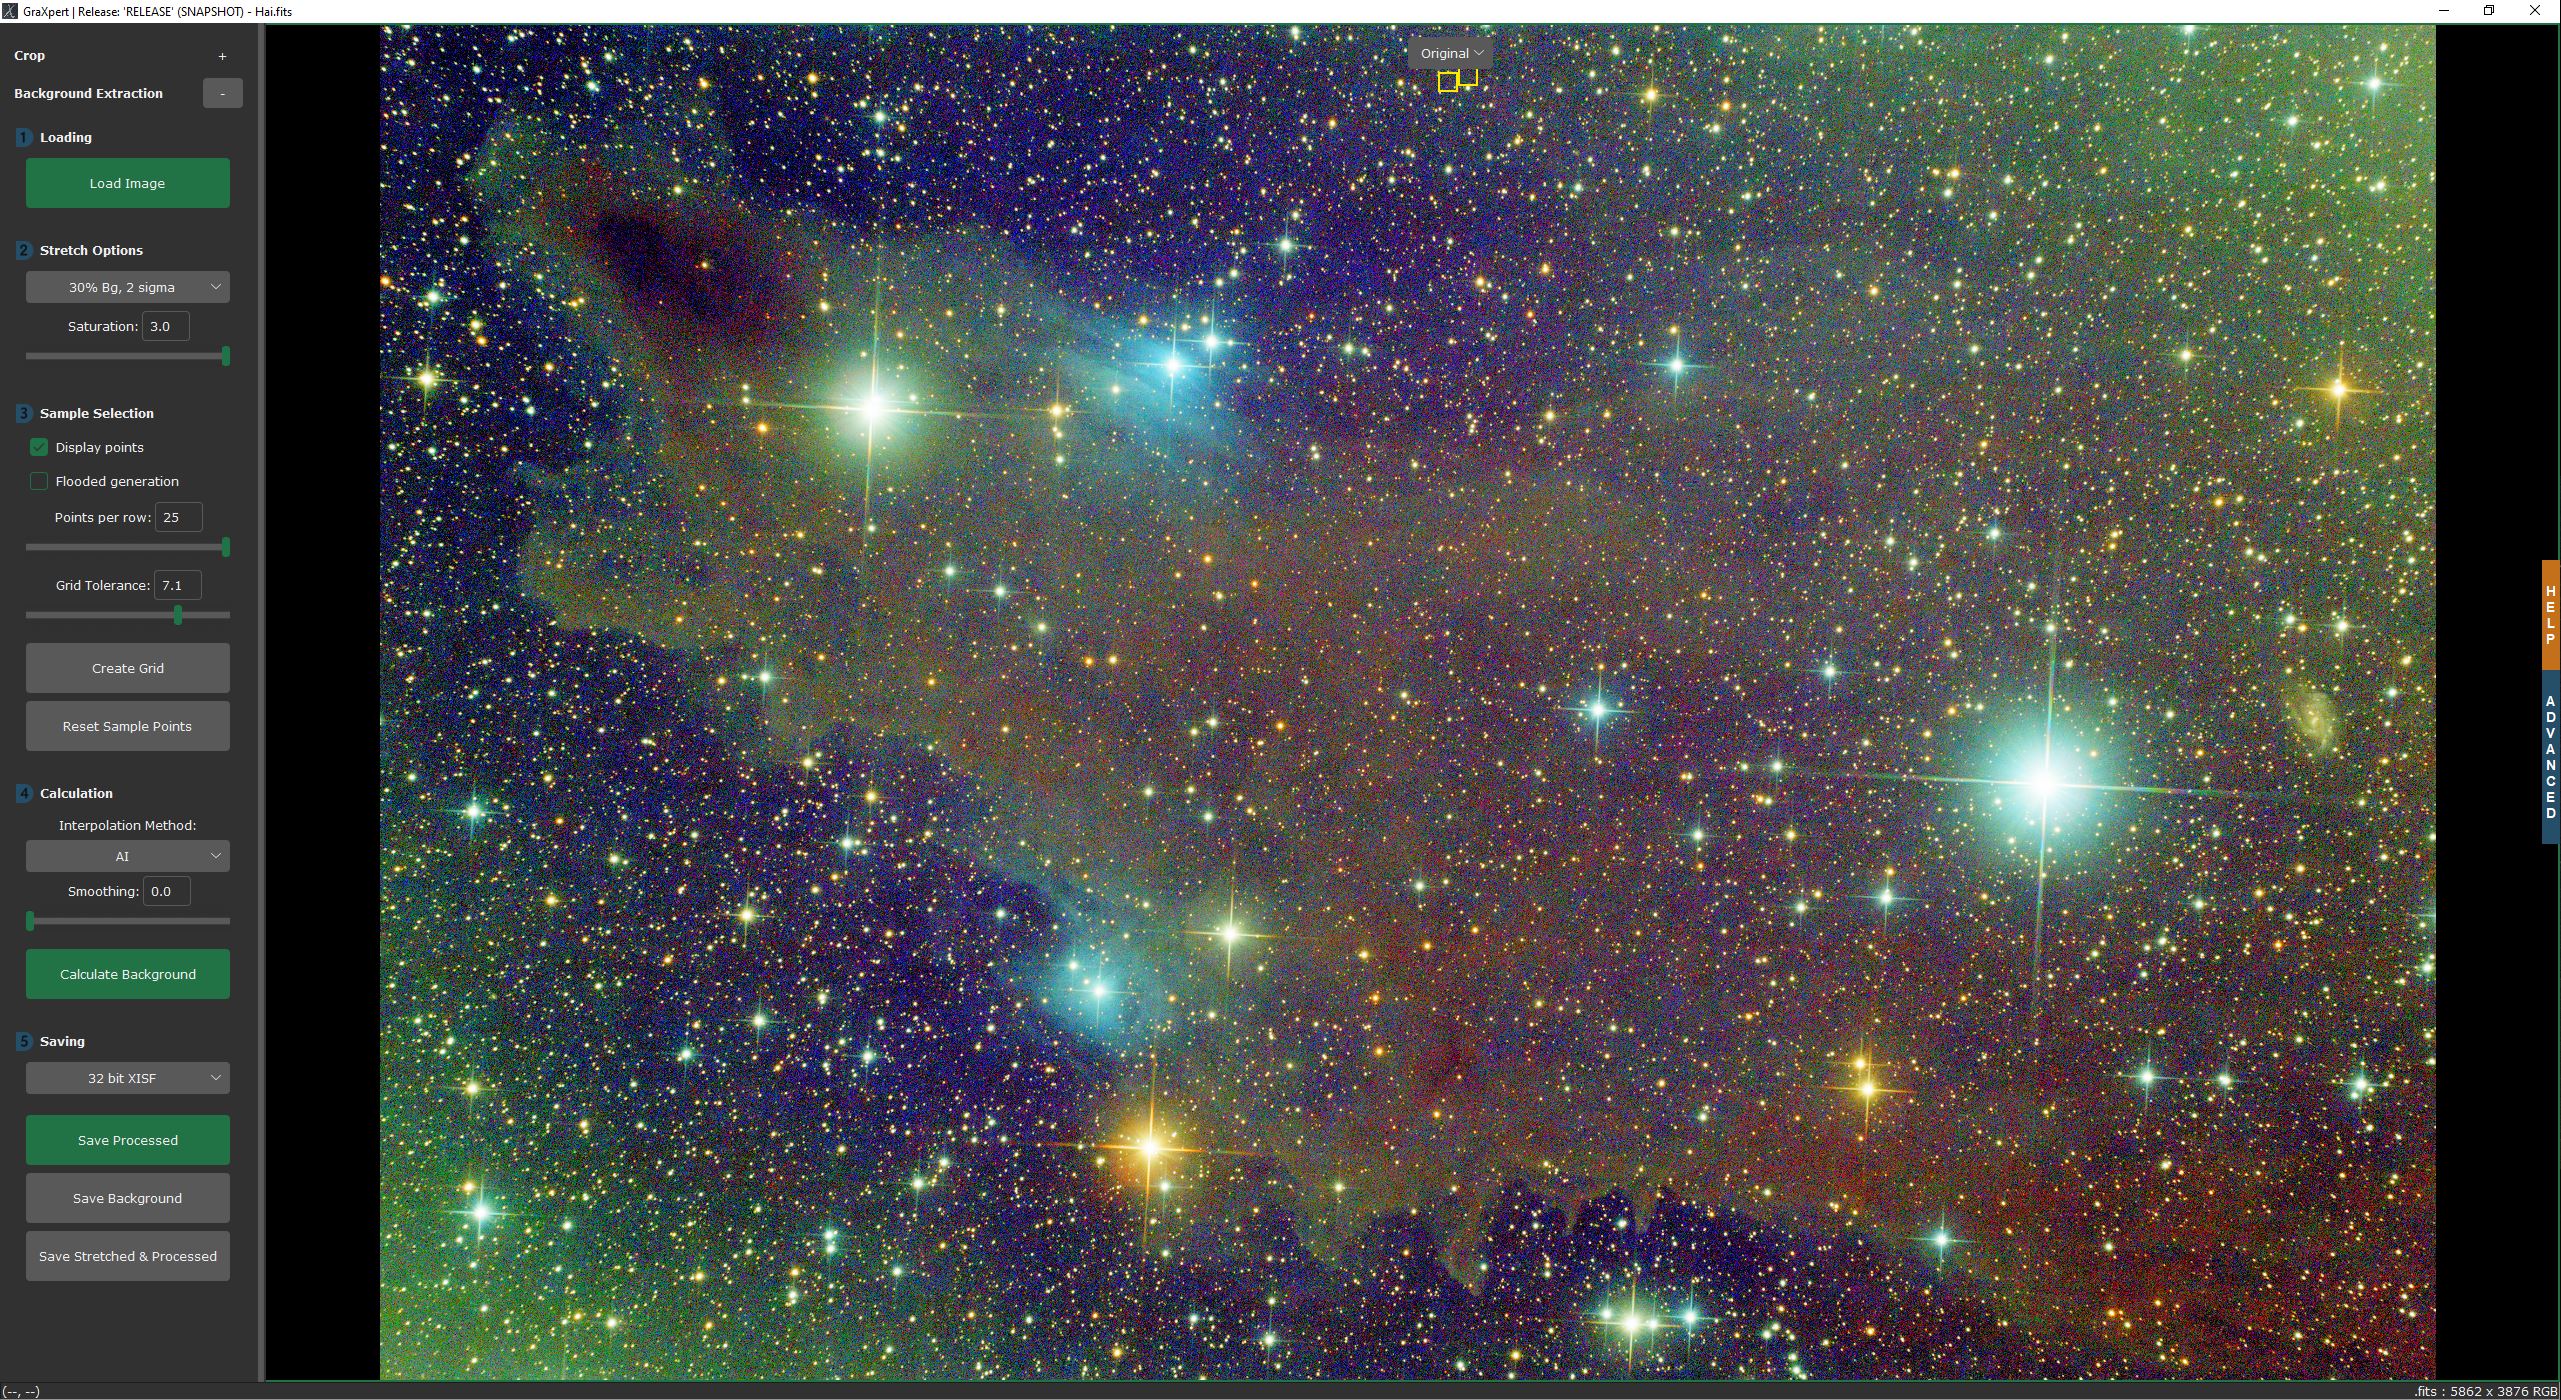
Graxpert是一種天文圖像處理程序,用於在Astrophotos的背景下提取和去除梯度。我們提供了幾種傳統的插值方法,例如徑向基函數(RBF),細條和kriging,這些方法要求用戶在圖像背景中手動選擇樣品點。我們最新的添加是一種不需要任何用戶輸入的AI方法。
| 原來的 | 用AI去除梯度 |
|---|---|
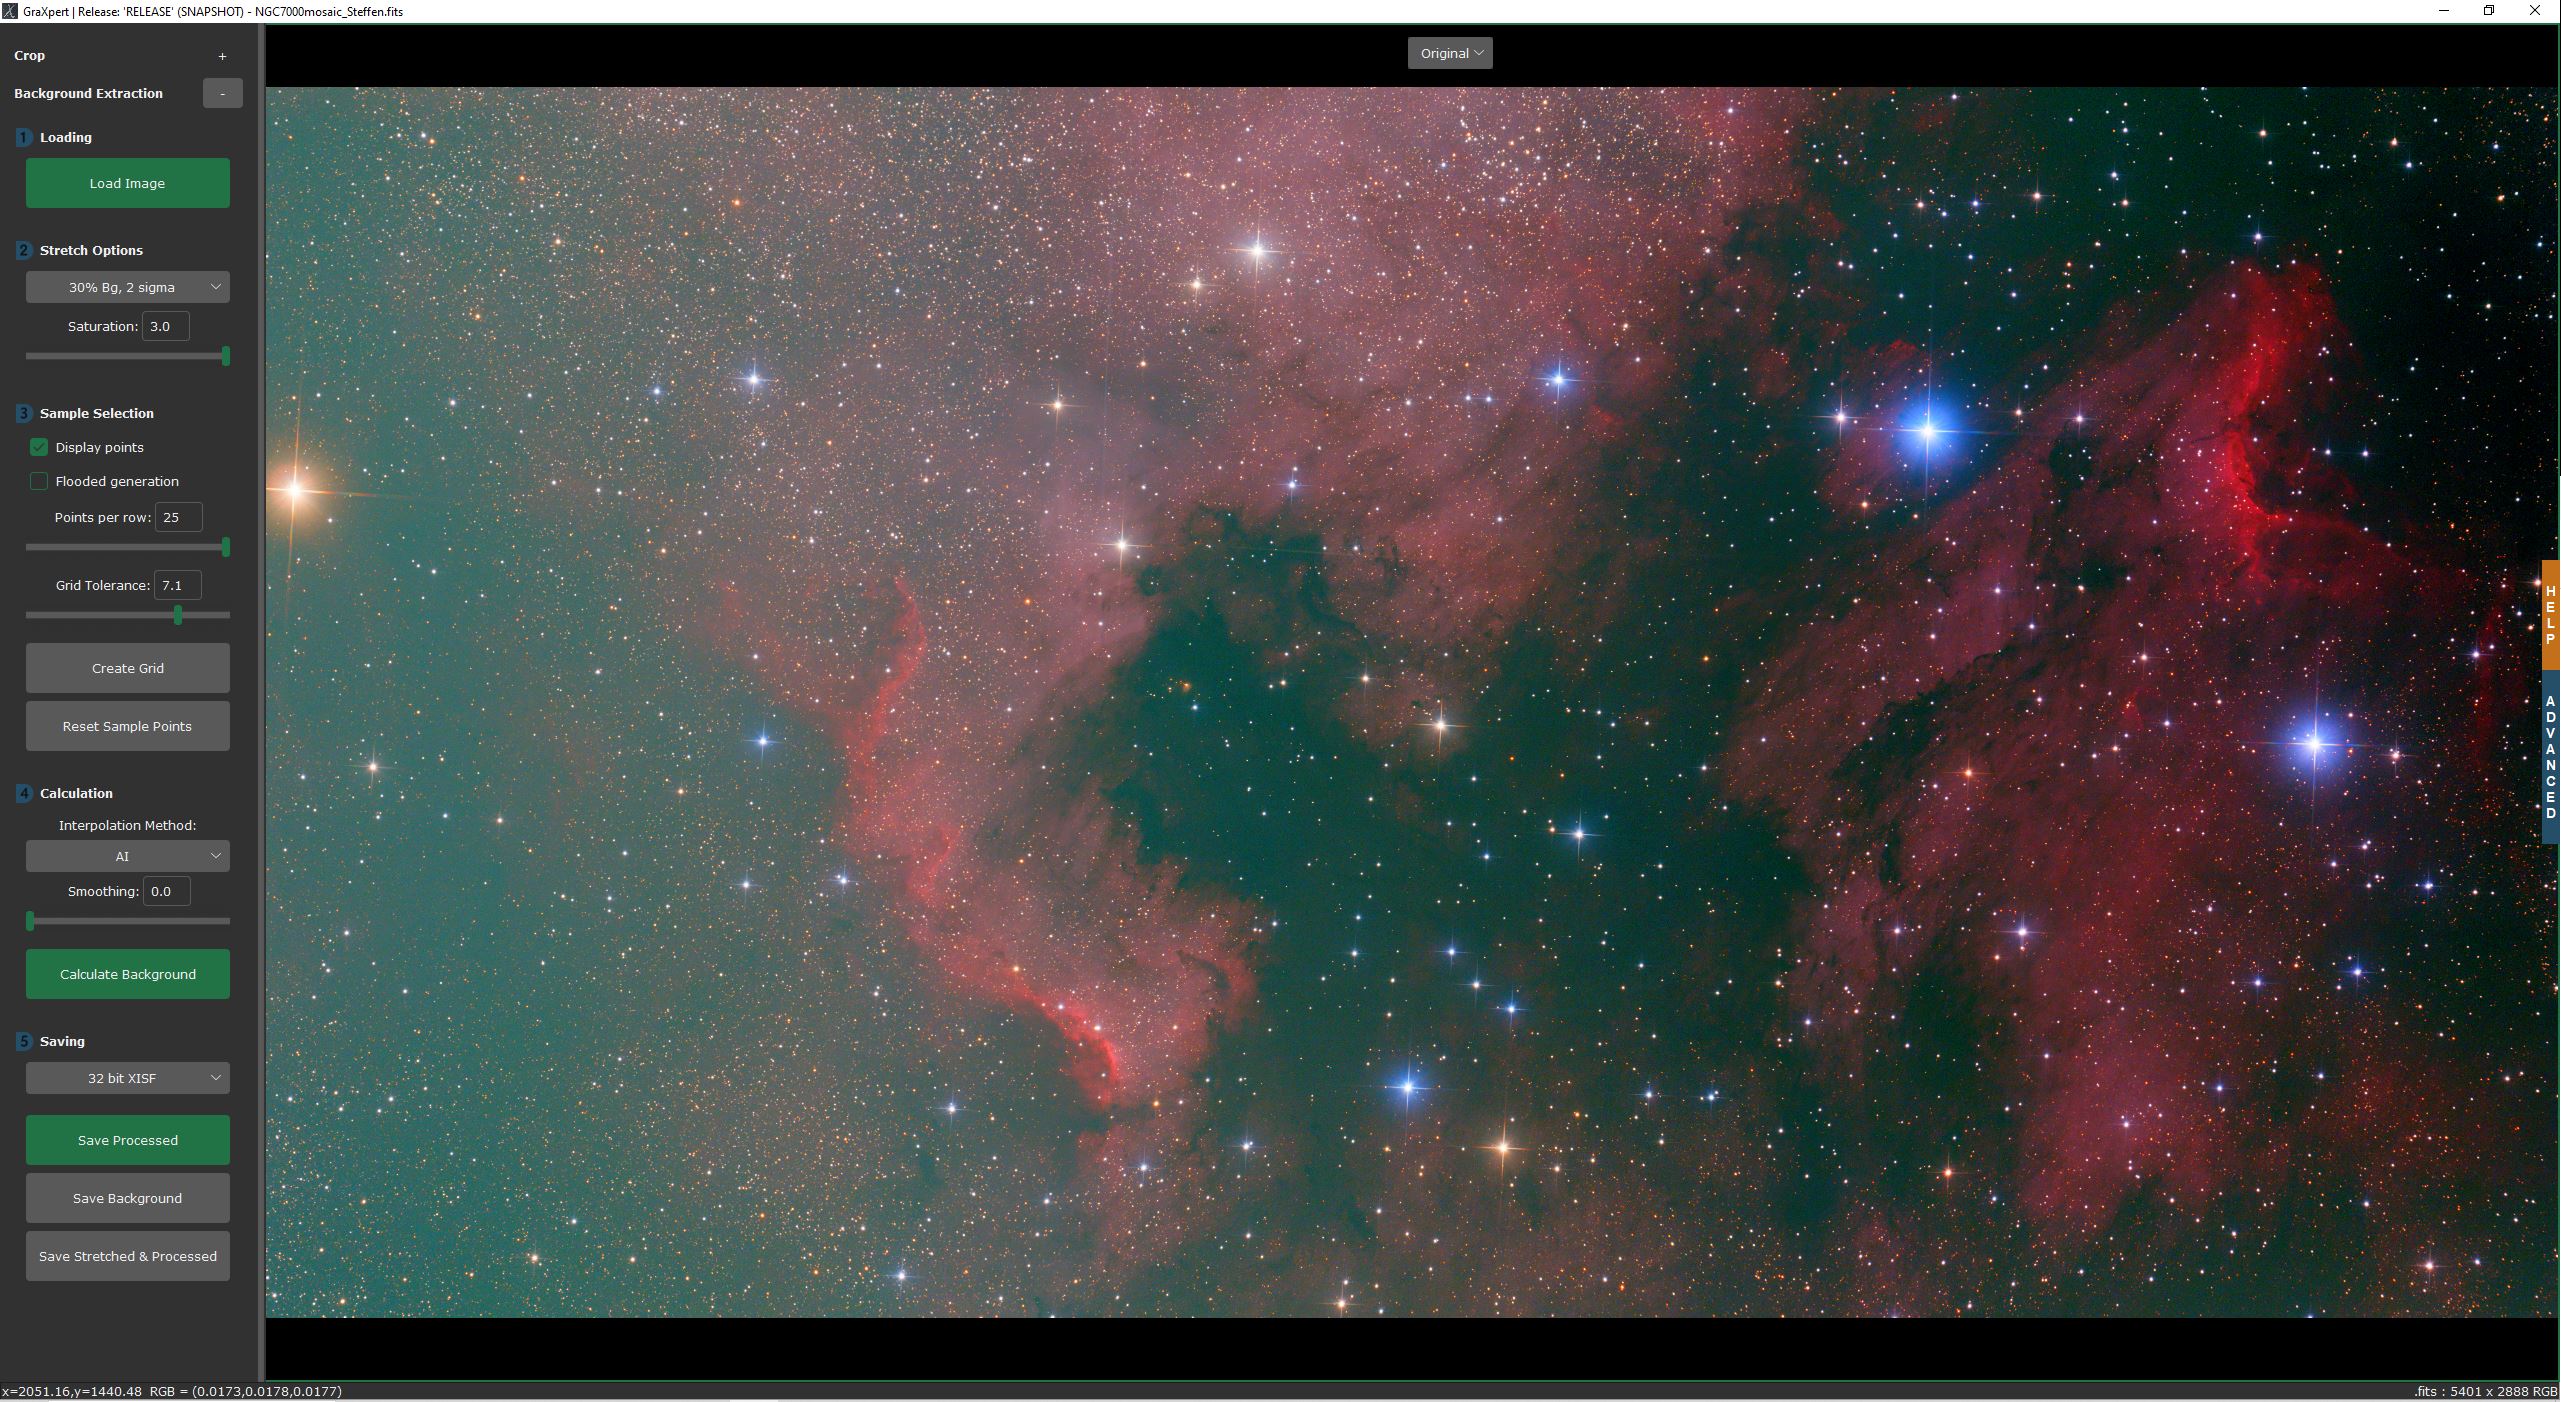 | 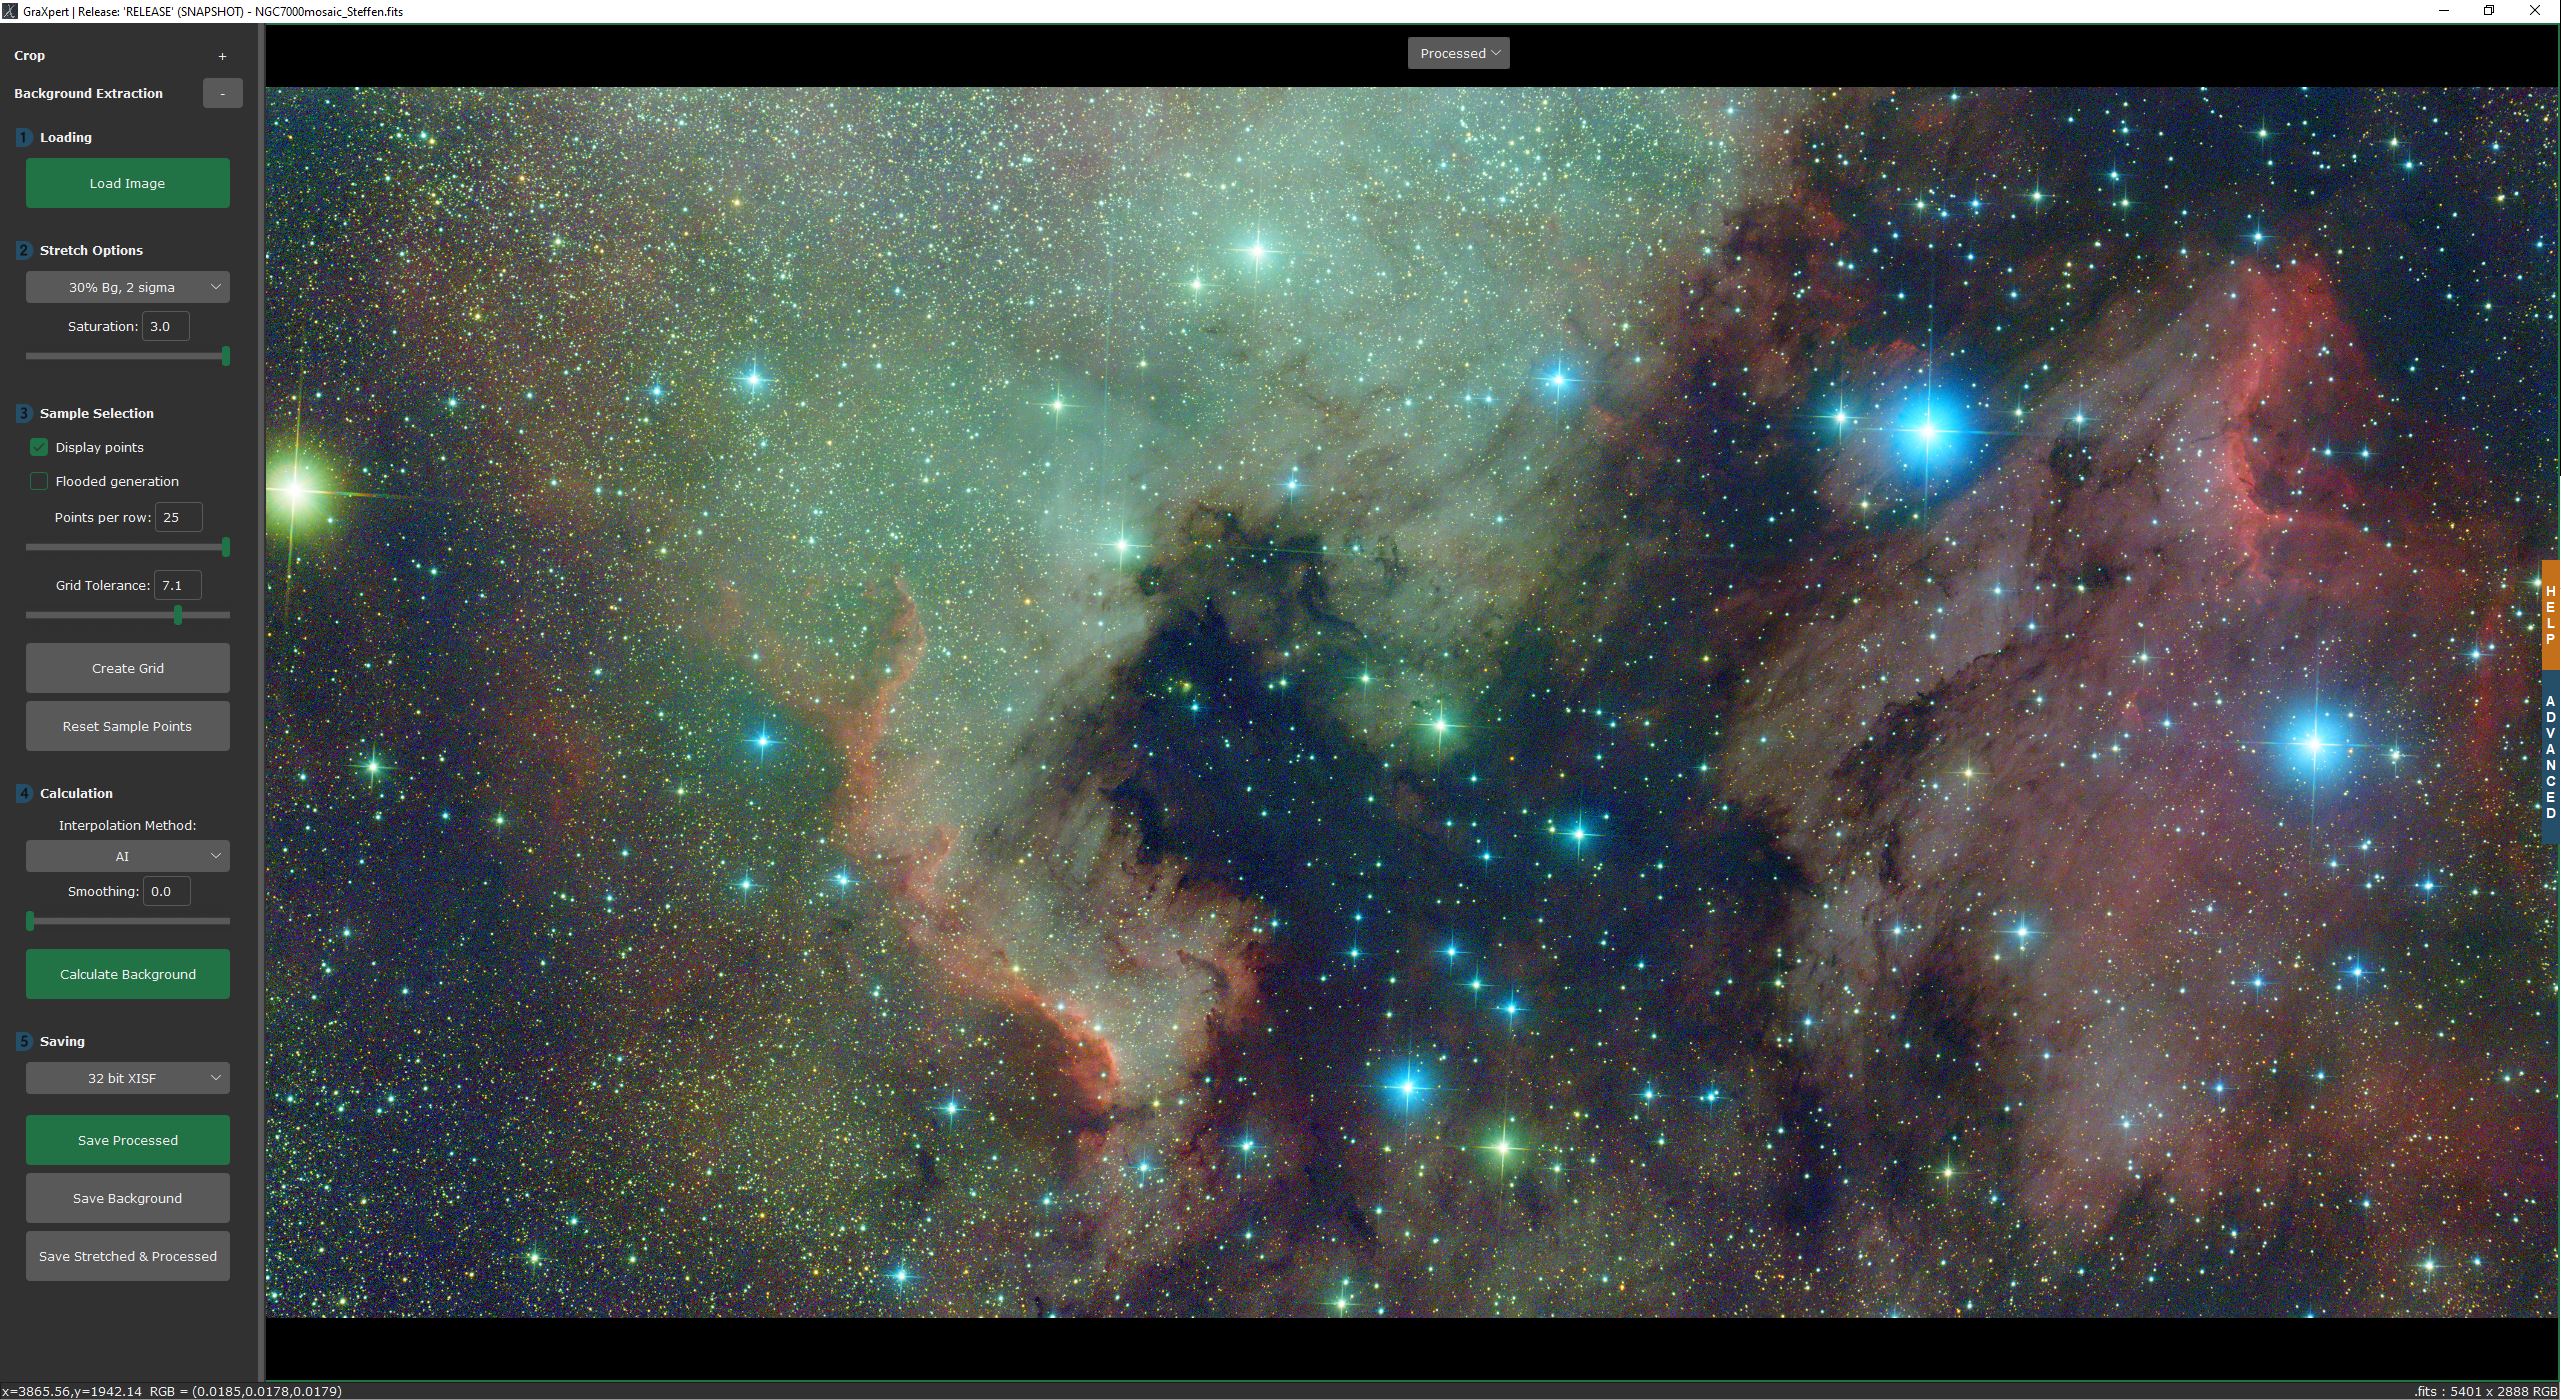 |
 | 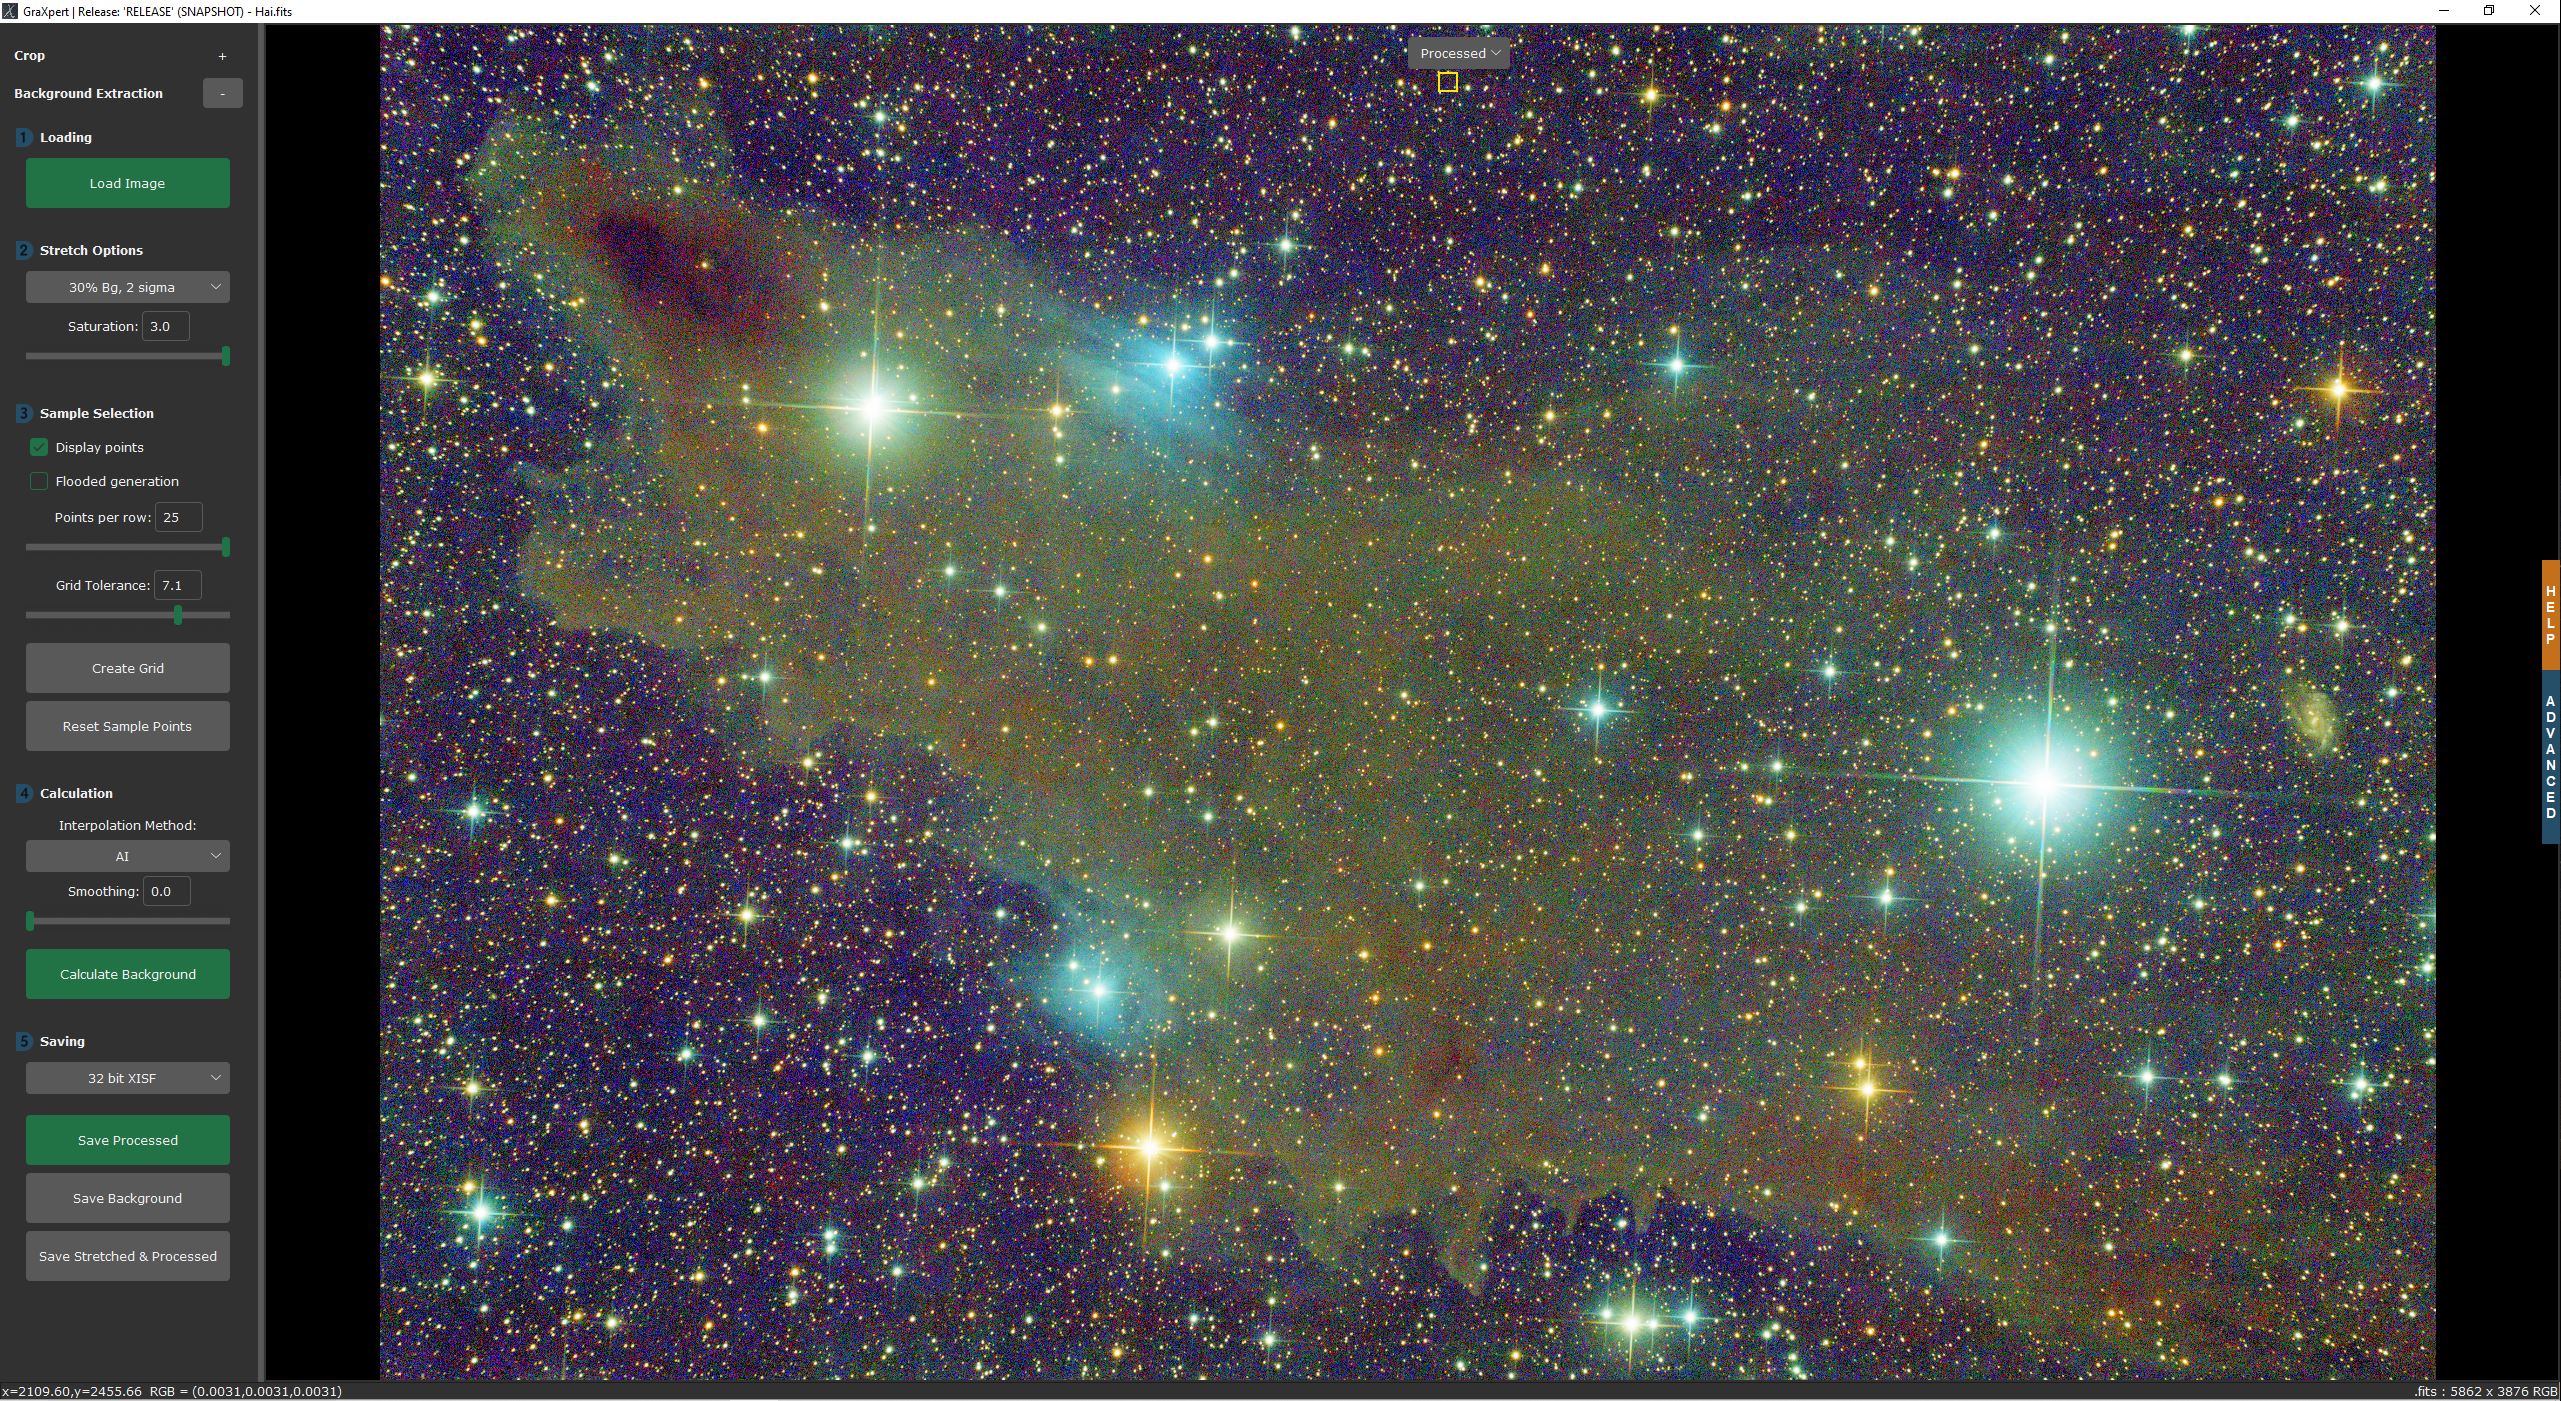 |
主頁: https://www.graxpert.com
下載: https://github.com/steffenhir/graxpert/releases/latest
您可以在此處下載Graxpert的最新官方版本。為操作系統選擇正確的版本。對於MacOS,我們為英特爾處理器(X86_64)和Apple Silicon(ARM64)提供不同的版本。
Windows:下載.EXE文件後,您應該能夠直接啟動它。
linux:在啟動graxpert之前,必須通過運行chmod u+x ./GraXpert-linux使其可執行
MACOS:打開.dmg文件後,只需將graxpert圖標拖到應用程序文件夾中即可。現在可以從應用程序文件夾啟動graxpert。
GraxPert帶有圖形用戶界面。但是,不需要選擇任何背景樣品點的AI方法也可以從命令行執行。以下是可用的命令行參數及其描述:
每個操作的特定命令:
背景提取:
Denoising:
以下示例顯示瞭如何從Windows中的命令行中使用graxpert。對於Linux和MacOS,您必須執行以下替換:
Linux:用Graxpert-Linux替換Graxpert-win64.exe
MACOS:由Graxpert.app/contents/macos/graxpert替換graxpert-win64.exe
基本用法:
GraXpert-win64.exe my_image.fits -cli
指定AI模型版本“ 1.1”,校正類型'distry',平滑“ 0.1”,並保存背景模型:
GraXpert-win64.exe my_image.fits -cli -ai_version 1.1 -correction Division -smoothing 0.1 -bg
本指南將幫助您開始從Windows,Linux和MacOS上開發GraxPert。按照以下步驟克隆存儲庫,使用Python創建虛擬環境,安裝所需的軟件包,然後從源代碼運行GraxPert。
打開您的終端或命令提示符,並使用git克隆graxpert存儲庫:
 git clone https://github.com/Steffenhir/GraXpert
cd GraXpert
我們建議使用虛擬環境來隔離項目的依賴關係。在繼續操作之前,請確保系統上安裝了Python> = 3.10。這是使用Python設置虛擬環境的方法:Windows:
 # Create a new virtual environment with Python 3.10
python -m venv graxpert-env

# Activate the virtual environment
graxpert-envScriptsactivate
Linux和MacOS:
 # Create a new virtual environment with Python 3.10
python3 -m venv graxpert-env

# Activate the virtual environment
source graxpert-env/bin/activate
所有要求都可以在unignts.txt文件中找到。您可以安裝它們:
Windows和Linux:
pip install -r requirements.txt
macos:
 pip3 install -r requirements.txt

"""
For macOS, we have to install tkinter separately.
We use the version provided by brew because it is newer
and solves issues with macOS Sonoma. Please use the version matching with your Python version.
"""
brew install [email protected]
設置虛擬環境並安裝了所需軟件包後,您可以啟動GraxPert:
python -m graxpert.main


