Silent Hill 2 Remake est la réimagination complète par Bloober Team du chef-d'œuvre d'horreur original, et il y a beaucoup de mystères et de terreurs familiers et nouveaux à découvrir pendant le voyage de James à travers les abysses de Silent Hill. Voici notre procédure pas à pas détaillée pour vous aider avec les nombreux objectifs, énigmes et autres secrets énigmatiques du jeu.
La procédure pas à pas suivante est réalisée avec les deux types de difficulté (c'est-à-dire Combat et Puzzles) réglés sur Standard , donc si vous jouez à une difficulté différente, il peut y avoir une différence dans l'emplacement et/ou la disponibilité de certains articles tels que des boissons santé et munitions. Les solutions aux énigmes peuvent également varier.
Après la cinématique d'ouverture emblématique, repérez-vous avec les mouvements et les interactions de James, et récupérez votre première carte depuis le siège du conducteur de sa voiture.
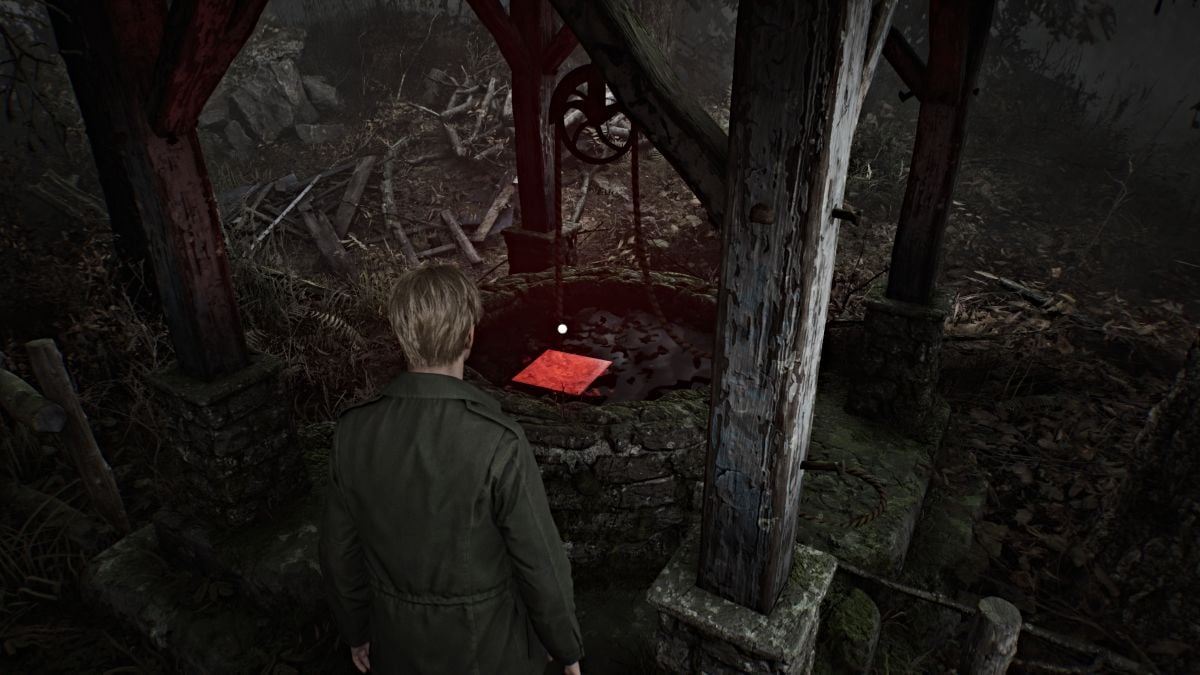
Descendez les escaliers à l’extrémité de la zone d’observation et commencez votre longue marche remplie de brouillard vers Silent Hill. À un moment donné, vous rencontrerez un puits d’où sort une lumière rouge. Montez-y ; à l'intérieur se trouve un carré rouge vif qui signifie votre premier point de sauvegarde manuel (nous les appellerons désormais « Points de sauvegarde rouges » ). Trouvez et utilisez-en autant que possible pendant votre partie.
Continuez le long du chemin principal jusqu'à atteindre une église avec un cimetière, où vous rencontrerez pour la première fois Angela Orosco . Elle prétend rechercher sa mère avec son père et son frère, mais ne révèle rien d'autre. Après la cinématique, n'hésitez pas à explorer la zone, mais sachez qu'il n'y a aucun objet à récupérer ici. Vous pouvez également parler à Angela plusieurs fois pour un dialogue plus unique si vous le souhaitez.
Quittez le cimetière et continuez à marcher sur le même chemin principal qui vous mène à travers la région de Silent Hill Ranch.
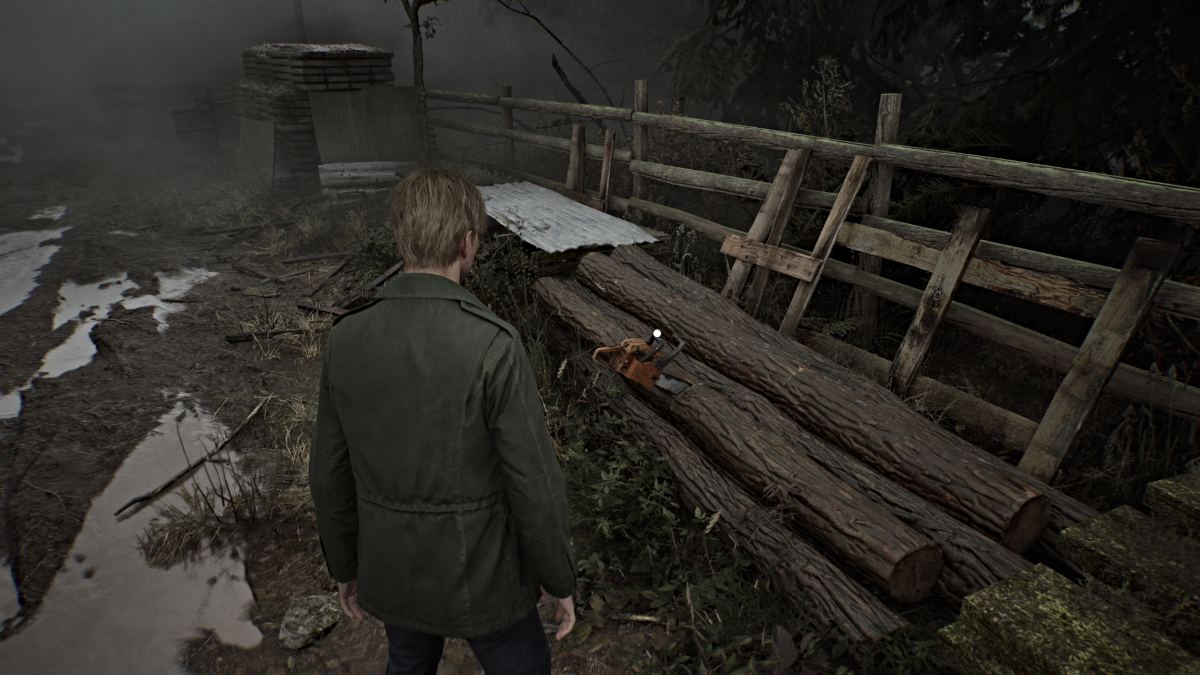
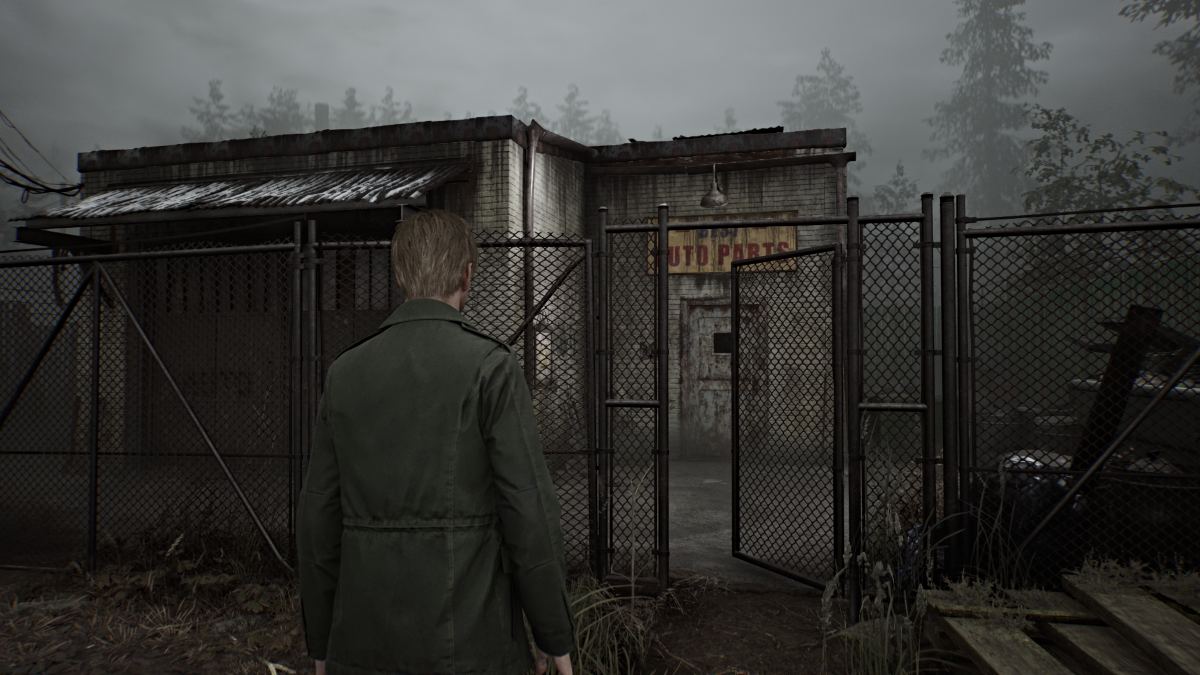
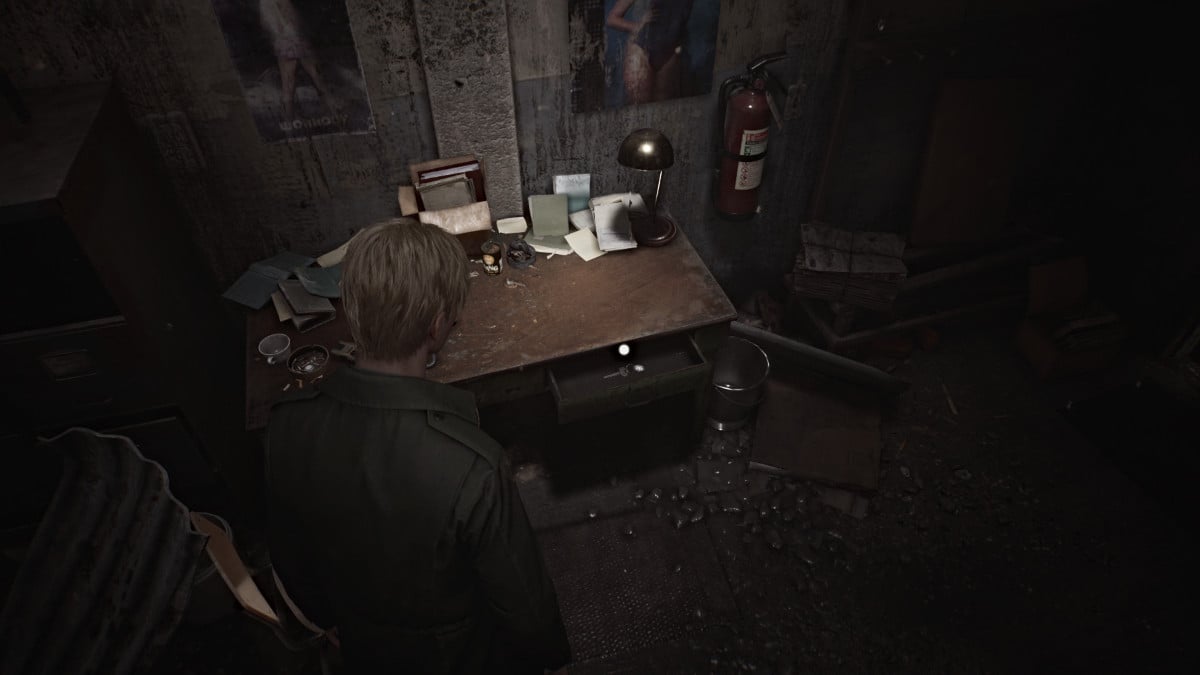
Continuez jusqu'à ce que vous atteigniez une grande barricade sur la route avec une petite porte verrouillée. Cherchez un petit magasin de pièces automobiles à proximité, sur votre gauche, avec sa porte ouverte. Entrez dans les locaux et contournez le bâtiment à gauche où vous pourrez sauter par une fenêtre ouverte. Cherchez un bureau éclairé à l’intérieur, et à l’intérieur du tiroir se trouvera la clé de pièces automobiles qui déverrouille la porte extérieure bloquant votre chemin.
Continuez à suivre le chemin tout droit jusqu'à ce que vous arriviez à un endroit familier (si vous avez joué l'original) sous un viaduc rempli de clôtures et de planches cassées. Bien que vous ne puissiez pas y entrer, vous pouvez interagir avec l'endroit car il s'agit d'un œuf de Pâques aperçu du passé .
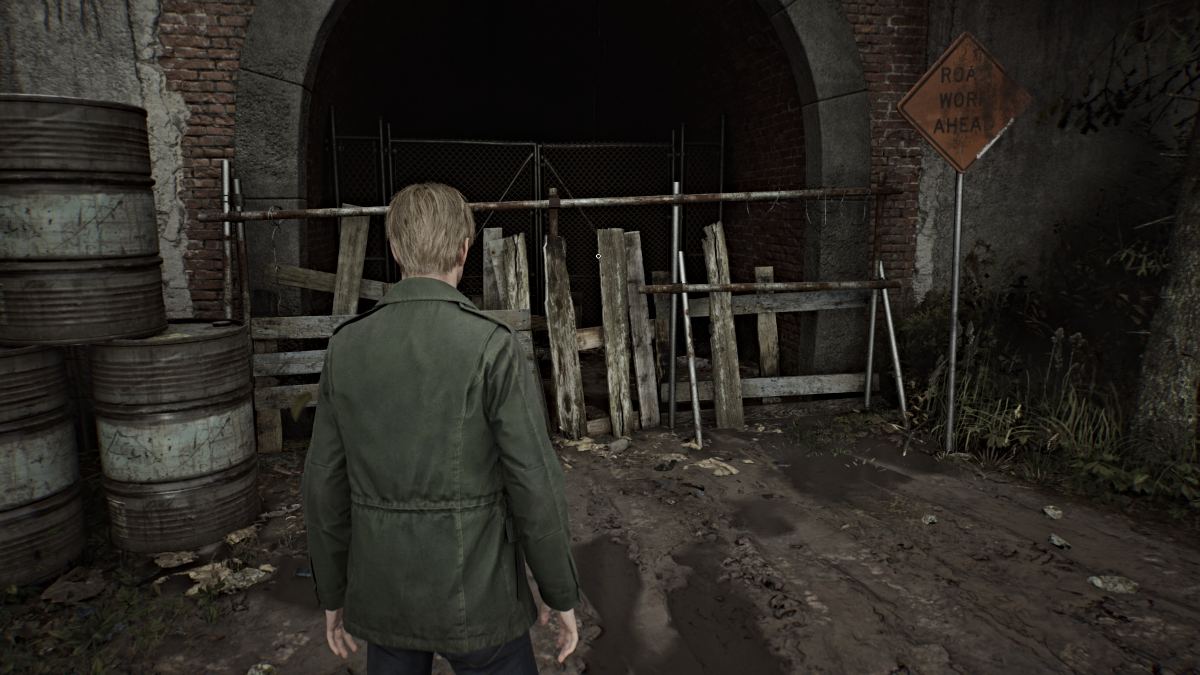
Tournez à gauche sous une zone dégagée du viaduc et franchissez la porte devant vous, ce qui vous mènera à Witse Road (selon votre carte) et à la ville de Silent Hill.
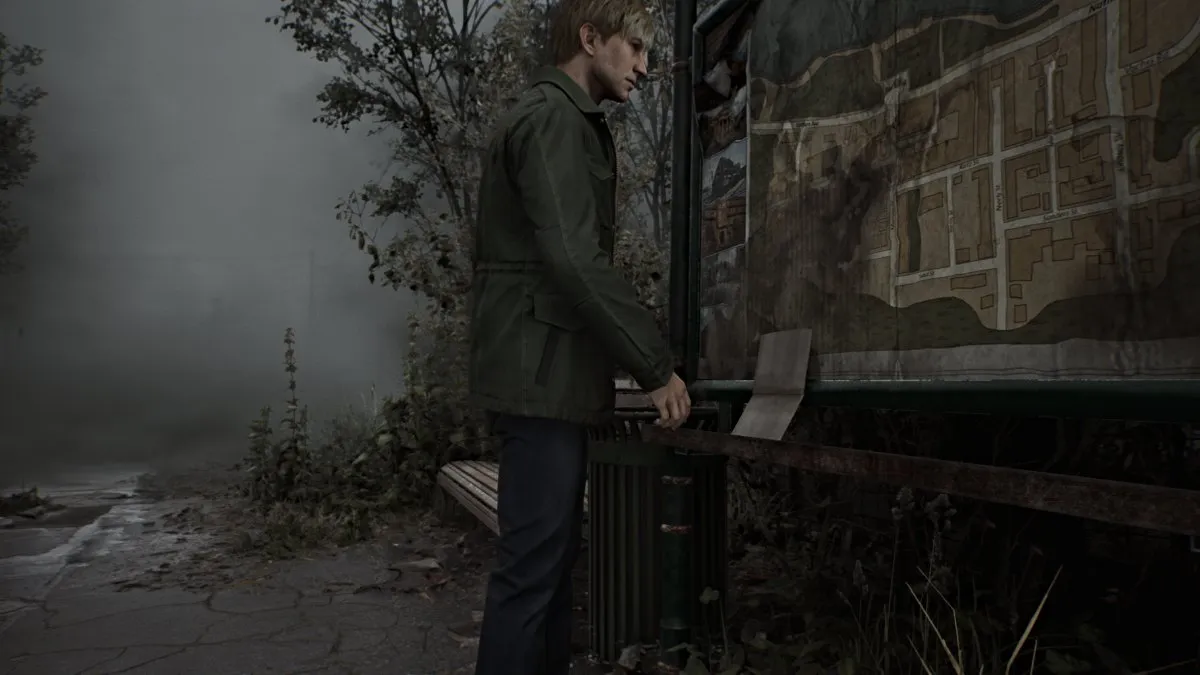
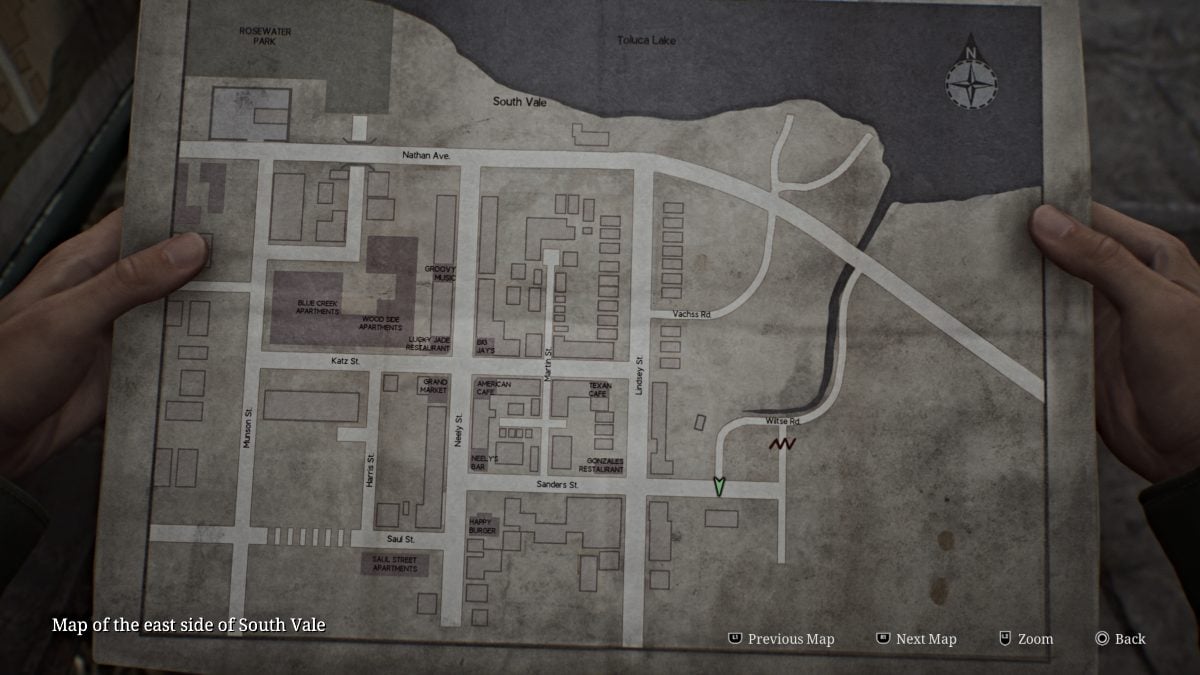
En arrivant à Sanders Street, une cinématique se jouera où James trouvera une autre carte plus étendue de la ville placée sous un panneau. Cela vous permet de regarder les côtés ouest et est du plan de la ville ainsi que tous les principaux points de repère depuis le ciel.
Tout d’abord, rendez-vous dans le magasin de fleurs à proximité et récupérez le message (mémo) du magasin de fleurs sur le comptoir.
À part une tache de sang sur le sol à proximité que James peut regarder, il n'y a rien d'autre à trouver à l'intérieur, alors dirigez-vous vers Sanders Street jusqu'à ce que vous voyiez une traînée de sang beaucoup plus grande qui mène au nord jusqu'à Lindsey Street. Tous les autres chemins sont pour l’instant bloqués par d’énormes barricades, alors suivez simplement le sentier.
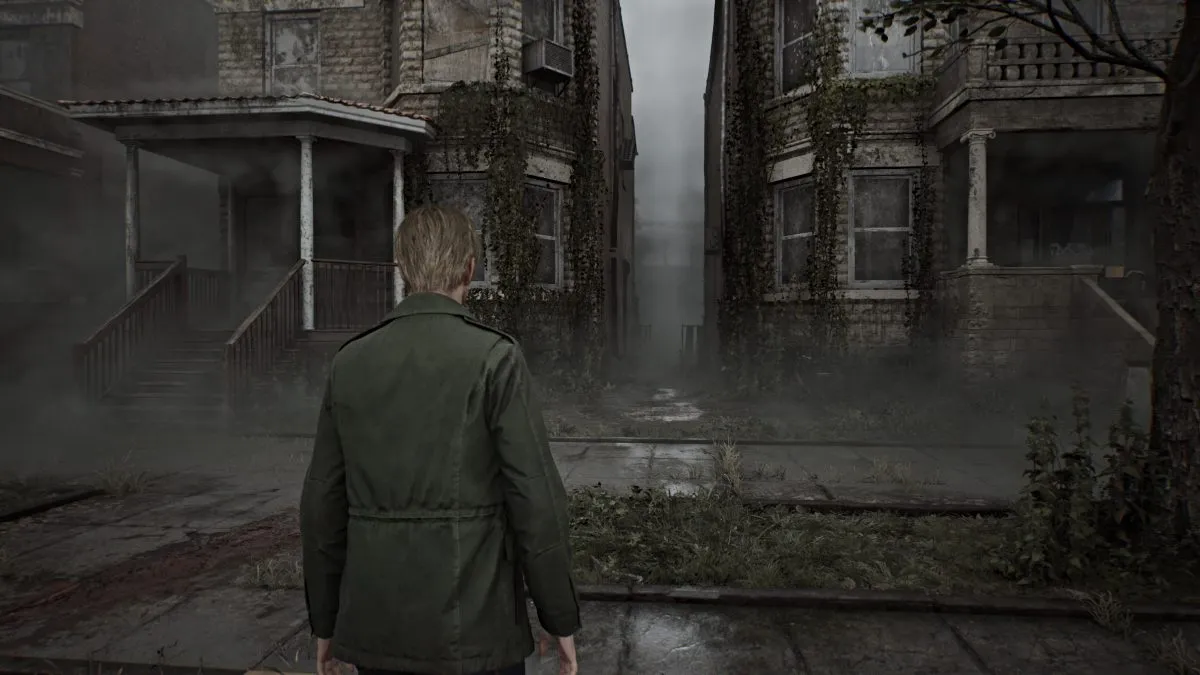
Une autre cinématique révèle une silhouette étrange marchant au loin devant James, et vous aurez envie de la suivre. Continuez tout droit et les éclaboussures de sang vous mèneront à un étrange détour sur le côté gauche de la route entre deux bâtiments (vu ci-dessus).
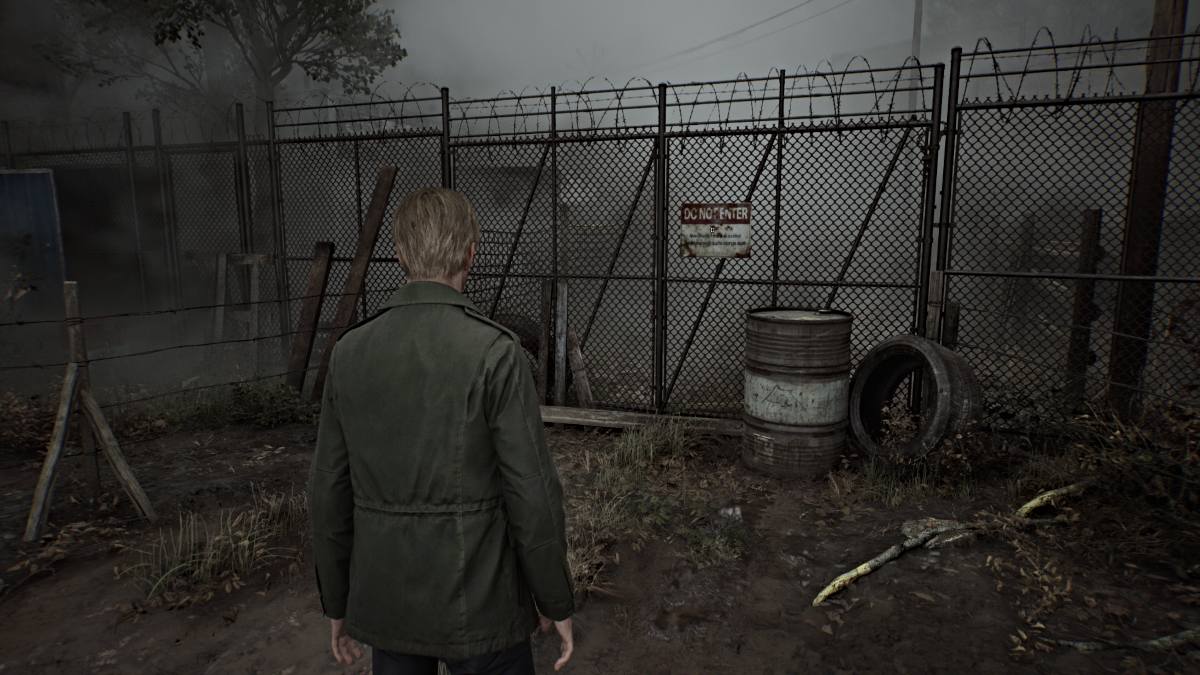
Avant de traverser l'allée, pivotez et descendez Vachss Road jusqu'à atteindre une porte « Ne pas entrer ». Interagissez avec lui pour obtenir un autre aperçu du passé .
Maintenant, traversez la ruelle et suivez les bruits étranges dans la ruelle jusqu'à ce que vous atteigniez un garage avec un trou cassé au bas de la porte. Traversez-le pour entrer dans la maison.
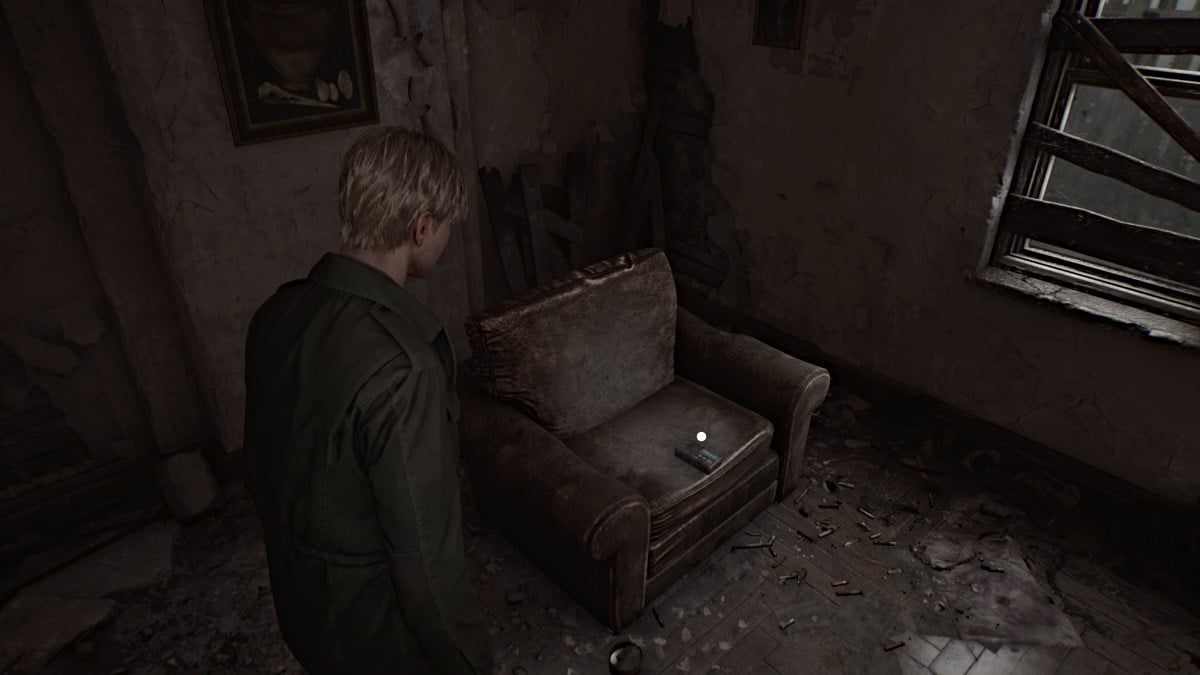
Utilisez le point de sauvegarde rouge sur le mur voisin puis allez à droite dans la cuisine. Prenez une boisson santé dans l’un des tiroirs et continuez jusqu’à la porte à votre gauche. Suivez ce qui ressemble à une radio statique dans le couloir jusqu'à ce que vous puissiez entrer par une porte sur votre droite. A l'intérieur de la pièce, une radio sera posée sur un fauteuil.
Saisissez-le et une cinématique s'ensuivra où James affronte le même personnage d'avant, qui s'avère être un monstre (connu sous le nom de personnage couché ).
Ceci est votre première introduction au système de combat du jeu, qui vous permet à la fois d'attaquer et d'esquiver (en utilisant les boutons appropriés). Utilisez la planche de bois que James attrape depuis la fenêtre pour porter des coups sur la figurine allongée tout en faisant attention à ses attaques physiques et acides. Maintenez la pression dessus jusqu'à ce qu'il tombe au sol et utilisez le même bouton d'attaque pour le piétiner jusqu'à ce qu'il soit mort.
Continuez à travers la maison jusqu'à ce que vous trouviez une brèche brisée dans un mur à travers laquelle vous glisser. Ouvrez la trousse de premiers secours sur le bureau à votre droite pour obtenir une seringue (objet de santé puissant) puis brisez la fenêtre tout droit avec votre planche pour vous échapper de la maison. Après une cinématique, vous pouvez continuer depuis Martin Street.
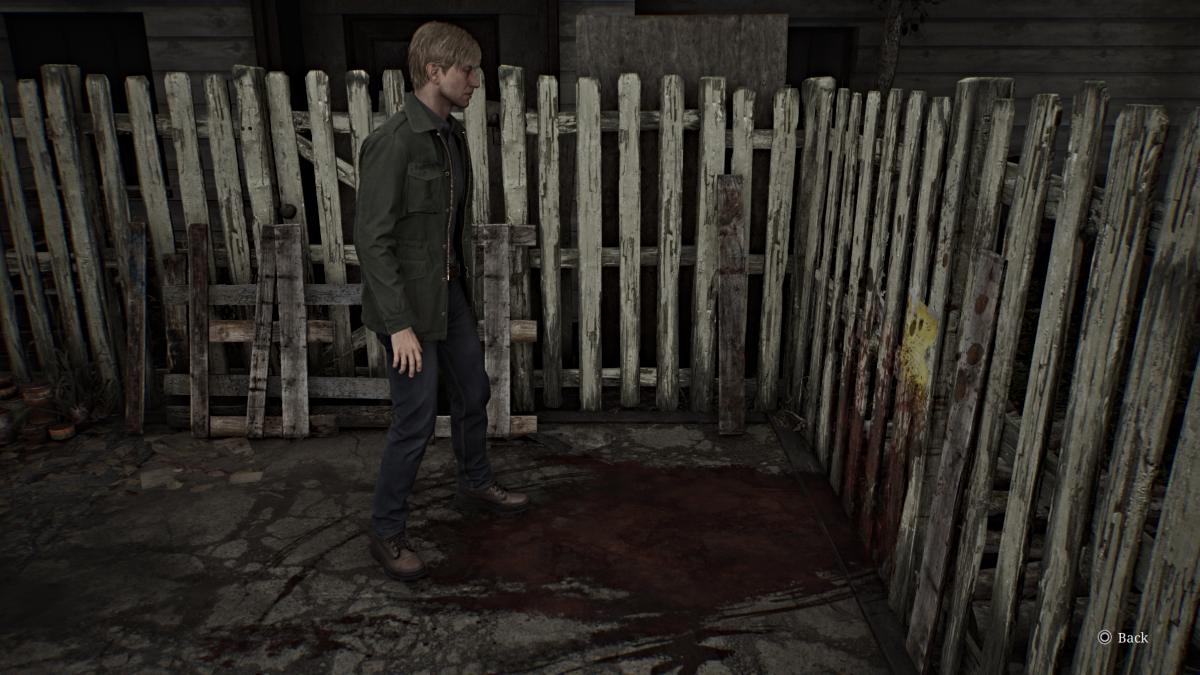
Au point le plus au nord de la rue Martin, vous trouverez un autre aperçu du passé près d'une clôture blanche (voir ci-dessous).
Maintenant, courez vers le sud et interagissez avec le cadavre ensanglanté sur le trottoir devant vous pour récupérer un Matchbook au Neely's Bar , l'une de vos prochaines destinations. Récupérez également le Martin Street Note quelques mètres devant le cadavre.
Plusieurs monstres seront désormais actifs à divers endroits autour de Silent Hill, alors assurez-vous de surveiller vos arrières, de choisir vos batailles et d'utiliser vos objets de santé à bon escient.
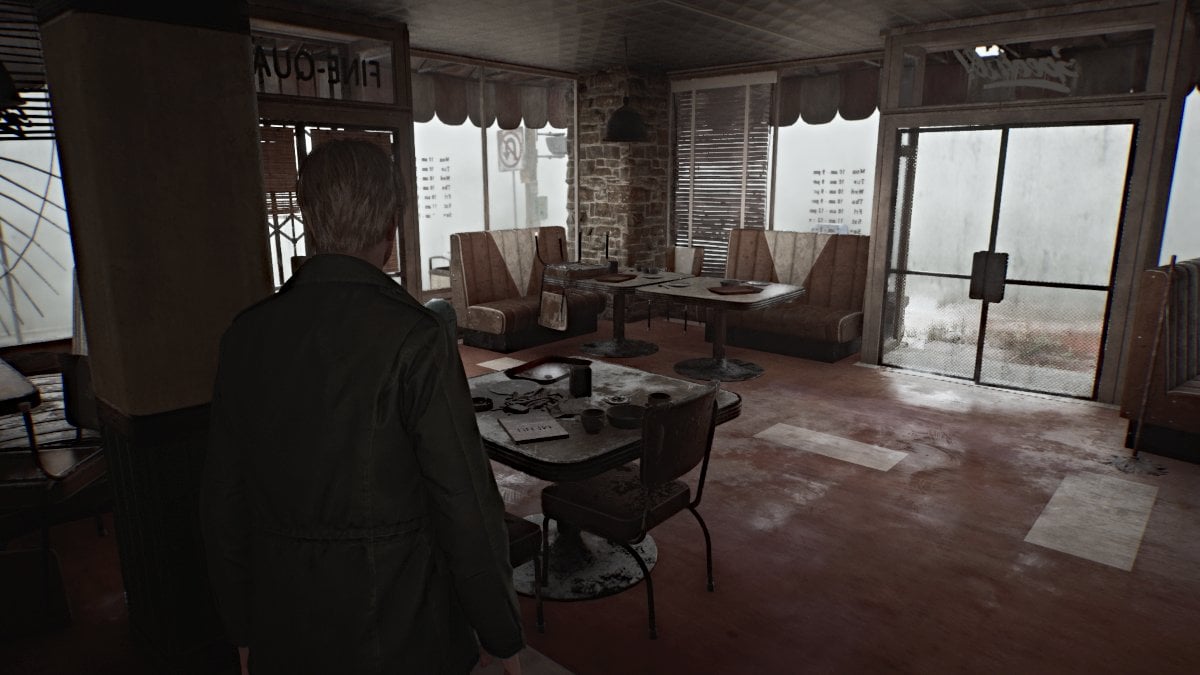
Continuez le long de Katz St jusqu'à ce que vous trouviez la porte arrière du café Big Jay . Entrez et faites attention à la silhouette allongée qui se cache à l’intérieur. Traitez-le et dirigez-vous vers le devant du café pour trouver la note de Big Jay sur l'une des tables. Une boisson santé sera placée sur une autre table dans le stand. Quittez l'entrée principale du café sur Neely Street.
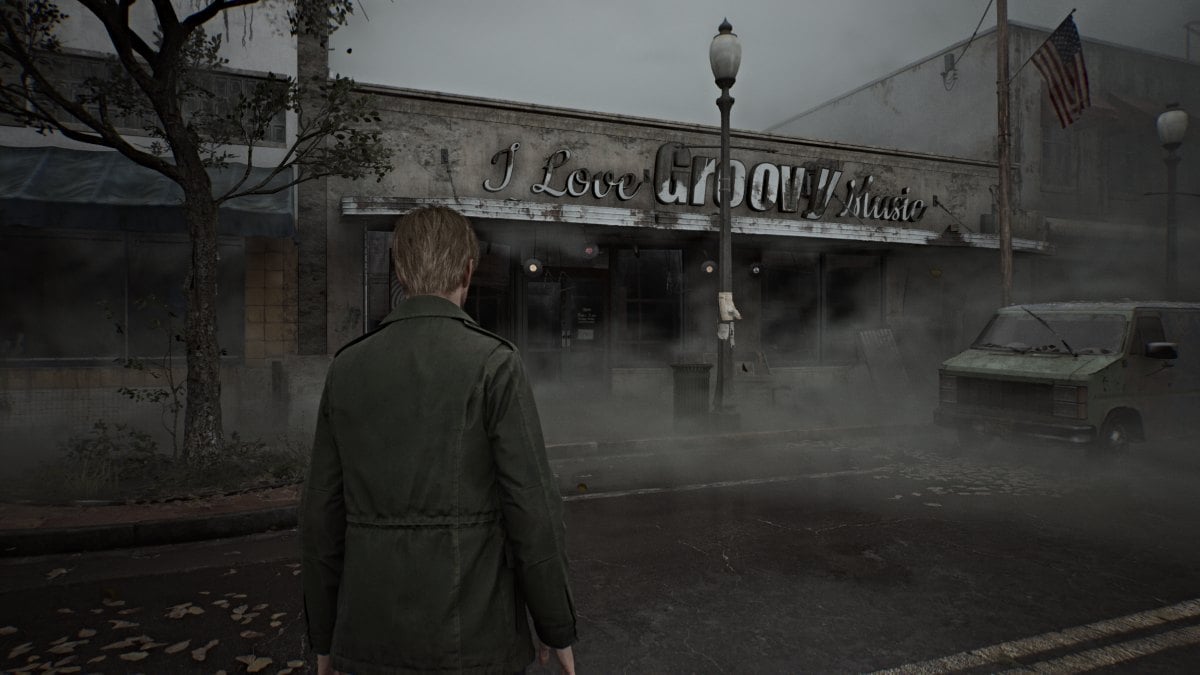
Tout d'abord, allez vers le nord sur Neely et brisez les vitres de la voiture de police à proximité pour votre premier lot de balles d'arme de poing , qui vous seront utiles plus tard. Une fois arrivé au I Love Groovy Music Shop (facile à repérer grâce aux carillons éoliens), faites d'abord un détour par l'allée en face pour une boisson santé sur une table.
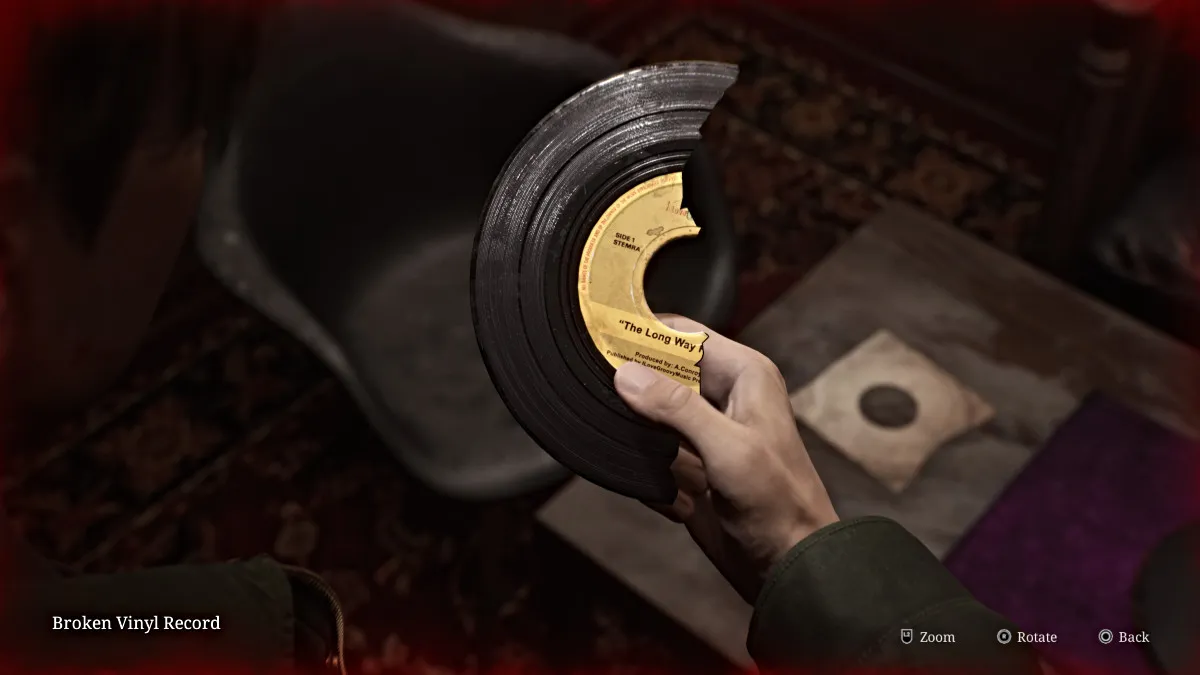
Revenez au magasin de musique et entrez, où deux personnages allongés vous attendront. Faites de votre mieux pour les affronter un par un, car vous n’avez qu’une planche pour vous défendre pour le moment. Une fois cela fait, récupérez la note du magasin de disques sur le comptoir, puis dirigez-vous vers l'arrière et brisez l'une des grandes fenêtres pour entrer dans la salle des disques. Sur la table basse au centre se trouveront de la colle vinyle et un disque vinyle cassé .
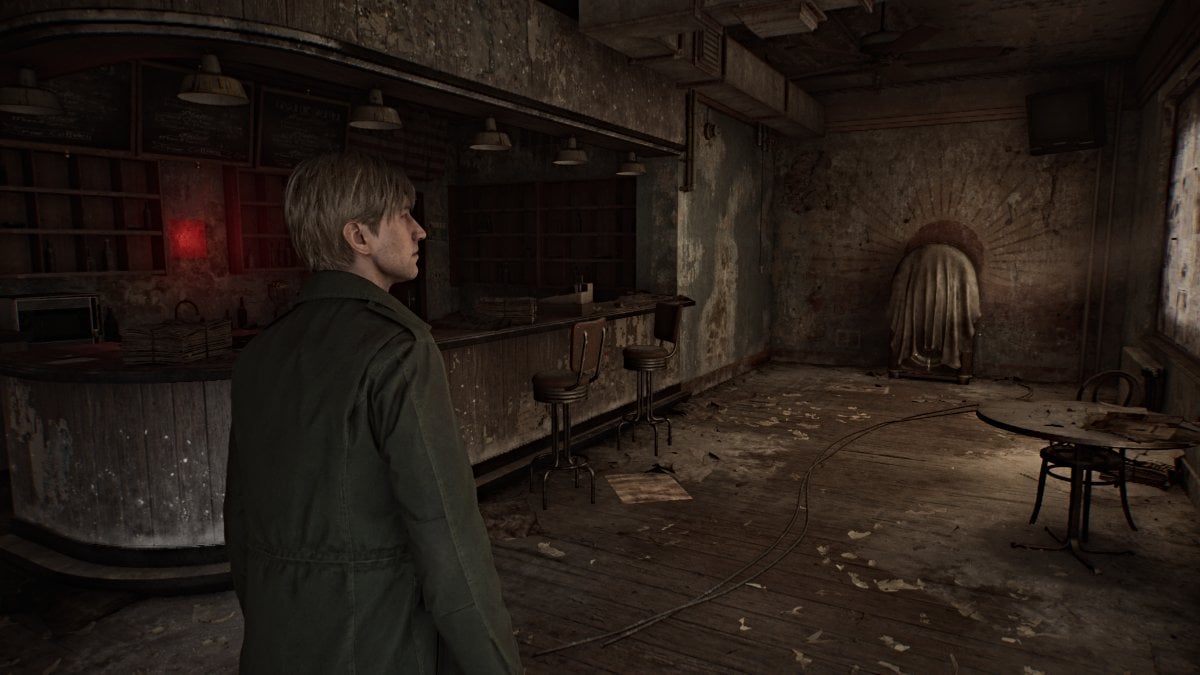
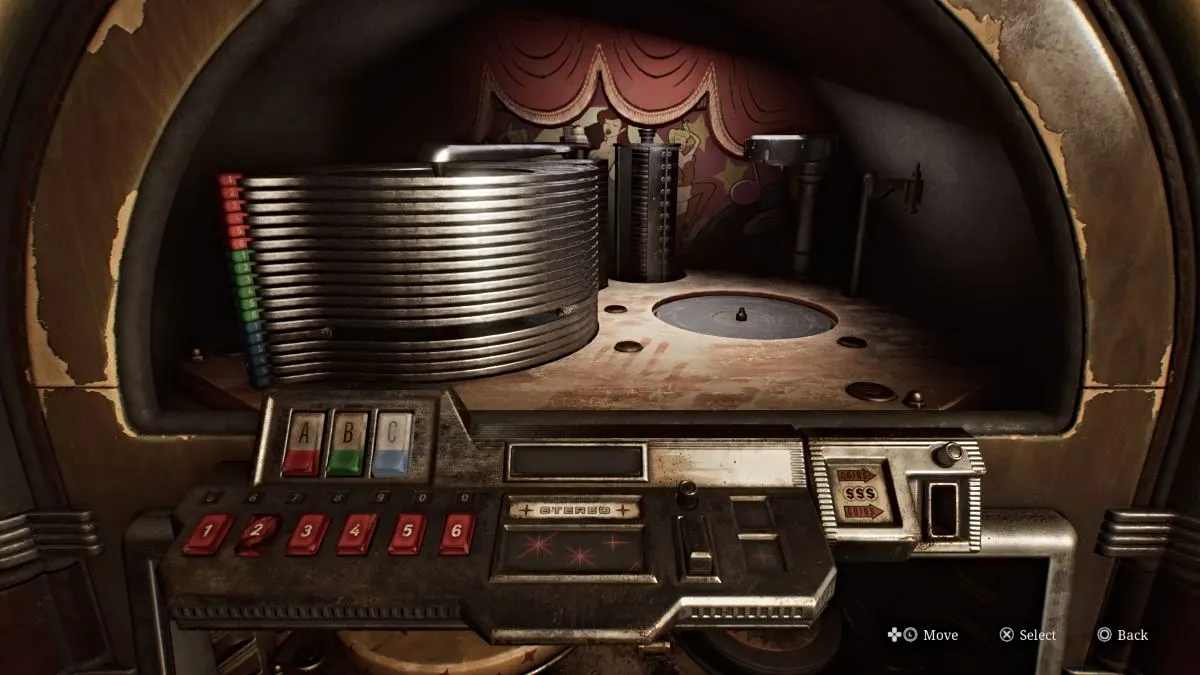
Quittez la boutique et dirigez-vous enfin vers le Neely's Bar . À l'intérieur, il y aura un autre point de sauvegarde rouge sur le mur à votre gauche, la note du Neely's Bar sur le comptoir et une porte verrouillée qui nécessite un clé spéciale. Sur l'une des fenêtres se trouve un message inquiétant qui dit : « Il y avait un TROU ici. Il n'est plus là maintenant ». . Près du mur du fond se trouve un juke-box cassé qui sert de premier puzzle du jeu.
À l’intérieur se trouve la moitié d’un disque vinyle cassé posé sur une piste en attente d’être joué. Interagissez avec lui pour le supprimer de la machine et l'ajouter à votre inventaire. Maintenant, utilisez la colle vinyle et l'autre moitié du disque vinyle cassé pour combiner les deux morceaux. Cela vous donnera le disque vinyle collé , intitulé "The Long Way Home" .
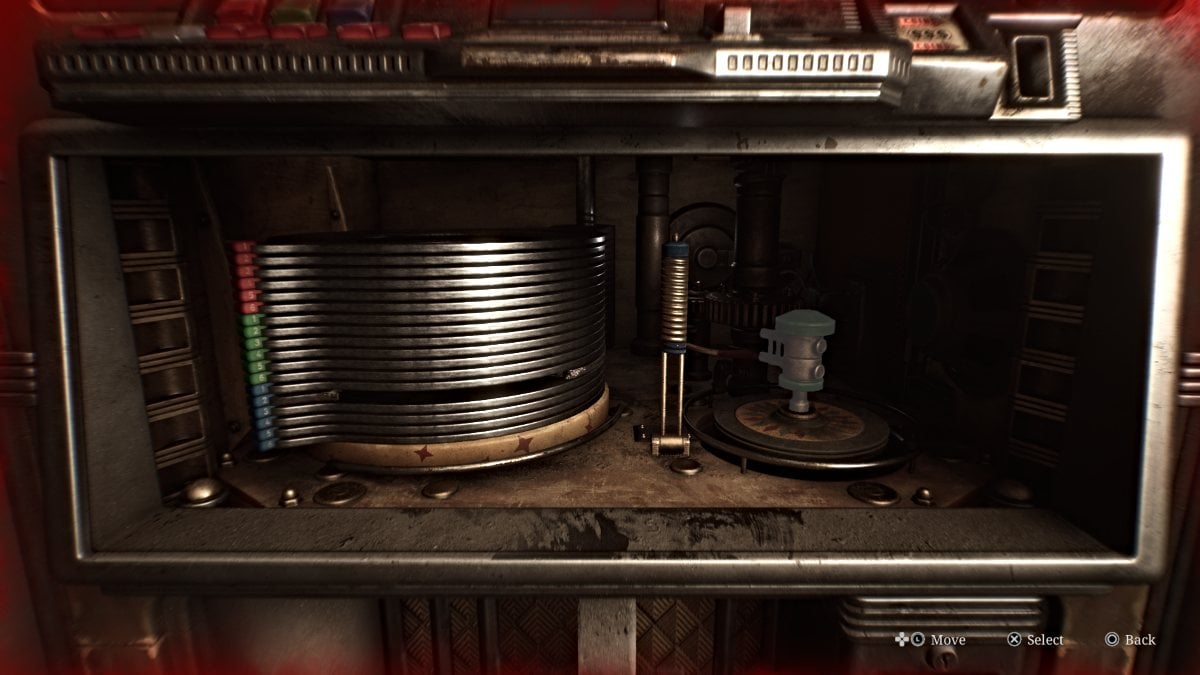
Ensuite, vous devez préparer la machine pour lire le disque, et il y a trois parties à l'intérieur que vous pouvez déplacer et qui sont de couleur bleue, rouge et verte . Votre premier objectif est de relier la partie rouge à la partie verte afin qu'elle puisse reculer et s'écarter de la partie bleue, que vous devez pousser vers le bas.
Une fois que vous avez fait cela, appuyez sur la partie verte jusqu'à ce qu'elle fasse sortir la piste sur laquelle vous pourrez placer le disque vinyle collé. Le mécanisme de piste se soulèvera alors, où vous devrez appuyer sur les bons boutons pour lire le disque. Cependant, le bouton « 2 » dont vous avez besoin est manquant et vous avez également besoin d'une pièce . Alors laissez le juke-box pour le moment.
La note du Neely's Bar indique qu'un homme s'est enfui avec le bouton et la moitié du dossier (que vous avez déjà corrigé) et qu'il habite dans l'appartement 9 sur Saul Street, près de la pharmacie. Les appartements de Saul Street seront encerclés sur votre carte.
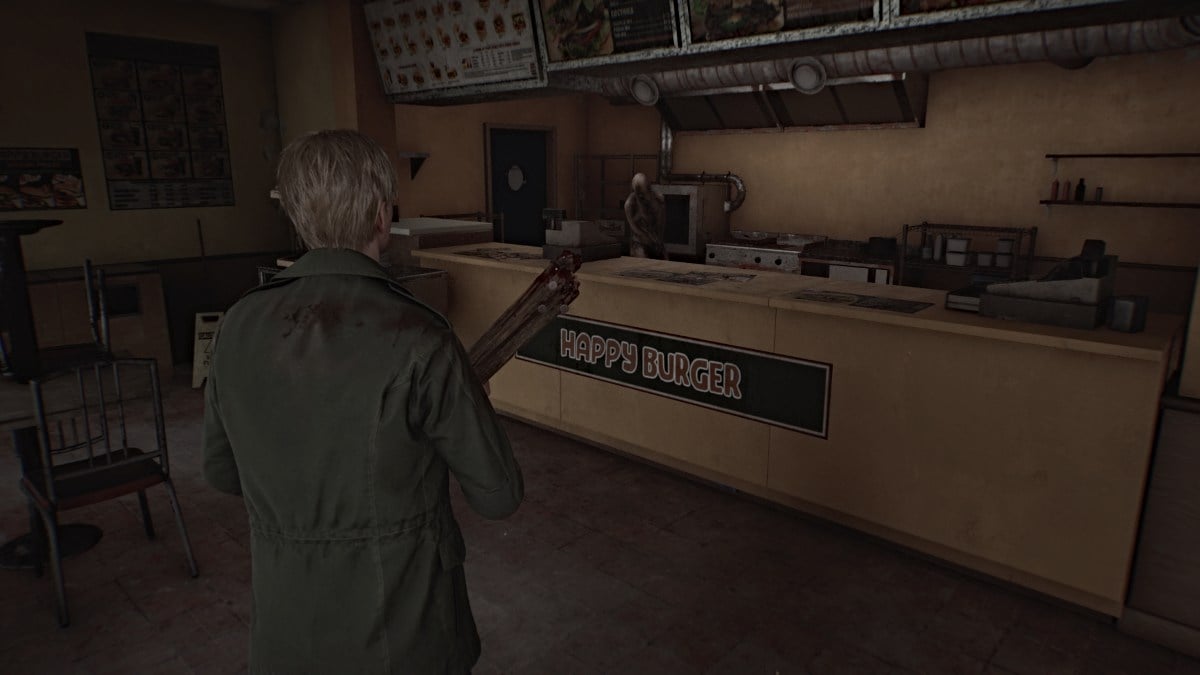
Dirigez-vous vers les Saul Street Apartments . Vous pouvez consulter Happy Burger en cours de route si vous le souhaitez, mais il y a trois personnages allongés qui se cachent à l'intérieur et autour de lui. Tout ce qu'il y a à l'intérieur est une boisson santé (sur la table juste à côté de la fenêtre par laquelle vous sautez) et une seringue (coin cuisine) gardée par l'un des monstres.
À moins que vous ne vous sentiez suffisamment en confiance pour vous battre ou le dépasser, nous vous recommandons de simplement prendre la boisson santé pour le moment et de continuer.
Entrez dans les Saul Street Apartments et notez le bureau immédiatement à votre droite. La porte est verrouillée, mais vous pouvez toujours entrer en descendant plus loin dans le couloir jusqu'à la porte suivante sur la droite (Appartement 1), où vous pouvez écarter une commode. À l’intérieur du bureau, vous trouverez également la clé de l’appartement 5 et une petite note concernant une fuite. Notez également le plan du bâtiment sur le mur du couloir (voir ci-dessous) pour trouver votre chemin vers le bon appartement.
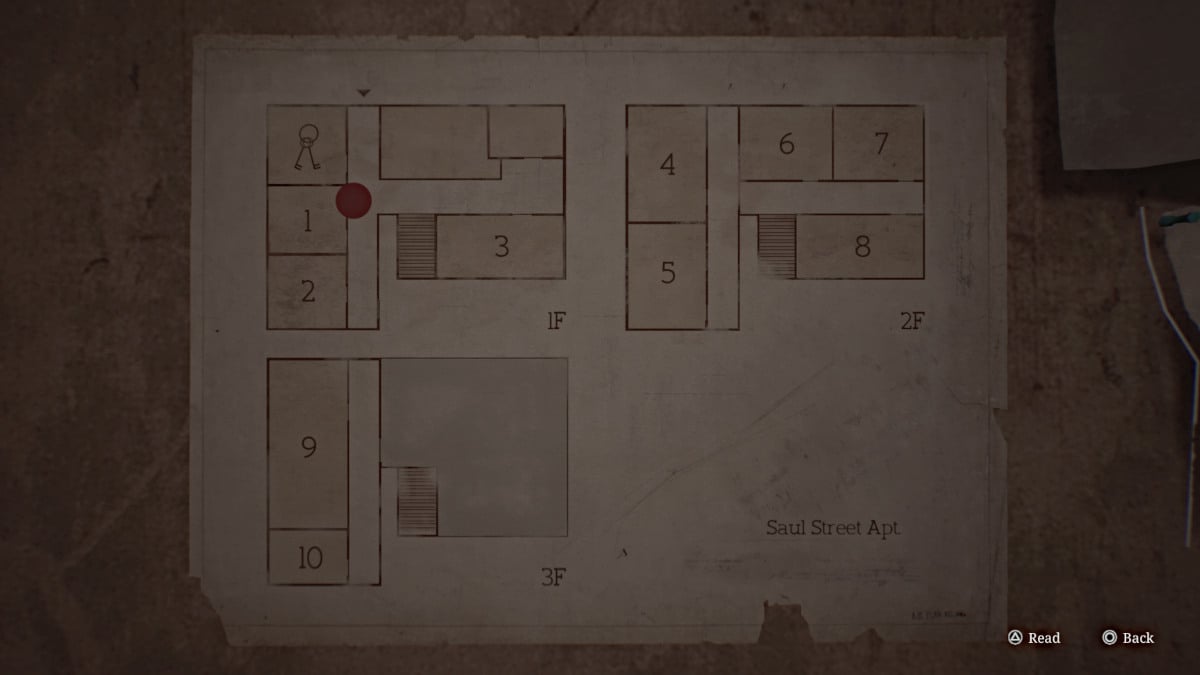
Avant de vous y rendre, tournez à gauche après la cage d'escalier et franchissez la porte fissurée sur votre gauche et en face de l'appartement 3, qui mène à la pharmacie verte . Une seringue se trouvera dans une trousse de premiers soins sur une table à votre droite lorsque vous entrez.
Revenez maintenant à la cage d'escalier qui mène au deuxième étage des appartements et allez à droite jusqu'à ce que vous voyiez un vide sanitaire à côté de l'appartement 7 . Parcourez-le et à l’intérieur vous trouverez la note du locataire . Revenez par le vide sanitaire ou la porte que vous pouvez déverrouiller et dirigez-vous maintenant vers l'appartement 5. Utilisez la clé pour entrer et cherchez une brèche dans un mur qui vous mène à l'appartement 4 . Lors d'une cinématique, le bruit provoqué par James va provoquer une perturbation au troisième étage au-dessus, dans l'appartement 9 où vous devez vous rendre. Amusant.
Il n'y a aucun objet à ramasser ici, alors passez par le prochain trou du mur qui mène à l'autre côté du couloir bloqué par des débris. Passez par la fenêtre ouverte donnant sur le balcon et montez les escaliers de secours jusqu'à ce que vous trouviez une autre fenêtre ouverte à l'extrême droite en haut. Dès que vous sautez à travers l'escalier de secours, vous ne pouvez plus revenir en arrière.
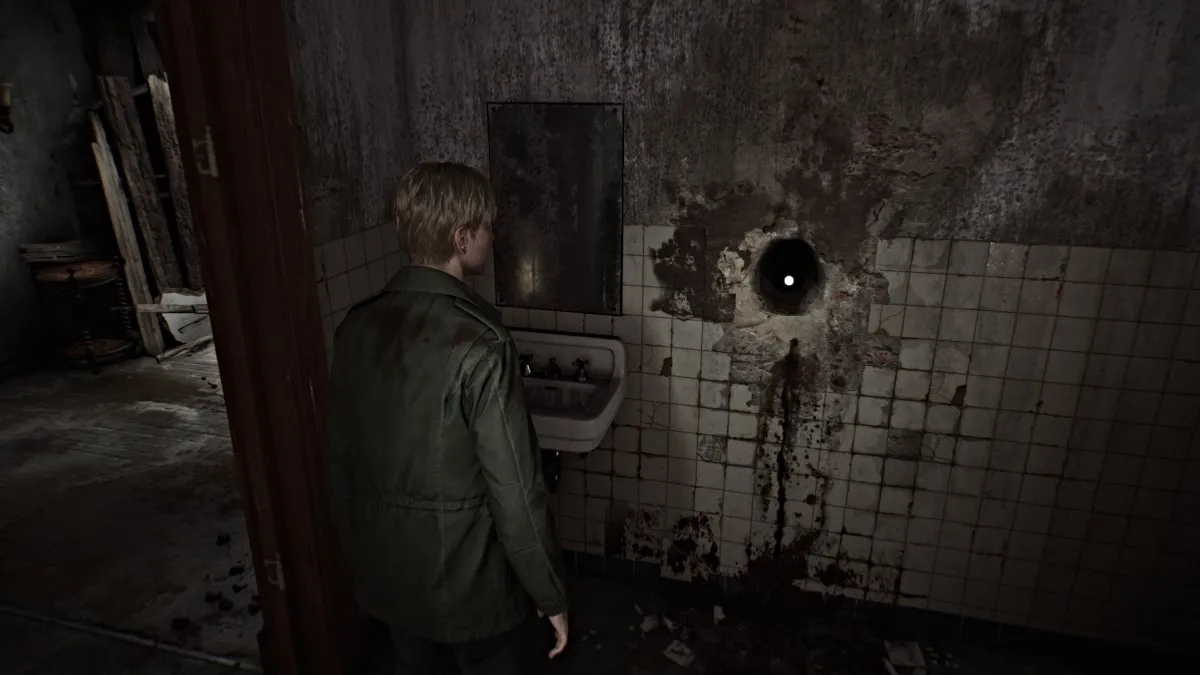
Traversez la porte à côté de la salle de bain et une cinématique se jouera où James tente d'ouvrir la porte pour la trouver enchaînée, une odeur horrible venant de l'intérieur et sa main de la poignée de porte tachée d'une substance noire. Maintenant, allez dans la salle de bain à côté où il y aura un grand trou dans le mur (vu ci-dessus). Interagissez avec lui pour le « rechercher » (de jolis sons inclus) jusqu'à ce que James retire le bouton « 2 » manquant pour le juke-box .
Dirigez-vous maintenant vers le toit par la porte voisine et vous verrez une échelle devant vous.
La porte à votre droite mène à une autre cage d'escalier intérieure, mais elle est complètement détruite, ce n'est donc pas une option. Descendez l'échelle et vous vous retrouverez dans la zone poubelle du bâtiment. Sortez par la porte qui était verrouillée de l’autre côté.
Vous pouvez continuer sur Saul Street et sur la gauche vous trouverez un camping-car derrière un portail ouvert. Une silhouette allongée à proximité s’approchera de vous, alors traitez-la puis entrez. Prenez le Motor Home Note et une boisson santé , puis le Saul Street Note au sol lorsque vous partez qui vous dit : "Ils peuvent être tués. Assurez-vous simplement qu'ils restent au sol" .
Assurez-vous également de récupérer l’ ancienne carte (un autre mémo) qui se trouve dans la rue près du camping-car.
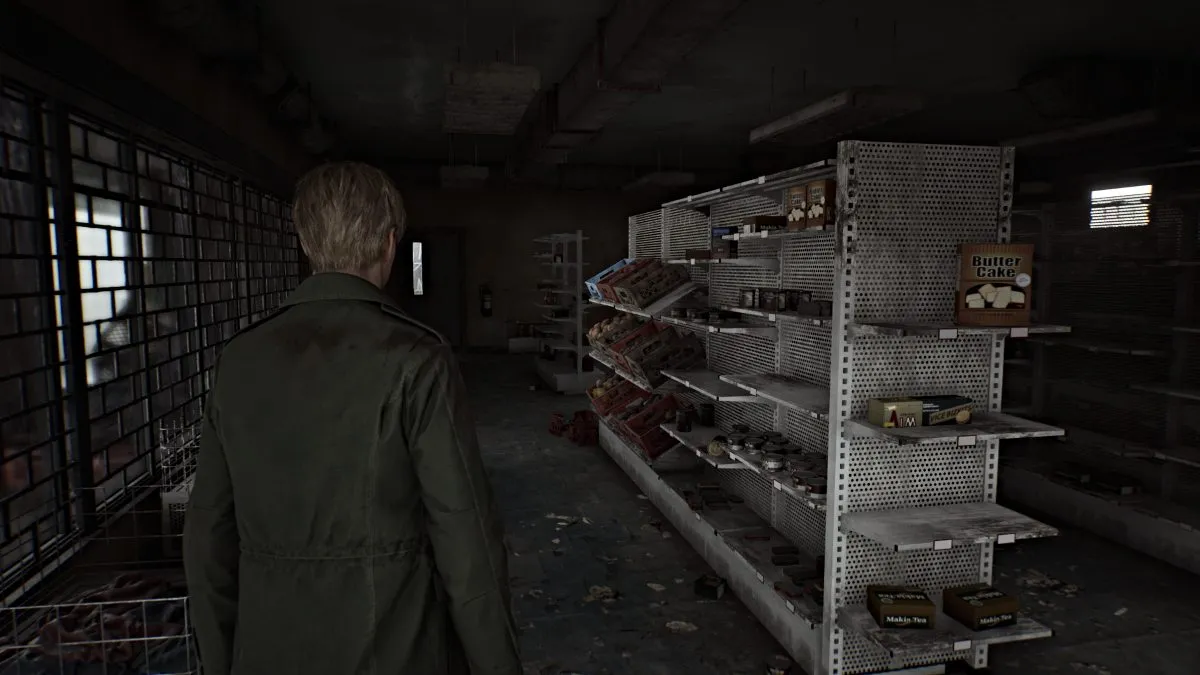
Vous avez toujours besoin de la pièce pour lire le disque dans le juke-box, alors ne retournez pas encore au Neely's Bar. Tout d'abord, dépassez-la en remontant Neely Street jusqu'à ce que vous trouviez une ruelle ouverte avec une porte arrière menant au Grand Market . Vous avez besoin d'un code pour déverrouiller la porte, et la note de code trouvée près d'un camion sur Sanders Street vous donnera un indice.
Essentiellement, la personne qui a tenté la dernière fois a atteint le numéro « 4439 » et s'est sentie « si proche maintenant ». Cela signifie que vous pouvez saisir les nombres suivants jusqu'à ce que vous obteniez le bon résultat, mais pour vous faire gagner du temps, le code est « 4444 » (difficulté de puzzle standard). À l'intérieur, vous trouverez quatre boissons santé et deux boîtes de munitions pour armes de poing , donc l'arrêt au stand en vaut la peine.
Tourner à droite sur Rue Katz et descendez jusqu'au Texan Café , tout au fond, près de la grande barricade. Franchissez la porte latérale déverrouillée jusqu’à la caisse derrière le comptoir. Utilisez la clé déjà à l'intérieur de la caisse et le bouton en bas pour ouvrir le tiroir et récupérer une pièce de Neely's Bar . Méfiez-vous du personnage allongé qui vous tend une embuscade par la suite.
Il est maintenant temps de retourner au Neely's Bar, mais avant de le faire, assurez-vous d'avoir récupéré le Sanders Street Note sur le cadavre gisant près d'un gros camion à mi-chemin sur Sanders Street.
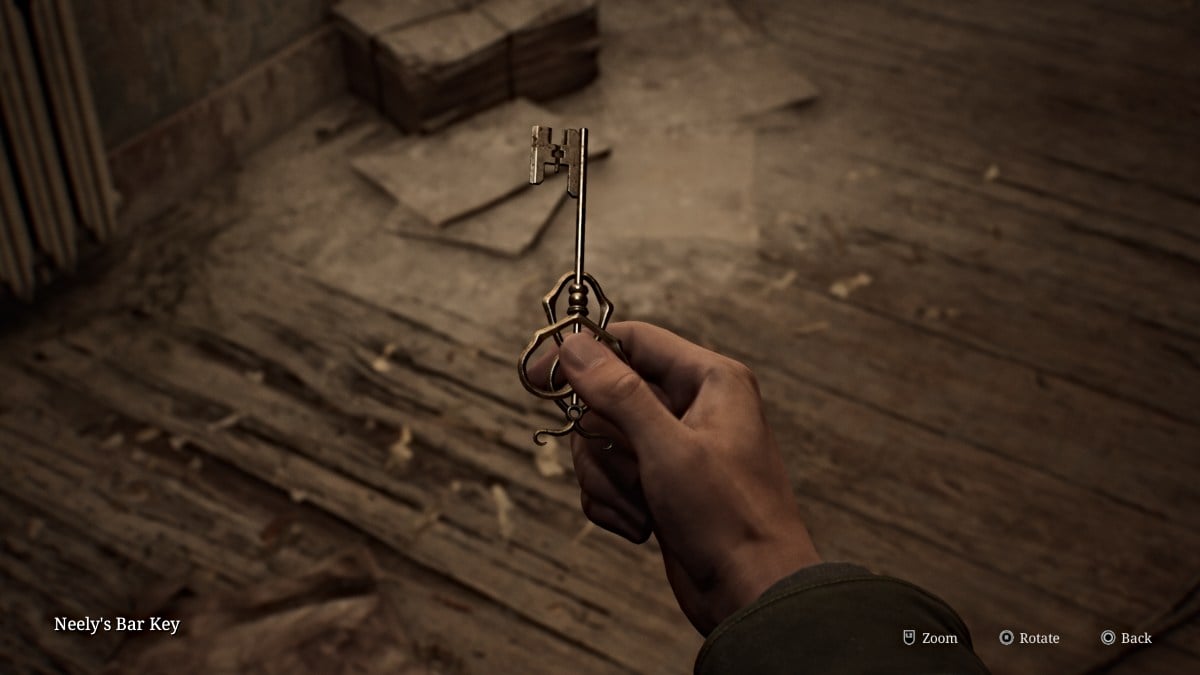
Insérez la pièce Neely's Bar Coin dans le juke-box et appuyez sur les boutons « C » et « 2 » pour enfin lire le disque. Un air familier joue tandis que James fait l'expérience d'un flash-back décousu. Après avoir terminé (ou plutôt cassé), le juke-box crache la clé du Neely's Bar , que vous pouvez utiliser sur la porte verrouillée à proximité.
Franchissez la porte et regardez immédiatement à droite. Un vide sanitaire est visible en hauteur sur le mur et vous devrez utiliser le chariot bloquant le chemin pour l'atteindre. Poussez-le vers le mur, puis montez et traversez-le.
Prenez la boisson santé dans l'armoire de premiers secours sur le mur, puis allez dans la pièce voisine et récupérez la lettre de l'arrière-salle sur le bureau, indiquant que vous devez trouver une voiture vert-bleu avec une plaque se terminant par « 06 » par. Laissez de côté la porte arrière qui mène à une autre ruelle pleine de voitures.
La seule voiture dans le quartier qui a quelque chose à l'intérieur est la voiture vert vif à votre droite à l'intersection avec la rue Martin. Une boisson santé sera placée sur le siège du conducteur. Revenez en arrière et continuez tout droit vers le point d’interrogation sur votre carte que James a dessiné. Franchissez la porte barricadée et la voiture vert-bleu abandonnée sera à votre droite, avec une pile de vêtements ensanglantés à côté.
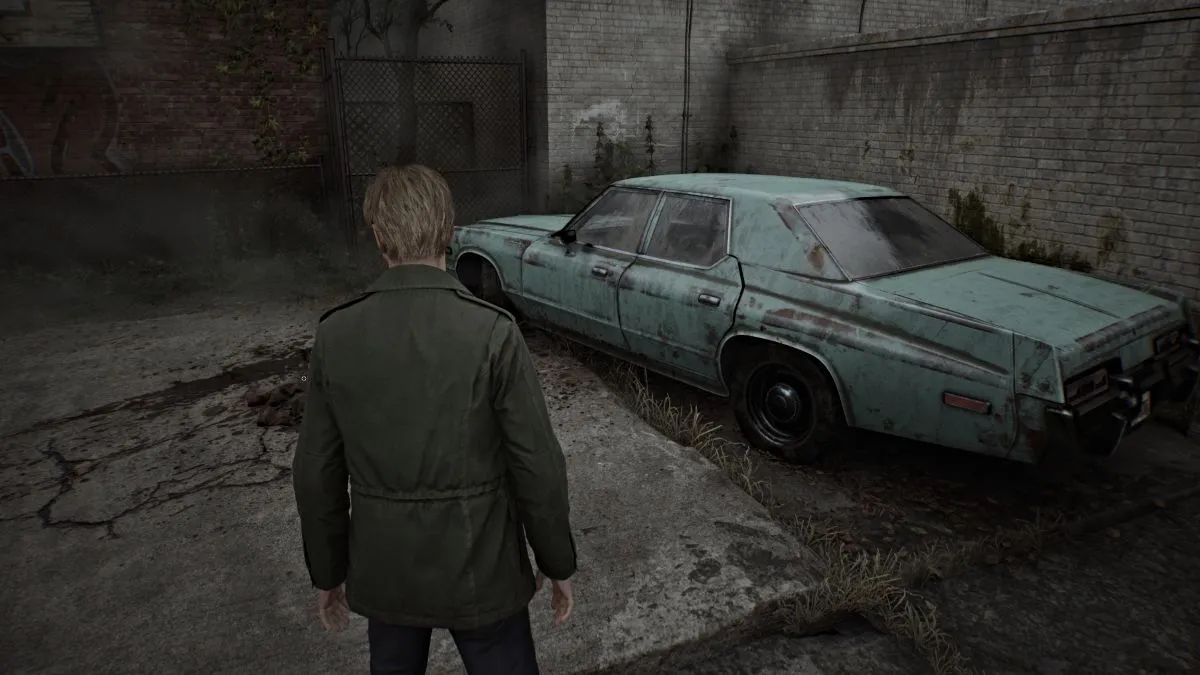
Interagissez avec lui et James en retirera la clé de Wood Side Apartments avant d'être pris en embuscade par plusieurs personnages couchés. Vous ne pouvez pas tous les combattre, alors cherchez une issue de secours par une ruelle voisine (la porte par laquelle vous êtes passé sera verrouillée, alors n'essayez pas). La ruelle vous ramènera à la rue Katz, qui regorge également de personnages menteurs désormais qu'il faut éviter pour préserver sa santé.
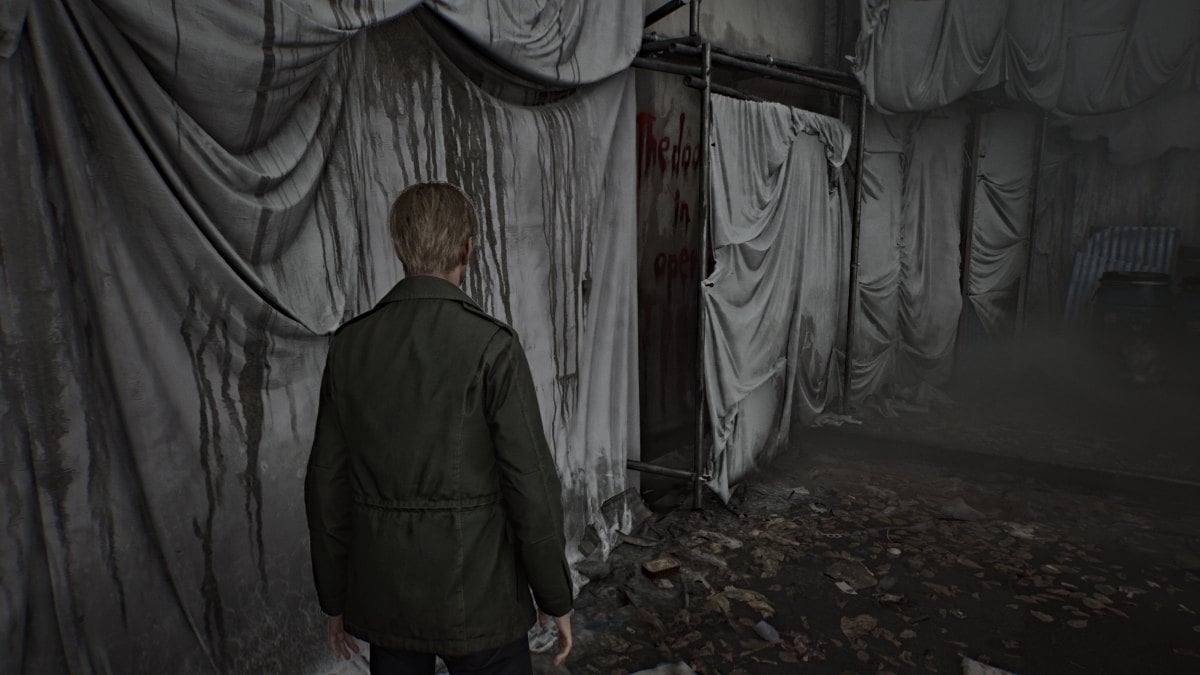
Tout d’abord, courez vers l’ouest tout le long de la rue Katz jusqu’à atteindre l’immense barrière. Prenez le mémo Barrier Note posé sur le sol et recherchez un espace dans la barrière où vous pouvez voir une phrase écrite avec du sang (voir ci-dessous) pour un autre aperçu du passé .
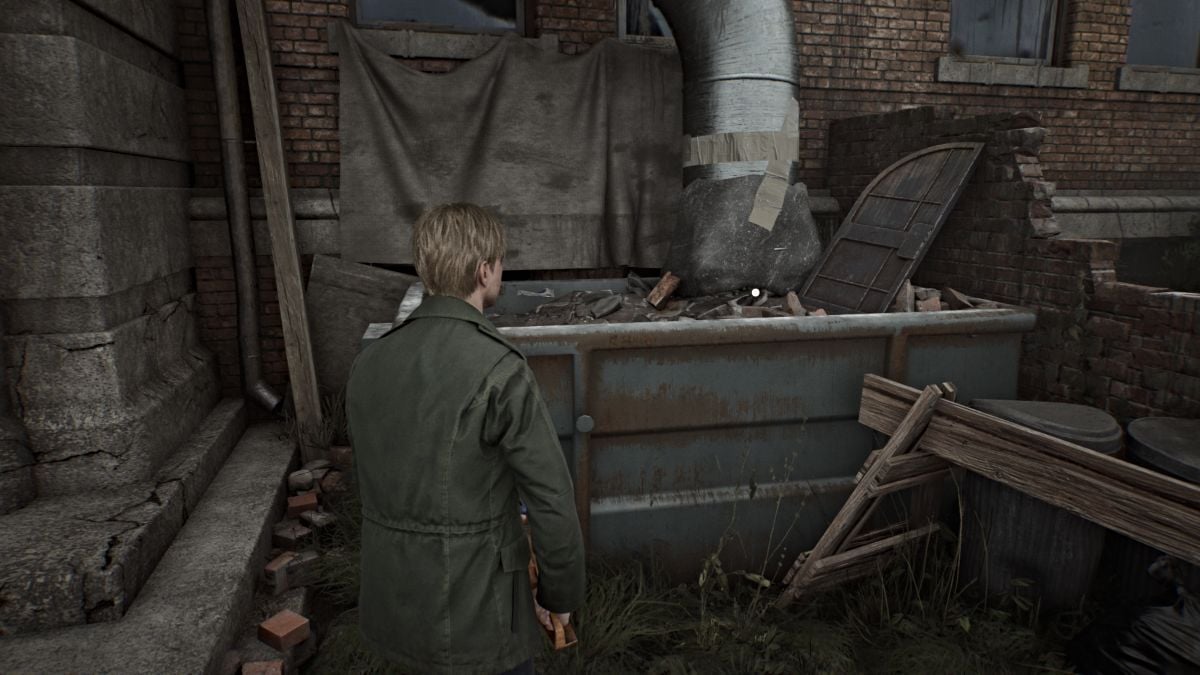
Revenez maintenant en arrière jusqu'à ce que vous voyiez l'entrée des Wood Side Apartments sur votre gauche. Avant d'entrer, courez vers la benne à ordures à droite de l'entrée (vue ci-dessus) et interagissez avec elle pour un autre aperçu du passé . Prenez le mémo Texan Cafe Flyer sur le tableau à proximité, puis utilisez la clé pour entrer.
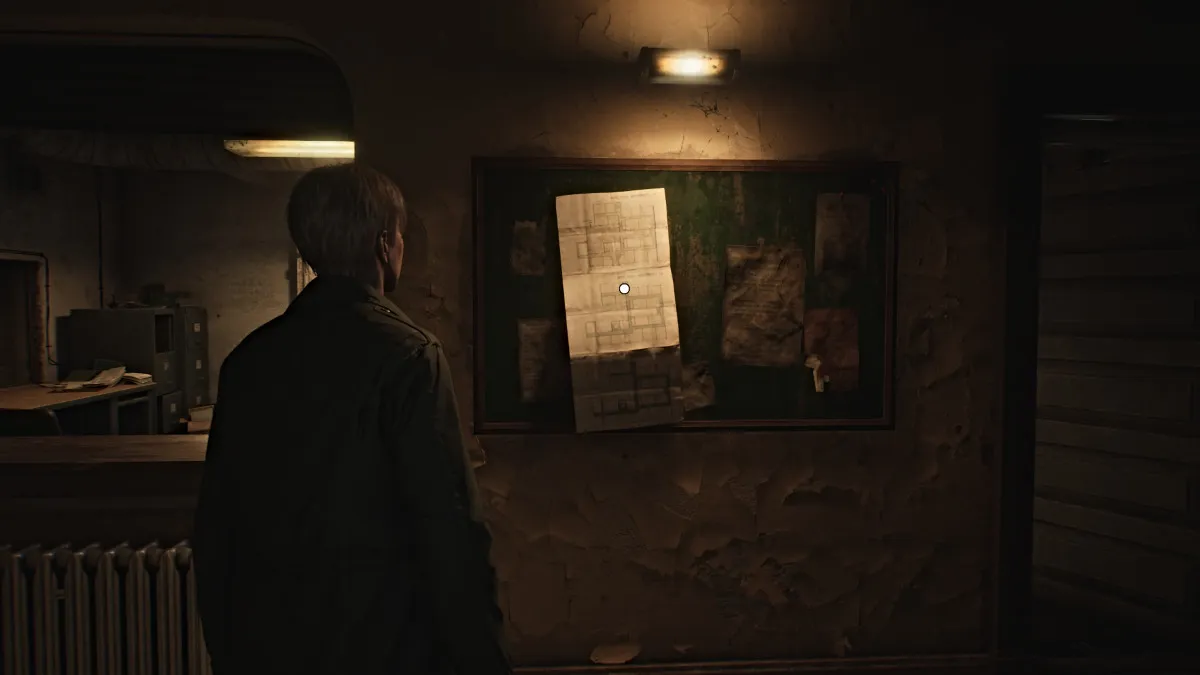
Dirigez-vous vers le hall et récupérez le plan de l’immeuble sur le tableau d’affichage accroché au mur. Il vous montrera la disposition des Wood Side Apartments 1F-3F et vous pourrez parcourir chaque étage en utilisant le bouton approprié. Ensuite, allez dans le bureau du hall et utilisez le point de sauvegarde rouge sur votre gauche. Allez dans la pièce au-delà et ouvrez le placard immédiatement à votre droite pour les munitions pour armes de poing .
Sous un drap de l’autre côté de la pièce, James découvrira une étrange armoire qui vous servira de prochain puzzle à résoudre. Vous devrez trouver des pièces spéciales à placer dans les empreintes, nous y reviendrons donc plus tard.
Vérifiez la salle de bains à droite du bureau pour plus de munitions pour armes de poing . Les autres portes de ce côté sont verrouillées pour le moment, alors retournez sur le côté gauche de l’étage. Allez vers l'arrière gauche, là où se trouve une étagère remplie de classeurs de documents, et récupérez-y le mémo de la note administrative , qui parle de coups de feu provenant de l'appartement 217 . Prenez également une autre boisson santé en vous asseyant sous les escaliers.
Toutes les autres portes du premier étage sont verrouillées, alors pour l'instant, montez au 2F.
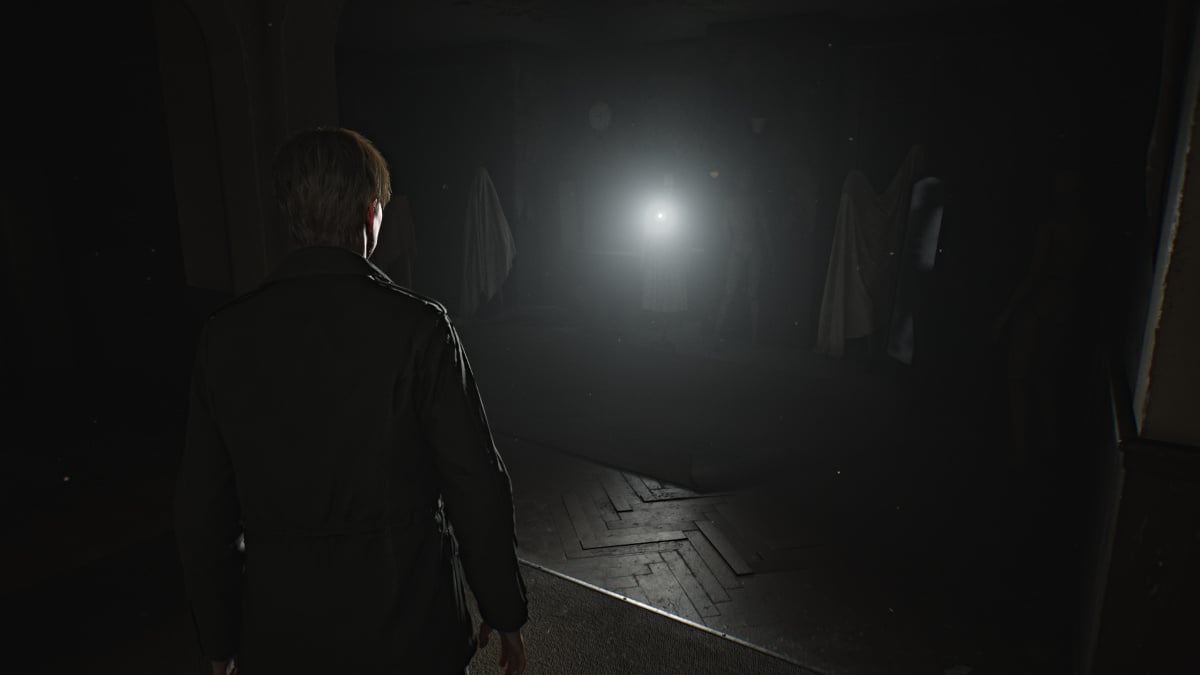
Une grande partie du deuxième étage est actuellement inaccessible, à l'exception des appartements à votre droite. La porte de l’appartement 202 est grande ouverte, alors entrez. Une lumière inhabituellement vive peut être vue dans le salon, et il s'avère qu'il s'agit d'un mannequin portant la tenue de Mary, avec une lampe de poche cachée dedans. Avant de le prendre, allez d’abord dans la cuisine et prenez une boisson santé dans l’une des armoires.
Maintenant, allez chercher la lampe de poche, ce qui sera très bénéfique à l'avenir. Un nouveau type de monstre caché derrière lui, appelé mannequin, vous tendra une embuscade, donc après le bref QTE, utilisez votre planche pour l'abattre. Bien qu'il ne crache pas d'acide comme le font les Lying Figures, ses coups physiques sont brutaux, alors soyez prudent. Ils préfèrent également les attaques sournoises et peuvent même parfois tromper votre radio en restant immobiles .
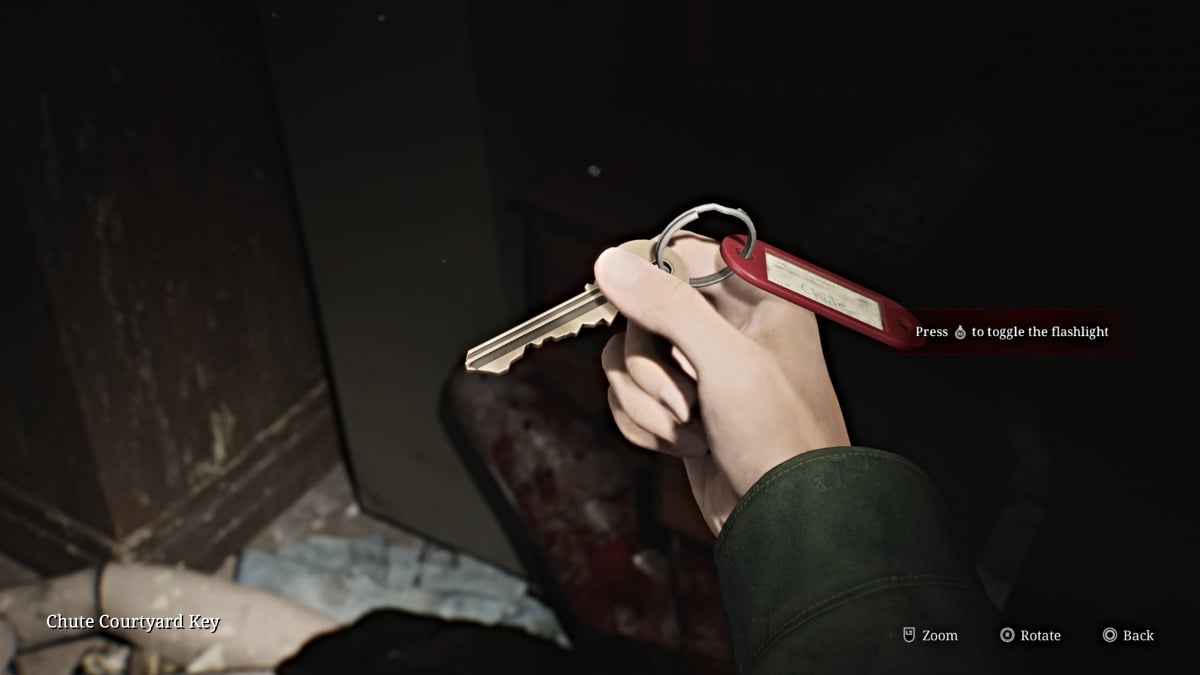
Ensuite, récupérez la clé de la cour de la Chute dans la commode à proximité, puis quittez l'appartement.
Montez les escaliers après le troisième étage (actuellement verrouillé) jusqu'à atteindre une impasse. Plus de munitions pour armes de poing seront sur une petite table ici. Redescendez jusqu'au premier étage.
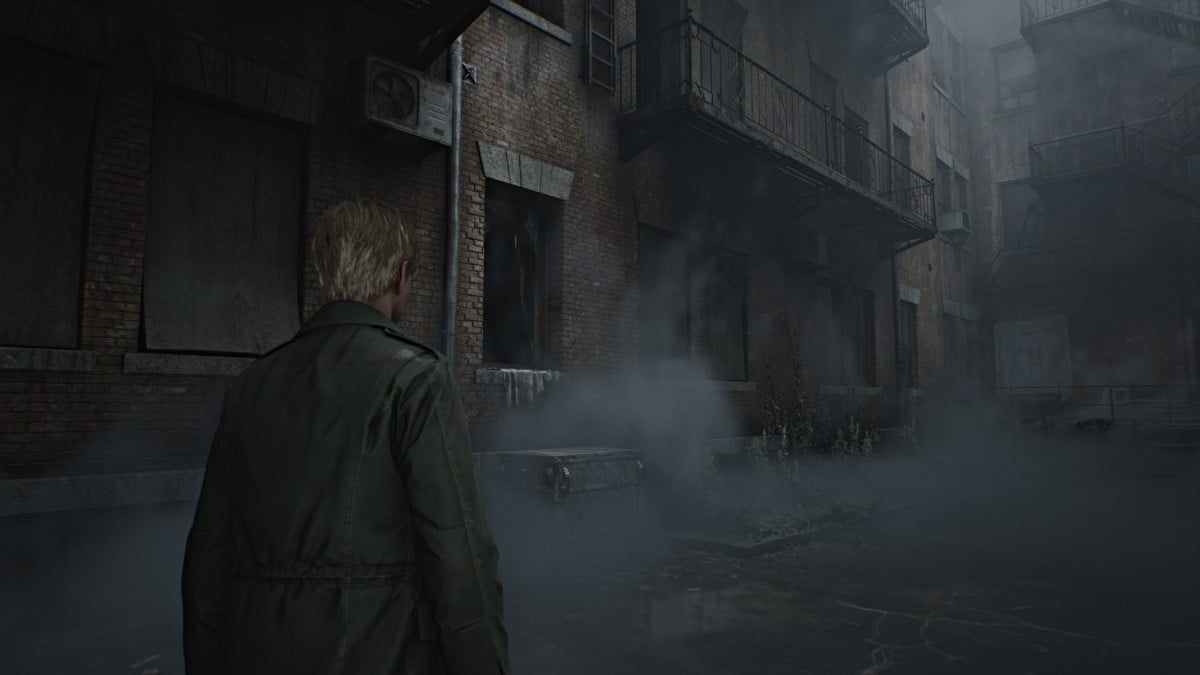
Utilisez la clé de la cour de la chute sur la porte à gauche de la salle de bain du concierge, qui vous mènera à l'extérieur dans une cour intérieure où se trouve le vide-ordures principal du bâtiment. Remarquez une fenêtre ouverte à droite de la goulotte et tirez la charrette à bras à proximité vers elle pour grimper dans l'appartement 112 .
Dans la pièce immédiatement à gauche, trouvez des munitions pour armes de poing dans un tiroir de la commode. Sur une table dans la cuisine, à droite, se trouve un article de presse locale sur le meurtrier reconnu coupable Walter Sullivan. Quittez l'appartement et descendez le couloir jusqu'à l'appartement 109 .
Un mannequin se cachera sous la table du salon, alors préparez-vous à le combattre. Ensuite, récupérez des munitions pour armes de poing dans la chambre voisine, puis quittez l’appartement. Continuez dans le couloir pour déverrouiller une porte sur votre droite qui mène au côté opposé de la cour des chutes. Continuez ensuite tout droit pour apercevoir au sol une clé bloquée par des barreaux. Interagissez avec lui pour lancer une cinématique.
Une fois que la jeune fille a donné le coup de pied à la clé et s'est enfuie, prenez le raccourci qui traverse la cour pour retourner au hall. Vous remarquerez que les deux côtés du premier étage sont désormais entièrement accessibles et remplis de monstres, alors soyez prudent. Dirigez-vous d’abord vers la droite, car c’est de là que vous devez obtenir la clé.
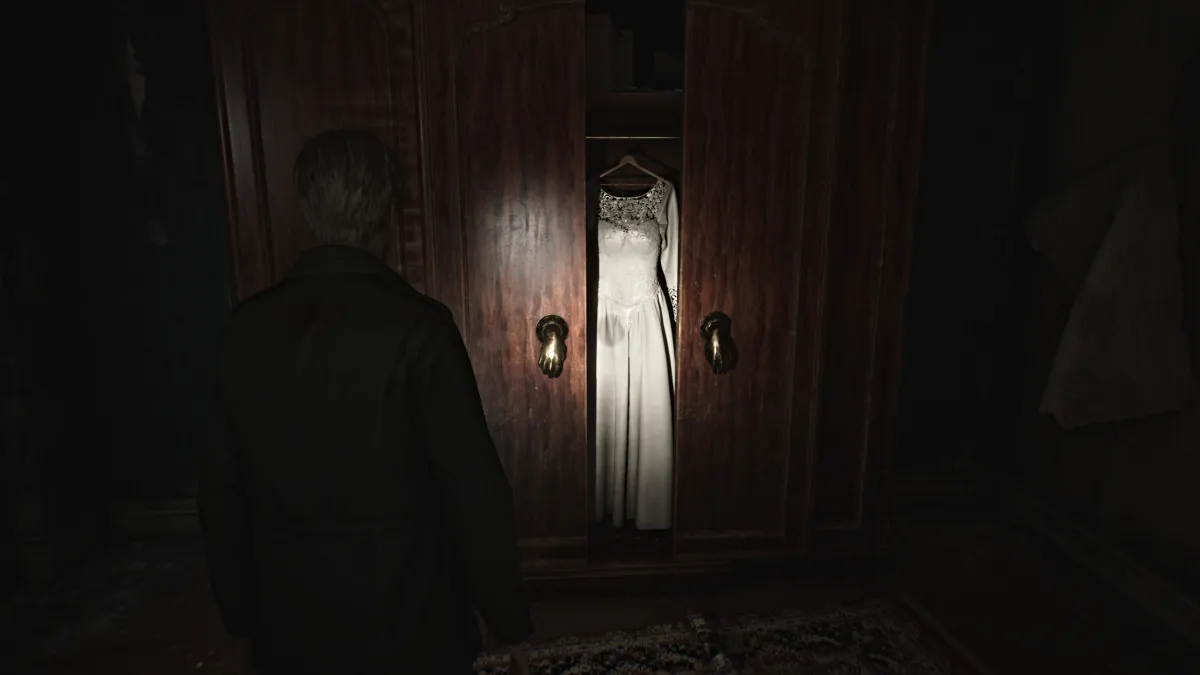
Arrêtez-vous à l'appartement 108 et dirigez-vous vers la grande armoire de la chambre équipée d'étranges poignées en forme de main (vue ci-dessus). Interagissez avec la main gauche pour qu'elle se tourne vers le bas et fasse tomber la poignée de pomme dorée . Prenez-le et quittez l'appartement. Continuez dans le couloir pour récupérer la clé du couloir 2F près des bars. Courez rapidement dans l'appartement 107 en face et prenez une boisson santé sur la commode de la chambre, puis partez.
La porte de l'appartement 106 est maintenant ouverte avec une silhouette allongée bloquant votre chemin. Battez-le et courez dans l’appartement pour récupérer des munitions pour armes de poing dans une armoire du salon. Continuez vers le côté gauche du bâtiment.
Après avoir traité d'autres personnages menteurs, entrez dans l'appartement 102 et allez chercher une photo étrange posée près d'un téléviseur intitulé "Saint-Valentin" .
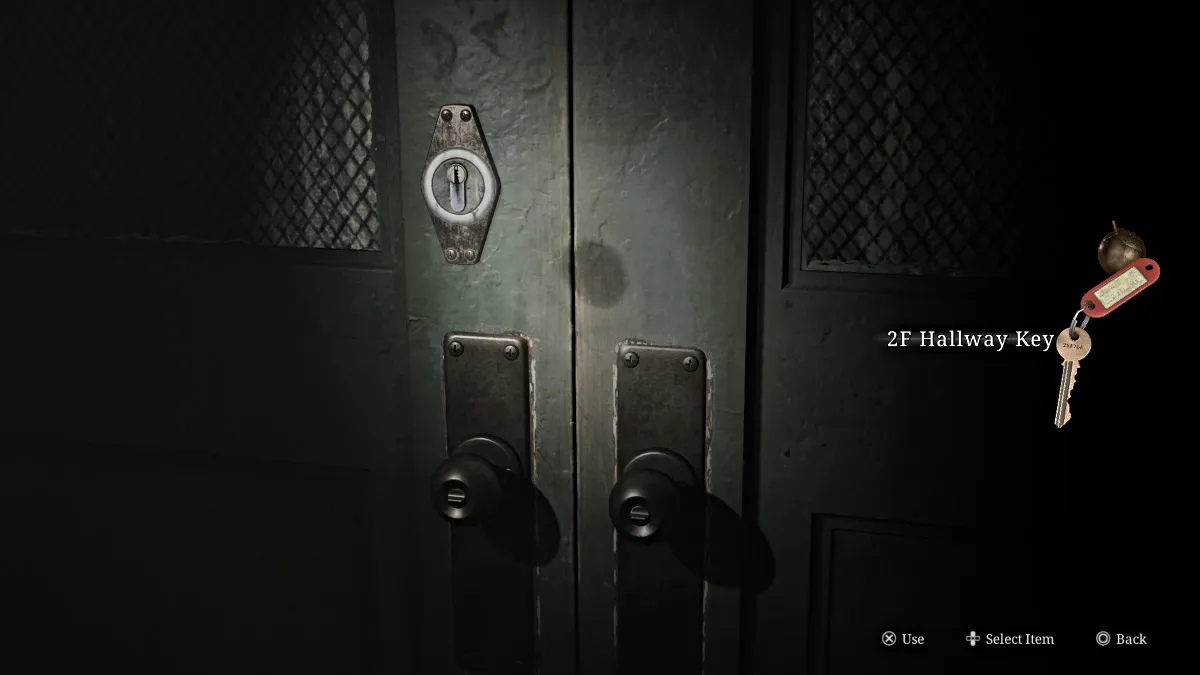
Remontez au deuxième étage avec votre nouvelle clé et déverrouillez les doubles portes vertes sur votre gauche, rendant le reste de l'étage accessible. Alors que vous descendez le couloir, une brèche dans une fenêtre sur votre gauche révèle une poussette posée dans une piscine vide à l'extérieur du bâtiment. Vous voudrez vous en souvenir.
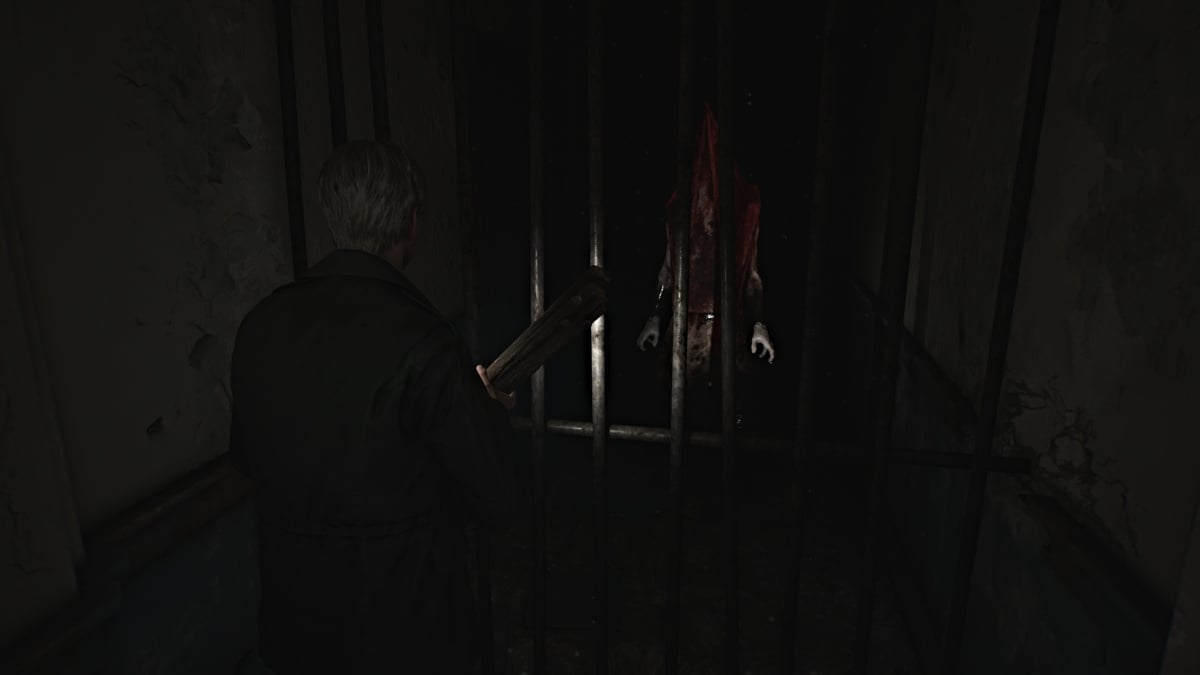
Continuez dans le couloir et tournez à droite jusqu'à ce que vous voyiez quelque chose de rouge briller au loin. Approchez-vous-en, et il s'avère que ce n'est autre que Pyramid Head , regardant James derrière un autre ensemble de barreaux. Aussi troublant que cela puisse être, il ne fait rien (pour l'instant), alors revenez un peu en arrière vers l'Appartement 213 .
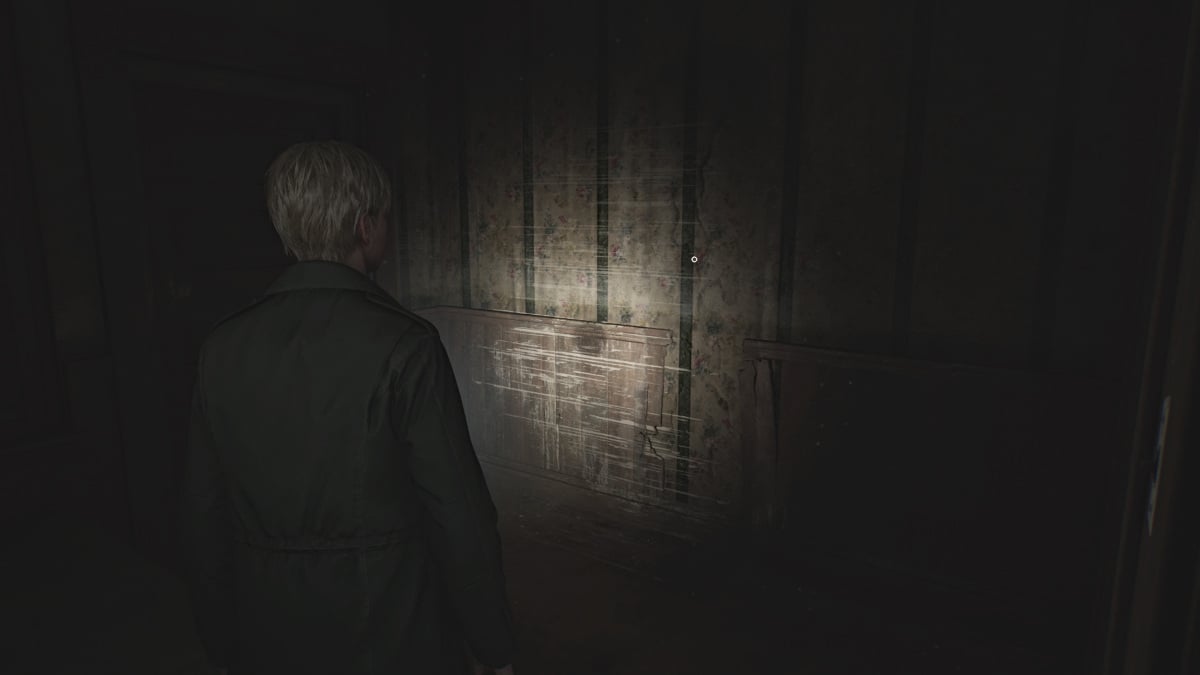
À l’intérieur, cherchez un autre aperçu du passé sur le mur de la chambre (vu ci-dessus), puis dirigez-vous vers une brèche dans le mur près de la cuisine qui mène à l’autre côté du couloir bloqué par une porte cassée. Rendez-vous à l'appartement 217 à la fin.
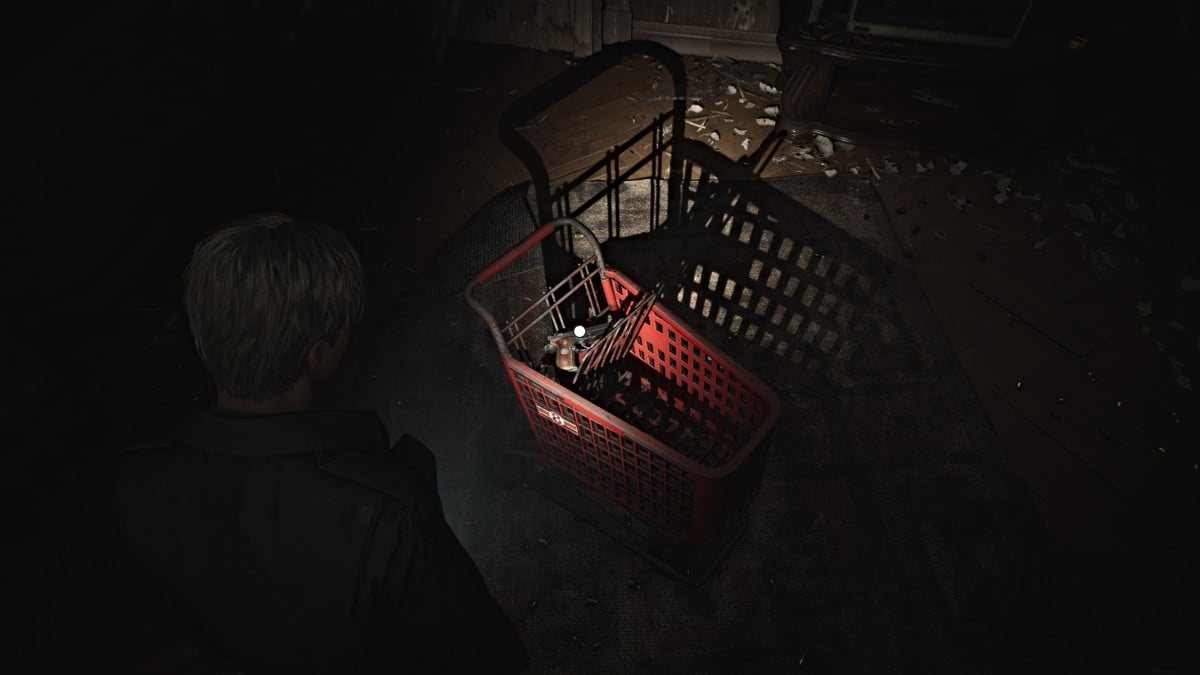
Entrez à l’intérieur pour voir un salon rempli d’impacts de balles et de douilles d’obus, avec un caddie rouge au milieu. Regardez à l'intérieur et vous êtes récompensé par une arme de poing , votre deuxième arme jusqu'à présent. De plus, comme on peut s'y attendre, l'appartement regorge de munitions pour armes de poing à réclamer, alors vérifiez partout. Si vous avez fait preuve de diligence dans la collecte de munitions jusqu'à présent, vous devriez disposer d'au moins 20 cartouches environ.
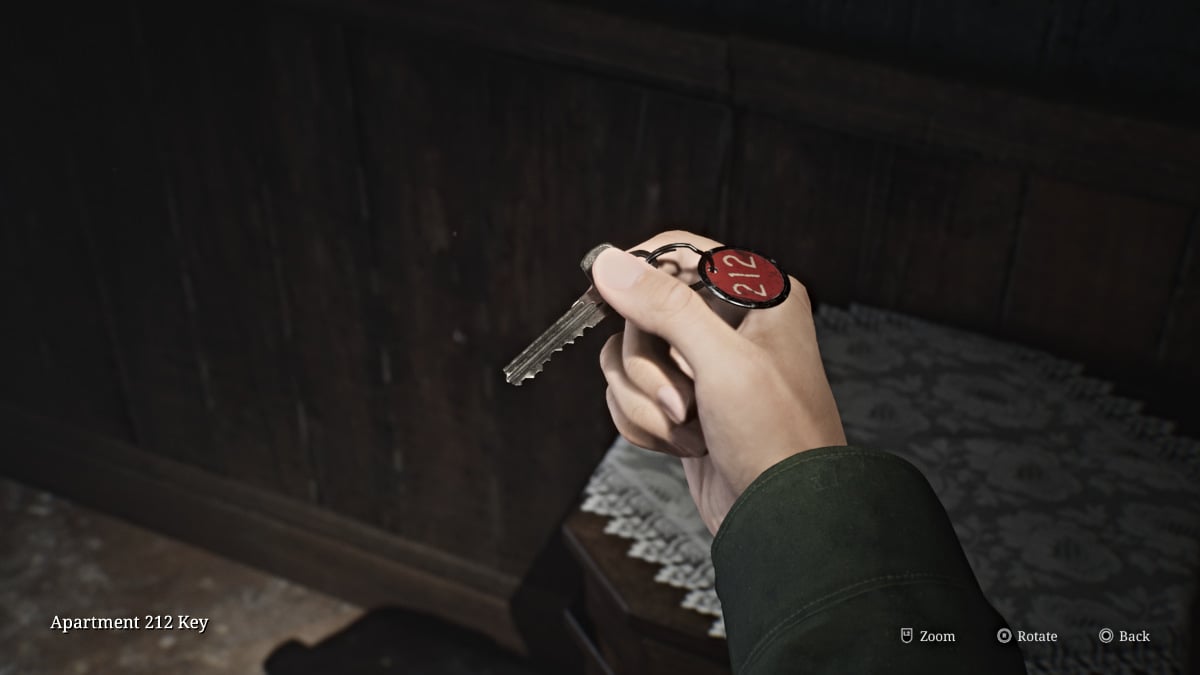
Quittez l'appartement et repassez par la brèche du mur jusqu'au 213, où une mystérieuse silhouette couverte et trempée de sang est assise devant une télévision statique. Interagissez avec lui pendant une brève cinématique, puis récupérez la clé de l'appartement 212 dans la commode à proximité. Quittez l'appartement et vous remarquerez que Pyramid Head a disparu. Utilisez la clé pour entrer dans l’autre appartement.
Prenez une boisson santé dans la cuisine à l’intérieur, puis dirigez-vous vers la porte ouverte menant au balcon. Traversez-le jusqu'à l'appartement de l'autre côté, où vous trouverez un mannequin ainsi que des munitions pour armes de poing dans le réfrigérateur ouvert. Quittez l’appartement et dirigez-vous vers le couloir et dirigez-vous vers le côté sud-est de l’étage. En chemin, sortez sur un autre balcon et tirez le levier à proximité pour abaisser l'escalier de secours au niveau du sol pour un autre raccourci.
Entrez dans l'appartement 207 où vous trouverez une figurine allongée, un mannequin caché dans la salle de bain et des munitions pour arme de poing .
Le 205 est bloqué depuis le balcon, alors remontez vers le couloir et vers l'appartement 208 .
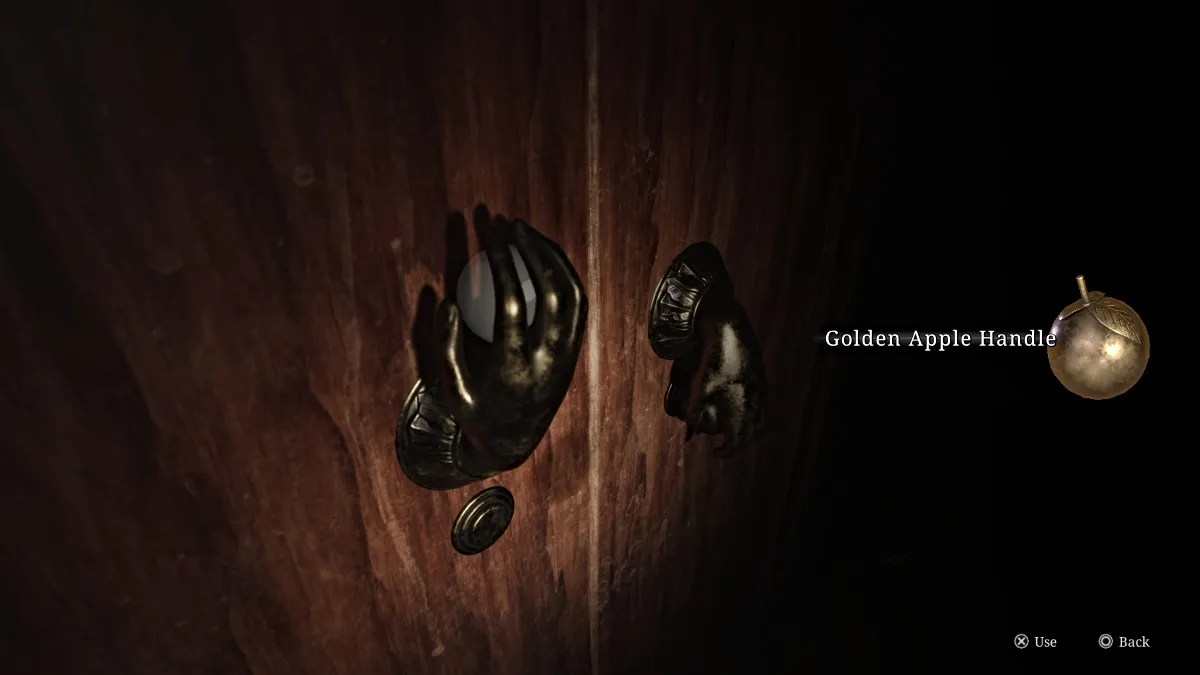
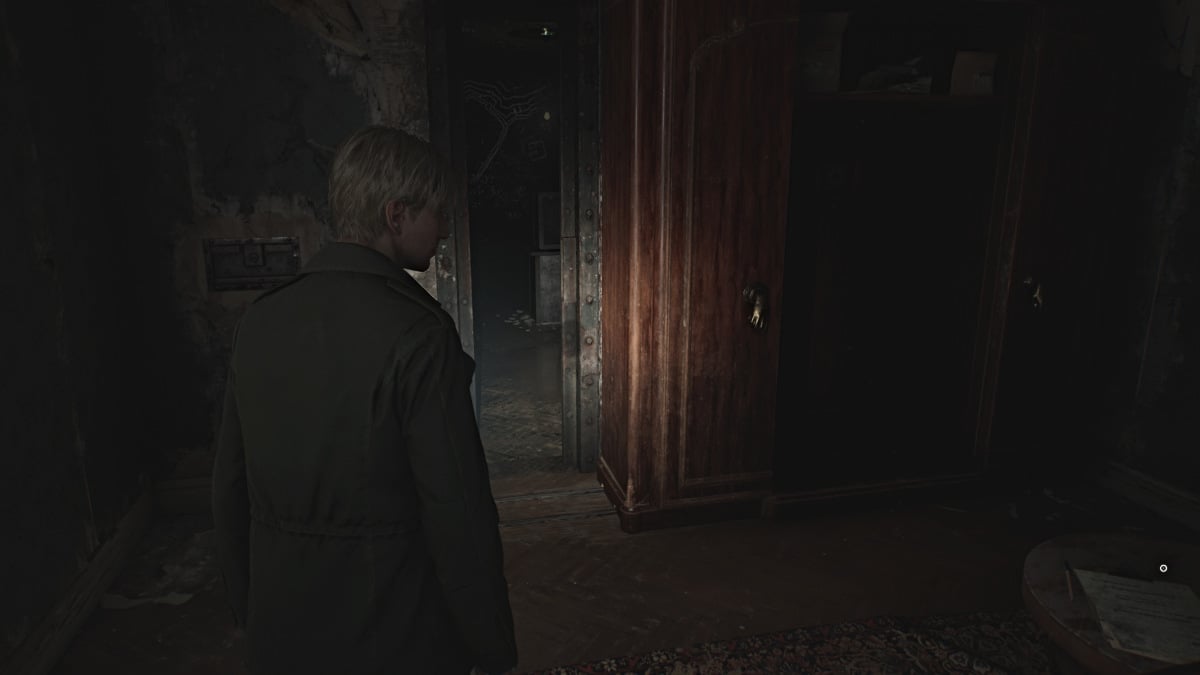
À l’intérieur, vous trouverez une autre grande armoire aux mains dorées. Approchez-vous-en et utilisez la poignée de pomme dorée que vous avez obtenue plus tôt pour déverrouiller l'armoire. Allez à sa gauche et interagissez pour le pousser et révéler une pièce secrète avec des écritures sur les murs et un coffre-fort verrouillé au centre. Dès que vous entrez, la porte se ferme derrière vous.
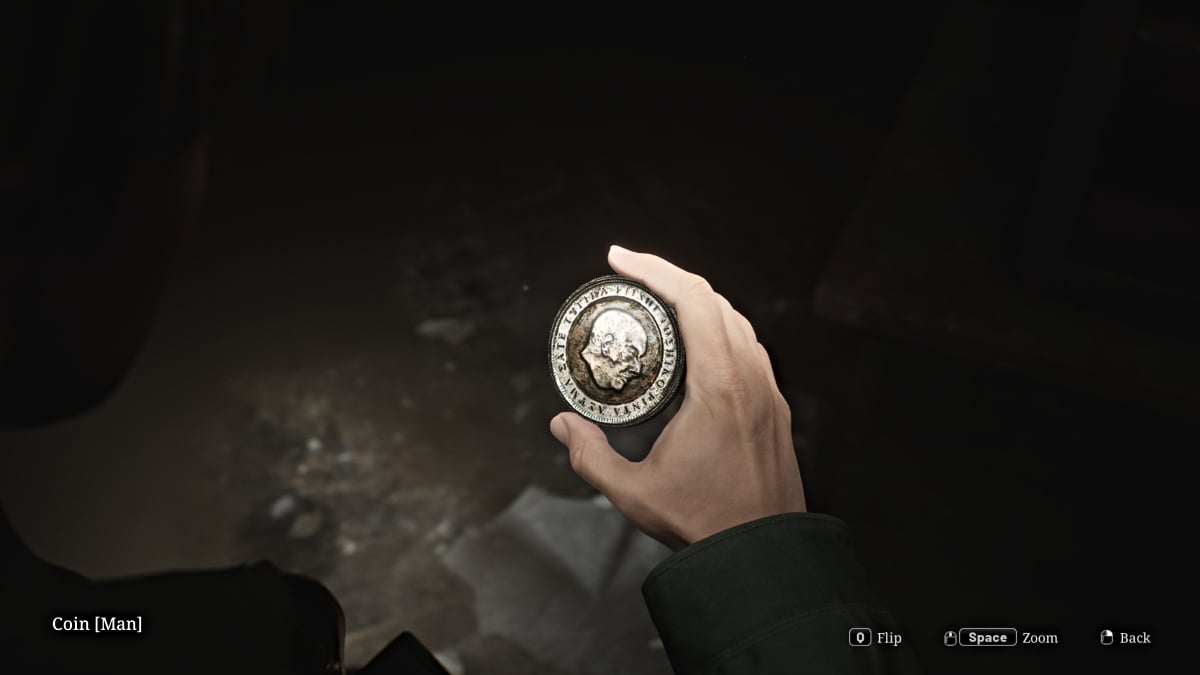
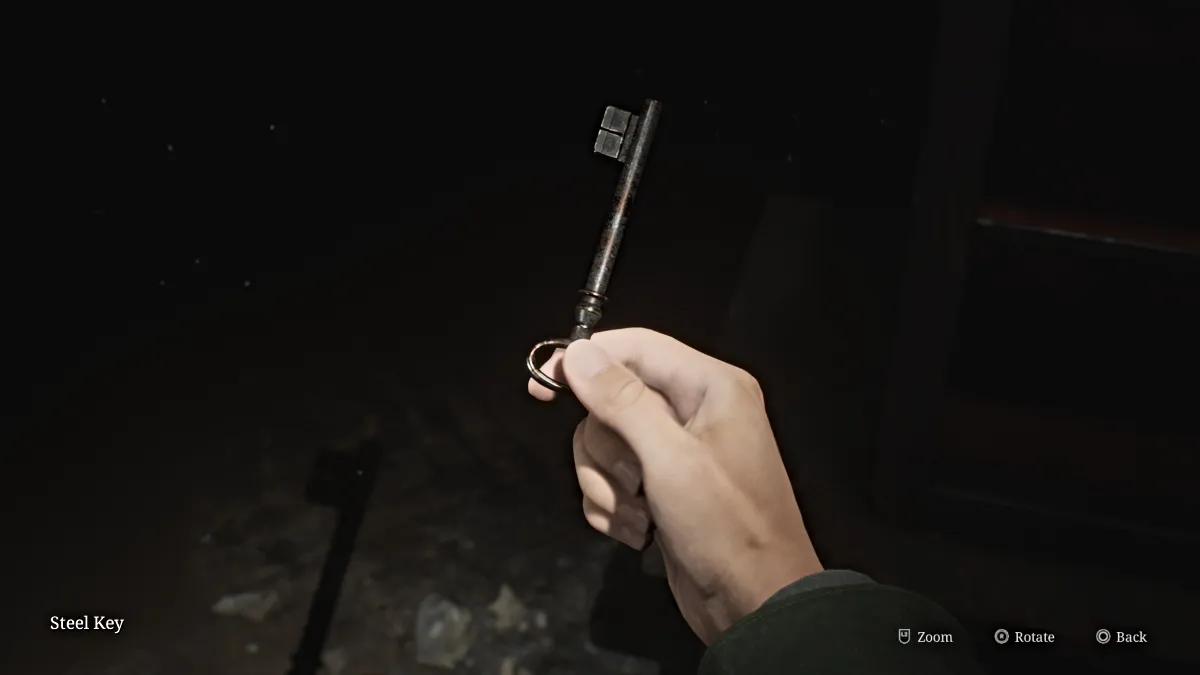
Pour ouvrir le coffre-fort, vous devez saisir la bonne combinaison, et le seul indice que vous obtenez provient du passage écrit sur le mur près de l'endroit où vous êtes entré. La bonne combinaison (difficulté standard du puzzle) est "droite 13", "gauche". 7, puis 'droite 11' . Le coffre-fort s'ouvrira, révélant la Man Coin (pour le puzzle Coin en bas) et une clé en acier à utiliser sur la porte de l'autre côté de la pièce (avec des carrés blancs dessinés dessus).
Échappez-vous de la pièce et vous serez de retour dans le couloir où la porte de l'appartement 205 est désormais grande ouverte. Entrez à l'intérieur où vous trouverez des monstres insectes ainsi qu'une boisson santé dans une boîte à médicaments, des munitions pour armes de poing dans la cuisine et la petite clé d'escalier 2F posée sur la chaise au milieu de la pièce.
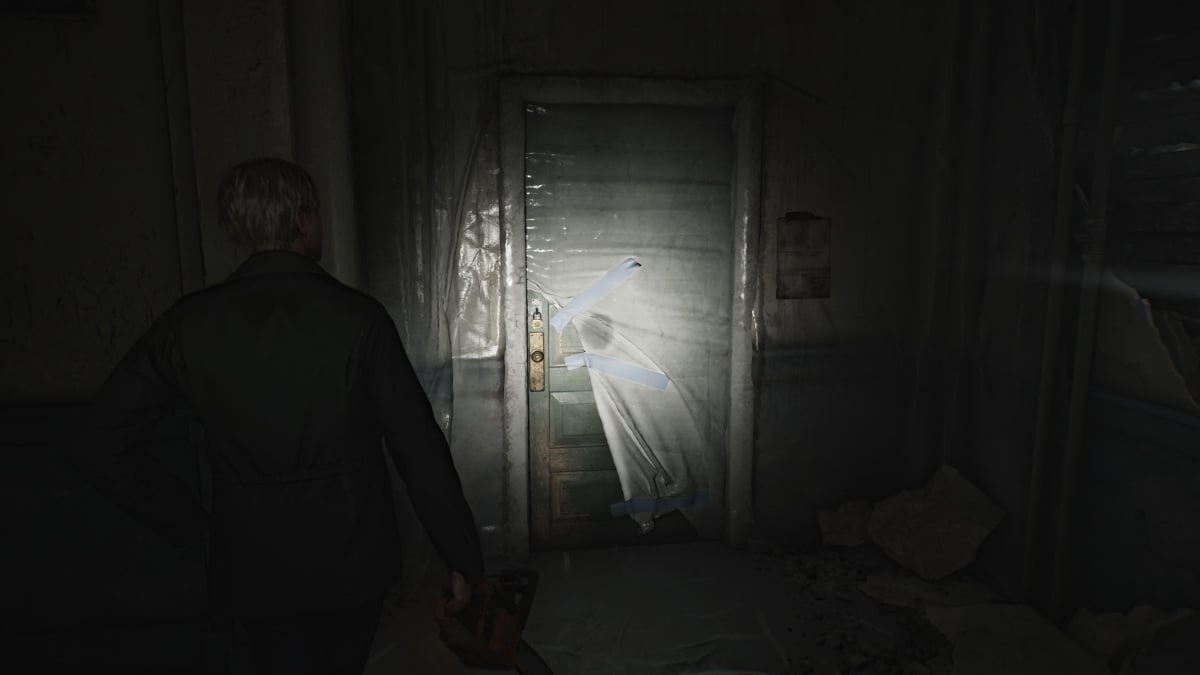
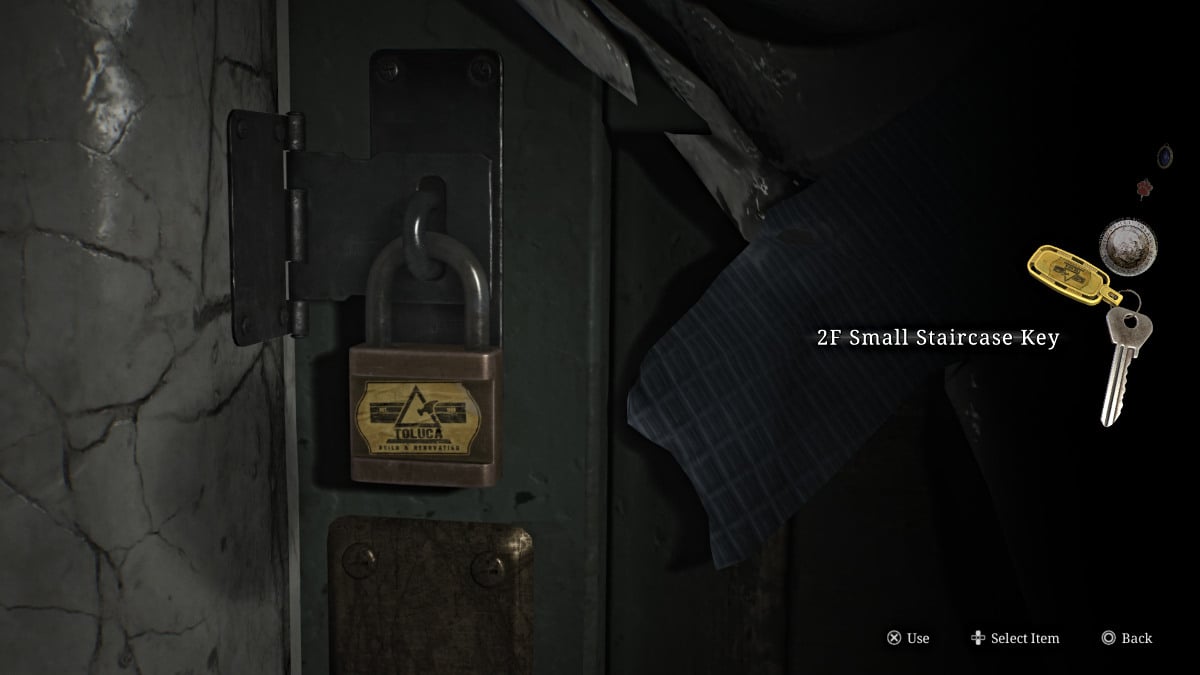
Avec cela en main, retournez jusqu’à l’escalier du côté nord du sol recouvert de plastique. Utilisez la clé du petit escalier 2F dessus pour enfin y accéder. Utilisez le point de sauvegarde rouge à l’intérieur, puis dirigez-vous vers le troisième étage.
Une fois au troisième étage, allez d’abord tout droit dans le couloir pour récupérer des munitions pour armes de poing posées sur un fauteuil au fond d’une impasse. Revenez ensuite en arrière et dirigez-vous vers la droite jusqu'à atteindre une autre impasse et un trou dans le mur qui vous mène à l'appartement 311 (voir ci-dessous). Méfiez-vous des deux mannequins qui vous tendent une embuscade à proximité.
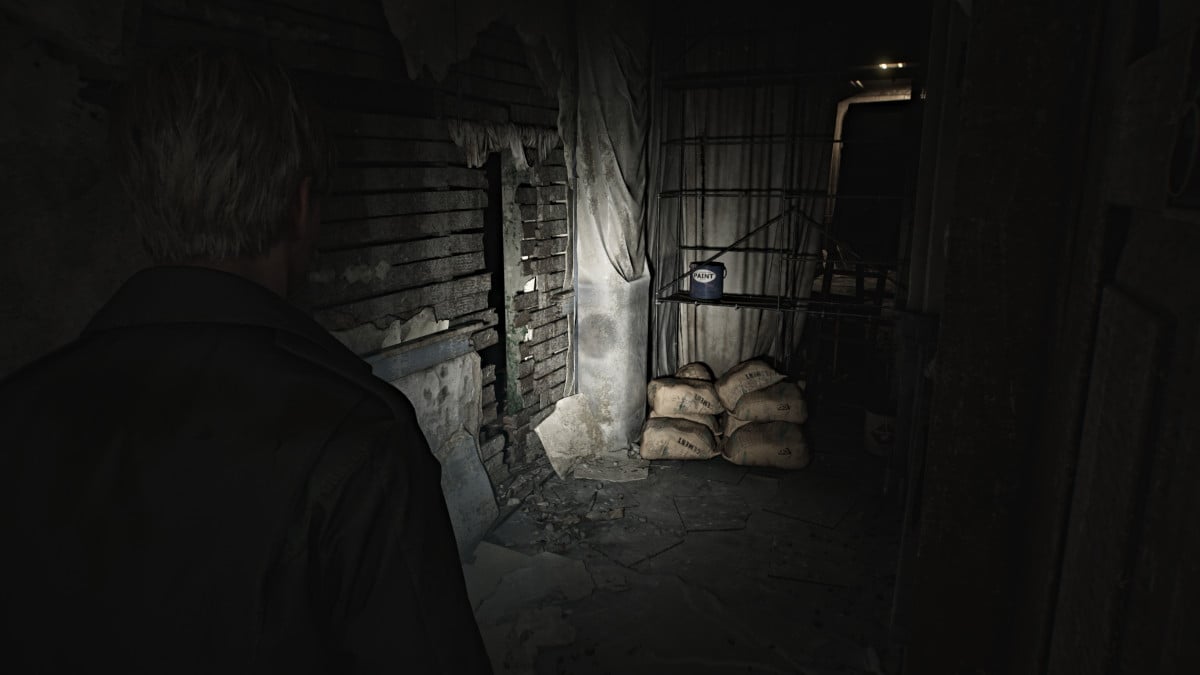
Traversez et traversez l' appartement 309 , puis revenez brièvement dans le couloir et traversez une autre brèche jusqu'à l' appartement 310 . Cet appartement est divisé en deux, alors assurez-vous de vérifier les deux côtés. Le côté à l’extrémité du couloir aura la note étrange que vous pourrez récupérer sur un bureau et des munitions pour armes de poing dans un conteneur de premiers secours.
Surveillez d'autres mannequins en embuscade et utilisez le balcon pour traverser l' appartement 312 , où vous trouverez une seringue dans une trousse de premiers soins, une boisson santé et le mémo Sinister Note accroché au mur.
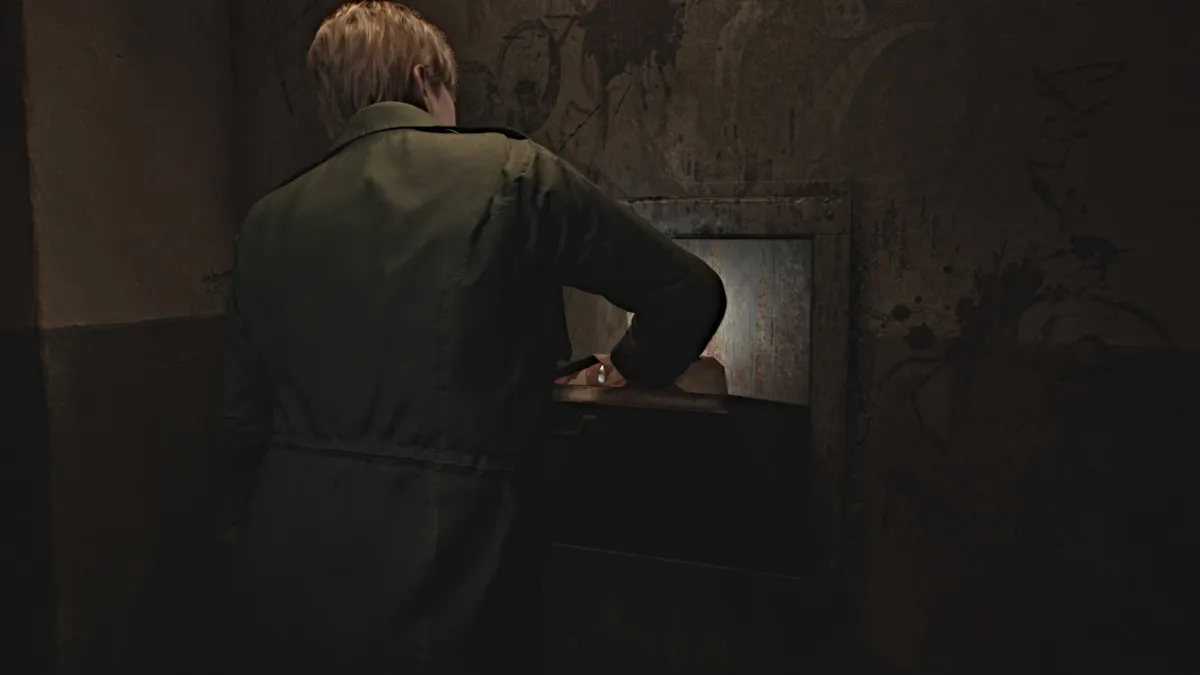
Sur le côté gauche de l'appartement se trouve un vide sanitaire avec des résidus noirs. Parcourez-le et vous émergerez dans la buanderie . Prenez le paquet de jus en conserve sur la table et amenez-le dans la chute à proximité pour le déposer. Le poids fera tomber un tas de déchets dans la cour de la chute , y compris une autre pièce . Prenez plus de munitions pour armes de poing sur une machine à laver en sortant.
Prenez l' escalier nord jusqu'au premier étage et récupérez plus de munitions pour armes de poing dans une boîte en bas. Sortez dans le couloir et vous entendrez ce qui ressemble à des bruits de vomissements venant de la droite. Suivez-les dans l'appartement 116 au fond, où un cadavre repose dans un réfrigérateur ouvert et où quelqu'un vomit dans la salle de bain voisine.
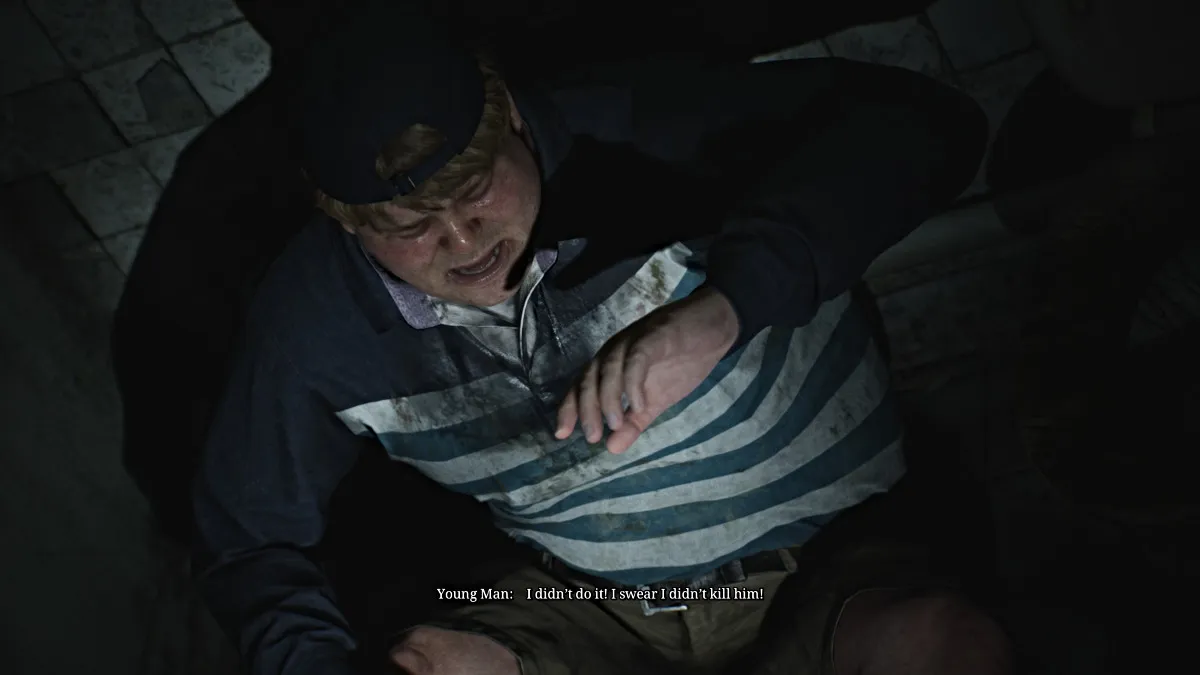
Approchez-vous et une cinématique présente James à Eddie Dombrowski , qui semble étrangement nerveux et clairement malade. Il semble impatient de quitter la ville et demande à James de l'accompagner, qui refuse poliment. Après la cinématique, recherchez des objets dans l'appartement et avant de vous rendre à la piscine, qui regorge de personnages allongés, vous devrez donc y naviguer avec précaution.
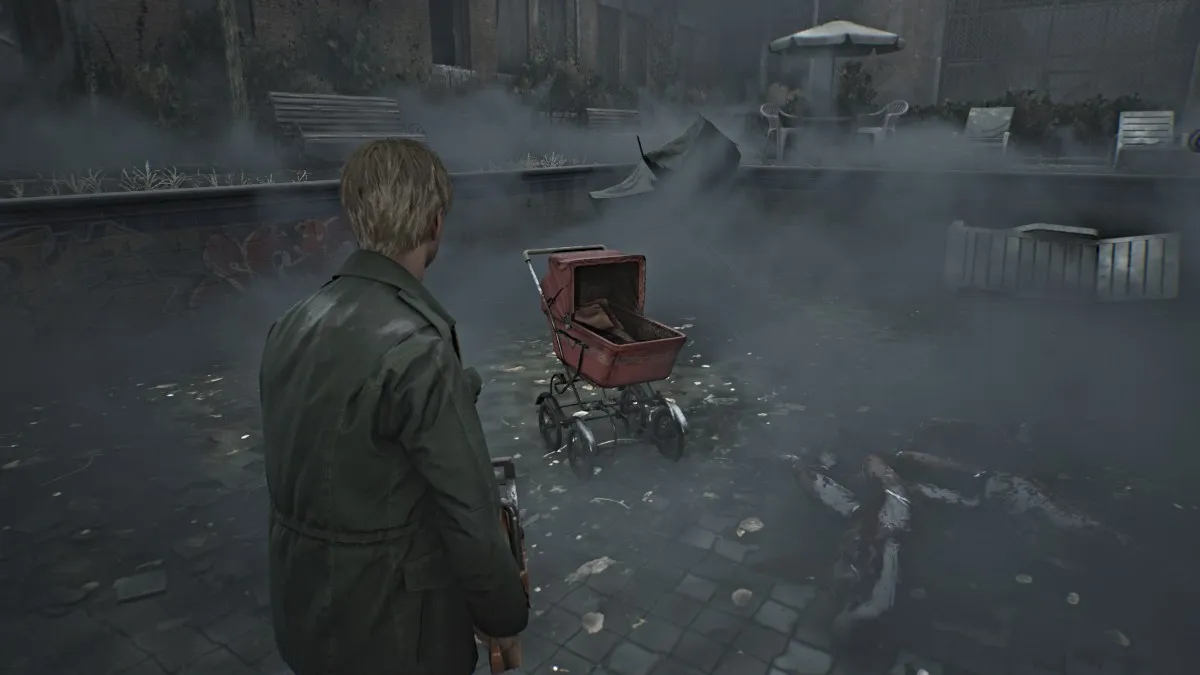
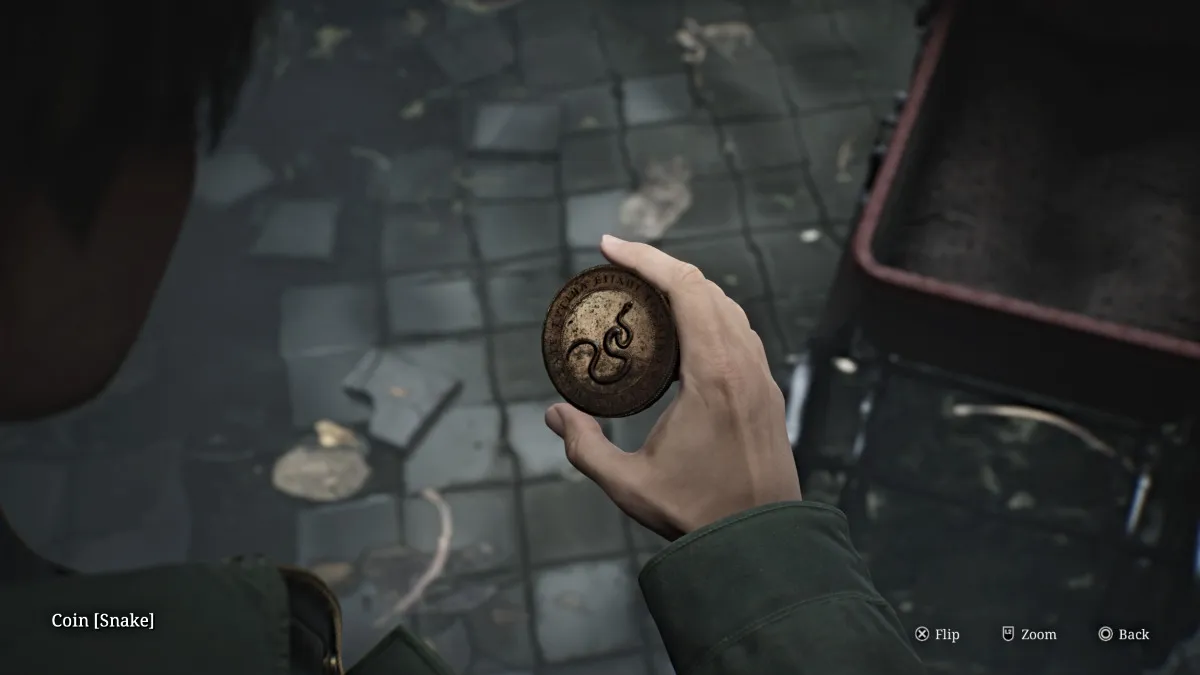
Tuez seulement ce que vous devez et dirigez-vous vers la poussette dans la piscine qui contient la pièce de serpent .
Échappez-vous de la zone par le chemin par lequel vous êtes venu et sortez de l'appartement, puis dirigez-vous vers les doubles portes qui mènent à la cour de la Chute.
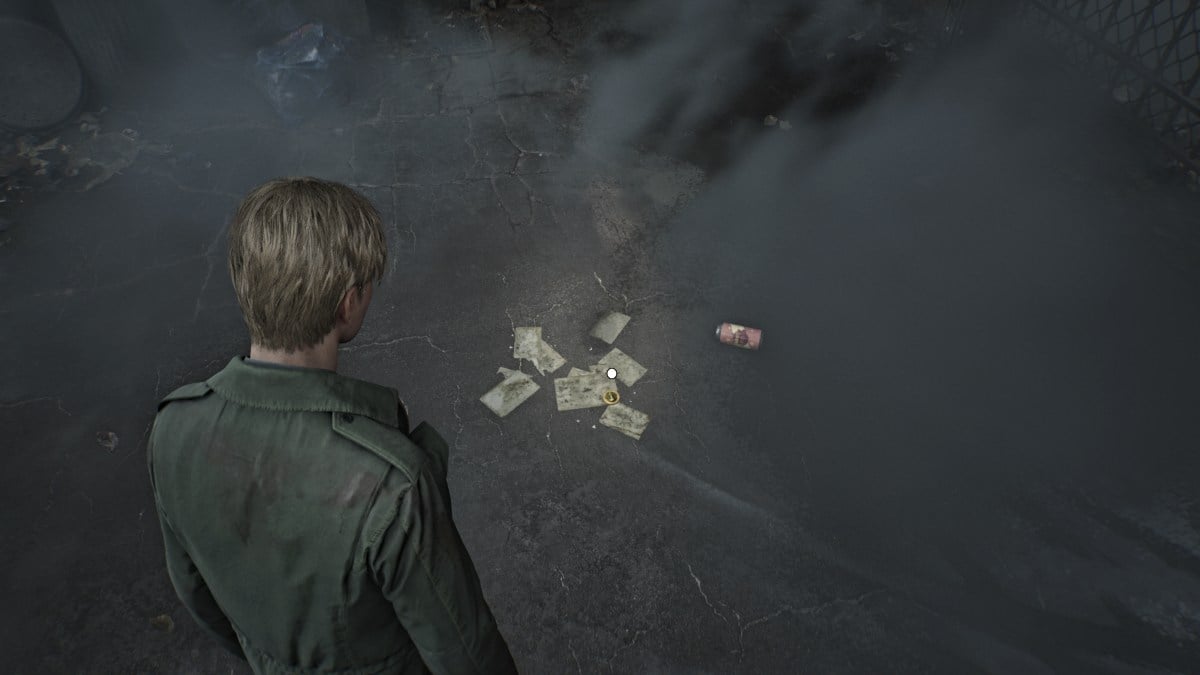
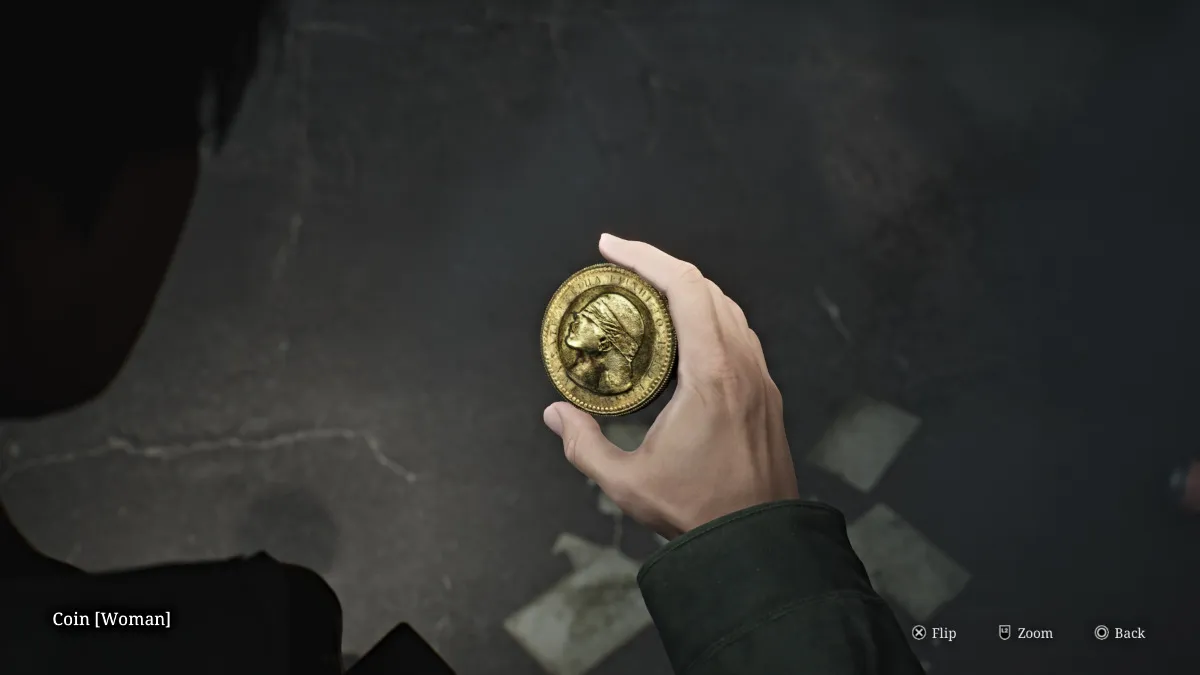
Cherchez soigneusement le sol à la recherche de la Woman Coin , qui se trouvera près de l'une des canettes de jus (vue ci-dessus). Vous disposez maintenant de toutes les pièces nécessaires, alors retournez au bureau du hall pour enfin terminer le puzzle.
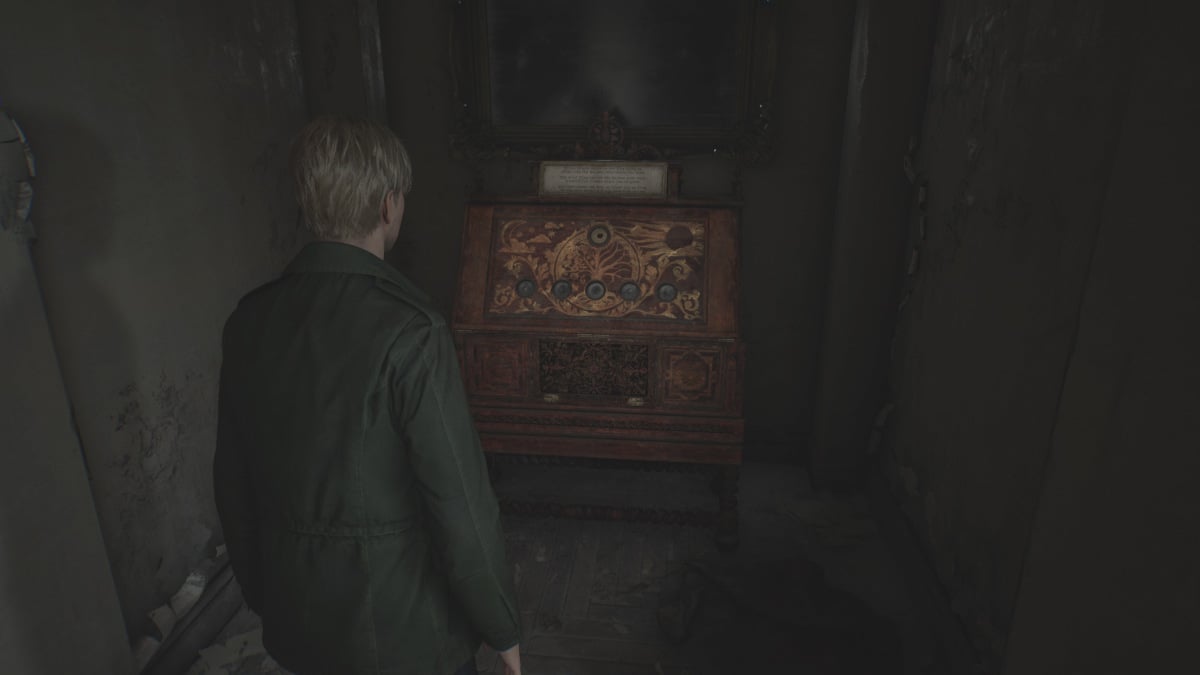
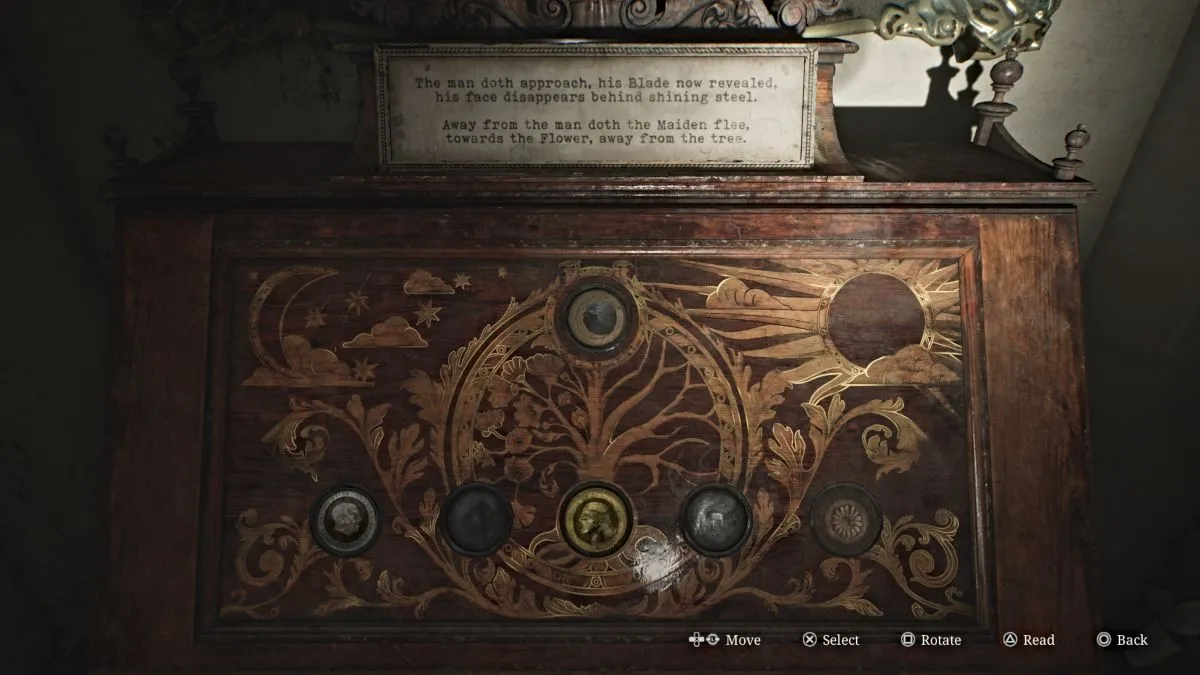
Pour ouvrir le meuble orné du bureau du hall, vous devez placer trois pièces (et leurs variantes) dans les emplacements appropriés selon le poème indiqué ci-dessus, qui changera à mesure que vous terminerez chaque étape. Voici la solution complète du puzzle (difficulté standard), avec les étapes classées dans l'ordre :
Avec cela, le puzzle comporte une dernière étape, qui vous oblige à choisir quelle pièce « blâmer » (Homme, Femme ou Serpent). Bien qu'il n'y ait pas de mauvaise réponse, votre choix affectera la fin que vous obtiendrez . Vous recevrez également la clé de l'appartement 201 pour vos efforts.
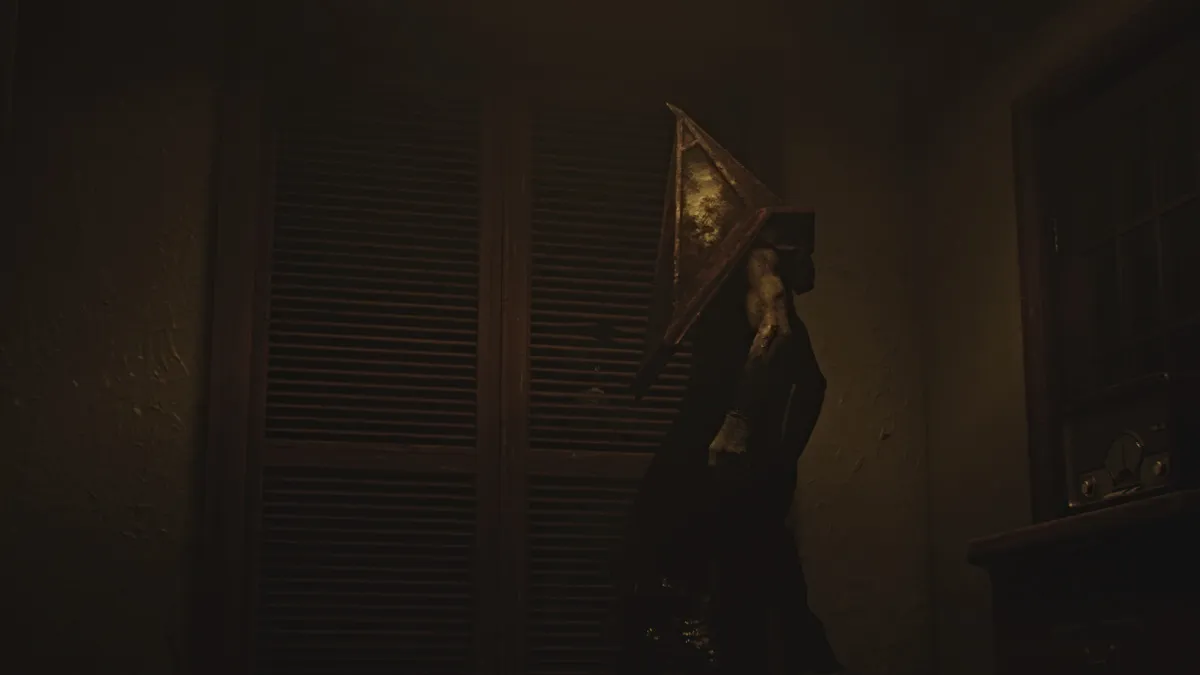
Utilisez l' escalier du hall principal pour remonter au deuxième étage et tournez à droite pour entrer dans l'appartement 201 . Explorez jusqu'à ce que vous tombiez sur un mouchoir sur un bureau, ce qui déclenchera une cinématique infâme avec Pyramid Head et quelques mannequins.
Après son départ, retournez au bureau et récupérez le mouchoir , puis approchez-vous de la porte rouge vif de l'autre côté pour une autre cinématique où James doit littéralement traverser d'un bâtiment à l'autre. Bien qu'il s'agisse techniquement des Blue Creek Apartments , c'est une version piégée dans l' Autre Monde .
Dans l’Autre Monde, un environnement par ailleurs normal semble très différent ; plus délabrés, rouillés et souvent réduits à un squelette industriel crasseux. Repérez-vous car vous n'avez pas encore accès à une carte et franchissez la porte bleue à proximité. Prenez des munitions pour armes de poing dans le fauteuil à votre droite, puis dirigez-vous vers la gauche et suivez le couloir jusqu'à ce que vous obteniez une carte de Blue Creek Apts 2F-3F .
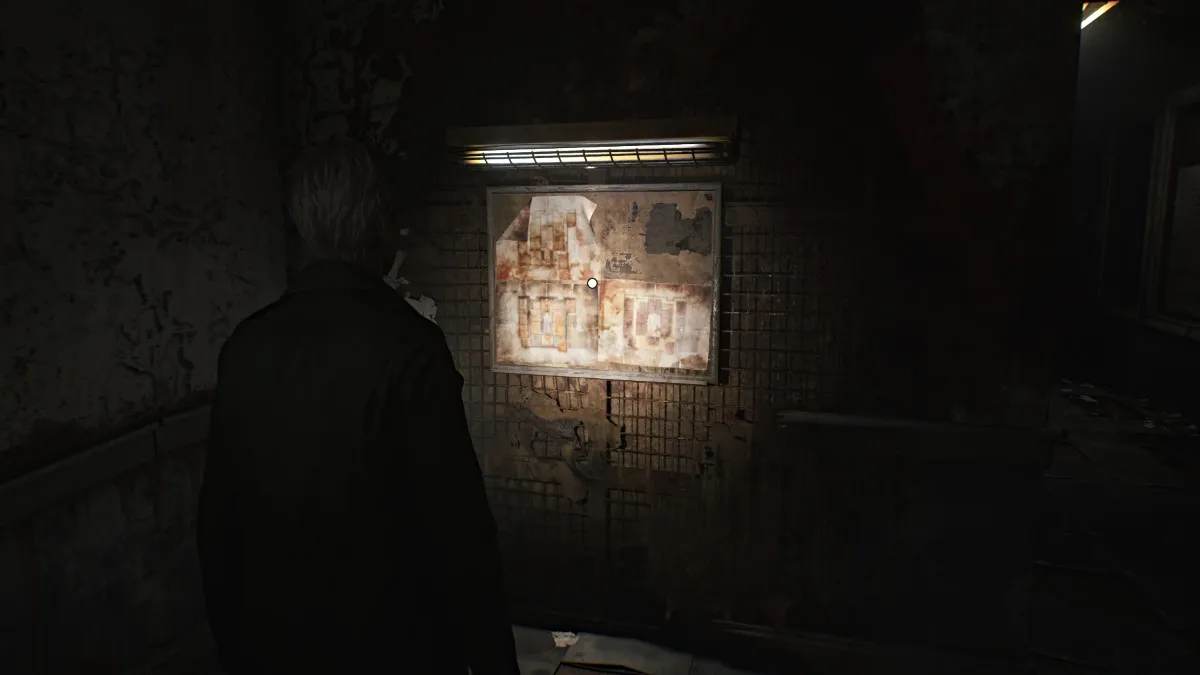
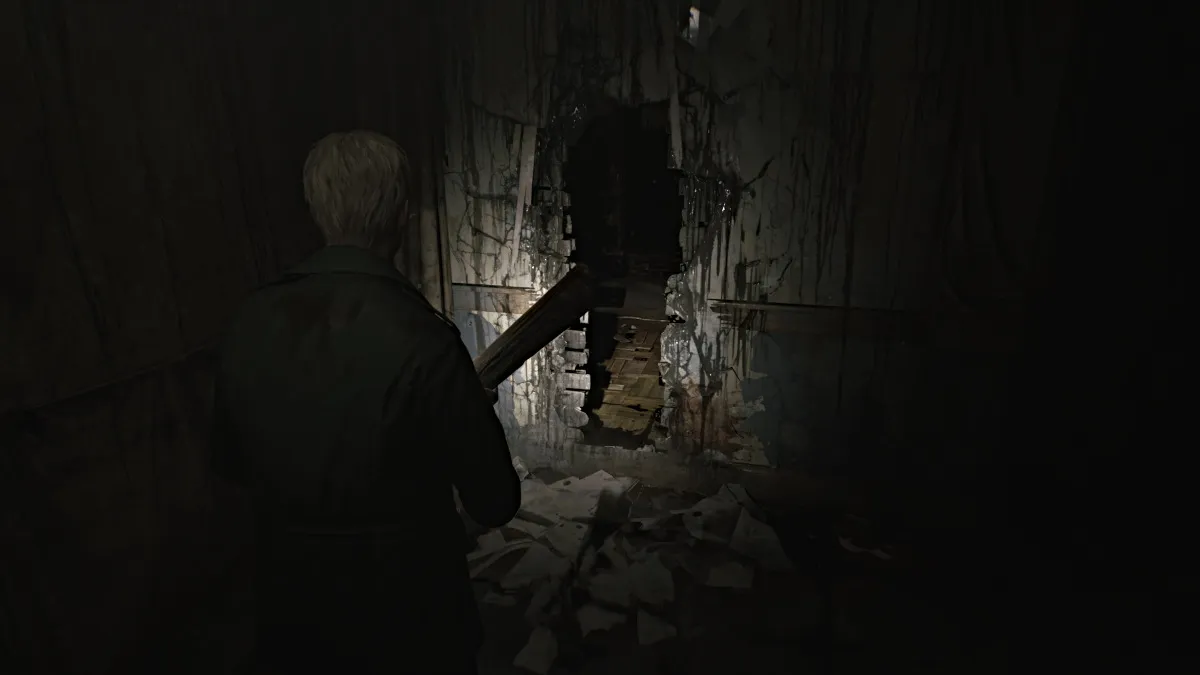
Continuez dans le couloir jusqu'à ce que vous arriviez à ce qui ressemble à un mur cassable . Utilisez votre planche de bois pour la décomposer et passer à travers. Récupérez des munitions pour armes de poing dans un tiroir à proximité et dirigez-vous prudemment vers l’autre côté de l’appartement. Prenez soin des monstres et récupérez plus de munitions pour armes de poing dans la cuisine avant de sortir dans le couloir.
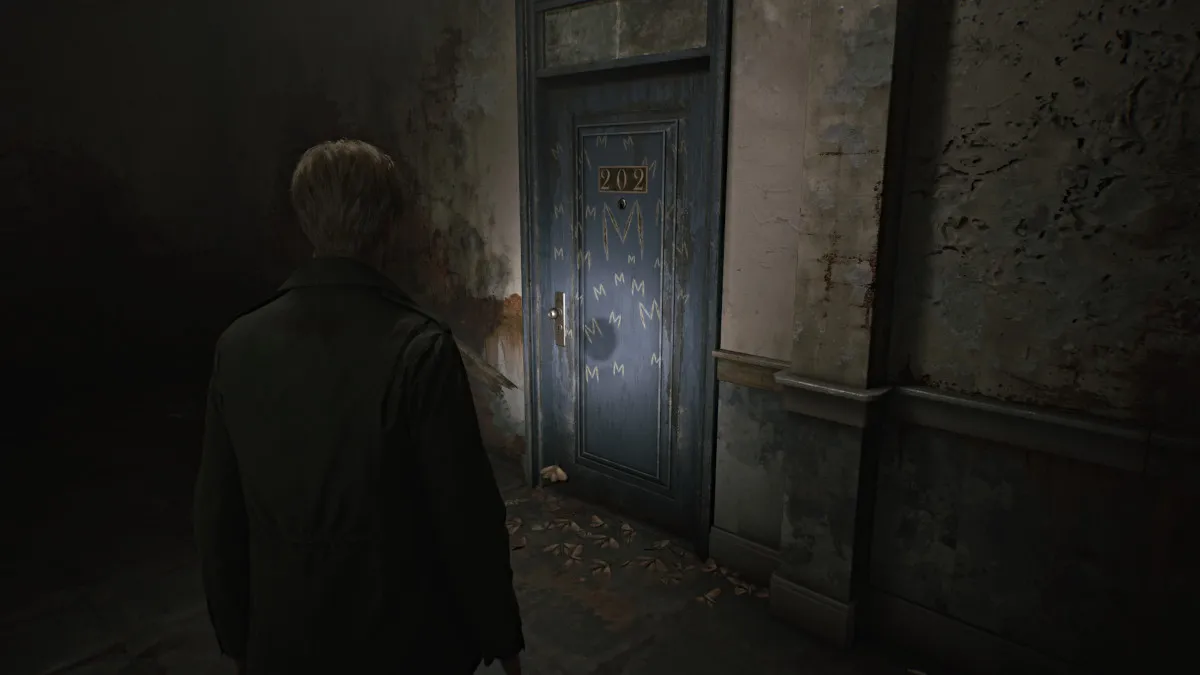
À un moment donné, vous passerez la porte bleue de l'appartement 202 , sur laquelle est gravé un « M » à plusieurs reprises et plusieurs papillons de nuit morts devant. Vous y reviendrez plus tard.
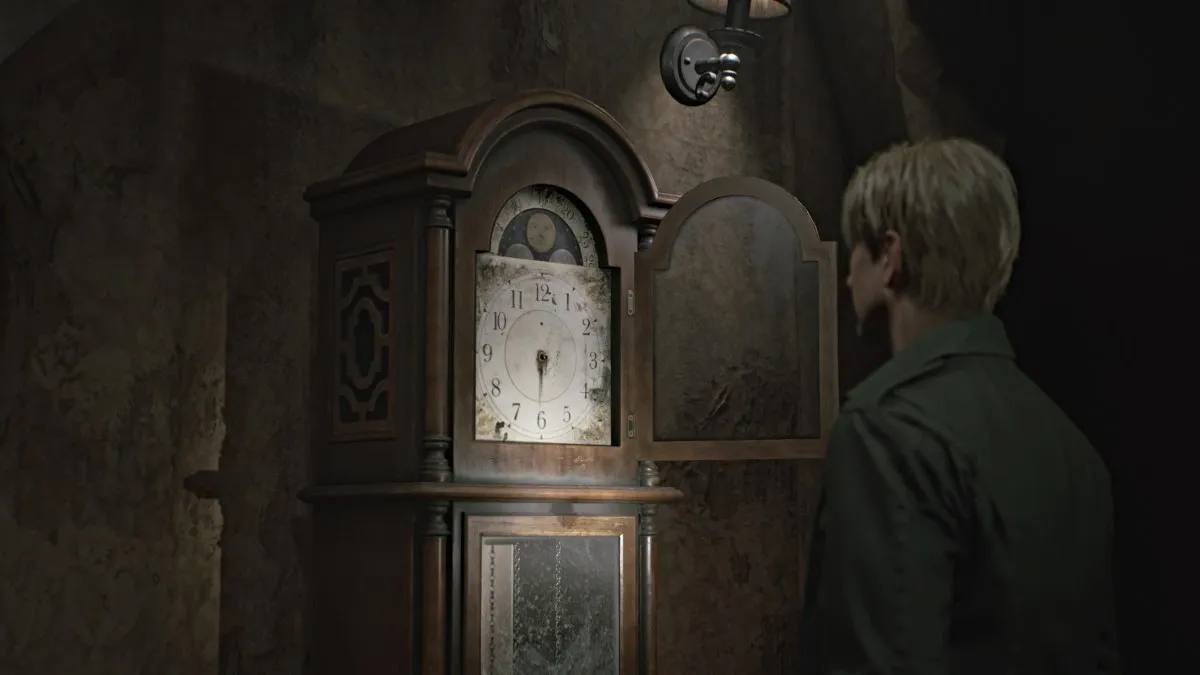
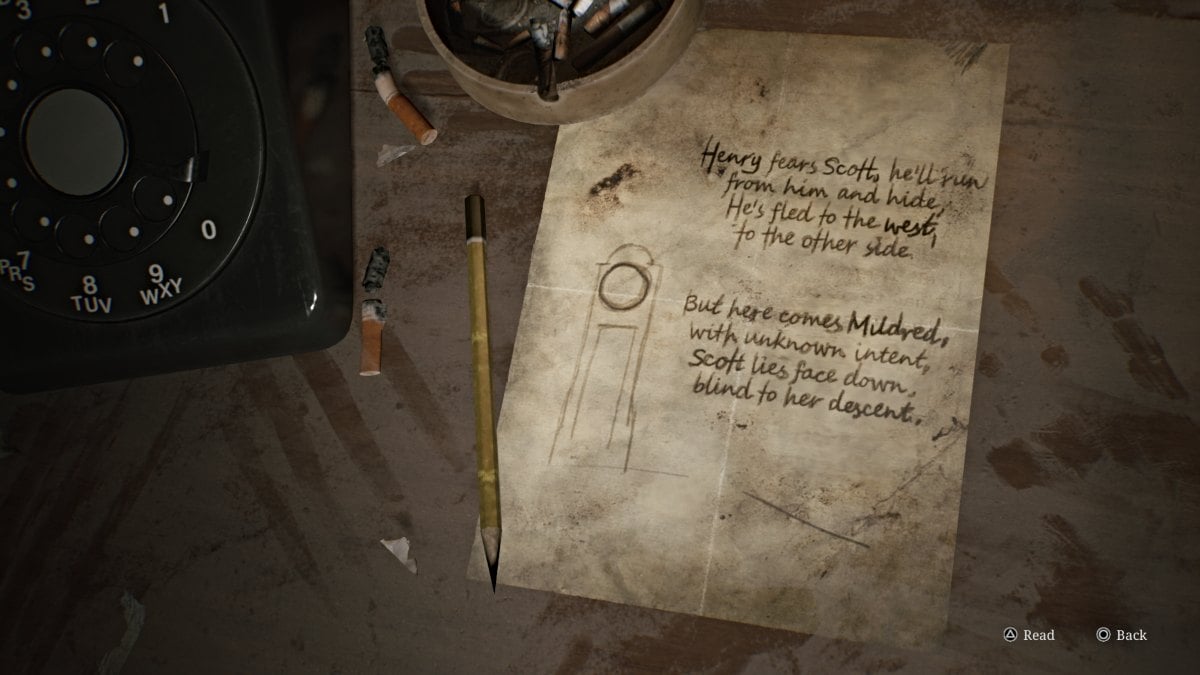
Pour l'instant, allez dans l'appartement 212 , où vous trouverez un point de sauvegarde rouge et une horloge grand-père qui est en fait un puzzle. Cependant, pour le compléter, vous devrez d'abord trouver les aiguilles manquantes des heures, des minutes et des secondes .
Il y a également une note manuscrite sur la table en face de l'horloge qui donne des indications sur la direction dans laquelle ces aiguilles doivent être placées.
Sortez sur le balcon, là où se trouve une bifurcation proverbiale sur la route. À droite se trouve une porte orange avec un grand « H » rayé dessus , mais vous ne pouvez pas encore l'ouvrir. Au lieu de cela, allez à gauche et entrez dans l'appartement 203 . Prenez la seringue à l'intérieur de la cuisine et détruisez le mur pour entrer au 205 .
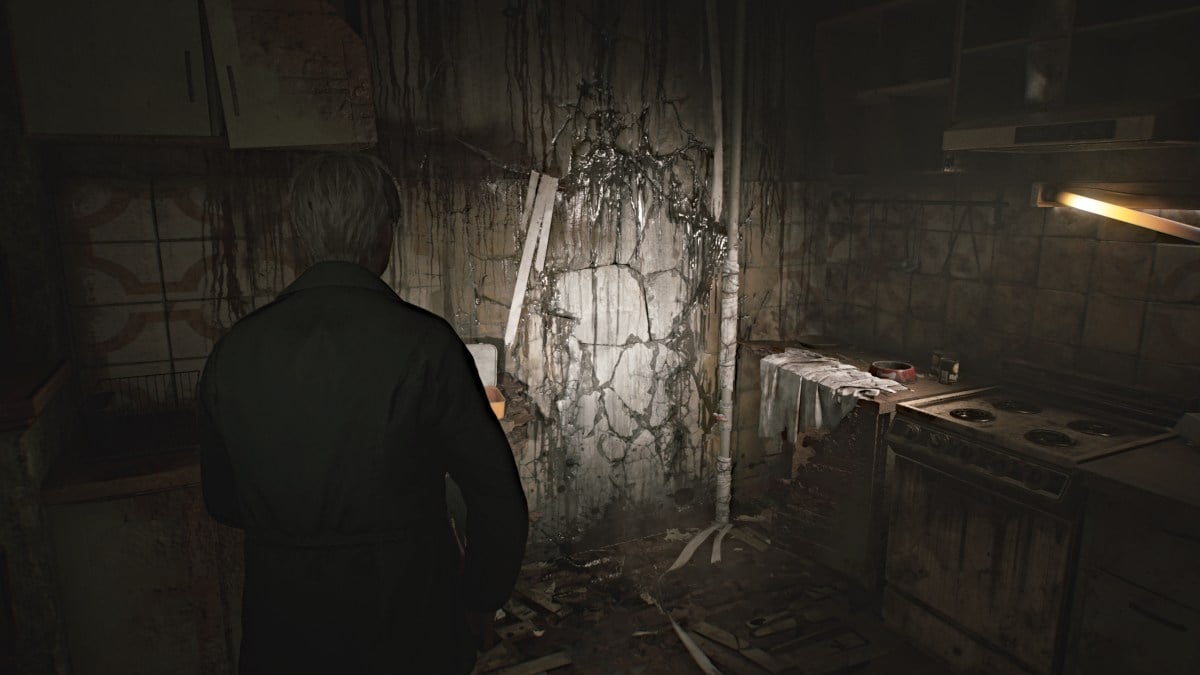
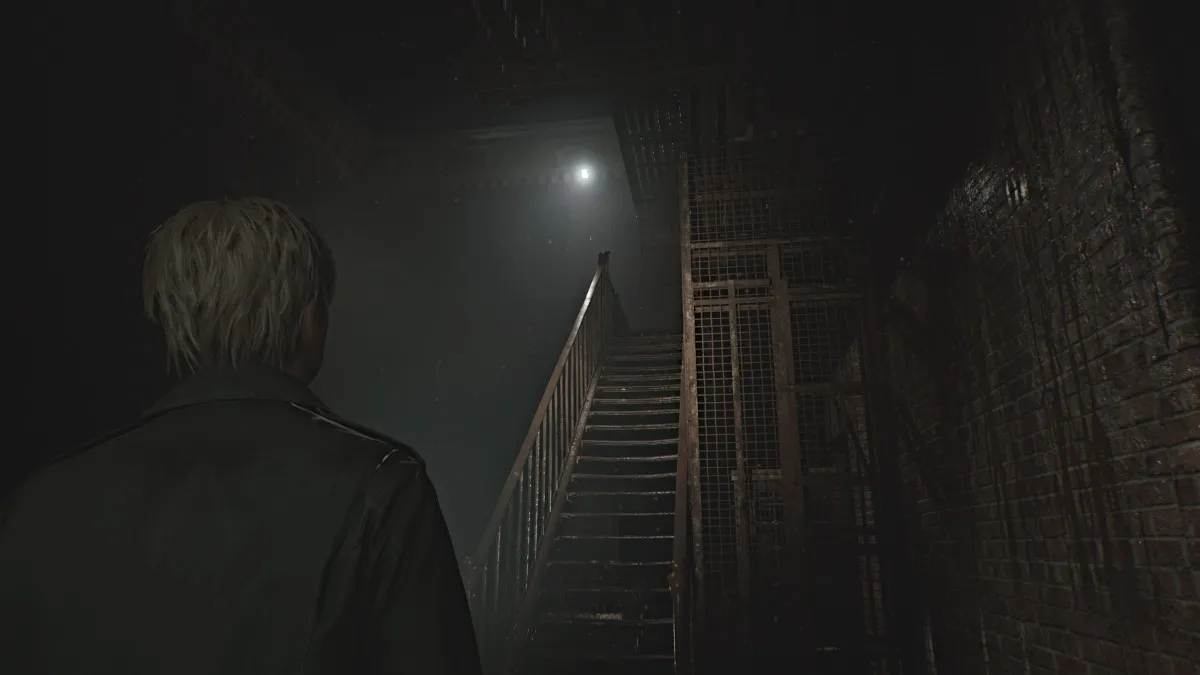
Récupérez les munitions pour armes de poing dans le berceau de l’autre côté et avancez jusqu’à ce que vous atteigniez une autre fenêtre ouverte donnant sur un autre balcon. Prenez plus de munitions pour armes de poing dans la salle de bain voisine avant de partir. Prenez la cage d'escalier jusqu'au troisième étage et montez à travers le vide sanitaire pour atterrir dans l'appartement 303 .
Tout d’abord, dirigez-vous vers la cuisine, où se trouve un autre mur cassable. Après cela, vous atteindrez la buanderie où vous trouverez des munitions pour armes de poing et une boisson santé .
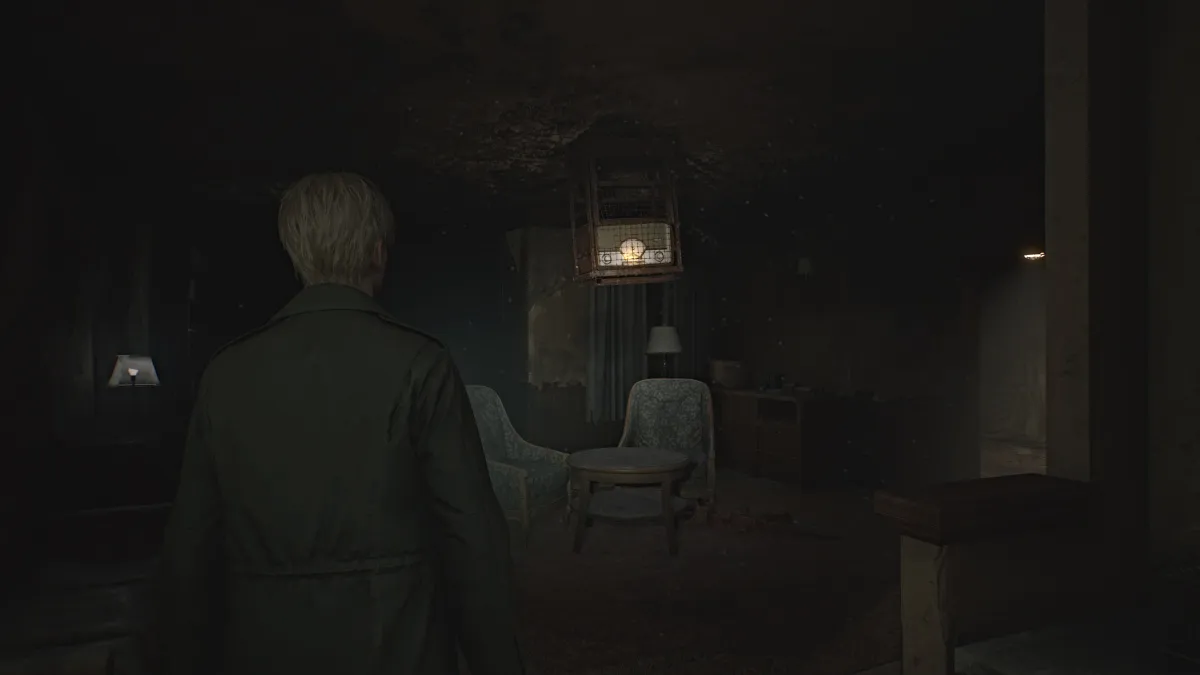
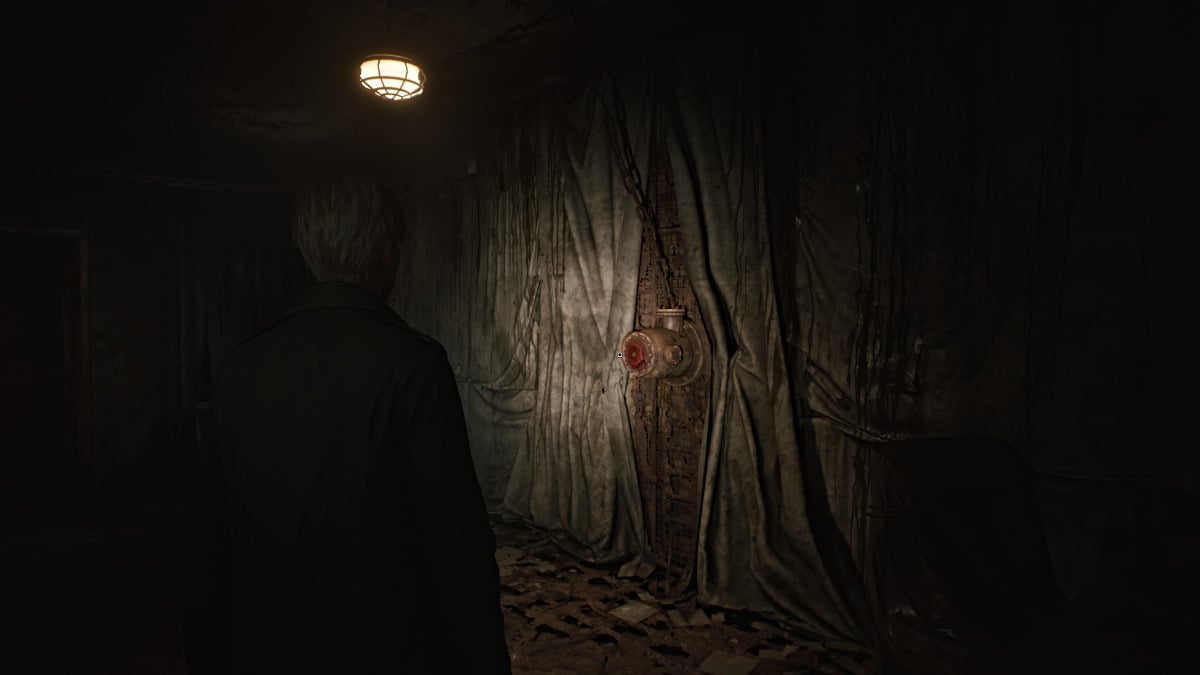
Sortez dans le couloir et dirigez-vous vers l'appartement 307 où vous verrez une grande radio accrochée au plafond jouant de la musique. Après avoir récupéré plus de munitions pour armes de poing, allez dans la pièce de droite avec une manivelle rouge sur le mur à laquelle il manque une valve .
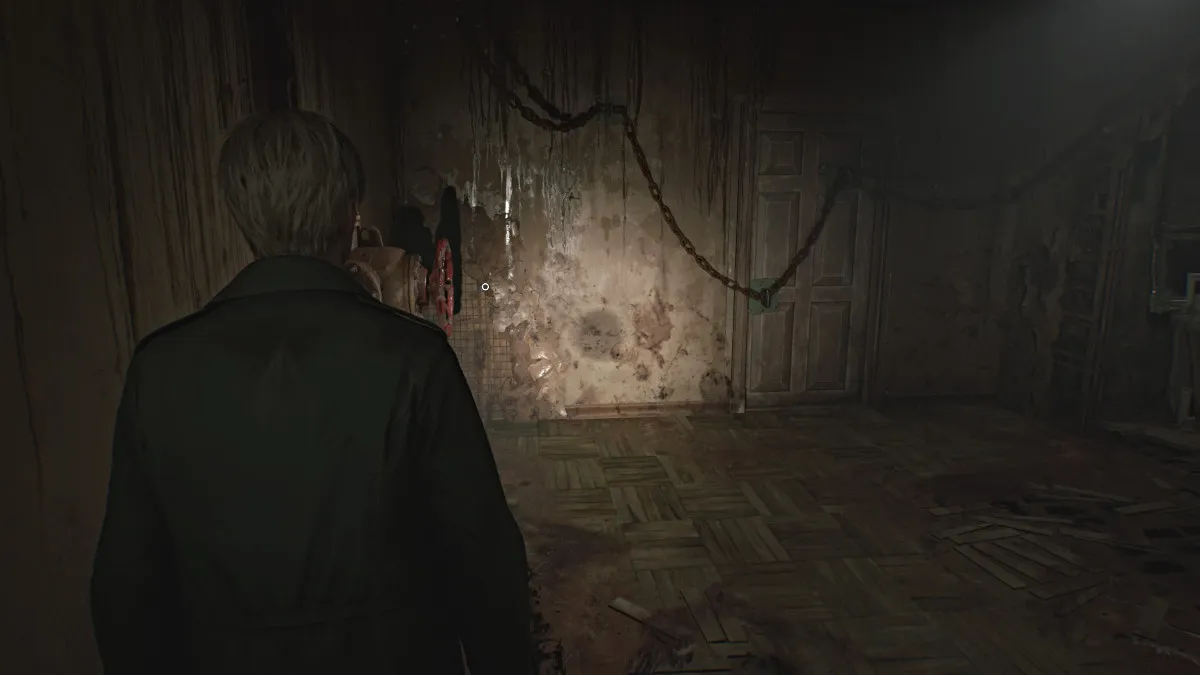
Tout d'abord, franchissez l'autre porte de la pièce qui vous mènera à un autre balcon et revenez à l'appartement 305. La fenêtre se fermera derrière vous et vous devrez ouvrir la porte enchaînée à proximité en utilisant l'autre manivelle rouge sur le mur (vu au-dessus de). Deux personnages couchés attaqueront rapidement, alors éliminez-les. Assurez-vous de récupérer la clé de l'appartement 306 sur la table avant de partir.
Rendez-vous à l'appartement 306 et explorez et récupérez toutes les munitions pour armes de poing et boissons santé que vous pouvez. Dans le salon, vous verrez un autre Red Crank .
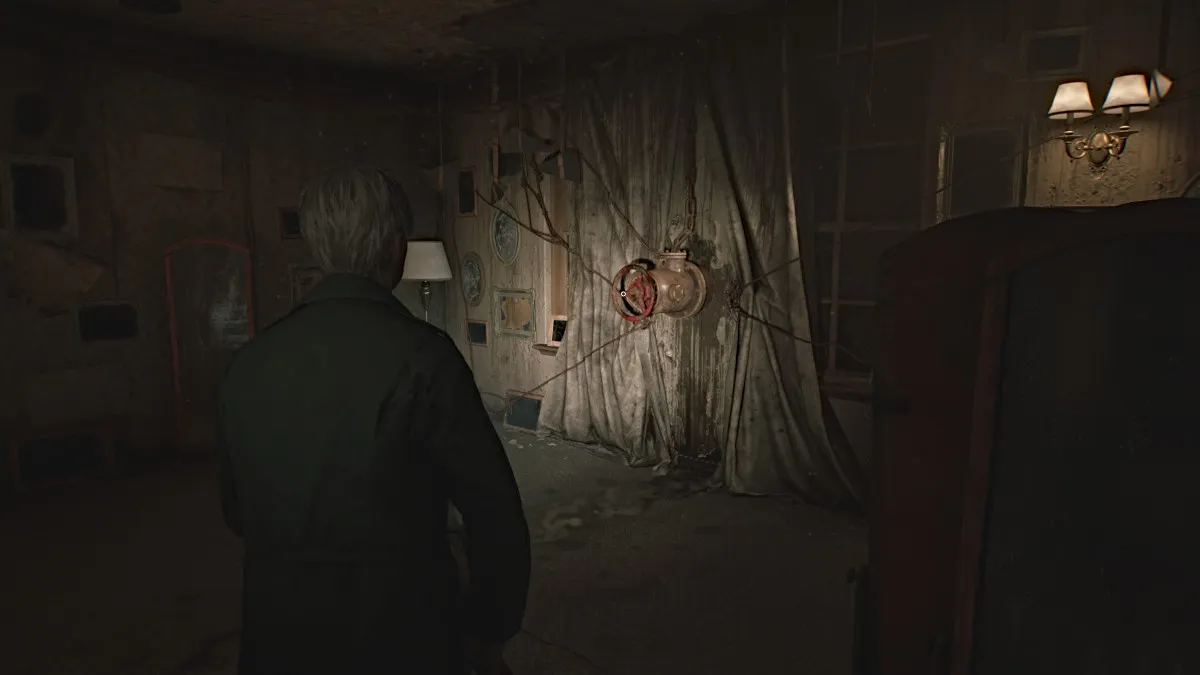
Tournez-le pour ouvrir la porte de l'autre côté de la pièce et récupérez la valve qui se brise ensuite. Retournez maintenant à l'appartement 307 et utilisez la valve sur la manivelle murale pour faire tomber la radio en cage.
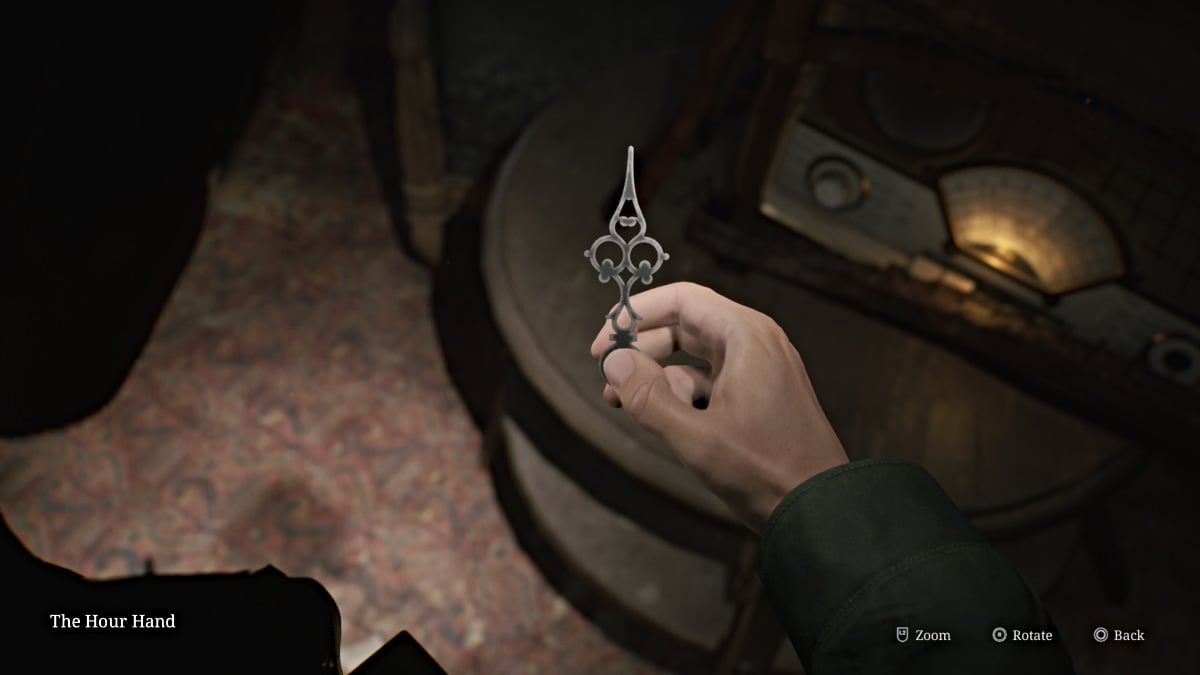
Approchez-vous-en ensuite pour obtenir l’ aiguille des heures de l’horloge grand-père. Sur ce, redescendez l'escalier de secours (utilisez le levier sur le mur pour abaisser les escaliers jusqu'au deuxième étage) jusqu'à l'appartement 212 et placez l'aiguille des heures dans l'horloge pour lancer le premier puzzle de l'horloge.
Dans ce cas, tournez l'aiguille des heures sur « 9 » sur l'horloge et la porte orange « H » à proximité se déverrouillera enfin. Dirigez-vous vers la porte « H » via le balcon et elle vous mènera à l'appartement 210. À l'intérieur, vous remarquerez qu'il y a un thème d'oiseau dans tout. Un petit "SeeSaw" (comme James l'appelle) dans le salon a besoin d'un objet en forme d'oiseau pour l'alourdir, et une porte verrouillée à proximité nécessite une clé pour sa serrure en forme d'oiseau.
Allez dans la cuisine, prenez les munitions d'armes de poing du comptoir et décomposez le mur à proximité pour accéder à la salle de bain. Entrez à l'intérieur et la seule zone consultable est (bien sûr) les toilettes pleines de ... eh bien, "goop". «Recherchez» jusqu'à ce que James se retire la main pour l'horloge.
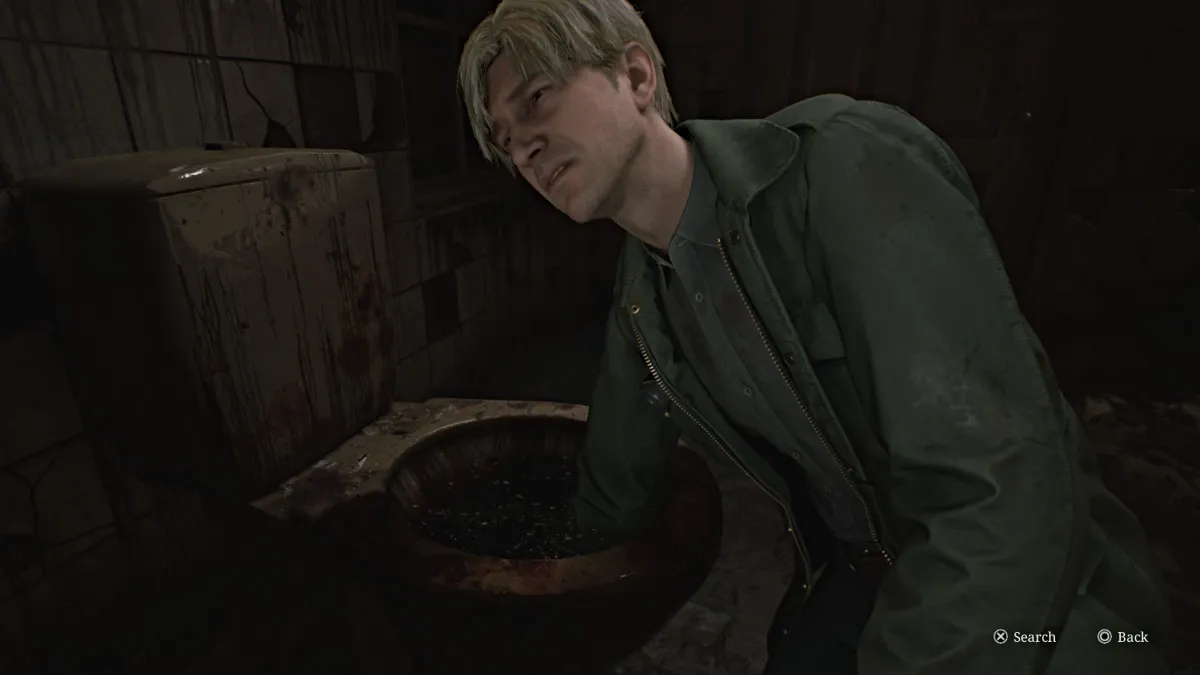
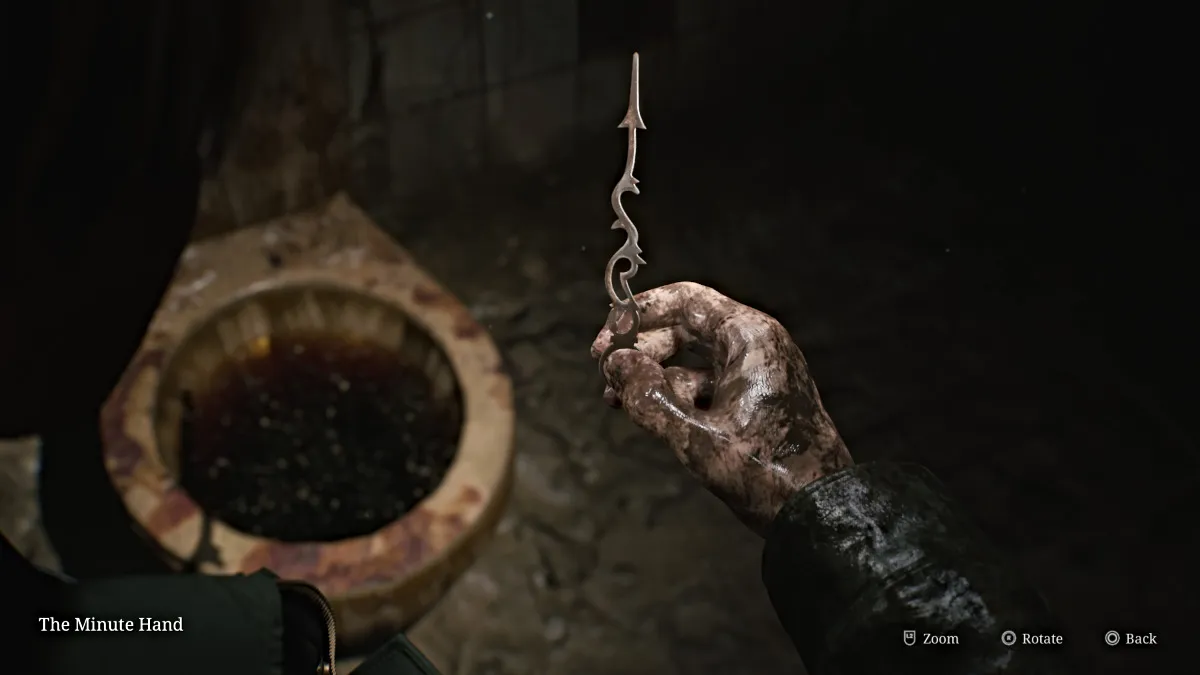
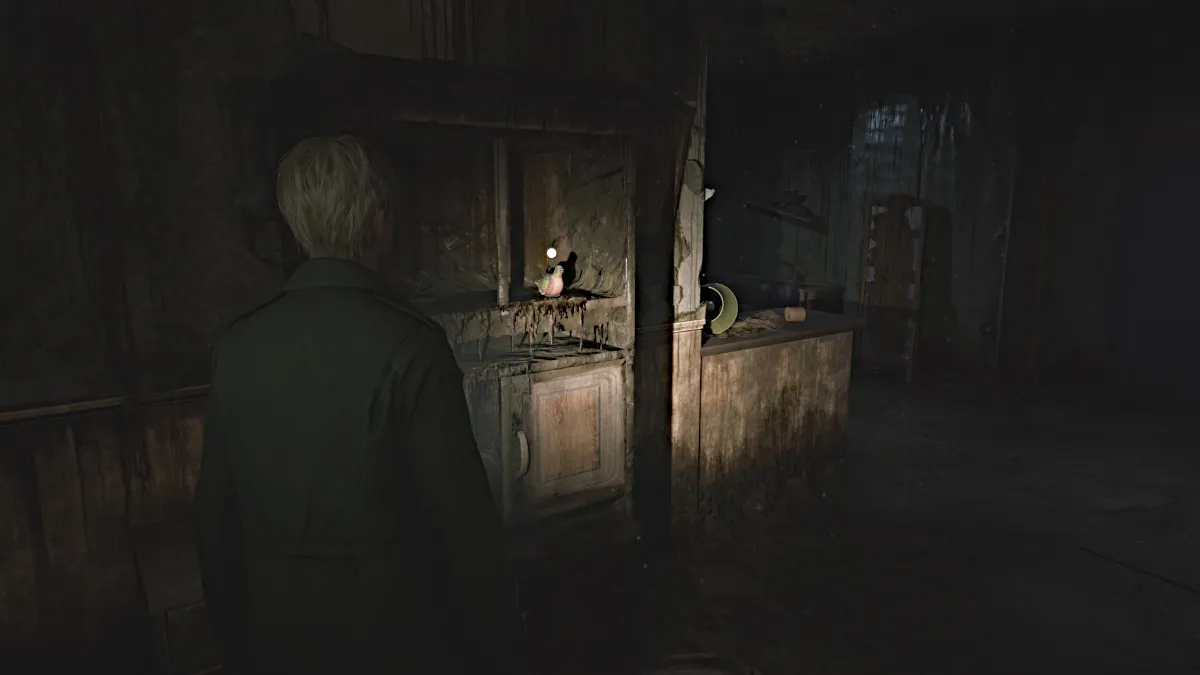
Cependant, ce faisant, l'environnement autour de James change soudainement et vous devrez trouver une issue différente. Laissez la salle de bain et prenez la figurine de pigeon de l'étagère voisine (vue ci-dessous). Après avoir traité avec la figure mensonge qui se charge (rappelez-vous qu'ils explosent après être mourant dans l'autre monde), placez la figure de pigeon sur le côté gauche de la bascule . Vous devez maintenant trouver l'autre chiffre pour l'équilibrer.
Partez et descendez dans le couloir jusqu'à l'appartement 209 , où vous entendrez soudainement des chuchotements étranges (retour à l'original). Parcourez la chambre pour vous rendre aux toilettes et briser la porte de la douche à l'intérieur pour obtenir la partie figurine mal formée (vue ci-dessous).
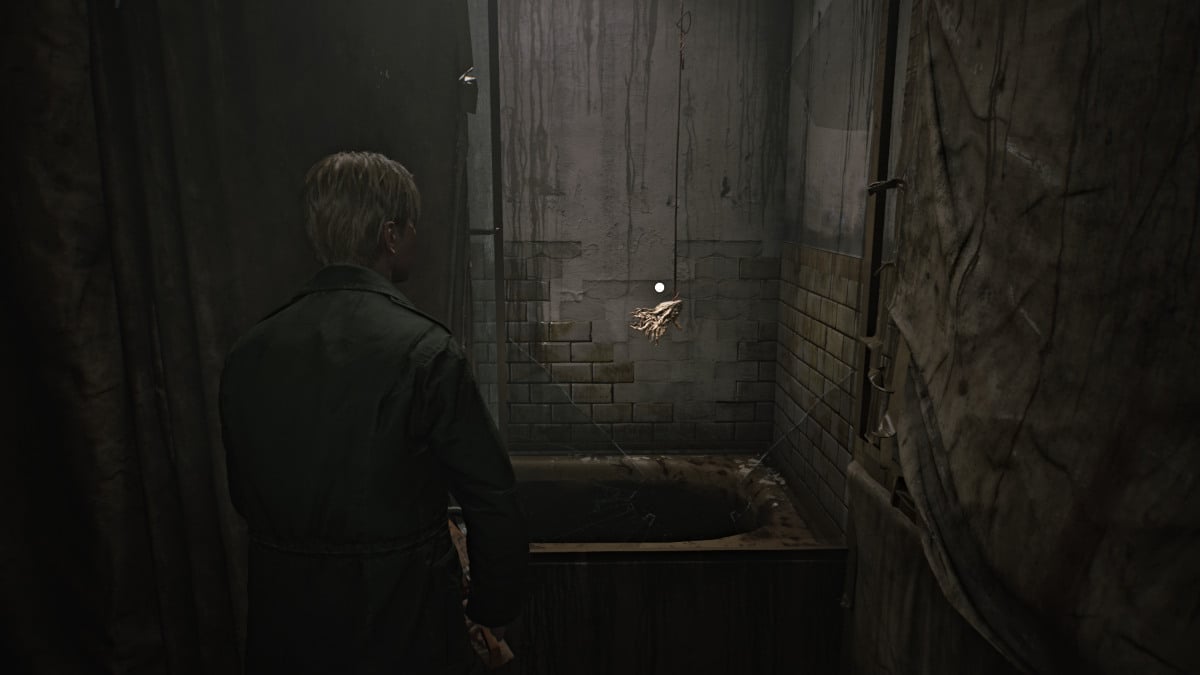
Faites attention à une silhouette mensonge en sortant, prenez des munitions d'armes de poing de l'impasse vers votre gauche et dirigez-vous maintenant vers l'appartement 211 . Vous pouvez entrer par le mur cassé ou la porte réelle, et une boisson santé sera assise près de la porte.
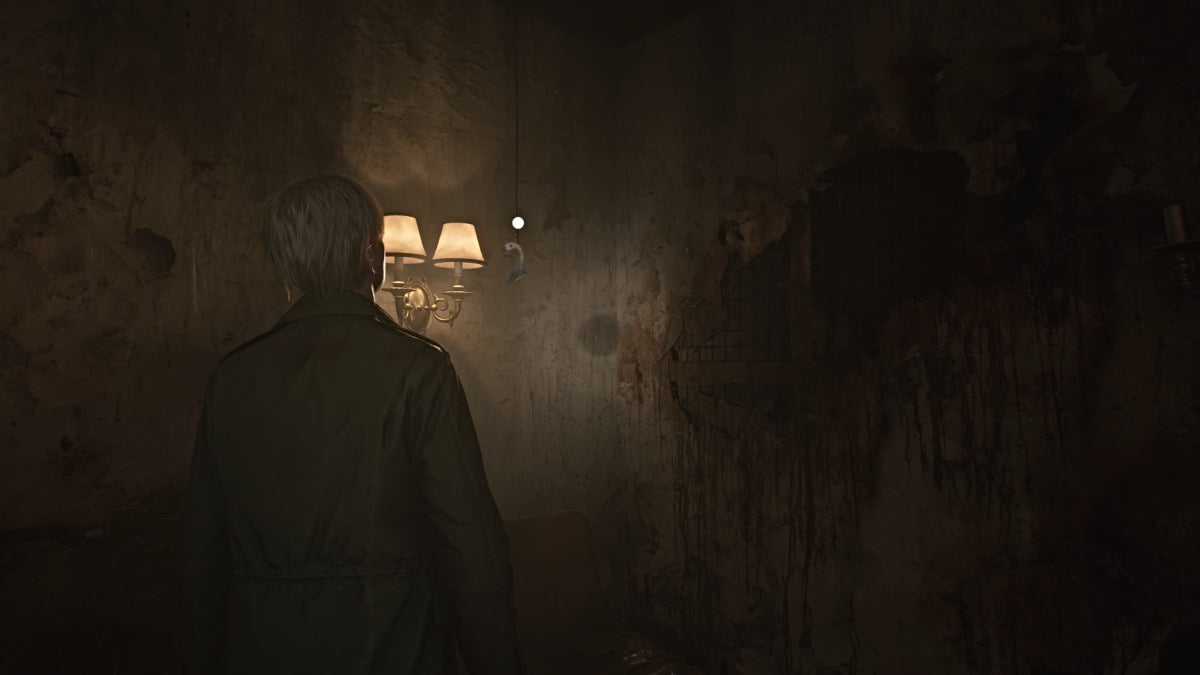
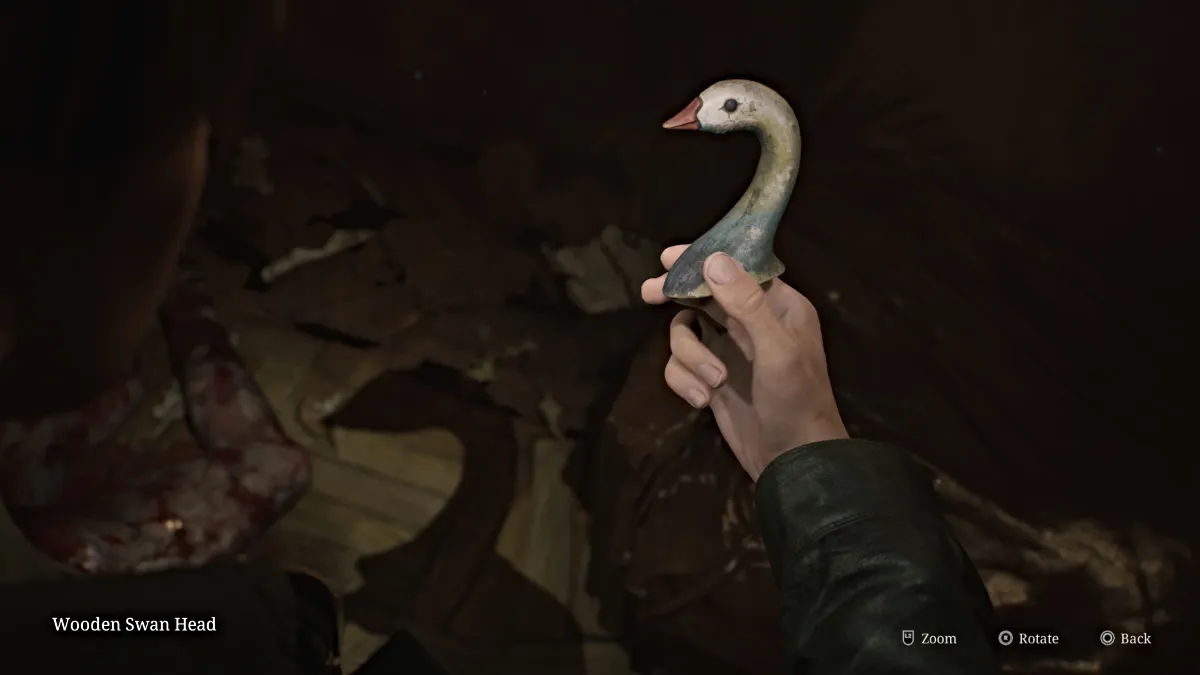
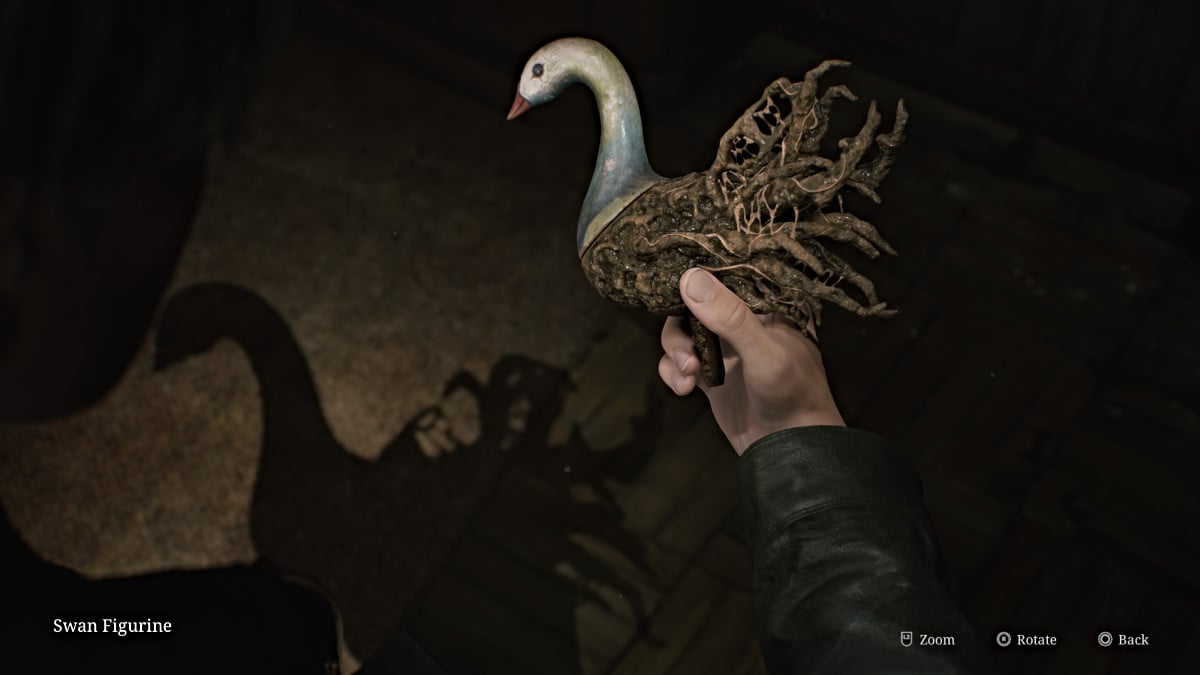
Entrez à l'intérieur et traitez avec les deux mannequins en essayant de vous faire tomber. Dans cette même pièce à droite, vous remarquerez une étrange ombre sur le mur arrière. Regardez autour de vous et la tête de cygne en bois (vue ci-dessus) sera suspendue à une ficelle près d'une lumière. Prenez-le, puis combinez-le dans votre inventaire avec la partie de la figurine mal formée pour faire la figurine Swan. Prenez plus de munitions d'armes de poing de la cuisine en sortant et retournez à l'appartement 210.
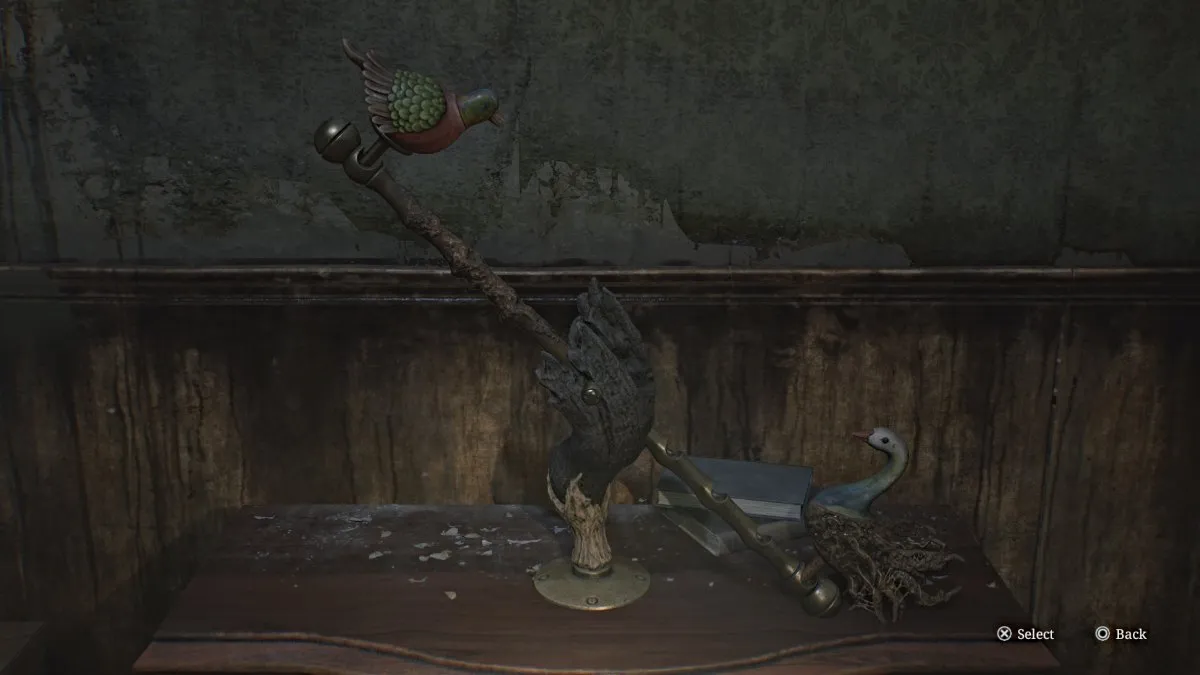
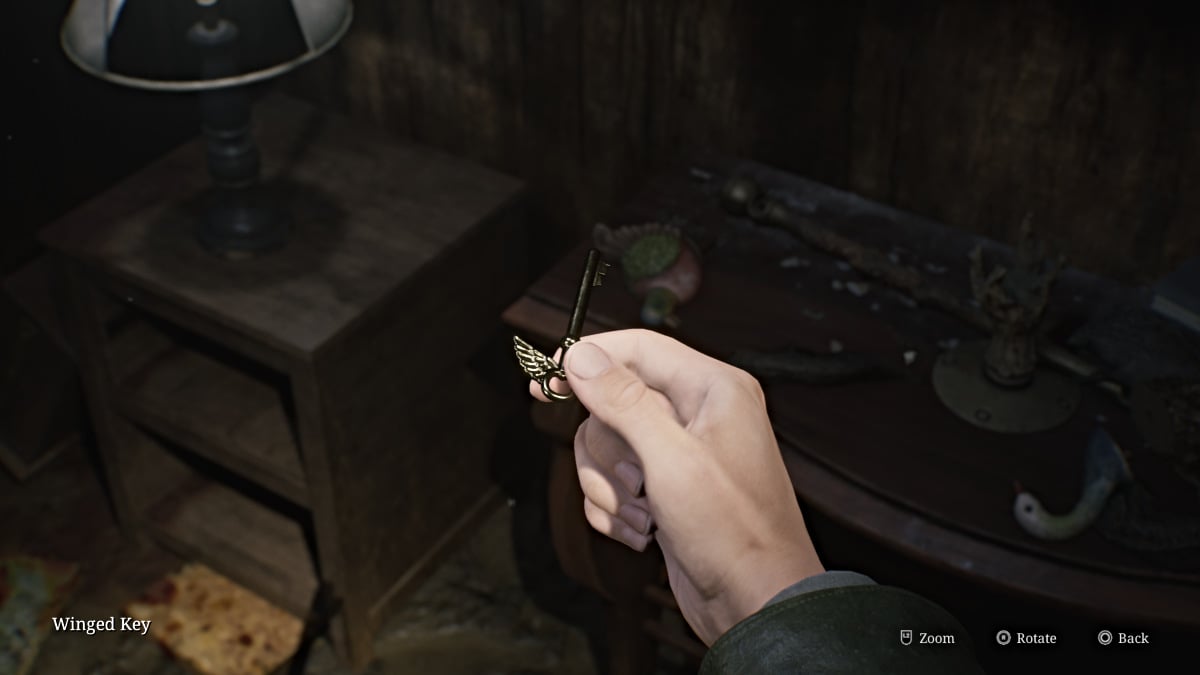
Placer la figurine Swan sur la bascule et ajustez la deuxième fente du centre pour équilibrer la bascule. Le point d'appui du bois se brisera, révélant la clé ailée . Prenez-le et utilisez-le sur la porte verrouillée à proximité. Entrez à l'intérieur et vous verrez un trou béant dans le sol que vous devrez sauter. Cela vous amène au premier étage des appartements Blue Creek.
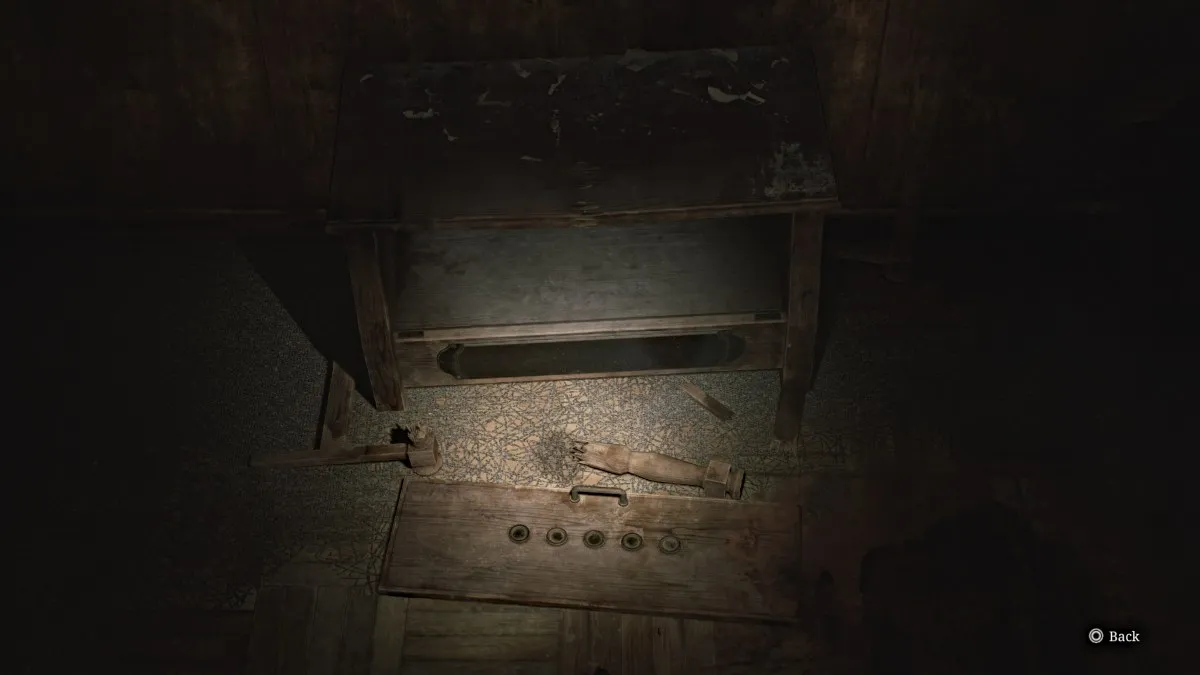
Ouvrez la carte et vous vous retrouverez dans l'appartement 110 au premier étage. Faites votre chemin et vous rencontrerez un autre aperçu du passé (vu ci-dessus), qui est l'armoire de puzzle des pièces du jeu original. Continuez et sortez par l'espace dans le mur lorsque la porte d'entrée est verrouillée. Dirigez-vous vers le nord dans le couloir, et vous remarquerez que l'environnement semble différent de ce côté, moins en panne.
Entrez à l'intérieur de l' appartement beaucoup plus propre 109 et à travers la porte blanche devant. Une cinématique jouera avec Angela, qui semble plus perdue qu'auparavant.
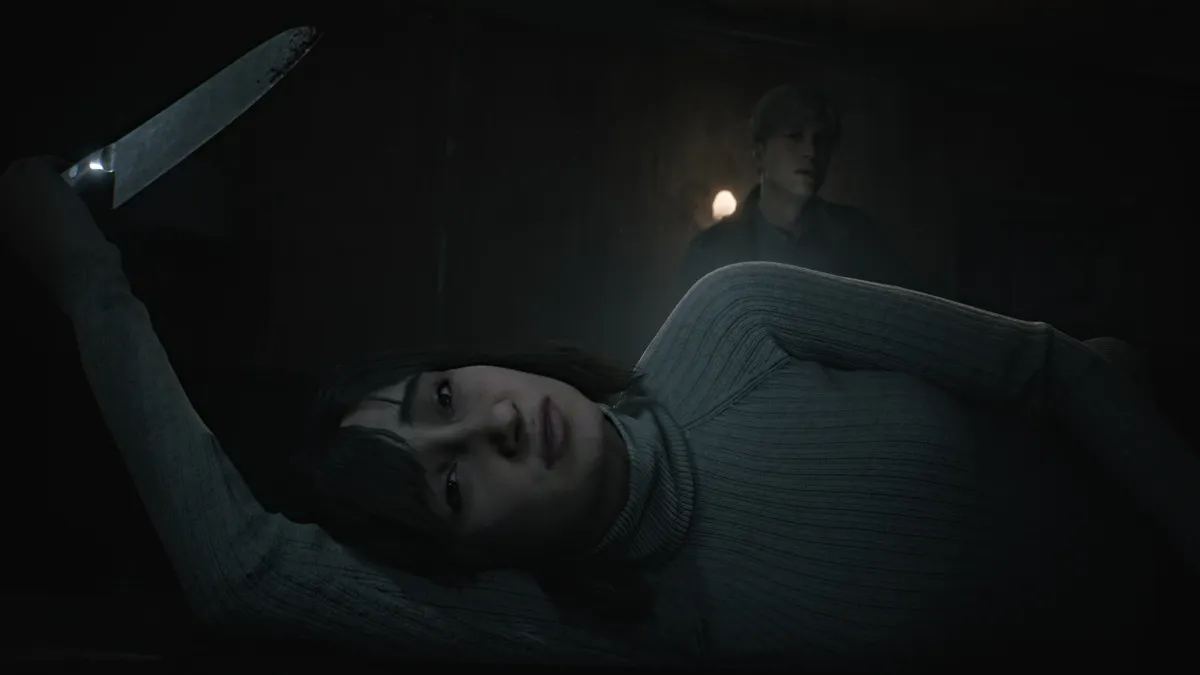
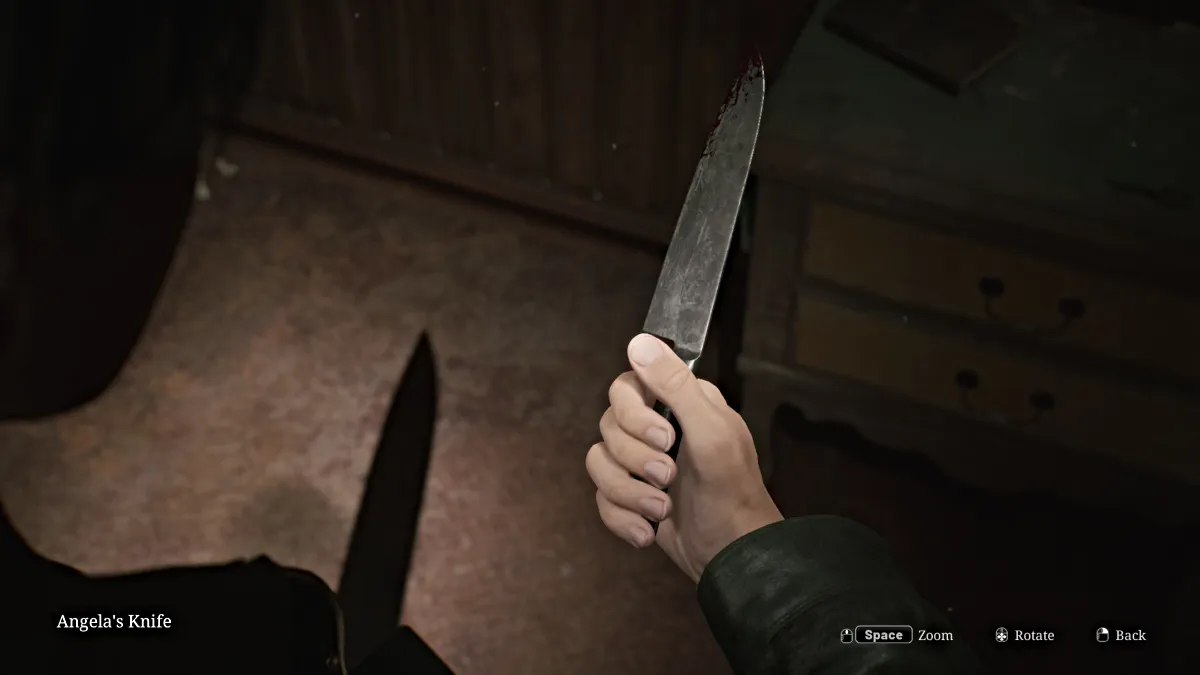
Alors que la cinématique se termine et qu'elle laisse le couteau derrière, James le prendra pour son inventaire (vu ci-dessus).
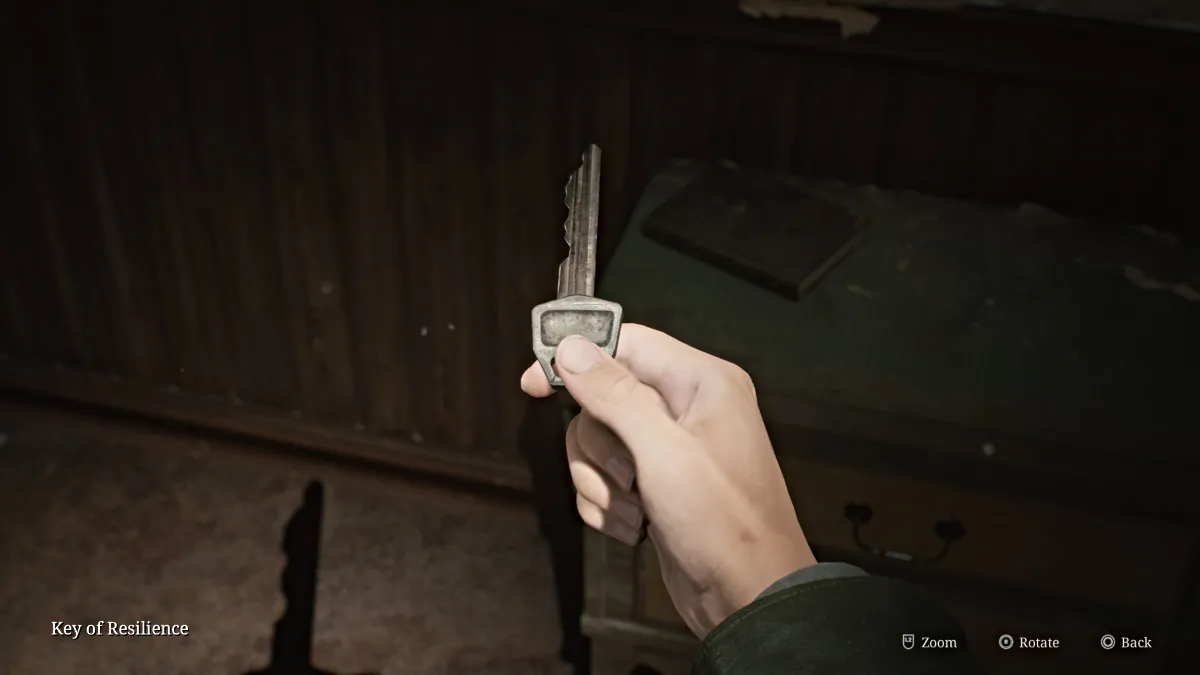
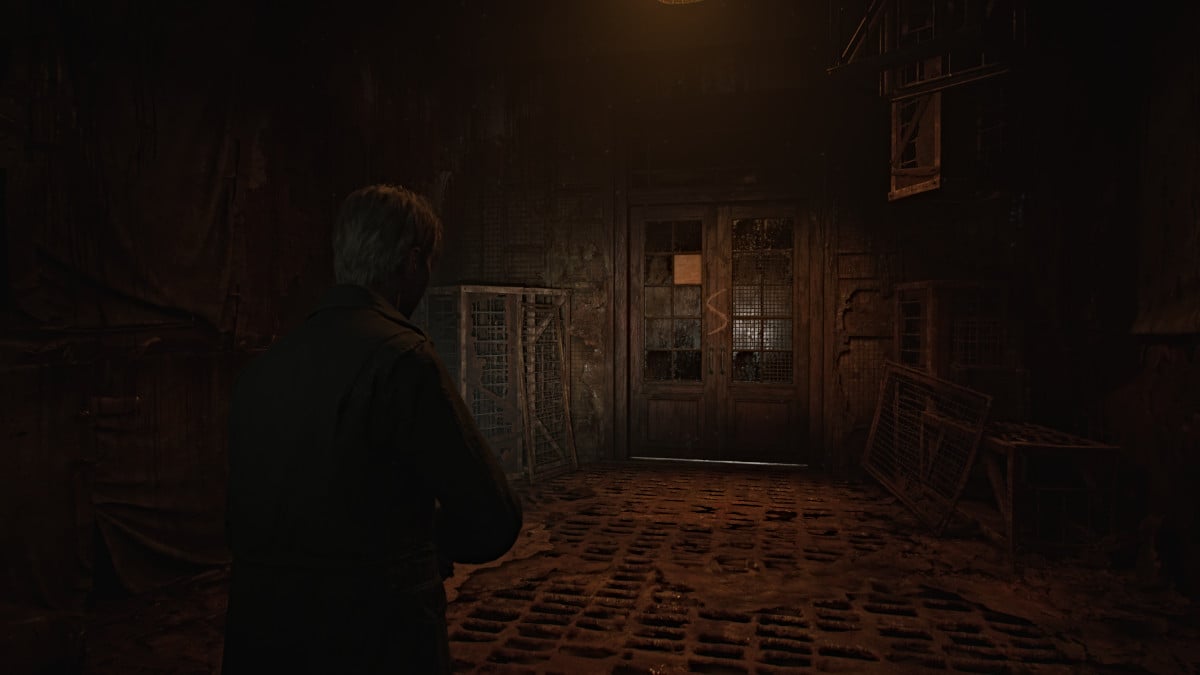
Prenez la clé de la résilience qui est également sur la table, puis quittez l'appartement. Utilisez la clé de la résilience sur la porte la plus au sud qui mène à une zone de foyer et à des portes doubles gravées avec la lettre « Spue ci-dessous). Il est verrouillé, cependant, vous devrez donc trouver un autre moyen.
Passez le foyer dans l'appartement 101 , rassemblez les munitions et la seringue à partir de là et utilisez-la pour contourner une barrière dans le couloir, et cela mène à la salle des cages d'escalier . Entrez à l'intérieur, où un mannequin vous tendra une embuscade. Tuez-le, afin que vous puissiez en obtenir l' image "pour toujours" (photo étrange) .
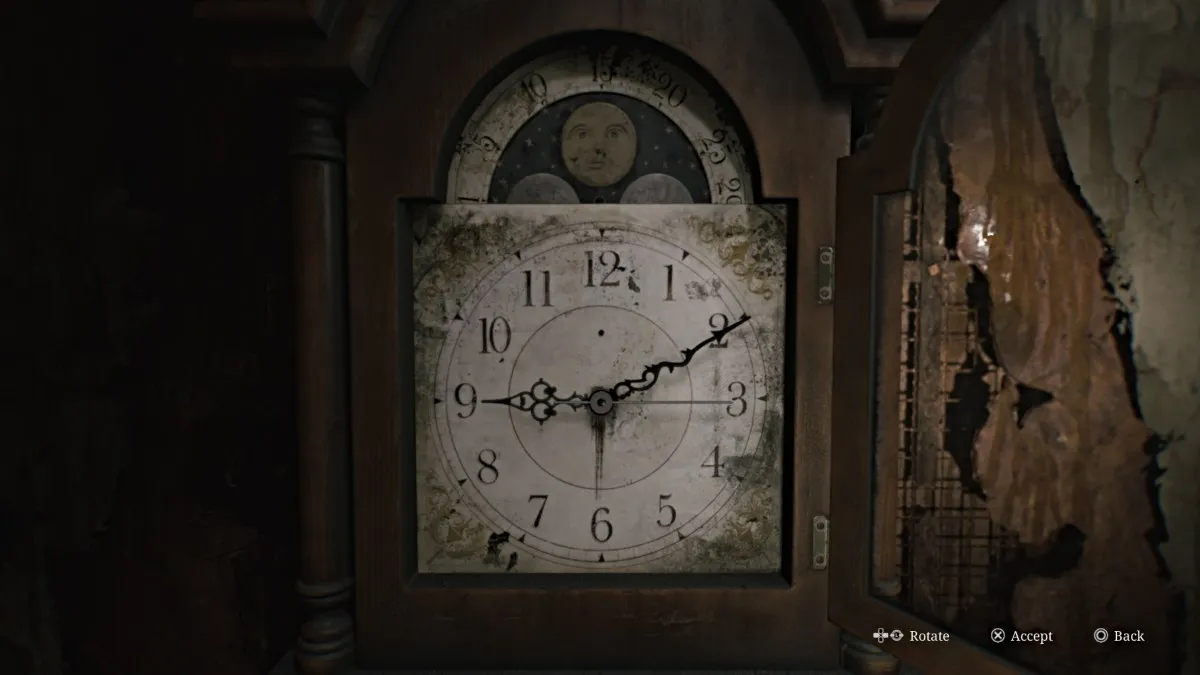
Montez les escaliers (non, il ne vous attend pas là-dedans) et à travers la porte au deuxième étage. Retournez dans la salle de l'horloge (212) car vous avez la main à moitié et placez-la dans l'horloge. Tournez-le en «2» et appuyez sur «Acceptez» pour résoudre la partie suivante du puzzle. Cela débloquera la chambre «M» au deuxième étage que vous avez rencontré il y a quelque temps.
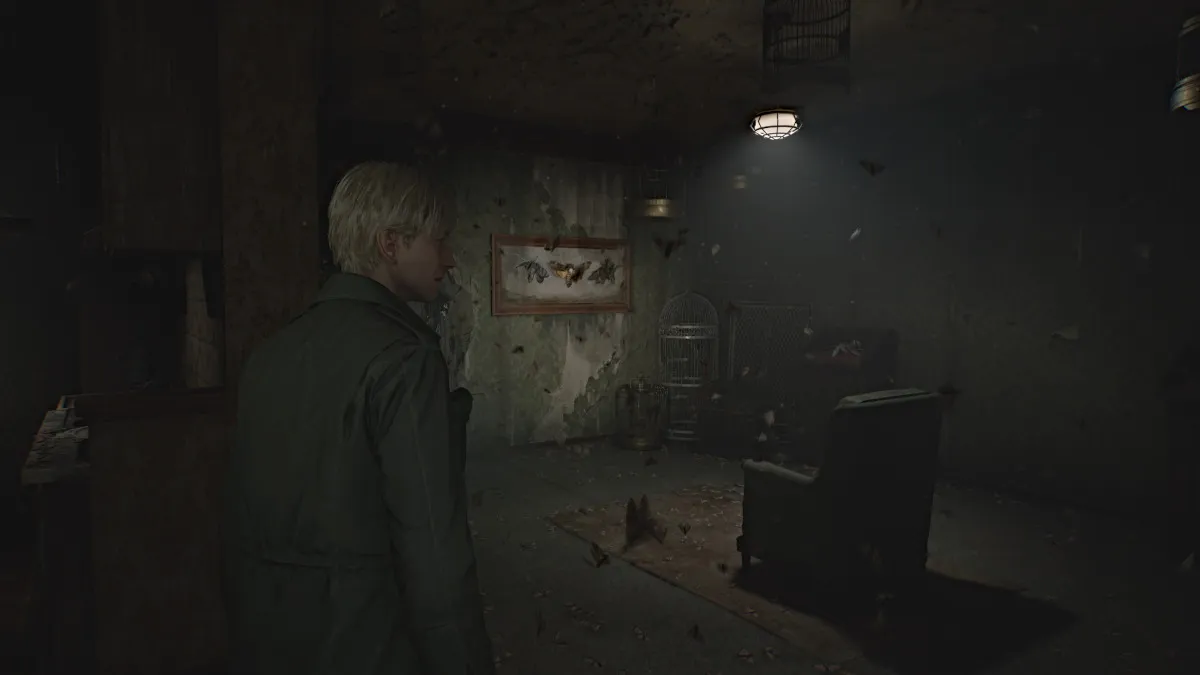
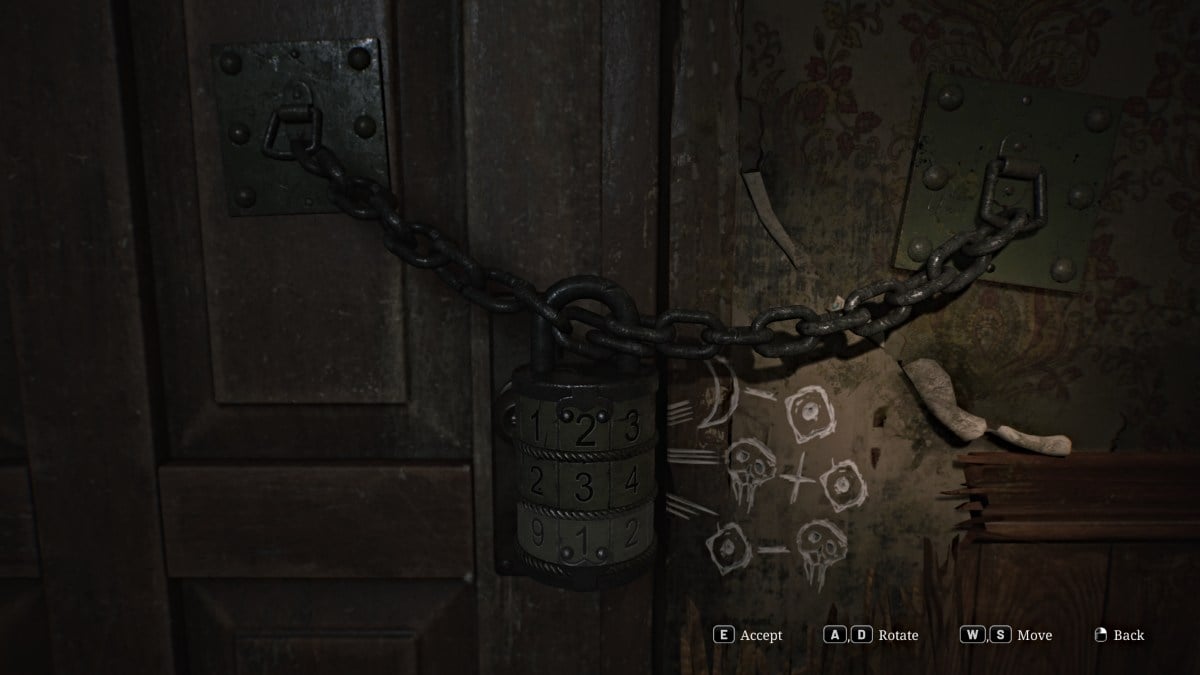
Dirigez-vous vers le couloir jusqu'à la salle M (ou appartement 202 ) et entrez à l'intérieur pour un autre puzzle. L'endroit entier est rempli de papillons de nuit, et vous remarquerez diverses affichages de mateau de mateau dans la pièce principale. Derrière le fauteuil se trouve une autre porte enchaînée avec une grande serrure combinée que vous devez résoudre pour le casser.
Essentiellement, pour obtenir la bonne combinaison, vous devez prendre le compte de tous les papillons affichés dans tout l'appartement (y compris les cachés derrière le mur cassible) et les symboles sur leurs ailes. Vous les tenez compte des problèmes mathématiques symboliques à côté de la serrure, et une fois résolu, vous aurez les chiffres.
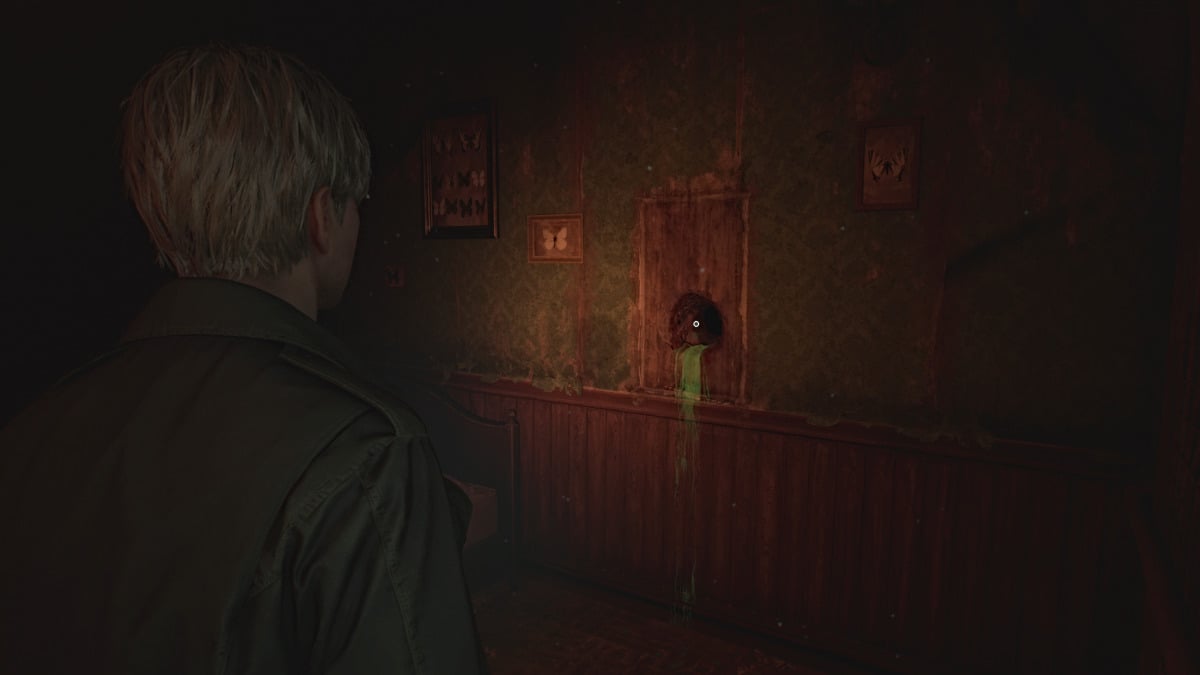
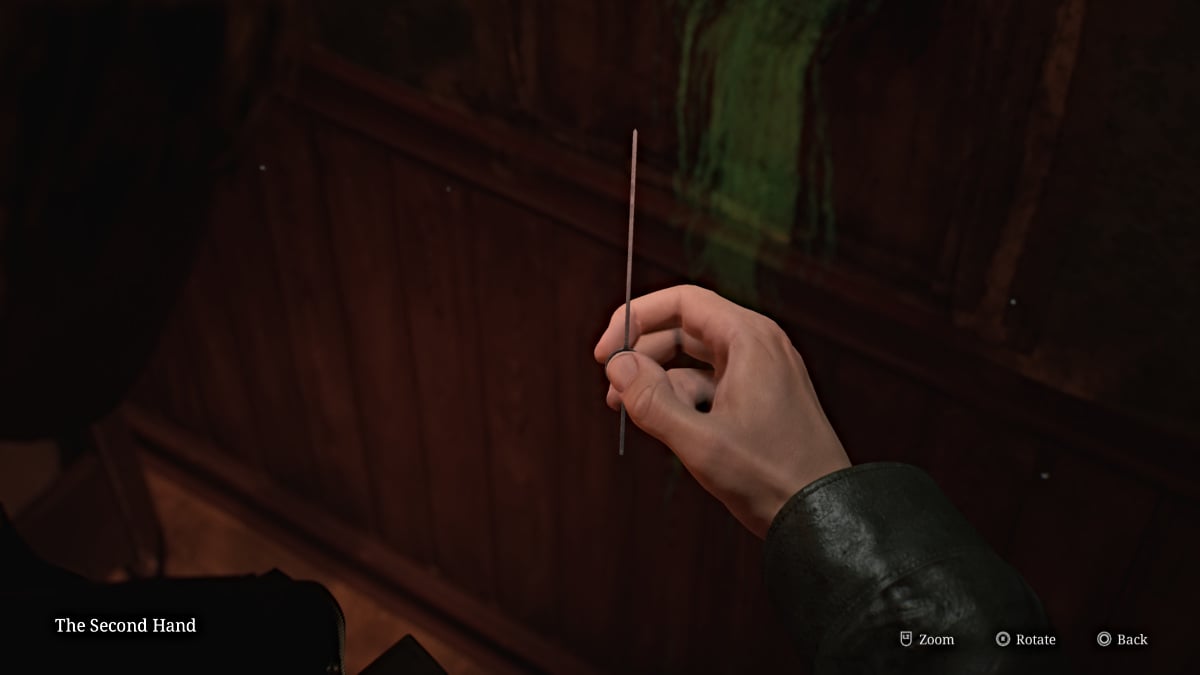
Pour vous faire gagner du temps, cependant, le code correct pour le verrou (difficulté standard) est de 373 . Une fois cela fait, entrez à l'intérieur où vous verrez un autre trou incroyablement accueillant dans un mur pour que James puisse mettre sa main. 'Recherchez' suffisamment de fois et vous récupérerez la seconde main pour l'horloge. Laissez l'appartement par la suite.
Retournez dans la salle de l'horloge et placez la seconde main à l'intérieur de l'horloge. Pour compléter la troisième et dernière partie du puzzle, transformez-la en «3» et cela débloquera la «chambre» inquiétante » au premier étage. Avant de quitter la salle de l'horloge, assurez-vous de saisir les munitions d'armes de poing de la salle voisine et la photo étrange "Comment le temps".
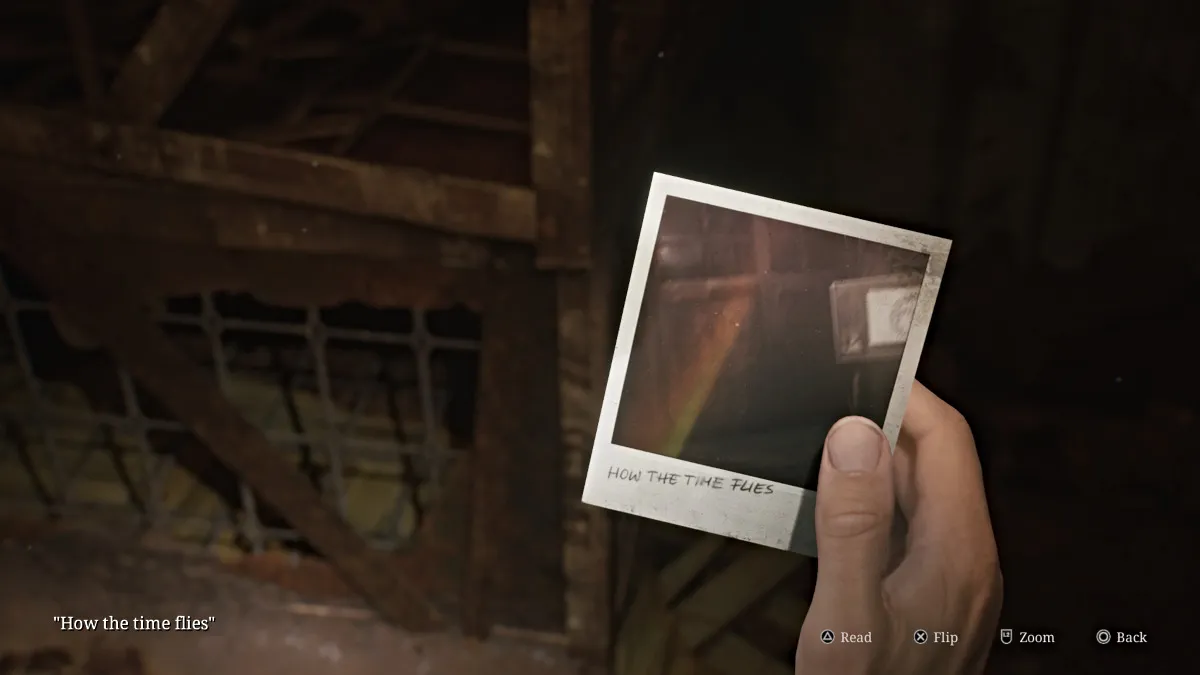
Assurez-vous également d'explorer n'importe où ailleurs que vous voulez dans les appartements Blue Creek avant de progresser, car la salle S est le point de non-retour pour cette zone .
Si vous êtes prêt, prenez la cage d'escalier du deuxième étage vers l'ouest au premier étage. En cours de route, vous pouvez remarquer des entailles fraîches dans les sols et les murs, indiquant que quelqu'un avec une énorme lame a traqué la zone. Retournez dans la zone de hall où se trouve la pièce du S, respirez profondément et entrez à l'intérieur.
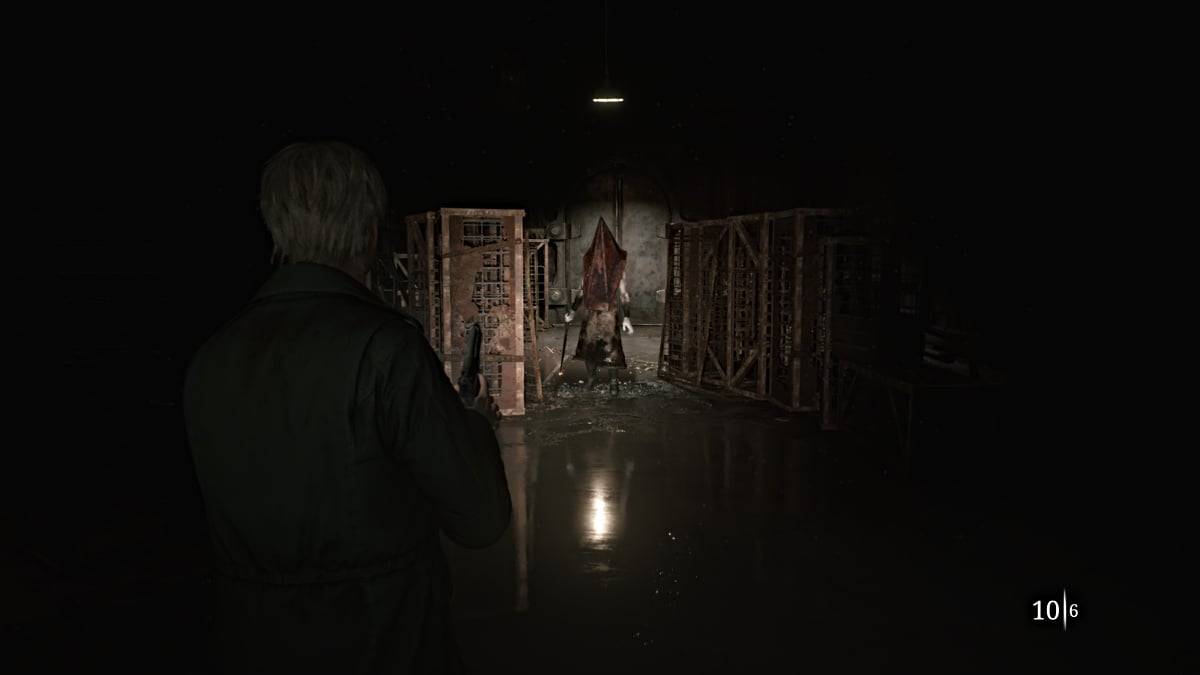
La chambre de S abrite nul autre que Pyramid Head lui-même, qui se cache et attendait votre arrivée. Dès qu'il se tourne vers vous, le combat commence.
C'est plutôt votre combat pour rester en vie assez longtemps, car comme vous vous en rendez rapidement compte, la tête de pyramide ne prend pas du tout des dégâts . La seule arme que vous souhaitez utiliser ici est votre arme de poing, car garder vos distances avec lui est la priorité absolue. Si vous essayez une attaque de mêlée, une balançoire de son grand couteau endommagera gravement ou vous tuera.
Heureusement, la pièce est jonchée de boîtes de munitions d'armes de poing, alors utilisez-les tout en faisant continuellement des cercles autour de la pièce. Continuez à tirer des balles sur lui (évitez son casque) et à un moment donné, il deviendra plus agressif pendant que la pièce commence à inonder.
Continuez la même stratégie jusqu'à ce que finalement, les sirènes commencent à remonter et la tête de pyramide arrête immédiatement son attaque. Une cinématique le montrera à partir, mettant fin au combat. Une fois que vous avez le contrôle, revérifiez la pièce pour toutes les munitions d'armes de poing que vous avez peut-être manquées, puis sortez les mêmes portes, ce qui vous ramènera directement à l'extérieur, dans les rues de la ville, l'autre monde est maintenant parti.
Frappez le point de sauvegarde rouge juste à l'extérieur après le combat pour sauver vos progrès, puis vérifiez la voiture à côté pour une boisson de santé . Vérifiez votre carte et vous vous retrouverez maintenant dans la région de West South Vale de Silent Hill. Vous verrez que Rosewater Park dans le nord est encerclé, ce qui signifie que c'est votre prochain objectif principal.
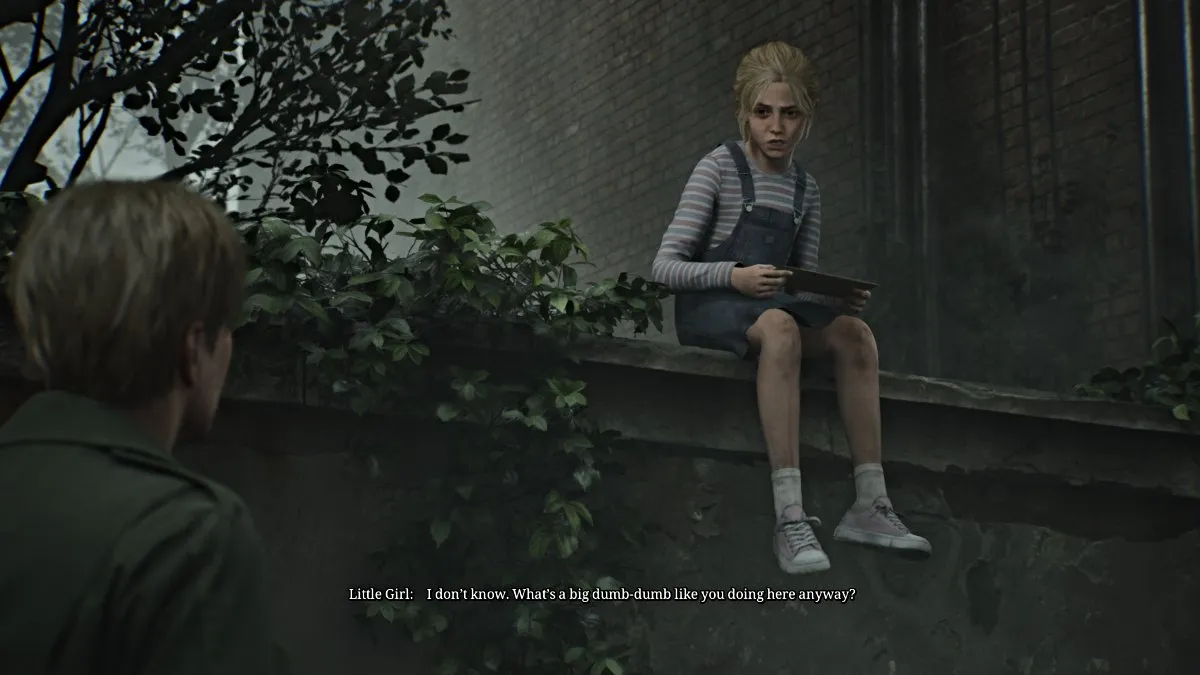
Tournez le coin et vérifiez la voiture verte à droite pour les munitions d'armes de poing sur le siège du conducteur. Continuez et une autre cinématique jouera où James rencontre la jeune fille d'avant (nommée Laura mais elle ne le révèle que plus tard). Elle semble tenir une lettre mais refuse de dire à James ce que c'est, disant qu'il "n'aimait pas Mary de toute façon" et décoller. La cinématique se termine avec James déconcerté que quelqu'un d'autre est également là pour Mary.
Continuez à travers le tunnel qui vous emmène directement dans Rosewater Park. Prenez la première gauche vers le banc , où vous pouvez trouver une seringue à côté d'une veste. Ensuite, prenez le petit pont à travers qui diverge ensuite. Prenez le bon chemin et suivez-le, car il y aura des munitions d'armes de poing pour sauver de ce côté.
Continuez à aller droit et sous le panneau «Rosewater Park», ce qui vous amène dans une zone de jetée par le lac Toluca.
Prenez le long chemin central à travers un gazebo, où vous verrez une figure féminine dans le brouillard.
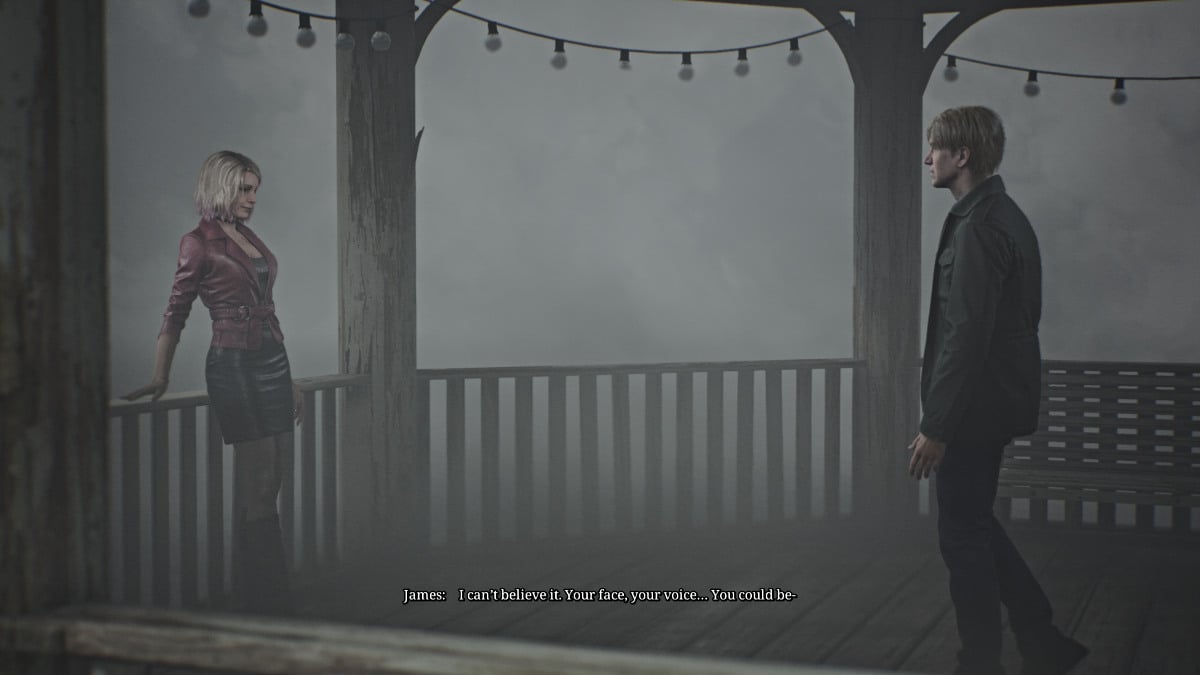
Une cinématique révèle que c'est une femme qui ressemble étrangement à Mary, mais avec un look plus sensiblement plus venu. Elle se révèle comme Maria .
Alors que James devient visiblement déçu et confus, Maria propose de l'emmener dans un autre éventuel "endroit spécial" que Marie pourrait être. Malgré sa préférence pour aller seul, Maria insiste pour venir avec lui avec "tous les monstres". Il est d'accord à contrecœur et maintenant votre voyage comprend Maria comme votre compagnon.
Entourez vers le bas et autour du côté gauche du parc, où vous trouverez la photo étrange "si loin de chez vous" dans un coin salon, un peu plus de munitions d'armes de poing sur une table d'échecs et une boisson pour la santé dans un espace de repos public . Laissez Rosewater Park en dehors de la sortie ouest et sur l'avenue Nathan.
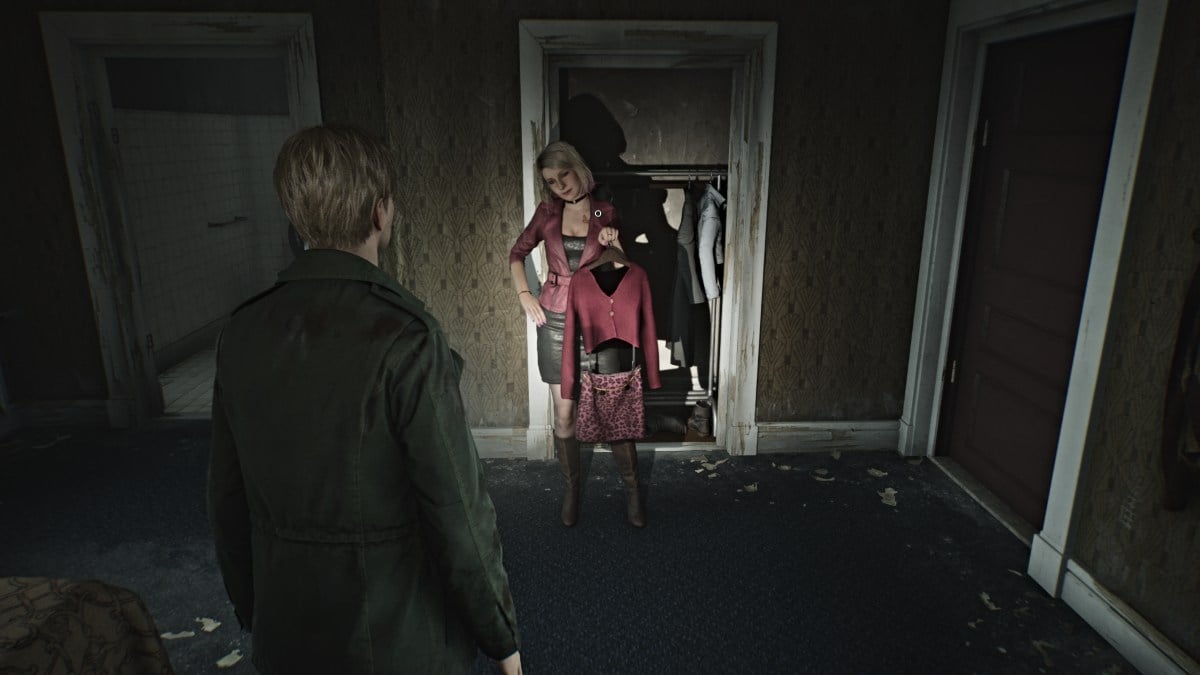
Maria dit à James de couper à travers Jack's Inn pour se rendre à destination, alors allez-y de l'autre côté de la rue. Dirigez-vous vers le bureau du motel en premier, accessible depuis la porte à l'arrière. Il y a un petit coffre-fort sous le comptoir qui nécessite un code pour être ouvert. Prenez la note de réception du babillard, ce qui fait allusion à la salle 107 . Vous le trouverez dans le bâtiment surélevé vers l'arrière du motel, mais vous devrez casser la fenêtre dans la salle 108 pour y arriver.
Une fois, décomposez le mur connecté à la pièce 107, et dans la chambre, vous trouverez la note de boîte à outils , qui vous donne l'énigme suivante:
En faisant les mathématiques appropriées, vous obtiendrez le code 0451 . Comme vous êtes prêt à quitter la pièce, Maria vous taquinera avec une tenue qu'elle a trouvée dans le placard, lui demandant si cela lui allait bien.
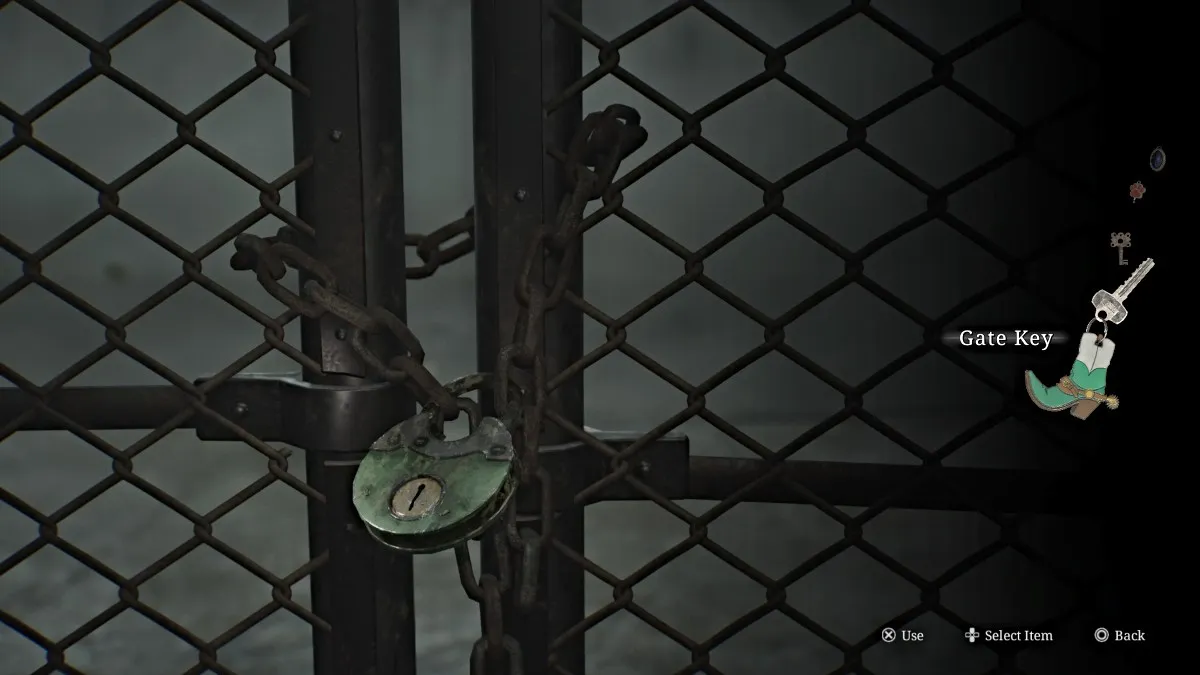
Retournez au bureau du motel, utilisez le code et à l'intérieur du coffre-fort, vous trouverez la clé de porte . Vous n'avez pas beaucoup de temps pour le regarder, alors qu'un mannequin tente soudainement Maria. Un coup le supprimera.
Après avoir utilisé le point de sauvegarde rouge assis sur le coffre d'une voiture, il est maintenant temps d'explorer d'autres endroits de la région avant de poursuivre l'histoire, car vous ne pourrez pas revenir pendant un certain temps et ce sera la nuit (et plus dangereux) quand vous le faites .
De l'endroit où vous êtes entré à Jack's Inn, dirigez -vous vers l'avenue Nathan jusqu'à ce que vous atteigniez les carburants d'Octanis . À son arrivée, Maria dira que vous allez dans le mauvais sens et sachez qu'ignorer ses conseils et la laisser attaquer par des monstres tout au long du jeu influencera votre fin.
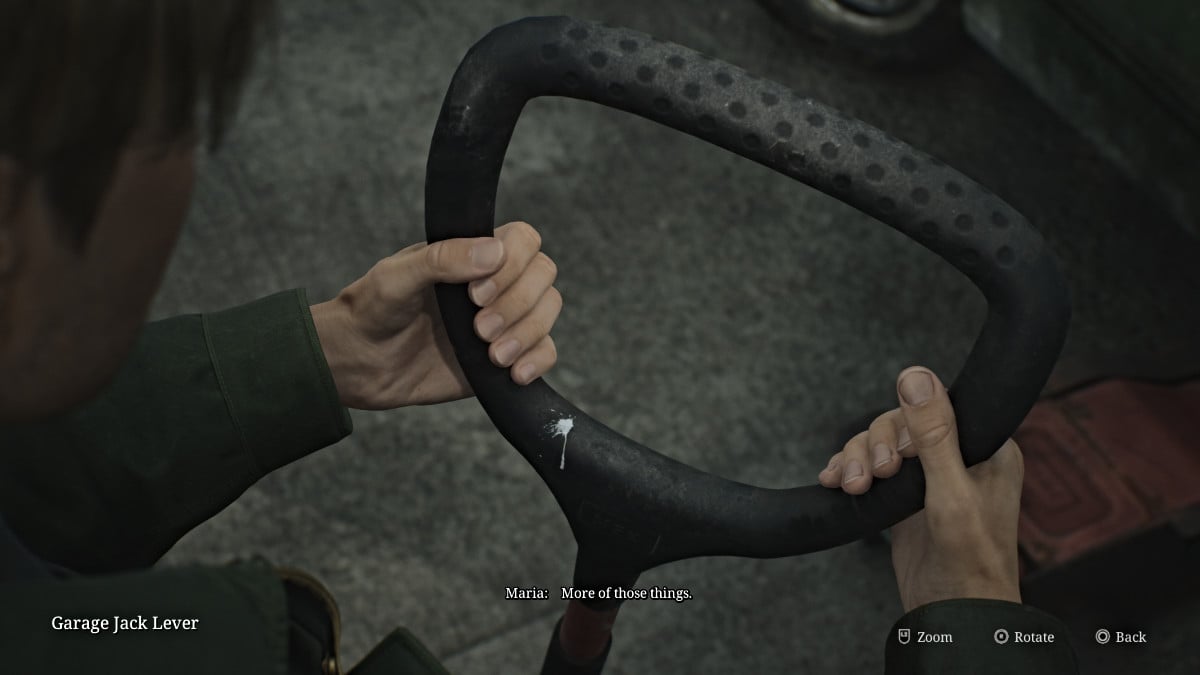
Allez à l'arrière des carburants d'octanis où vous trouverez une voiture soulevée par un cric de garage . Montez et prenez le Garage Jack Lever , mais le bruit réveillera plusieurs monstres dans le processus. Prenez soin des figures et des bugs mensonges qui se déroulent.
De plus, pendant que vous êtes là-bas, dirigez-vous à travers Carroll Street jusqu'à Pete's Bowl-O-Rama et allez explorer à l'intérieur. Pendant que dans le jeu original, vous tomberiez sur Eddie et Laura ici, ce n'est pas le cas dans le remake. L'endroit est complètement vide, mais vous pouvez trouver un point de sauvegarde rouge , des munitions d'armes de poing de rechange et des boissons de santé qui traînent, ainsi qu'une pizza presque mangée près des voies de bowling.
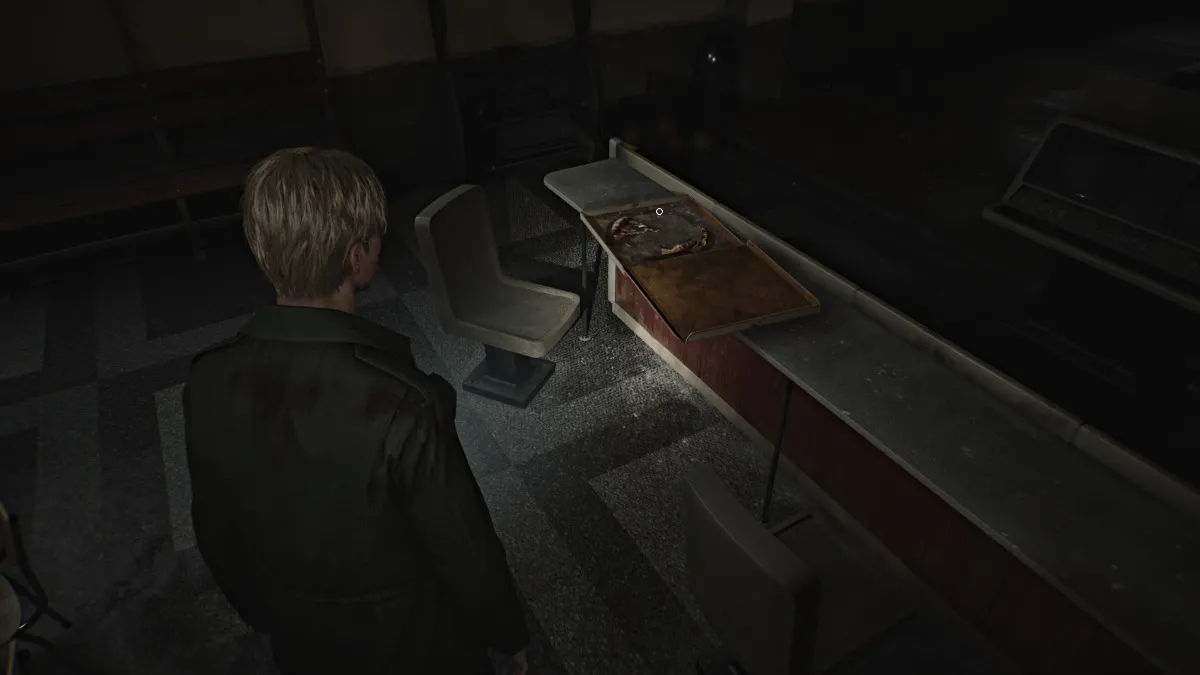
Interagissez avec lui pour avoir un autre aperçu du passé , et James remarquera "cet endroit est plein de monstres, comment quelqu'un peut-il s'asseoir ici et manger de la pizza?". C'est un clin d'œil amusant à l'une des scènes les plus emblématiques du jeu original, et Eddie pourrait très bien être là.
Laissez Pete's lorsque vous êtes prêt et redescendez l'avenue Nathan vers Rosewater Park. Soyez conscient des monstres maintenant dispersés le long de la rue. Une fois de retour, allez spécifiquement dans le parking juste à l'extérieur de Rosewater Park . L'une des voitures garées à l'intérieur aura des munitions d'armes de poing , alors Smash and Grab.
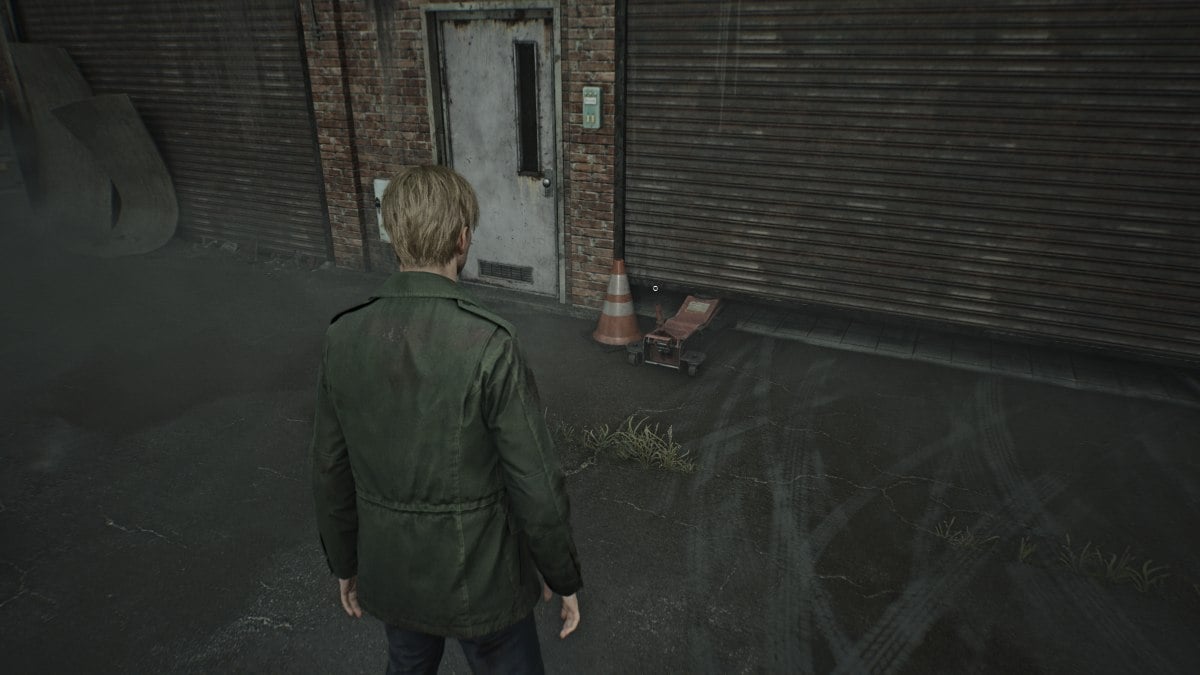
Courez à l'arrière du garage dans le parking, où vous verrez une porte ouverte par un cric de garage , mais manquant son levier. Utilisez celui que vous avez récupéré et vous pourrez ouvrir complètement la porte. À l'intérieur, vous trouverez une mine d'articles utiles, notamment:
Avec cela, vous aurez couvert une grande partie de tout ce que vous devrez explorer dans la région pour l'instant. Alors retournez dans le parking de Jack's Inn, utilisez à nouveau le point de sauvegarde rouge et utilisez la clé de porte que vous avez acquise plus tôt pour déverrouiller la porte ouest du côté ouest et accéder au reste de West South Vale.
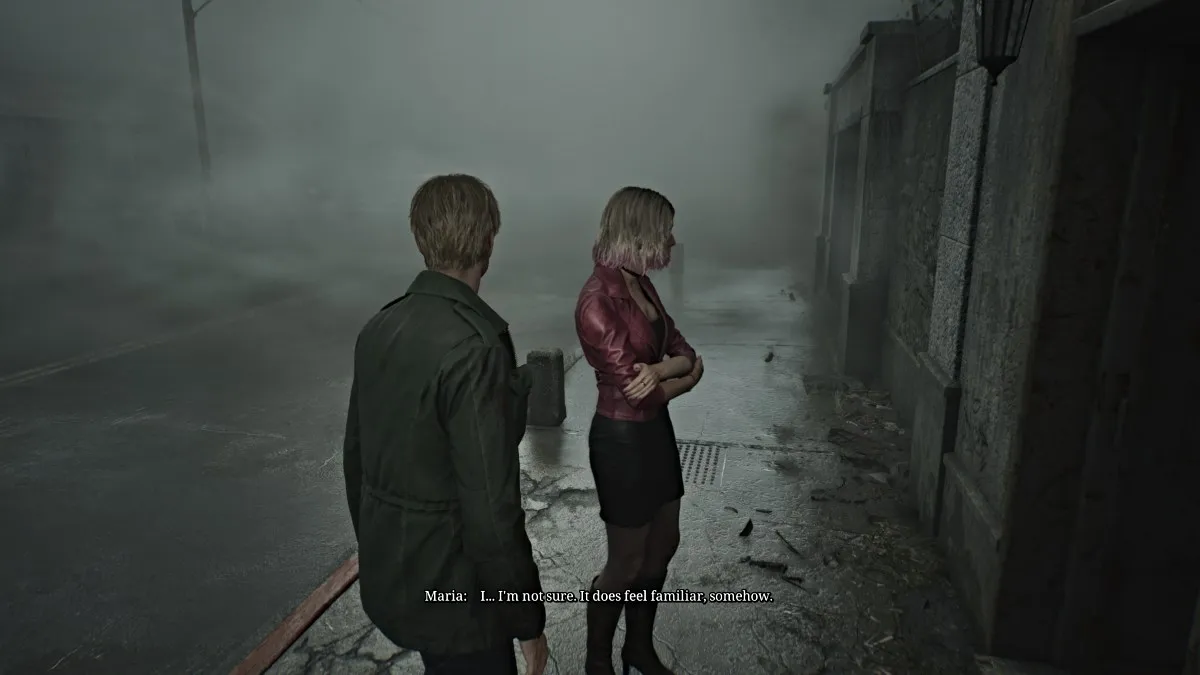
Si vous détournez d'abord vers la gauche, vous rencontrerez le manoir Baldwin , un emplacement proéminent de l'histoire latérale du jeu original né d'un souhait . Malheureusement, ses portes sont verrouillées et Maria refusera même d'entrer dans la cour, disant que même si elle a l'impression d'être là auparavant, cela semble être un "mauvais souvenir".
Avec cela, dirigez-vous vers le sud sur Munson Street, puis accrochez-vous à droite dans la rue Katz car une autre grande barricade est sur votre chemin. Finalement, une cinématique révèlera que la route se termine par un autre énorme écart dans le sol, et Maria insiste pour trouver une autre façon. James sent quelque chose et trouve un raccourci dans la ruelle à proximité juste au moment où les monstres commencent à grêdre et que le brouillard se relève, similaire à l'avant.
Après avoir traversé la porte de la ruelle, James le barricade avec sa planche de bois pour empêcher les monstres, sa seule arme de mêlée apparemment perdue. Cependant, il se retourne et trouve un tuyau en acier qui sort d'une voiture fumeurs pour utiliser à la place, vous donnant une mise à niveau dans le processus.
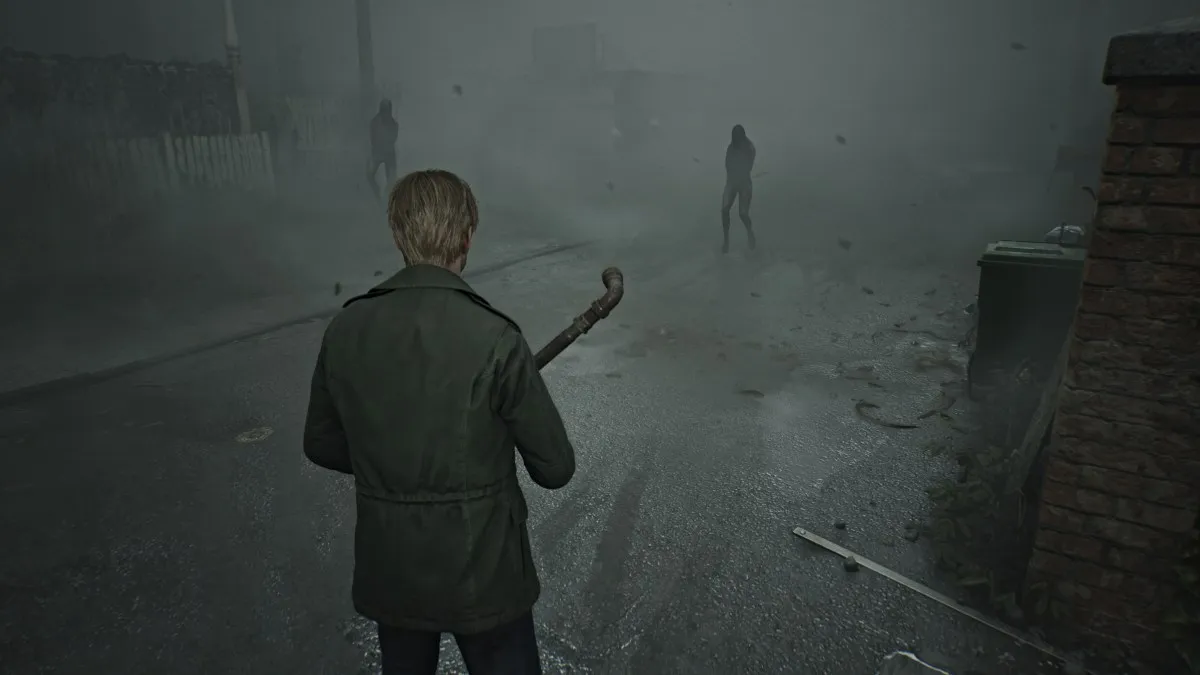
Utilisez votre nouvelle arme de mêlée pour repousser les monstres devant vous et passez un chemin à travers les ruelles et les chantiers vers la nuit du ciel . Procurez toutes les munitions de la poignée que vous pouvez en cours de route.
Finalement, Maria vous dirigera vers un écart dans une clôture pour s'échapper. Prenez-le, et après une brève cinématique, vous vous retrouverez juste derrière la nuit du ciel . Dirigez-vous vers la porte arrière du bâtiment, et malgré le fait qu'il soit verrouillé, Maria l'ouvrira. Explorez la cuisine et les vestiaires pour les articles, y compris le "prêt à le tuer!" Photo étrange .
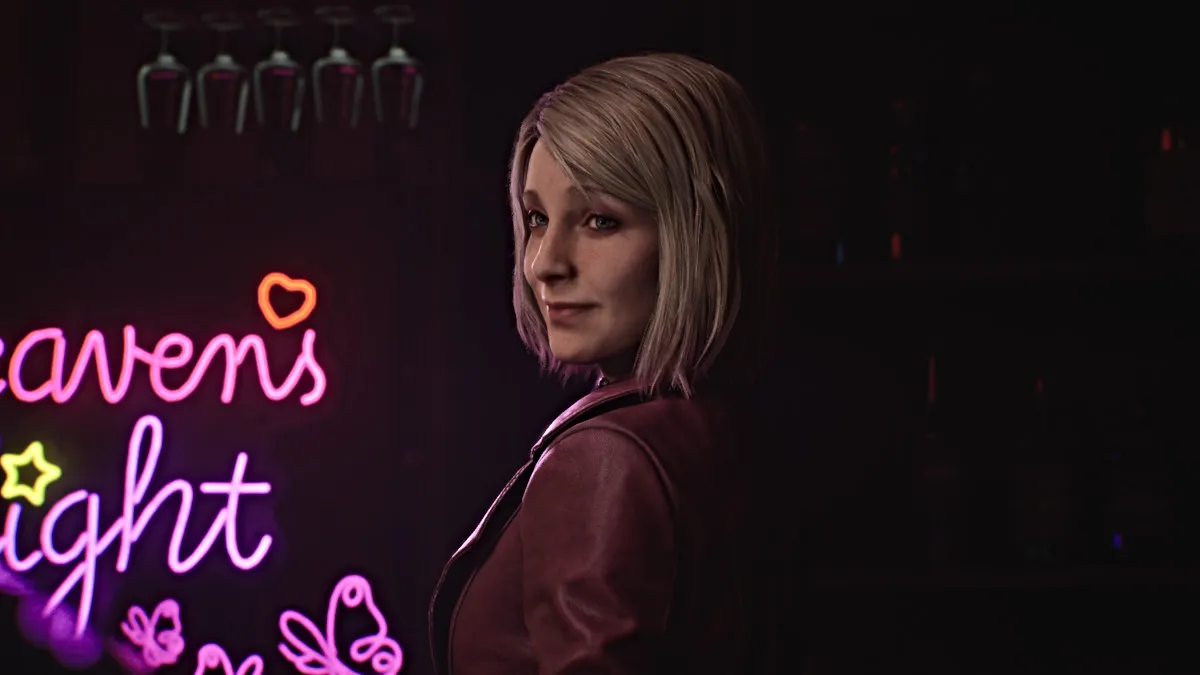
Ensuite, passez par la porte ouverte et autour de la zone des coulisses (plus d'articles ici) jusqu'à ce que vous atteigniez la salle à manger avant et le bar. Une longue cinématique jouera avec Maria essayant d'attirer James à se détendre et pour qu'ils y passent un peu de temps, pour une raison ou une autre. Elle insiste sur le fait que ce n'était pas le "lieu spécial" auquel elle faisait référence, que ce n'était qu'un raccourci.
En fin de compte, il décide qu'il est préférable de continuer à bouger et Maria le mène à la porte d'entrée et à la "place spéciale" qu'elle voulait dire.
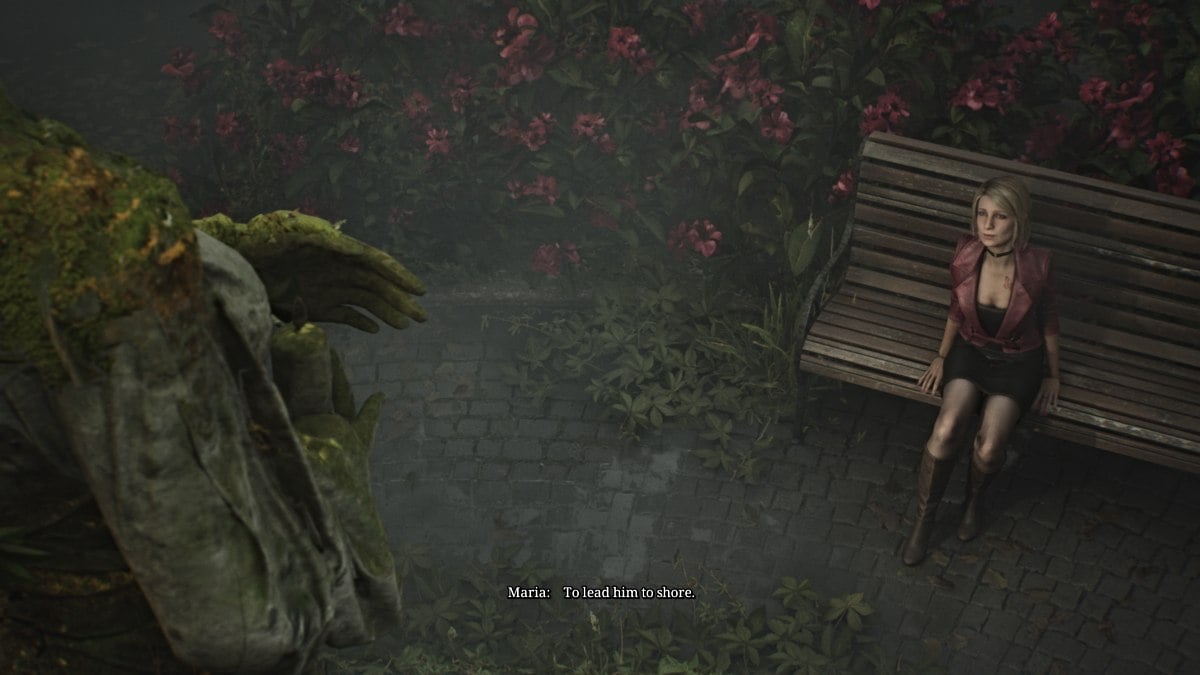
Maria guide James dans un endroit où il n'a jamais été à Silent Hill (et nouveau dans le remake) appelé Moonlight Park . Ils arrivent dans une petite cour où se trouve une statue d'une femme, et pendant une coutelle, Maria raconte à James de l'histoire amuse mais tragique derrière elle.
Pendant ce temps, l'histoire affecte clairement James, qui commence à perdre l'espoir qu'il trouvera Mary compte tenu des circonstances. Maria le console et insiste sur le fait qu'ils continueront à chercher, et soudain un cri à proximité les alertes.
Suivez Maria vers l'arrière du théâtre de Reverie à côté, où il y aura un vide sanitaire haut pour que James puisse passer et enquêter. Maria insiste pour rester derrière car elle déteste les films (bon sang, mais pas le bowling?).
Une fois à l'intérieur, vous entendrez bientôt les voix de nul autre qu'Eddie et Laura , qui regardent apparemment un film ensemble et Eddie taquine Laura pour avoir crié (celui que vous avez entendu plus tôt).
Regardez autour de vous et interagissez avec le cabinet voisin pour le déplacer hors du chemin d'une porte, ce qui provoque un chahut. Laura se fait effrayer et s'enfuit tandis qu'Eddie reste. Passez la porte et au coin de votre gauche pour entrer dans le théâtre, où une autre cinématique jouera avec Eddie.
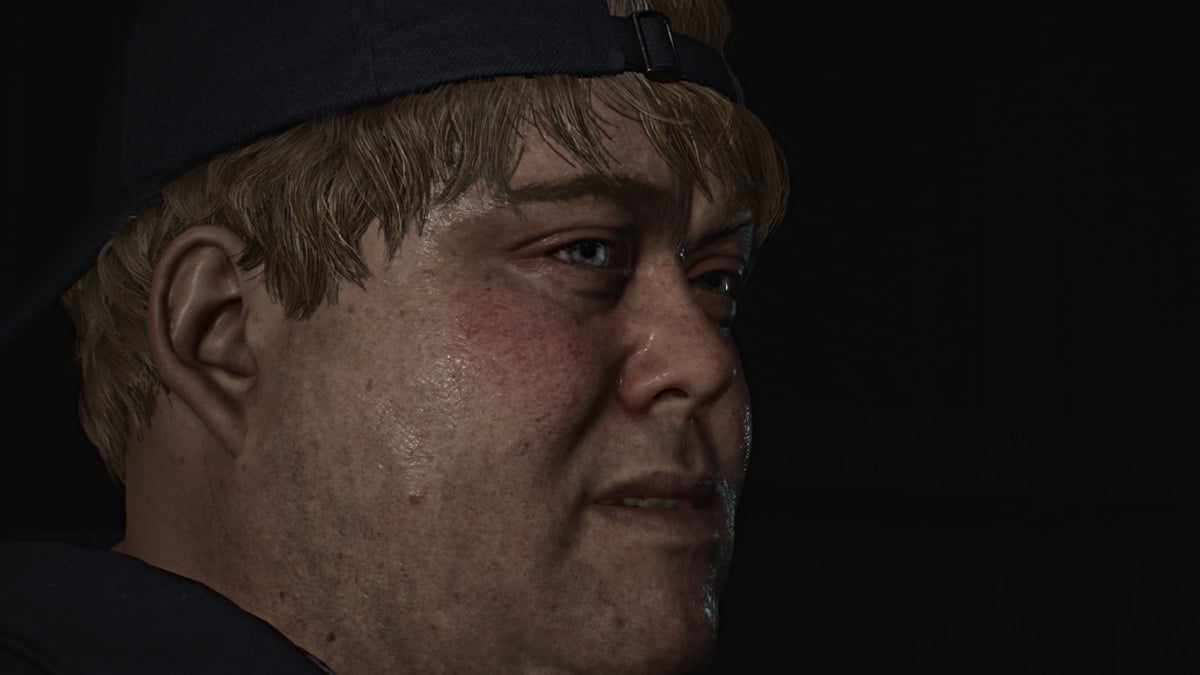
Une fois que c'est fini, passez par les portes à l'extrême gauche de la prochaine salle de théâtre, où Laura fera des flèches James en allumant le projecteur. Rendez-vous à travers les portes arrière jusqu'au couloir, puis montez une cage d'escalier à proximité. Faites votre chemin à travers la salle de projection et revenez à travers la pièce pleine de bobines de film. Passez-vous à travers un écart entre deux étagères et James repèrera Laura dans la prochaine salle de projection qui s'enfuit à nouveau.
Parcourez la deuxième salle de projection et parcourez les portes arrière, et continuez à la poursuivre tout au long des portes d'entrée du théâtre. Stop Pit s'arrête les deux salles de bains pour plus de munitions d'armes de poing avant de partir.
Courir dehors et Maria dira qu'ils peuvent toujours l'attraper. Allez à gauche dans la rue et au coin de la rue, et une autre cinématique révèlera Laura qui se heurtera à l'hôpital Brookhaven , le prochain emplacement majeur du jeu.
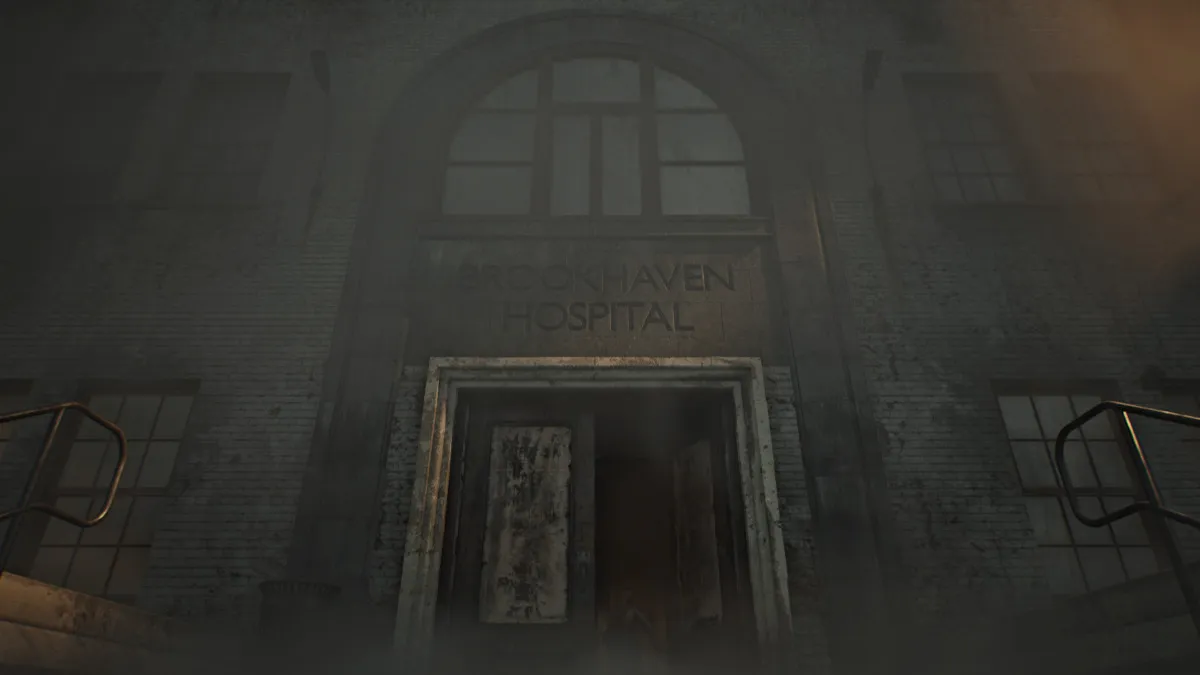
Entrez l'hôpital Brookhaven et tournez immédiatement à droite dans le bureau d'entrée . Vous remarquerez une armoire à fusil ouvert où se trouvait un fusil de chasse, laissant entendre qu'il est probablement encore à l'hôpital quelque part. Prenez votre premier lot de coquilles de fusil de chasse dans le bureau voisin.
Parcourez le prochain ensemble de portes et courez pour saisir la carte de l'hôpital Brookhaven 1F-3F dans le porte-magazine sous le babillard. Allez à gauche au bureau de réception et prenez la note de casier clé qui mentionne une combinaison de cadenas et une salle d'examen 3 . Il y a aussi des munitions d'armes de poing sur un bureau.
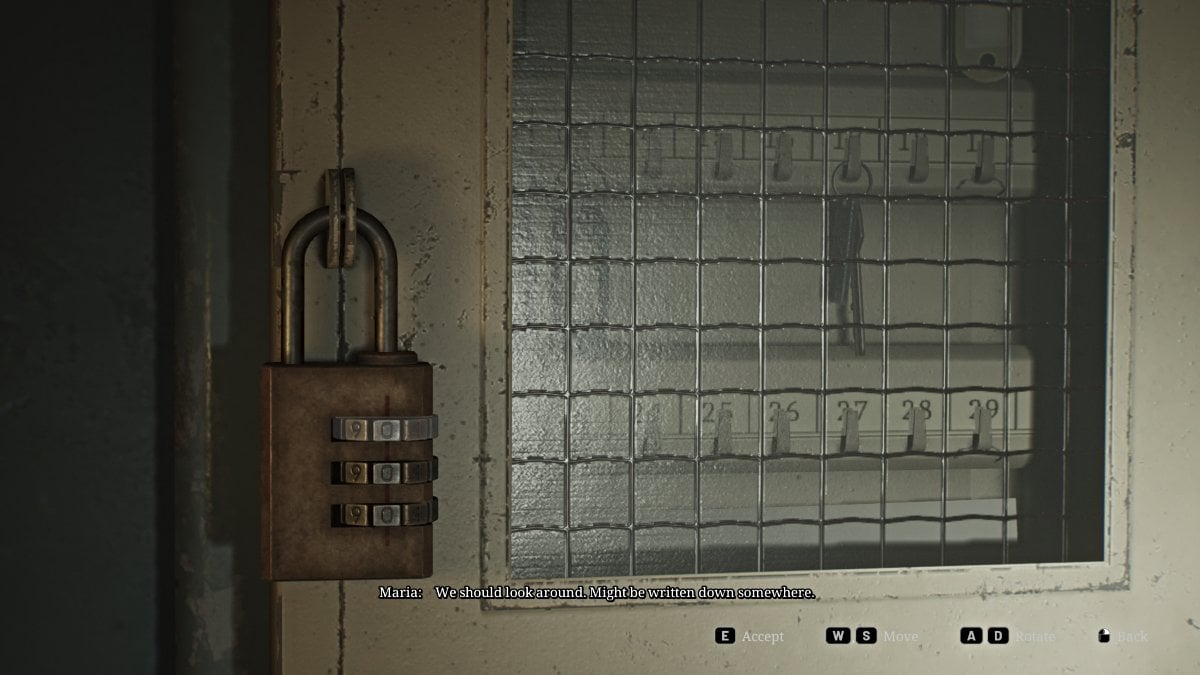
Tournez-vous et entrez dans la pièce derrière où le vent à travers une fenêtre ouverte souffle certains documents. Utilisez le point de sauvegarde rouge , puis notez la clé de la clé sur le mur (vu ci-dessus) avec le cadenas mentionné précédemment. La combinaison correcte (difficulté standard) est de 724 , mais vous pouvez toujours vous diriger vers la salle d'examen 3 pour obtenir la mémo de l'infirmière pour l'achèvement, ainsi qu'une seringue et des coquilles de fusil de chasse . Avec la boîte ouverte, récupérez la clé du sous-sol .
La plupart des autres itinéraires au premier étage sont verrouillés pour l'instant, alors dirigez-vous vers les escaliers du côté est . Une cinématique montrera Laura dessinant sur les murs avant de repérer James et de s'enfuir, encore une fois. Si vous la suivez au deuxième étage, vous trouverez les portes verrouillées pour le moment, alors redescendez plutôt au sous-sol , car vous avez la clé. Saisissez des munitions d'armes de poing d'un tiroir sous les escaliers en bas, puis traversez les portes.
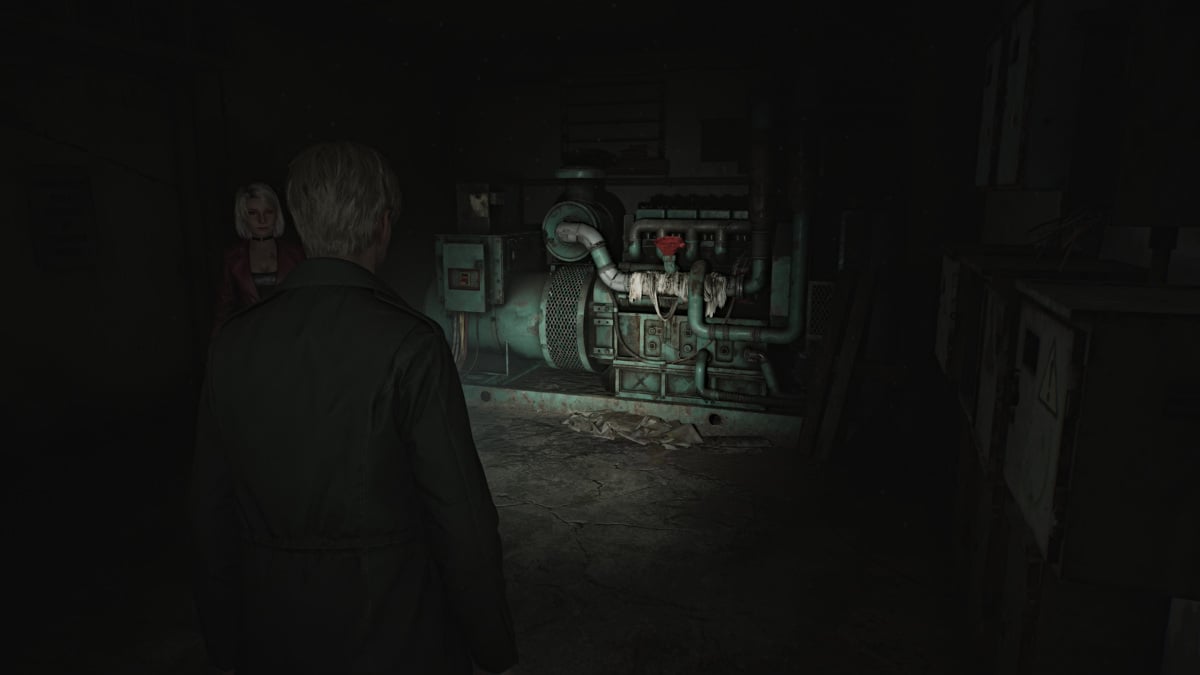
Tout de suite, vous trouverez une carte pour le sous-sol de l'hôpital Brookhaven . Obtenez vos roulements, puis dirigez-vous vers le nord dans la salle de la pompe , où vous trouverez des munitions d'armes de poing sur un récipient à votre droite. Continuez jusqu'à la salle du générateur, où vous verrez un énorme générateur qui est actuellement sans électricité. Un entonnoir rouge sur le réservoir indique qu'il a besoin de carburant .
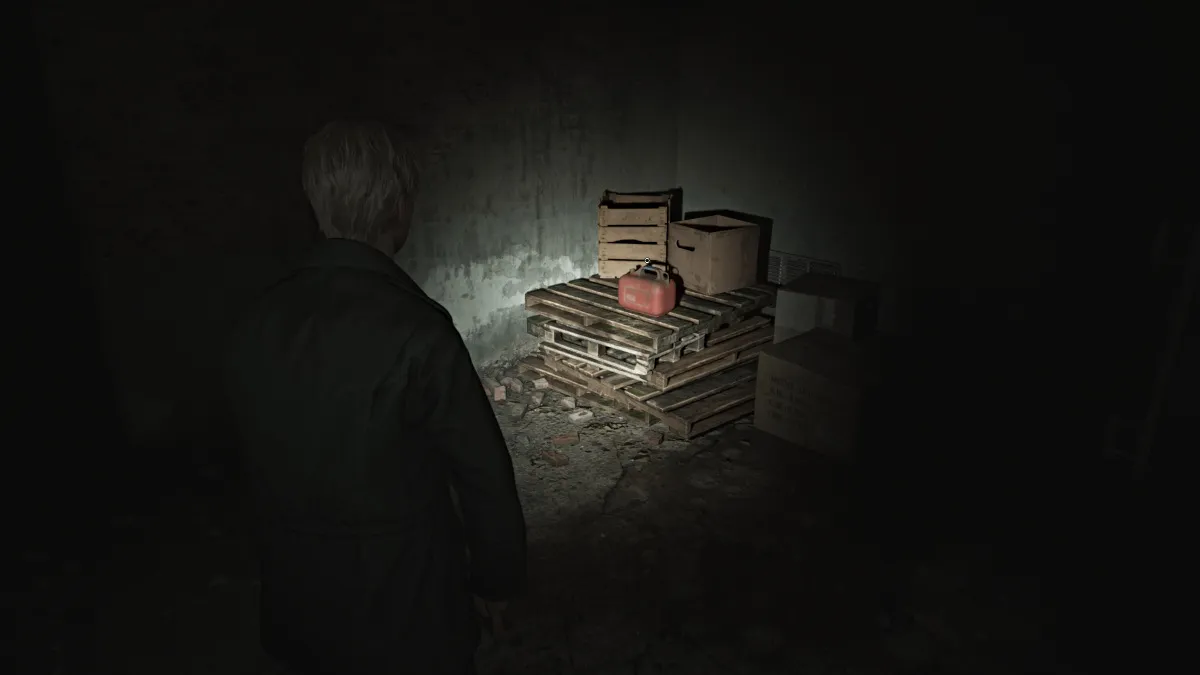
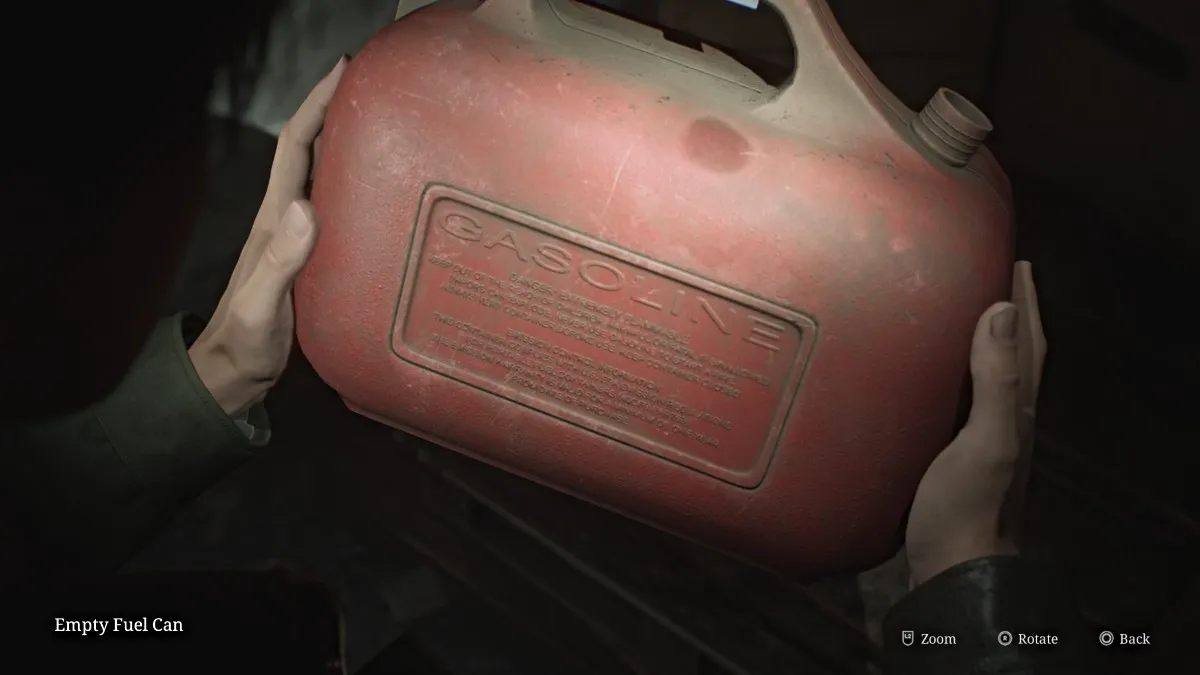
Allez dans le quartier de la chaudière (se compose de deux pièces) et faites attention aux mannequins en embuscade. Prenez des munitions d'armes de poing près du mur arrière, puis allez dans la deuxième chaudière où vous trouverez un carburant vide dans le coin arrière.
Laissez la chaudière et passez au stockage de la blanchisserie , où il y a une carte à bras qui doit être poussée. Votre destination pour cela est le vif du ballon à droite directement dans la pièce suivante (buanderie). Un autre mannequin vous tendra une embuscade sur le chemin, donc vous voudrez peut-être vous en occuper en premier. Prenez également plus de munitions d'armes de poing de la région.
Montez dans la salle de stockage , où vous trouverez plus de munitions d'armes de poing , une seringue et un grand réservoir de carburant où vous pouvez remplir votre carburant vide . Une fois terminé, retournez dans la salle des générateurs . Remplissez le générateur avec le carburant que vous avez collecté, puis allumez-le, qui restaurera l'alimentation de l' ascenseur .
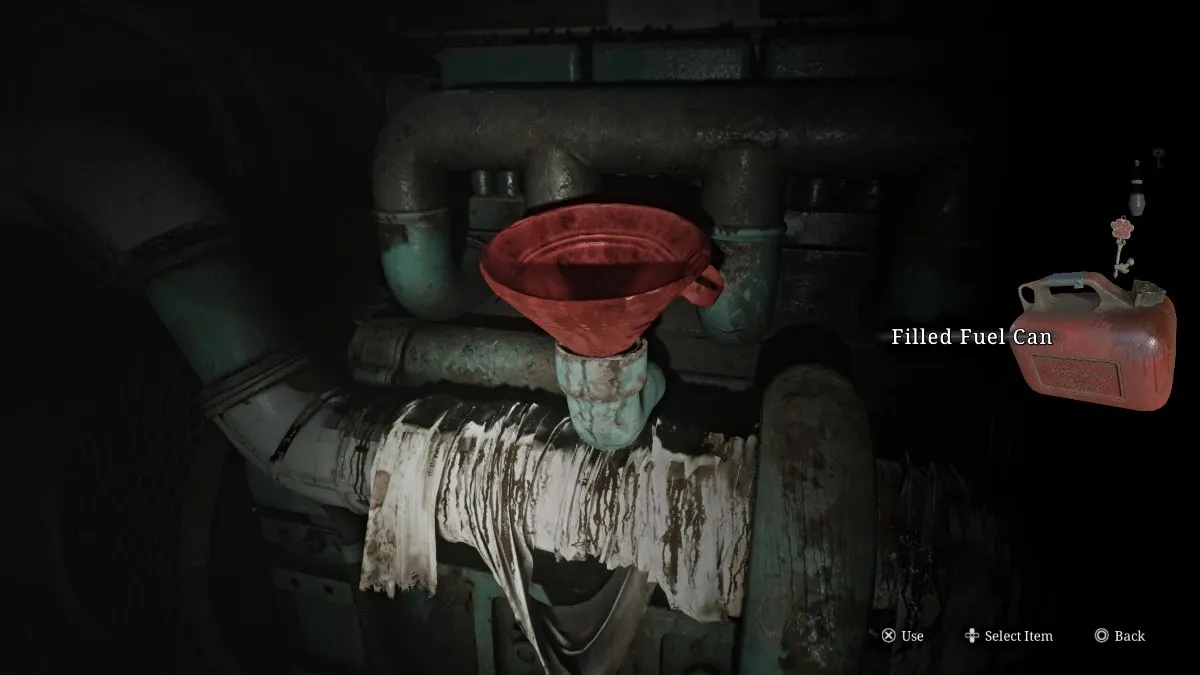
Sur votre chemin là-bas, arrêtez-vous dans la salle de technologie pour des munitions armes de poing et des coquilles de fusil de chasse . Prenez l'ascenseur jusqu'au deuxième étage et une cinématique jouera une fois que vous y arriverez.
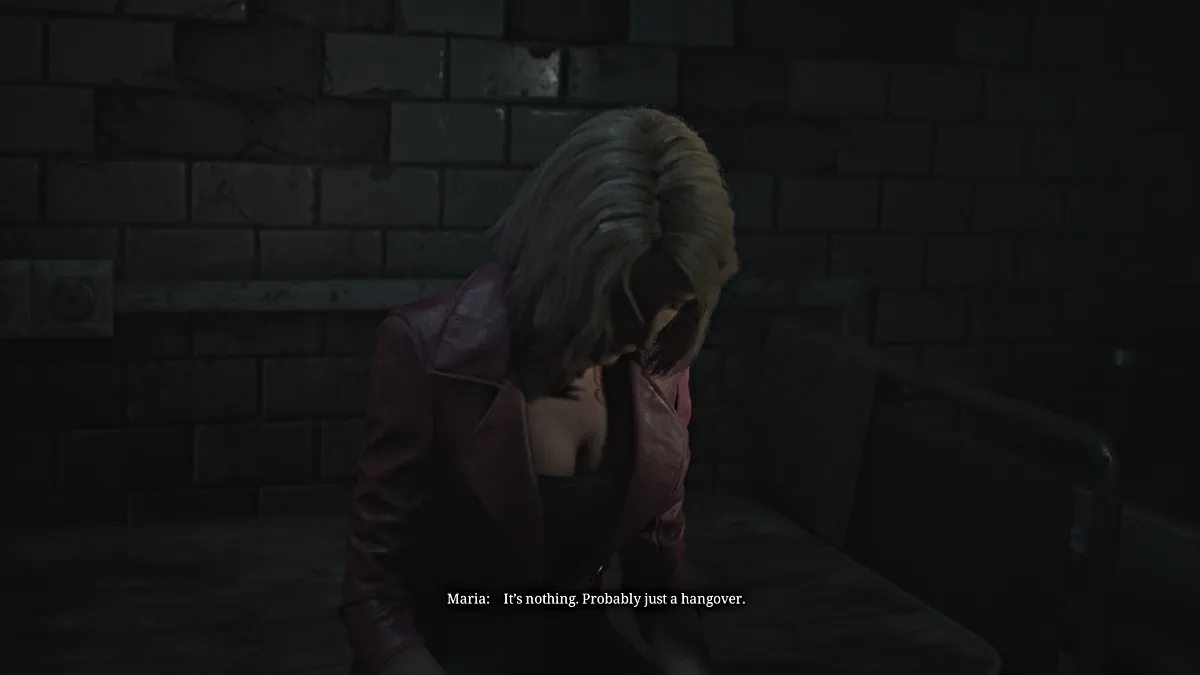
Alors que James remarque qu'il fait maintenant sombre et qu'il pleut dehors, Maria s'établit étrangement dans une salle de soins à proximité. James lui demande ce qui ne va pas et elle insiste sur le fait qu'elle est juste fatiguée et décide de s'arrêter et de se reposer, de prendre des médicaments et de coucher. James choisit de continuer à chercher Laura et dit qu'il sera de retour.
Sortez de la pièce et allez dans la pièce C3 , où il y a un point de sauvegarde rouge et une boisson pour la santé . Les toilettes à côté ont des munitions d'armes de poing , ainsi que la salle C2 en face. Les doubles portes près du bureau du réalisateur sont verrouillées pour l'instant, alors retournez dans le couloir nord et à travers ces portes, où sera votre première rencontre avec les infirmières de Bubble Head .
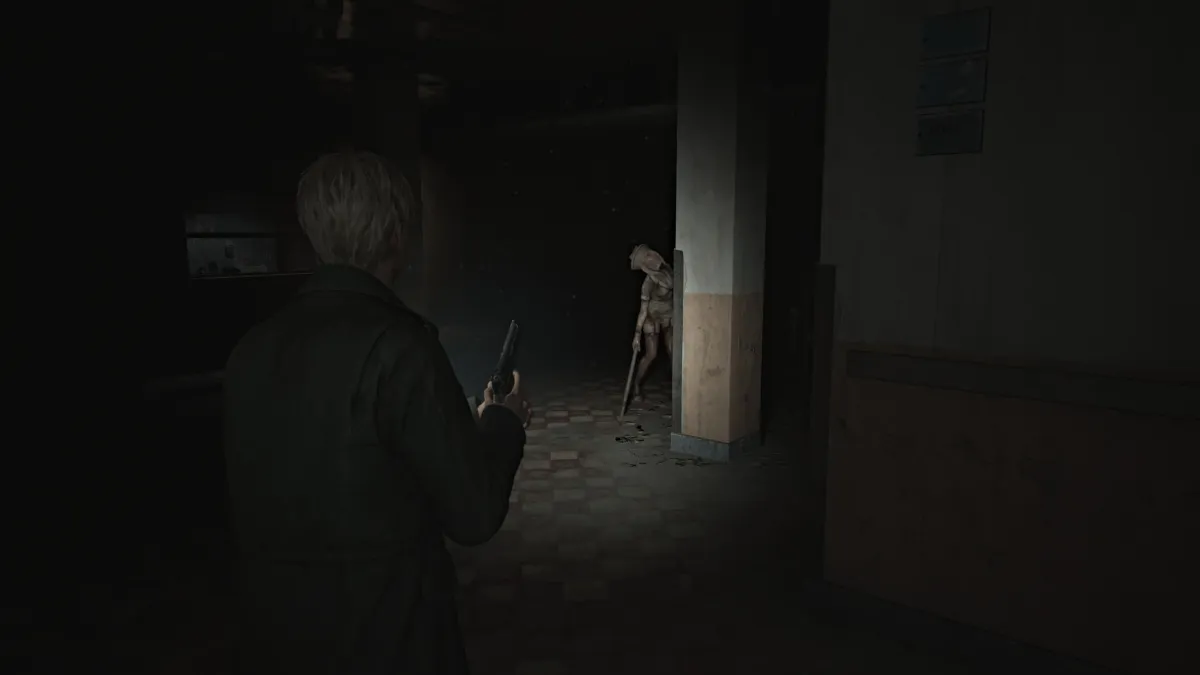
Comme les mannequins, les infirmières à la tête de bulles sont agiles et peuvent esquiver vos attaques, alors soyez prudent. En plus de cela, ils manuent leurs propres armes comme les tuyaux et les couteaux, ils peuvent attaquer à plusieurs reprises et couvrir le sol très rapidement, donc ils sont certainement l'un des monstres les plus redoutables du jeu. Et ils sont partout dans l'hôpital, alors utilisez judicieusement vos munitions.
Continuez dans le couloir jusqu'à ce que vous atteigniez la zone ouverte entre la station des infirmières et la salle L3. Utilisez le vide sanitaire pour entrer dans la pièce L3 , où vous trouverez des munitions d'armes de poing, des obus de fusil de chasse, une boisson de santé et la photo étrange "ses dessins" dans la salle d'observation .
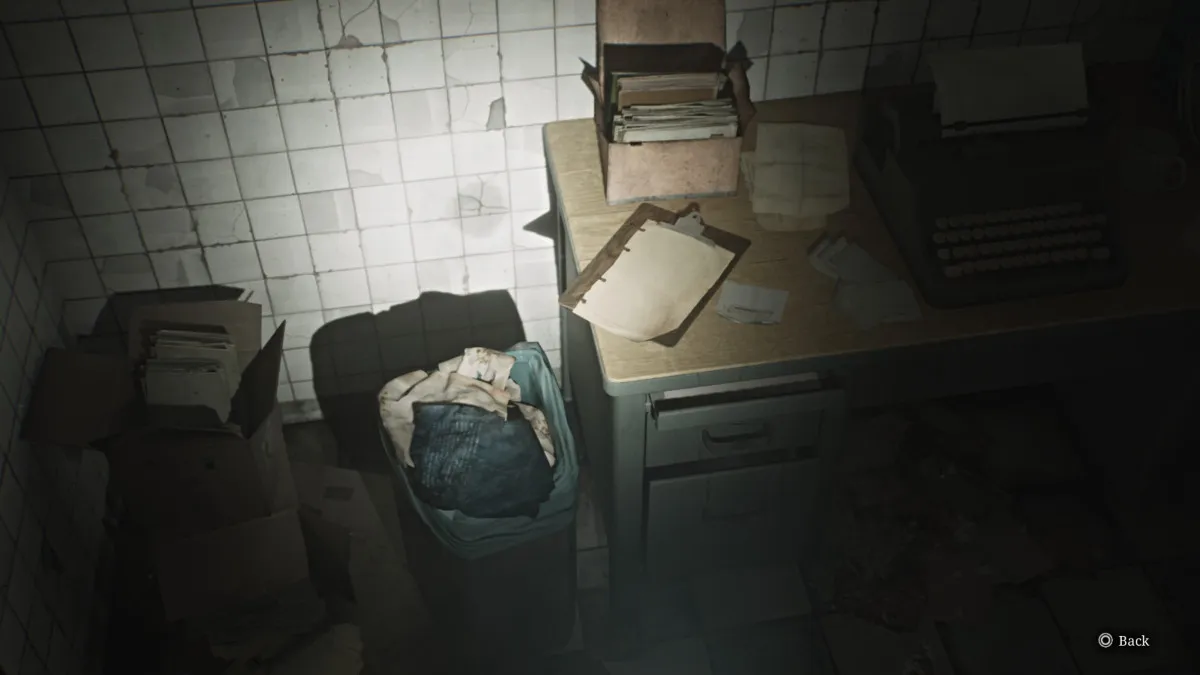
Revenez en arrière jusqu'à ce que vous puissiez tourner à gauche et prendre un raccourci dans le couloir central vers le bureau du réalisateur . En cours de route, arrêtez-vous dans la buanderie pour un autre aperçu du passé dans une poubelle (vue ci-dessus) et quelques obus de fusil de chasse .
Prenez un autre à gauche pour d'abord entrer dans la pièce C1 , où vous pouvez retirer une affiche de bateau du mur pour révéler un œil rouge prélevé dans le sang et la transcription de l'interview . Déverrouillez les doubles portes que vous ne pouviez pas ouvrir auparavant, puis traversez le couloir jusqu'à la salle de douche , qui a des munitions d'armes de poing et un mannequin attendant de bondir. Utilisez-le pour atteindre la pièce L2 , où vous pouvez trouver des coquilles de fusil de chasse , des munitions d'armes de poing , une boisson sanitaire et deux autres monstres.
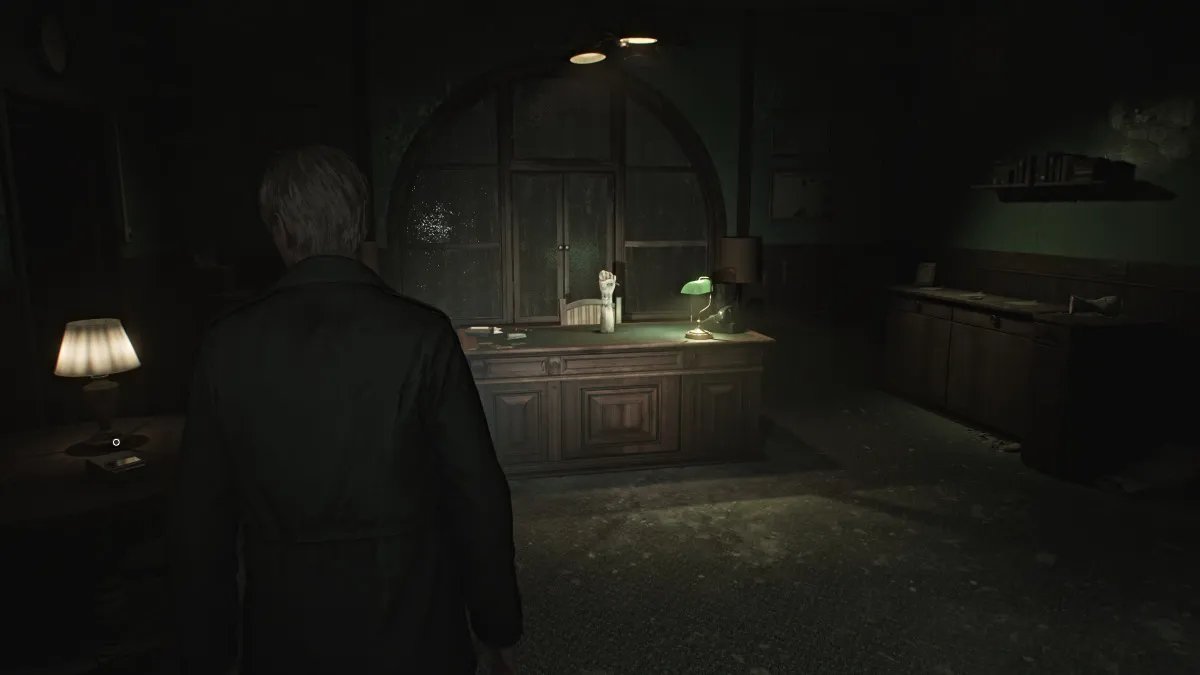
Enfin, allez dans le bureau du directeur où vous trouverez un point de sauvegarde rouge , une porte verrouillée, un enregistrement audio et des cartes d'évaluation pour les patients # 50, # 90 et # 130 . De plus, derrière un rideau rouge, vous trouverez un coffre-fort avec des symboles étranges, bien que l'un d'eux manque.
En plus de tout cela, il y a un bras mannequin soutenu sur le bureau en saisissant la clé de la porte verrouillée susmentionnée. Pour l'obtenir, le bras a besoin de trois bracelets de patients placés dessus.
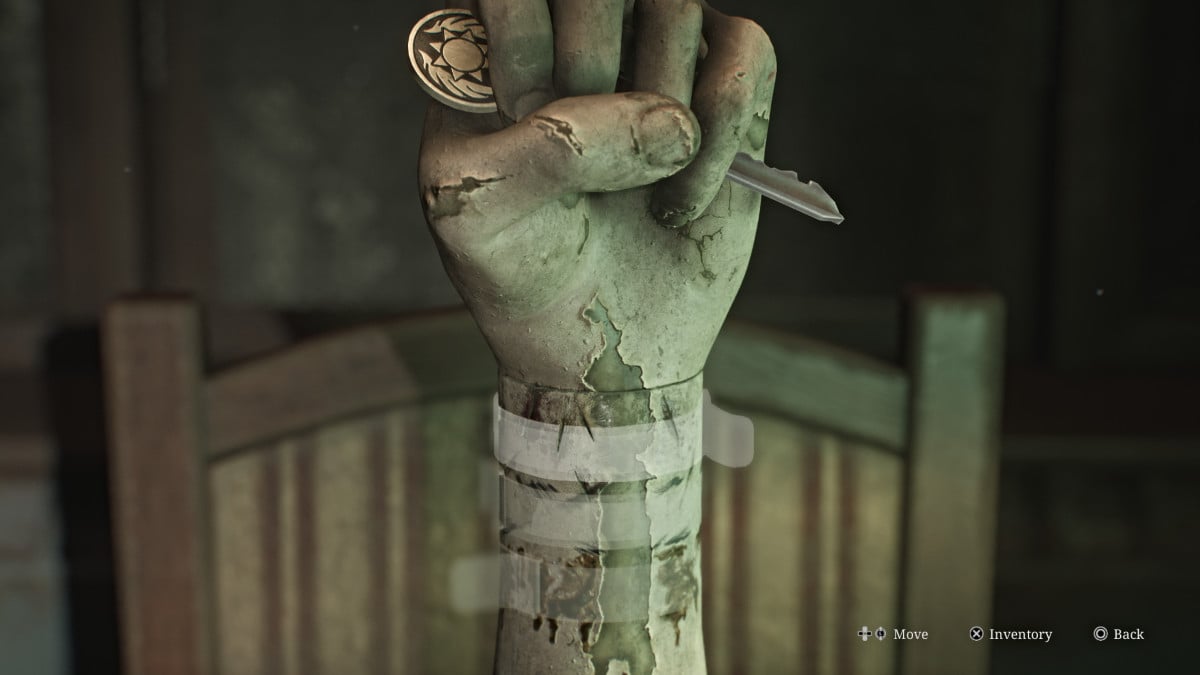
Heureusement, les cartes d'évaluation que vous avez ramassées vous donnent des conseils sur l'endroit où les trouver avec la plaque de symbole manquante pour le coffre-fort. Vérifiez votre carte puis laissez le bureau.
Après avoir traité avec une autre infirmière à bulles, prenez des munitions d'armes de poing dans les toilettes de l'autre côté du couloir et de la salle M5 . Plus dans le couloir, la salle M1 aura des obus de fusil de chasse et un autre aperçu du passé à déverrouiller.
Montez dans le couloir ouest et vous remarquerez que la porte de la pièce L1 , où l'un des patients notés a été déplacé, est verrouillé de ce côté. Allez dans le vestiaire des femmes où vous trouverez le fusil de chasse manquant (Yoink), ainsi que plus de coquilles de fusil de chasse , de munitions d'armes de poing , d'une boisson santé et d'une aiguille pliée de l'ours farci sur la chaise.
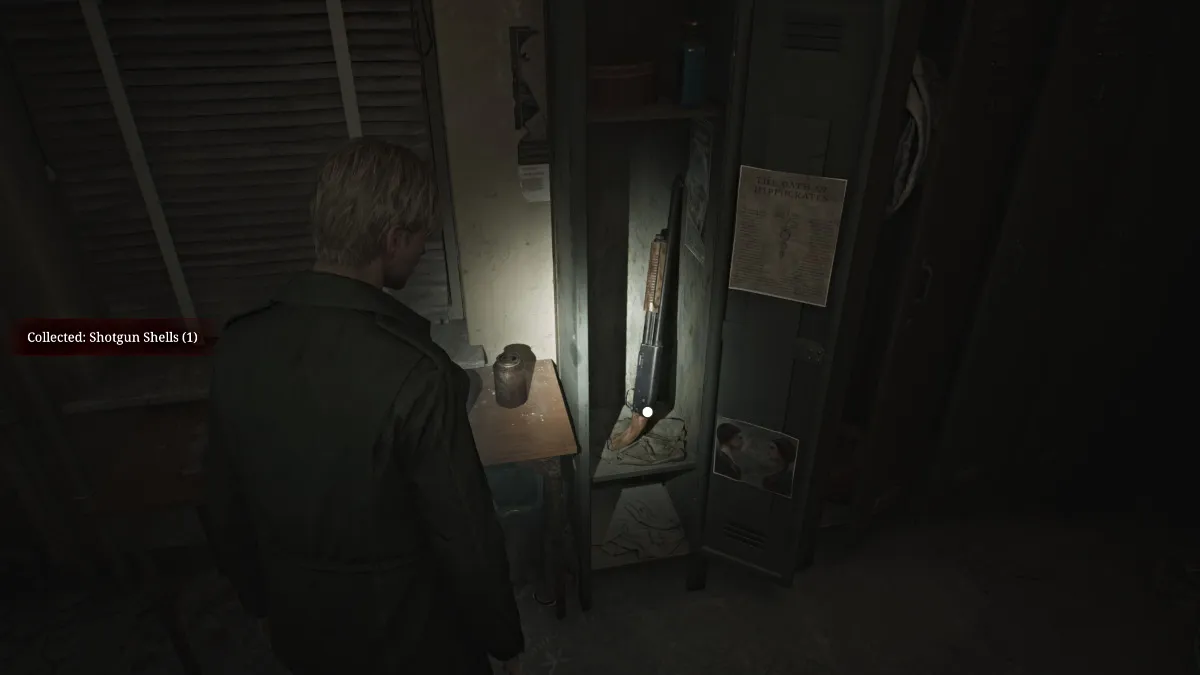
Assurez-vous d'utiliser à bon escient votre fusil de chasse, car les coquilles sont plus difficiles à trouver. Avec cela, sortez et continuez dans le couloir jusqu'au salon de l'infirmière . À l'intérieur, vous trouverez la clé de la salle L1 et une infirmière de bulle la gardant. Après l'avoir réclamé, retournez dans la pièce L1 et aventurez-vous à l'intérieur. La pièce est grande avec une quantité inconfortable d'encombrement, et des bruits étranges venant de la petite pièce plus loin.
Il y a un vide sanitaire que vous pouvez utiliser pour y entrer et un chariot à pousser sur la bonne vue de la pièce pour l'atteindre. Prenez le chariot, roulez-le sous le vide sanitaire et sautez à l'intérieur. Malgré les bruits, la salle est vide à l'exception d'une note sur la jeune fille admise.
Laissez la pièce et vérifiez la buanderie à travers le couloir, où "quelque chose" s'échappe à travers le trou dans le mur. Aucun autre choix que de le suivre, bien sûr. Après avoir glissé à travers les murs, vous vous retrouverez bientôt au premier étage, dans une pièce non marquée. La seule porte devant vous est verrouillée, alors passez par l'espace de vide à côté qui vous amène dans la salle des dossiers médicaux .
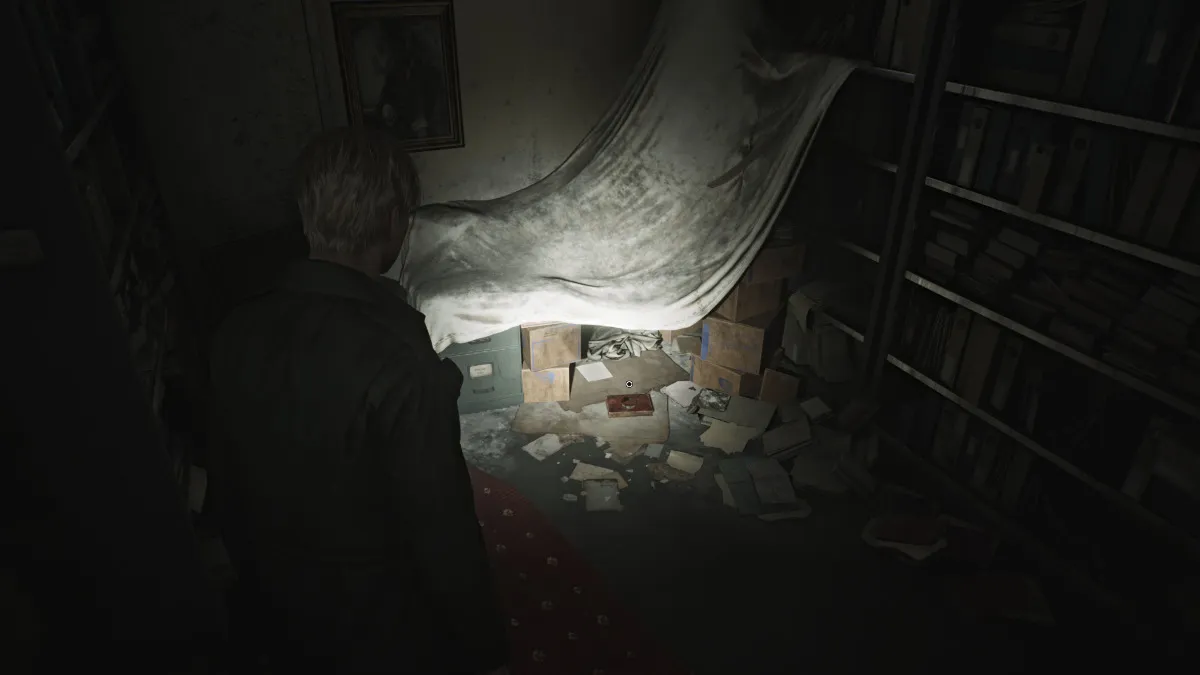
Ramassez la note gribouillée du sol devant vous, et à l'extrême arrière gauche, vous trouverez un autre aperçu du passé (vu ci-dessous).
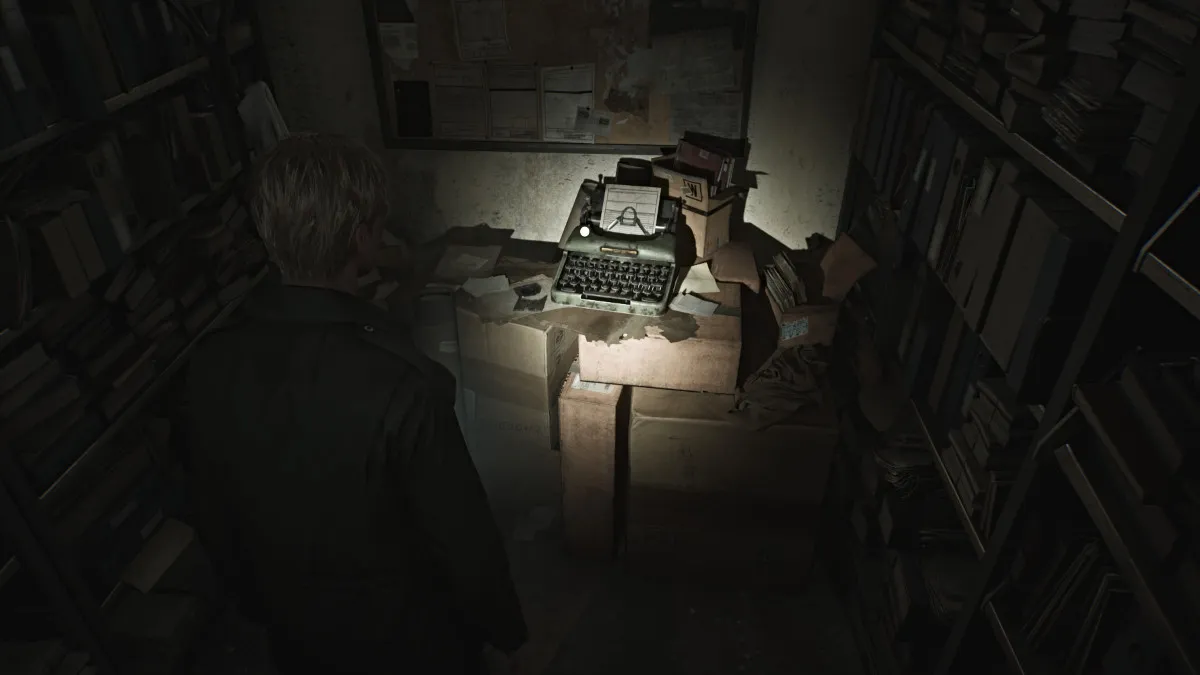
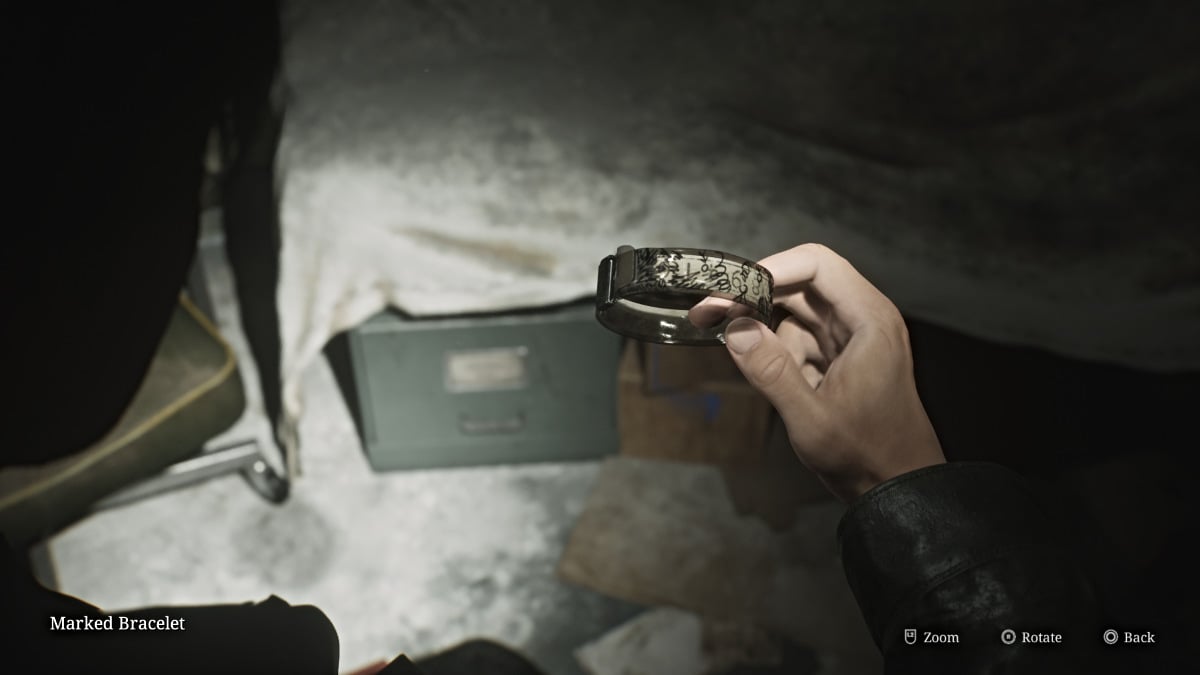
Maintenant, dirigez-vous là où vous verrez quelque chose assis sous un drap (vu ci-dessus), et il s'avère être un bracelet marqué , le premier des trois dont vous avez besoin. Cela attire l'attention d'un mannequin, alors traitez-le par la suite.
Revenez au deuxième étage, que ce soit via l'ascenseur restauré ou les escaliers est. Vous pouvez choisir de déposer votre bracelet marqué au bureau du directeur ou de le conserver pour le moment.
Quoi qu'il en soit, vous voudrez ensuite vous diriger vers le bureau de l'infirmière , qui a une serrure de clavier . Pour vous faire gagner du temps, le code correct (difficulté standard) est de 3578 . Avant d'entrer, vérifiez rapidement la salle de stockage à côté pour certains coquilles de fusil de chasse .
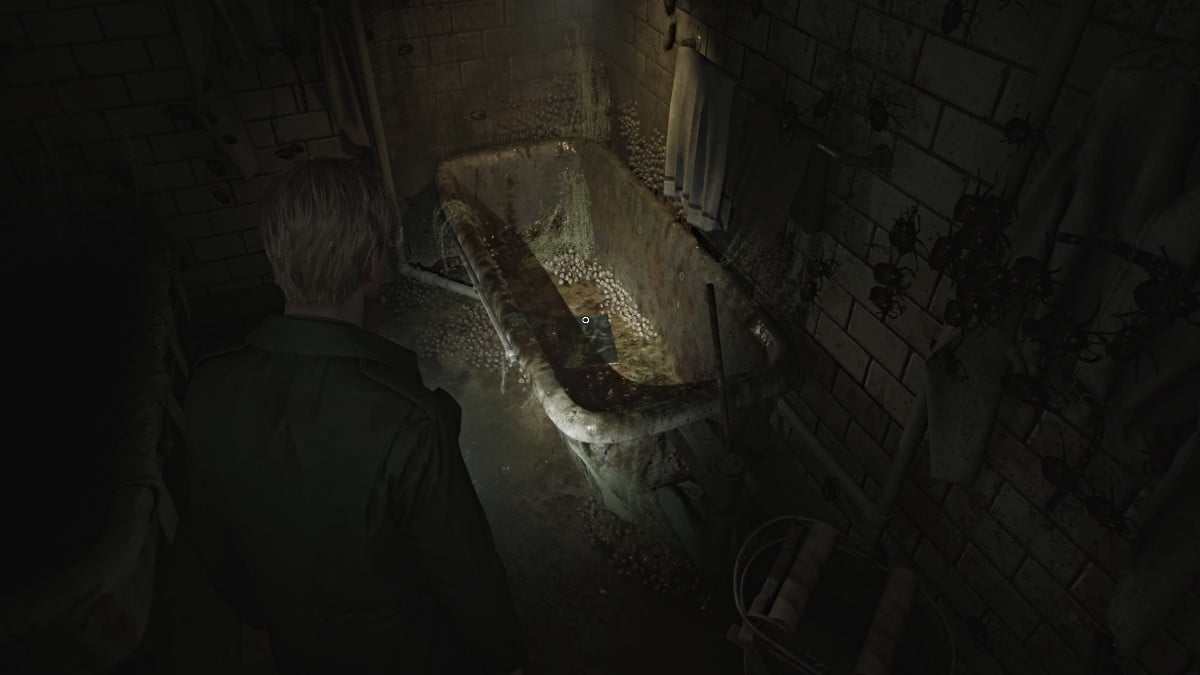
Prenez le mémo du personnel de la fenêtre du bureau de l'infirmière , puis à l'intérieur, vous trouverez des munitions d'armes de poing dans la première pièce, et dans la salle de traitement au-delà ... des insectes, partout. Heureusement, ils sont du genre qui ne peut pas vous blesser. Regardez dans la troisième baignoire à droite et prenez la lithographie moisi . Avant de partir, prenez également la note de salle de traitement .
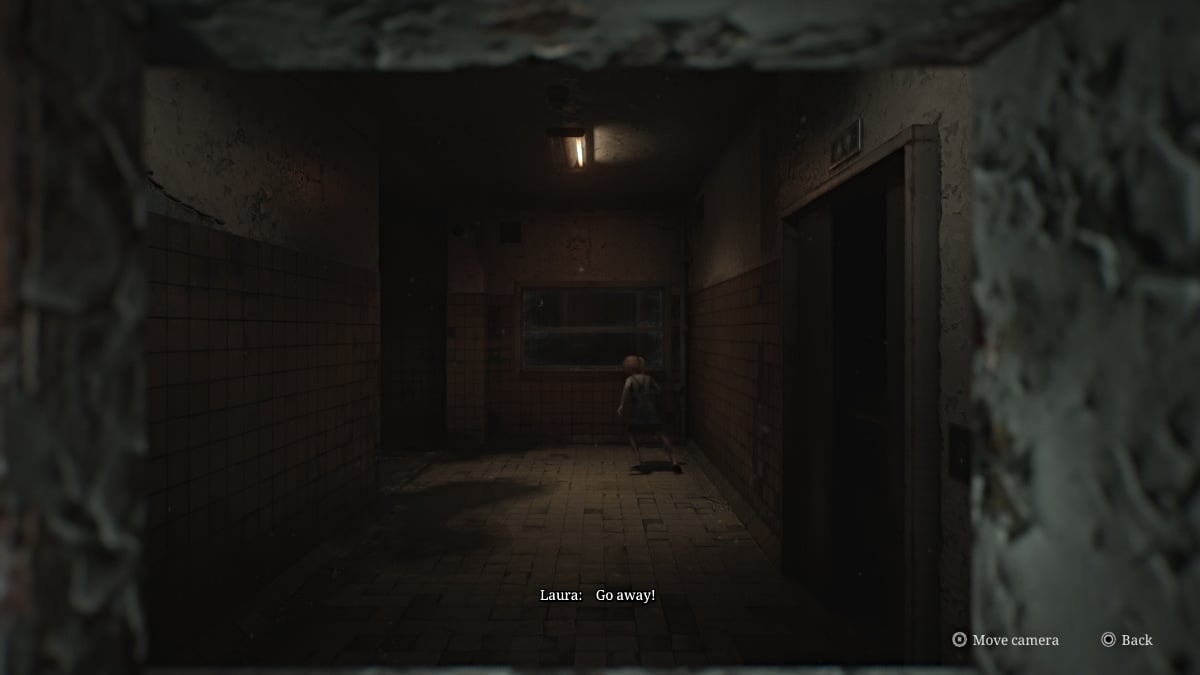
Sortez de la porte voisine qui vous amène à la cage d'escalier ouest. Montez au troisième étage et vous entendrez ce qui ressemble à une jeune fille fredonnant et plus de dessins sur les murs. Laura est clairement à proximité, et il s'avère qu'elle est dans la zone restreinte du sol bloqué par une énorme porte métallique. Ouvrez la fenêtre de vue pour voir Laura de l'autre côté. Encore une fois, elle s'enfuit avant que James ne puisse faire un mot.
Pour l'instant, dirigez-vous vers la pièce D1 , qui a une serrure combinée dessus. Normalement, vous devez déterminer le code en utilisant les deux radiographies que vous trouvez à l'écran dans la salle des rayons X.
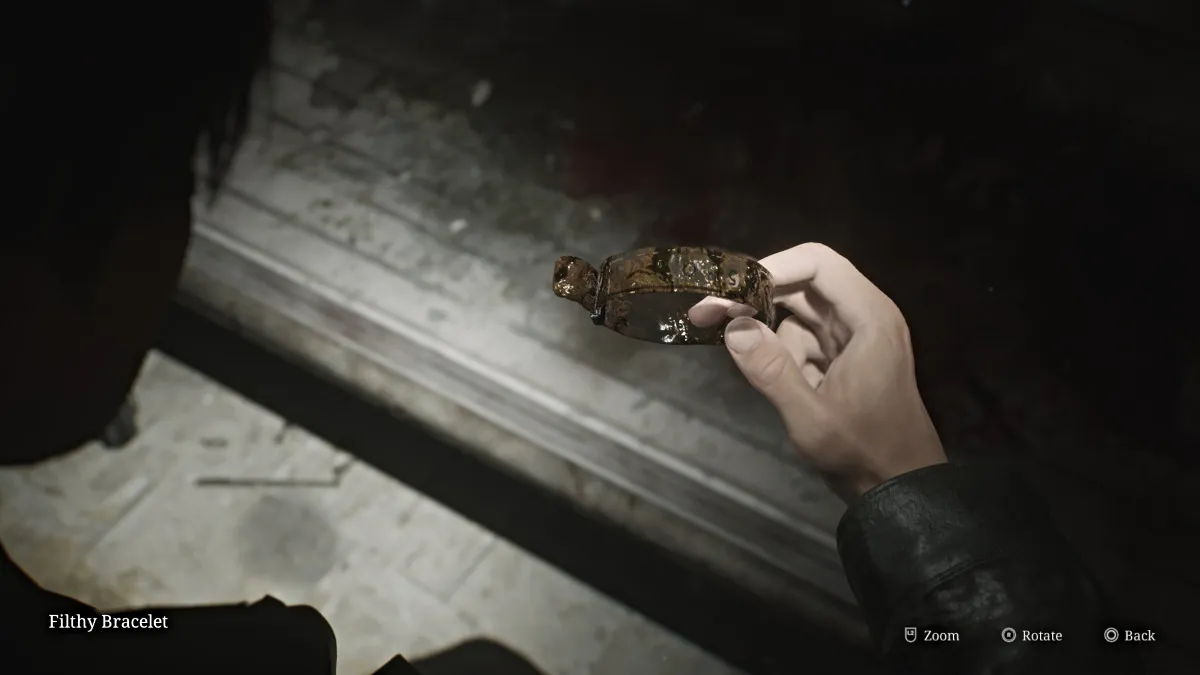
Pour vous faire gagner du temps, cependant, le code correct (difficulté standard) est 04 (à droite), 37 (à gauche), 12 (à droite) . Une fois à l'intérieur, interagissez avec le lit du patient et James décollera la couverture pour découvrir les restes sanglants du deuxième patient et du bracelet sale .
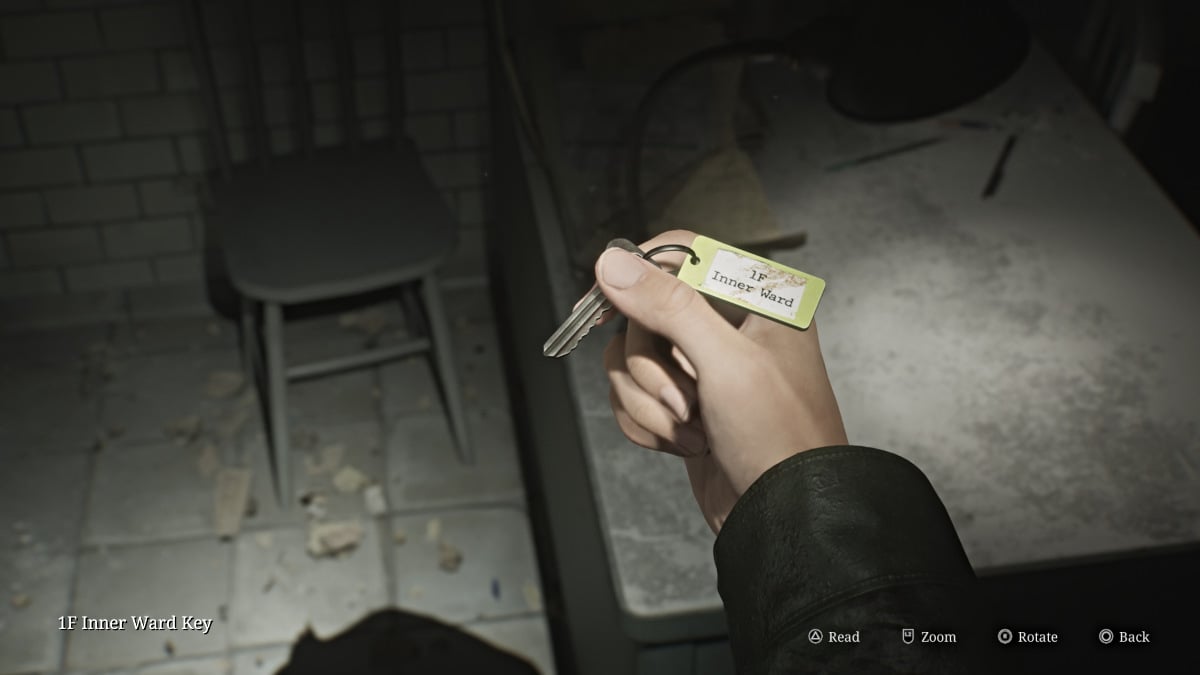
Après cela, explorez les autres pièces voisines pour plus de munitions armes de poing une boisson santé . Écrasez la fenêtre pour entrer dans la salle d'examen 5 et réclamez la clé de service intérieure 1F du bureau.
Avec nulle part ailleurs pour aller à l'étage 3 ou plus pour le moment, redescendez au premier étage avec votre nouvelle clé de salle intérieure . Descendez les escaliers est et vous remarquerez que la porte de la salle d'examen 1 est maintenant ouverte. Entrez à l'intérieur et traitez avec le mannequin afin que vous puissiez réclamer des munitions d'armes de poing et la photo étrange "au moins elle était là".
Continuez dans le couloir tout en veillant aux infirmières à bulles déterminées à bloquer votre chemin. Montez dans le couloir central et utilisez la clé intérieure pour avoir enfin accès au reste du sol. Découvrez d'abord le cabinet du médecin à votre droit pour les munitions d'armes de poing et la note de combinaison du clavier .
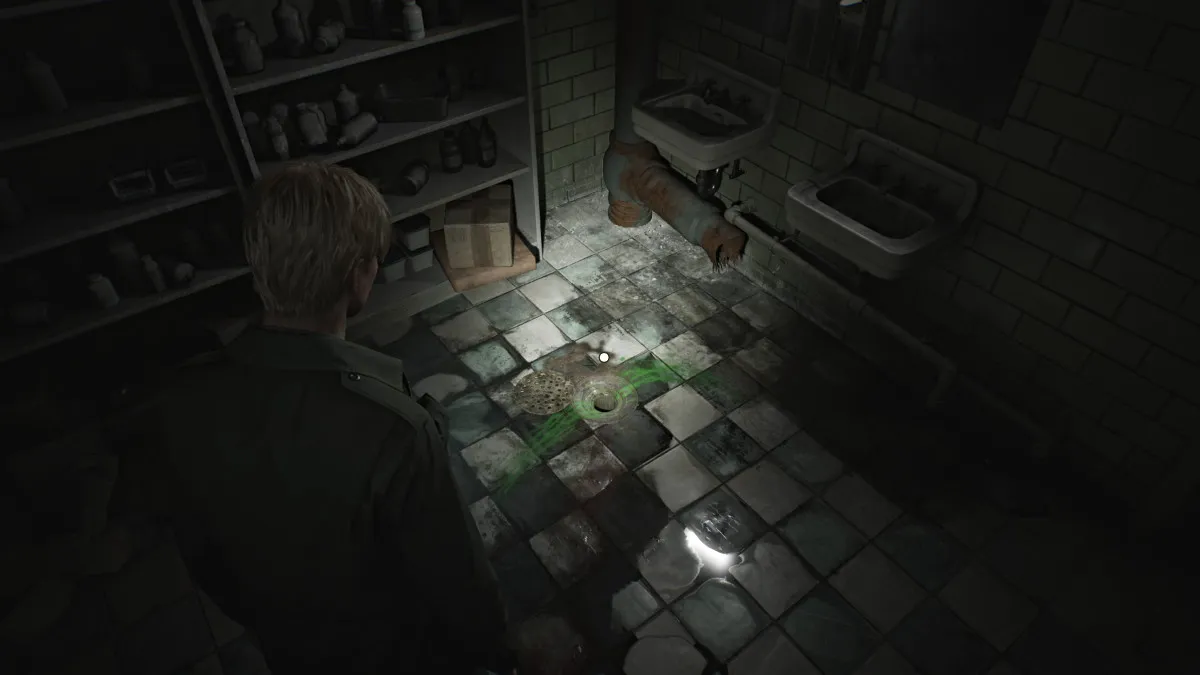
Ensuite, allez vérifier la salle de journée où vous trouverez plus de munitions d'armes de poing et une infirmière à bulles qui se cachent. Après sa mort, utilisez l'écart dans le mur gauche pour traverser la pharmacie . À l'intérieur, vous trouverez plus de munitions d'armes de poing , et un étrange tuyau ouvert dans le sol près des éviers, avec des résidus verts brillants qui s'infiltrent. Il y a quelque chose coincé à l'intérieur, et vous aurez besoin du bon outil pour le sortir. Heureusement, vous en avez déjà la moitié (l'aiguille pliée).
Pour l'instant, tournez et remarquez la fenêtre ouverte qui mène au jardin . Sautez à travers et commencez à explorer, mais soyez prudent car il rampe avec des monstres (principalement des figures mensongées). Allez au gazebo sur le côté gauche et utilisez le vide sanitaire à l'arrière pour y entrer. Traitez avec le mannequin à l'intérieur, puis saisissez les munitions et la seringue .
Faites votre chemin vers le côté droit du jardin, prenez les coquilles de fusil de chasse sur une table en bois, puis entrez dans la serre . Prenez plus de munitions d'armes de poing dans un tiroir, puis utilisez la fenêtre ouverte pour traverser la piscine .
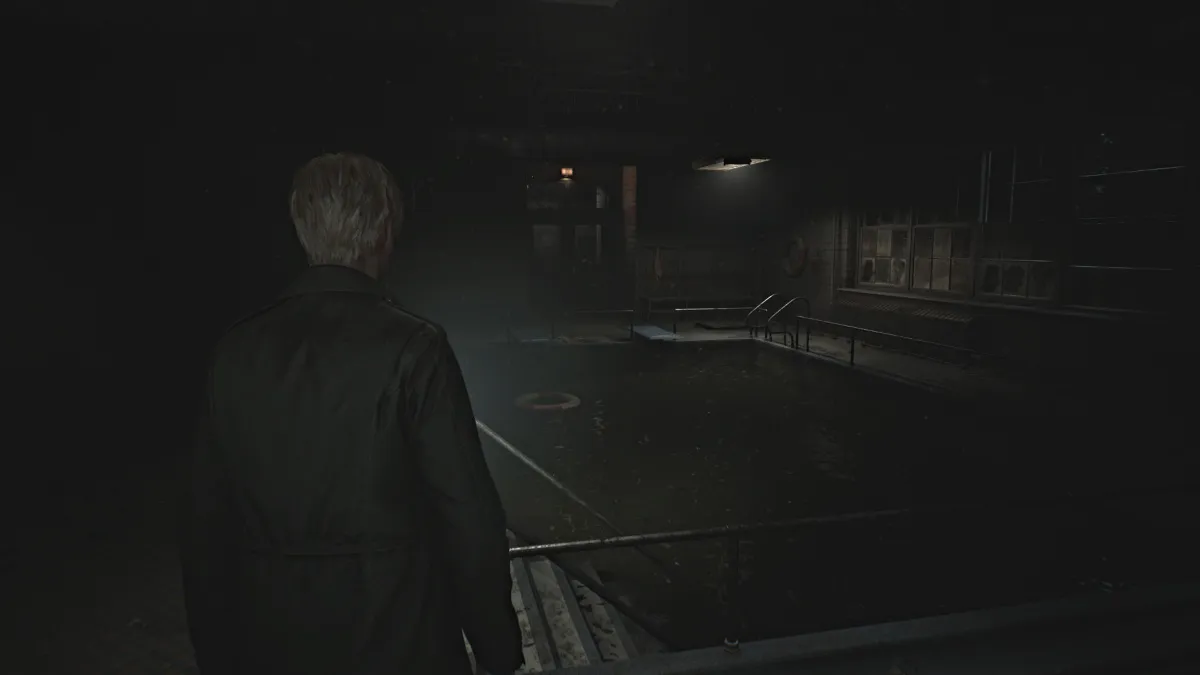
Ce que vous devez obtenir est à l'intérieur de la piscine, mais malheureusement, il est rempli d'une eau très méchante et même James a des limites et n'ira pas. De l'autre côté de la piscine, vous verrez une porte de verrouillage dans le sol Cela nécessite une clé pour s'ouvrir. Cela vous donne accès au système de pompe de la piscine, qui vous permettra de le vider, vous devez donc trouver cette clé.
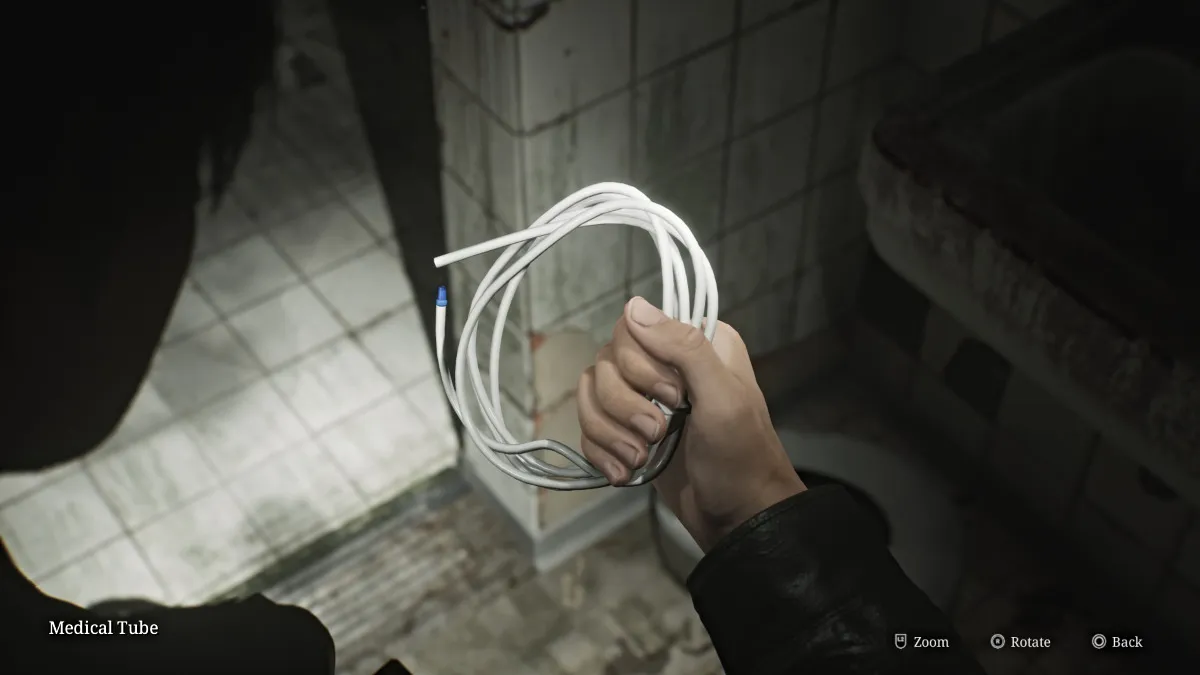
Allez dans la salle de douche , traitez avec un autre mannequin dans l'un des stands, puis allez récupérer les munitions d'armes de poing , des coquilles de fusil de chasse et une bobine de tube médical (vu ci-dessus) assis dans l'un des éviers. Revenez dans le jardin jusqu'à la pharmacie.
Une fois sur place, allez dans votre inventaire et combinez l'aiguille pliée avec le tube médical . Accédez à la drainage du tuyau et utilisez votre nouvel outil pour pêcher l'objet coincé, qui s'avère être la clé d'entretien de la piscine.
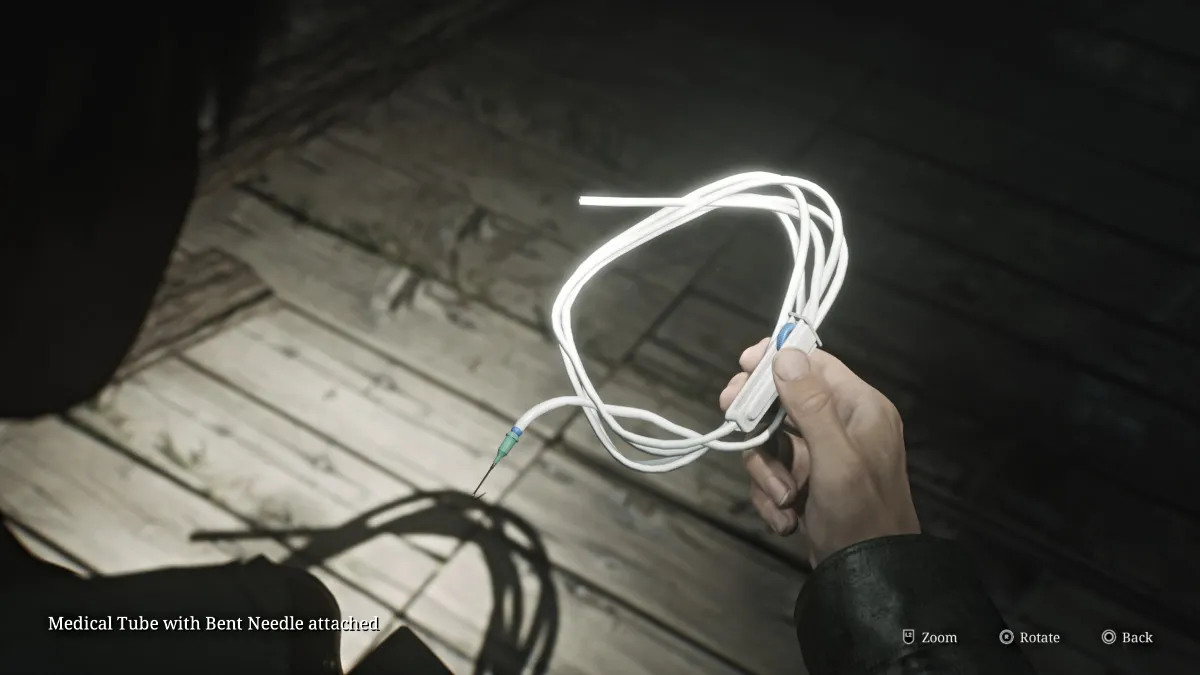
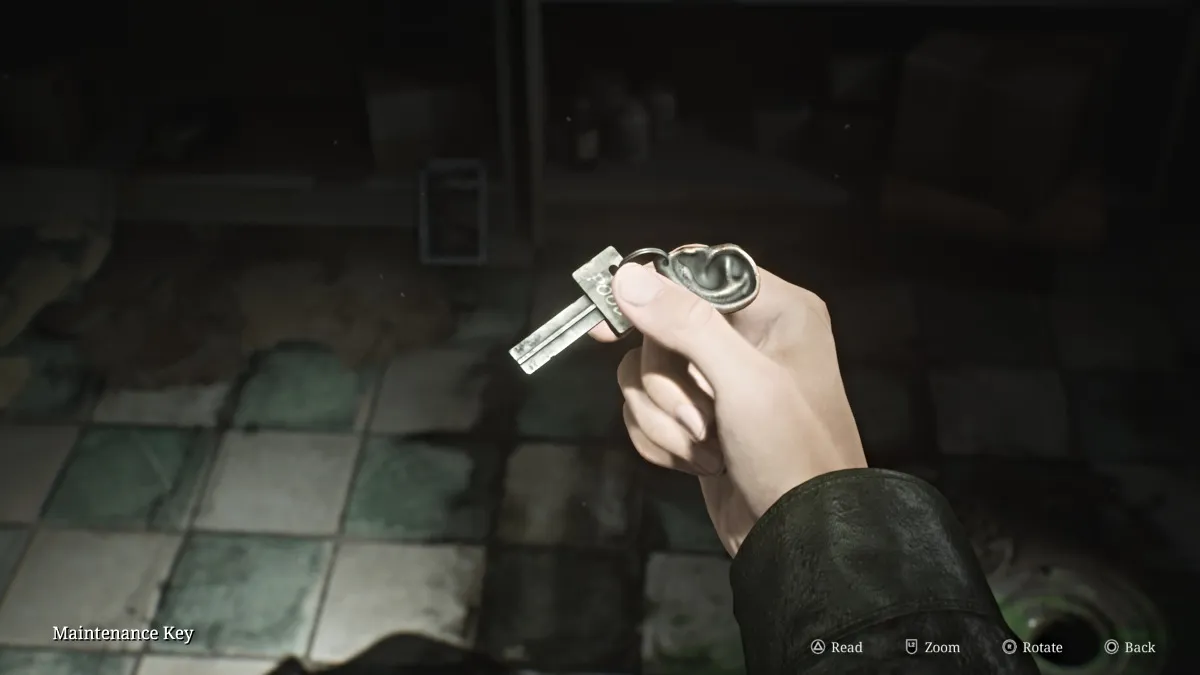
Avec cela, retournez à nouveau à la piscine et utilisez la clé de maintenance de la porte du verrou pour accéder à la pompe et égoutter complètement la piscine. Descendez et écrasez les carreaux où l'œil qui fuyait est d'obtenir le bracelet taché de sang , le troisième et dernier dont vous avez besoin.
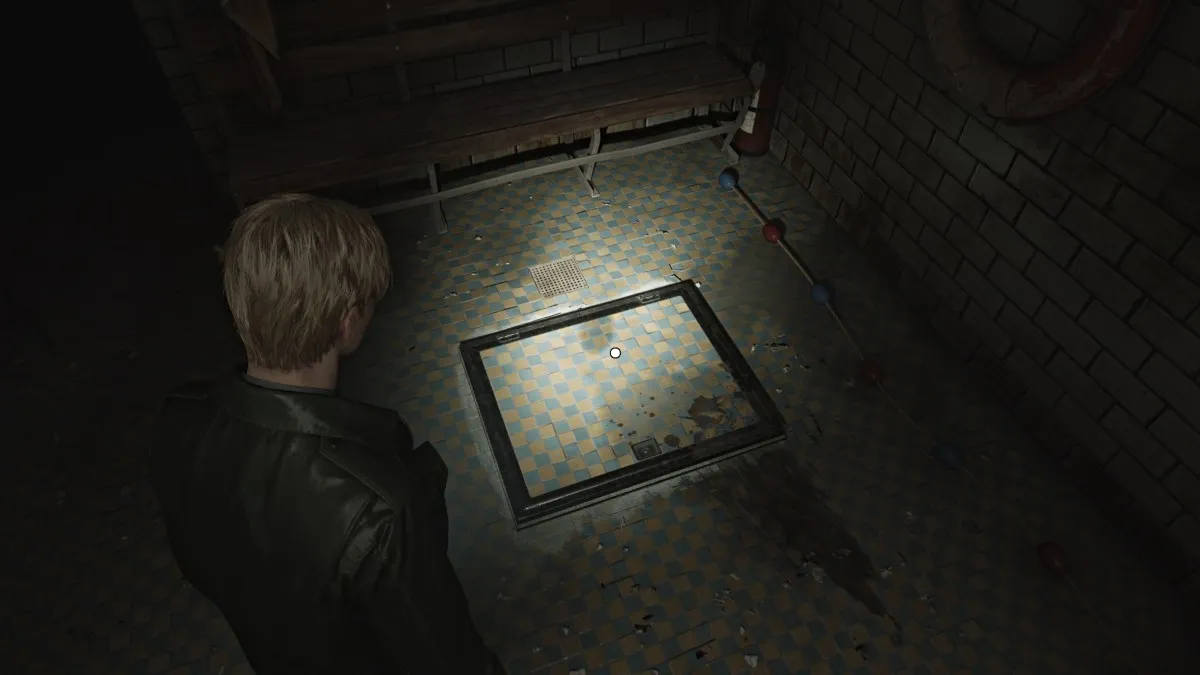
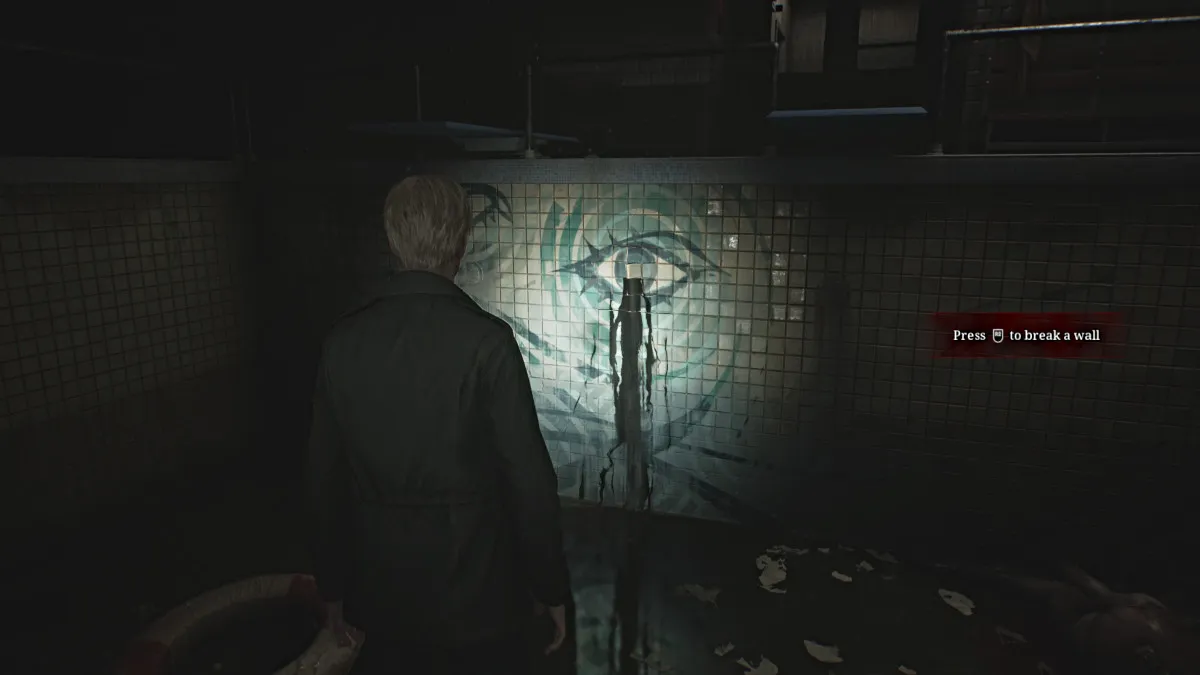
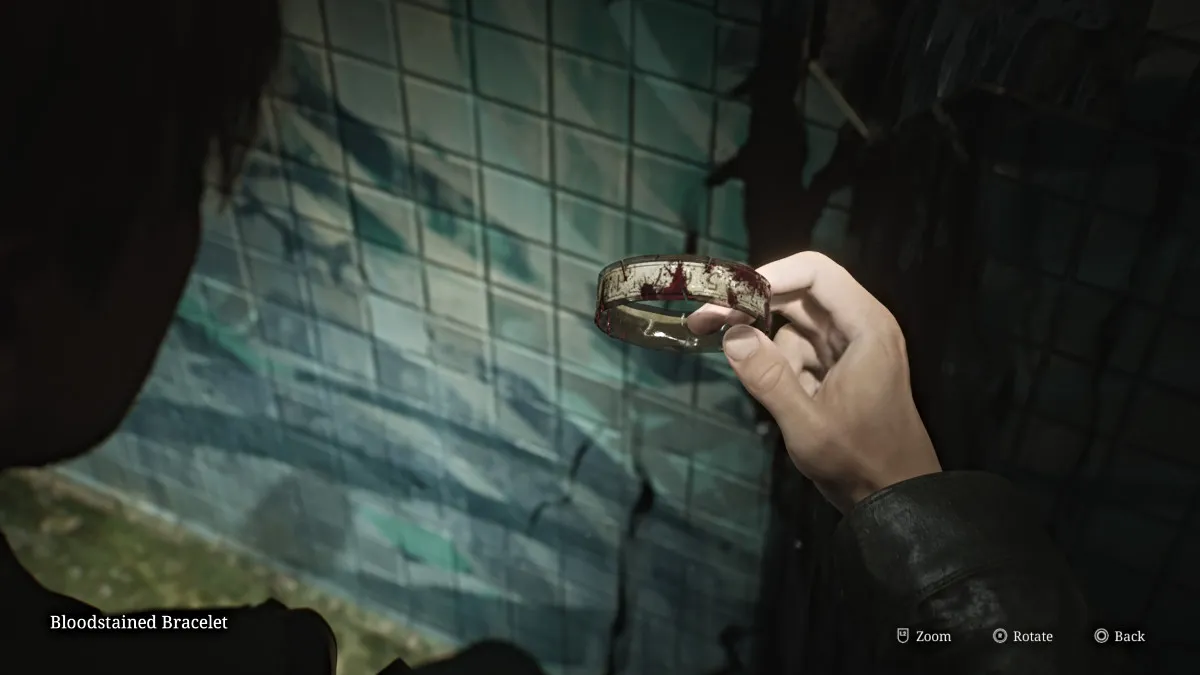
Nous vous recommandons de faire un chemin de retour à la pharmacie, car de nombreux monstres que vous avez tués dans le jardin plus tôt, y compris ceux de la piscine, raviveront et attaquent et vous ne voulez pas gaspiller des munitions et une santé précieuses à ce sujet .
Avant de retourner à l'étage dans la salle du réalisateur, vous devez d'abord finir d'explorer le reste de la salle intérieure du côté ouest. Passez à la pharmacie et déverrouillez la porte de la cage d'escalier du Nord-Ouest. Ensuite, dirigez-vous à l'intérieur de la cuisine , où vous pouvez trouver une bouteille de déménagement de moisissure assis près du four, vous pouvez l'utiliser pour nettoyer la lithographie moisie que vous avez obtenue plus tôt si vous avez toujours besoin du code pour le verrouillage combo au fond 3.
Il n'y a pas grand-chose d'autre à trouver à part quelques munitions d'armes de poing dans les petites toilettes en face de la cuisine et des coquilles de fusil de chasse dans la zone de cafétéria voisine. Une fois que vous avez fini d'explorer, retournez à l'étage dans la salle du réalisateur.
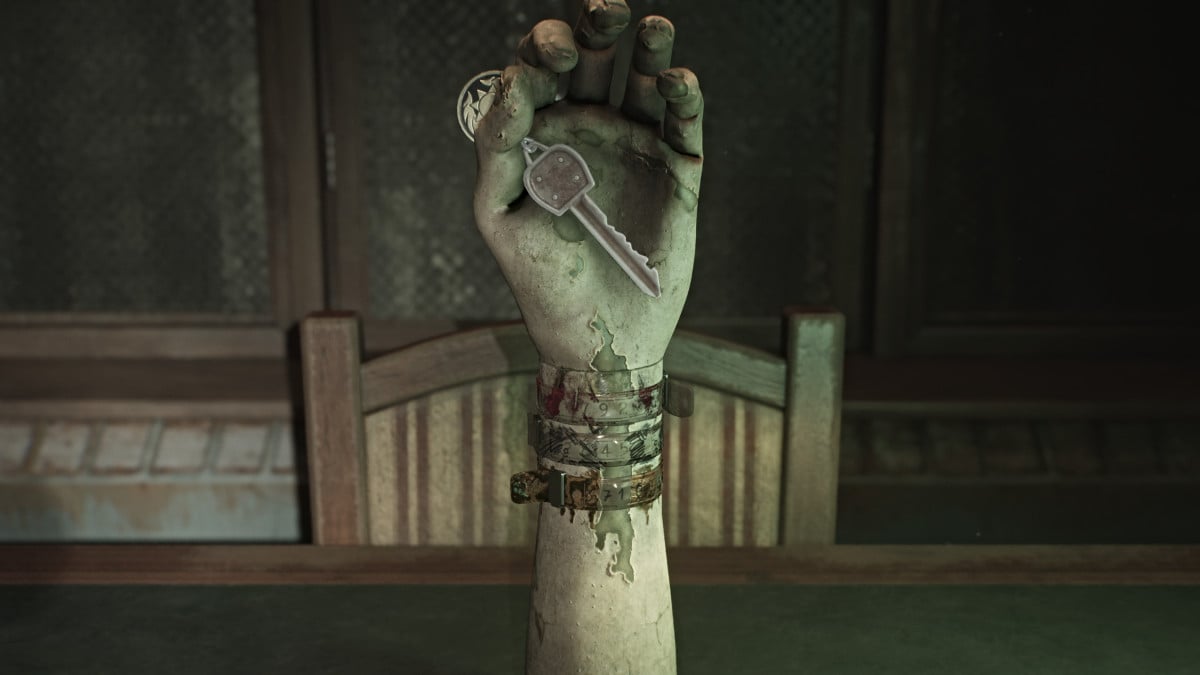
Placez le reste des bracelets que vous avez obtenus sur le bras mannequin, à quel point vous devez ensuite les organiser dans le bon ordre et les «faire pivoter» afin que les bons ensembles de nombres soient confrontés. L'ordre correct (difficulté standard) de haut en bas est le bracelet taché de sang, le bracelet marqué et le bracelet sale avec les nombres: 92, 45, 71 alignés de haut en bas.
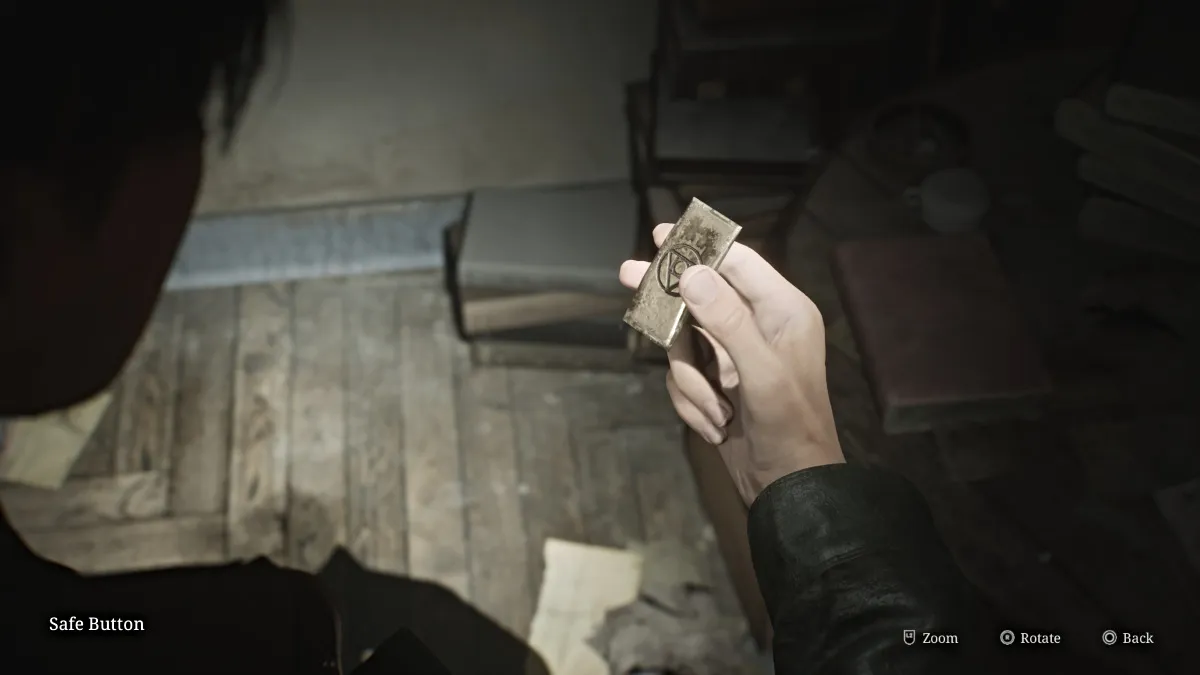
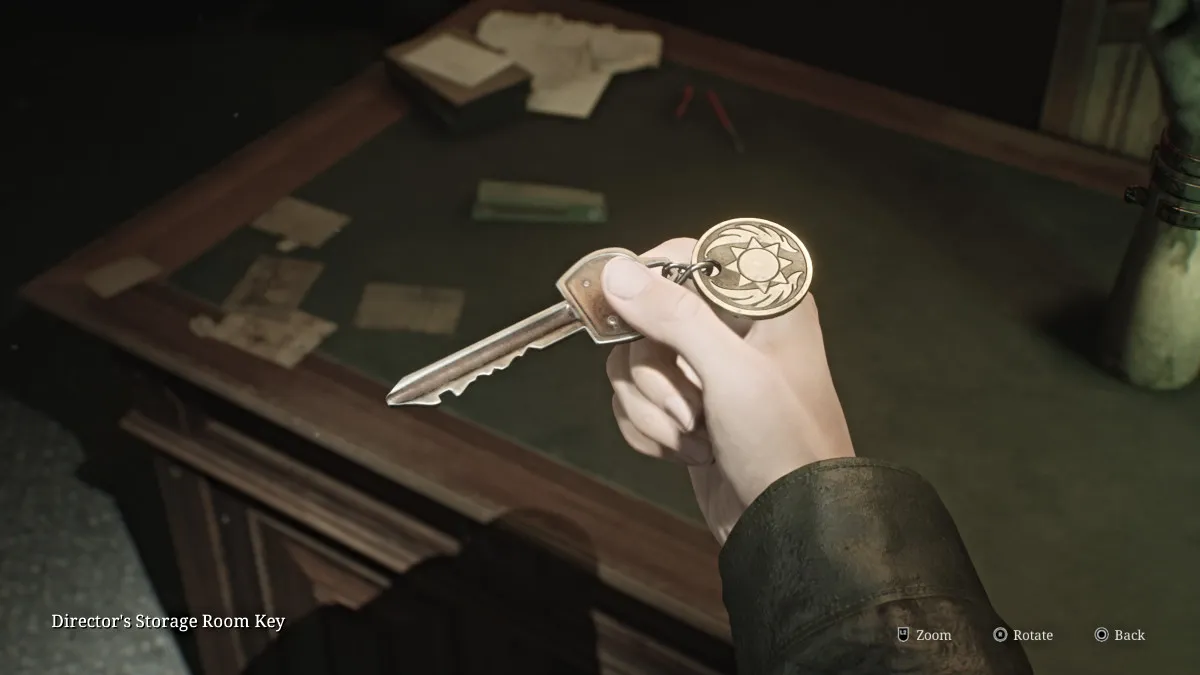
Une fois terminé, la main s'ouvrira pour que vous preniez la clé de la salle de stockage du directeur . Allez-y et utilisez-le sur la porte verrouillée à proximité et dirigez-vous à l'intérieur. Vous y trouverez le bouton de sécurité manquant sur un bureau et sur l'étagère en face, un autre puzzle.
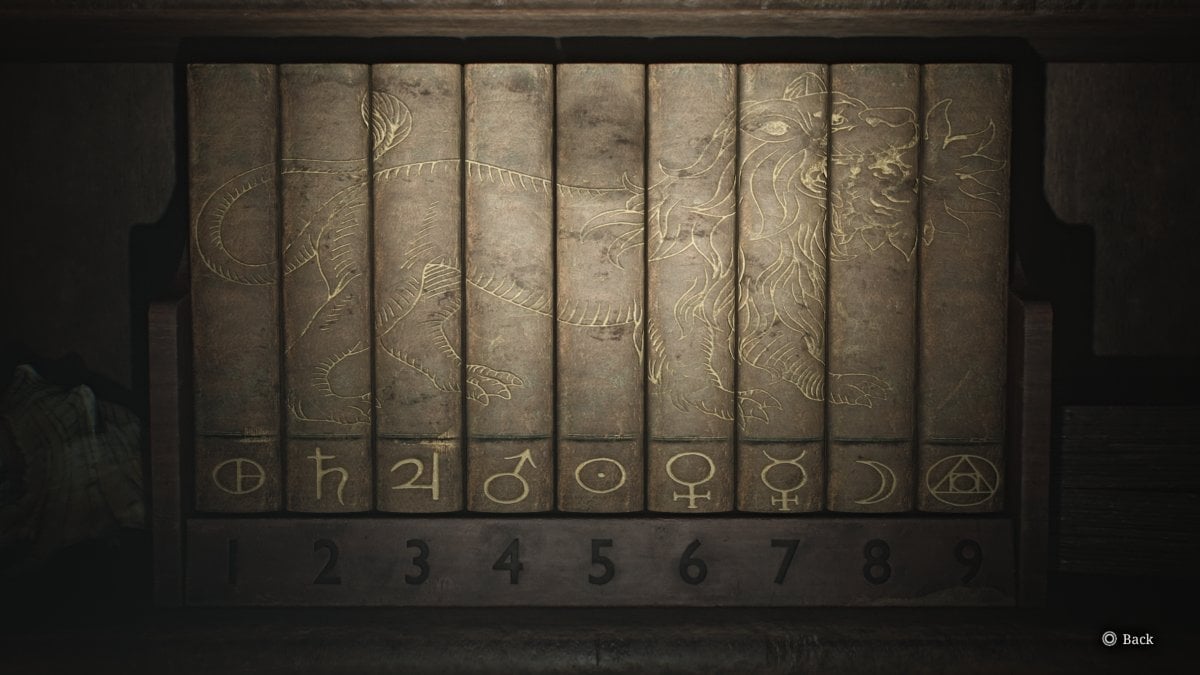
Dans ce cas, vous devez organiser les neuf livres afin que leurs épines correspondent et forment l'image d'un lion à craindre du feu (comme vu ci-dessus). It may seem like there's no reward afterward, but in fact the order of the symbols at the bottom is a clue for what you need to punch into the Director's Safe. Your other clue is the set of numbers from the bracelets.
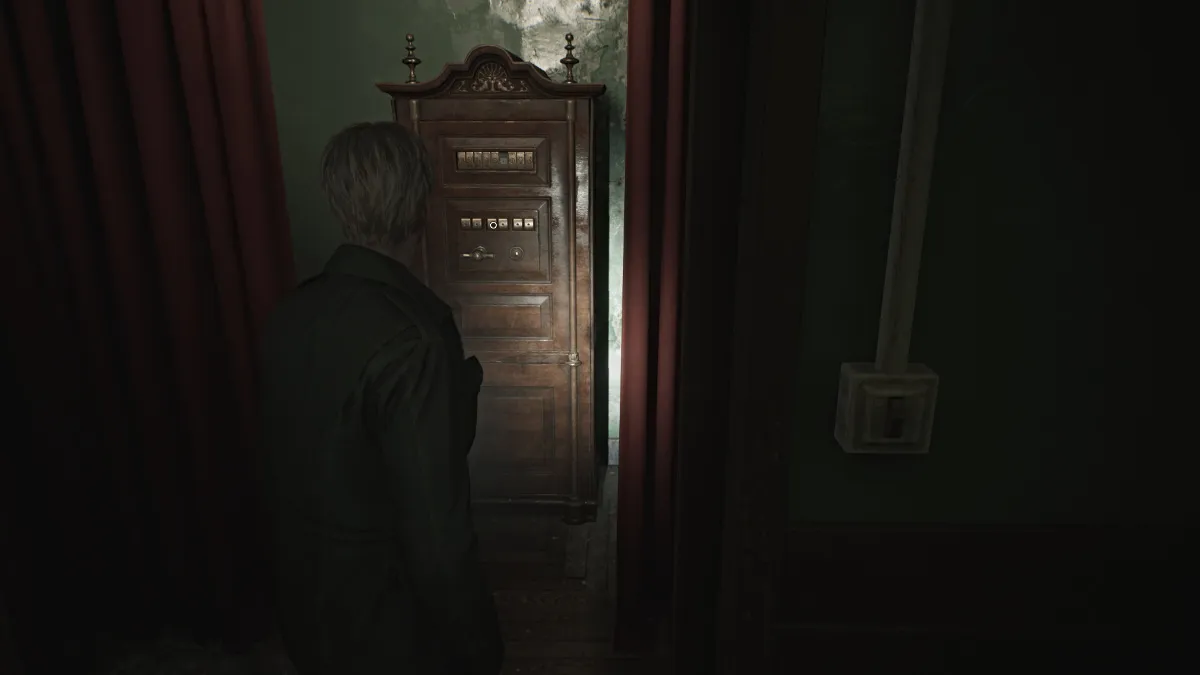
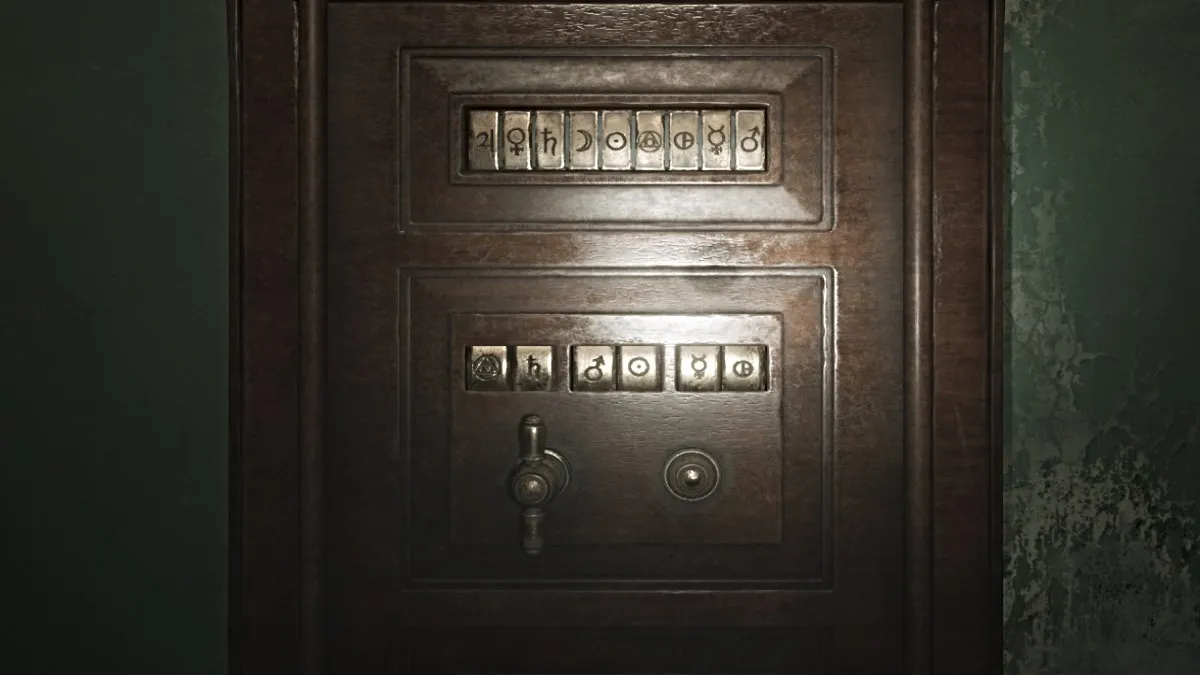
With that, go over to the safe, place the missing button you found into it, and use both your clues to figure out the correct symbol combination. Essentially, '92-45-71' from the bracelets is the numerical order of the combination, and you need to equate that to the symbol order from the book puzzle, all to form a cryptogram of sorts.
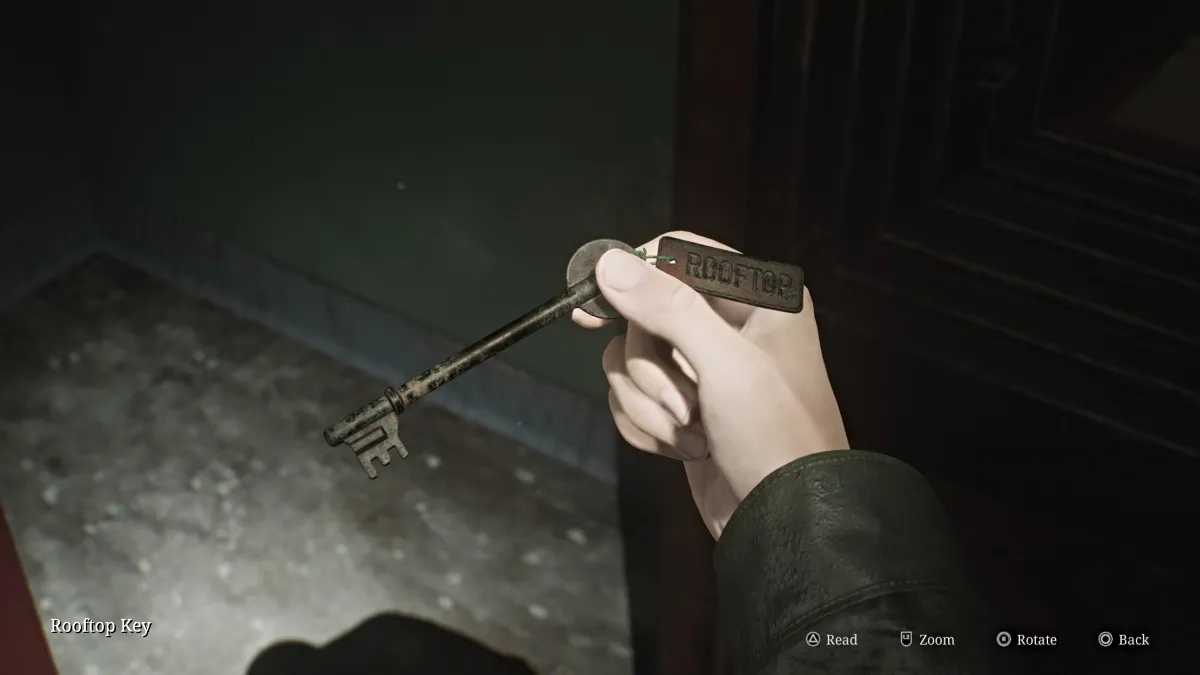
Once the correct combination is done (seen above), the safe will open and inside you can retrieve the Rooftop Key and the Safe Note , which gives some foreshadowing about the key taking James where he needs to go, and that "pain" will be involved, yay.
With that, go back and use the Red Save Point and start your journey up to the roof of Brookhaven.
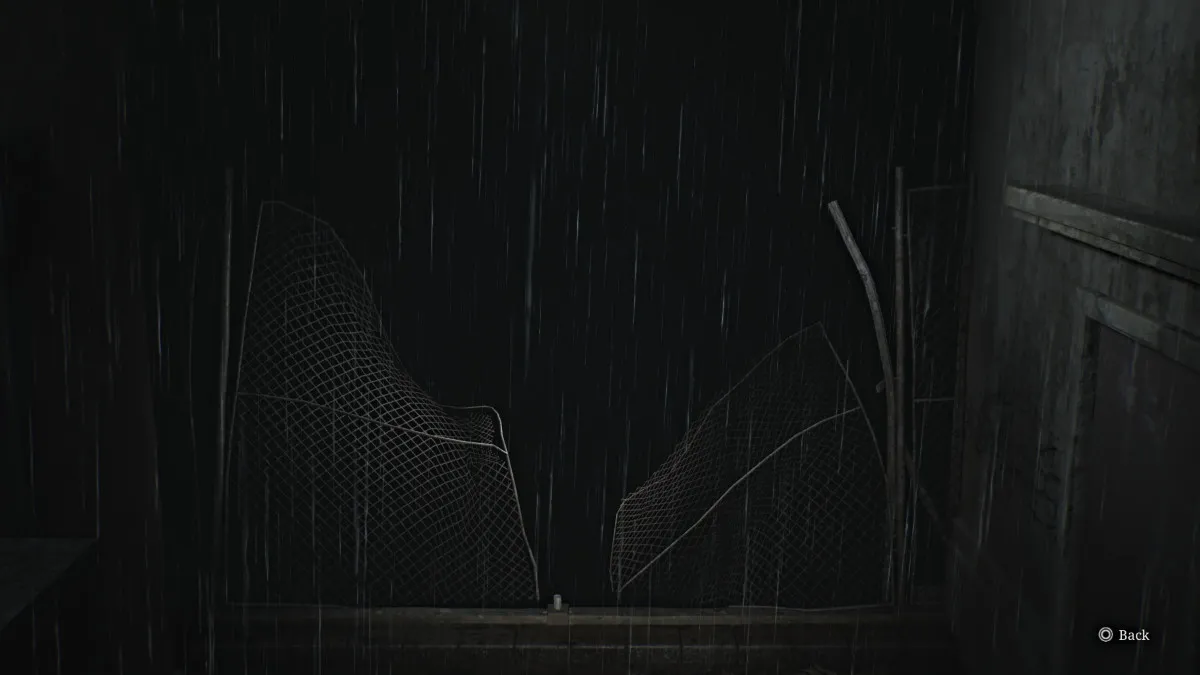
Once you arrive on the roof, first hang a right onto the nearby metal catwalk that has Shotgun Shells sitting at the end of it. Then go back to where you were and instead go straight, until you find an entrance to another metal catwalk that takes you around the left side of the roof.
At the end of it, you'll find another Glimpse of the Past (seen above) which happens to be the spot where James was shoved off the roof by Pyramid Head in the original game. However, that doesn't seem to be the case here.
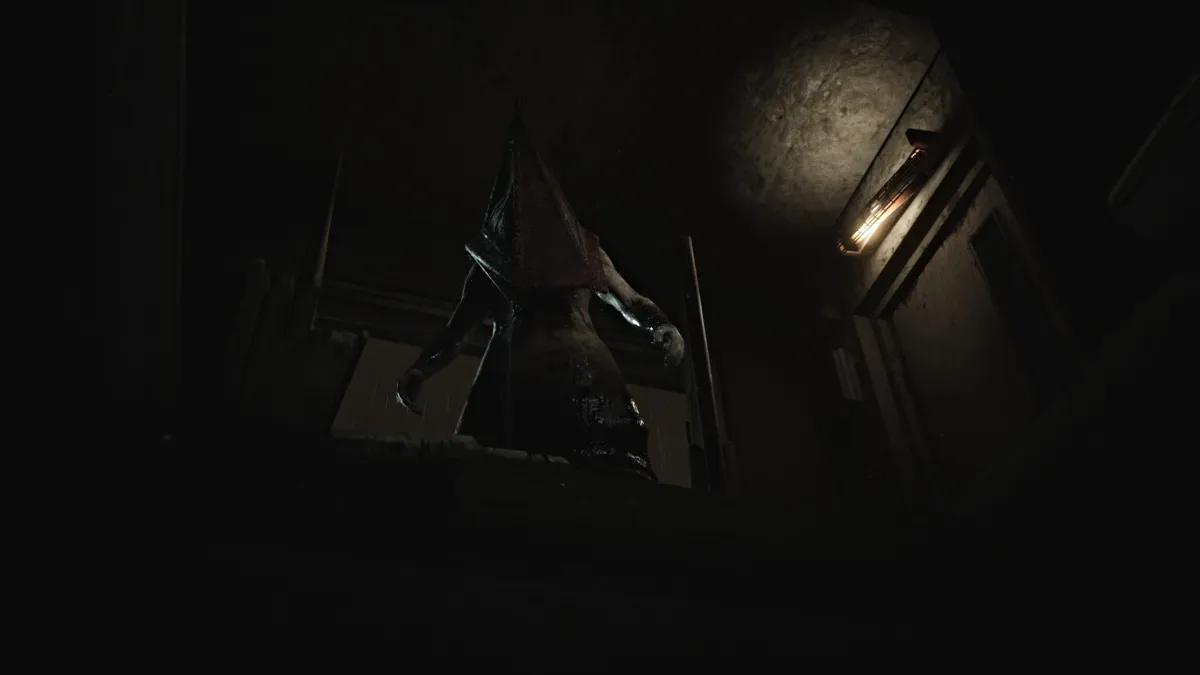
Now, go and investigate the yellow double doors that lead back inside. In what looks like the top of a wooden lift, you'll find the Page From a Diary on the floor. Pick it up, and as you try to go back through the doors, Pyramid Head will suddenly appear and grab James by the throat. This time, he shoves James down through the shaft, sending him back to the third floor.
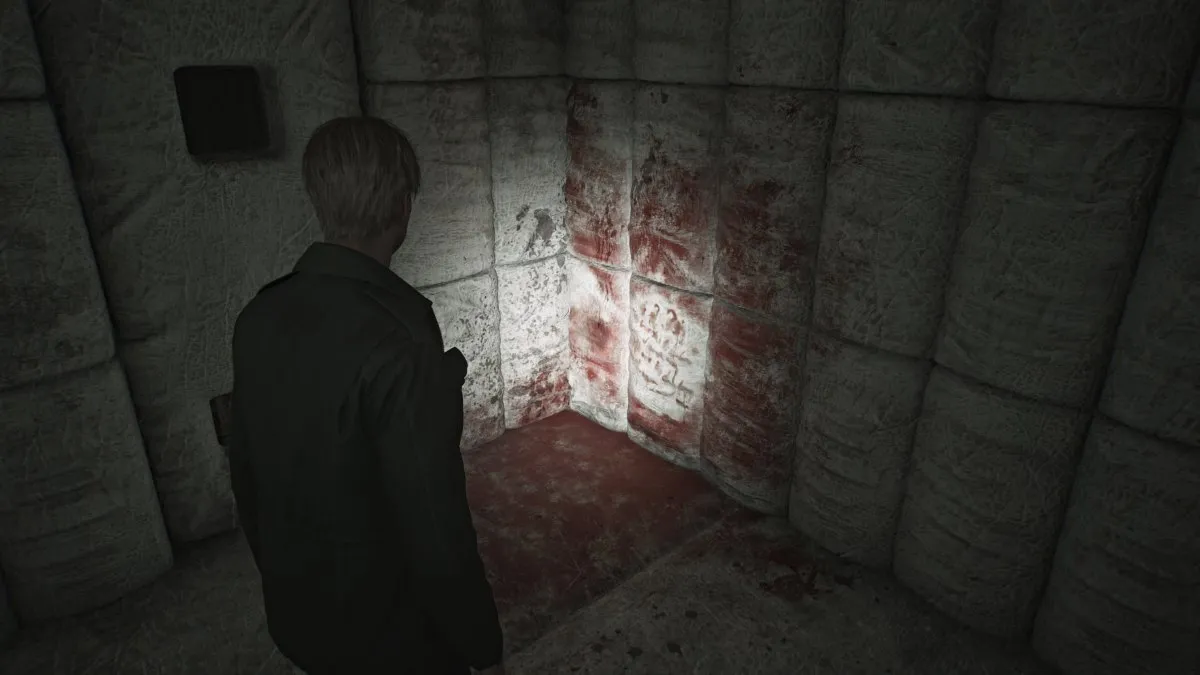
After James collects himself, you'll notice that you landed right on the opposite side of the huge 'Restricted Area' gate where Laura was last seen. First go investigate the Hydrotherapy Room , where you'll find Shotgun Shells , a Health Drink , and a Syringe . Next, when checking the padded rooms, in Room 13 you'll find another Glimpse of the Past covered in blood.
Continue on ahead and through the next set of yellow doors. Soon a cutscene will show James finally finding Laura in a room playing with teddy bears. He pleads for her to stop running and tell him how she knows about Mary. Laura seems hesitant to say much, but admits that she and Mary were friends and that they met at the hospital "last year".
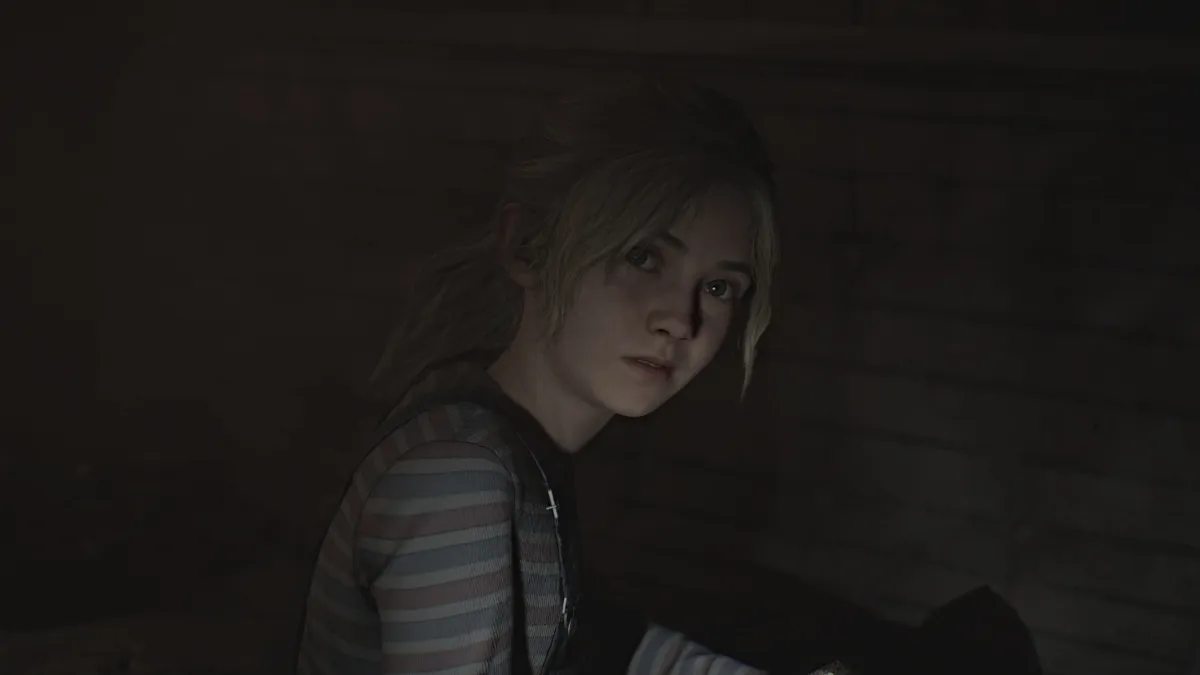
In confusion, James lashes out and calls Laura a liar, who immediately grows cold again and decides to play a trick on him. She baits him to another room nearby with the promise of another letter from Mary. The noise riles up a different kind of monster from within the walls, and now it's time for another boss fight.
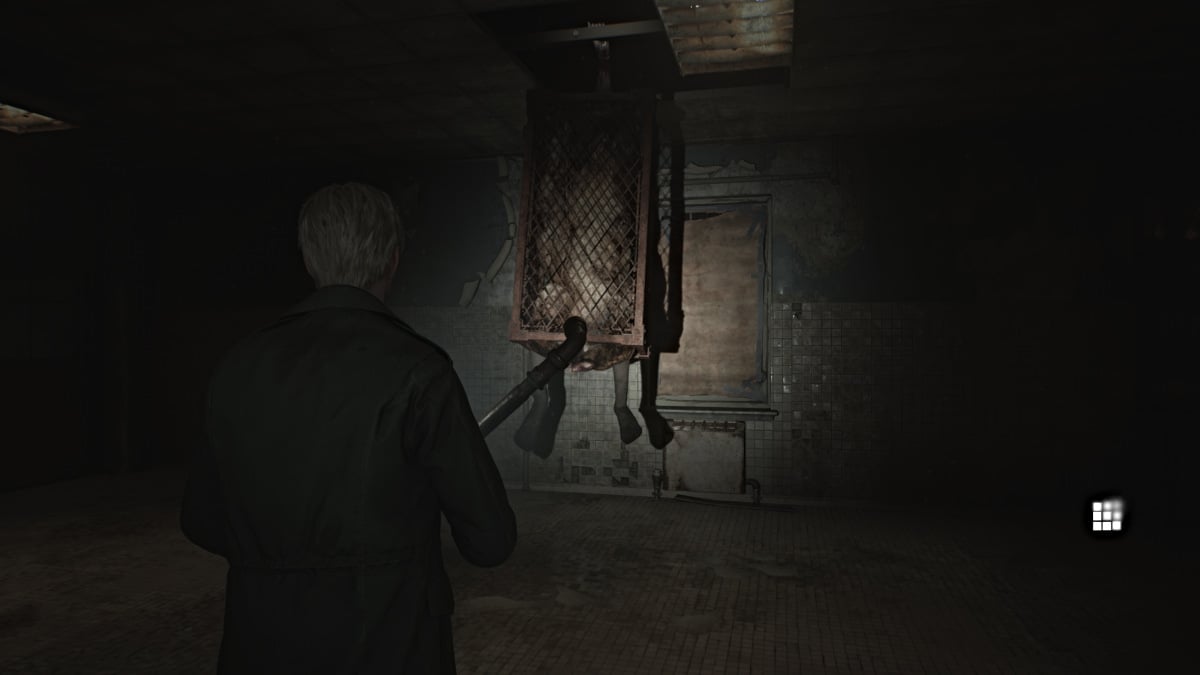
As the second boss fight in the game, Flesh Lips is as dangerous as it is disturbing to look at. Encased in a metal cage hanging from the ceiling, Flesh Lips will start the fight by essentially playing peek-a-boo with James, popping out from random places in the ceiling. Again, keeping your distance is a big priority.
While you can use both your Handgun and Shotgun to deal damage, Shotgun is king in this fight as you'll soon realize. Start by shooting its legs (shooting the cage won't do anything), and make note of the Shotgun Shells scattered around the room for your use.
The more damage you deal to it, its cage will start to come apart, allowing you to start damaging the body within as well. Eventually, this will cause Flesh Lips to take on a different form, using the metal bars from its cage like spider legs to chase you around the room.
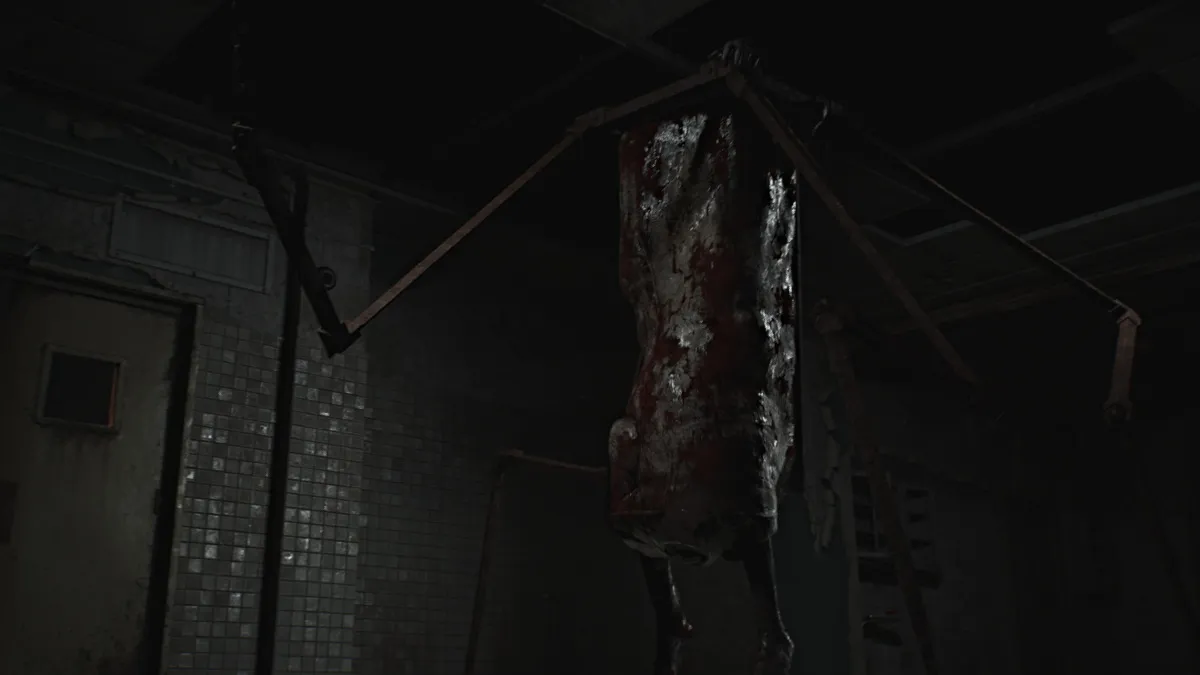
Deal damage as fast as you can, as this boss hits like a truck and you may find yourself swigging Health Drinks faster than you can blink. Occasionally it will emit a screaming attack that, while terrifying, just serves to stun you for a moment.
Eventually, Flesh Lips will collapse dead and James will go over to assess the damage. Suddenly, a second Flesh Lips monster will appear and capture James, dragging him through the ceiling and into an ominous cutscene that eventually lands us back in the Otherworld.
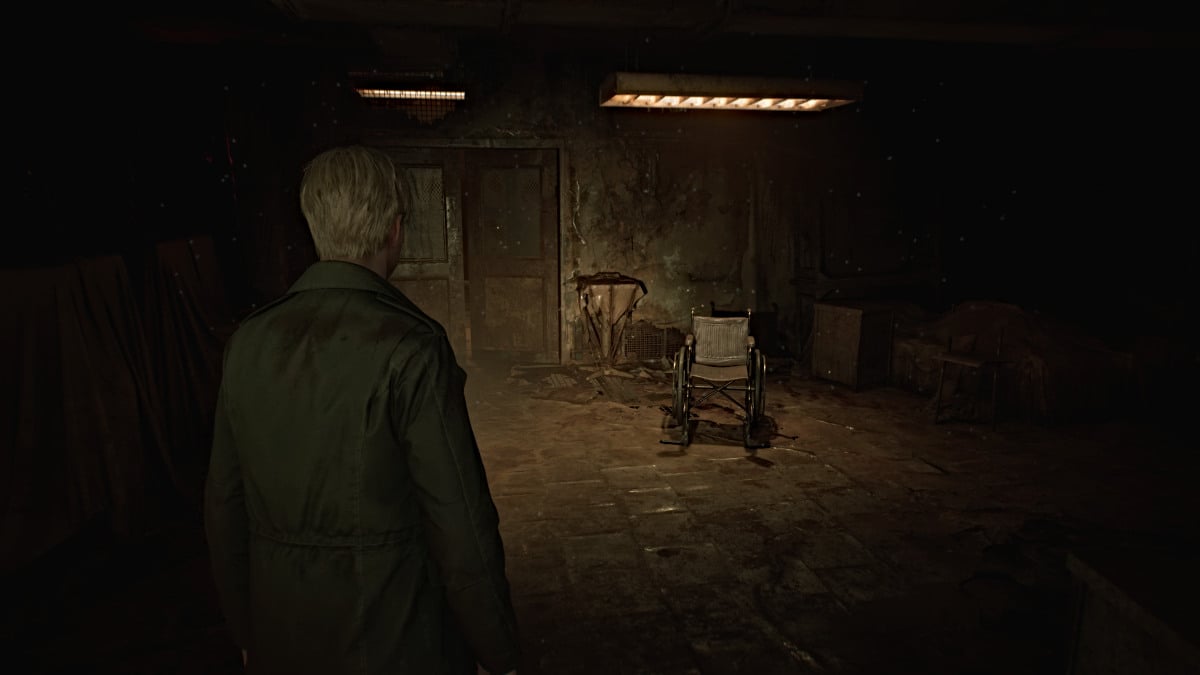
After being dropped off near the hospital's garden area, get your bearings and check your map. You'll notice that all of your markings have been wiped clean and that Brookhaven's version of the Otherworld spans every floor, including the Basement. So you've got a lot of exploring ahead of you.
Start off by going through the Dayroom and picking up some ammo there along with a Syringe and the Evaluation Card, Patient #3141 from the wheelchair in the middle of the room. Head out into the hall and use the Red Save Point to your left.
Much of the first floor is blocked off right now by large gaping holes in the floor and locked doors, so your only path is to the Elevator. Notice that it's missing the button for the Basement level , and you'll need to find it to reach there. For now head to the second floor.
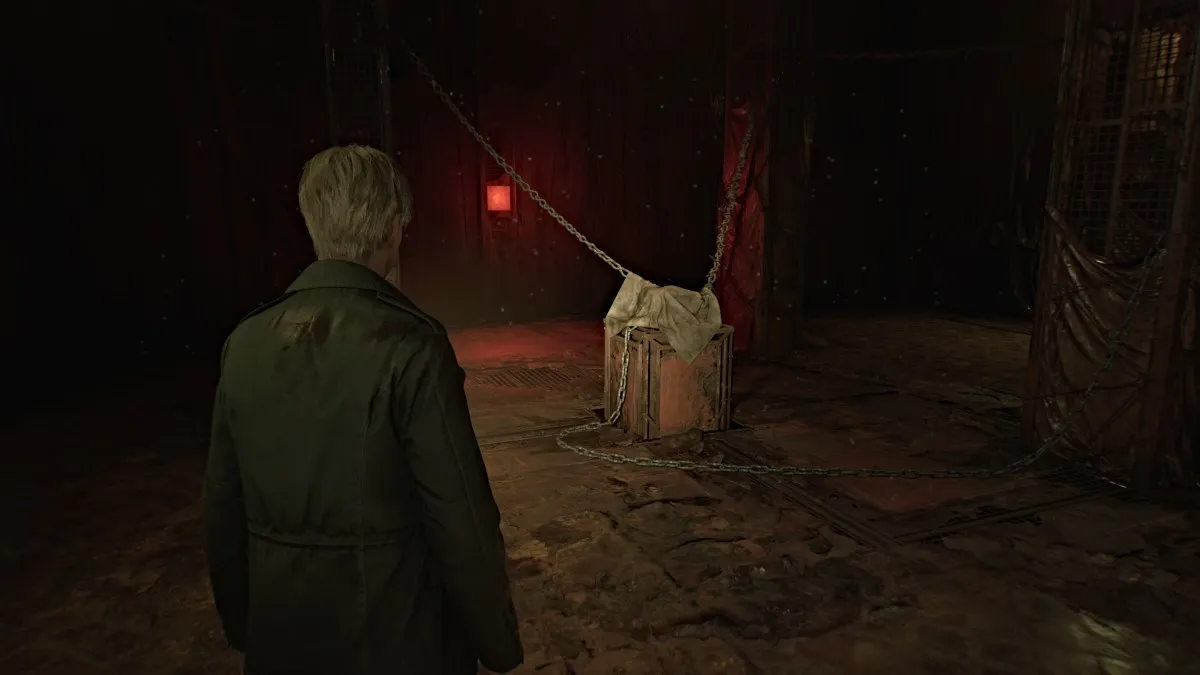
Once there, head right, and near the Nurse's Office , you'll see something sitting on top of a crate, chained and covered up (with a convenient Red Save Point behind it). Uncover it to find a lock box sealed with two numerical locks and a keyhole, meaning you'll need two codes to unlock it, as well as a key .
While we can provide you with the correct codes for the locks to help save you some legwork, before you can use those you need to find the key first. To do that, you need to get to the third floor.
First, investigate the nearby Nurse's Office for items and watch out for the Bubble Nurses who now wield knives instead of pipes. You'll find both Handgun Ammo and Shotgun Shells here, as well as a Health Drink . Cross your way over to the Treatment Room , and then take the crawlspace at the south wall into the Women's Locker Room . In there, you'll find a Syringe and more Shotgun Shells .
Circle around the hallway to the northwest stairwell, which you can take up to the third floor.
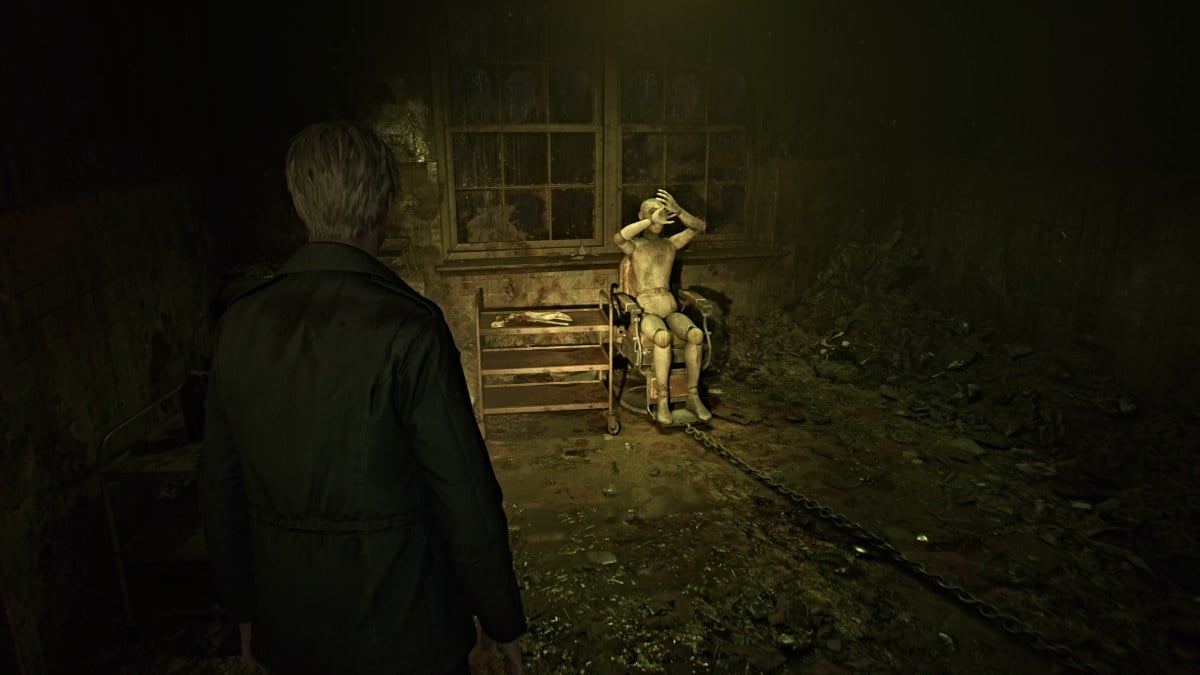
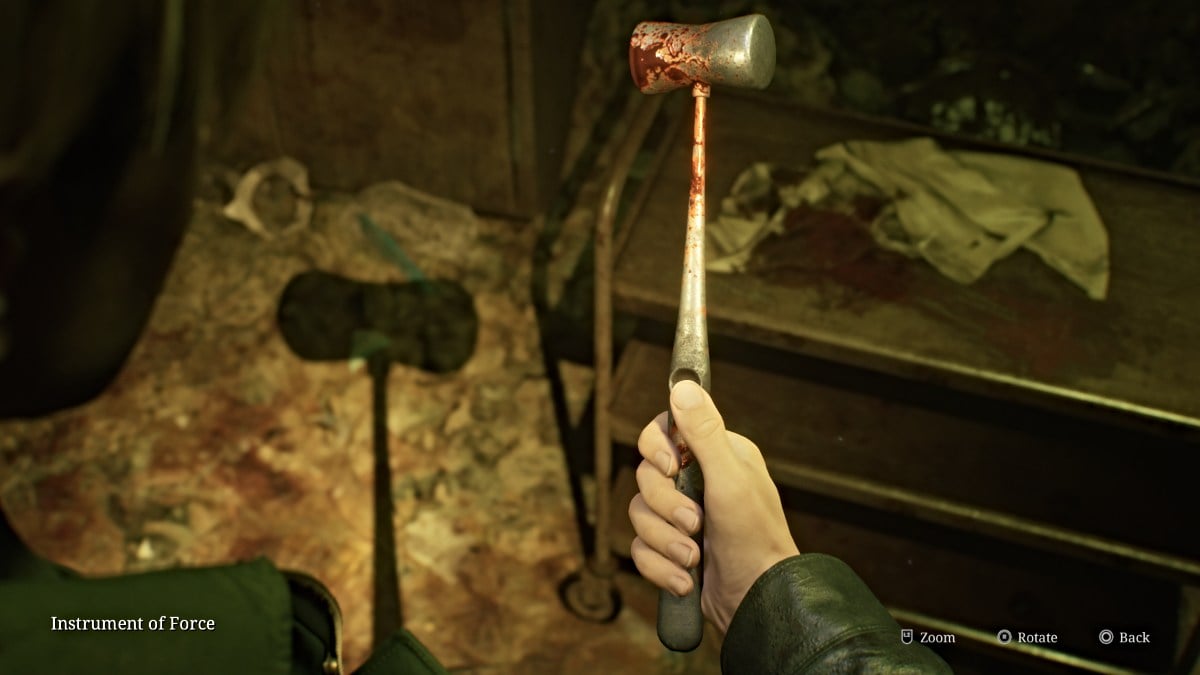
Once there, first head into the X-Ray Room and pick up The Procedure memo from the operating table. Over in Exam Room 4 you'll find a mannequin (no, not the monster) in a surgical chair with its hands in front of its face (seen above). Pick up the Instrument of Force from the tray nearby. This is one of two tools you'll need to get what's hiding inside the mannequin.
Make your way through Exam Room 5 and watch for another Bubble Nurse and Lying Figure in the hallway. Grab some Handgun Ammo from the desk tucked in the corner near Room D3 . Go in there next for Shotgun Shells and a Mannequin that sneaks off to ambush you from around the next corner. Deal with it and retrieve the Health Drink from that corner.
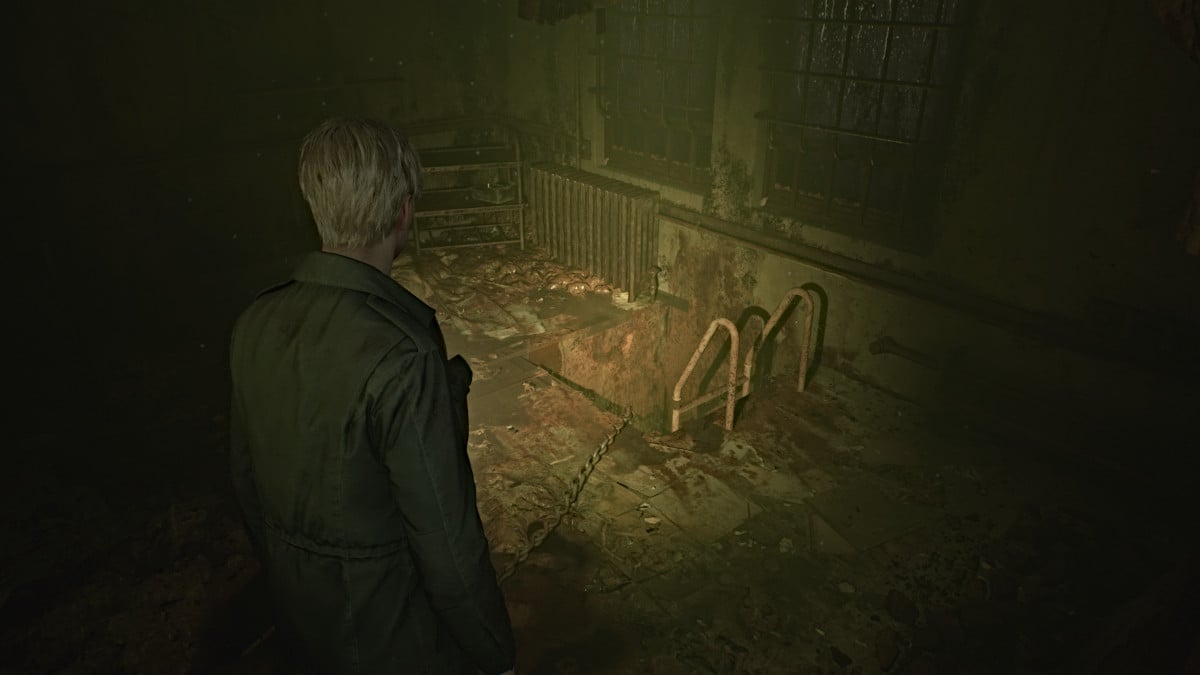
Backtrack to Room D2 and smash the wall on the north side to get in. Use it to cross over to Room D1 , where you'll find a ladder you need to climb down. This brings you down into the Kitchen on the first floor. Grab some Handgun Ammo from the Pantry area and ignore the back room behind it, as you'll only find a Mannequin in there. Explore the nearby Restrooms if you want for more Handgun Ammo and a Shotgun Shell .
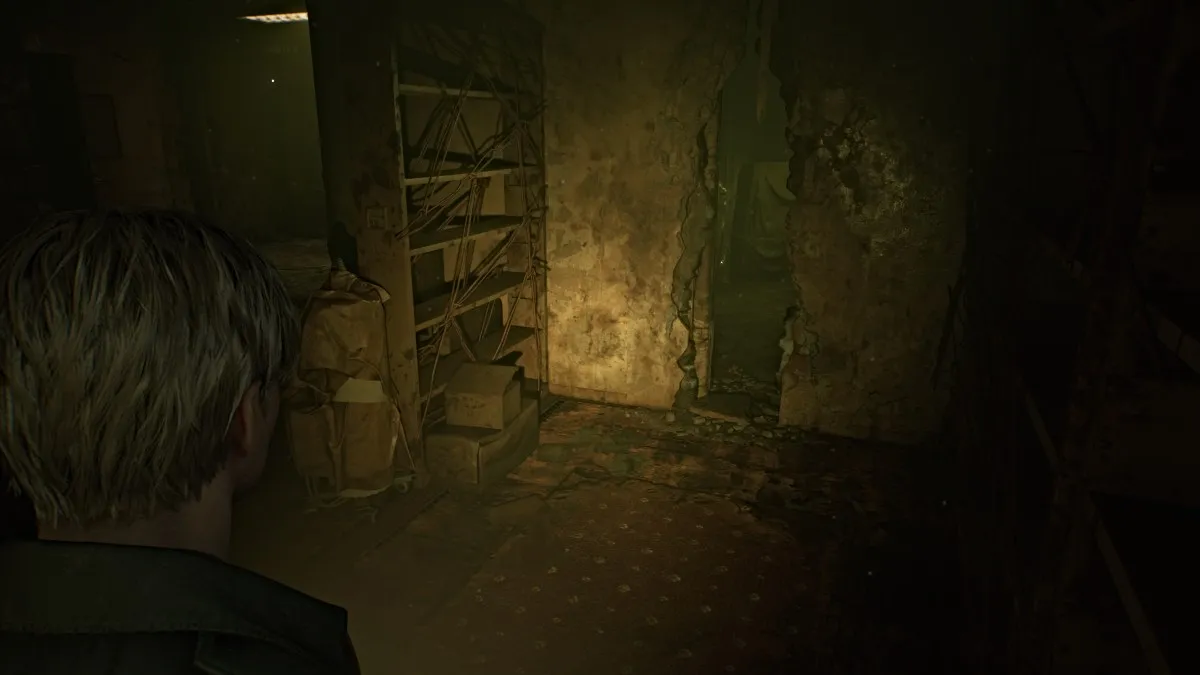
Head down the south side of the Kitchen and around to the Cafeteria . Deal with two Bubble Nurses and a Mannequin there then retrieve the Handgun Ammo on the middle table. Head into the Storage and Medical Records rooms next, where you'll find more Handgun Ammo , Shotgun Shells , and a Health Drink .
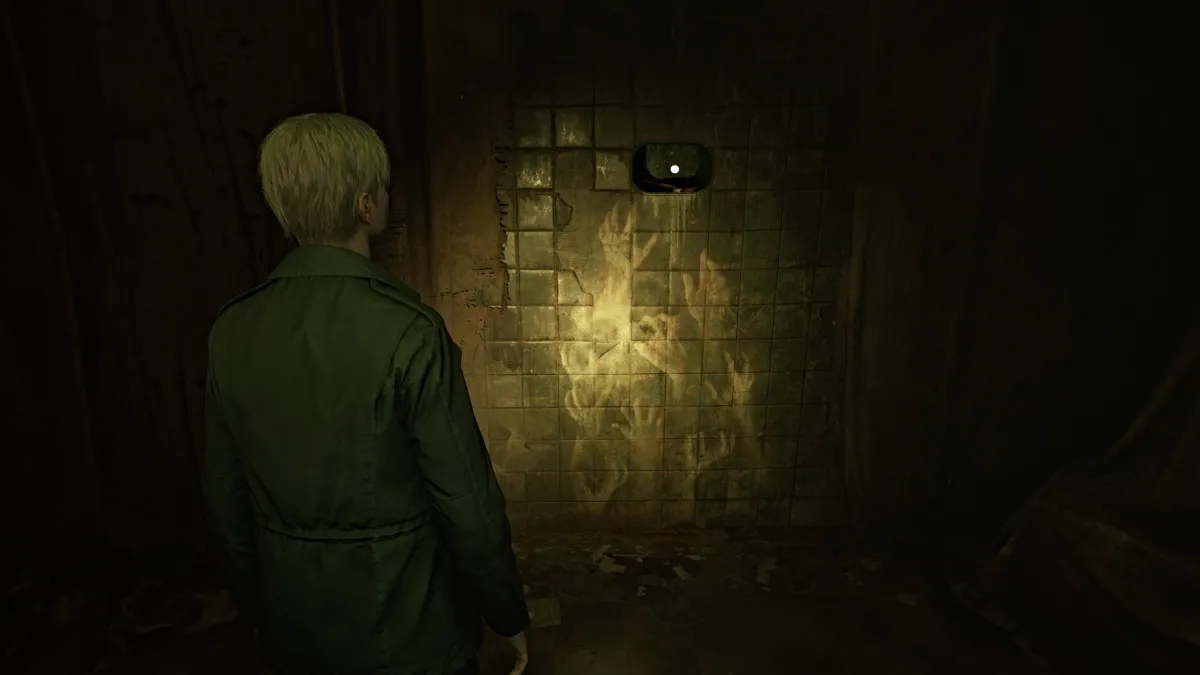
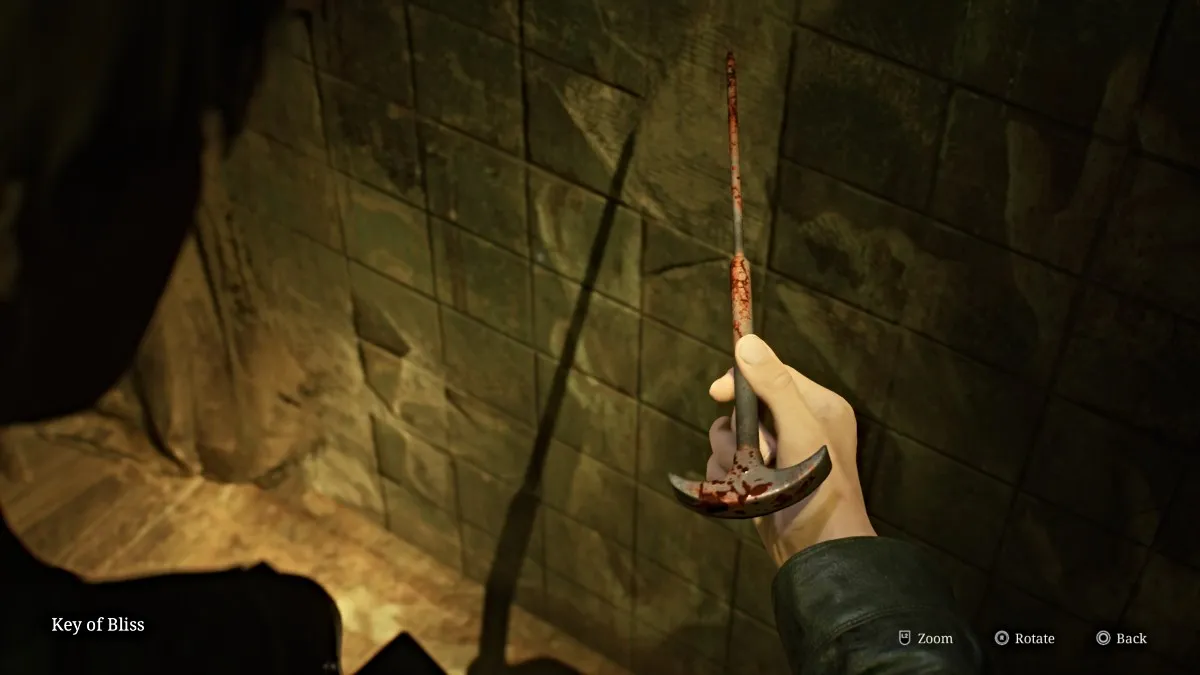
Slip through the wall crack near the back into an unmarked room, and on the wall to your right you'll see a familiar hand mural (seen above), and above it in a crevice, the Key of Bliss, the other tool you need . Take it and make your way back up the ladder in the Kitchen.
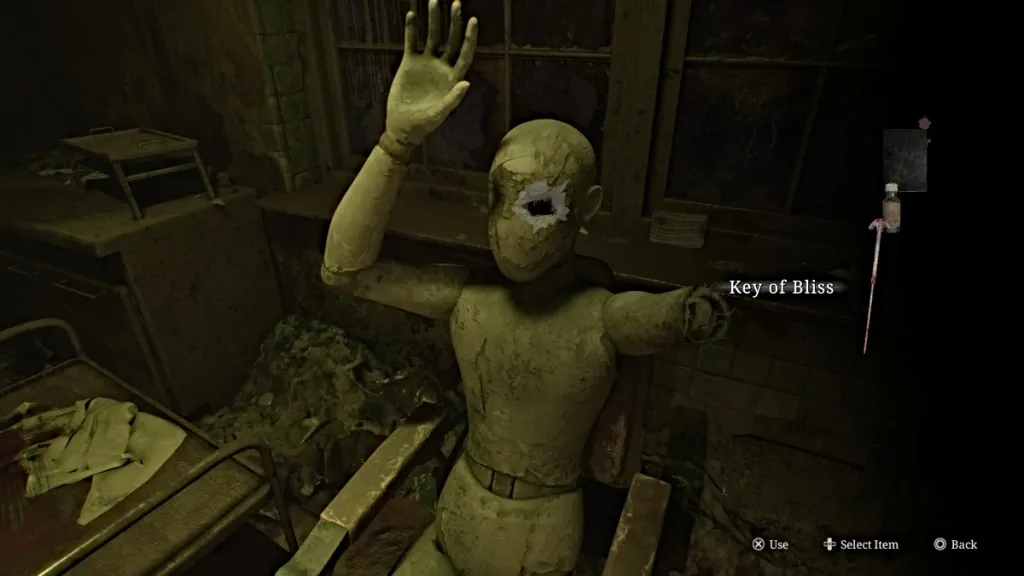
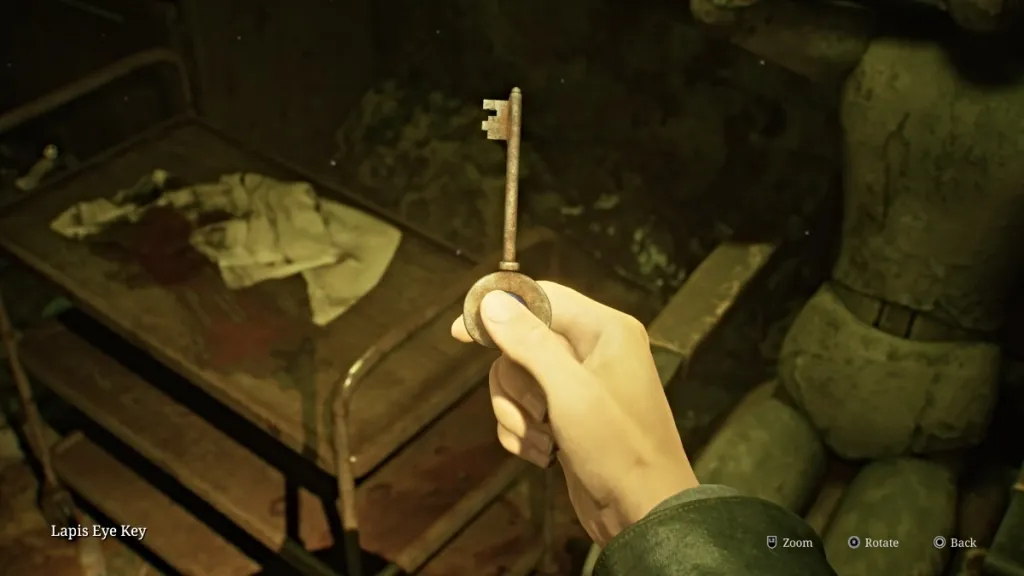
Head back to your mannequin friend in the surgical chair in Exam Room 4 . Use the Instrument of Force to break the right arm off, push the left arm away, and then use the Key of Bliss to brutally lobotomize the Lapis Eye Key from the eye socket. This is the key you need for the safe box.
With that done, make your way back down to the second floor via the stairwell.
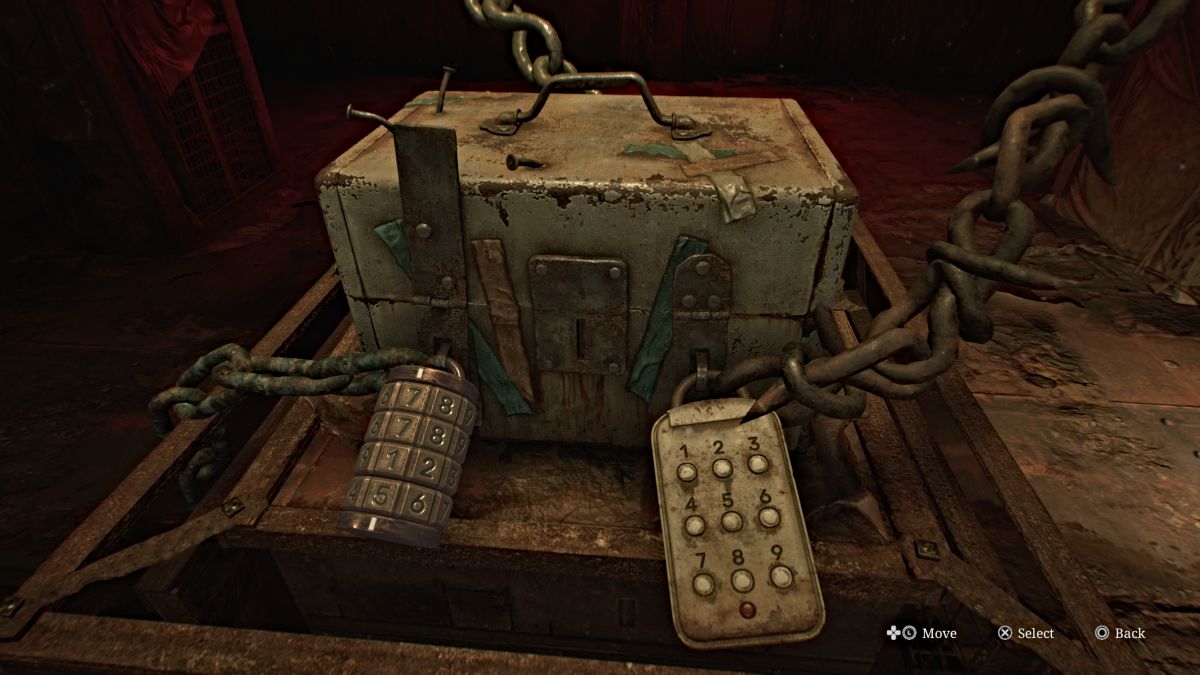
Head back to the chained box on the second floor, and first use the Red Save Point behind it. Use the Lapis Eye Key you just got on the box. This leaves the two numerical locks for you to crack. Luckily, we've got both of those codes figured out for you to save time.
If you're wanting to collect all of the memos in the game for the achievement, however, you should still visit Room M2 on the second floor for the Calendar Page , which provides the hint for the combination lock.
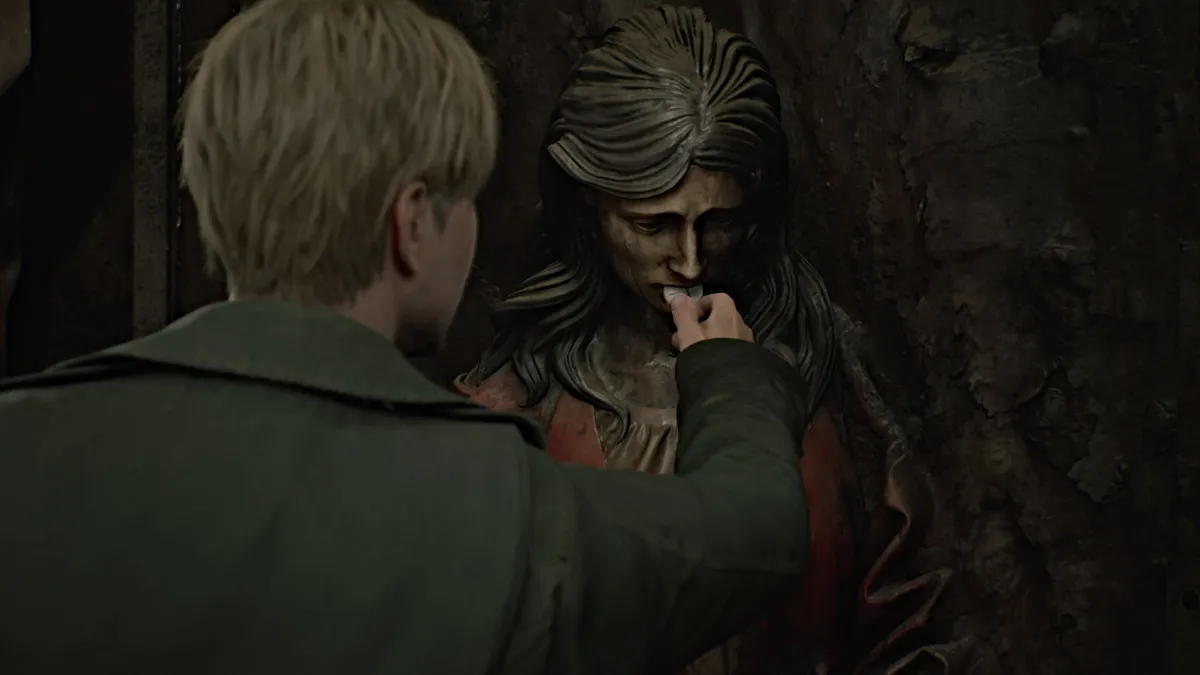
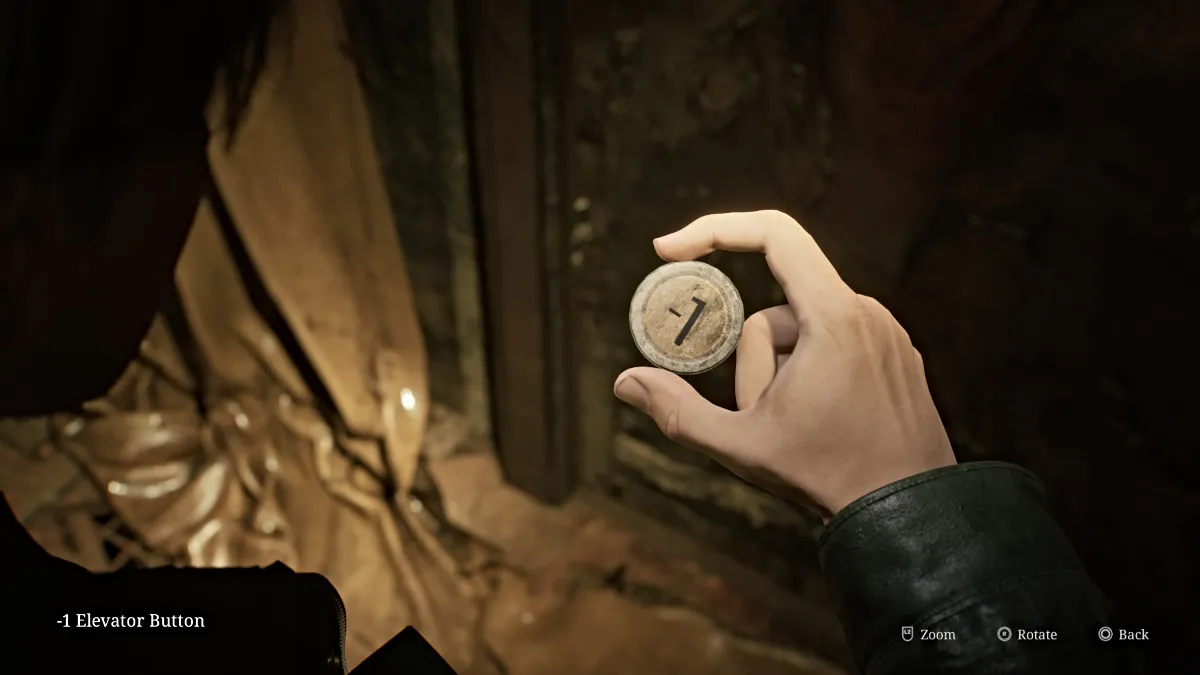
Once open, a cutscene will play where it's revealed that nothing is in the box, which leaves James dejected. However, a curtain nearby suddenly falls to reveal a strange door with a partial statue of a woman on it. James approaches it and finds the '-1' Elevator Button in its mouth, allowing you to use the elevator to reach the Basement .
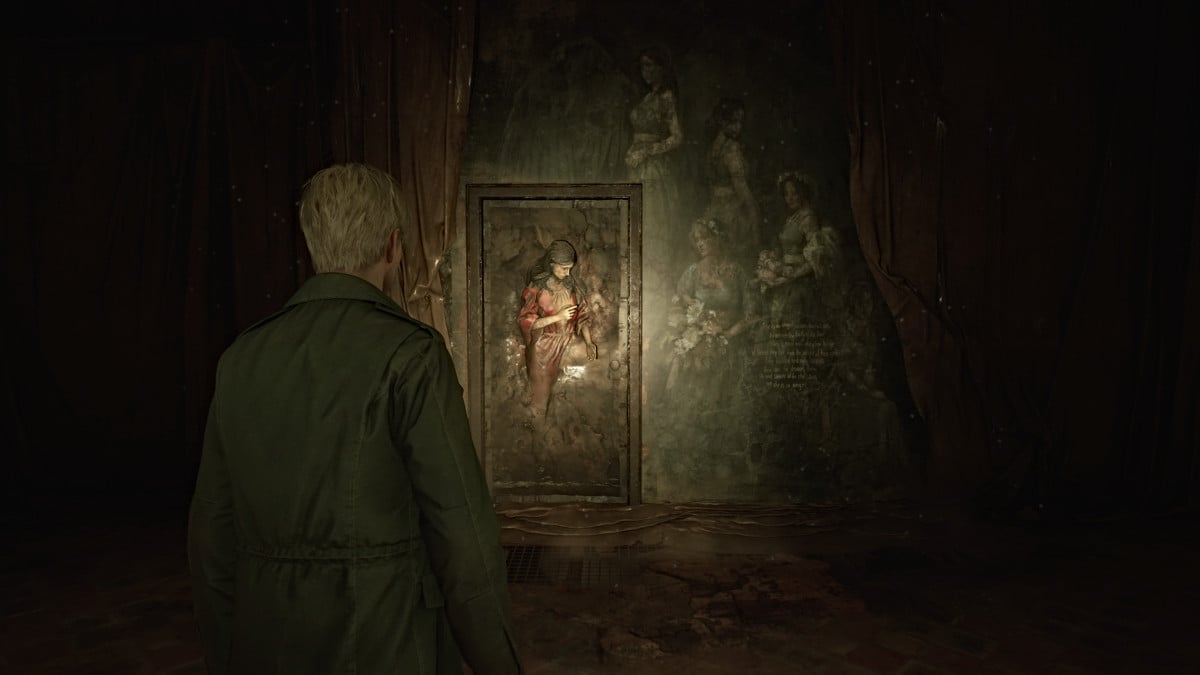
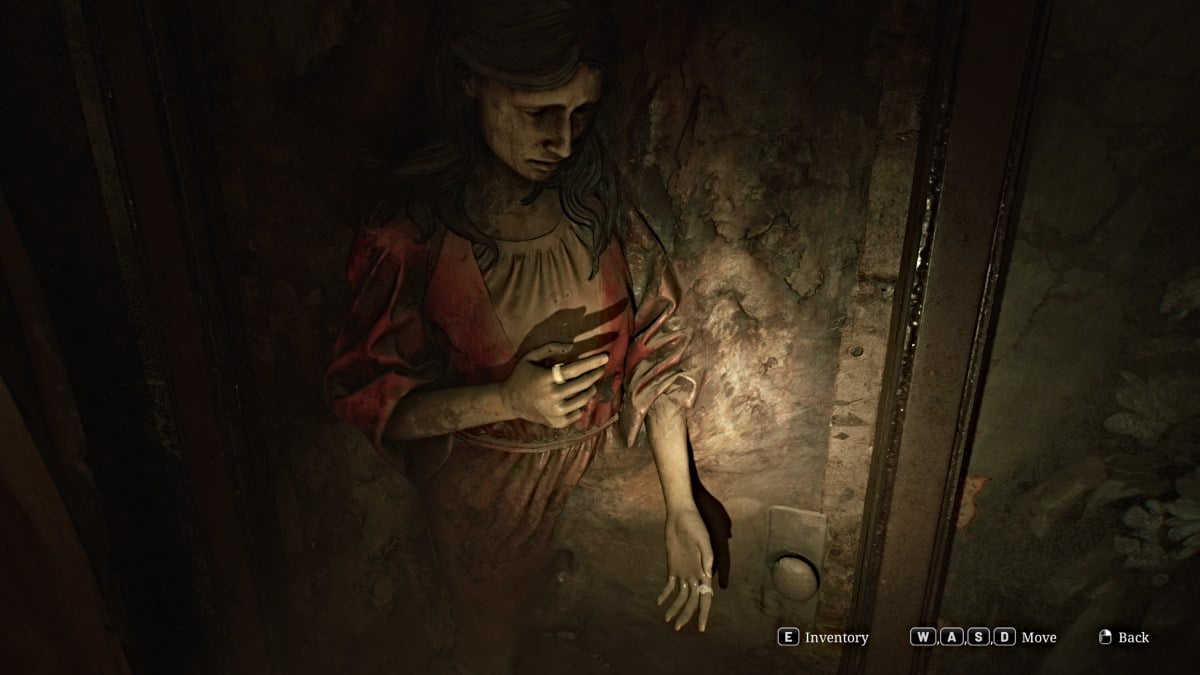
To open the Lady of the Door , you need to find the two rings missing from both her hands (seen above). To find one of them, the Basement is conveniently your next destination. Head to the Elevator and use the -1 Button to repair and take it down to the bowels of Brookhaven.
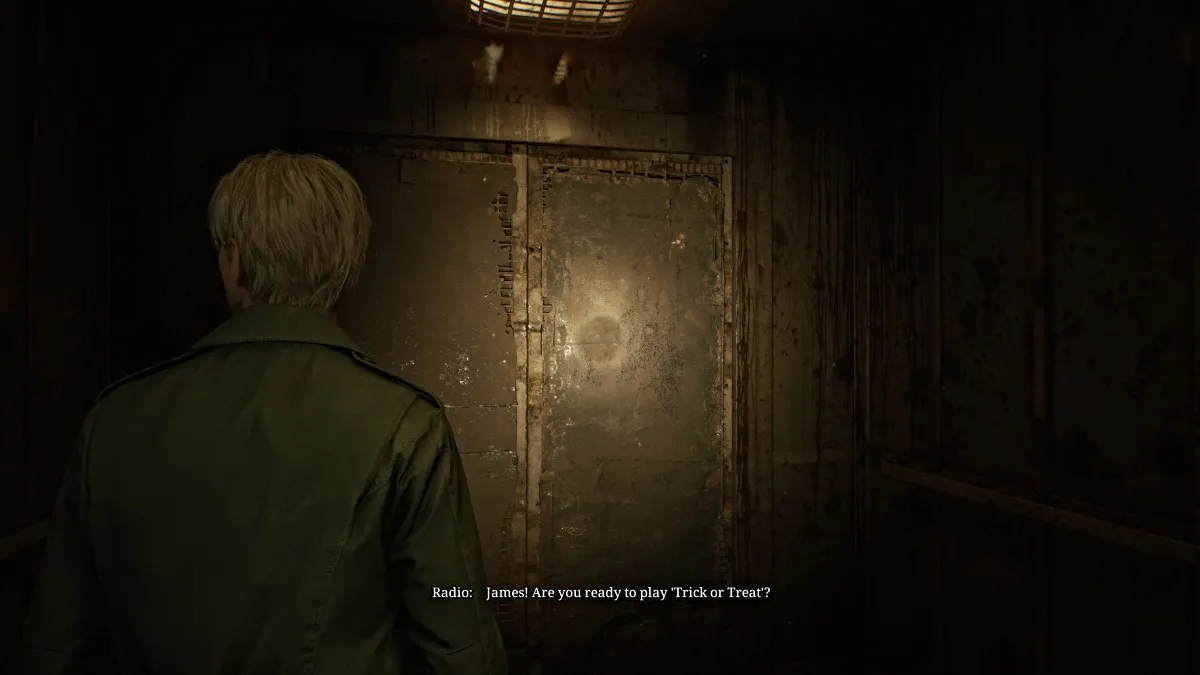
However, along the way, a mysterious voice will come over the radio system and enact a Trick or Treat game show just for James. It recites three quiz questions related to Silent Hill and its history that you'll need the right answers to when the time comes. So that you have them handy, here are the correct answers:
Soon you'll arrive in the Basement, and the right path is blocked so you'll need to navigate around on the left side of the floor. Check the Kitchen Disposal Room for some Handgun Ammo and Shotgun Shells then go through the Maintenance Room to get to the Generator Room . From there, head south into Laundry Storage where you can find Handgun Ammo then further into the Laundry Room and Storage Room which has a Health Drink .
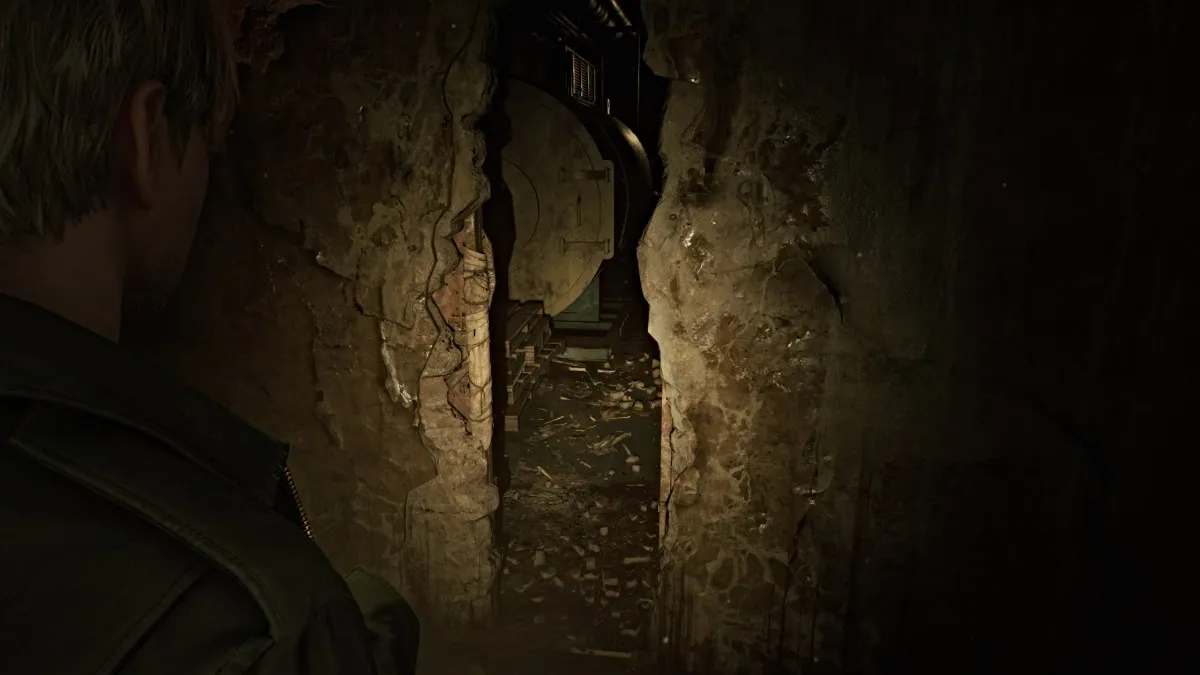
You'll come out on the other side of the huge gap in the floor, so you can continue down and around. The rest of the hallway is blocked, but a gap in the wall nearby will take you into the first Boiler Room . Cross into the second Boiler Room , deal with the Bubble Nurse patrolling the area, and then use the high crawlspace on the right side to make it out to the other side of the east hallway.
Your options are still very limited, so just go straight ahead through the next wall crack into the Pump Room . Sitting on a table to your right is the Copper Ring (seen below), the first of two that you need. As soon as you grab it a cutscene shows Maria suddenly appearing from the shadows, seemingly better than earlier.
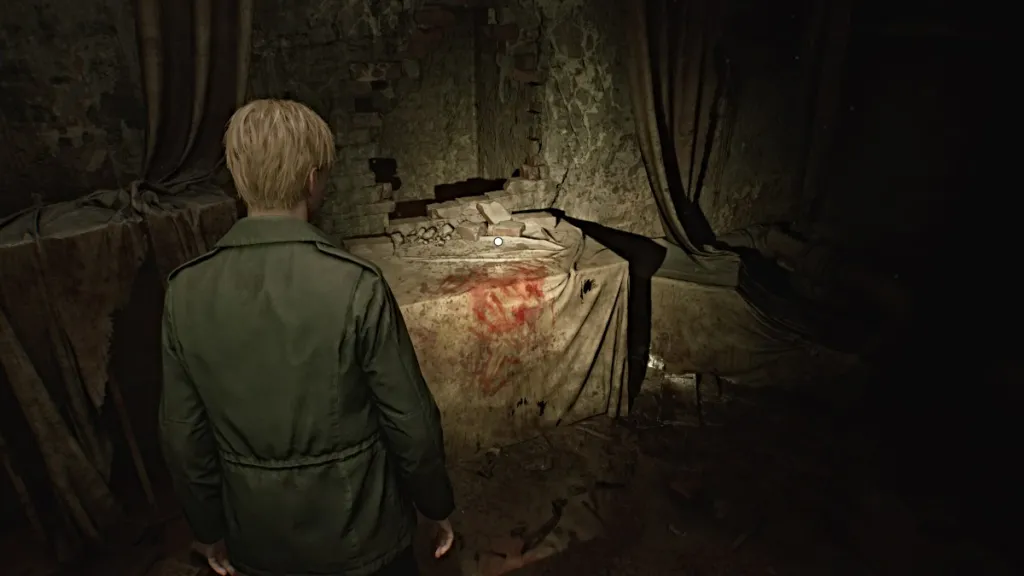
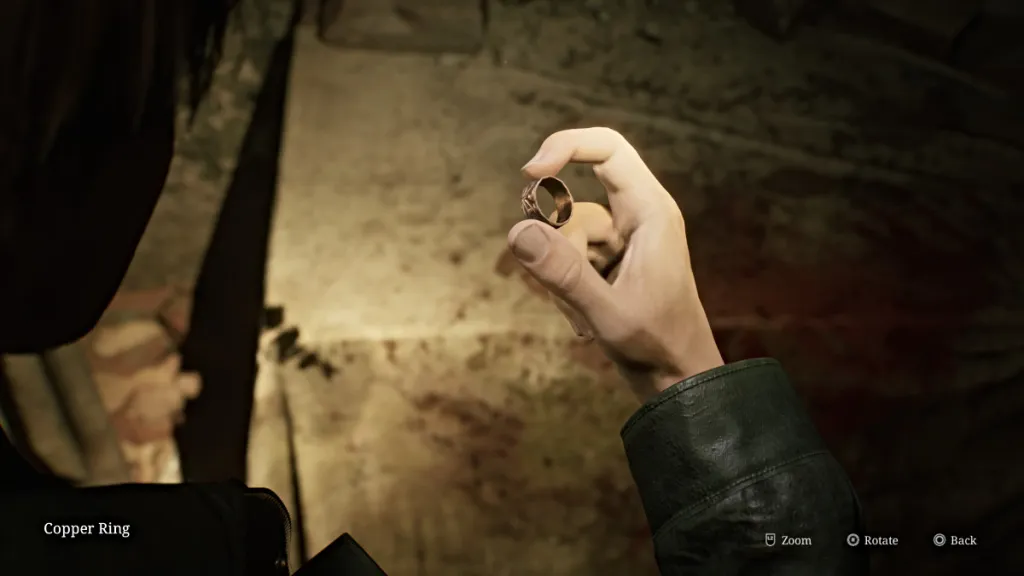
James almost mistakes her for Mary, which of course doesn't sit well with Maria. The conversation instead turns to Laura, with whom Maria feels a strange connection that she can't explain and just insists on finding her. With that, Maria returns as your companion.
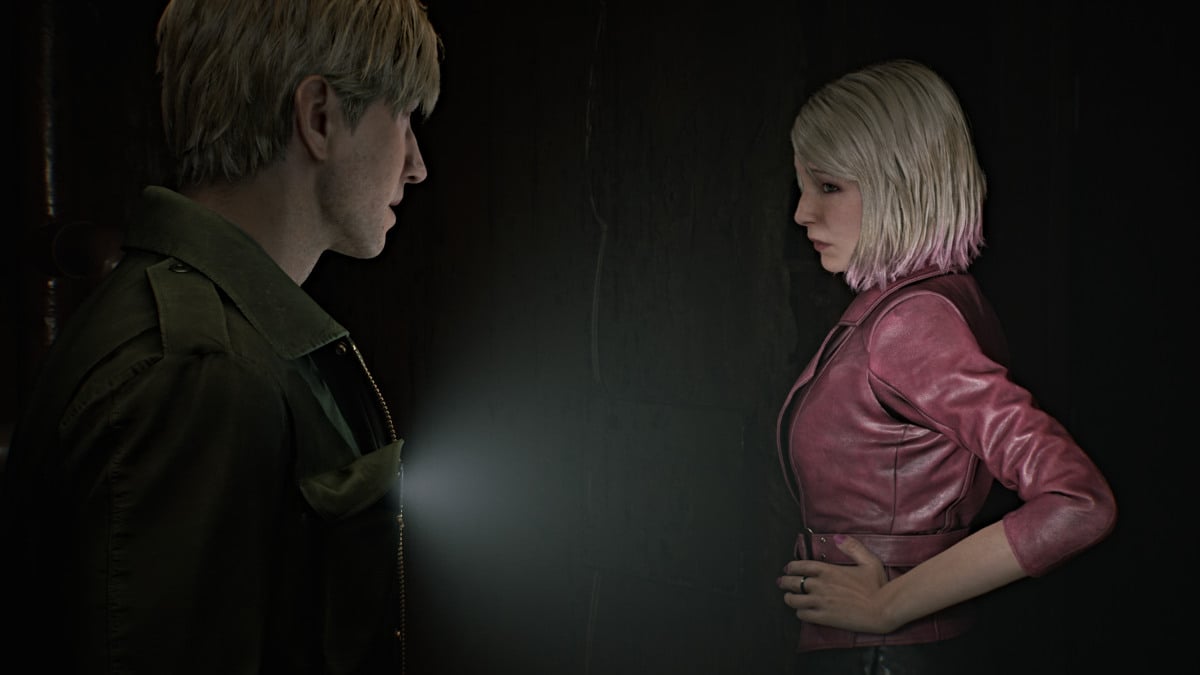
Continue through the Pump Room and back out into the hallway. The Tech Room is blocked, so the only way forward is back up to the first floor . Make your way up through the rooms on the east side, starting with Exam Room 2 . Cross into Exam Room 3 where you can find a Syringe , then cut back into the hallway.
Follow Maria as she remarks about a "stroll in the rain", strangely unbothered by the Otherworld around them. The rest of the rooms on the right side are blocked, so the path takes you instead to the Pool area. Pick up the "They musn't know" Strange Photo from a nearby bench, then make your way around the pool (now a giant gaping pit) to the Shower Room , then across the hall to the Doctor's Lounge .
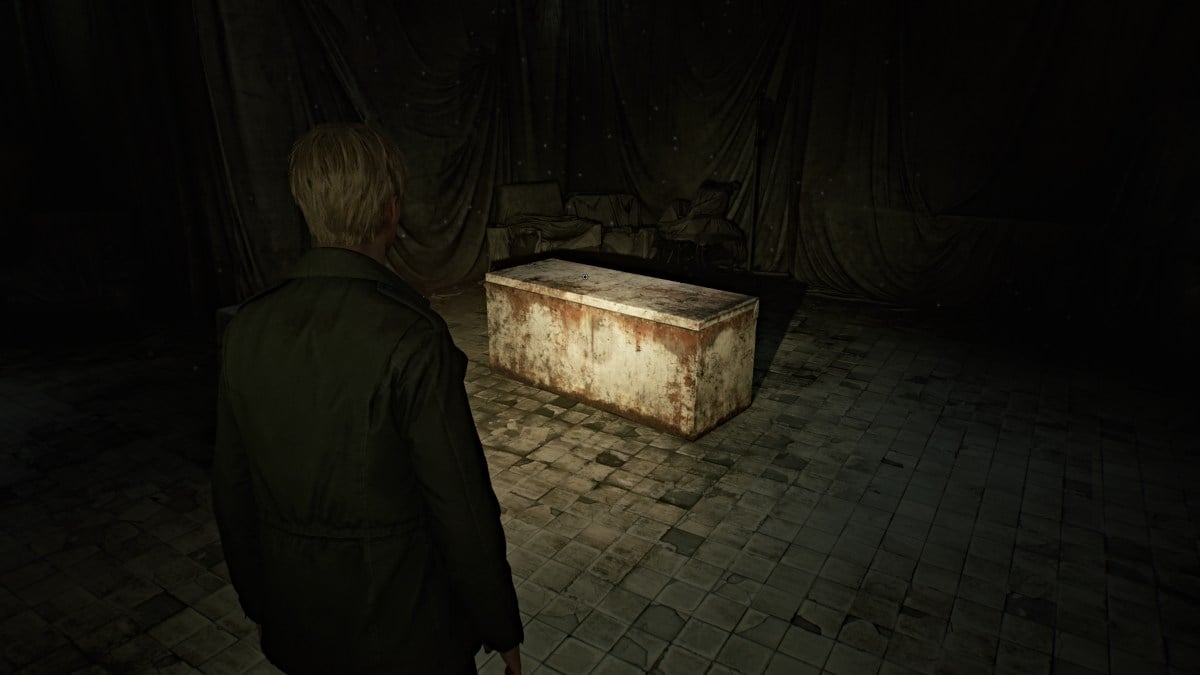
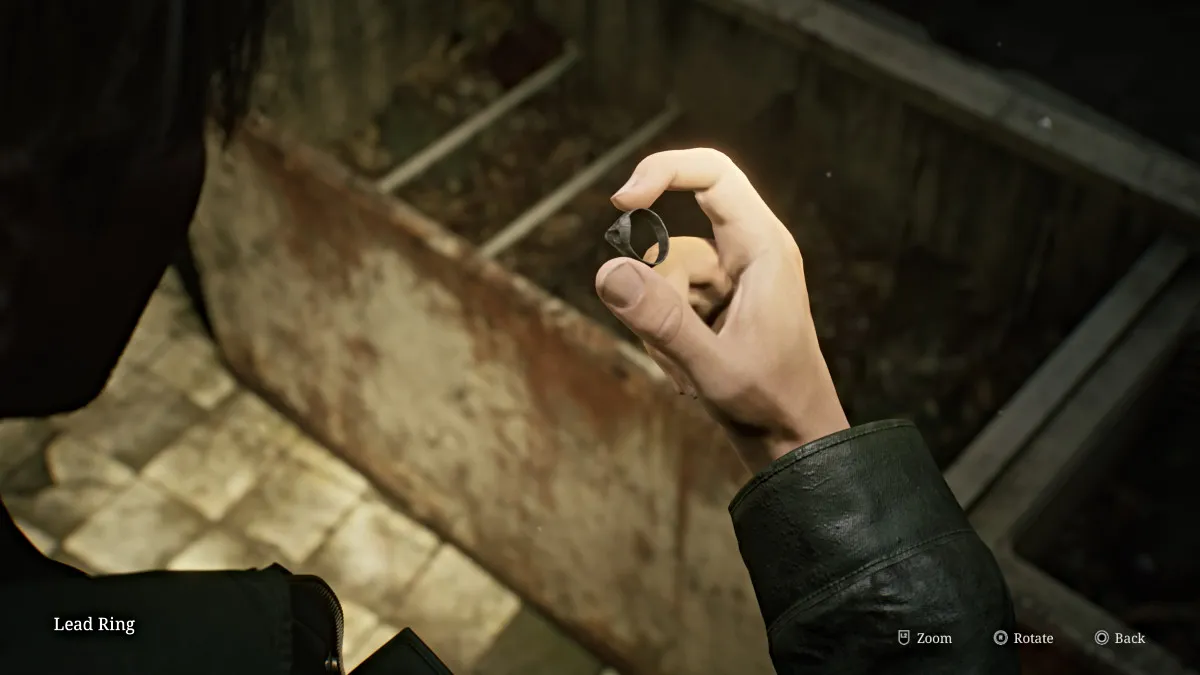
The room itself is mostly empty except for a large fridge that's been toppled over. James finds himself unable to open it alone and Maria teases him for it before offering to help with a hint of exasperation. They manage to open it together and upon peeking inside Maria finds a Lead Ring . It just so happens to be the other ring you need for the Lady of the Door.
Cross through the Locker Room to your left and pick up the Dissociated Note in there before continuing to the central hallway. Use the Red Save Point nearby before heading in the direction of the elevator. Before taking it though, head over to the Pharmacy , where you'll find an ornate box sitting on the counter.
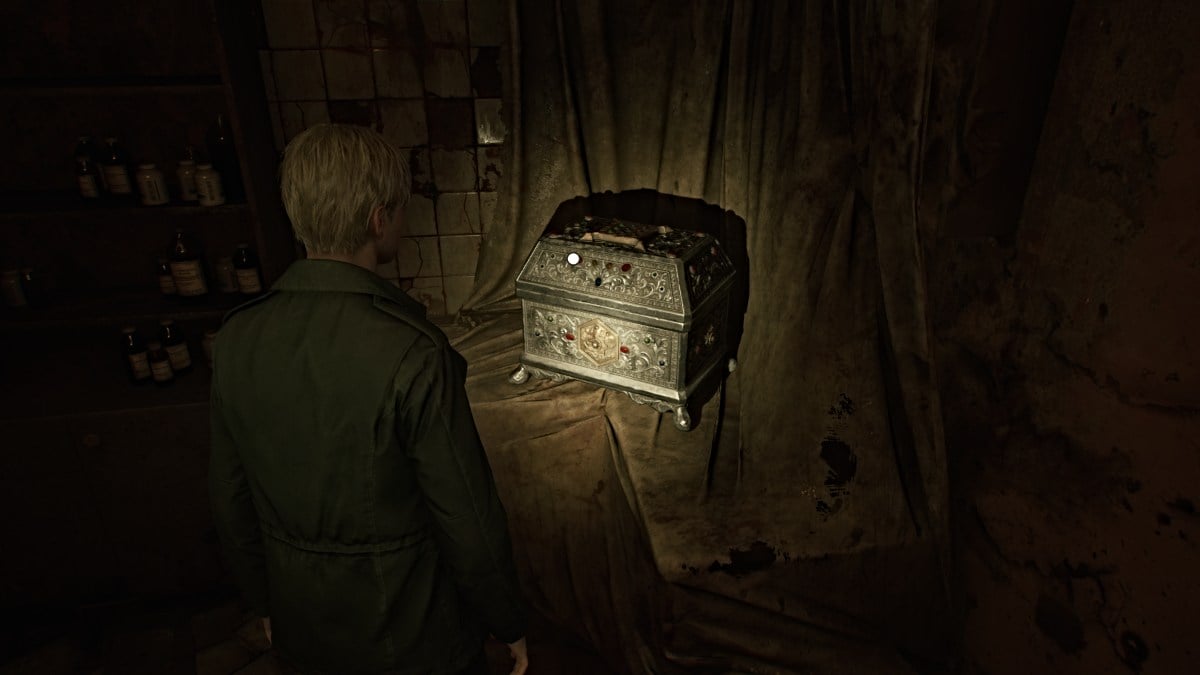
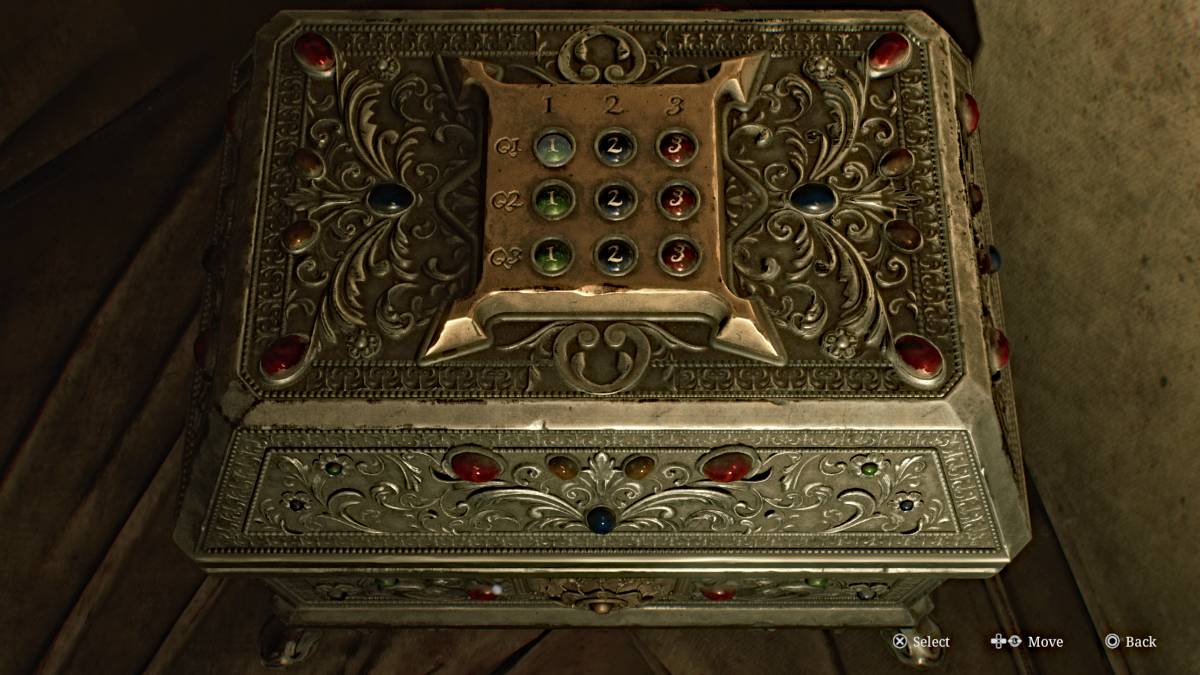
This is the "prize box" for the Trick or Treat quiz you received earlier, and you need to use the buttons on the top of it to punch in the correct answers. As mentioned earlier, the correct order is: 2,3,1.
If you punch them in correctly, you'll receive a nice reward of 5 x Shotgun Shells and 2 x Syringes . If you put the answers in wrong, you'll get pain instead, to put it lightly. When you're ready, take the elevator back to the second floor.
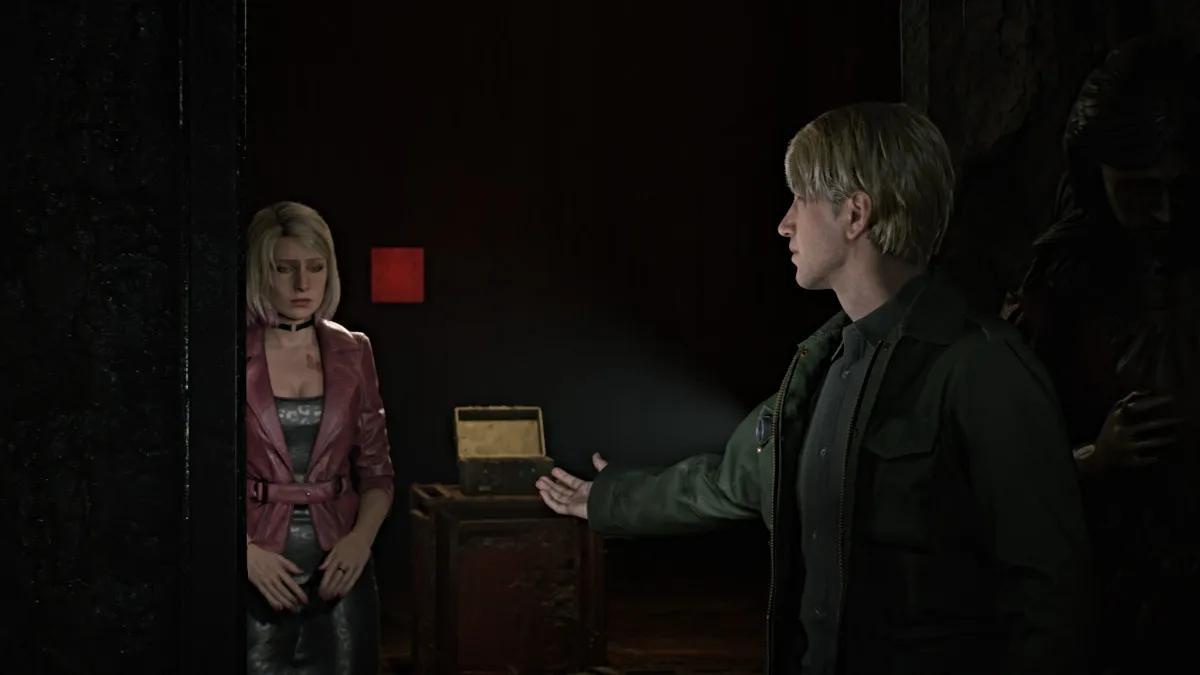
Once you're there, use the Red Save Point then go over to the Lady of the Door and place both rings on both hands. A cutscene plays as the door opens and James steps through, but Maria seems almost terrified to follow.
The path behind the door leads down a winding stairwell. Pick up the Ominous Note on the way down that reads, "It is done. Sick no more." Keep going down and there will be another Red Save Point for you to use if you haven't already. Continue down the steps and soon your map will be inaccessible, hinting that you've gone somewhere else entirely.
At the very bottom, go through the door and follow the path through the winding hallway. At a certain point, however, a cutscene triggers and James suddenly spots Pyramid Head approaching them, a spear in hand this time.
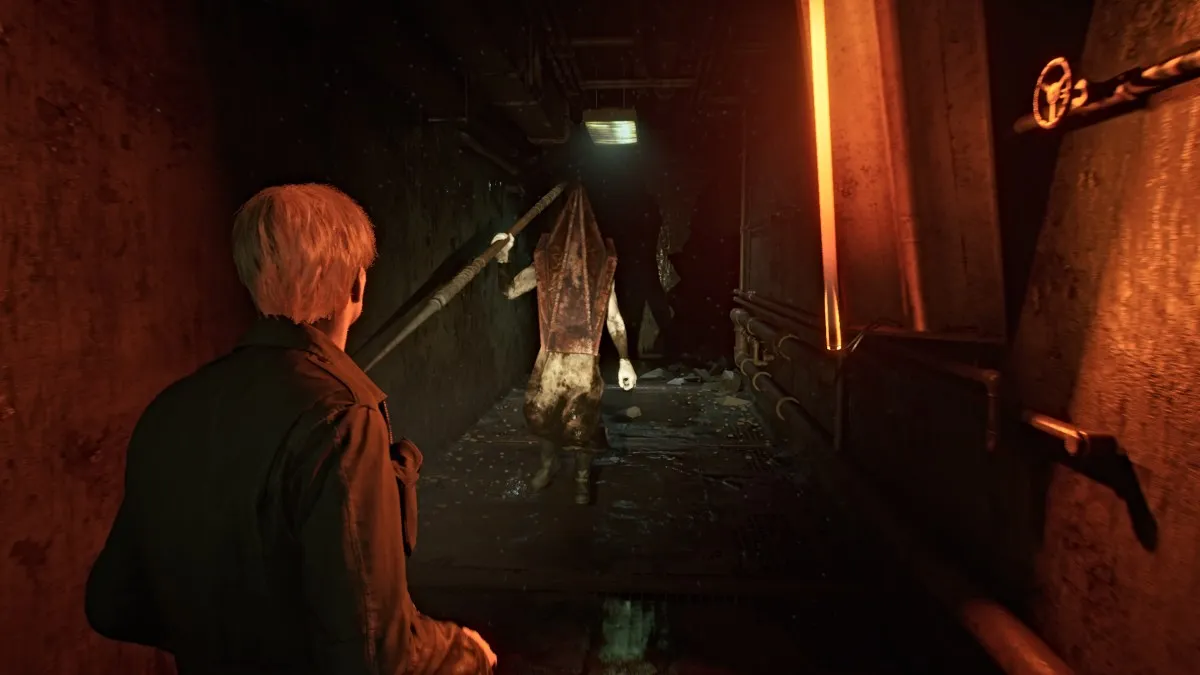
As soon as you regain control hit and hold your 'Sprint' button as Pyramid Head will be moving much faster this time, determined to catch both of you. Evade the obstacles that fall in your way and holes in the floor and keep going until you reach an elevator ahead.
James gets in first but the elevator tries to force itself shut as Maria tries to get in. However, Pyramid Head catches up and impales Maria with his spear, killing her instantly as the elevator shuts closed.
Soon the elevator opens, bringing you back to the first floor. The music calms and the threat is gone, and no monsters are present. Make your way across to the Reception Office , and on the desk by the open window is the Hospital Entrance Key . James sees Laura run off down the street into the darkness.
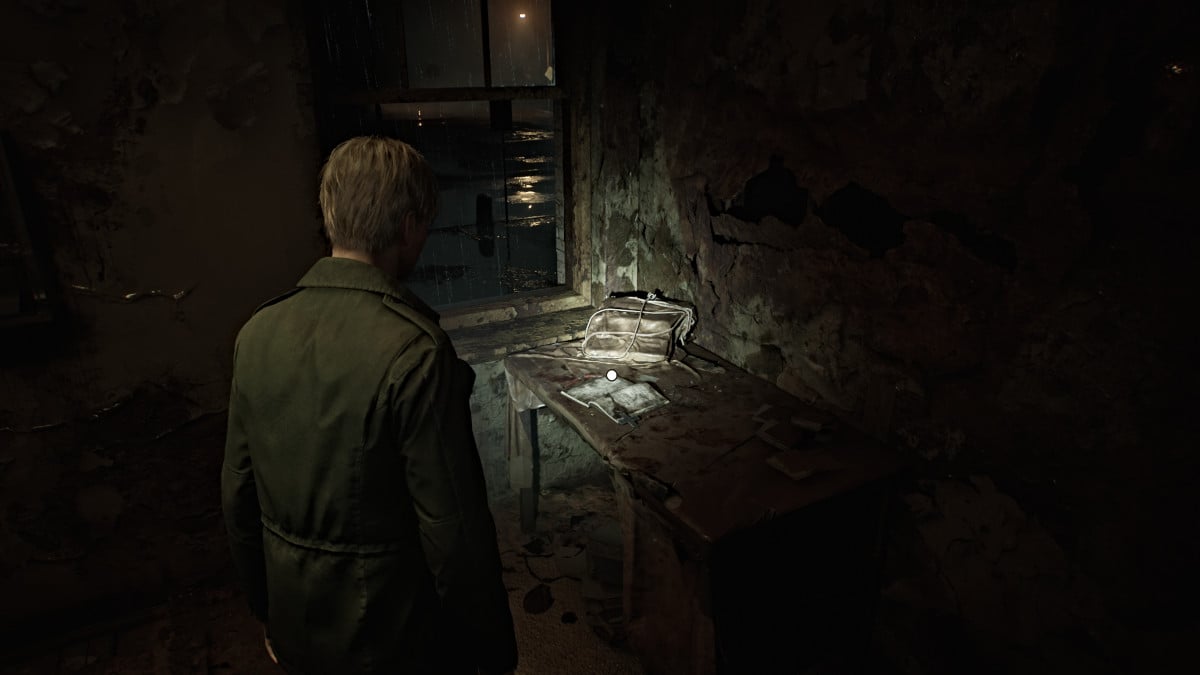

For now, make your way out of Brookhaven and into the stormy night.
Unfortunately, the Otherworld has now spilled out onto the streets and brought the monsters from the hospital with it, so tread carefully. Before you head straight to the story's next objective you can try to do some exploring in the area for items.
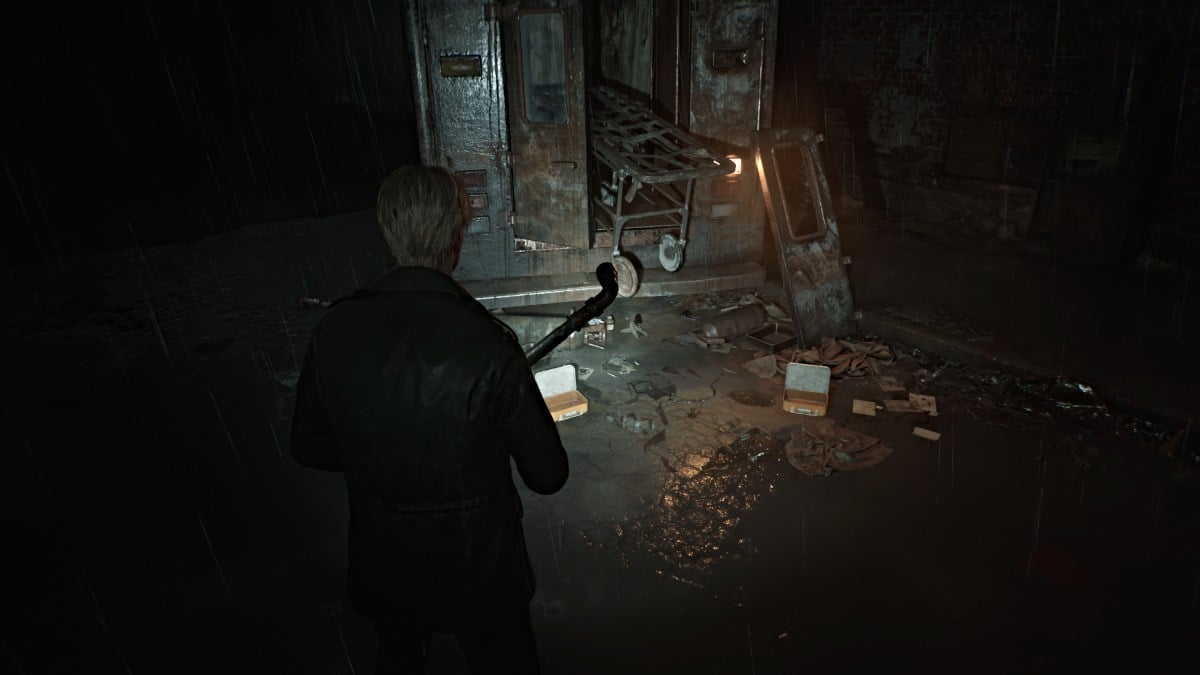
There isn't much to the left as the entire street is nothing but a chasm in that direction. There is a nearby wrecked ambulance that has a Health Drink and Syringe lying near it, if you feel up to dealing with the Bubble Nurses guarding it.
Head down the street to the right and you can find some Handgun Ammo and Shotgun Shells inside cars. Go through the door beyond a barricade near Heaven's Night and you can find more ammo in a nearby garage shed. Go all the way to the far right end of the street behind Heaven's Night where you'll see another shed area. On the right wall inside it you'll find a breakable spot, so tear it down and slip through.
Enter the Garage and grab the Syringe and Handgun Ammo , then use the Red Save Point on the wall. Head out and you'll catch Laura just beyond a gate ahead. Deal with the Bubble Nurse and Mannequin in your way first, then run to the far right corner where the door you used to get into Heaven's Night is. Some Handgun Ammo will be on the ground there.
Backtrack to grab the handcart and push it in front of the gate, so you can jump over it. Soon you'll find yourself on Rendell Street and near the Lakeside Diner . First, grab Handgun Ammo sitting on the tire of a truck nearby then head towards the diner, then more on the front deck of a house on the left.
Deal with the Bubble Nurses in your way and then grab a Health Drink from one of the cars parked near the diner. Head inside and venture behind the counter for some Handgun Ammo and Shotgun Shells . Deal with more monsters in your way and use the double gate doors on the other side to leave.
Maneuver between the school bus and big rig truck, and you'll find more Handgun Ammo sitting on the bed of a pickup and Shotgun Shells on a barrel behind it. Pass through the gate back onto Rendell Street and head east. Be sure to check the front porches of the houses and cars you pass for more items.
Soon you'll reach Munson Street , but there's nowhere to go but south towards the edge of your map. You'll catch another glimpse of Laura as she runs through a large gate, so follow her through. Cross the long and dark metal catwalk until you reach the other side.
Now you're back on the east side of town on Saul Street . Go into the Motor Home to your right, where you'll find a Red Save Point , Handgun Ammo , and the Note on a Map which has an ominously foreshadowing written message and a clue about where to go next for a "letter and a wrench ".
As you go further down the street, there will be a high crawlspace you can climb up and through to enter a warehouse. Navigate through it, pick up more ammo and deal with monsters along the way until you reach a breakable wall at the back of it. Slip through and continue on until you reach the other side of the chasm on Neely Street .
This will bring you face-to-face with Neely's Bar once again. Go inside and you'll see the jukebox is on, but rather than playing music it sounds like breathing. A threatening message on the wall behind it suggests that if he wants to see Mary "he should just die" but that he "might be going to a different place than Mary" when he does.
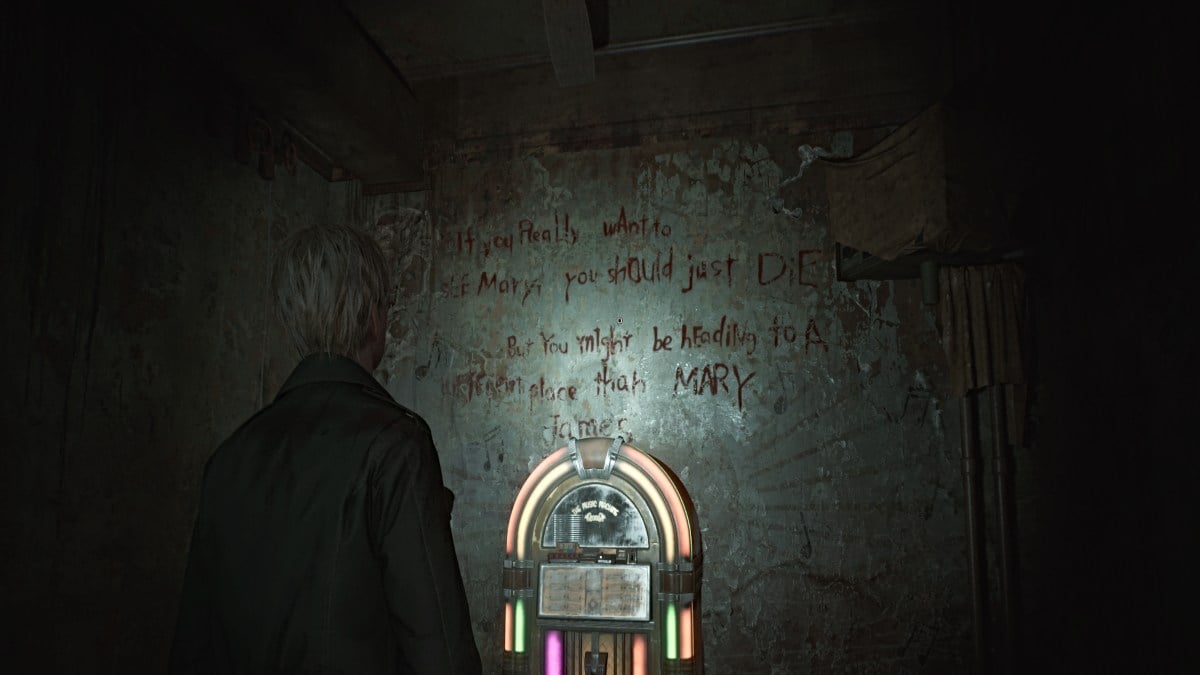
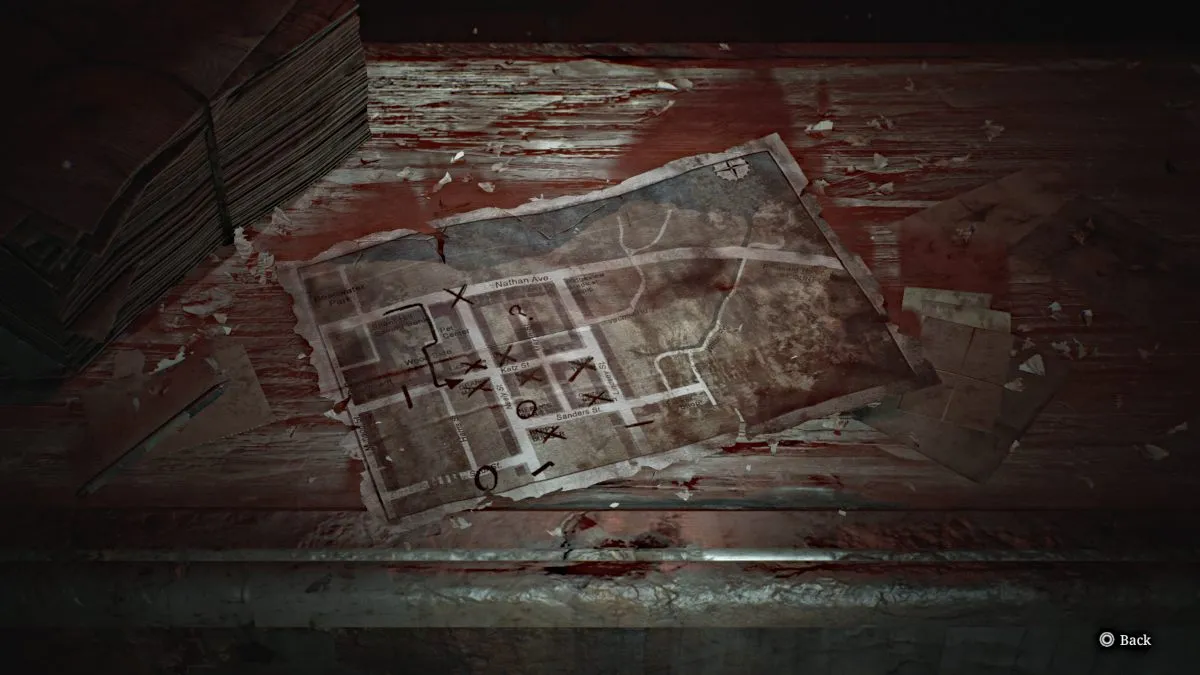
Go over to the counter to collect another Glimpse of the Past , then behind it for some ammo and a Red Save Point . Go to the door on the left that's slightly open and grab a Health Drink on your way out the back of the bar.
Go through the back alley area, grab some Handgun Ammo from a nearby car, a Health Drink on the ground near the chasm in front of you, and make your way around the corner to the back of a Laundromat . There will be a high crawlspace for you to climb up through.
Once inside, you'll hear a phone ringing somewhere nearby. Smash and grab the nearby Health Drink and deal with the two Bubble Nurses that approach you through the wall crack. Go through the crack yourself afterward, make your way through the front of the laundromat, and jump through the open window on the right to the street.
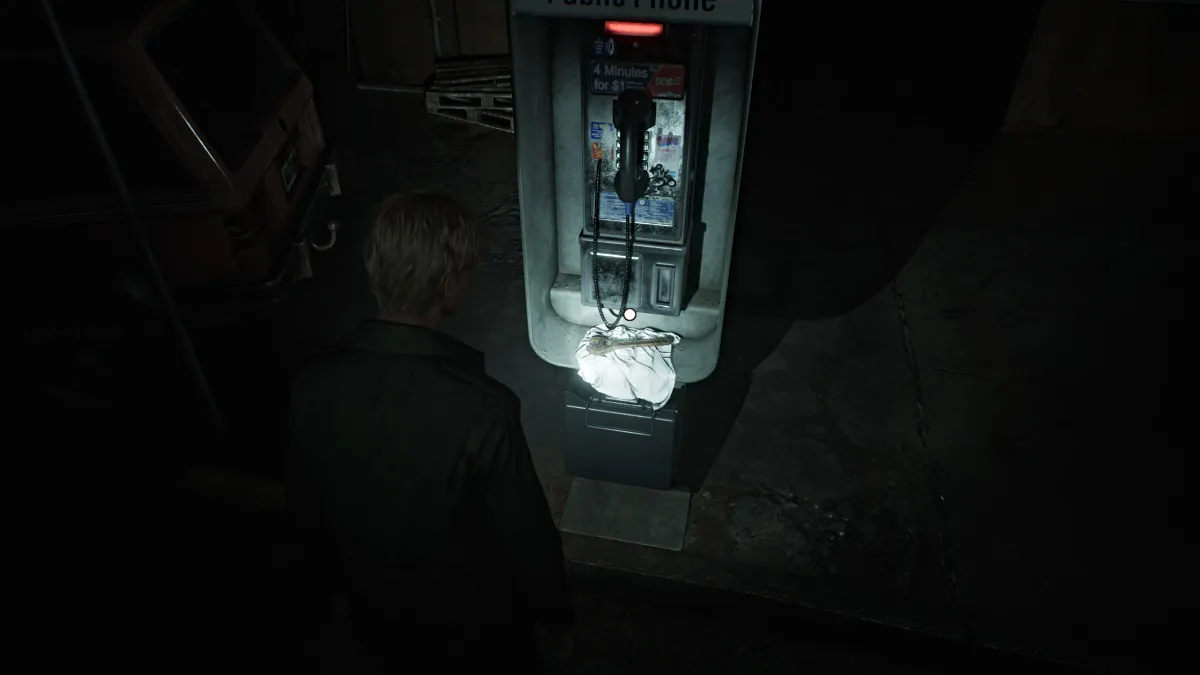
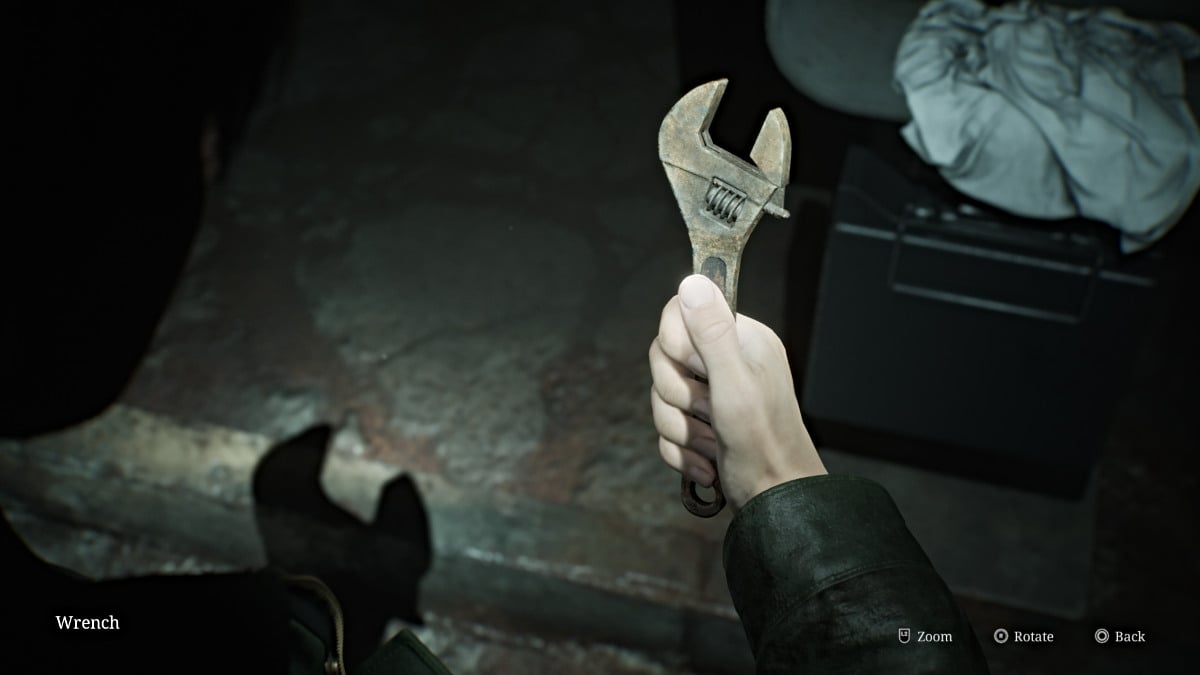
Turn left and you'll notice it's a payphone ringing. Walk over and answer it, but no one is on the other line. After James hangs up the phone, a piece of paper drops in the change slot. It reveals yet another message that implies that "the key is in the park, at the feet of the praying woman", and that "the wrench will open the gate". With that, pick up the Wrench sitting under the phone.
Now you'll need to head back north to Rosewater Park to find what you need. Head to Neely Street and run north until you reach a tall barricade with a door. Head through and you'll find another huge gate ahead. Use your Wrench to open it and pass through.
You'll find yourself going over another metal catwalk, but this time a new monster called a Mandarin is crawling beneath it. Even though it's beneath the grate, it can still attack you if too close, so keep your distance and keep running until you reach the end of the tunnel. Beyond that, you'll find yourself back in the same tunnel you used to enter Rosewater Park.
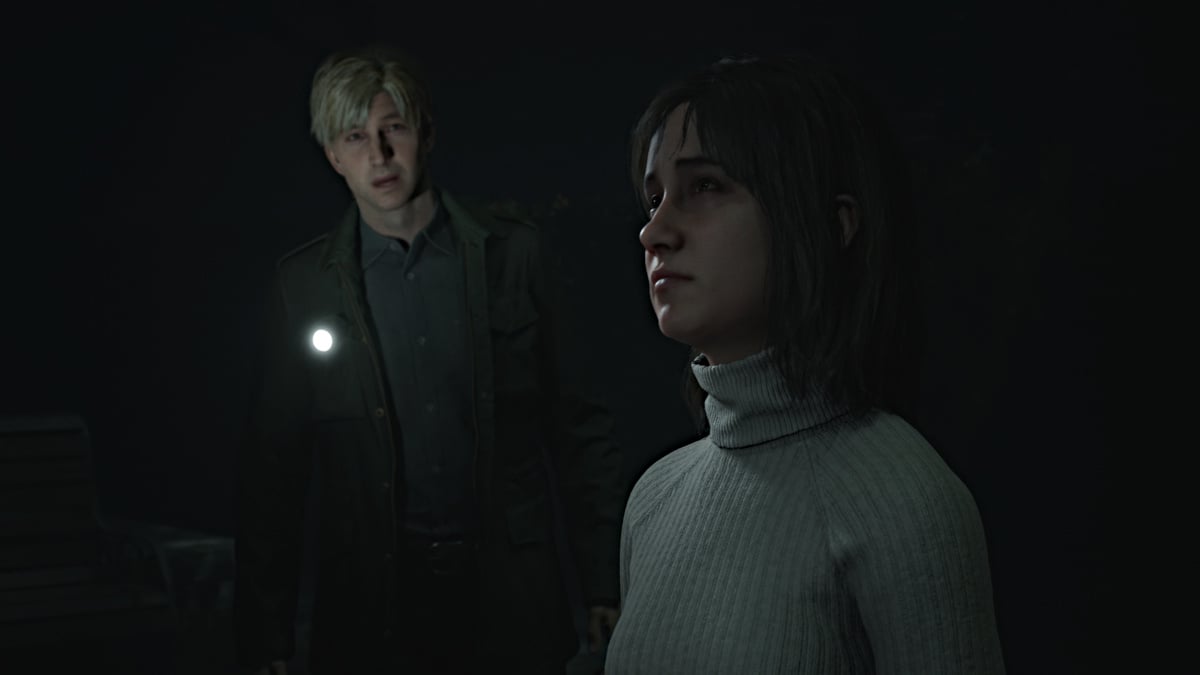
Head inside and make your way toward the west side of the entrance area. There are no items are monsters to worry about here, so just head straight for the iron gate on the west side . Follow the path straight across until you see what looks like a statue lit up ahead. Approach it and you'll notice that Angela is surprisingly there too.
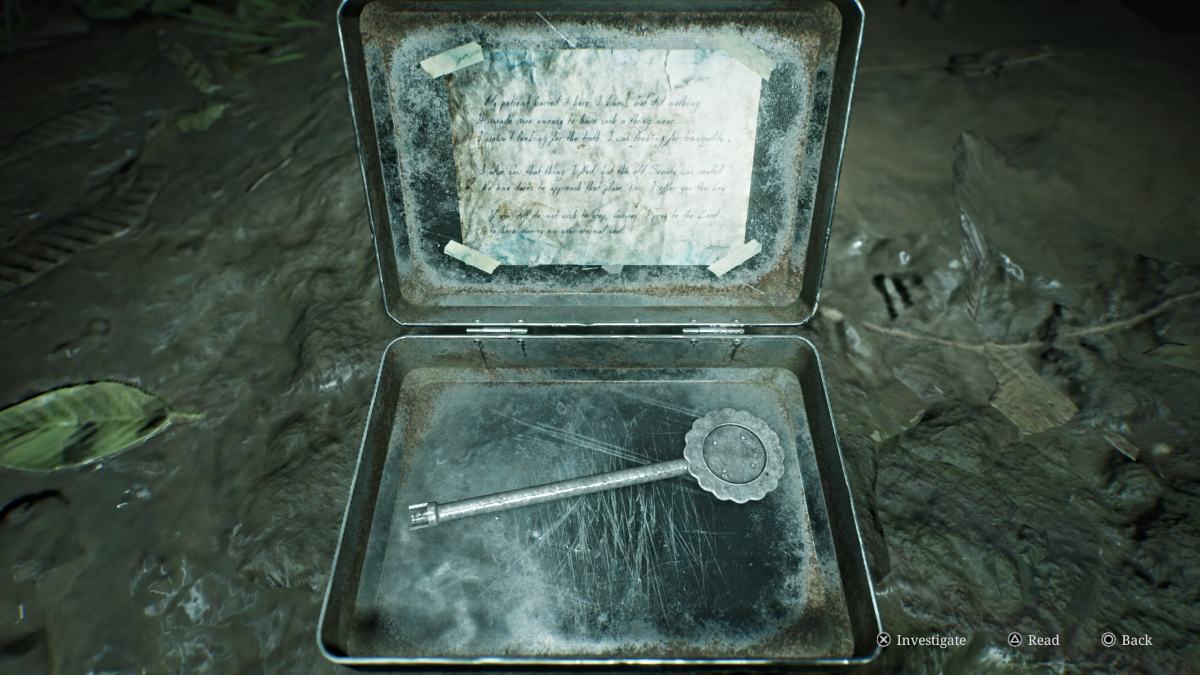
After the cutscene, interact with the praying woman statue and James will dig up a metal tin that contains the Historical Society Key . The Historical Society is located further west on Nathan Avenue , so leave the park and make your way there.
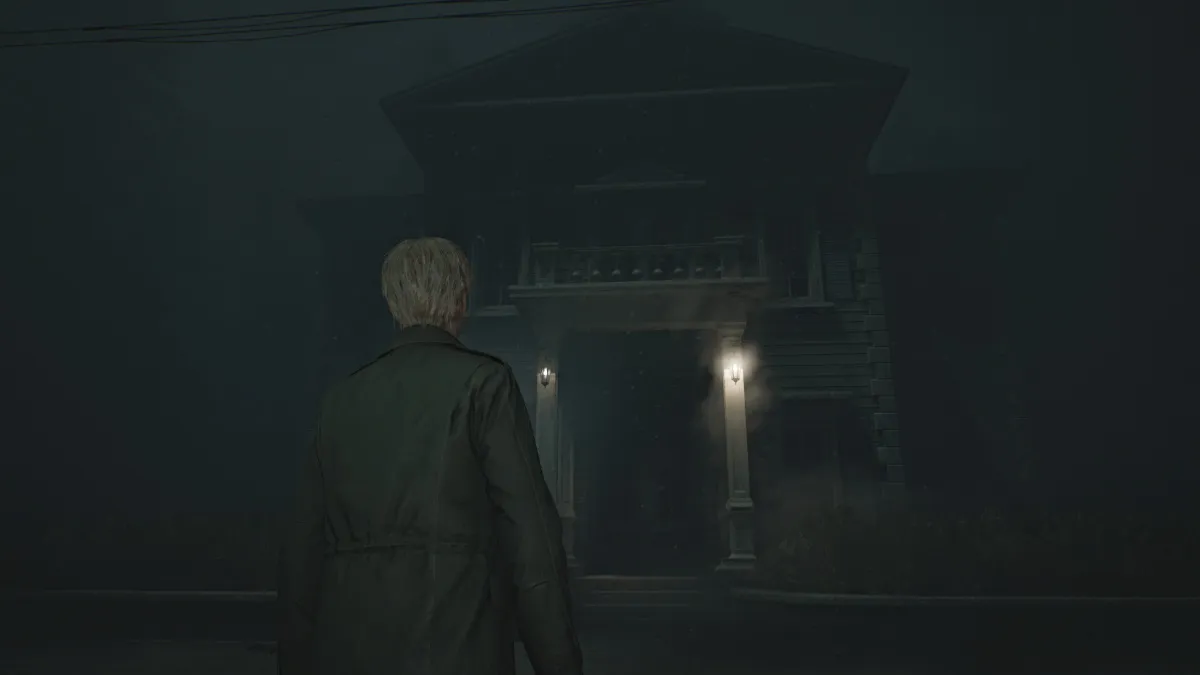
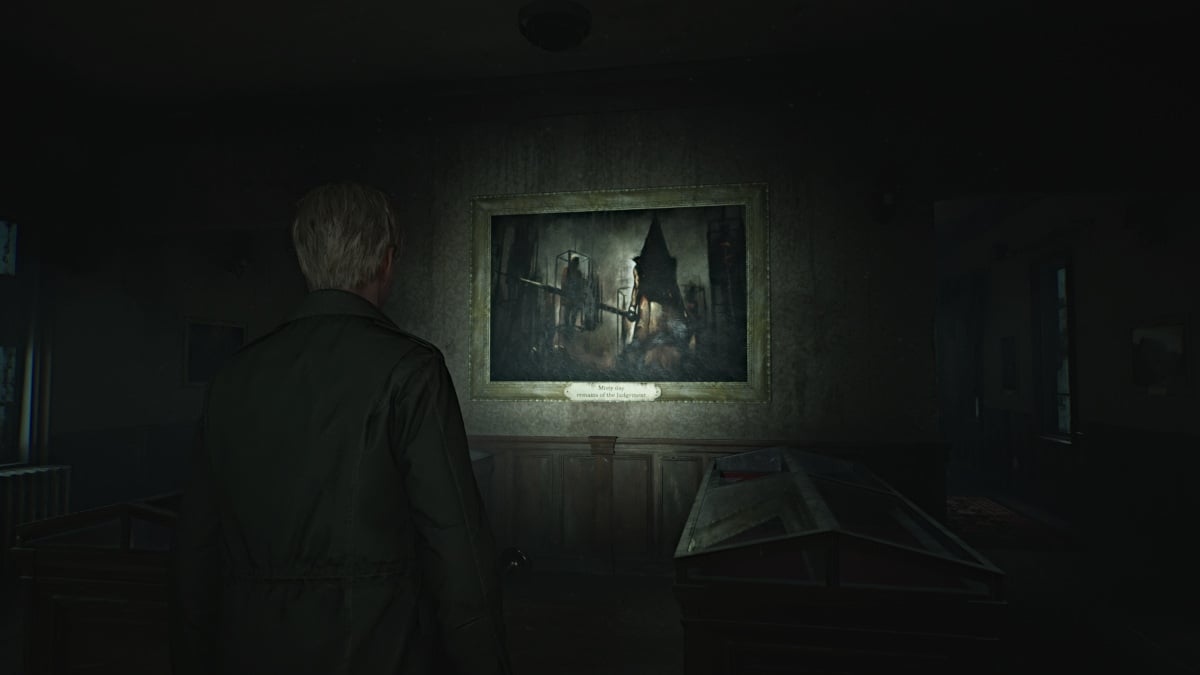
The journey along Nathan Avenue to the Silent Hill Historical Society is a somber and quiet one, as there are no monsters anywhere on the road. Soon enough you'll see the building lit up in the fog to your right. Use the Historical Society Key and head inside. Use the Red Save Point near the entrance.
As you explore, it's definitely hard to miss the portrait straight ahead that depicts Pyramid Head himself. Make your way toward the back of the museum and there will be a strange dark tunnel in the wall for you to enter. You won't be returning to the surface of Silent Hill for a while beyond this point .
The staircase you take down through the tunnel is very, very long, and the distant sound of foghorns accompanies your descent. That is a reference to the Little Baroness steamboat that sank in Toluca Lake decades earlier, of which there's a picture in the Historical Society.
This staircase seemingly takes you deep beneath the lake, but when you finally cross through a door at the bottom, you'll find yourself in Toluca Prison .
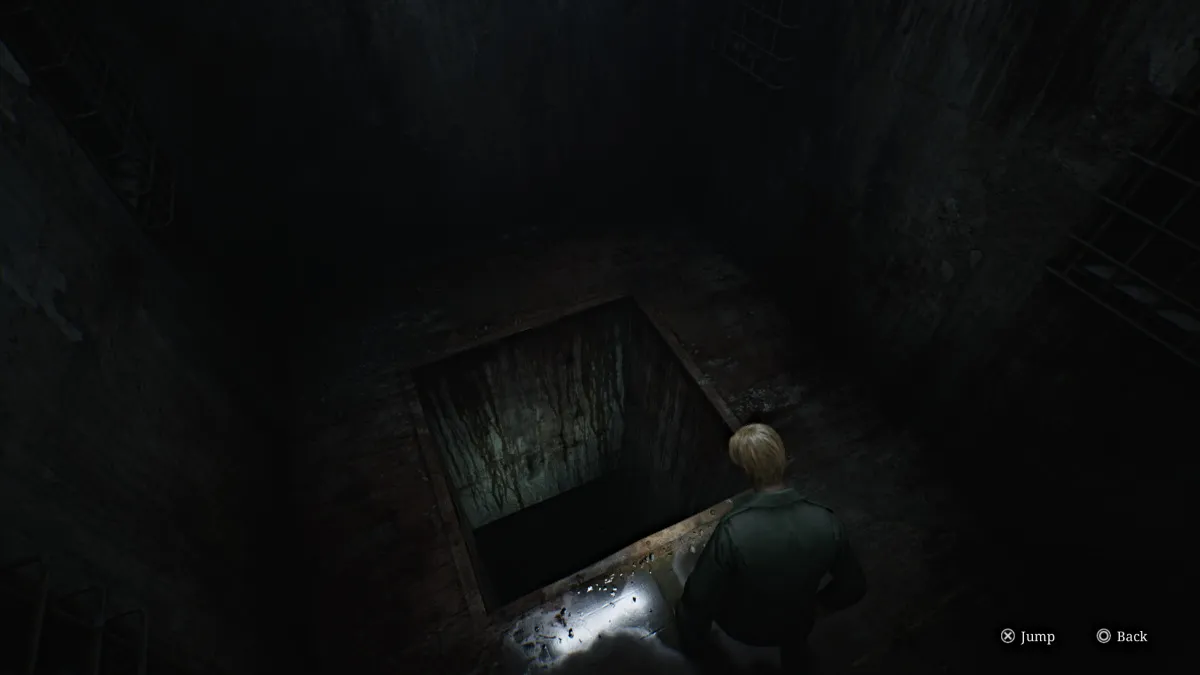
Grab the Syringe from a first aid kit on the table in the small room you pass through, then continue on through the next door. You don't have a map of this area yet, so keep an eye on your surroundings. The door to your right is locked, so head left down the hall . The path will diverge, and left is a dead end so go right .
You'll soon see another door, so go through it. Inside, you'll find nowhere to go but a large dark hole in the floor, forcing you to go deeper. Interact with it twice and James will hesitantly take the plunge.
Upon reaching the bottom, you'll find yourself in what looks like a well with no visible way out. There is a way out, however, and you just need to find the right spot on the wall to break through . Keep trying different spots until one lets you out and has a door on the other side.
You're now in what seems to be a flooded area of the prison, shaped like a maze. Go right and then turn left when you can and head straight towards the door ahead of you. Deal with the Lying Figure that blocks your way and you'll then see that there are two doors. The one in front of you is locked, so take the right door .
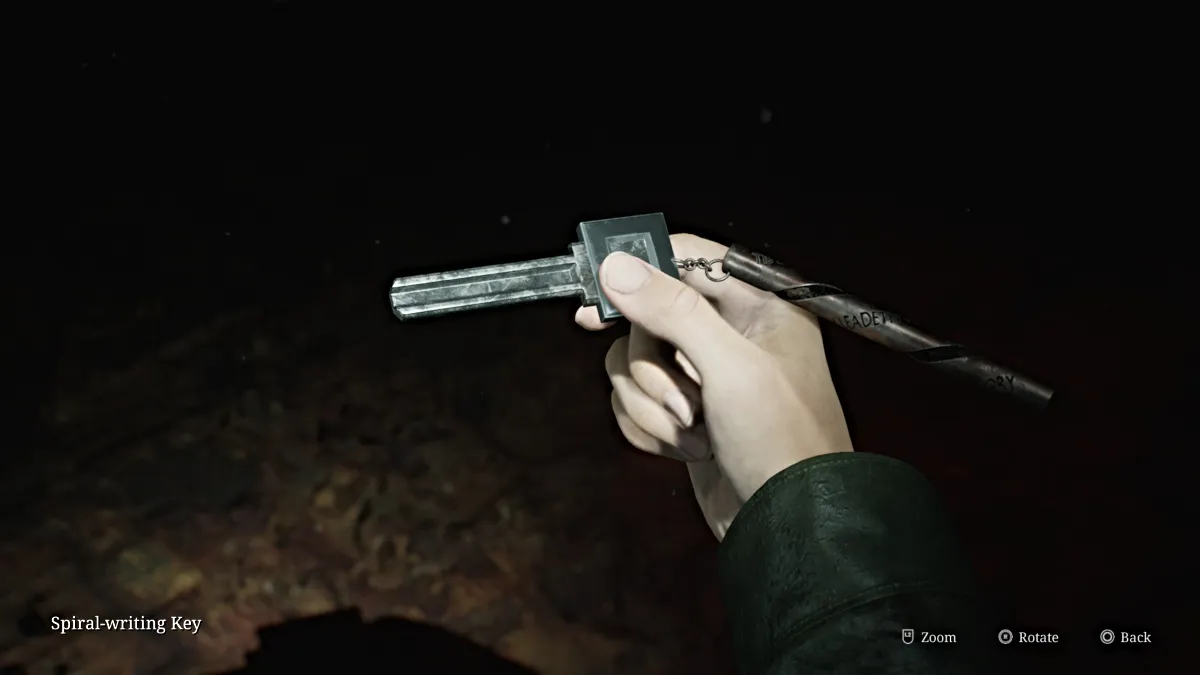
Down the hall ahead is what looks like another deep hole, but is blocked off by a locked prison gate. Backtrack a bit and go through the door on your right, where on the floor you'll find the Spiral Writing Key .
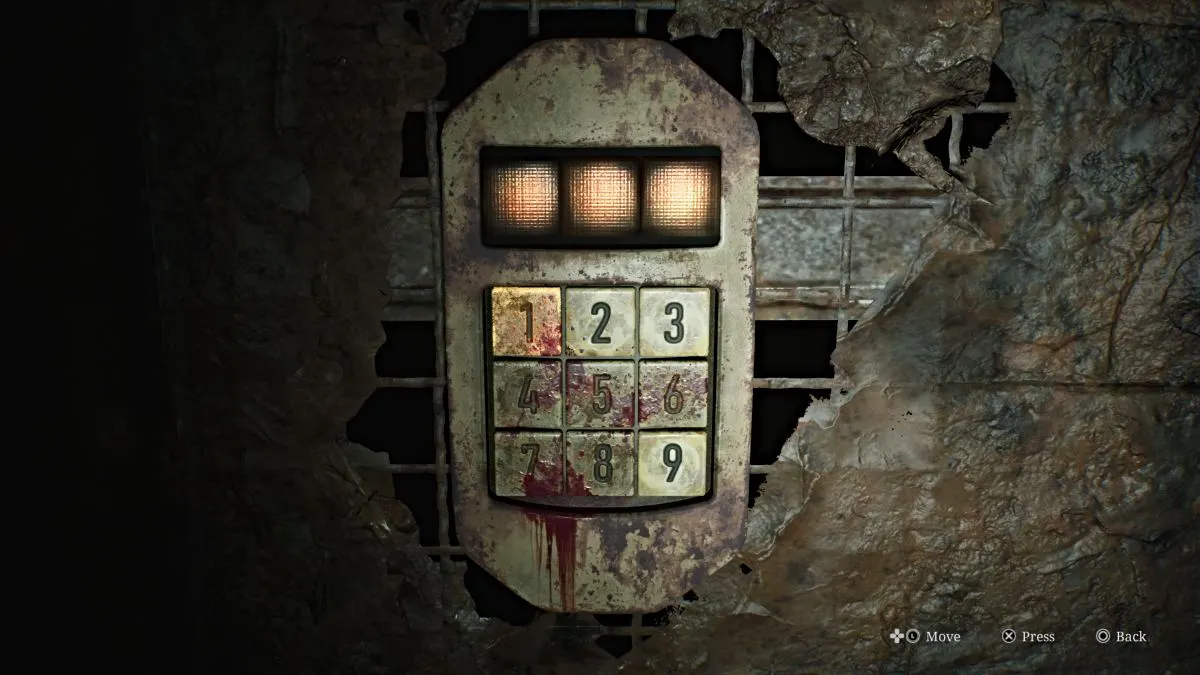
After picking it up, however, the lights will shut off and then turn back on to reveal the room suddenly covered in bugs who will bite James occasionally, causing damage.
To escape the room you need to use the keypad (seen above) and figure out the correct code, which is a random combination of the numbers 2, 3, and 9 (the only ones not covered in blood). The solution for every playthrough, regardless of difficulty, is entirely random , so it's an anxious test of trial and error. To help you out, here are all of the possible combinations for you to work through:
| 2-3-9 | 2-9-3 |
| 3-2-9 | 3-9-2 |
| 9-2-3 | 9-3-2 |
Once you break out, go back over to the locked prison gate and use the Spiral Writing Key on it, revealing the next hole for you to jump down. Interact twice to jump further into the abyss.
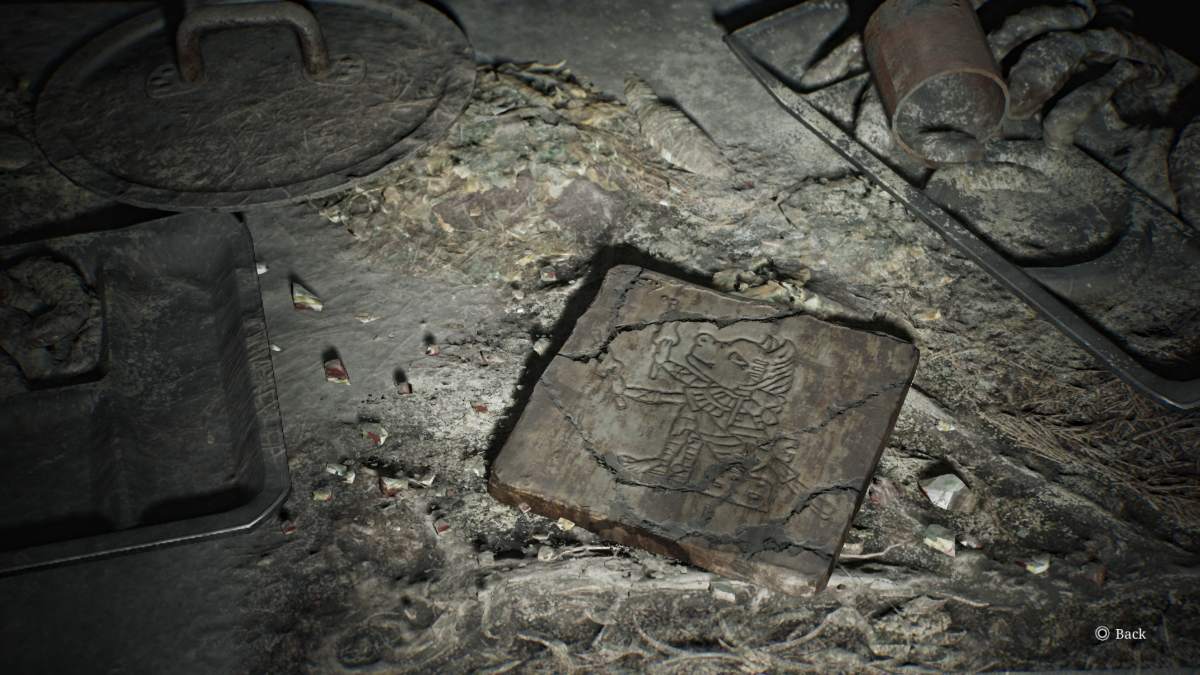
After your next fall, you'll land in the Canteen room of the prison. Grab a Health Drink from the food line at the back of the room, then explore the right side of the room to find a Glimpse of the Past on one of the tables. When you're ready, approach the body under the bright light hunched over a table, recently killed.
Eddie appears from the shadows, remarking that killing a person "ain't no big deal". James tries to understand Eddie's reasoning for what happened until it becomes clear that Eddie killed them for how they "looked at him". Eddie gets defensive when James reprimands him before opting to go off on his own.
Once he's gone, go through the same doors and ahead you'll find the prison's Armory . After using the Red Save Point , on the back wall, you can finally grab a map of the entire prison .
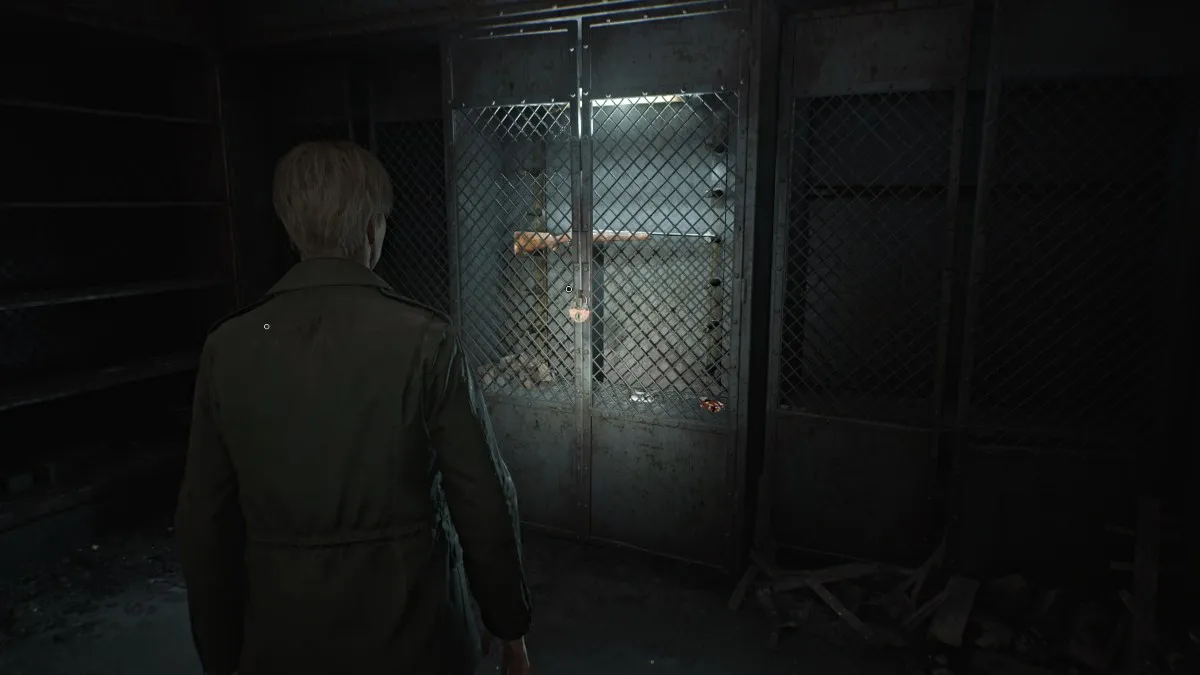
There's also Handgun Ammo , a Syringe , Rifle Ammo , and a Hunting Rifle weapon , though it's currently locked in a cabinet. You'll need to find the key for it, and thankfully there's a hint in the nearby Gun Cabinet Notice .
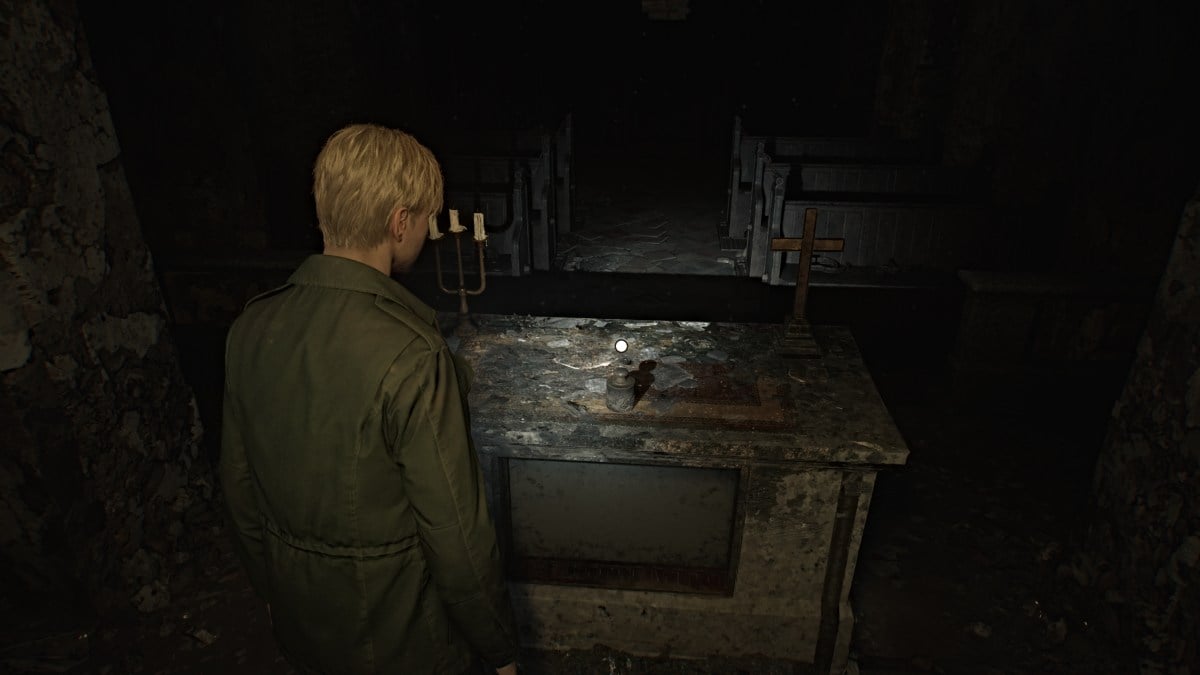
For now, start exploring the surrounding areas such as the Church to the left of the Armory. Inside you'll find an object called The Heaviest Weight up at the pulpit. Over in the Vestry you can find a Syringe .
Head next through the double doors to Block A and Block B . To your right as you enter, you'll notice a door with a Hornless Ox portrait on it. Meanwhile, over in Block B is a door with an Eyeless Boar portrait , the far end of Block A is a door with a Headless Serpent , and the door to the Basement has a Wingless Dove .
The levers on the walls can give you some temporary light in the block, as even with the flashlight it's uncomfortably dark. However, it will also send Mannequins scurrying up walls to the ceiling. Yep, you now have "Spider Mannequins" to deal with.
In Cell A3 you'll find Rifle Ammo and a Glimpse of the Past in the form of a shrine. In Cell A5 will be Handgun Ammo . Over in Cell A7 there's a crawlspace that takes you to Cell B1 , which has a Health Drink and a hiding Mannequin. Cell B3 has a breakable wall that lets you cross to Cell A9 and A8 , which has Shotgun Shells and another Mannequin.
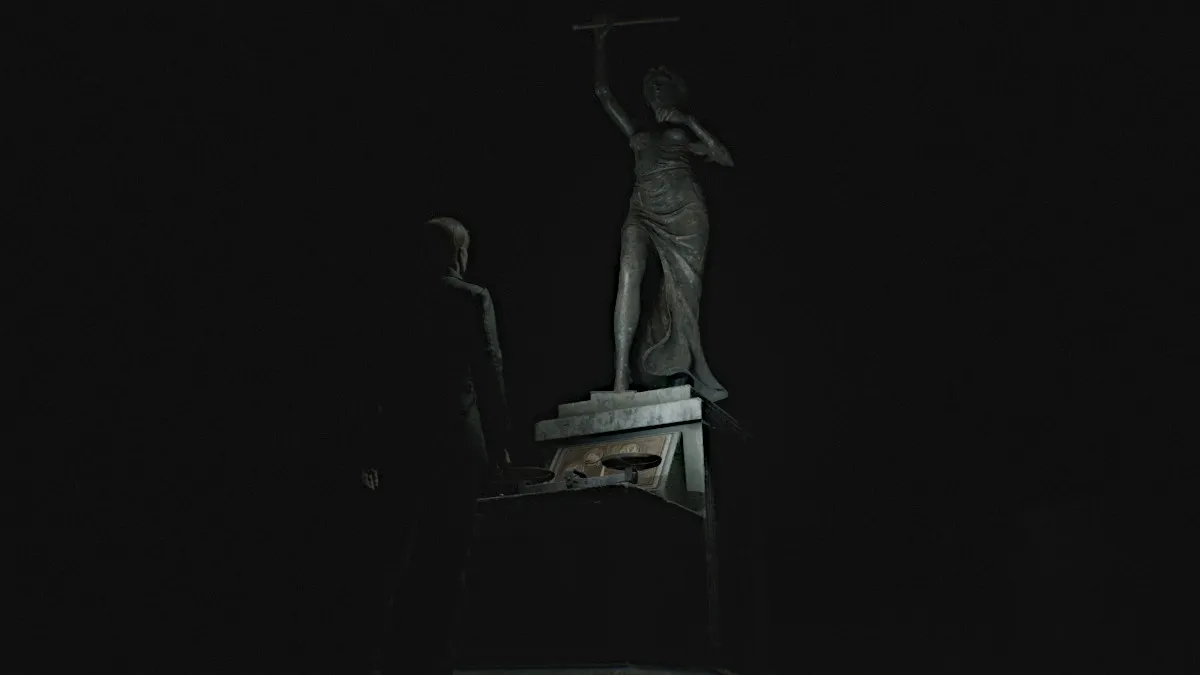
After exploring both blocks, head east down the hallway to the Yard , and use the Red Save Point to your left. This area is unbearably dark, but to keep your...bearings (aha), just run straight ahead. You'll hear a strange galloping noise circling around you, but rest assured there are no monsters in this area.
You'll soon see something ahead of you with a cover over it. Interact to pull it off, revealing a statue with a scale contraption at its base. This is where you put The Heaviest Weight to use, as you need to use it with the smaller weight already available.
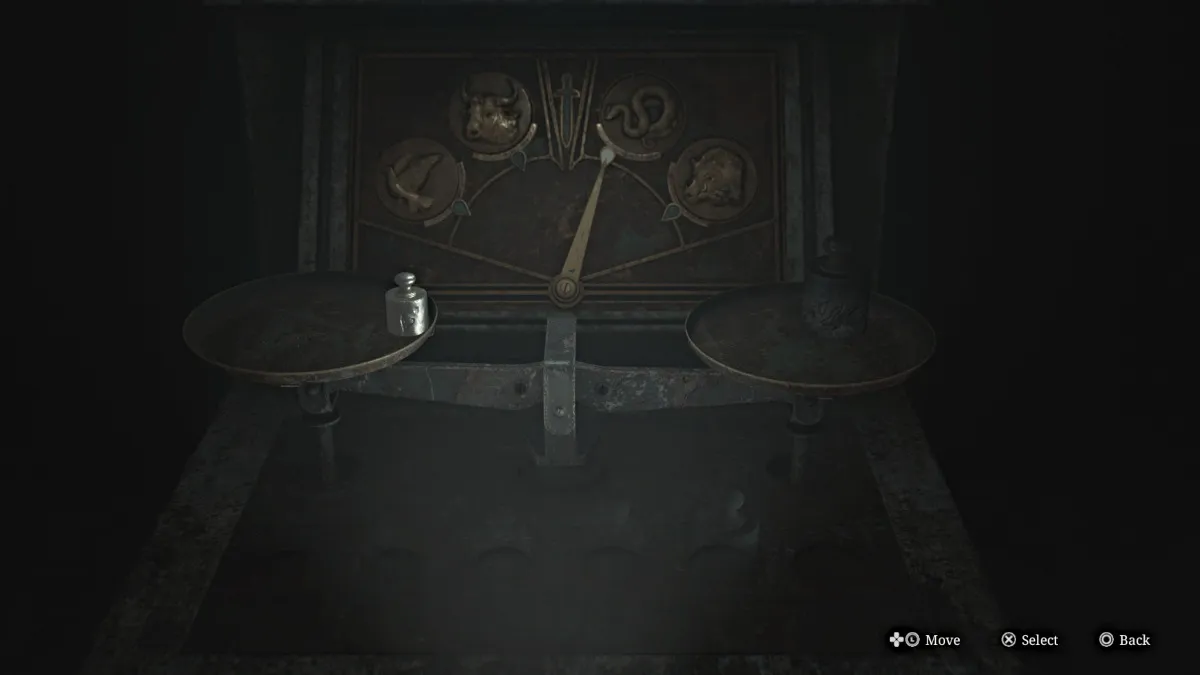
Place the smaller weight on the left scale, and the Heaviest Weight on the right scale , which will tip the arrow above it to the Serpent symbol. This means the Serpent Door within the prison has been unlocked. Head back inside.
The Serpent Door is over at the far end of Block A, to your left after returning from the Yard. Head through it and you'll pass by a lit room with an electric chair in it.
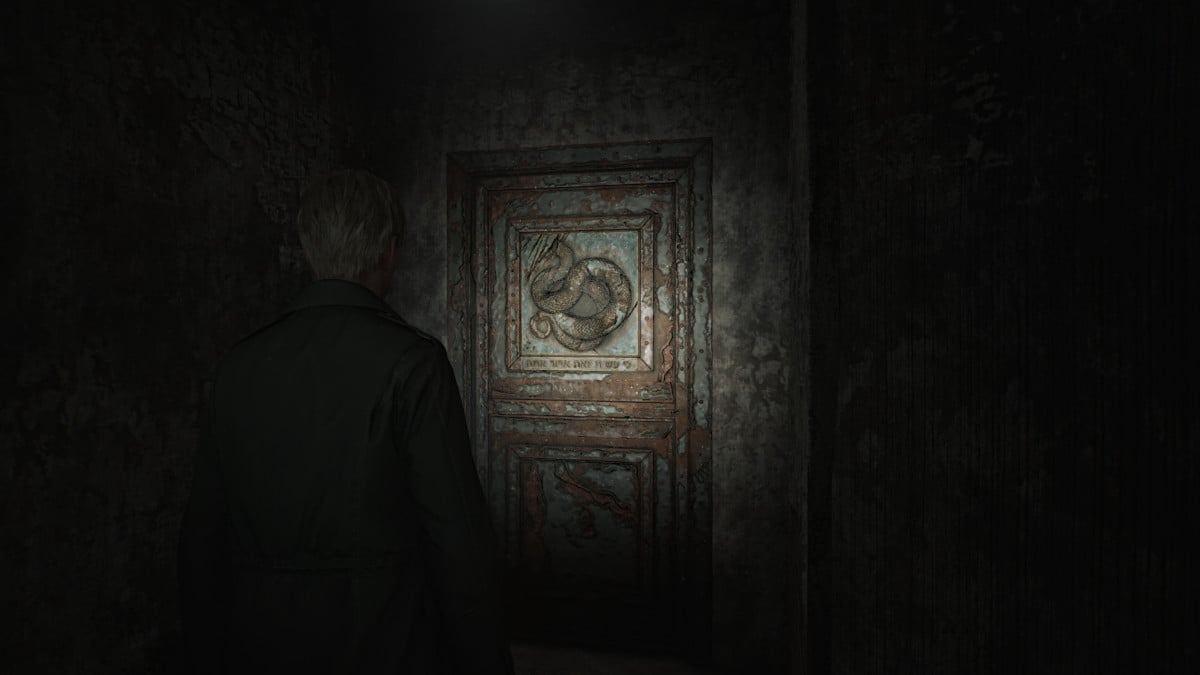
Enter the Guardroom , where you can find a Syringe , Shotgun Shells , and another wall lever you can use to light your way while keeping the spider crawling Mannequins at bay.
Make your way down the block, and in Cell E4 you can grab the Family Photo (memo). Further on, the room next to the Death Chamber has some Handgun Ammo . Now make your way across to the other side of the block, which has much higher ceilings crawling with spider Mannequins. Do your best to keep the lights on as you explore and deal with them when they jump back down to attack.
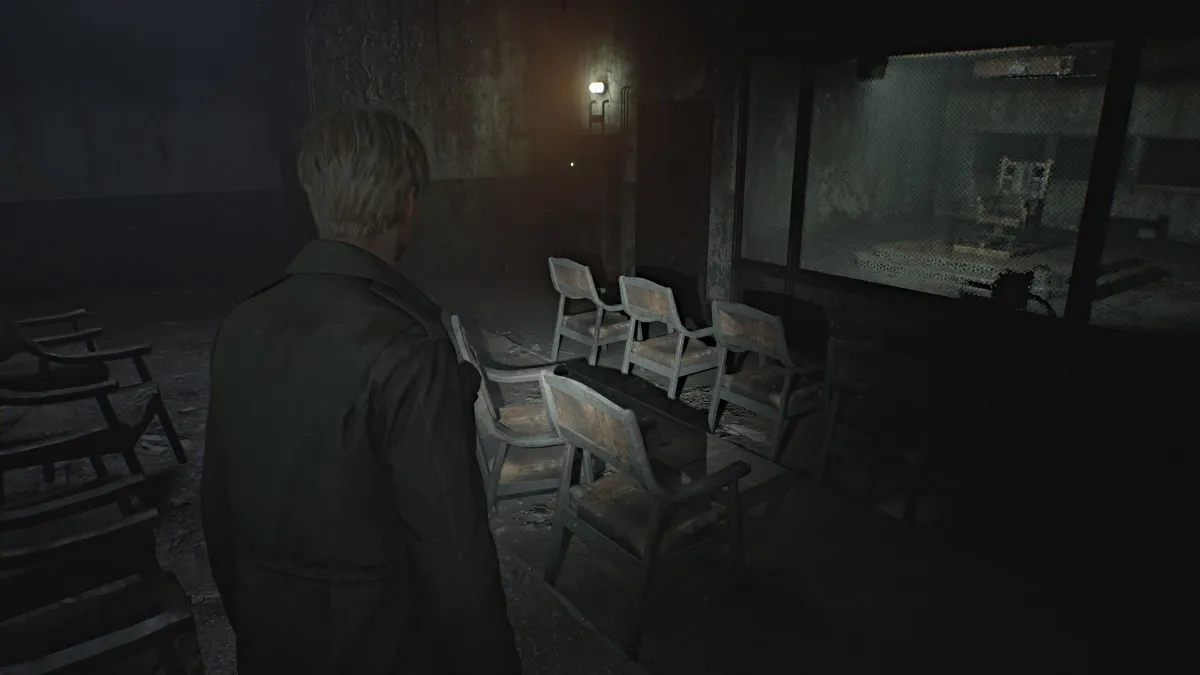
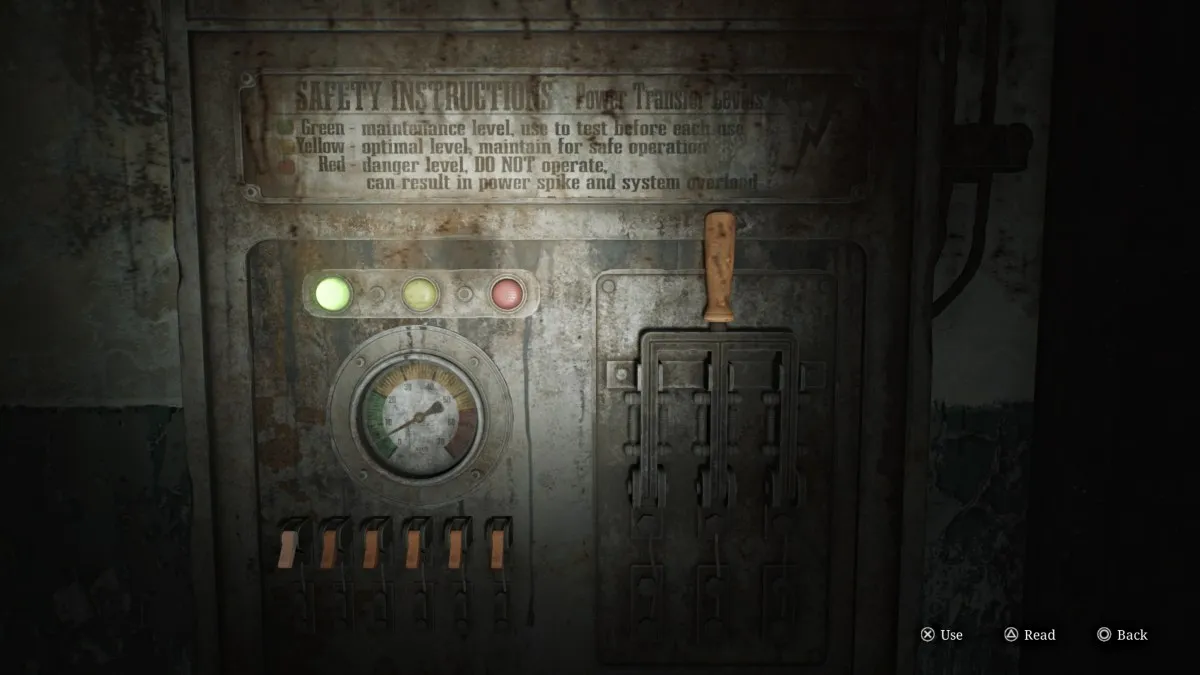
Investigate the rooms on the northeast side, including the Witness Room where you'll find, Handgun Ammo , a Red Save Point , and the machine used to operate the electric chair. Interact with it and you'll see a power gauge along with a sequence of switches and the lever to pull when ready.
The instructions note that you don't want to throw the lever when the power is in the red, but that's actually exactly what you want to do. You'll need to press the switches in the correct order to where they're all turned on at once , sending the power to maximum. Once you have, pull the lever which will overload the power system and automatically unlock all cell doors in the area.
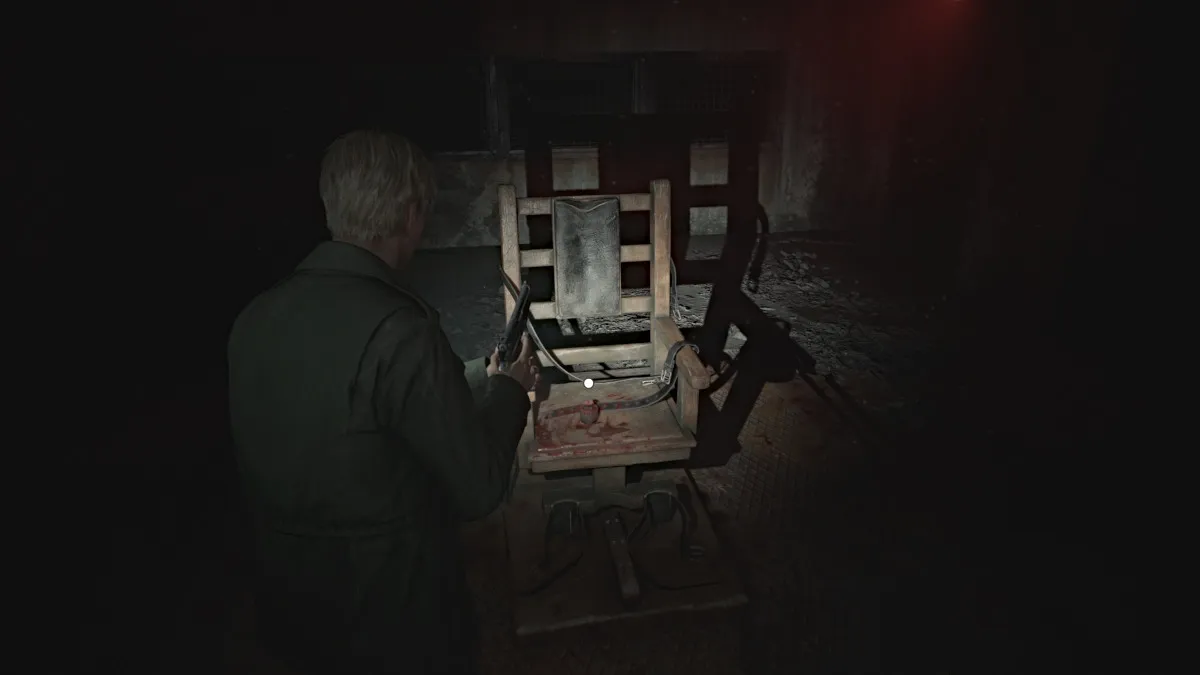
This means you can now enter the Death Chamber and claim the Medium Weight sitting on the electric chair. Now you need to focus on making it through the rest of the block alive, as the alarms have riled up all monsters in the area, and you can no longer use the lights. The path you came in is blocked so exit via the Death Chamber.
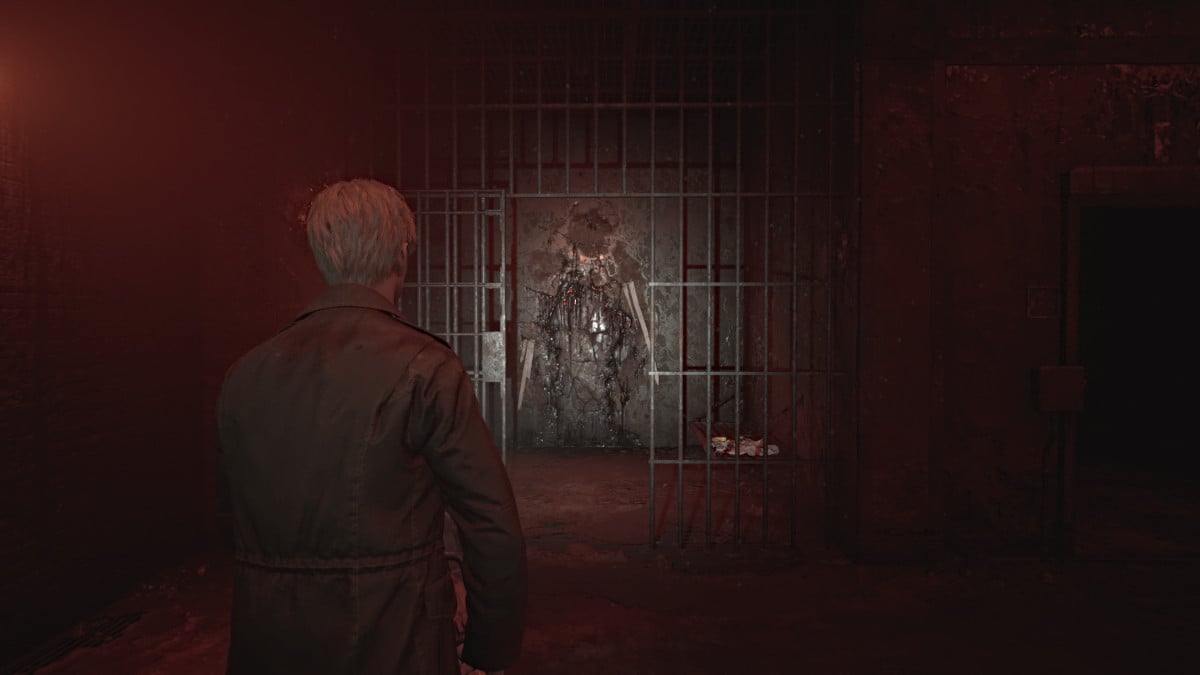
Explore the open cells to find more Handgun Ammo , Shotgun Shells , and a Health Drink . In Cell E1 near the start of the block is a breakable wall, so bash it down to get to the other side of the block. You can find several more Shotgun Shells in the cells on this side. When ready, go into Cell E10 and slide through the wall gap into the Witness Checkpoint area.
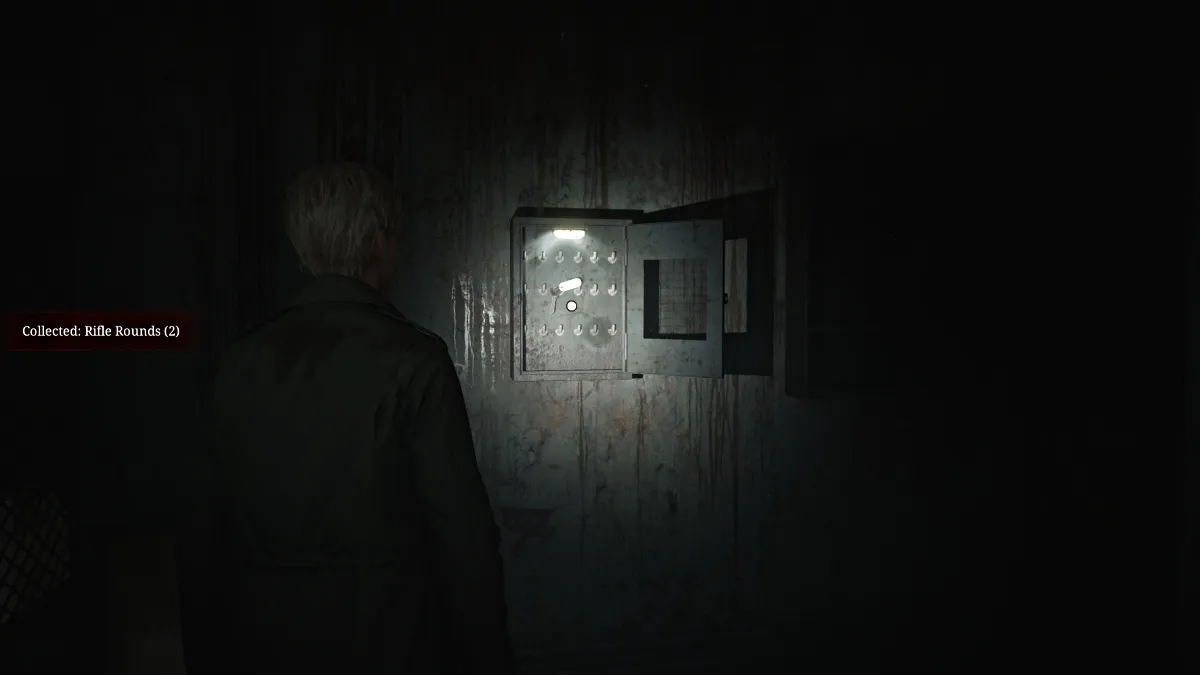
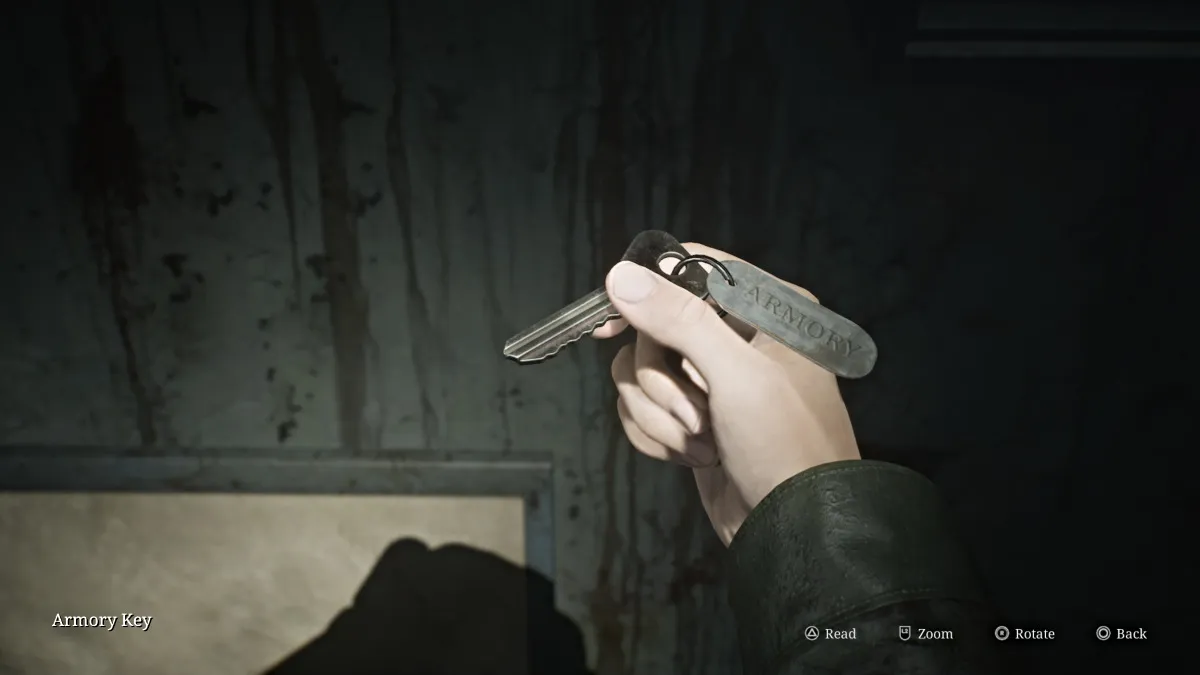
Pick up the Handgun Ammo and Health Drink you find here, as well as the Armory Key hanging in a cabinet on the wall. This will allow you to go and claim the Hunting Rifle . Head back to the Armory and do just that, then use the Red Save Point before heading back to the Scales of Justice statue in the Yard.
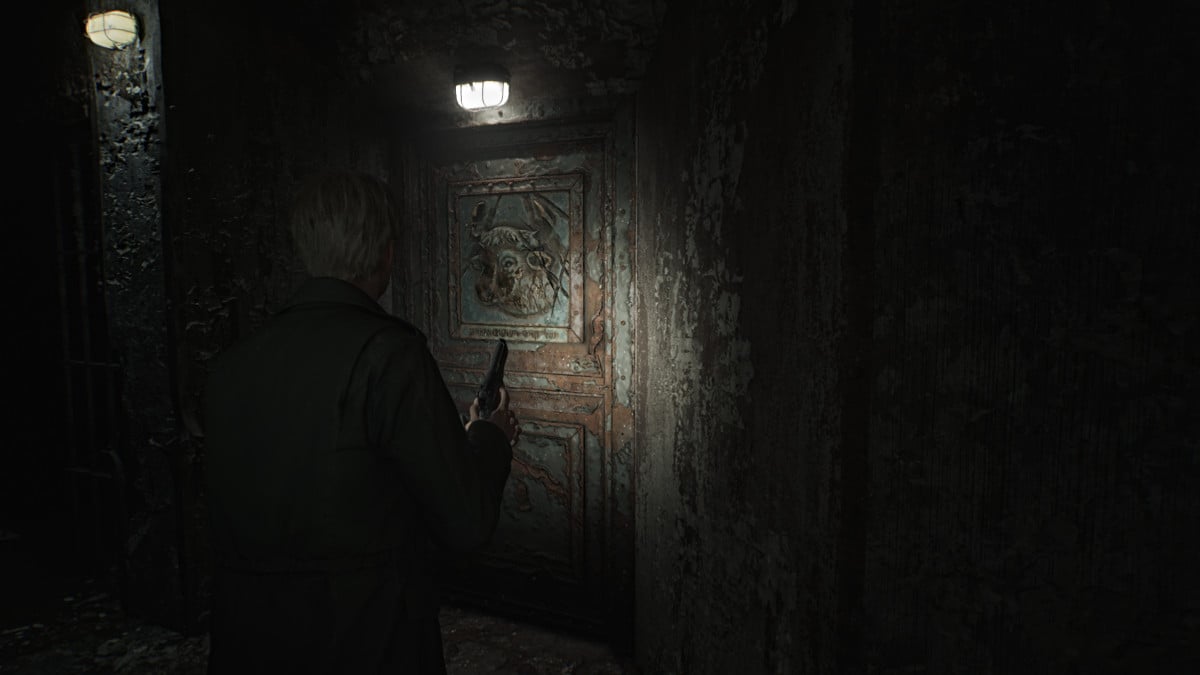
Once you return to the statue in the Yard , your next objective is to place the smallest and Heaviest Weight on the left scale, and your newly acquired Medium Weight on the right scale . Upon doing so, the Hornless Ox Door (seen above) near the entrance to the entire block will unlock.
Head back and through the new door then up the stairs to the second floor of the prison. This area is absolutely crawling with spider Mannequins, so keep your wits about you as you progress through. Go down the first row of cells on the right and use Cell C2 to cross into C3 . Cell C4 has a crawlspace but requires a key to be unlocked . Grab the Health Drink from Cell C5 then head to the Guardroom on the right side.
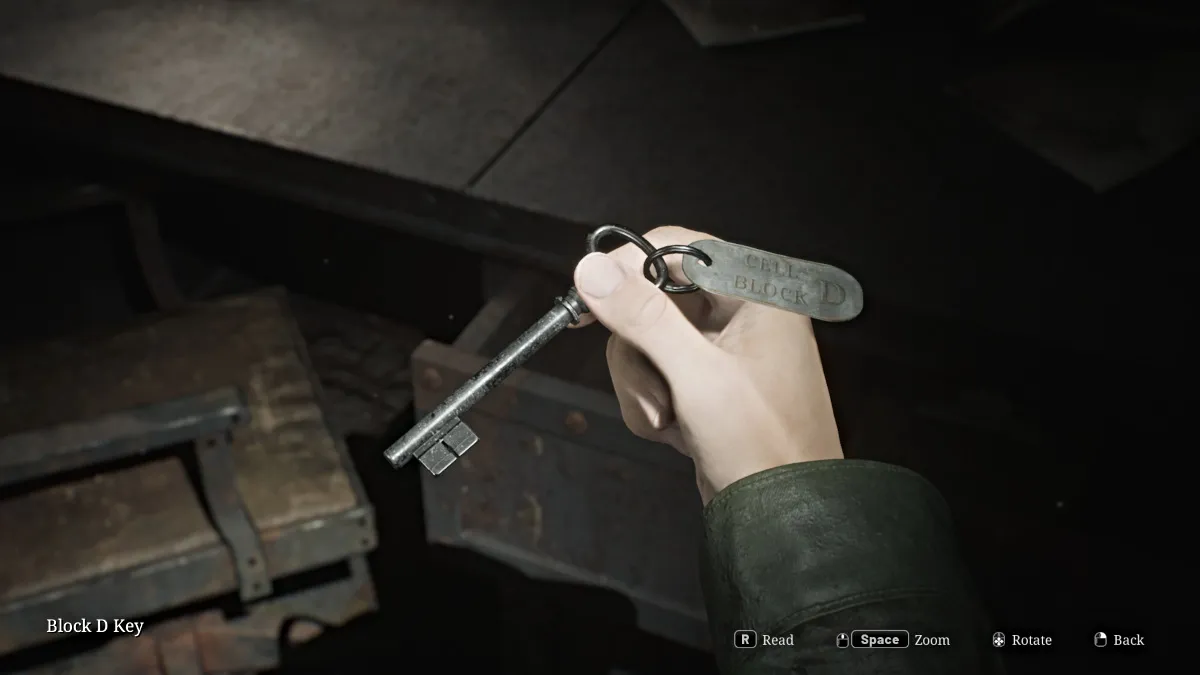
Inside you'll find the Block D Key in a desk drawer along with a Red Save Point , some Handgun Ammo , and a prison guard's notes about something important in Cell D5 . Start making your way to the other side of the block. Use the breakable wall to get into Cell C6 for a Health Drink and a Syringe . Continue down the walkway and use the Block D Key on the door ahead to get into D Block.
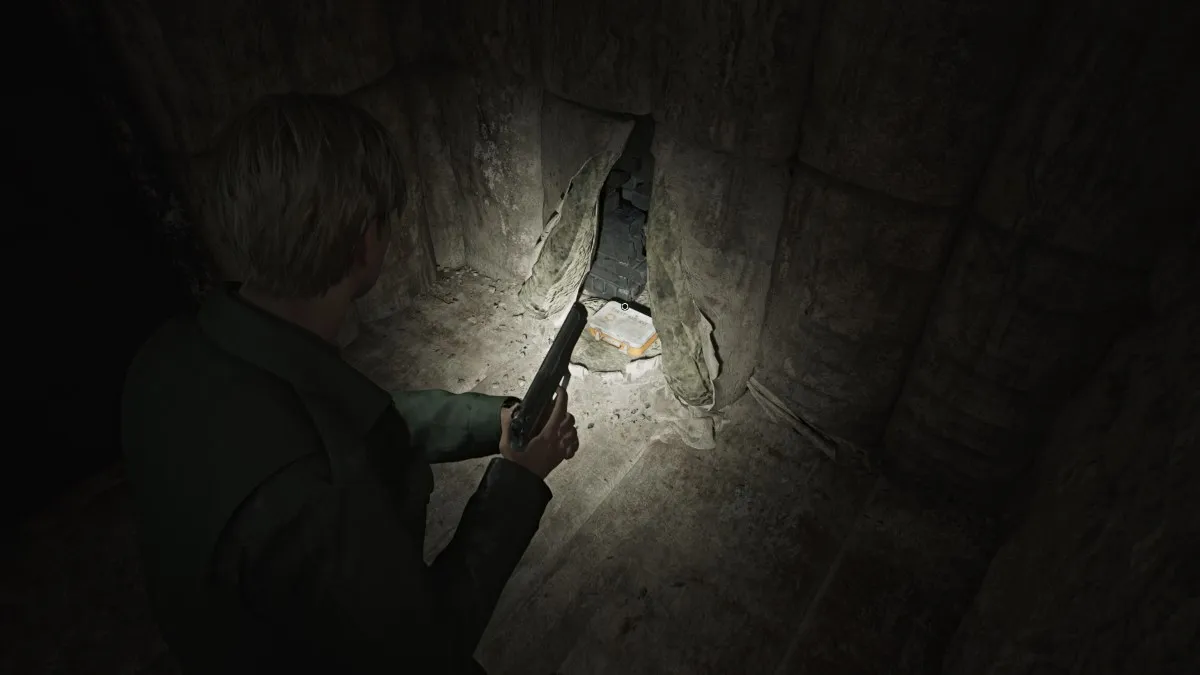
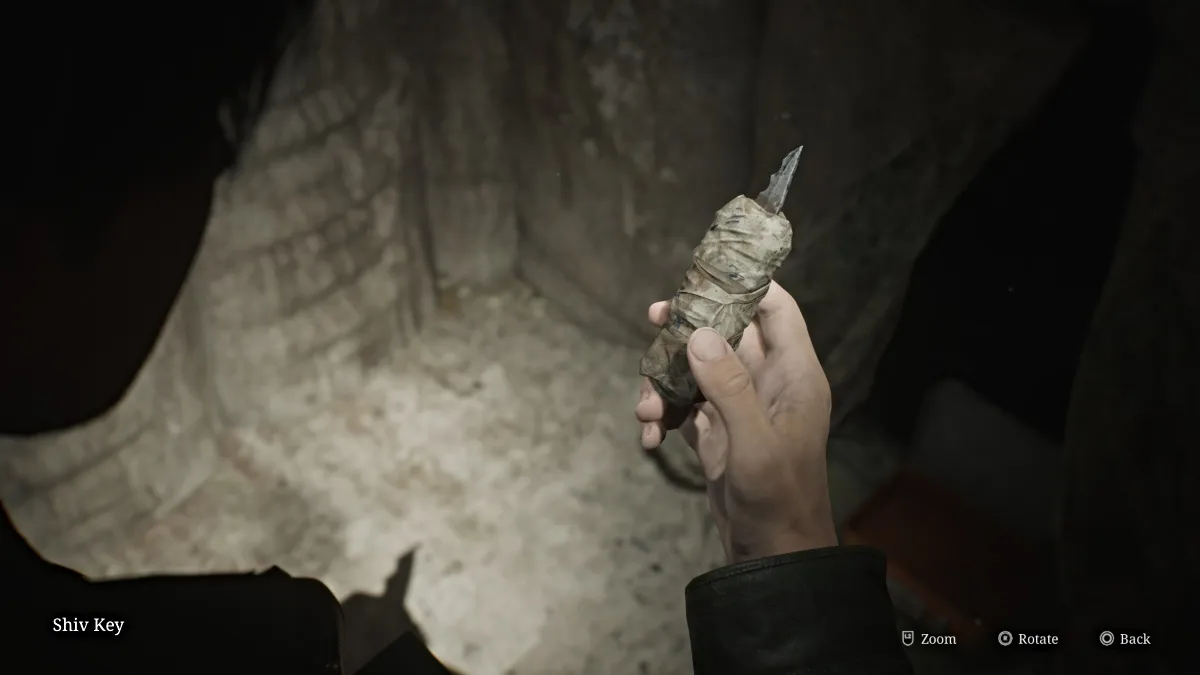
Keep the lights on as you make your way around to Cell D5 , which is a padded room. Inside a first aid kit box you'll find the Shiv Key , and the Threatening Note on the wall that says "we could both use a bath". With that, head back across to the C Block and use the Shiv Key on Cell C4 .
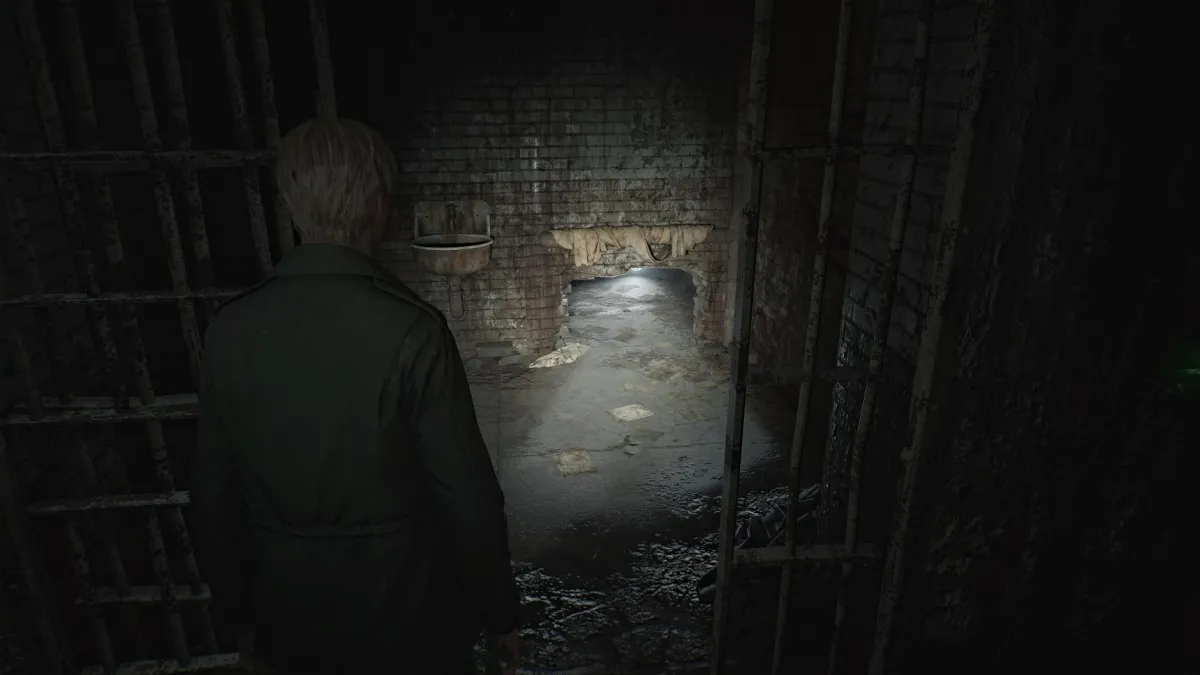
Slip through the crawlspace and grab the Paranoid Note off the pipe. Slip between the pipes on the left side, then down through another crawlspace.
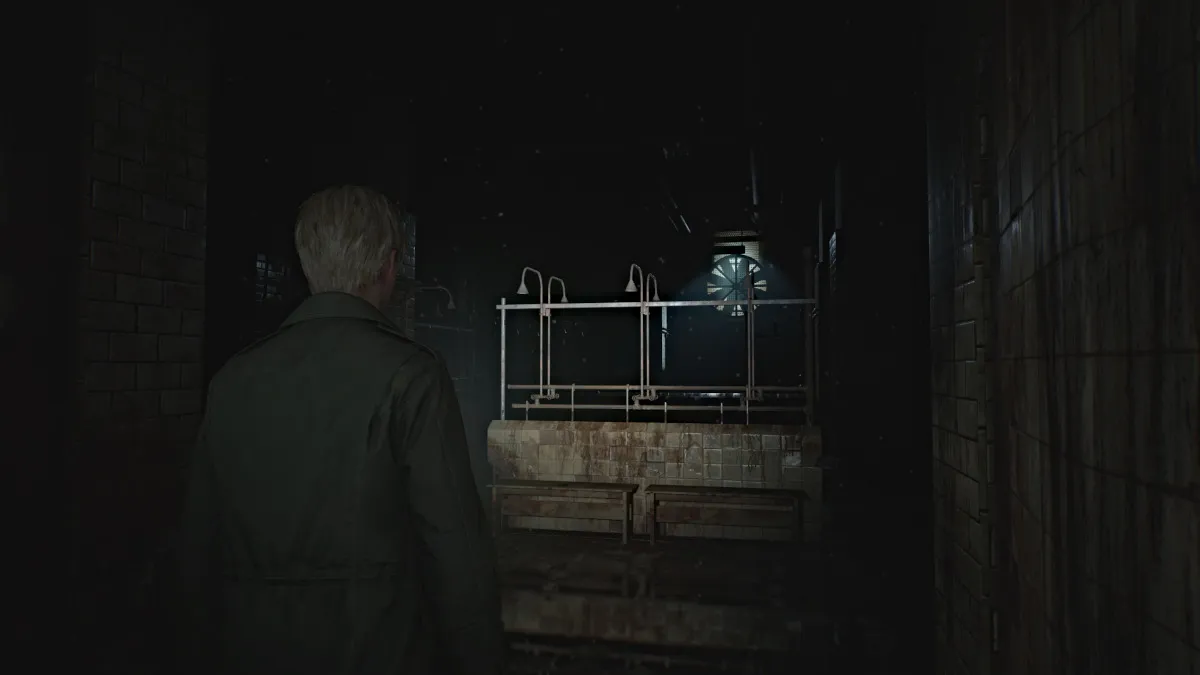
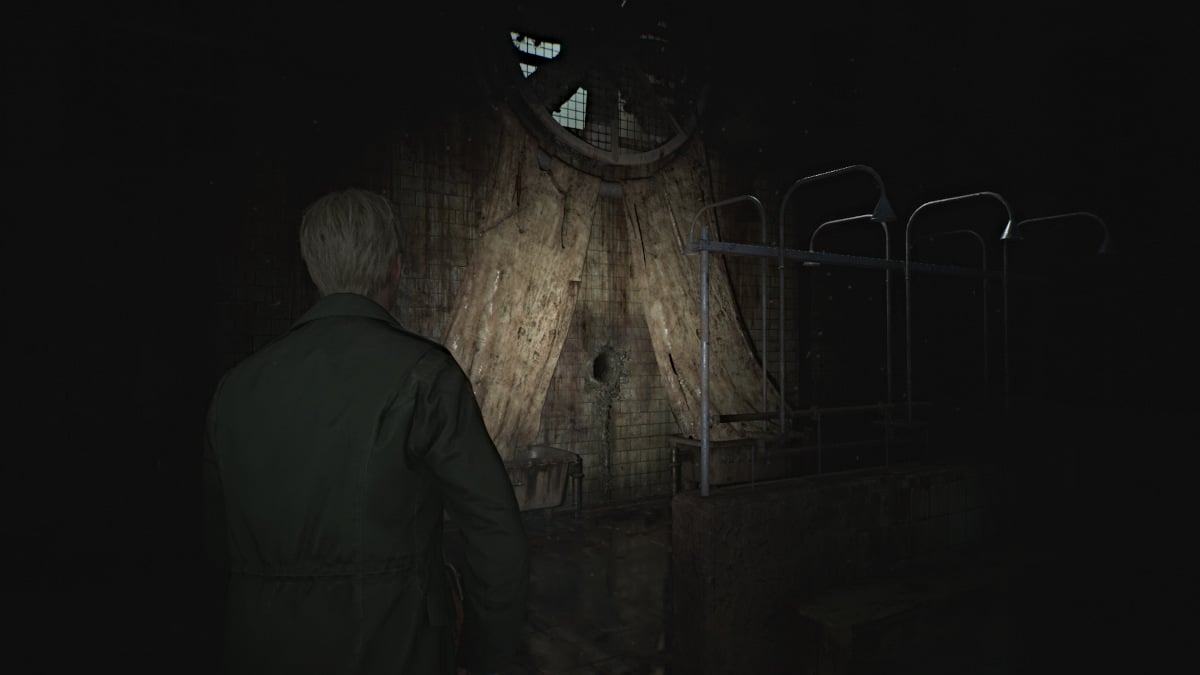
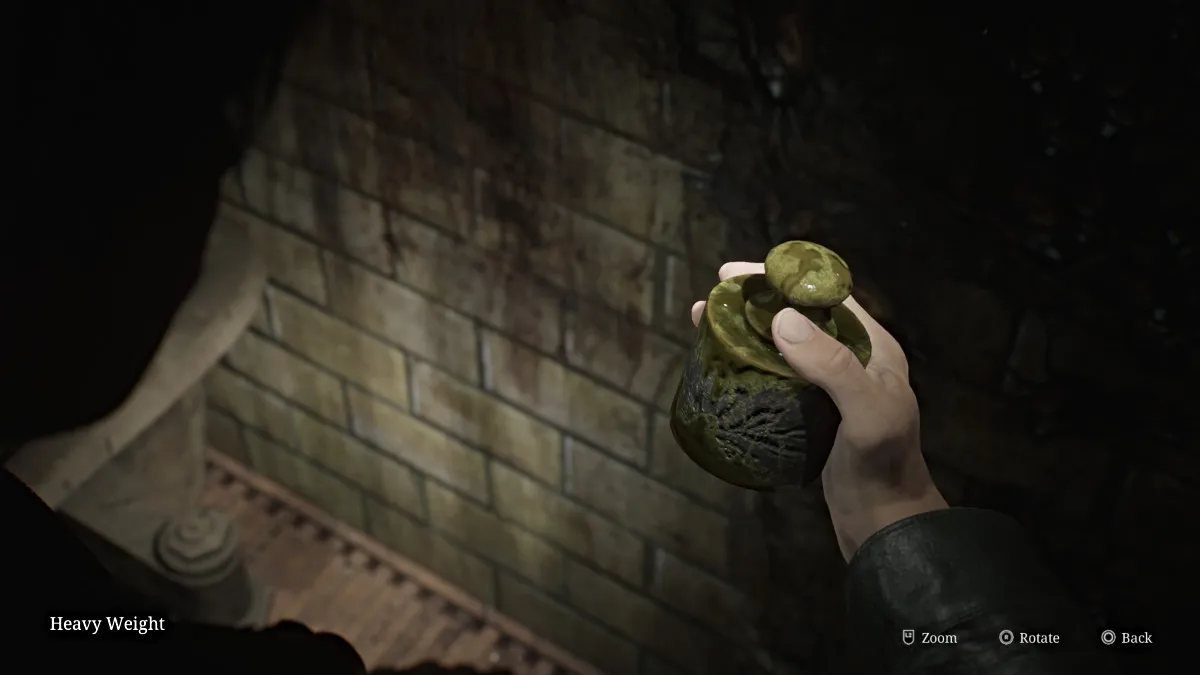
This brings you to the Toilets Room , where you can find some Handgun Ammo on a bench and a Health Drink in a stall. Head over to the Showers area next and deal with the Bubble Nurse patrolling the center of the area. Make note of all the corpses scattered everywhere too, because they won't be still for long.
Venture up the right side of the room, where you'll find another tablet-shaped Glimpse of the Past on the floor.
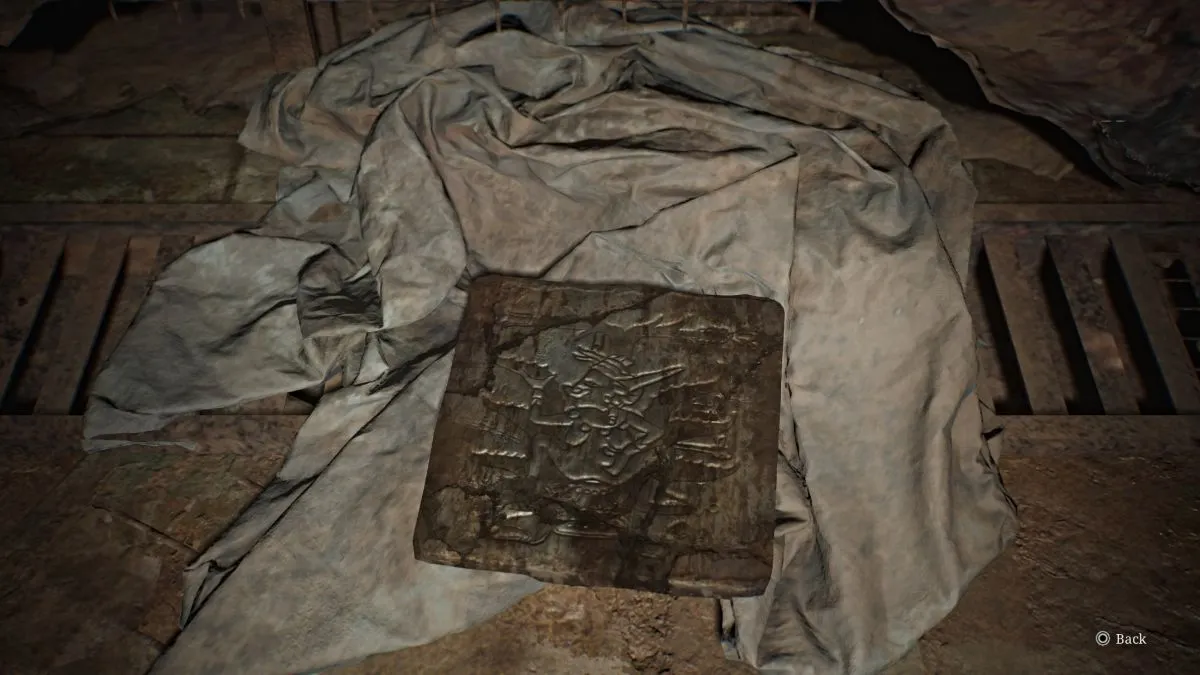
Head towards the back and underneath the rotating fan you'll find a strange "curtain" structure with a hole in the wall that obviously you'll need to have James stick his hand in. Interact with it and you'll obtain the Heavy Weight (seen above).
This will rile up several monsters in both rooms and rather than fight them all, bum rush back to the crawlspace in the Toilets Room and escape through. Make your way all the way back through the block and out the Ox Door.
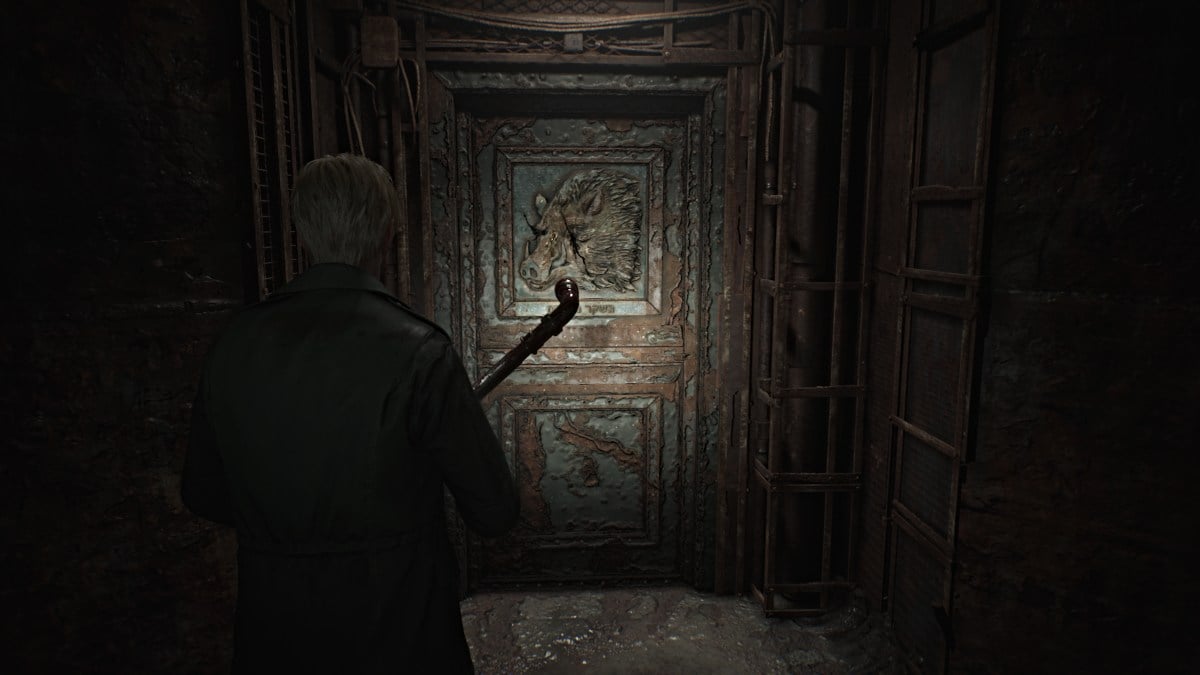
Once again, head back to the Yard to complete the next step of the Scales of Justice. This time, place all of the weights you have on the right scale, except for the smallest weight which you'll put on the left scale. This will unlock the Eyeless Boar Door next which leads to the Administrative Section of the prison. Head back inside and straight ahead to that door, which will be on your right.
Head inside and take the hallway around the Warehouse room, which you can access from the door on the left side. In there, you'll find a couple of monsters along with some ammo and the "Old Man's always prepared" Strange Photo .
Now make your way to the Visitation Room , and grab the Prisoner's Note from station 7 before backtracking to station 5 where you can jump through to the other side.
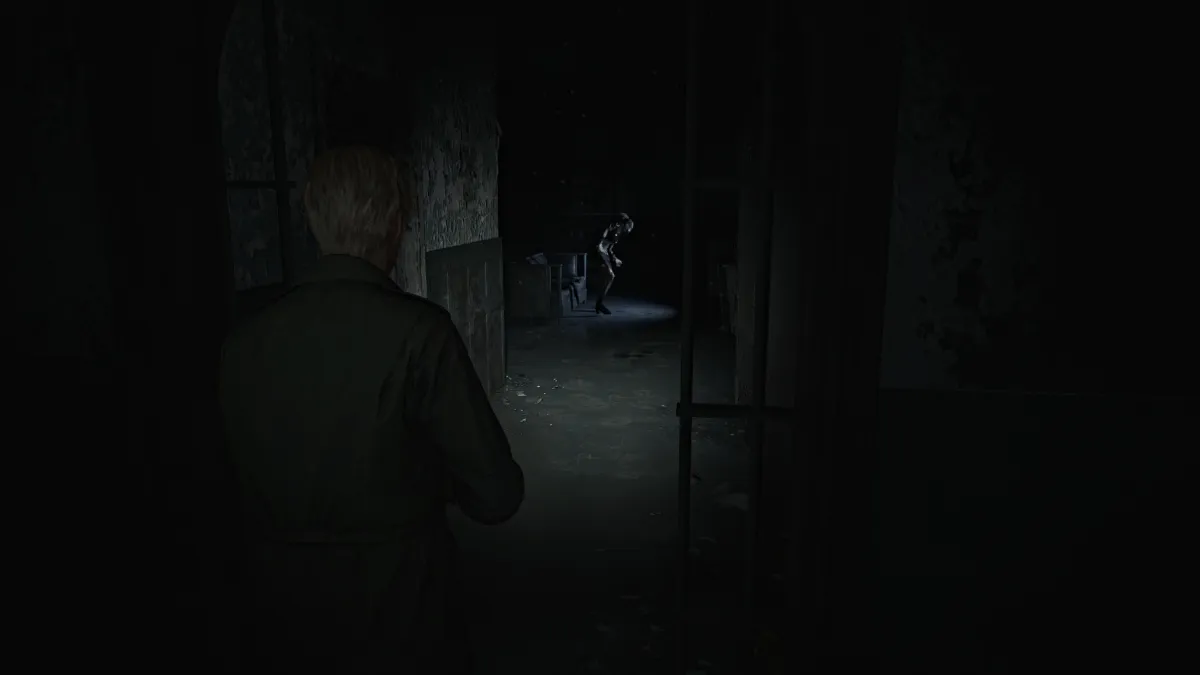
Grab the Shotgun Shells from station 7 before moving on towards the Break Room . On the way there, stop in the Women's Restroom for a Health Drink and a surprise in the last stall, then the Men's Restroom for a Red Save Point .
Cut through the Break Room , grab the Handgun Ammo that's in there, then head north to the Infirmary . As expected, there are a few Bubble Nurses to deal with in there, so fight your way through them to the very back room of the Infirmary. There you'll find Shotgun Shells , a Health Drink , and the Upper Floor Key .
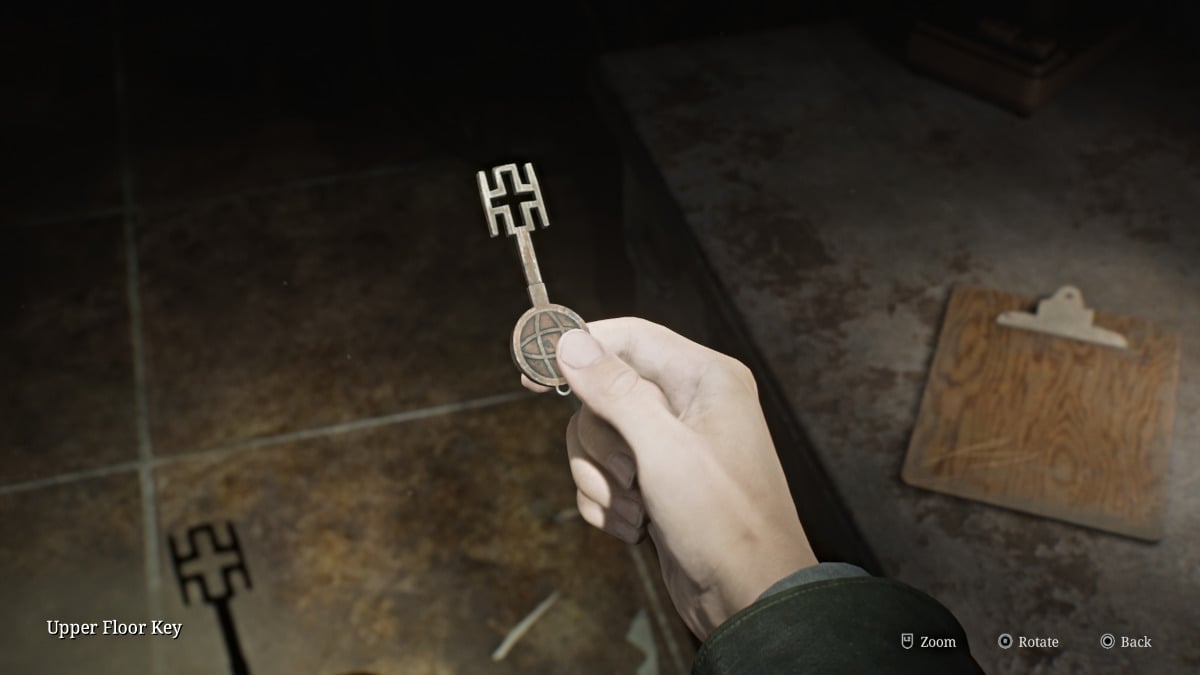
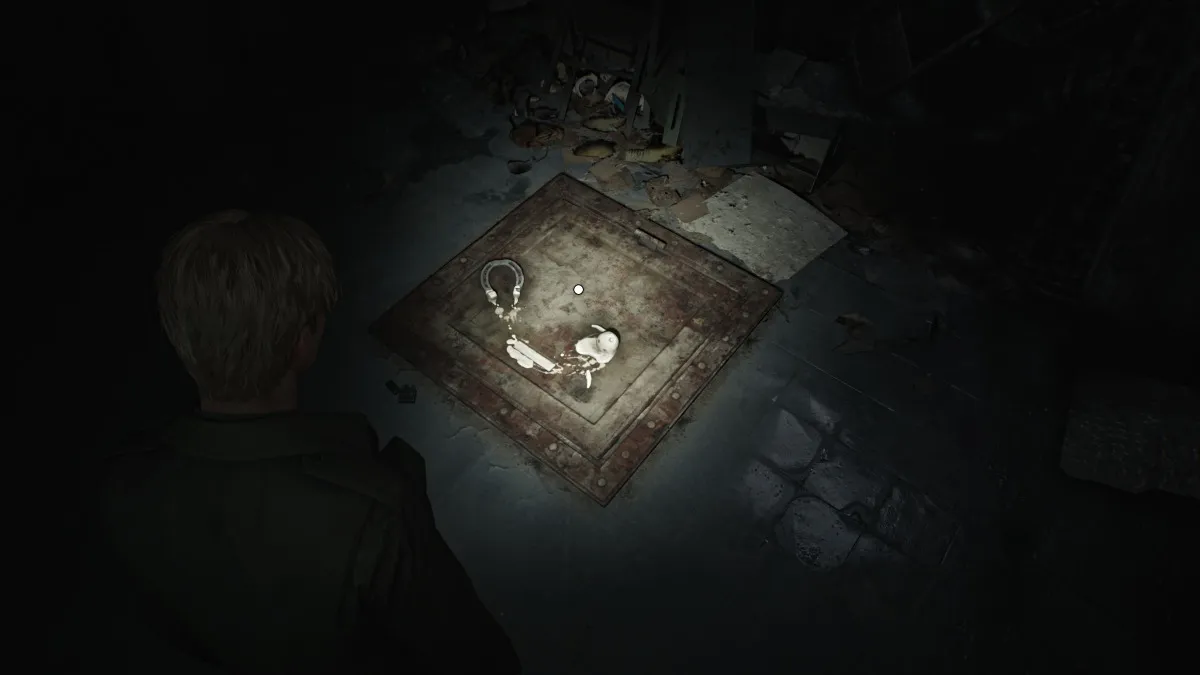
Backtrack on the other side of the Break Room to find another Glimpse of the Past on the floor in front of you, consisting of a horseshoe and a melted wax figurine.
Run back over to the Restrooms and use the Upper Floor Key on the locked gate near the Men's Restroom (by the wall that says "Reap What You Sow"). Take the stairs all the way up to the Warden's Office on the third floor, use the Red Save Point in the nearby storage room, and grab the Handgun Ammo there as well.
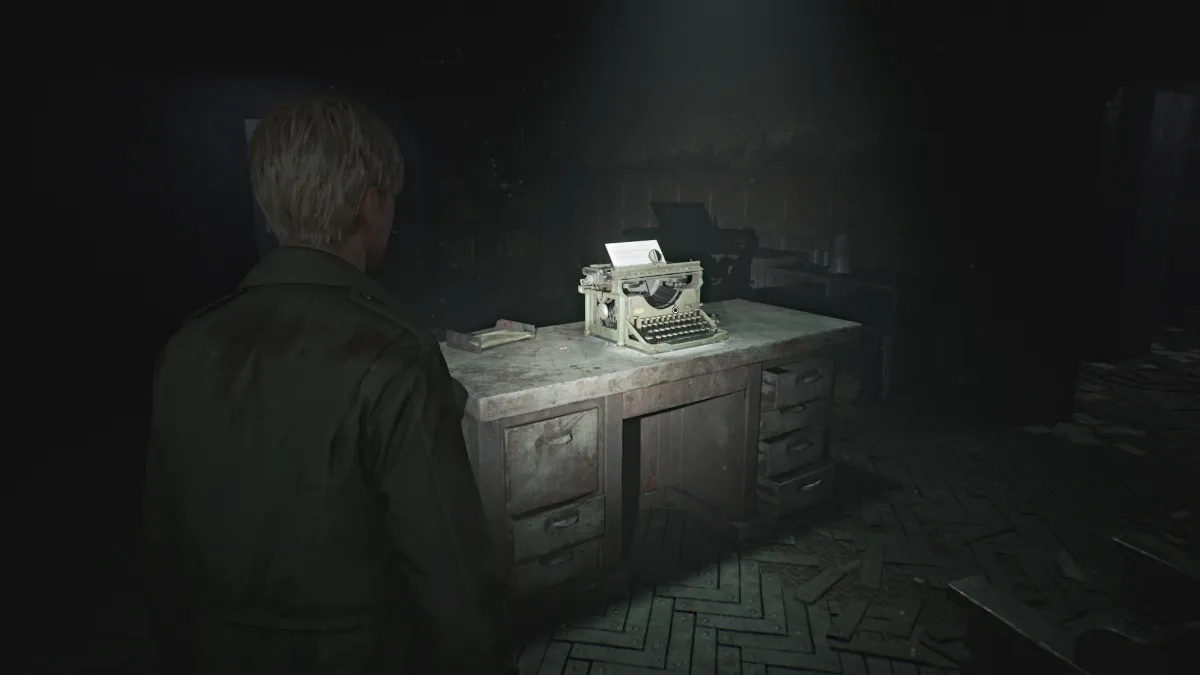
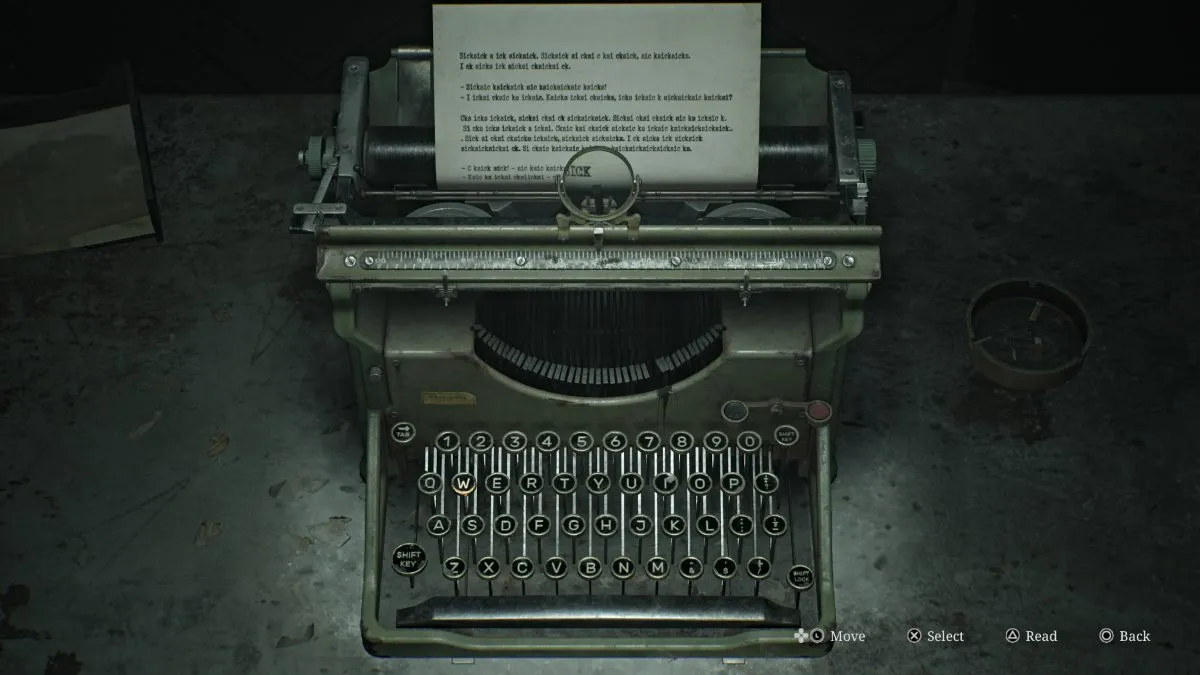
Go back into the office where there's a typewriter on the desk. The paper set in it has the word "sick" typed endlessly, and all you need to do is type repeatedly (any keys) until the desk drawer underneath opens. Inside you can claim the Light Weight . Now you need to make your way back to the Yard once again for the next step.
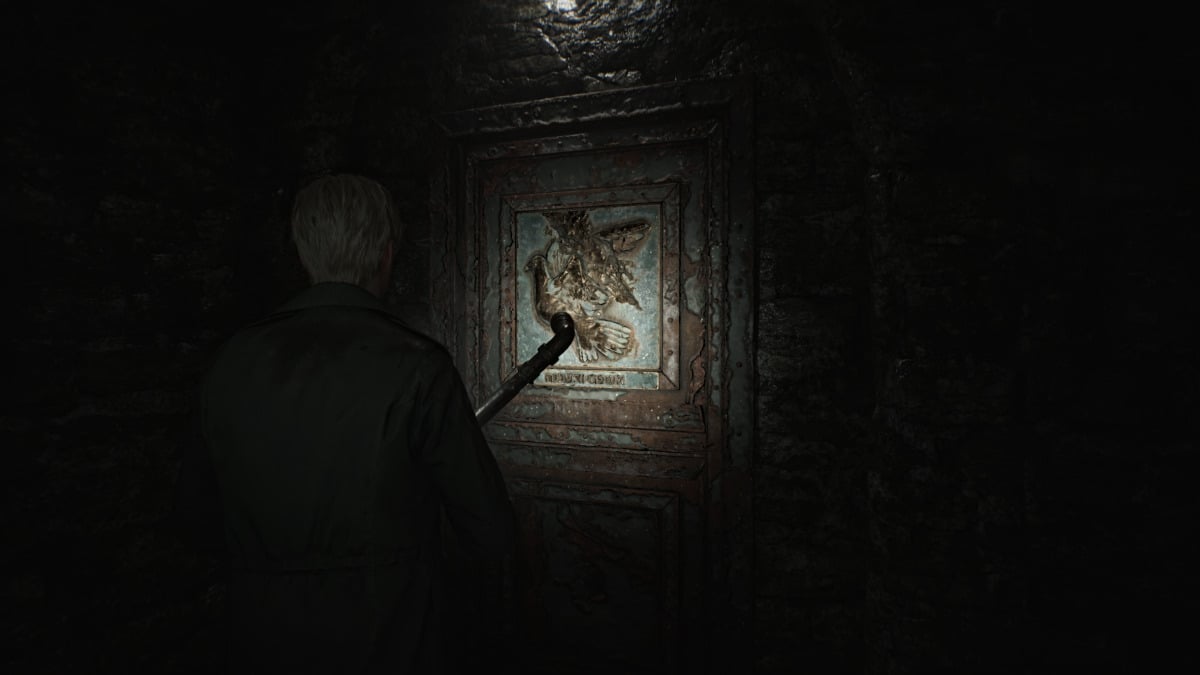
Once you're back at the Scales of Justice, this time you'll need to place every weight on the left scale, except for the Medium Weight which you put over on the right scale . This will open up the Wingless Dove Door , which leads to the Basement level . Head back inside and immediately turn left to find the door down a flight of stairs.
Once inside, start exploring the lower half of the cell block and when you look inside Cell F6 you'll notice the last weight you need sitting on a sheet. For now, go over to Cell F9 and bash through the breakable wall to get to F10 , where there's a ladder you can take up to unlock one of the doors on the first floor.
Head back down and make your way through all the sneaky Mannequins to Cell F14 and grab the Health Drink there. In F16 you'll notice piles of books and glyphs painted on the walls. If you wait long enough, you'll hear an otherworldly voice chanting something.
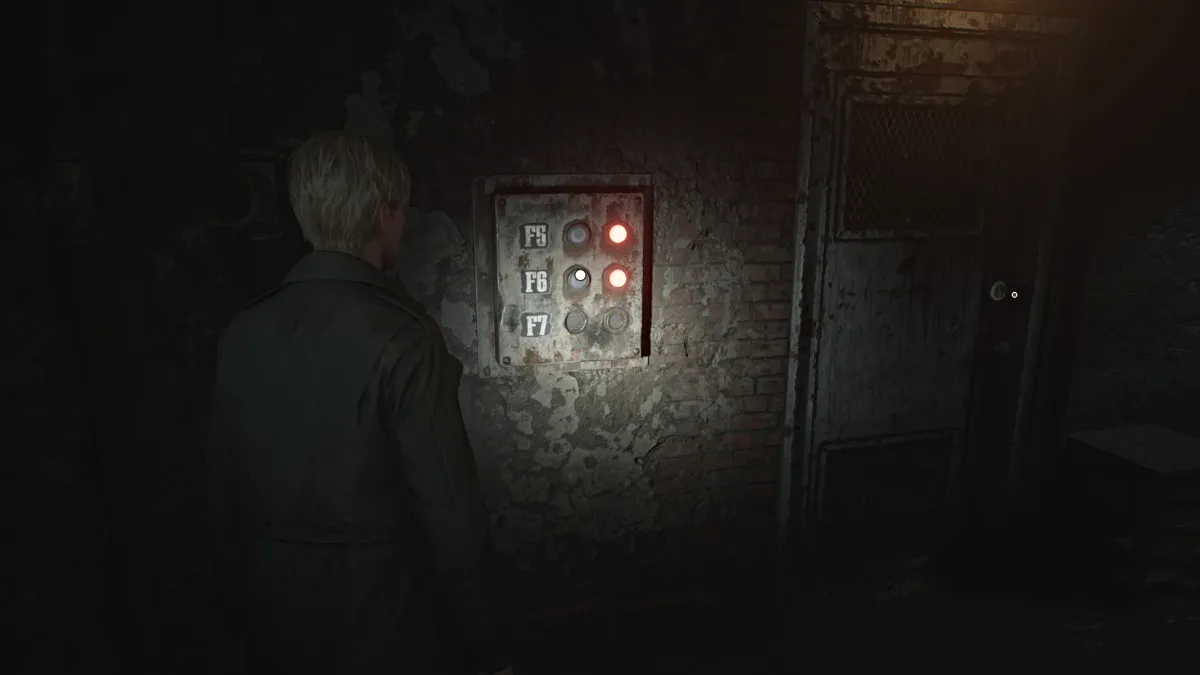
Use the crawlspace on the other side of the hall to get into the next room. Grab the Shotgun Shells from the desk, and view the note on the wall that mentions a prisoner being moved to Cell F6 , where the weight you need is. Go over to the button panel where there are options lit for Cells F5 and F6.
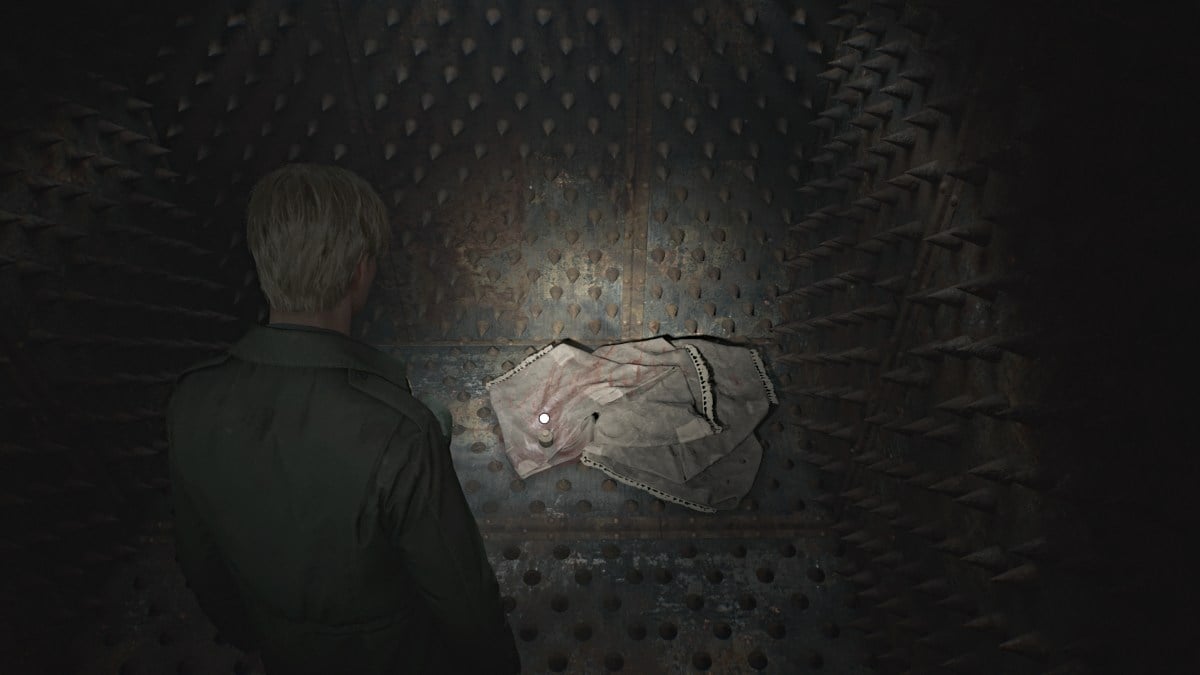
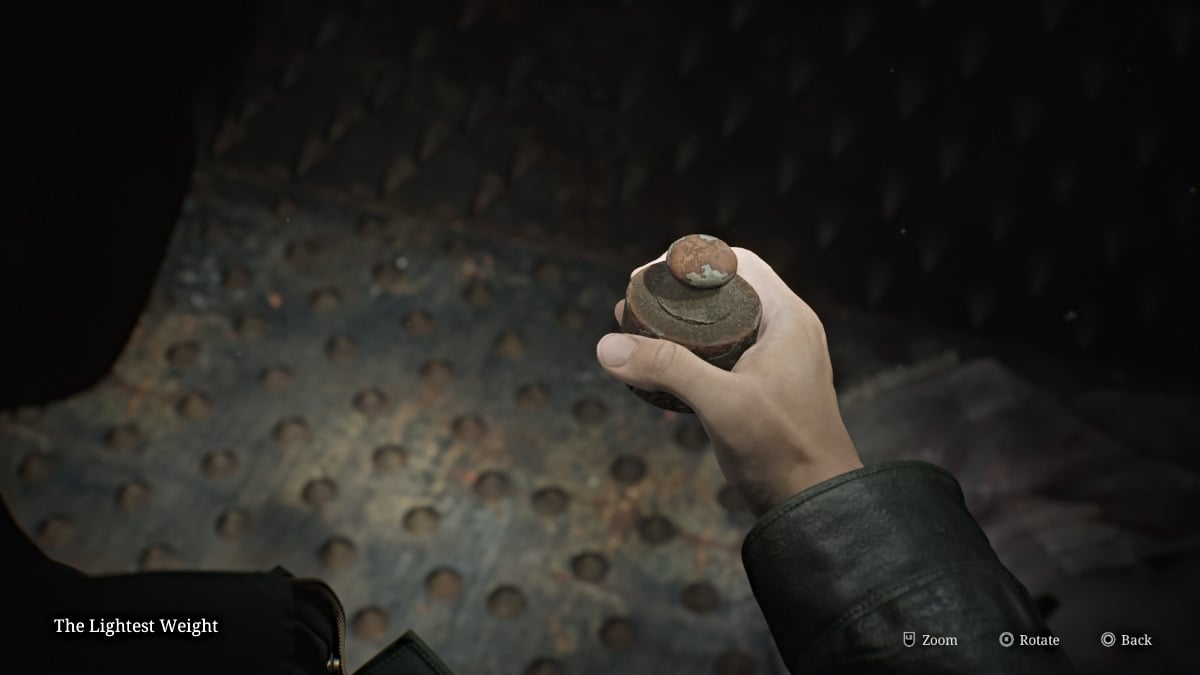
Press F6 and head over to claim the Lightest Weight from inside the cell along with the Confession memo. The door will slam shut temporarily for a nice jumpscare but you'll be able to leave soon enough. Remember to use the ladder in Cell F10 to get out since the entrance is caved in.
Time to head back to the Scales of Justice for the final time.
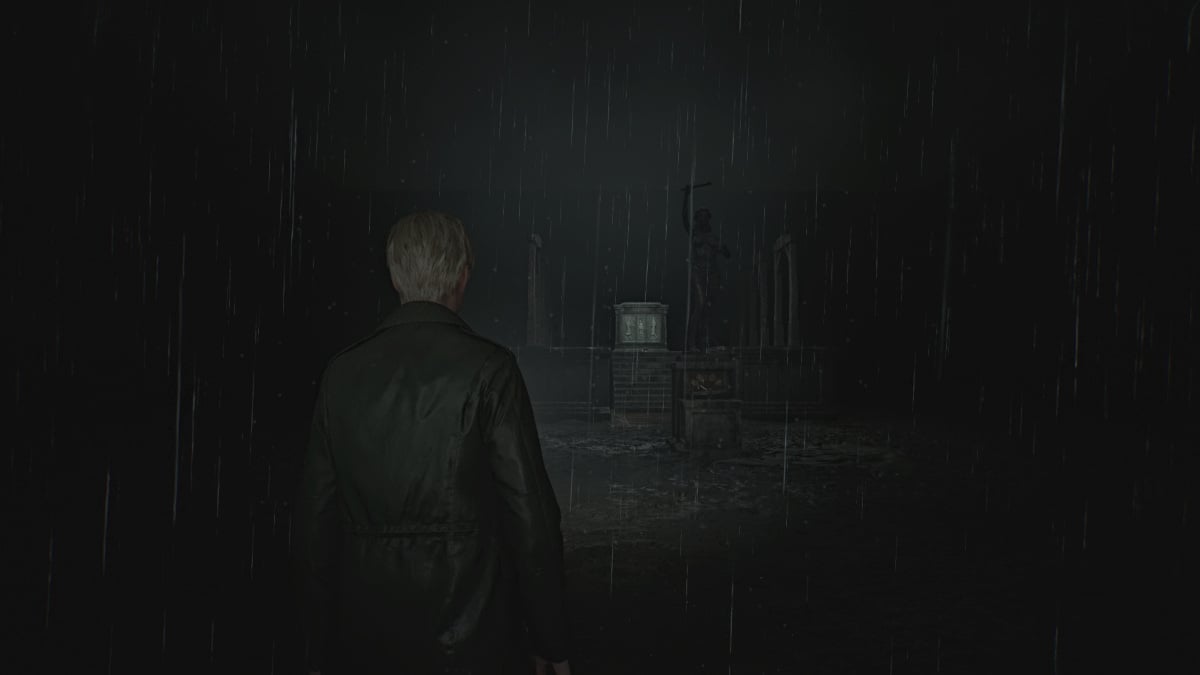
Head back out into the Yard , where it's now raining somehow (being that you're supposedly miles underground). Go over to the Scales of Justice and this time, do the following to perfectly balance the scales:
Putting all the scales back in their respective slots underneath the scale first can help you figure out which weight is which if you're having difficulty. Once the weight is balanced and the arrow centers on the sword symbol, something will fall out of the statue's hand and it's the Execution Lever . This is what you'll need for the next puzzle ahead.
For the Gallows Puzzle , place the Execution Lever in the slot on the platform between both rows of Gallows. The slab in front of you will open to reveal six criminals and their sins, and six slates depicting justifications for those sins.
You'll need to sort out which slates go with which passages regarding the sins of various criminals, and some passages can be different depending on your playthrough and difficulty. At the end, you'll need to choose which criminal was "justified" in their actions, or acting in self-defense.
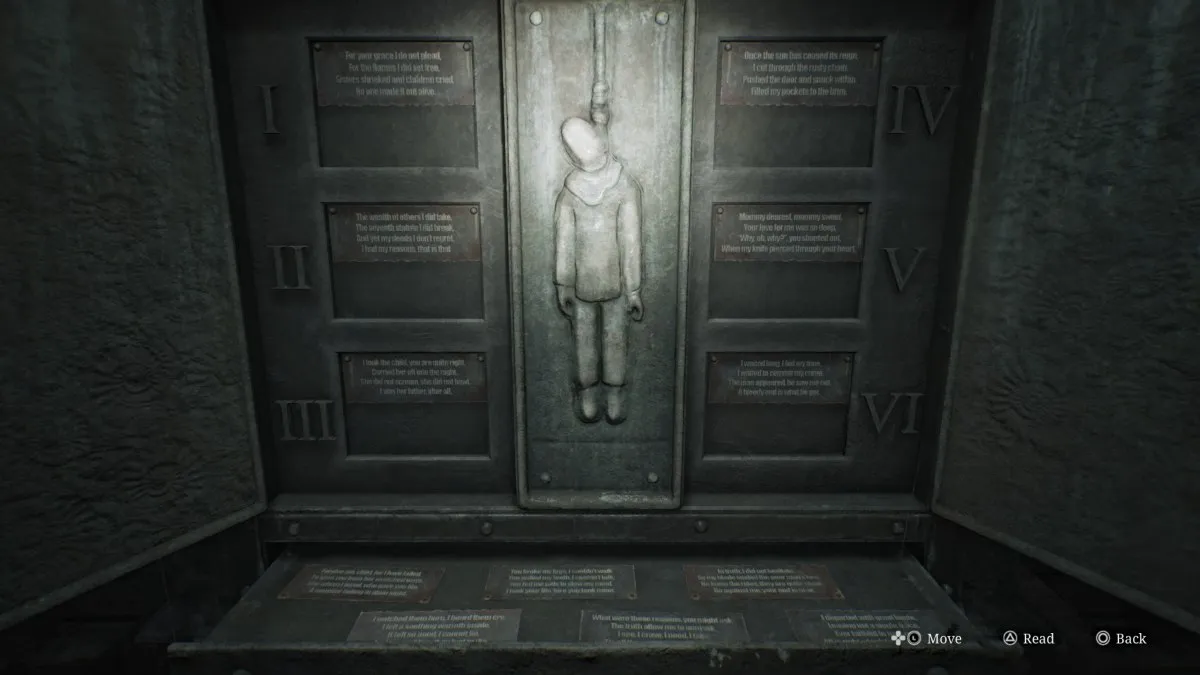
This is arguably the most difficult puzzle in the entire game, but to help you match up the slates with the correct passages, here are the possible answers for each.
| Passage No. | Poème | Possible Answers |
|---|---|---|
| je | For your grace I do not plead, For the flames I did set free, Sisters shrieked and children cried, No one made it out alive. | Answer #1 - Though the young ones' deaths I mourn, Their tormentors are no more, On young souls the nuns did prey, Took their innocence away. Answer #2 - I watched them burn, I heard them cry, I felt a soothing warmth inside, It felt so good, I cannot lie, And for my bliss, they had to die. |
| II | The wealth of others I did take, The seventh statute I did break, And yet my deeds I don't regret, I had my reasons, that is that. | Answer #1 - The reason, if I have to say, Was to survive another day, To them, it was a loaf of bread, To me, a cherished step ahead. Answer #2 - What were those reasons you might ask, The truth allow me to unmask, Je vois. I crave, I need, I take, 'Tis all the sense it needs to make. |
| III | I took the child you are quite right, Carried her off into the night, She did not scream, she did not bawl, I was her father, after all. | Answer #1 - Forgive me, child, for I have failed, To save you from her wretched ways, She whom I loved, who gave you life, A monster hiding in plain sight. Answer #2 - My only daughter, joy of days, They wanted to take you away, Hush, little baby, and be still, If I can't have you, no one will. |
| IV | Once the sun has ceased its reign, I cut through the rusty chain, Pushed the door and snuck within, Filled my pockets to the brim. | Answer #1 - So my guilt is plain to see, I had robbed the pharmacy, Yet, I did so not for gain, But so I could ease the pain. Answer #2 - I departed with great haste, Leaving not a single trace, Ever faithful to my creed, All is right, which feeds my greed. |
| V | Mommy dearest, mommy sweet, Your love for me was so deep, "Why, oh, why?", you shouted out, When my knife pierced through your heart. | Answer #1 - You broke my legs, I couldn't walk, You pulled my teeth, I couldn't talk, You fed me pills to slow my mind, I took your life 'fore you took mine. Answer #2 - You were, oh, so kind to me, Filled my heart with joy and glee, In the end, it was for naught, "Why, oh, why?", you ask. Pourquoi pas? |
| VI | I waited long, I bid my time, I waited to commit my crime, The man appeared, he saw me not, A bloody end is what he got. | Answer #1 - In truth, he was less man than beast, And on my flesh and soul he'd feast, My will to live he'd try to break, There is so much a man can take. Answer #2 - In truth, I did not hesitate, As my blade sealed the poor man's fate, He knew the rules, they are quite clear, Go against me, your end is near. |
For the passage(s) that has Answer #1 as their choice, that will be the one you want to choose as innocent or "justified". More than one passage may indicate innocence based on this, and you need to decide which one best describes self-defense or defense of another (such as a child).
When you've made your choice, go over to the corresponding noose and pull it down.
If you guessed correctly, you'll fall through the platform and land inside The Labyrinth . If you guessed wrong, you'll instead fall into a room with several monsters you'll need to run through and make your way back up to the Gallows and try again.
After successfully completing the Gallows Puzzle, ahead of you will be not one but two more massive holes to jump into, sending you to a depth clearly beyond reality. Afterward, you'll take a mineshaft elevator down to a floor with a Red Save Point . Use it and enter through the door ahead.
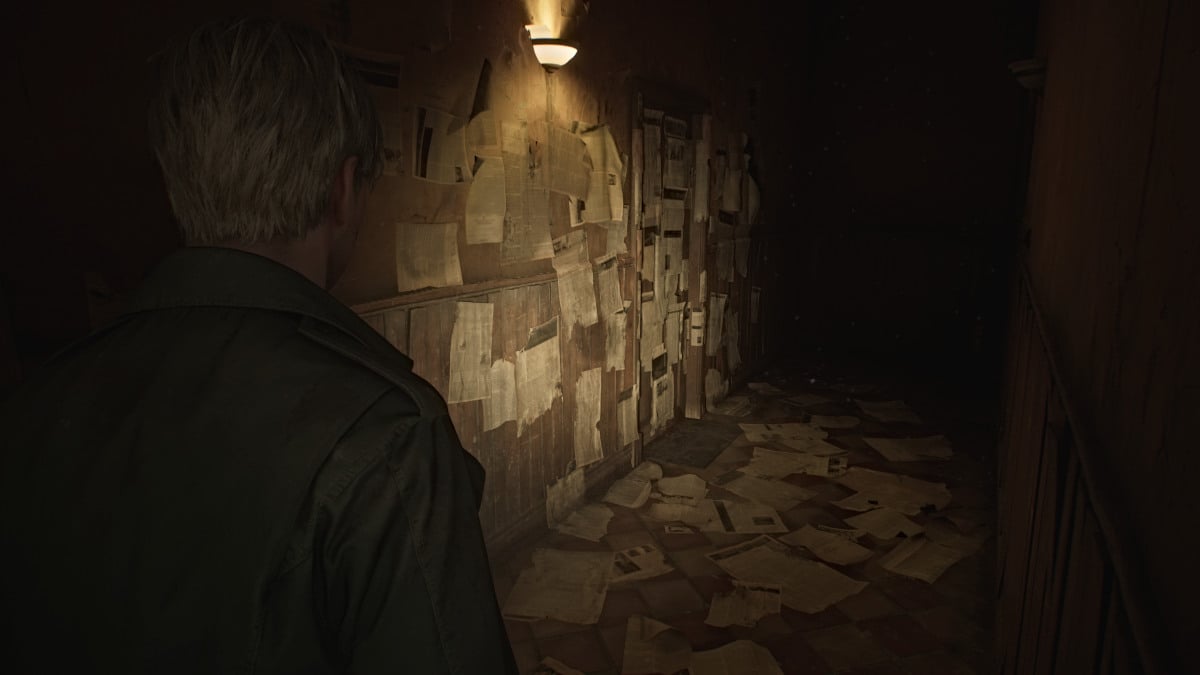
Follow the path through what resembles an apartment hallway, and you'll hear whispers behind the doors you pass. If you budge the doors, they'll hush in response. Keep going until you reach a section of the hallway decorated with newspaper clippings, including a bloodied one on the floor you can read about the murder of Thomas Orosco, Angela's father .
Suddenly, Angela's screams can be heard from behind the door ahead, alluding to a conflict with her father. Go inside, grab the Health Drink and Shotgun Shells from the kitchen area, then take a deep breath and go through the darker door on the left, where you'll see one of two more doors. The one in front of you is likely the bedroom of Angela's brother.
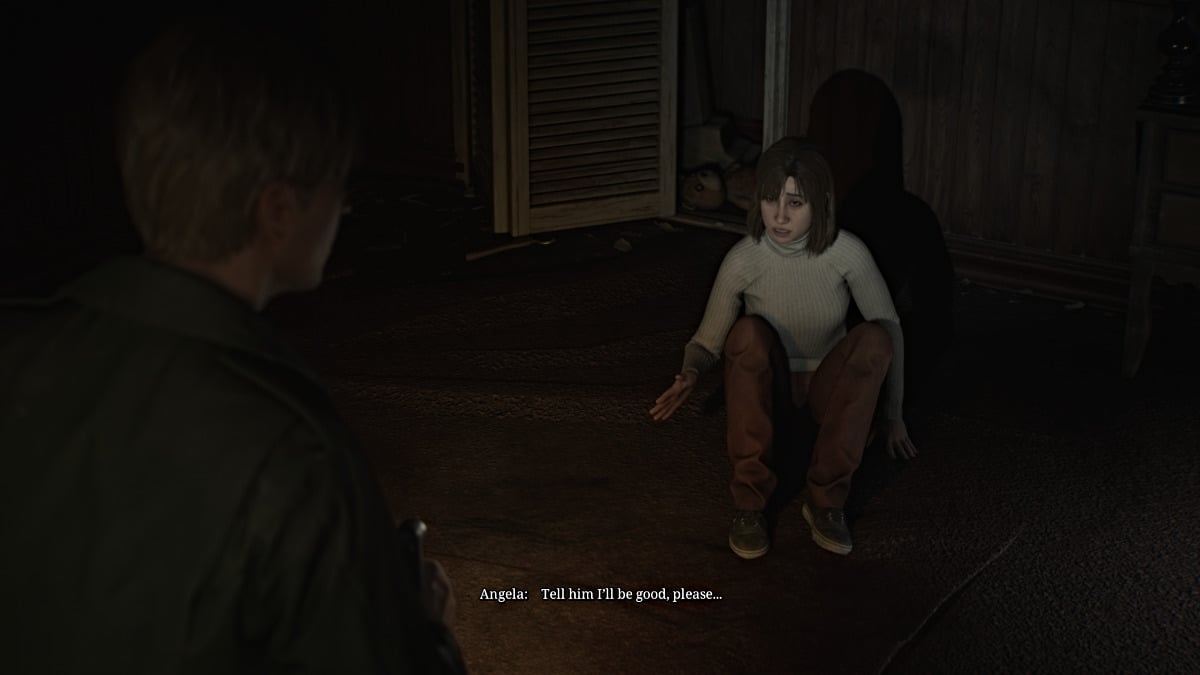
Go to the one on the left, where you'll find Angela cowering inside. Before James can figure out what's wrong, a much larger monster called the Abstract Daddy suddenly attacks and slams him through a wall. Take a deep breath and prepare for one of the most challenging and emotionally devastating fights in the game.
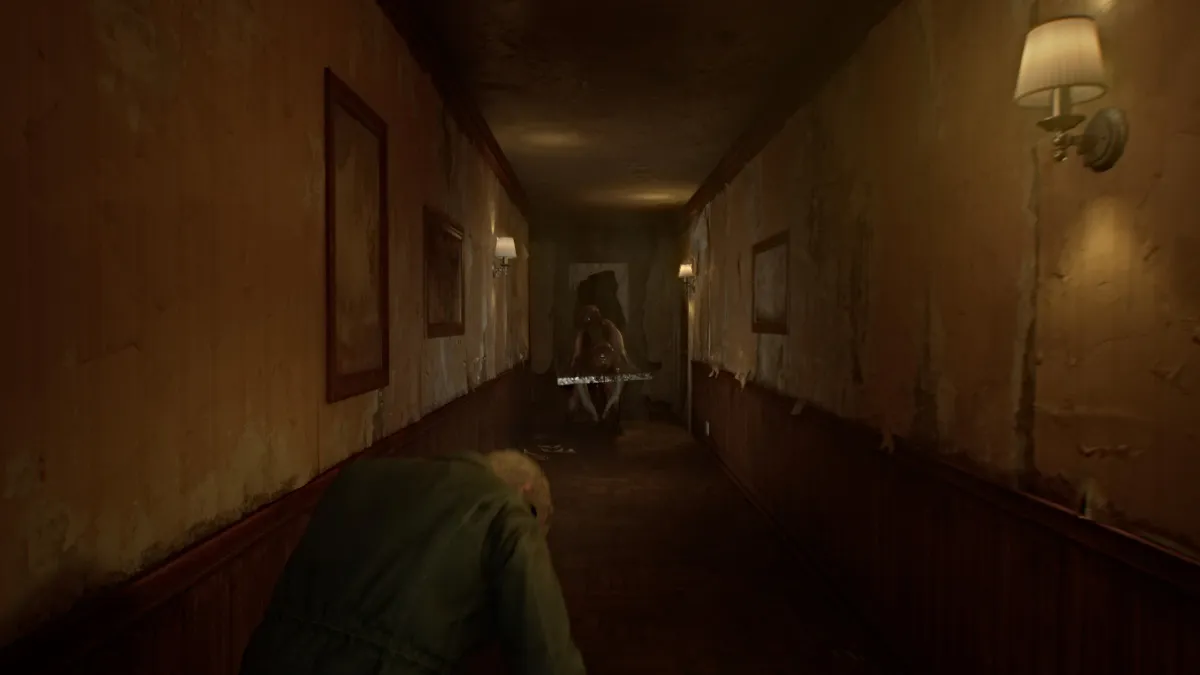
If it wasn't already obvious, Abstract Daddy is the disturbing manifestation of Angela's intense trauma from being sexually abused by her father as a child, and its physical form is meant to embody that. It makes it one of the most intense and consequential fights in the game.
The battle begins with Abstract Daddy confronting you in the hallway, and once again, keeping your distance from him is imperative. If he manages to charge and grab you, he can deal significant damage in each instance, so be sure to keep your health topped off.
You may initially think you're fighting him in tight quarters, but the "arena" has suddenly taken the form of a seemingly endless maze within Angela's home. This allows you to land hits on Abstract Daddy while constantly keeping your distance. Prioritize your Hunting Rifle and Shotgun for dealing damage, and time your shots well because he has an insane amount of health.
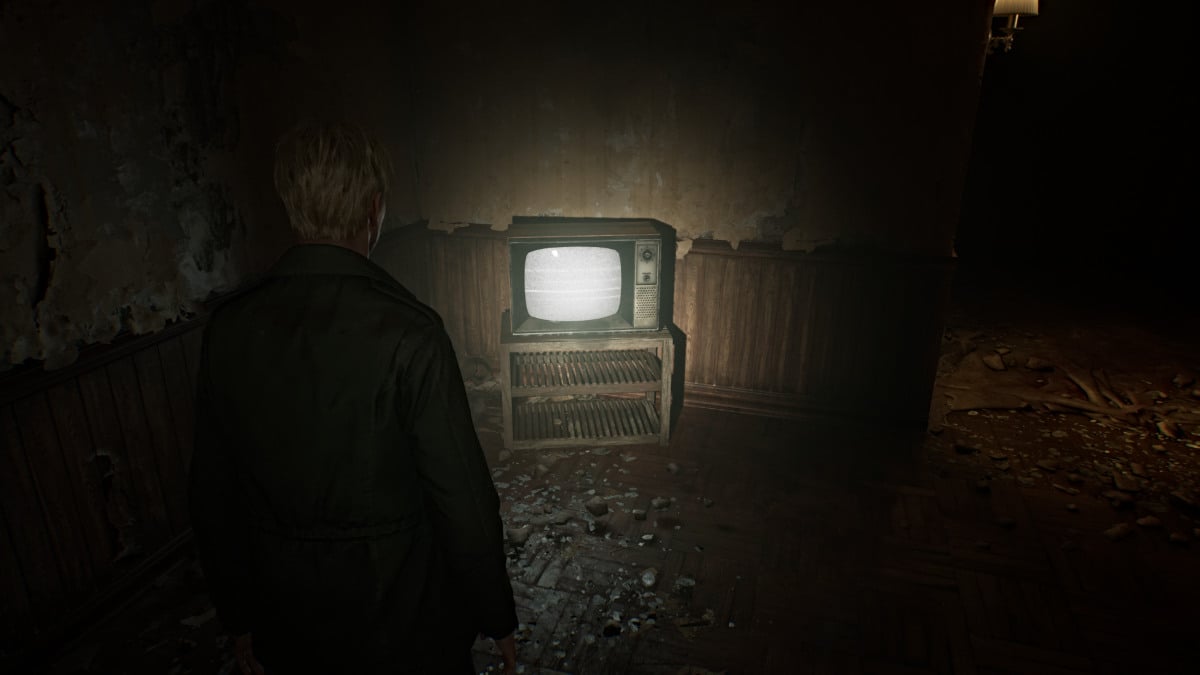
At certain junctions when you've dealt enough damage, Abstract Daddy will disappear briefly, allowing you time to recover and reload your weapons . Make sure to explore everywhere you can for extra ammo and health. As you travel through the maze, you'll see Angela fleeing in terror herself, and occasionally a scratchy recording of her father will play, further inferring his verbal abuse.
The fight occurs over multiple phases, and at least three times you'll need to trigger the next one by finding a static TV and smashing it with your pipe. The further into the fight you go, the more the environment changes into something closer to the Otherworld, and the walls turn...well, "fleshy".
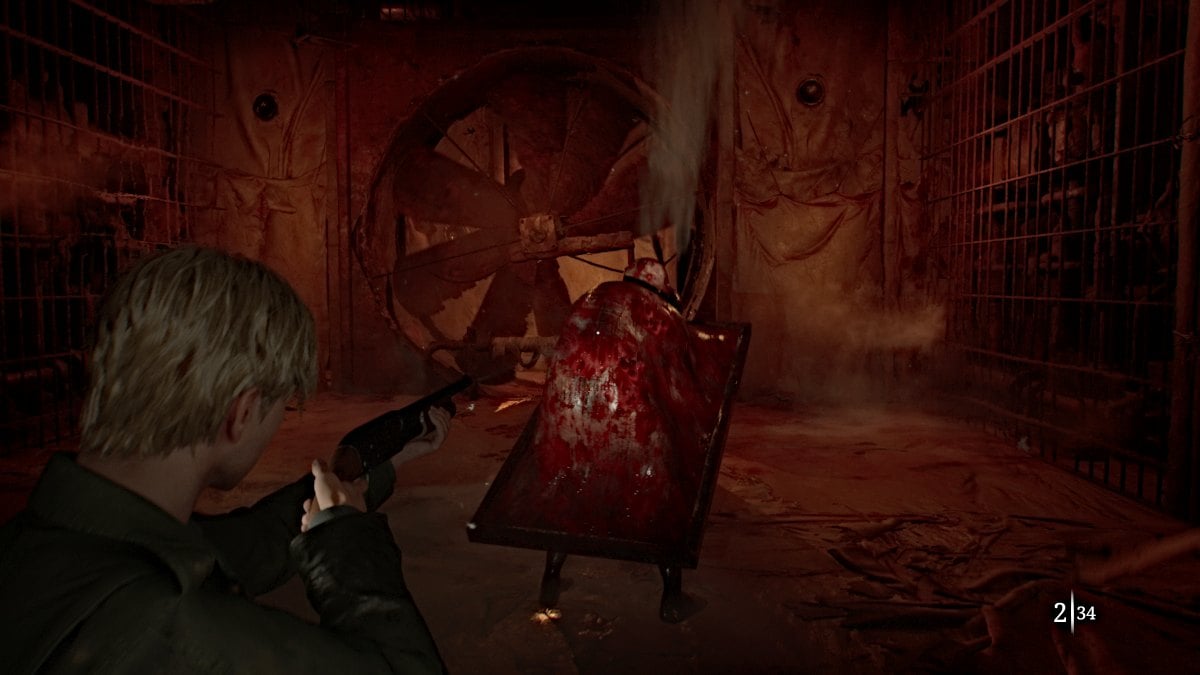
Eventually, you'll arrive at the final phase of the fight in a wide-open area. By this point, you've likely exhausted most of your ammo if not your health stores as well, so make use of the items spread around the room. Keep dealing damage, and Abstract Daddy's attacks will gradually slow down and become easier to dodge. Soon enough, he'll go down and a cutscene will follow.
Angela approaches in rage and slams a TV on top of the Abstract Daddy, killing it. The environment has also returned to the way it was before the fight began. James tries to console Angela though to little effect, and the two argue over his possessiveness of Mary and how he treated her while she was sick.
Soon enough, Angela will retreat and now you're free to explore the rest of the Labyrinth.
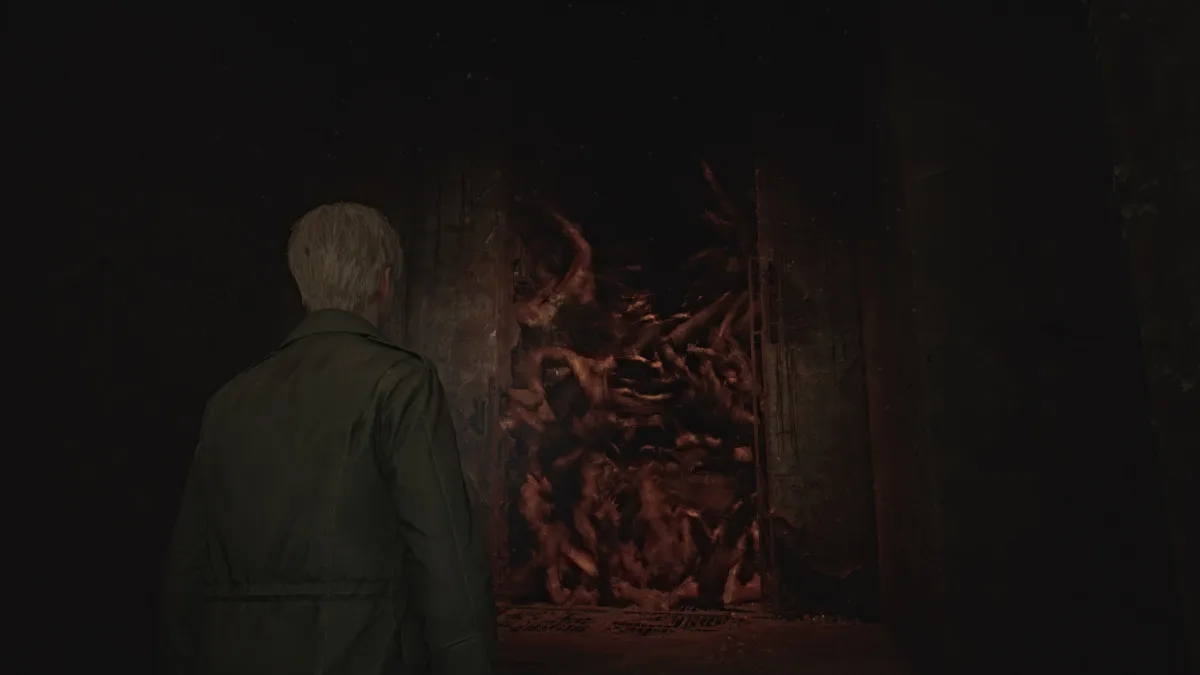
After you move on from "Angela's apartment", you'll soon find yourself in a strange, maze-like area, and in front of you a barrier made of what looks like monsters from Silent Hill. If you try to cross through it, James will feel nauseous and back off, so you need to find a way to remove it. James will call it the "Strange Wall" on your map.
For now, head right and use the Red Save Point along the way. Go all the way across (the door to your right is locked) and down the stairwell and through the door ahead. On the other side is something, or rather someone, that James definitely didn't expect to see.
Maria is "alive" and well, sitting in a cell, and chides James for seeming to think she had been killed by Pyramid Head "in that long hallway". She laughs and muses about how he was "always so forgetful". She eerily sounds like Mary, which James notices and mentions. However, she rebuffs that she's not "his Mary", and insists that she's all he needs since she's "real".
Grappling with the situation, James starts to walk away and says with some hesitation that he'll find a way to get her out of the cell.
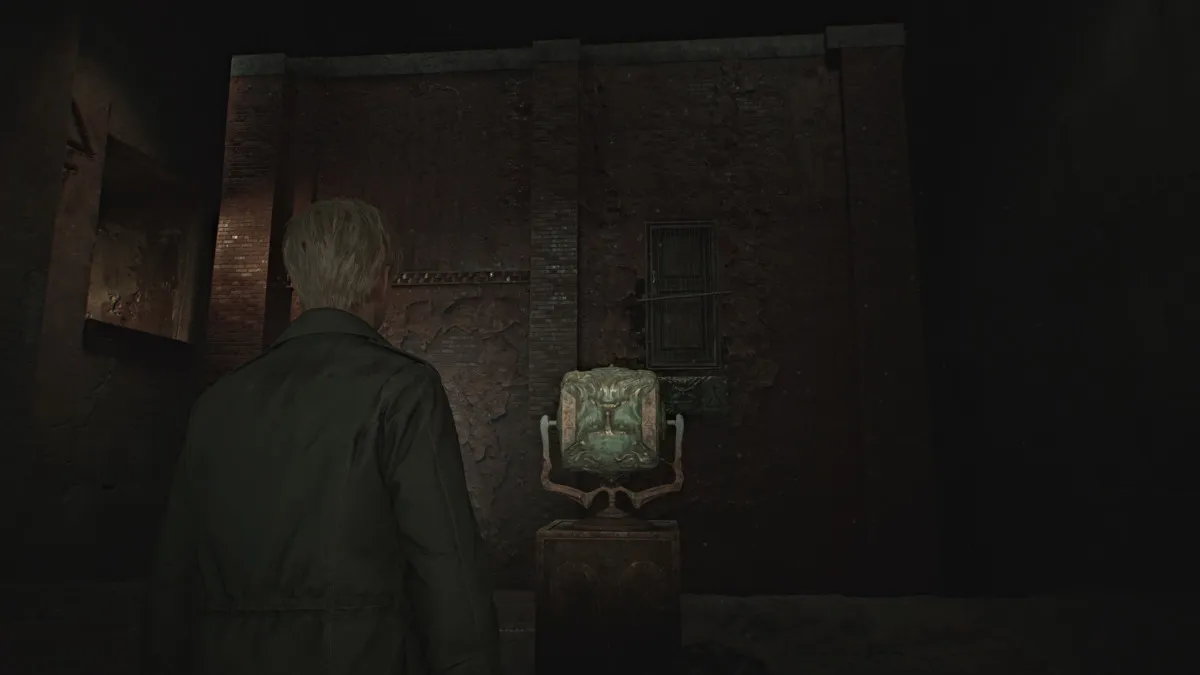
Head back up the stairs to the path you walked before, and now you'll find the Rotating Cube Puzzle contraption in the center of it, along with what looks like an entire building in the chasm next to you. The rotating cube features different faces on each side, along with different symbols.
Depending on how you turn it, the building in front of you will rotate as well and reveal new paths and three other main areas for you to explore. Those areas include: the Rotten Area, the Desolate Area , and the Ruined Area .
This puzzle serves as the focal point of the Labyrinth, and your goal here is to use it to access each of those different areas one by one. For easy reference, here are the symbols required for each area:
| Symbole | Area Unlocked |
|---|---|
| Upward-facing triangle with a cross underneath | Rotten Area |
| Infinity symbol with a vertical line above crossed through twice | Desolate Area |
| Downward-facing triangle with a cross underneath | Ruined Area |
| None (side axis of the cube) | Facultatif; Find the "Your best buddy!" Strange Photo inside the cube itself. |
So for now, you'll want to start with accessing the Rotten Area . Turn the cube in the proper direction, then go into the building and take the stairs that lead up to the path on the left side. Go down the hallway and at the end there will be three doors, for each of the three areas. Go through the Green Door on your left to enter the Rotten Area.
You'll start in a hallway completely covered in bugs, so move through carefully and watch out for where the floors switch to metal grates, as Mandarins will be lurking beneath. Remember that all of your maps for the Labyrinth are hand-drawn, so you have to learn the area as you go.
After that first metal grate path, turn left and find some Handgun Ammo on a dresser (which you're probably starved for after Abstract Daddy) at a dead end. Backtrack to the main hallway and continue on until you see a door ahead. Go through it and you'll enter a room with a Suspended Cage high up, three other different doors, and a Red Save Point .
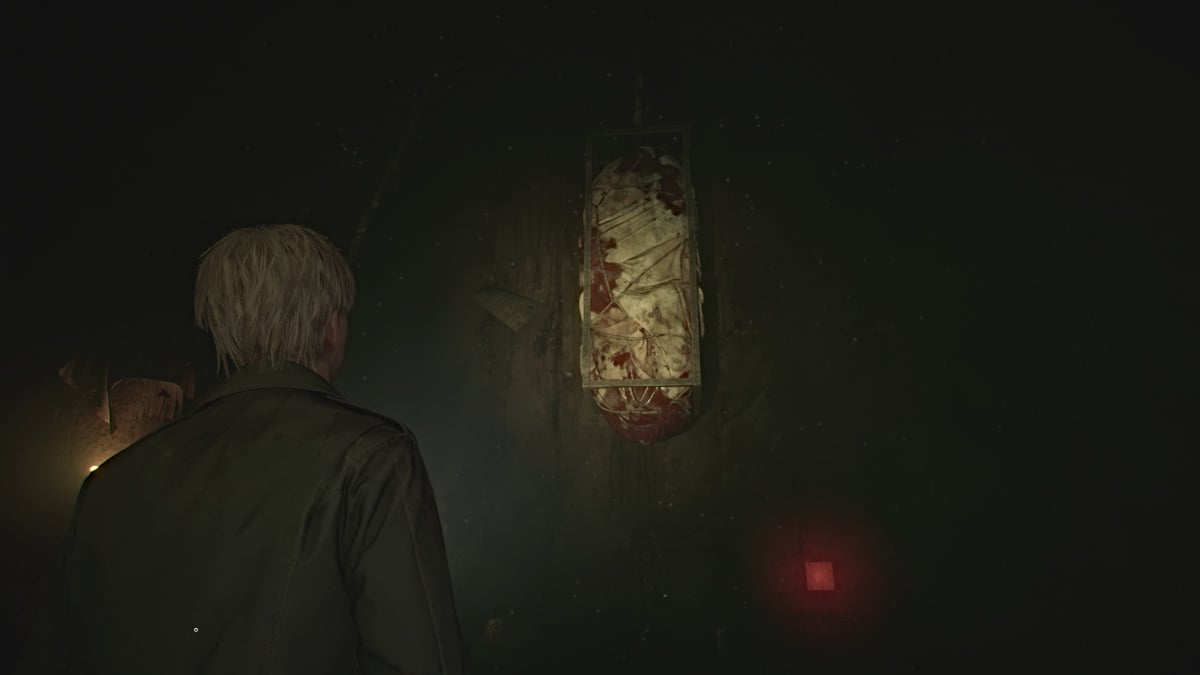
To bring down the Suspended Cage you'll need something to cut its tether, so for now head through the door to your left.
Go down the hall, grab Rifle Ammo from a small cabinet on your right, and continue straight to the open door at the end. Be extra careful here as not only are there bugs everywhere, but the floor of the entire main hallway area is metal grating, so Mandarins will be patrolling.
Keep your distance from them (these seem to be invincible so don't waste your ammo) and make your way down the hall until you reach the second left. Take it and follow the next hallway until you find another door. Inside the floor will be normal, so you get a breather. Deal with a couple of Mannequins lurking there and claim a Syringe and Handgun Ammo .
Take the pushcart in the room over to the high crawlspace near the door, and climb up and through to the next room over. Inside you'll notice the fridge in the kitchen shaking nonstop. Approach it and through all the lovely muck that pours out from it, James will find a small can of Lighter Gas . Grab the Handgun Ammo and Health Drink nearby as well.
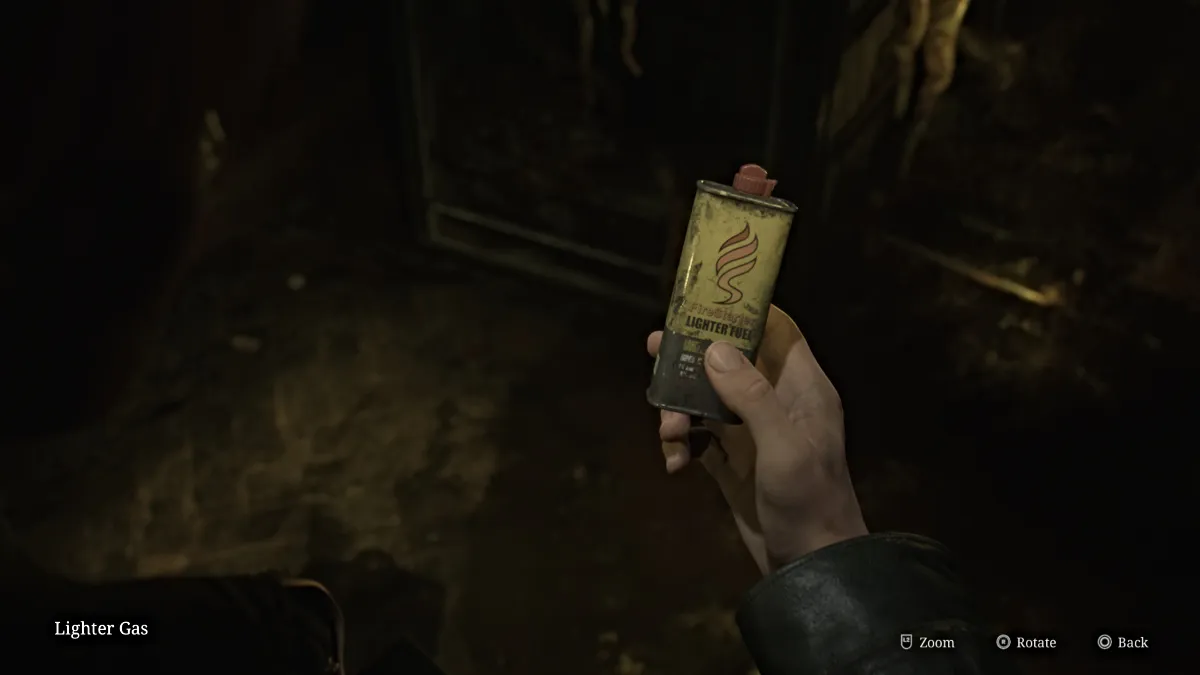
Carefully make your way back out into the main hallway and bum rush your way back to the Suspended Cage Room.
Now take the door to the south and sprint across the grated hallway all the way south until you can leapfrog over a box and find a set of double doors ahead of you. Go through them and grab a Health Drink on your way through the next door ahead. Watch out for a Mannequin in the dark and grab Shotgun Shells from a small cabinet.
In the next room you'll find a bed that's been brutally split in half (could venture a guess who did that) and on the wall behind it a hole oozing blood. James knows the deal by now, so go over and interact with it until you pull out the Lighter Wick .
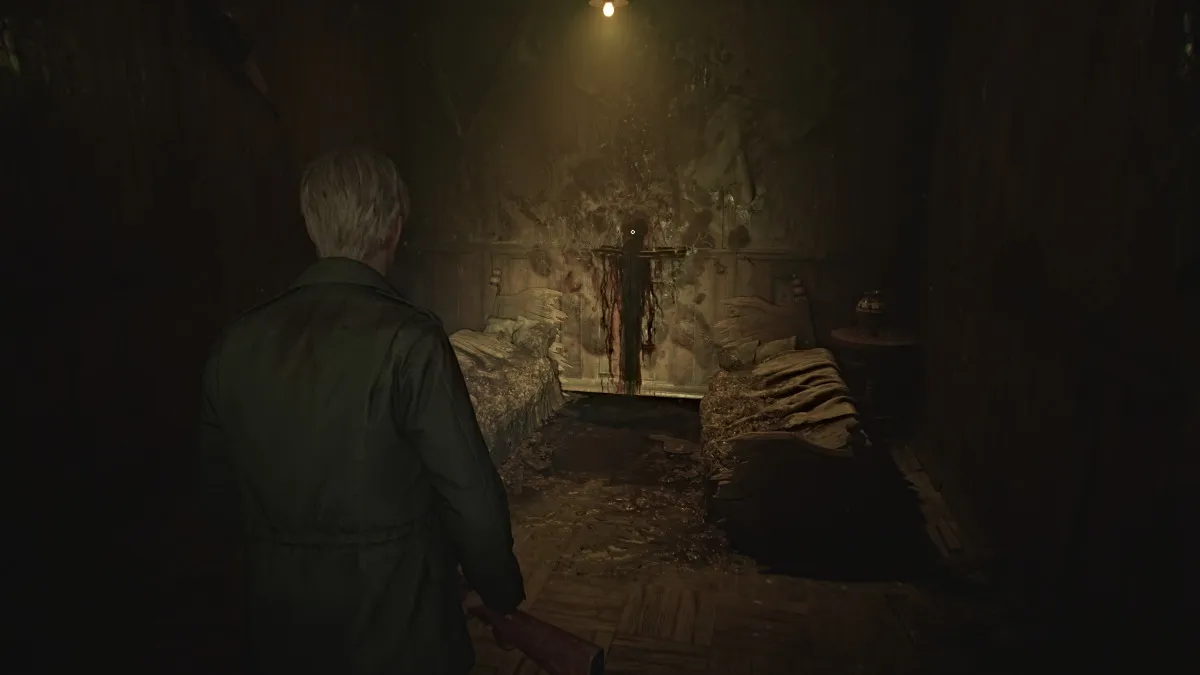
Now, before you go back to the Suspended Cage room, exit through the door beyond the bedroom, and run down the hallway until you can turn right and follow the path to another door. Go through and inside is just one huge room with a desk right in the center. Deal with the Bubble Nurse patrolling it and then check the drawer to claim the Iron Key .
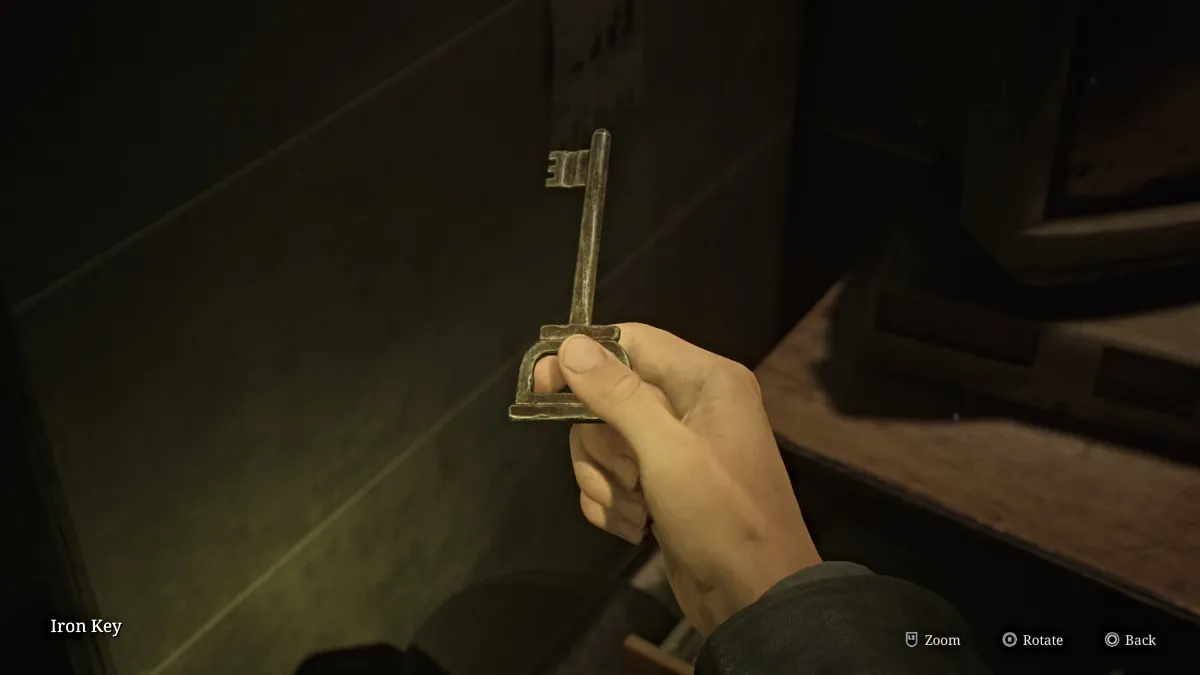
Now make your way back to the Suspended Cage Room and go back through the first door you went through where you found a locked door requiring a key. Use the Iron Key to unlock it and you'll find a bathroom inside. Interact with the nearby bathtub and James will quickly learn that the liquid bubbling inside it is too acidic for him to touch. This means you need to drain it somehow.
Go through the nearby gap in the wall and follow the narrow hallway all the way down until you reach a bug-filled room with a red crank. Turn it until the pipes burst and the tub breaks open, draining all of the bad stuff out so you can reach your prize. Return to it to claim the Broken Lighter .
Return to the Suspended Cage room and combine the Broken Lighter with the Lighter Gas and the Lighter Wick to make an actual Lighter . Use it on the tether holding up the cage and soon the entire thing will fall and break through the floor, leaving a large hole behind, perfect for you to jump through. Use the nearby Red Save Point and then do just that.
This brings you back to the Labyrinth Center with the Rotating Cube Puzzle, and now it's time to move on to the next area. Turn the cube to the appropriate direction (as seen in the table above) to unlock the Desolate Area next. Run through the building and back up to the left-side path, and this time take the door straight ahead.
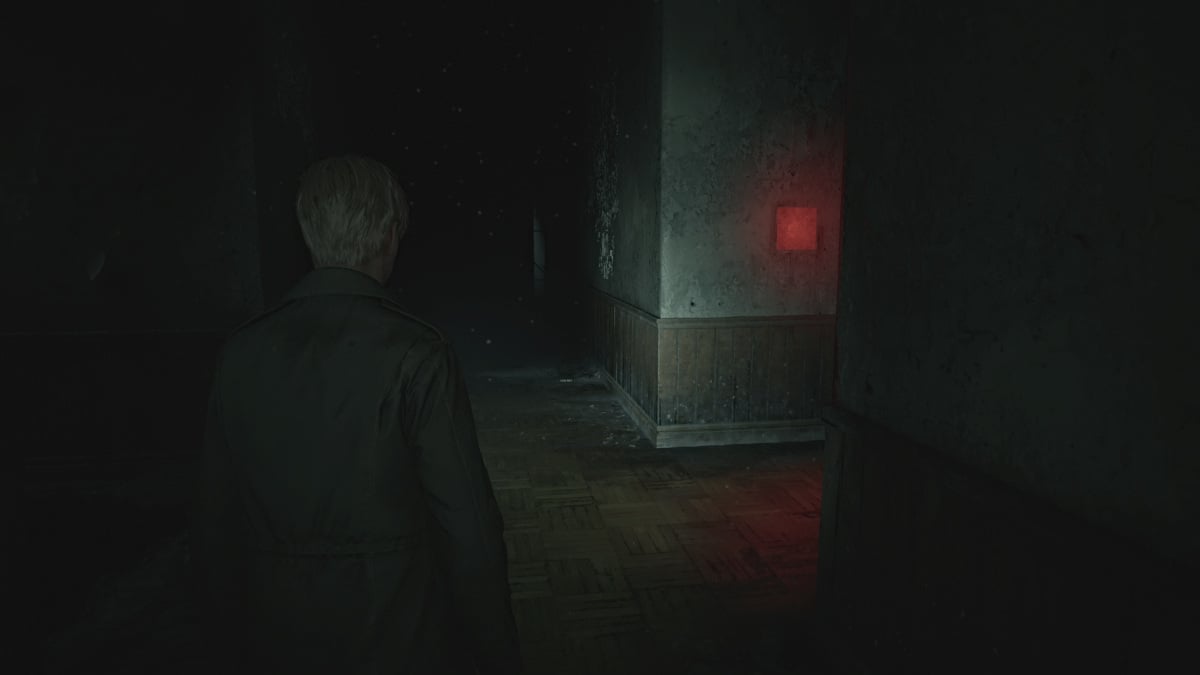
Upon entering the Desolate Area , use the nearby Red Save Point and make note of the locked door to your right, and the ladder to your left. Continue straight ahead and find the second door on your right and go through it. There will be a wall crack by a closet for you to take to the room adjacent, where you'll find some Rifle Ammo , Shotgun Ammo , and a Mannequin hiding behind a bookshelf.
Backtrack to the small bedroom where you find a Health Drink and Ladder II . Go down it to reach the Flooded Level , and follow the path until you find a hole you can peek through to see a key (which you will need).
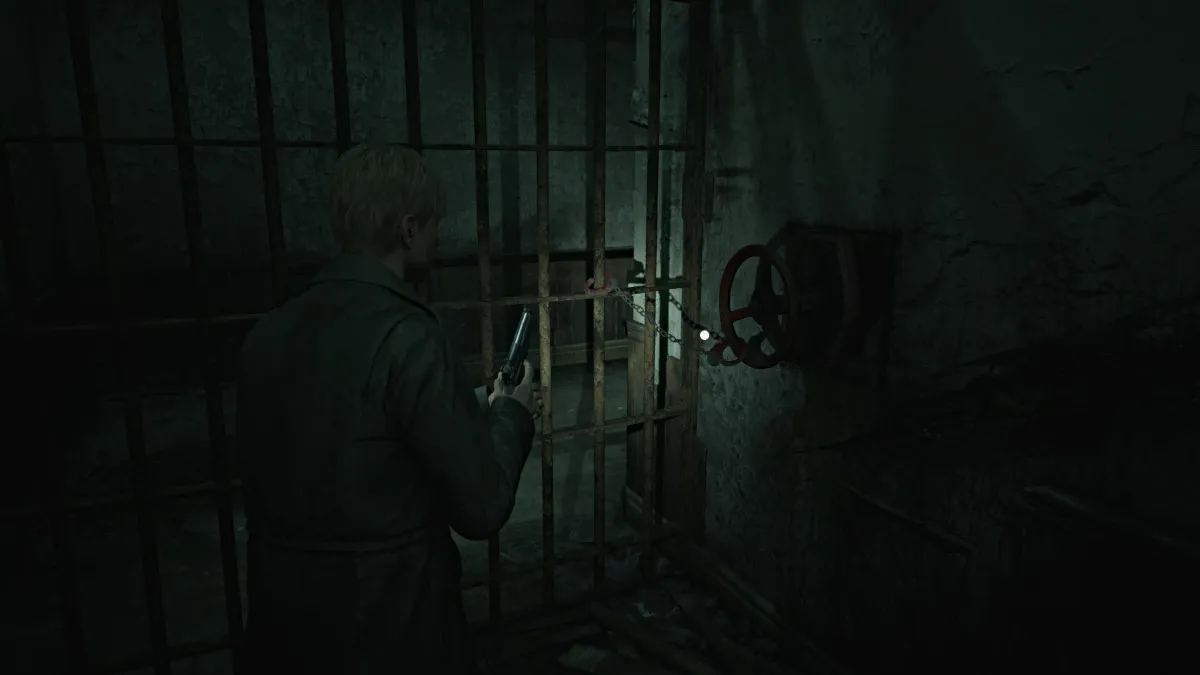
Keep going and you'll see that the door to that room is locked. Make your way south until you find Ladder I and climb up, where ahead of you will be the Handcuffed Gate (seen above). You'll need a certain key you already saw to unlock it, but for now, go through the door to your left.
Follow the hallway until you can make two rights to find another ladder that will take you back down to a cave area. Follow it until it brings you to the room where you spotted the key. Pick up the Small Key and head back to Ladder I to use it on the Handcuffed Gate . Now you can access the rest of the Desolate Area.
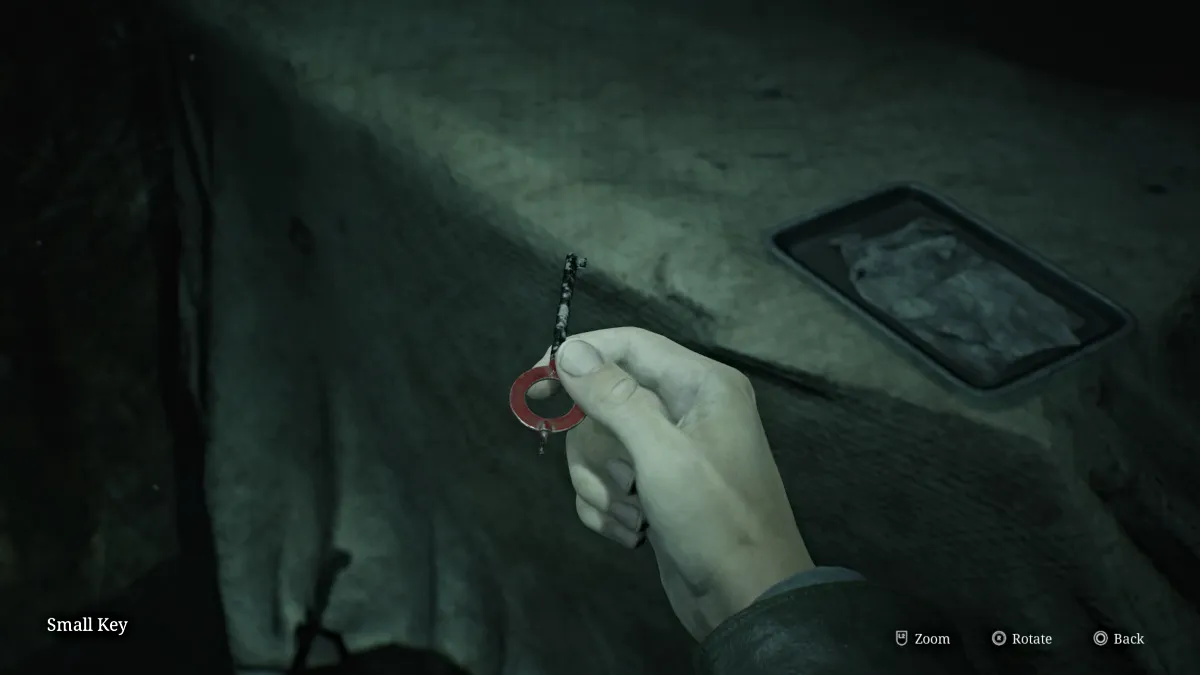
Follow the corridor to the next room and look for a pushcart you can use to reach a high crawlspace. Climb up and through and continue until you find Ladder IV to take back down to the Flooded Level . Another crawlspace ahead will bring you to a Wire Barrier that prohibits you from going forward. You'll need something to help get rid of those wires.
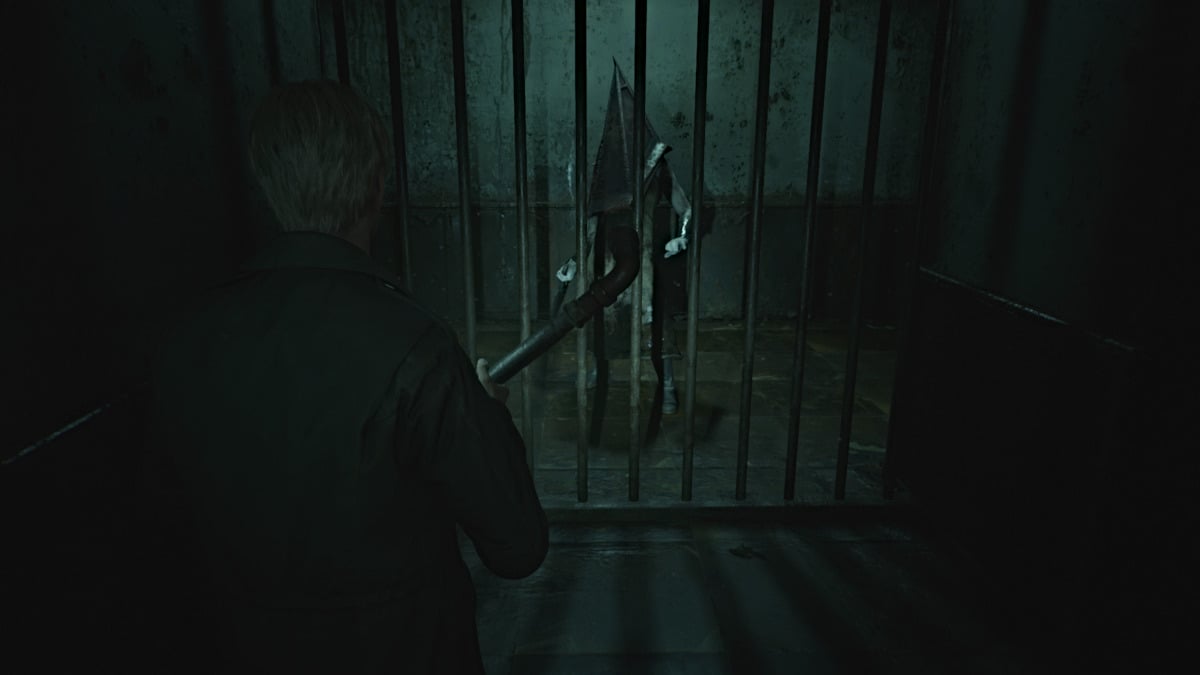
Go through the next hallway on the right, full of bugs of course, and suddenly Pyramid Head will appear and start giving chase. This is not a boss fight, you're simply in his domain now and need to avoid him at all costs while completing your objectives.
Go up Ladder V and follow the long hallway up until you can turn left, but quickly go right for some Handgun Ammo in a dresser at the dead end. Backtrack and go left through the wide open door to the room where you can remove a set of Wirecutters from a broken fuse box.
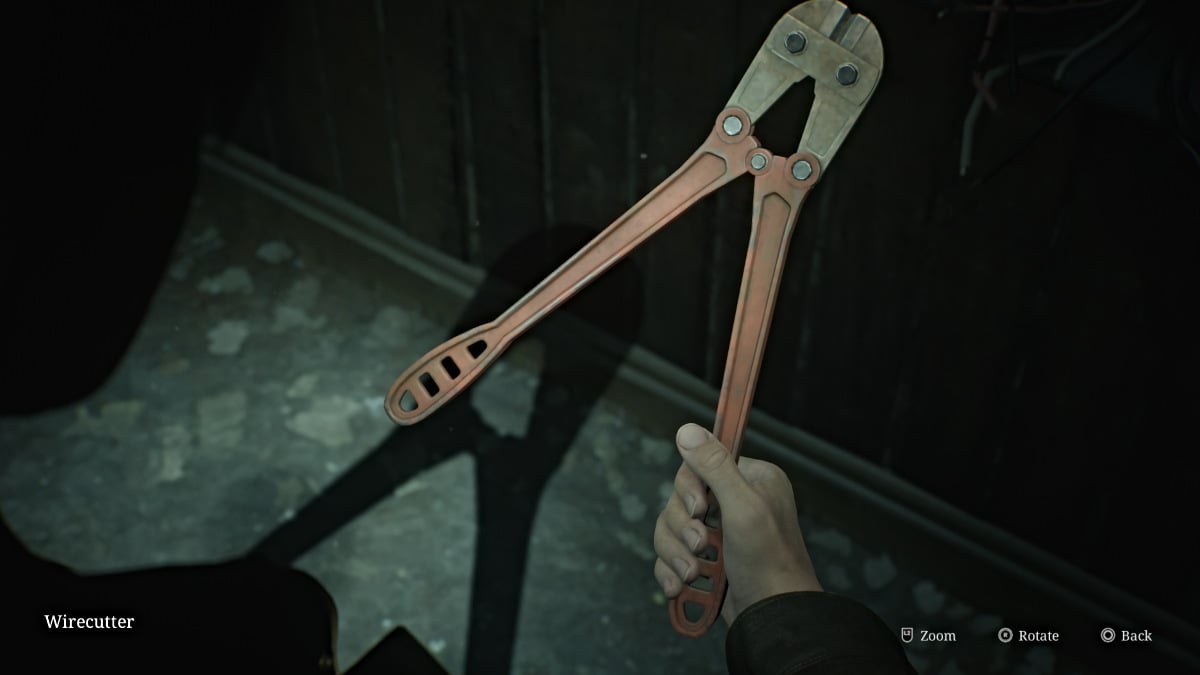
As tempting as it might be, do NOT take the south corridor past the fuse box as that will bring you back to the tunnel with the crawlspace that caved in after passing through, meaning you'll have to backtrack much further around the map.
Instead, go back down Ladder V to the area where Pyramid Head was, but he'll no longer be there. Instead, you'll have to deal with Mandarins and other monsters in your way.
For some extra items and a Strange Photo you can make your way to and up the ladder you initially passed while evading Pyramid Head. Otherwise, head back to the tunnel with the barrier of Wires and use the Wirecutters to get through. Go down the next ladder ahead, and grab a nearby Health Drink before dropping down another hole that brings you back to the Rotating Cube Puzzle once more.
Be sure to use the Red Save Point nearby to save all your recent progress. Now it's time to turn the cube in the appropriate direction for the Ruined Area . Remember, the symbol is an upside-down triangle with a cross underneath . Cross through the building and up the path to where you can now take the red door to the right.
The Ruined Area of the Labyrinth is quite different from the other areas in that it's essentially a monster gauntlet. You'll enter different areas where you need to defeat various monsters to progress forward. Make sure to gather all of the ammo and health items in the areas first, then go interact with the red door at the back for the alarm to go off and the monsters to come alive .
In the first two areas, it'll be mostly regular monsters such as Lying Figures, Mannequins, and Bubble Nurses. The third area will be full of bugs and you'll need to kill Mandarins crawling beneath the floors. The Shotgun and Hunting Rifle are best for those.
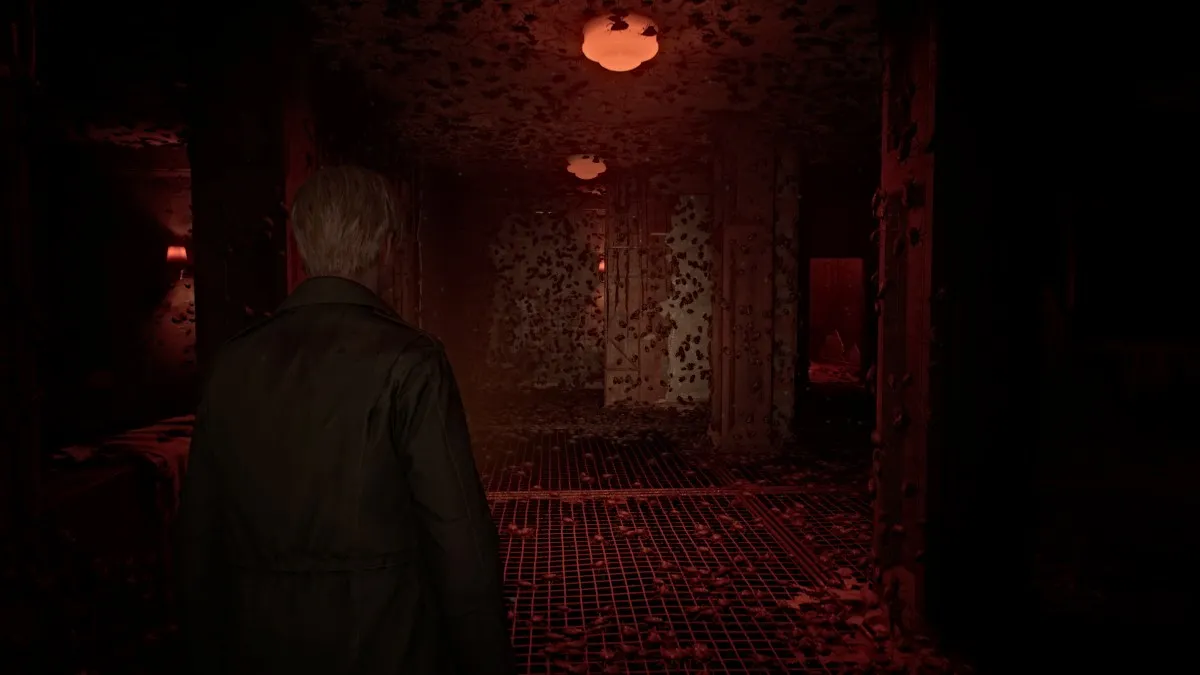
At the end of it all, you'll get a gracious Red Save Point , which we recommend because soon after you'll run into Pyramid Head yet again. He'll give chase and you need to run in the other direction until you reach a familiar-looking barrier made of monsters. This time, however, you're able to get through before Pyramid Head catches you. Continue on into the next room, where you'll find Maria at last, but it seems it's too late once again.
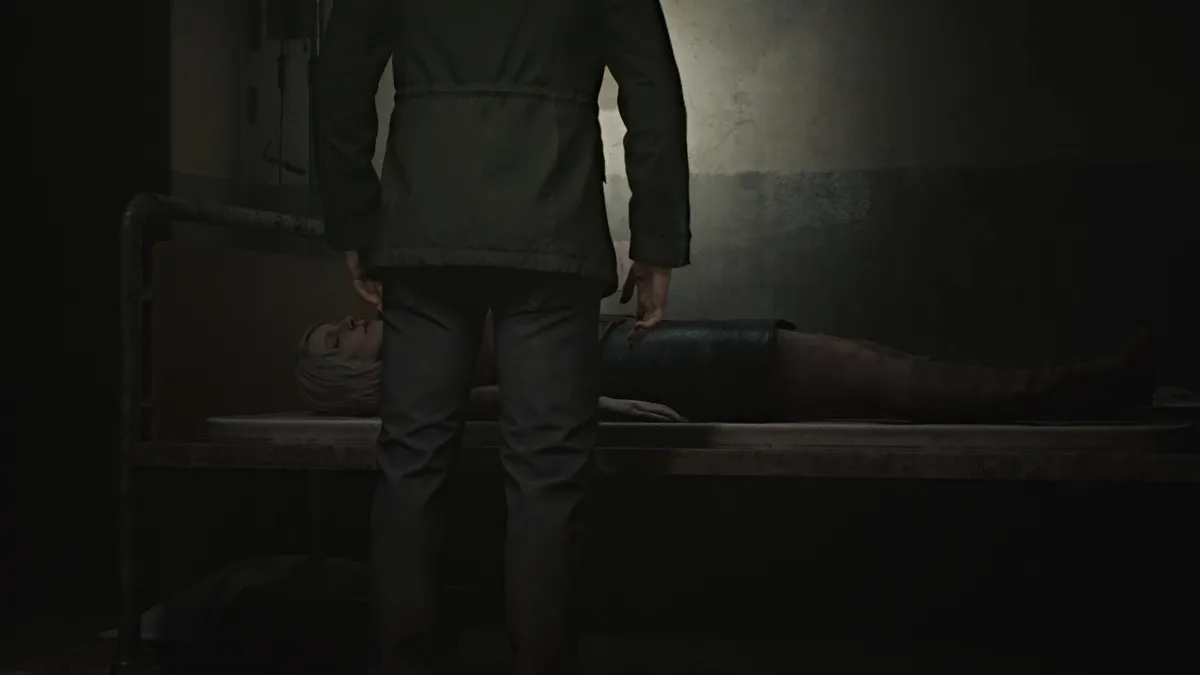
James finds himself overcome with grief at the sight of Maria clearly dead and murdered (likely by the same culprit), and him unable to help her in time. Likely a similar grief to the loss of Mary, he whispers her name and leaves, powerless to do anything else.
Once you leave the room, head up the stairs to where the Rotating Cube Puzzle normally is, but now it's been brutally destroyed, and among the rubble is the Great Knife , Pyramid Head's main weapon.
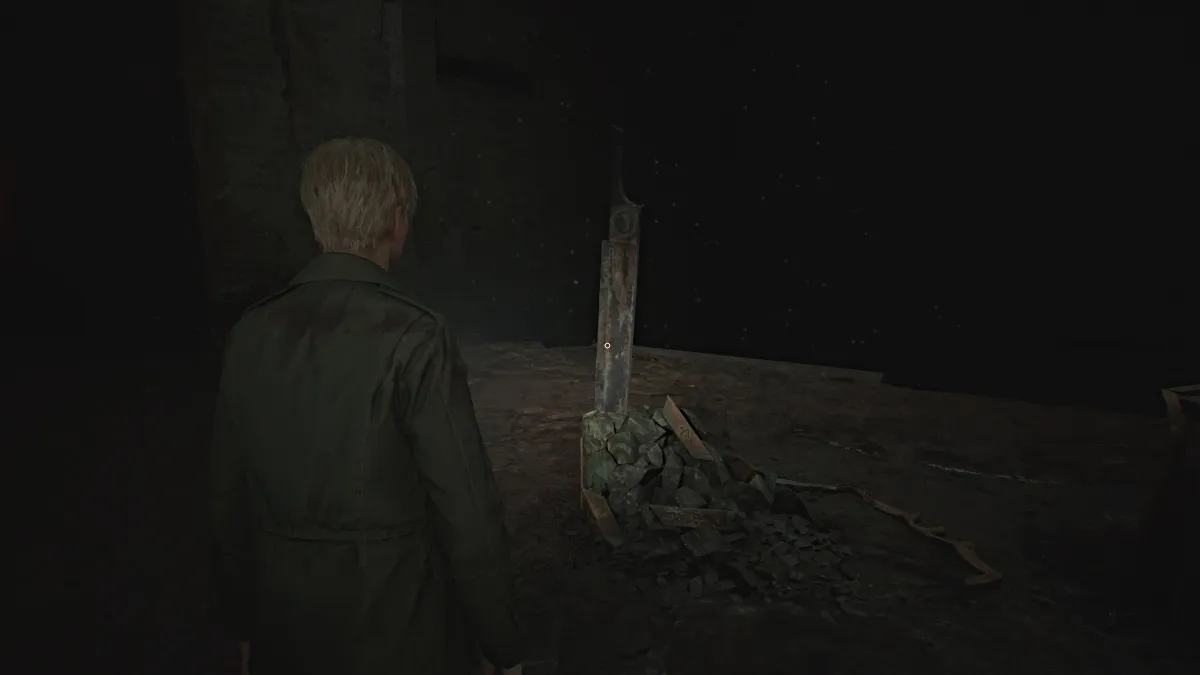
Interact with the Great Knife and James will pry it loose, allowing you to wield it, sort of. Drag it left toward the Strange Barrier and you'll now be able to pass through it. Drag the Great Knife all the way until you're completely through the barrier with a ladder ahead of you. You can now drop it and continue on (sorry, you can't keep it in your inventory this time).
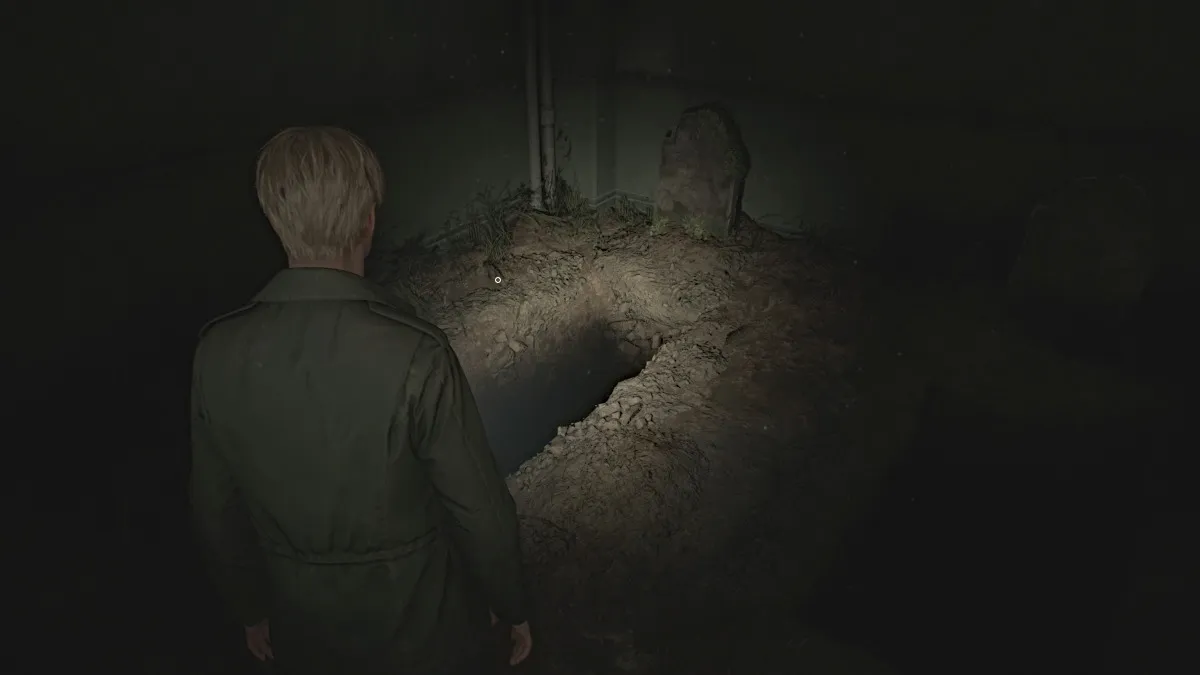
After climbing the ladder, follow the hallway until you can climb back down another ladder, which leads you to a small cemetery area. You can salvage some Shotgun Shells and a Health Drink here. Among the gravestones you'll find three that are of particular importance: Angela Orosco, Eddie Dombrowski, and James Sunderland.
To progress onward, you'll need to jump down into the hole that is your grave. When you're ready, take the plunge to the deepest reaches of the abyss, where your final adversary of the Labyrinth will be waiting. Follow the long hallway ahead of you, and at the end will be a freezer door soaked in blood. Go through it, and Eddie will be on the other side.
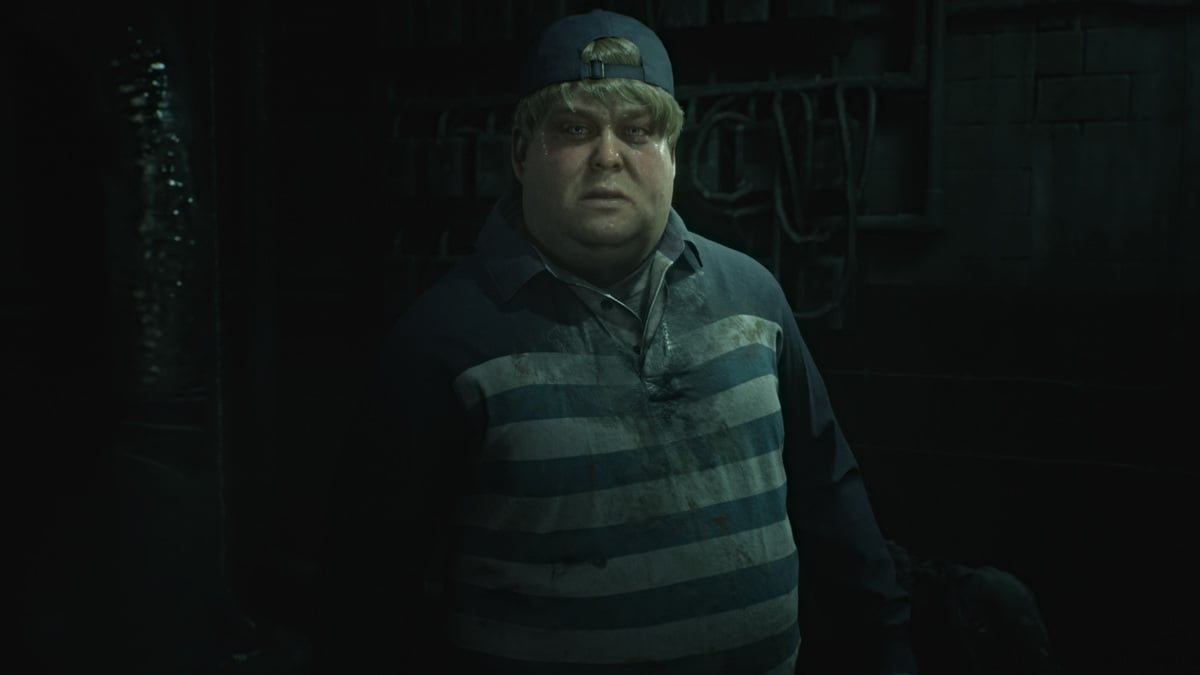
Clearly having lost himself, Eddie claims the corpse in front of him has been following him the whole time, laughing and insulting him. He then accuses James of doing the same, and that Silent Hill called them both because they're "not like other people". Determined to punish James the same way, he coerces him to the meat freezer for a fight.
Grab the Health Drinks on both sides of the room, make sure your guns are reloaded, and then follow Eddie through the same door.
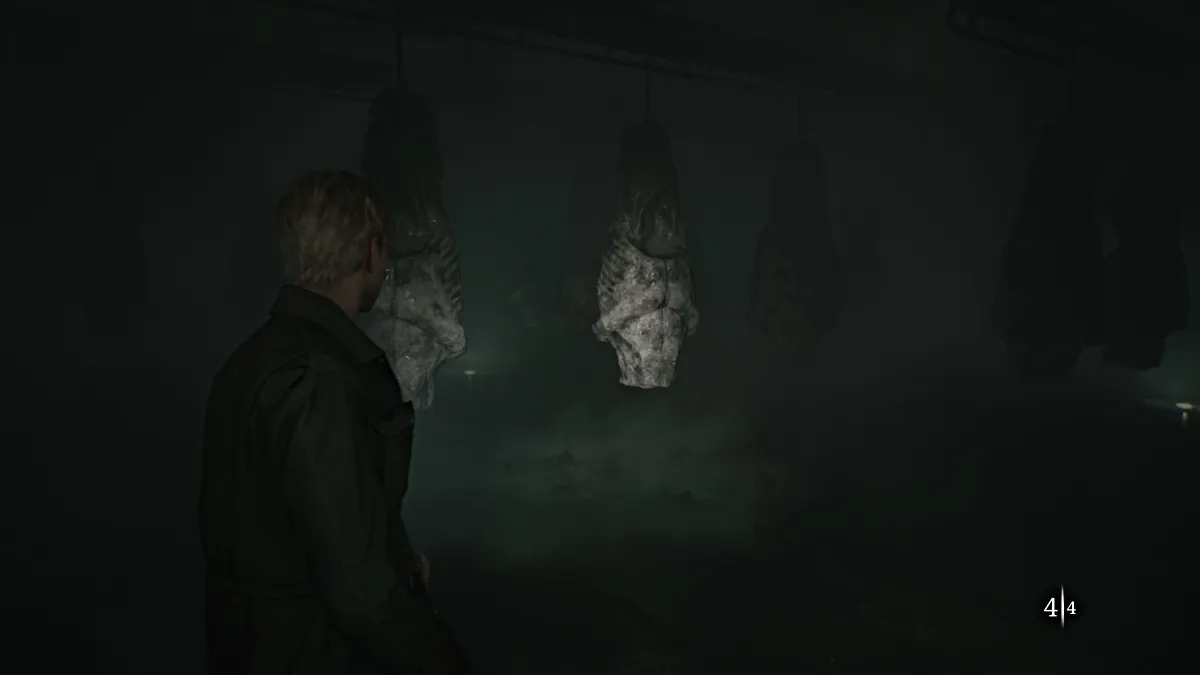
Make your way into the freezer and Eddie will officially engage you in a fight, and you'll want to avoid getting shot by him as much as possible because even just one shot from his gun hurts a lot .
Use the hanging sacks of meat for cover as Eddie circles around for sneak attacks. Do your best to keep him in your sights, or at least a sense of where he is, at all times. There will be some extra Shotgun Shells scattered around the walls of the room.
Shoot him enough times and he'll shoot a gas pipe that fills the room with fog, making it harder to spot where he is. Do your best to keep your back to a wall while waiting for him to approach. After a few more shots, the conveyors of meat will start to rotate, and you'll need to be wary of being caught in the open.
Be extra vigilant as Eddie will get more aggressive now with more gunshots and will attempt to sneak behind you for a pistol whip. Keep damaging him as much as possible and soon he'll succumb to his wounds and collapse, dead.
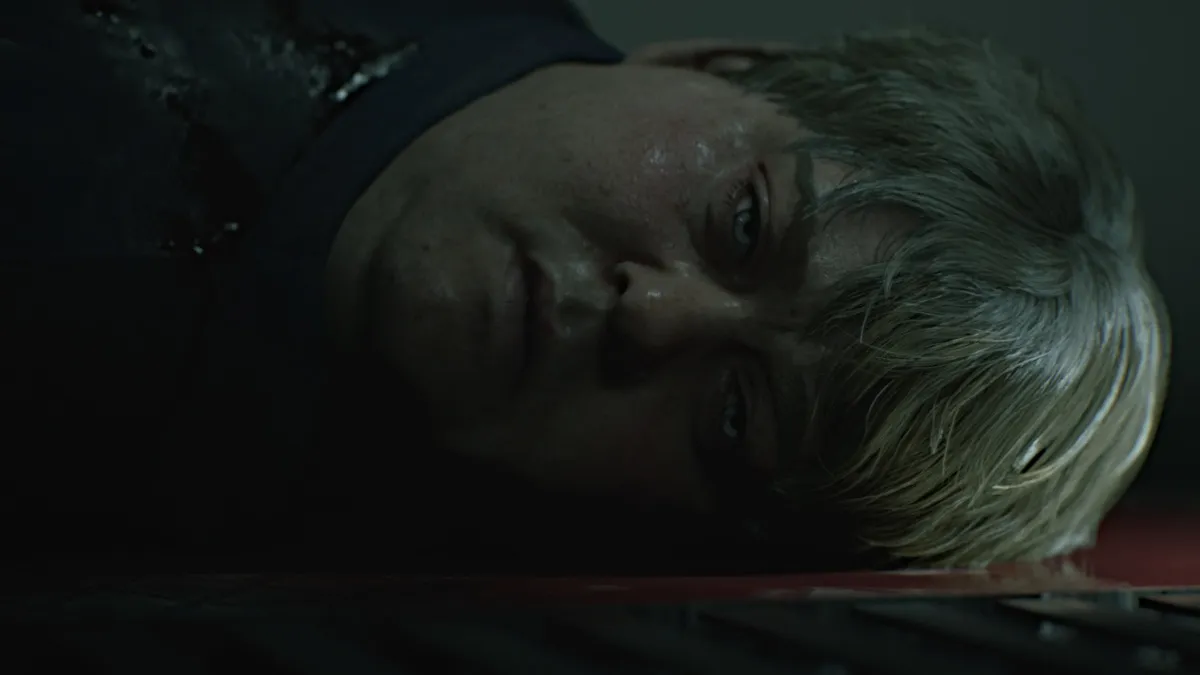
There's nothing left to do, so find the black double doors and open them to find your way out. Go through one more door, and you'll find yourself somehow back outside at the edge of Toluca Lake.
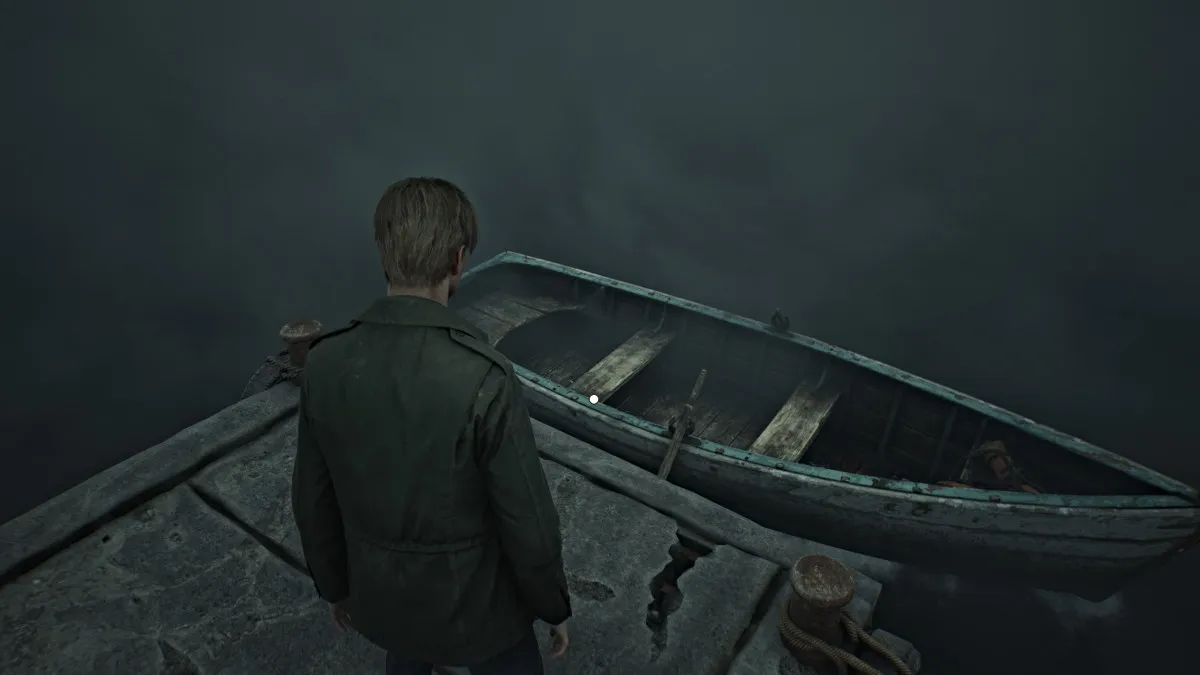
With all that James has experienced so far, it's now time to go to the one other "special place" Mary could be, which is the Lakeview Hotel . To get there though, you'll need to get across Toluca Lake, meaning you'll need a boat of some kind. Walk down the pier after using the Red Save Point and a small rowboat will be waiting for you.
After James climbs in and starts rowing, you'll soon need to take over yourself. You can control both oars separately (to turn if you veer off-course) with the appropriate controls or together at the same time to row straight.
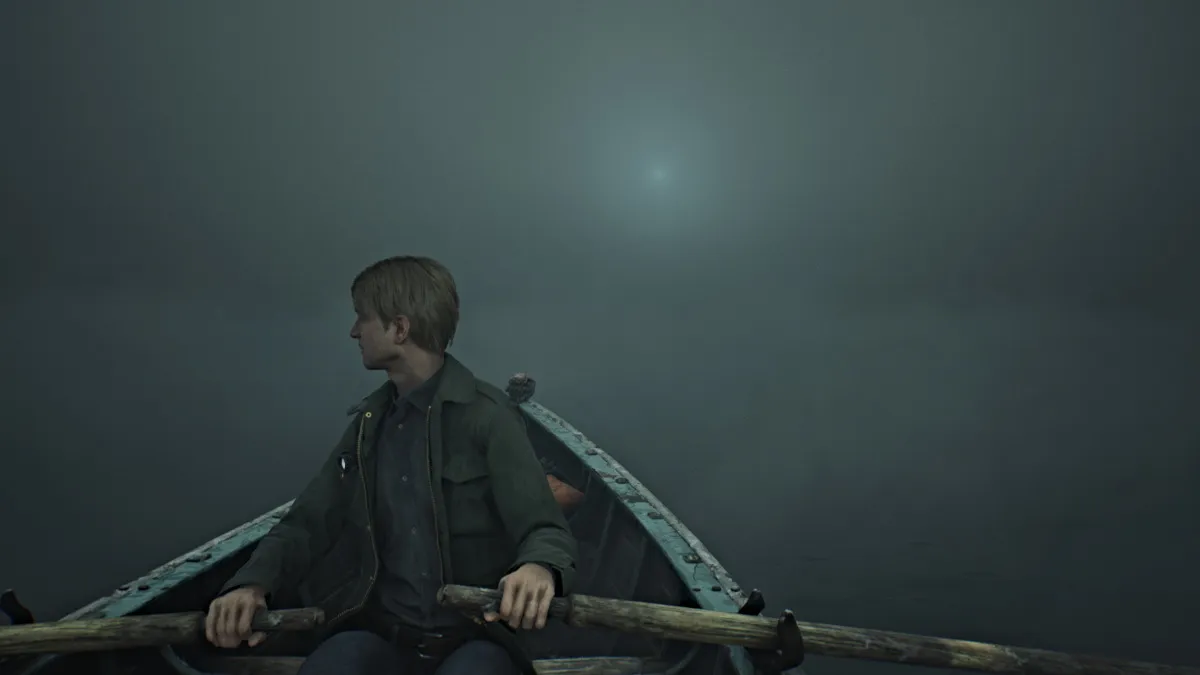
Your goal is to follow the light in the distance, which is coming from Lakeview Hotel. As you get closer, the light will grow bigger and brighter, so follow it until James reaches the pier in front of the hotel.
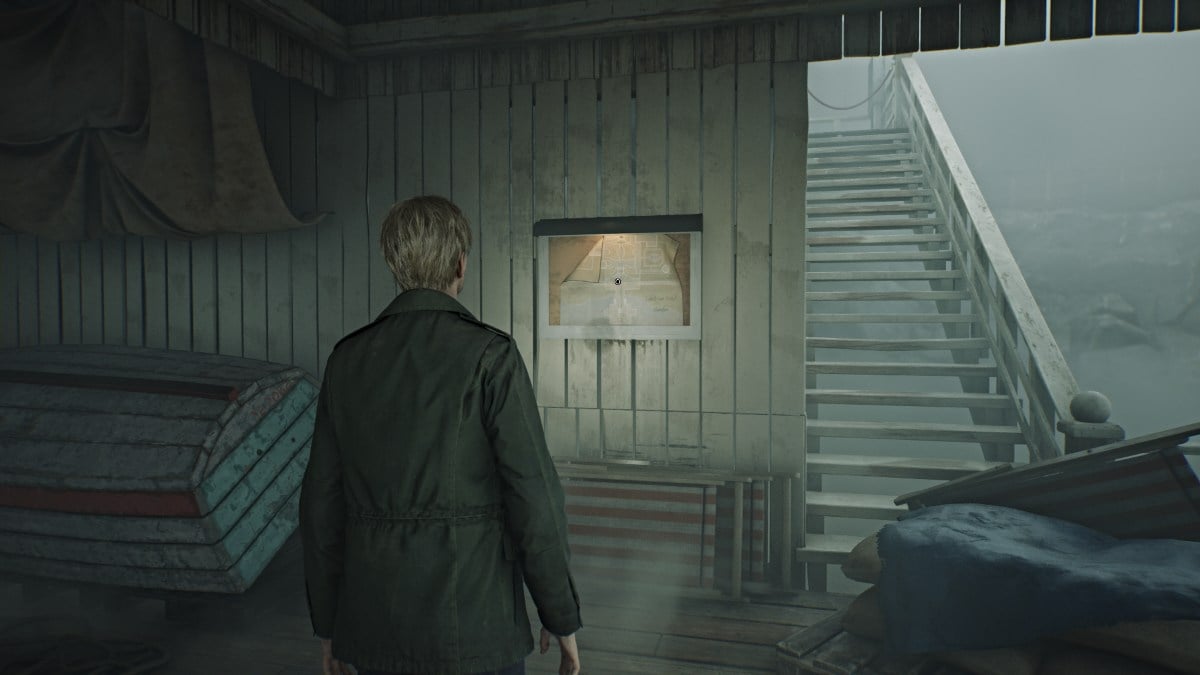
After another brief cutscene, you'll find yourself at the Lakeview pier. Go immediately to your right where you should spot the Lakeview Hotel Garden Map posted on a wall. Take it to get a look at where you are, which is the massive front entrance to the hotel.
For now, head up the central stairs and north in the direction of the garden area. Go up the next set of stairs and head left to find some Handgun Ammo in a gazebo. Now run to the far right side and on a small bench will be the Rotten Apple . Take it and make your way up the east side of the garden. Inside the Fish Fountain, you'll find a Glimpse of the Past in the form of a broken music box.
There's nothing else of note outside for now, so head to the hotel's entrance where you'll hear a piano being played inside.
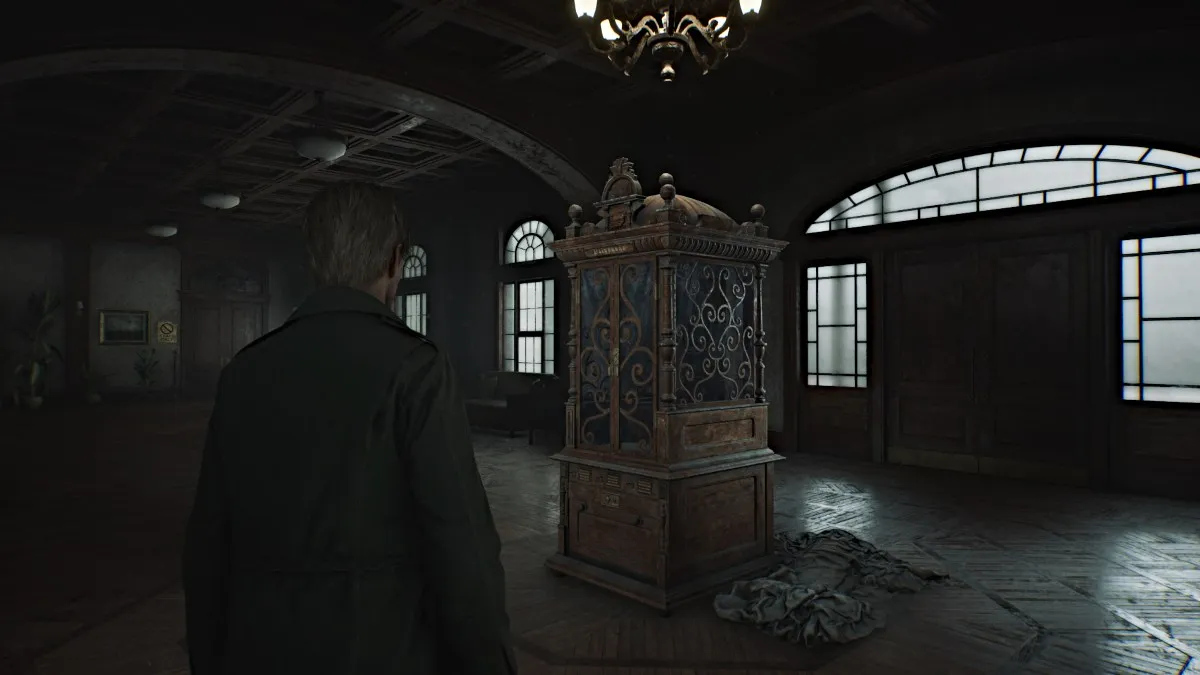
Go through the double doors and head right to collect the Lakeview Hotel 1F-3F Map , which also shows a map for the Venus Tears Bar in the Basement. Now, circle around to the front of the lobby, where you'll see a large and ornate Music Box (seen above) that requires a special key to open it.
Backtrack a bit and go inside the Check-In Room on the right to find a Red Save Point , a keyring that contains both the Room 312 Key and the Ornamental Key , and the Receptionist Memo that mentions the videotape James and Mary left now being kept in the Employee Section of the first floor .
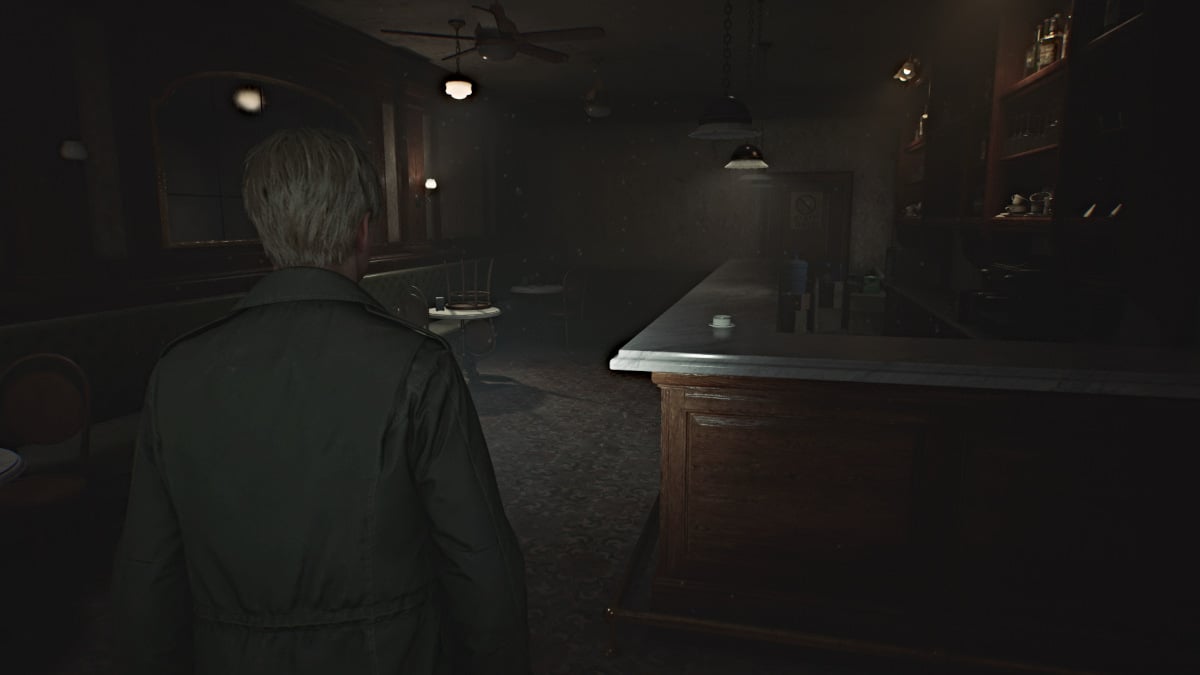
Go check out the far right side of the lobby for some Handgun Ammo and head into Cafe Toluca . Grab a Health Drink from one of the tables, then go behind the bar to find the Room 102 Key at the far end. Go around the corner to find a breakable spot in the wall, letting you through to the Lost and Found Room. There you'll find more Handgun Ammo and the Lost and Found Note .
Go back to the Music Box machine and use the Ornamental Key to open it. Inside you'll see that three figurines are required to play the music reels. For now, head down the left side of the lobby and through the open door on the left, where the piano tunes are coming from.
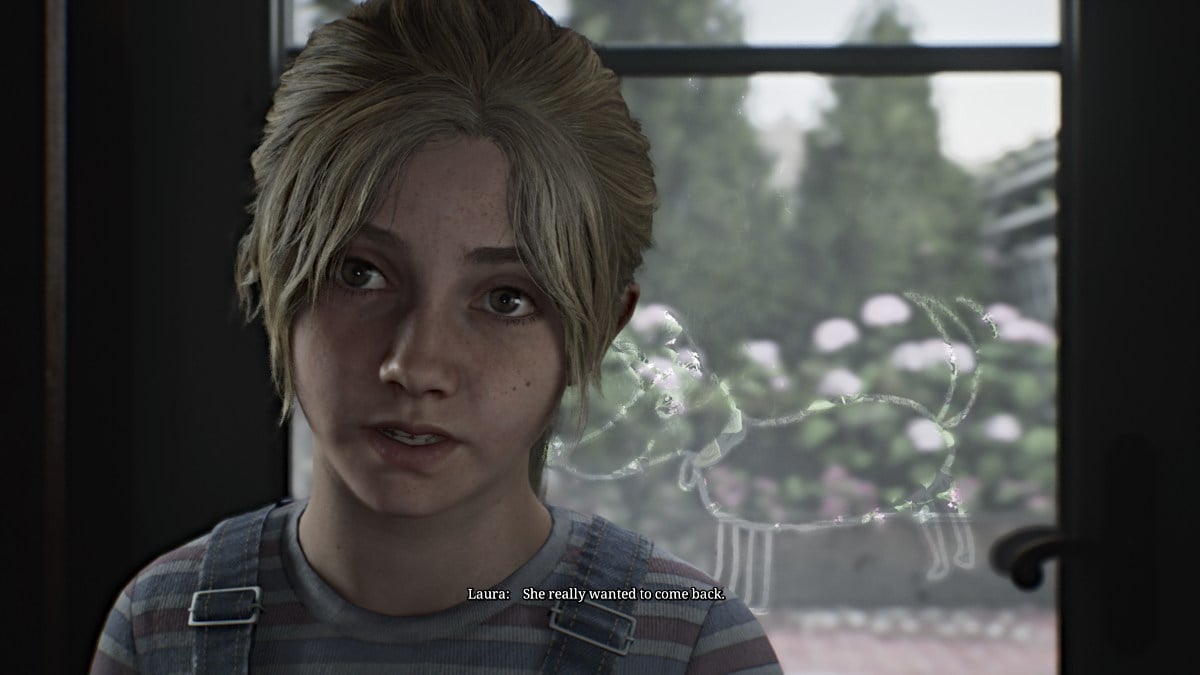
While looking around in the Lake Shore Restaurant , James gets startled by Laura hiding near the piano. The two of them talk about Mary and how they both want to find her for very similar reasons. In a letter from Mary addressed to Laura, it's revealed that Mary cared deeply for her and even hinted at adoption, if things had been different and she wasn't sick.
After James reads the letter which ends with Mary wishing Laura a happy eighth birthday, he asks her how old she is. Laura reveals that she turned eight "last week". That would mean that James' timeline of events has completely crumbled, as Mary didn't die three years ago after all, or even last year. If that letter is real, then Mary died only days ago.
Before James realizes that, however, Laura says that there was a second letter for James. She hands the envelope to him, but somehow it's empty. For now, she runs off to look for it.
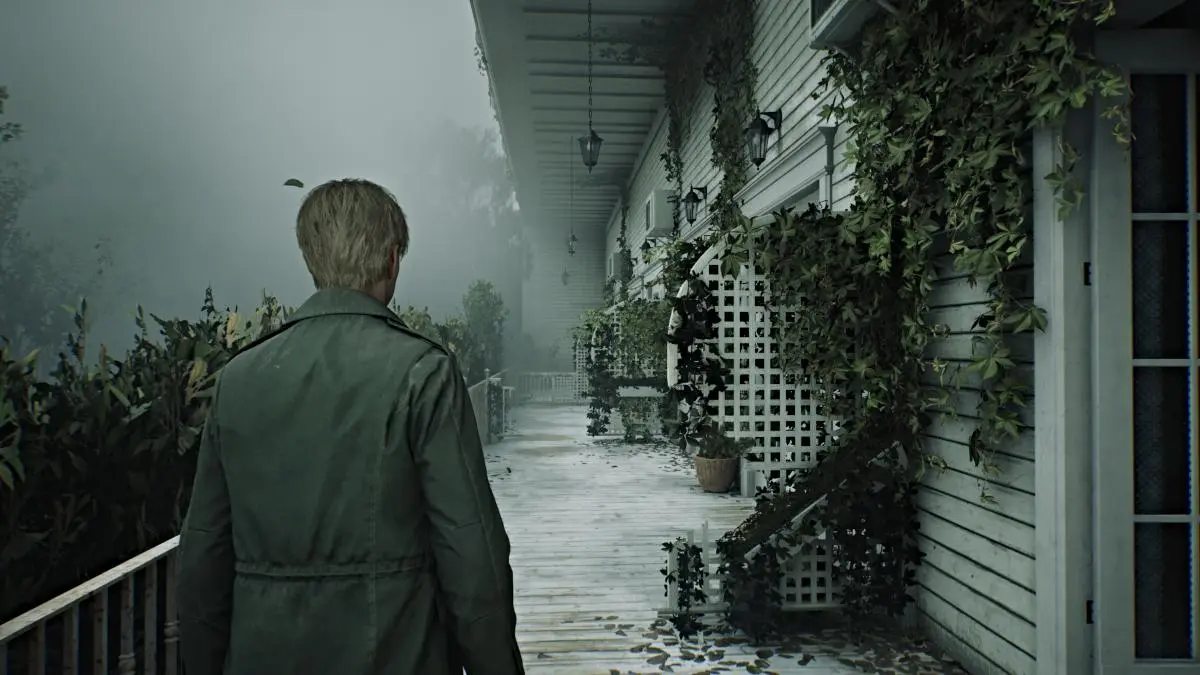
After leaving the Restaurant, follow Laura to the hotel rooms on the east side of the floor . As soon as you go through the parlor doors, however, you'll see that monsters are dwelling in the halls. Deal with the ones in your way and check the small cabinet outside Room 101 for some Handgun Ammo . There's nothing of note in that room, so go to Room 102 .
Use the key to get in, and inside you'll find a nice trove of useful items, including a Syringe , Health Drink , Shotgun Ammo , and Rifle Ammo .
Leave the room, and right across from the door, there's a crawlspace that leads into Room 103 . Slip through and grab the Health Drink from the bedside table before heading out to the patio. To the right, you'll notice that you can go all the way across to the other side. Every other room along the way is locked from the patio side, except for Room 106 at the very end.
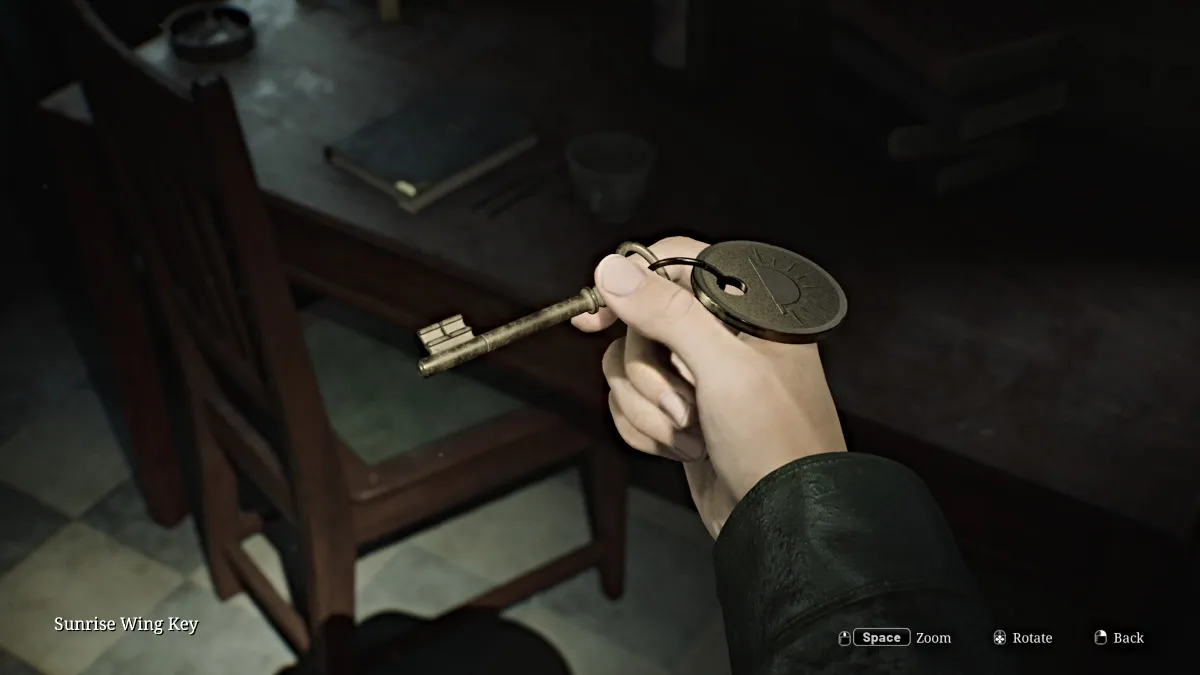
Go inside and check the bedside table for some Handgun Ammo , then go out into the hallway. A couple of Mannequins will ambush you in the dark, so take care of them first. Go check Room 104 , the only other accessible room on that side for the "aftermath..." Strange Photo and some Rifle Ammo .
Room 107 at the far south end requires a key to get in, so for now check the Utility Room nearby. Inside there's some Handgun Ammo and the Sunrise Wing Key , which unlocks an area of the second floor. Afterward, go unlock the door nearby that leads back to the front entrance area, if you want.
For now, make your way back to the lobby and up to the hotel's second floor.
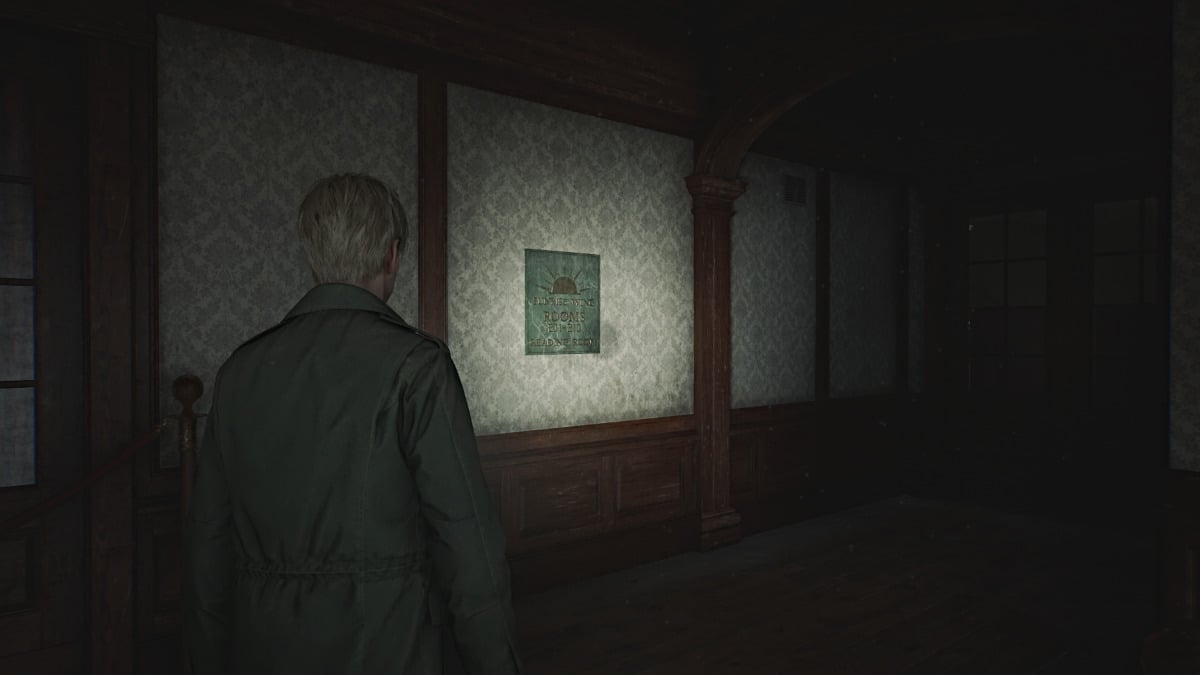
Upon reaching the second floor, you'll notice that the west half of the floor is locked off. So for now, go to the east side, which happens to be the Sunrise Wing where you can use the key you just got. Head inside and watch out for more lovely spider Mannequins crawling the walls and ceilings.
Before you investigate the Reading Room, duck into the Cloakroom on your left, which gives you access to the Hall room next door. Go in there and grab the Room 202 Key from a couch on the left side, then deal with a couple of Mannequins to get to the back of the room where you'll find the Ripe Apple (yum).
The patio is accessible and leads to the west side of the floor, but hold off on that for now.
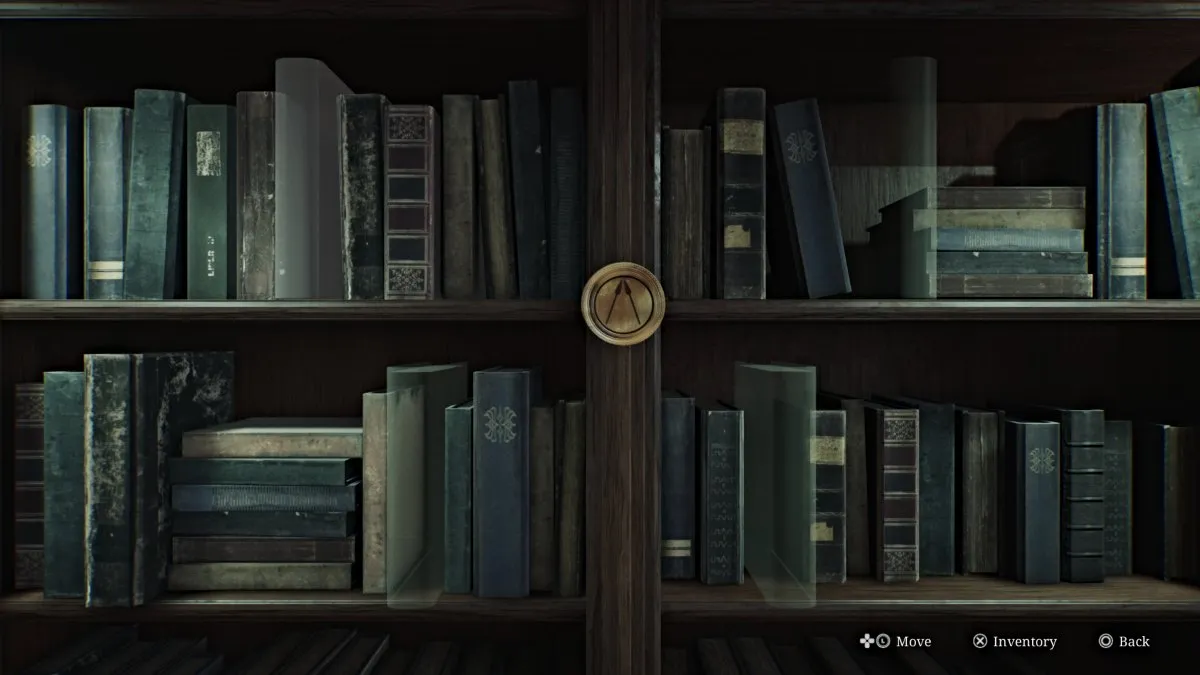
Now head into the Reading Room on your right, which James has marked on the map. Inside will be a Red Save Point along with four books you can pick up, including:
You'll need to place these books in the correct spots on the nearby bookshelf with a bronze emblem marked with two spears. Notice that the spine of each book has a different gold symbol, including an Eagle, Angel, Lion, and a Bull .
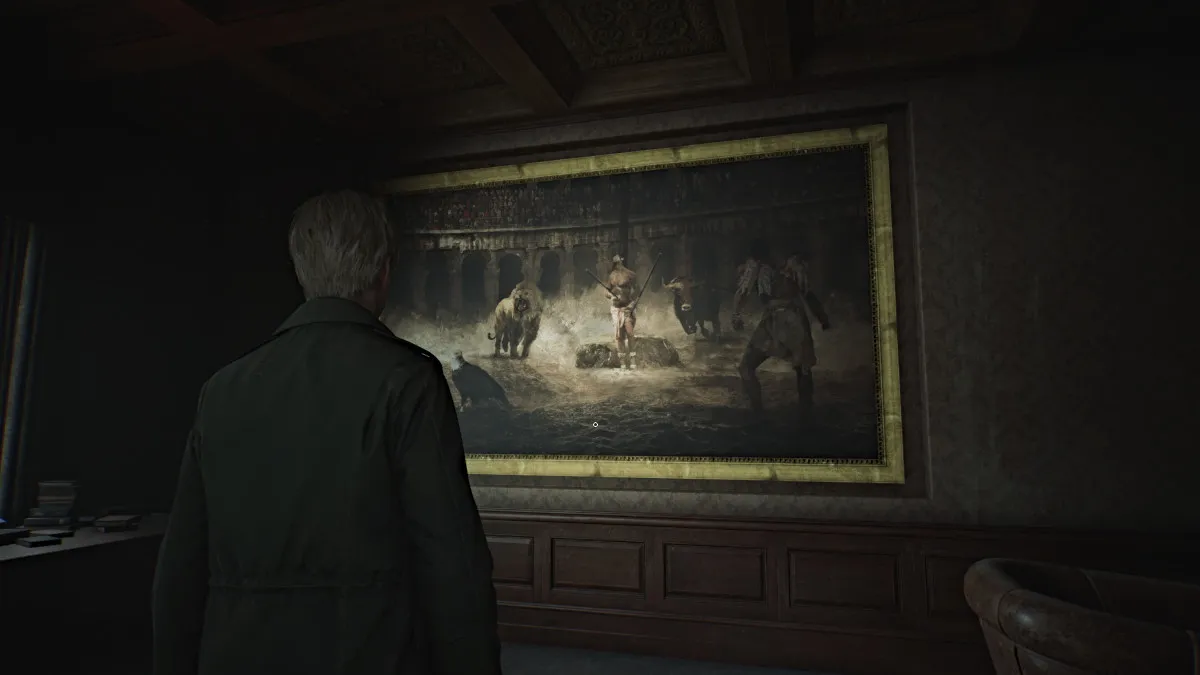
Next, look at the huge painting on the opposite wall, and you'll notice that it contains all of the aforementioned symbols as painted subjects. Two are in the background while the other two are in the foreground . Based on that, the books need to go on the shelf in the following order:
| Livre | Emplacement |
|---|---|
| The One Who Soared (Eagle) | Top Right Slot |
| Revelations: A New Understanding (Angel) | Top Left Slot |
| Stalwart to the End (Bull) | Bottom Left Slot |
| Pride Before the Fall (Lion) | Bottom Right Slot |
Once done, the bookshelf will slide back to reveal a secret room that also connects to Room 205. Go inside where you'll find a series of Photos (#1-3) in the room along with a Briefcase that requires a letter-based combination to open.
Normally, to figure out the code you would need to replace the broken light bulb in the nearby Vanity Mirror with a new one. To do that you need to find the Paint Can (Room 318), the Can Opener (fallen book in Lake Shore Restaurant), and the new Lightbulb (locked left side of Garden area; use Boltcutters to access).
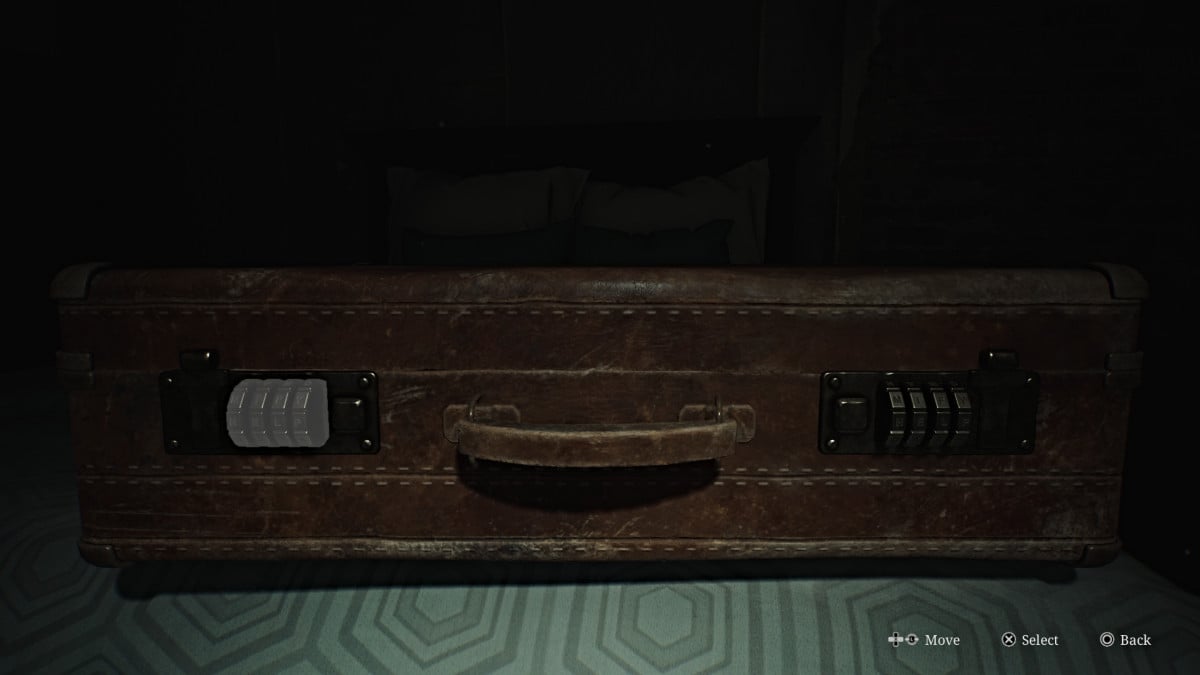
However, if you'd rather save time, the correct combination (Standard Difficulty) is "DEED DONE" . So input "DEED" on the left combination lock and "DONE" on the right one. Inside the Briefcase will be the Employee Elevator Key .
Up top, only Room 209 is accessible but has nothing valuable (only a Mannequin to jumpscare you). Head south and into Room 206 , where you can use a crawlspace to enter 207 and claim some Rifle Ammo . Double back out to the hall and Room 204 will have a Health Drink and Handgun Ammo for the taking.
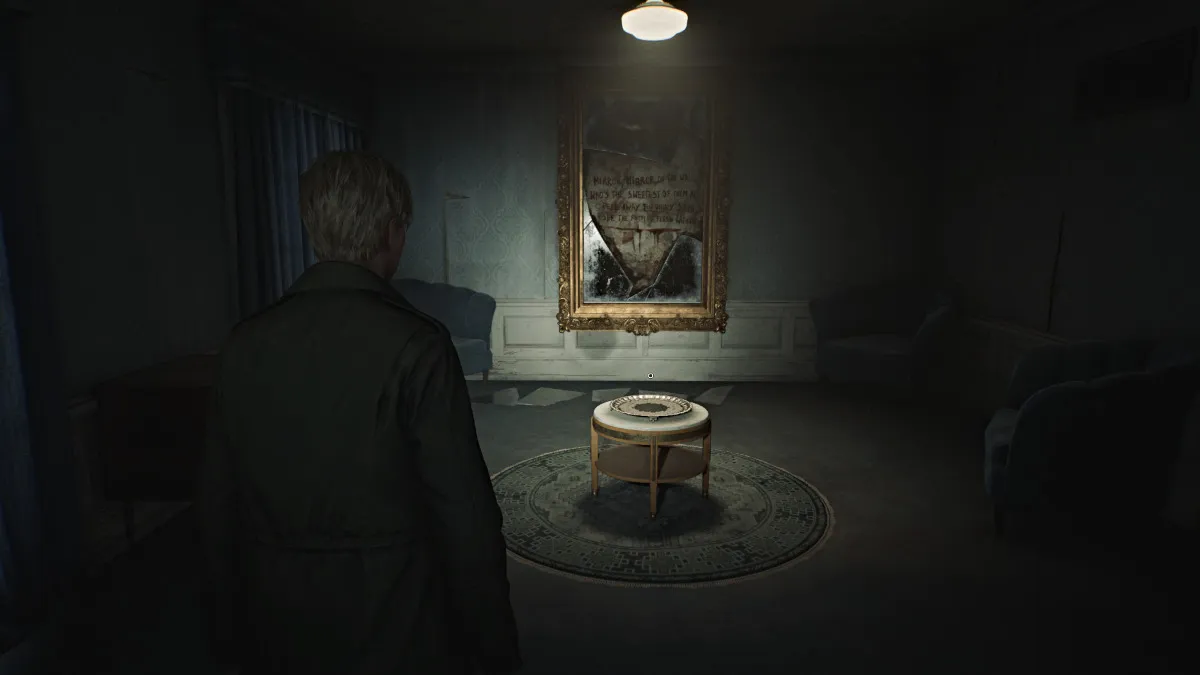
Finally, go to Room 202 and use the key you got to enter. Inside you'll find an ominous room with a small table and a platter on top of it. On the wall behind it is a broken mirror with words inside written in blood. "Mirror, Mirror, on the wall, Who's the sweetest of them all, Peel away the shiny skin, See the rotting flesh within."
On the floor beneath the mirror are five broken shards . A sixth one can be found in the bedroom on the opposite side; grab it before you start the puzzle. When ready, you first need to place either the Ripe Apple or Rotten Apple on the platter. For the sake of completing the puzzle, your choice doesn't matter.
Next, you'll be required to place each of the broken shards on the floor back into the mirror in the correct spots . The last one will be the one you took from the bedroom.
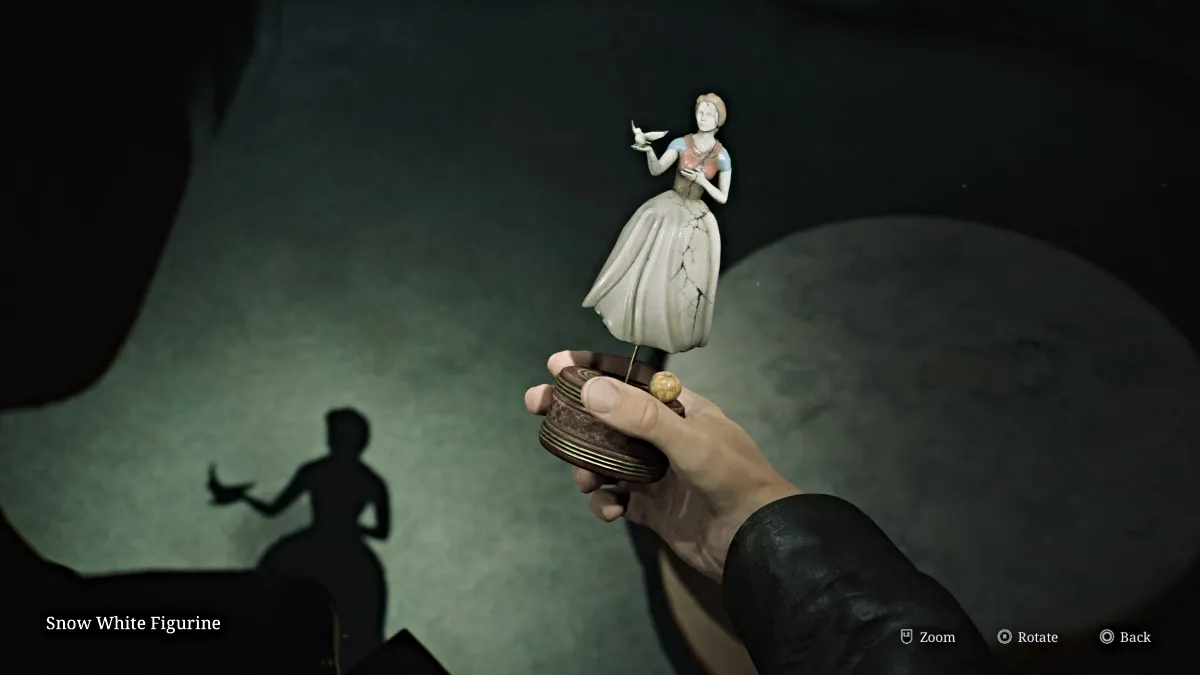
Once done, the mirror will reform and you'll then want to head to Room 201 next door to claim your reward, the Snow White Figurine .
Now make your way back through all of the spider Mannequins to the Cloakroom , and cut through the Hall room to the extended patio outside. Use it to reach the Nurse's Office on the left side of the floor, where you'll find a Bubble Nurse and a medical record sitting on a desk with the initials "MSS". Mary's perhaps?
Go out to the hallway and unlock the double doors to your left to make the Sunset Wing on the west side accessible. Go straight and around the corner to get some Shotgun Shells from a drawer. Bypass the Employee Elevator Room for now (for a specific reason) and explore the rest of the rooms on the floor first.
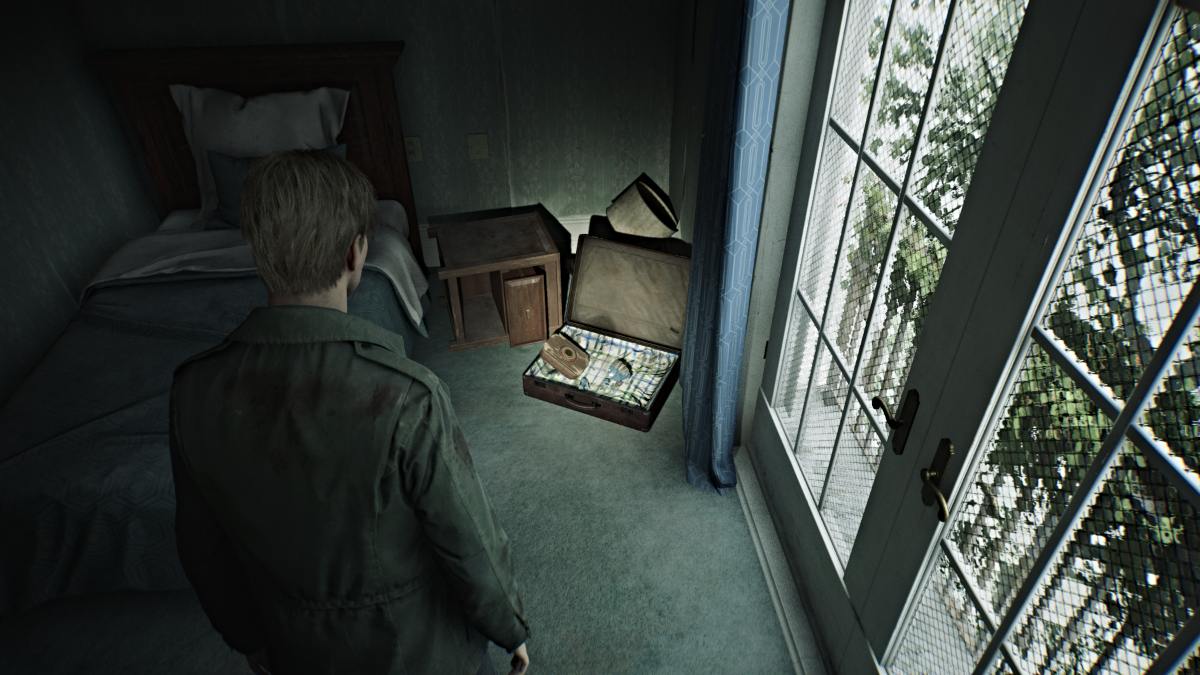
Note that the third floor is accessible from this side . Grab some Shotgun Shells from the drawer near Room 214. Go straight up the hall to the window at the far north end, where a Mannequin will be hiding and some Rifle Ammo on a table. Double back and turn right to find more Rifle Ammo at the end of that hall.
Inside Room 212 you'll find another Glimpse of the Past in an open briefcase. Leave and now head up to the third floor.
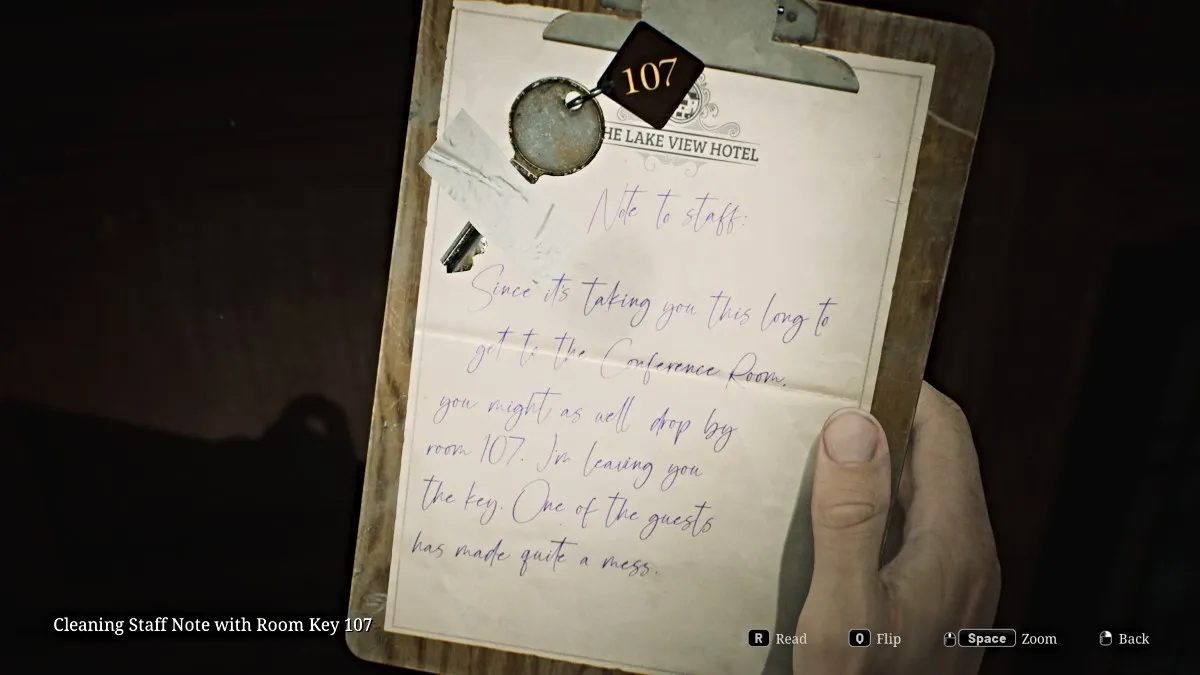
Go up the stairs to the third floor and first head into the Conference Room in front of you. Go across the room and pick up the Cleaning Staff Note With Room 107 Key off the fireplace. Now interact with the fireplace itself, and you'll notice one of the Music Box Figurines is stuck inside it . You'll need something to unlock the fireplace first.
For now, run back out into the hallway, and you'll notice double doors locked by an iron gate. If you approach it, Mary's voice will suddenly shout for James, surprising him. You'll need a key to access that part of the floor, however. For now, go check the Utility Room around the corner, where you'll find Handgun Ammo , Shotgun Ammo , and a set of Boltcutters (used to unlock the outside Garden's left side).
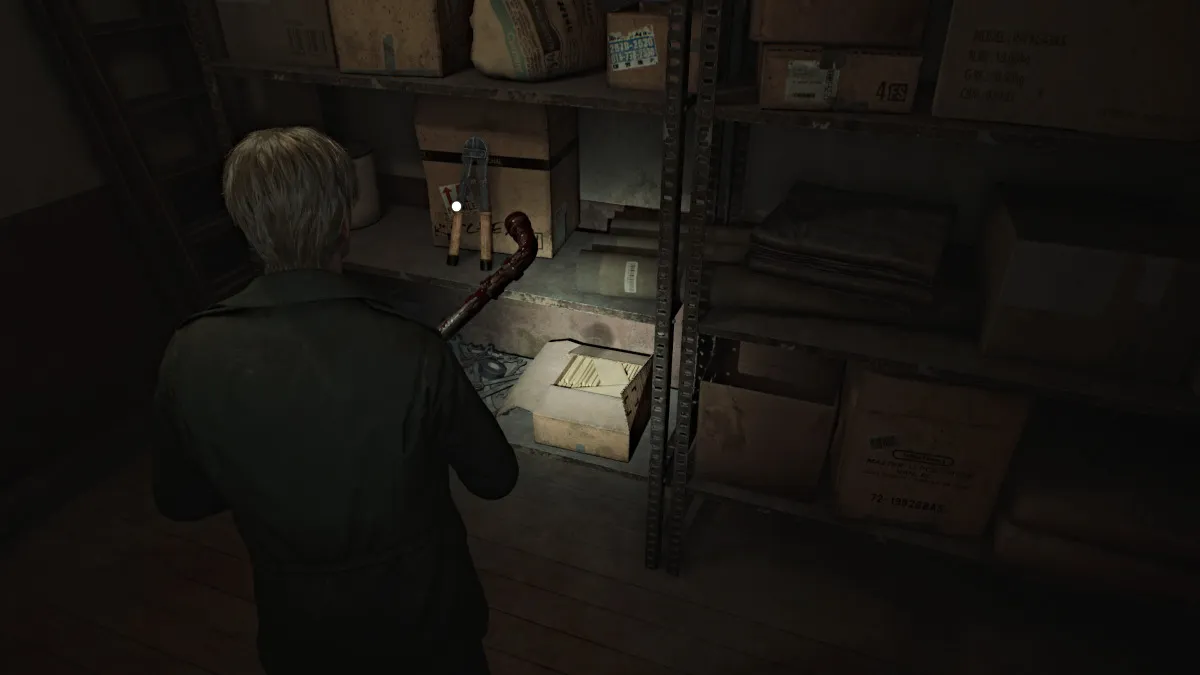
Double back around the hallway to where you see a bright red 'Exit' sign. This will take you outside and down a stairwell (grab the ammo from the table on the way down) to the second floor, into the southeast corner you couldn't access before.
First go into Room 215 , where you'll find a breakable wall that will take you to 214 . Unlock the door in there, and you now have a handy shortcut to the other side of the Sunset Wing.
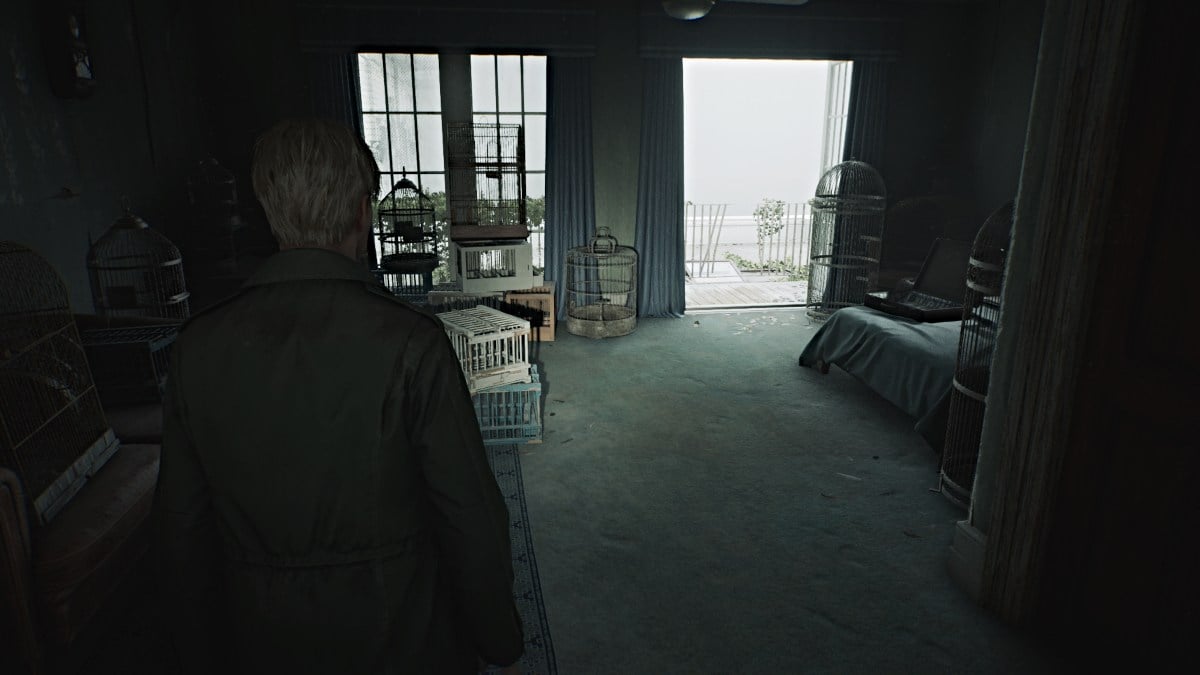
Now double back to Room 217 , a room full of bird cages where the patio doors will blow open, making another path for you. Grab the ammo from the suitcase on the bed and go look outside, where you'll see another red book lying on the glass ceiling across the way. Use your Handgun to shoot the cracked glass plate underneath it, so it falls into the Lake Shore Restaurant below.
Use your new shortcut and head all the way back down to the first floor and to the restaurant, where the book will be lying on top of a box. Interact with it, and it will open to reveal the Can Opener (for the Paint Can, if you're uncovering the briefcase code yourself). Take it and then head to Room 107 , now that you have the key for it.
Unlock it and go inside. First, pick up the Cleaning Staff Note #3 from the nearby table, then a Health Drink from the bathroom, and then head outside to the patio area.
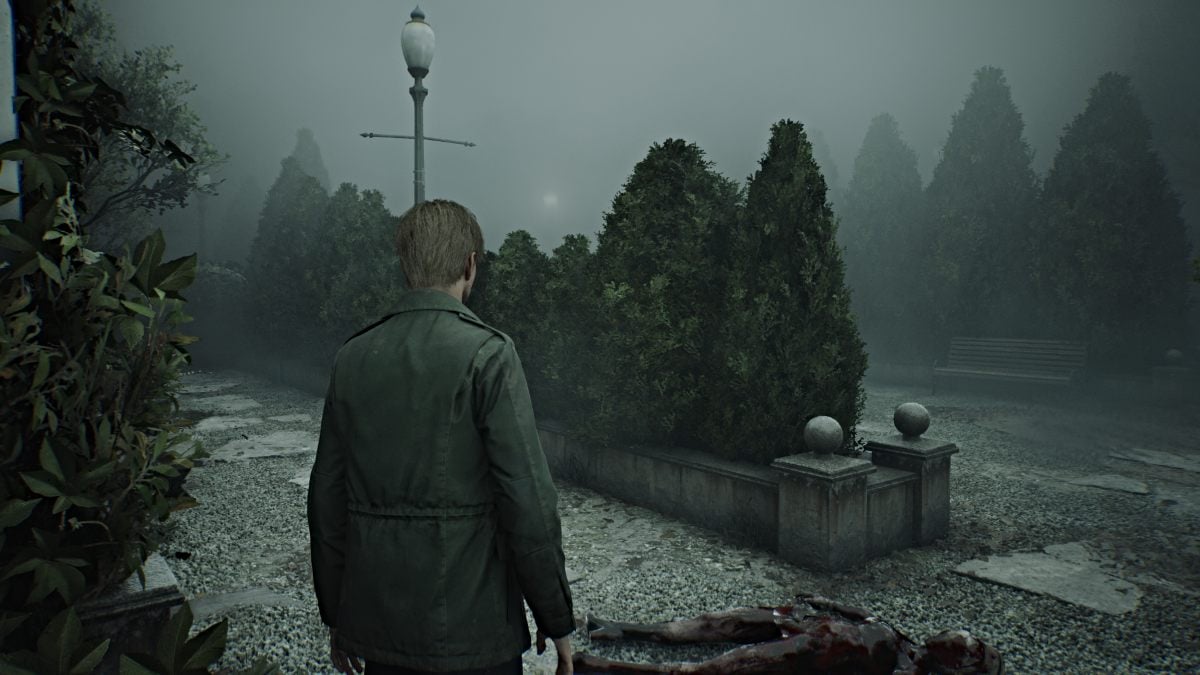
Turns out that this leads to the east side of the Garden area that you couldn't access initially. Grab Shotgun Shells from the table near the doors then start exploring the area. Deal with the monsters patrolling the grounds and make your way to the gazebo in the back corner. Inspect the overturned cleaning bucket and you'll get the Fireplace Key .
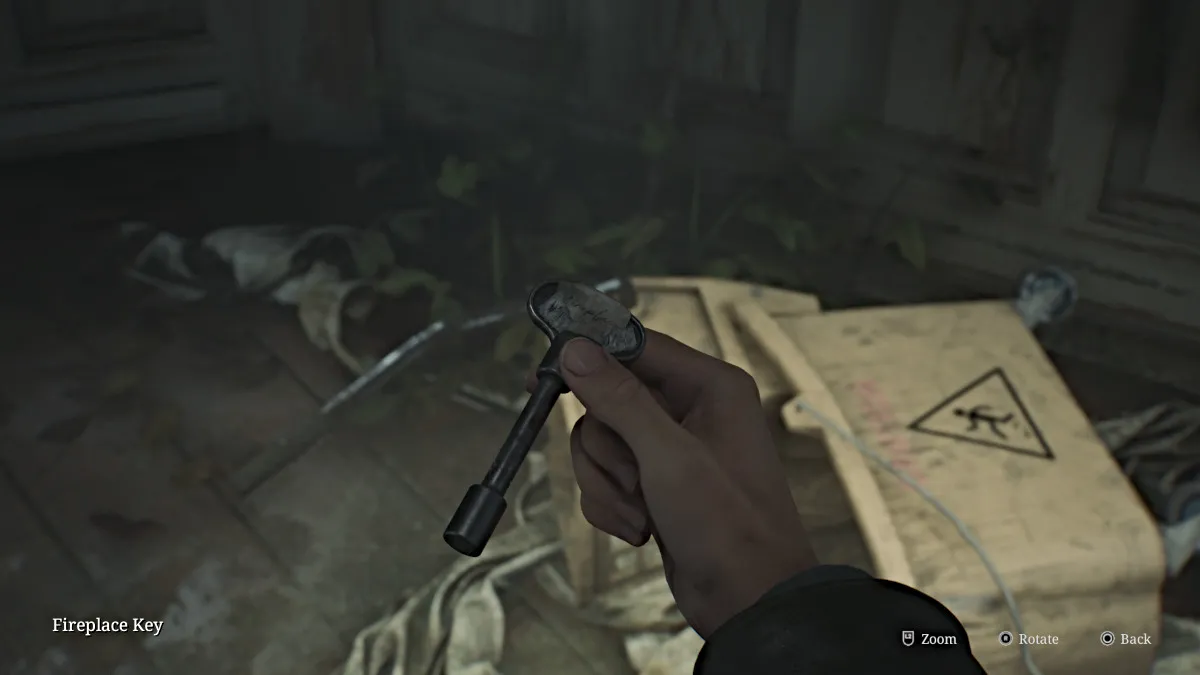
Now you can head back up to the third floor to put that key to good use.
Make your way back up to the third floor of the hotel (notice that some walls and windows are starting to wither) and go into the Conference Room . Run over to the fireplace and use the Fireplace Key to unlock it and retrieve the Cinderella Figurine .

A cutscene follows that shows a huge Mandarin enemy burst through the side of the room and attack James. While it may look like it at first, this isn't a boss fight. Just unload some Shotgun Shells (or whatever you have) into it until it dies.
Go into the side room the monster came from and grab a Health Drink and ammo from the phone table, then turn your attention to the shelf ahead. Push it out of the way to reveal a breakable wall. Bust through it to get into Room 317 . The wall behind you will collapse, so the only way forward is outside.
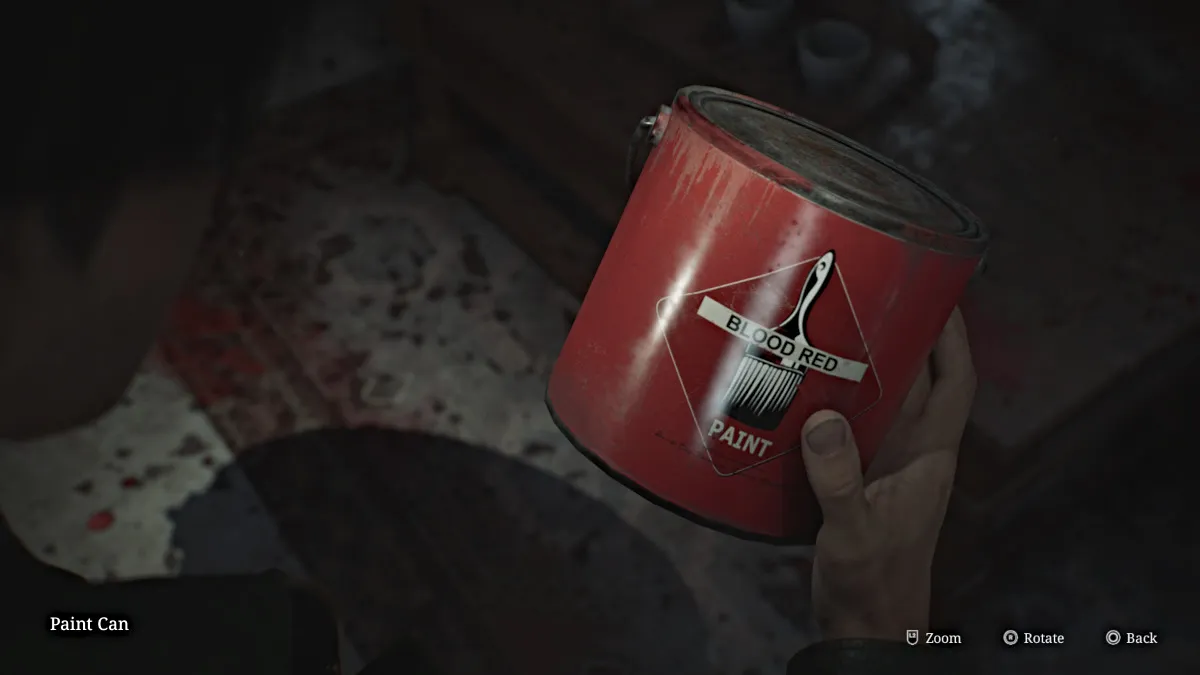
Hop across the low fence to the patio of Room 318 and go inside to see what looks like a catastrophic mess of blood on every surface, but it turns out to be red paint. There's an unopened Paint Can for you to claim, and you can combine it with the Can Opener to open it. You just need a Lightbulb to dip in the paint itself, which is at the fish statue in the Garden area.
You can take all those items back to Room 205 behind the Reading Room and use them on the Vanity Mirror to reveal the aforementioned code.
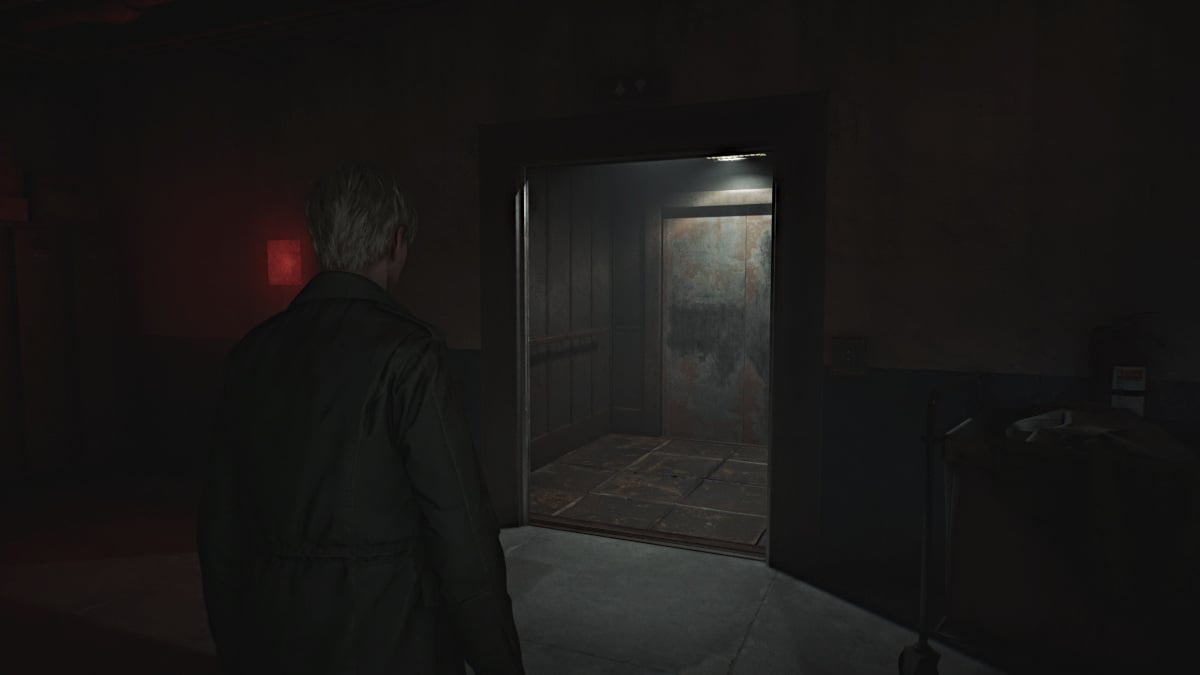
Once you've taken care of everything mentioned up to this point, it's now time to head back to the Employee Elevator Room on the second floor. If you attempt to go into the elevator immediately, you'll notice a loud alarm go off, meaning there's too much weight present.
In other words, you're going to need to offload everything you're carrying. Your weapons, your healing items, your flashlight, your key items, everything.
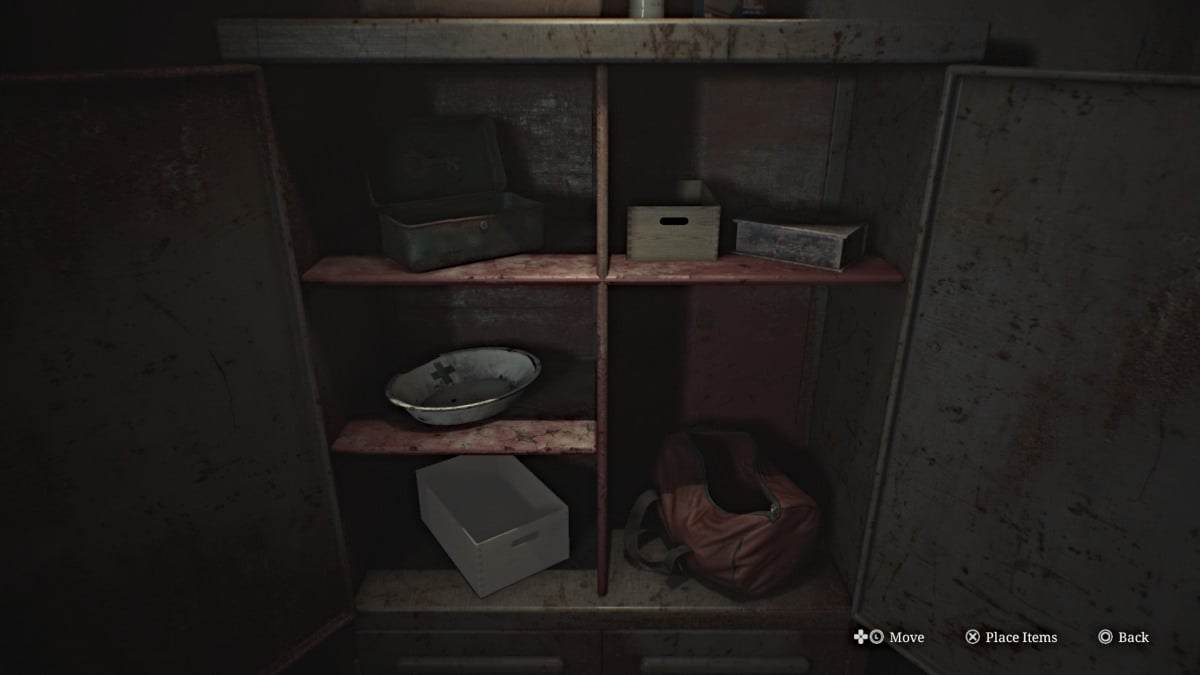
Use the Red Save Point inside, and then interact with the nearby cabinet. Inside, you'll see containers for each type of item you're carrying. Start dumping everything you have into them, however, you're oddly allowed to keep your photo of Mary , her letter (which if you look is now strangely blank), her handkerchief, and Angela's Knife .
Now you can enter the elevator and take it to the first floor , the only place you can go. Be forewarned, there are Mandarins patrolling these areas, and you will need to do your best to sneak around and avoid them since you have no means of killing them. If you walk quietly and keep your distance, they won't detect you.
Jump into the Break Room across the hall in front of you first, and grab the map for the Employee Section of the hotel(since you had to leave your other map behind). Now go to the Break Room Safe on the other side of the room.
The safe requires a keypad code to unlock it, and normally to figure it out you would need to solve the Gem Box Puzzle located in the Manager's Office and find all of the gems around the floor to do so.
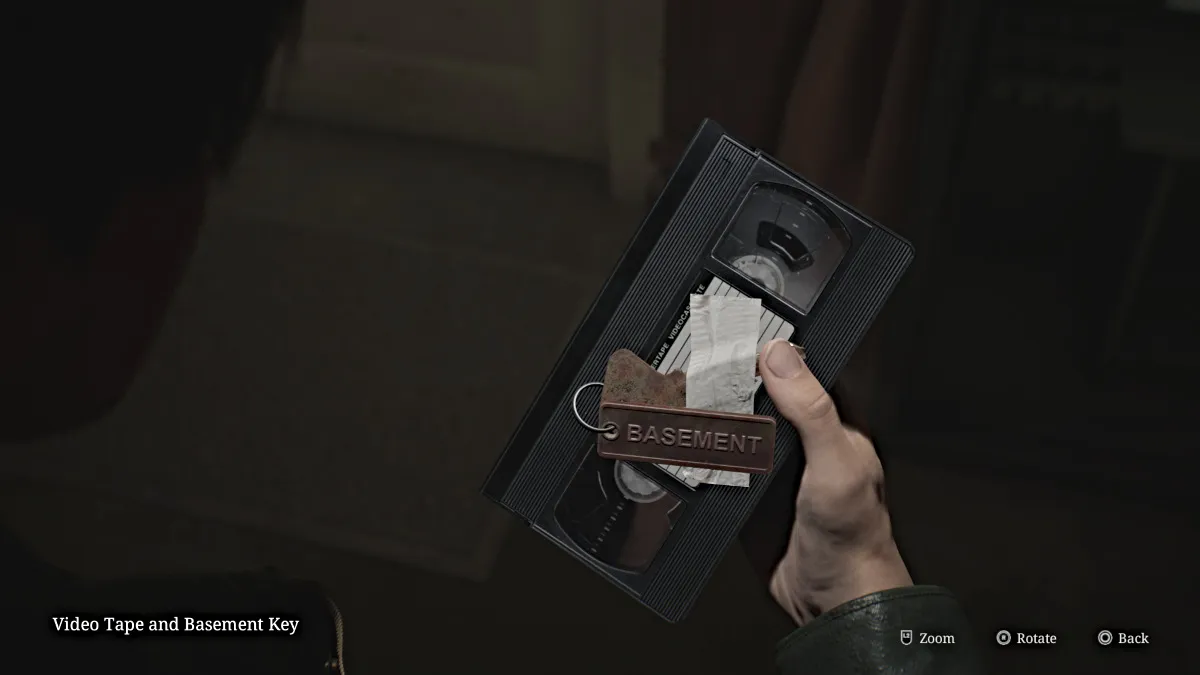
However, since this area is especially dangerous, we have the code for you to help save both time and your health. The correct code for the Break Room Safe is 7414. Inside you'll find the Video Tape and Basement Key , which will allow you to go to the Basement level of the Employee Section.
Tiptoe past the Mandarins and unlock the door to the stairwell that will take you down there.
Upon reaching the Basement level, check your map and carefully make your way south to the Maintenance Room first, avoiding the one patrolling Mandarin as you go. Once there, pick up the blue Pump Valve sitting on a table.
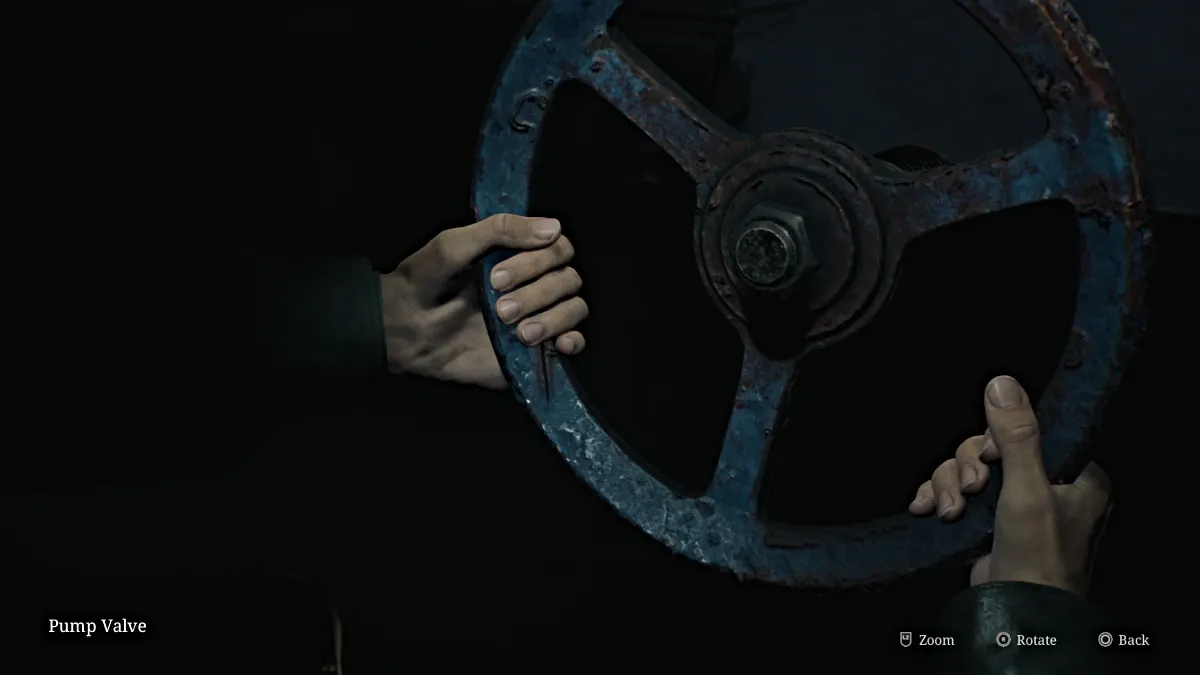
Exit the room via the gap in the wall to save yourself time on the Mandarin's patrol route (we recommend tailing it and then shortcutting up the middle once it's passed back around) and now head for the Liquor Storage Room .
Go inside, slide through another gap in the wall on the left side (wait for the Mandarin to pass before you do), and use the Pump Valve to cut off pressure from a nearby steam valve that's blocking access to the Boiler Room . Once done, go into the Boiler Room and grab the Venus Tears Bar Key hanging on a pipe by the boiler.
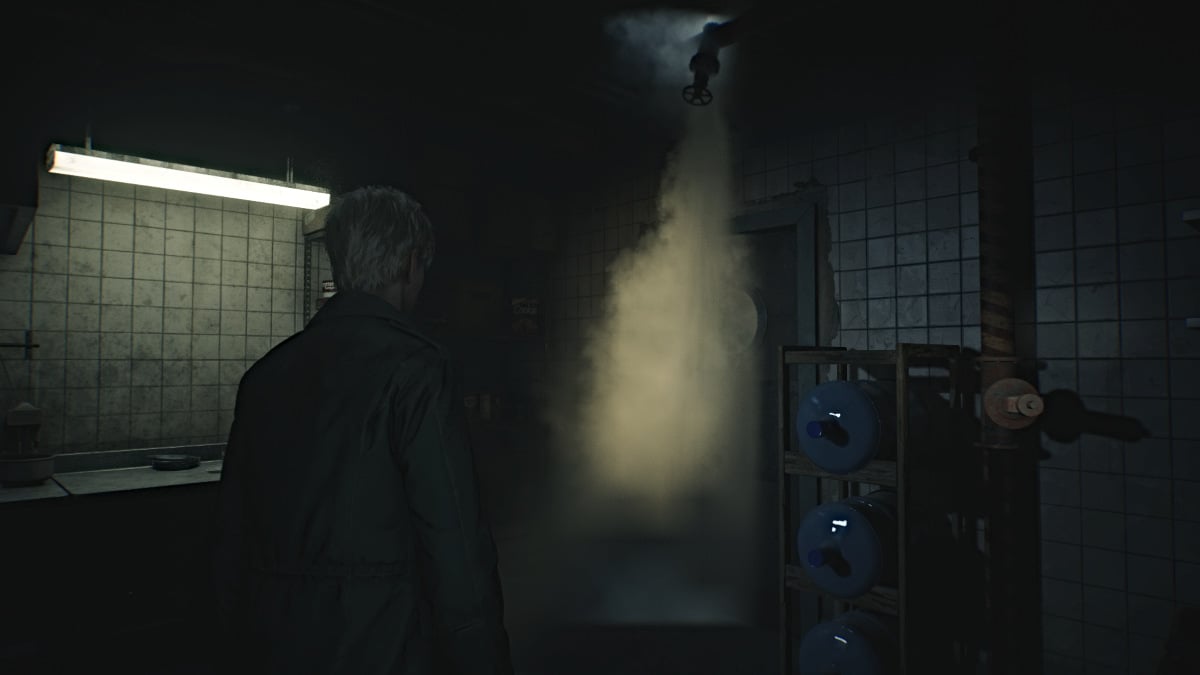
Leave the room and grab your Pump Valve because you'll need it one more time. Use the key to unlock the door to your left to the Venus Tears Bar Kitchen and go in. There will be one more spewing steam pipe that you need to depressurize, so use the Pump Valve nearby to do so.
Go through the next door to the bar itself, where you'll find a broken jukebox underneath a shattered aquarium that's flooded the room. Grab the "Better leave..." Strange Photo behind the bar, then go over and pick up the Little Mermaid Figurine off the floor, then use the Red Save Point nearby.
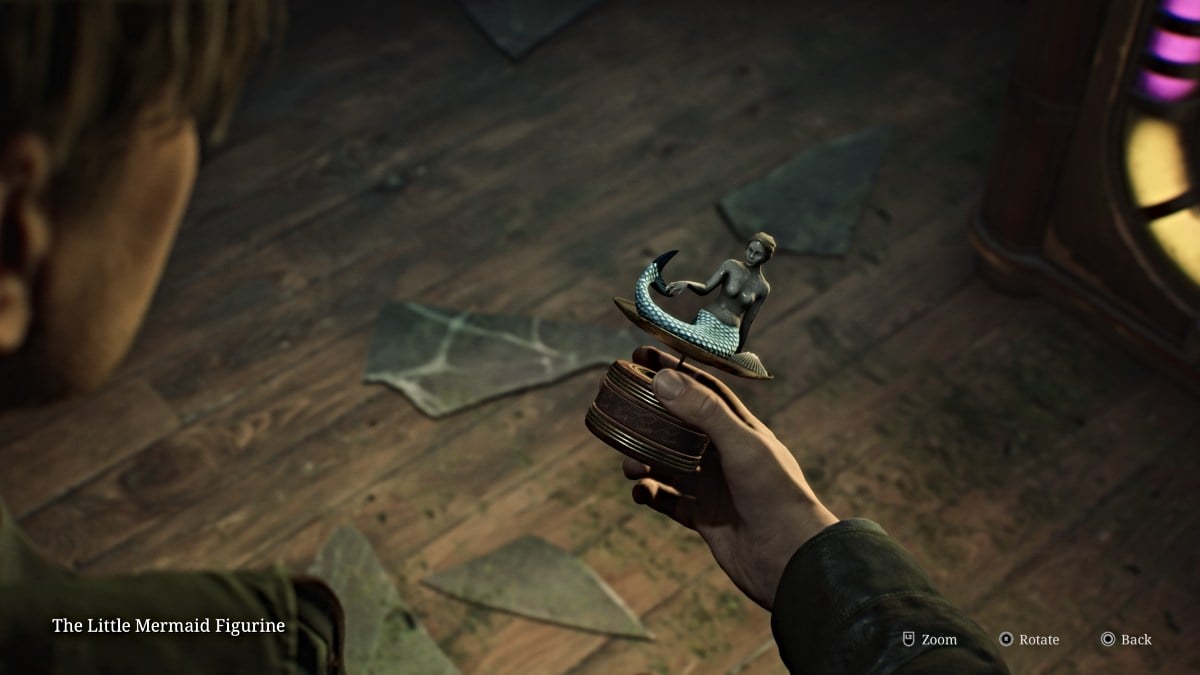
Leave the Venus Tears Bar through the front entrance and now make your way back up to the second floor to quickly reclaim your items from the Employee Elevator Room. Once that's done, head back down to the first floor where the Music Box is, now that you have everything you need.
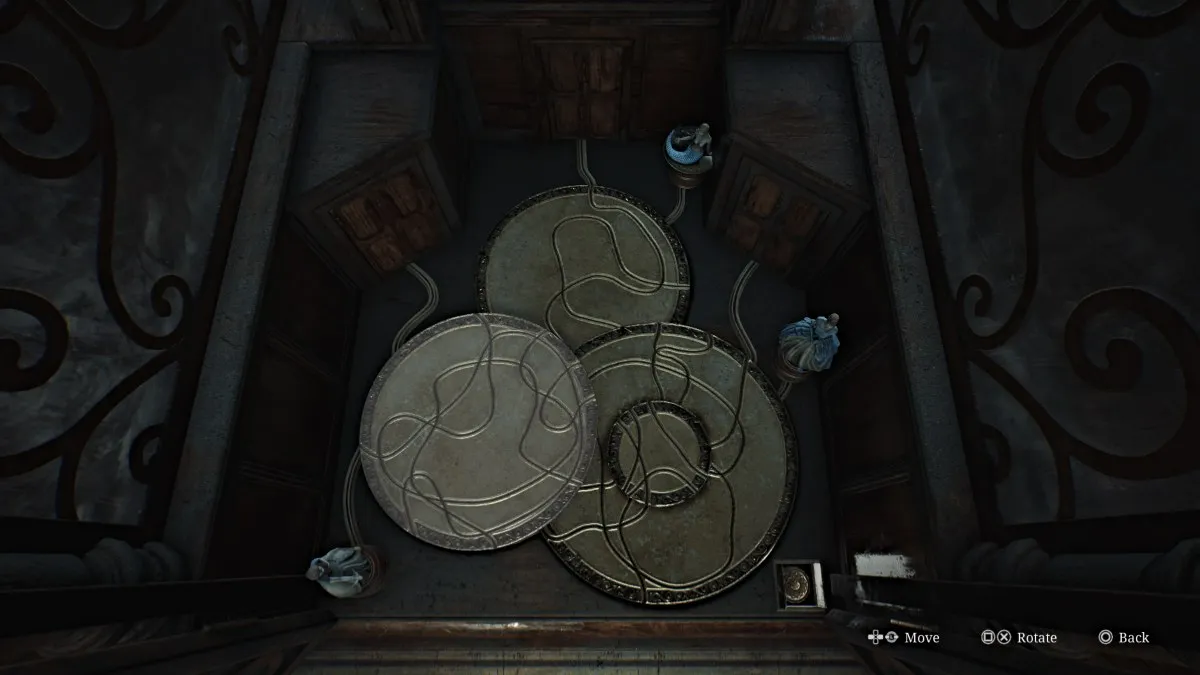
Approach the Music Box and look inside to place the three figurines you've collected in their respective spots. Your goal is to send those figurines along the correct track etched into the discs to their correct doors.
To do that, you need to rotate the discs inside the machine until they form the correct paths to the correct doors. The solution for all three figurines is:
Once you've aligned the tracks, press the button at the bottom right and the machine will prepare the sequence. However, there's one more step to complete.
You can now view the poems for the respective princesses on the facade of the machine, and there is a key above each passage (seen below). Your goal here is to turn each key the correct number of times, according to the numbers mentioned in each passage.
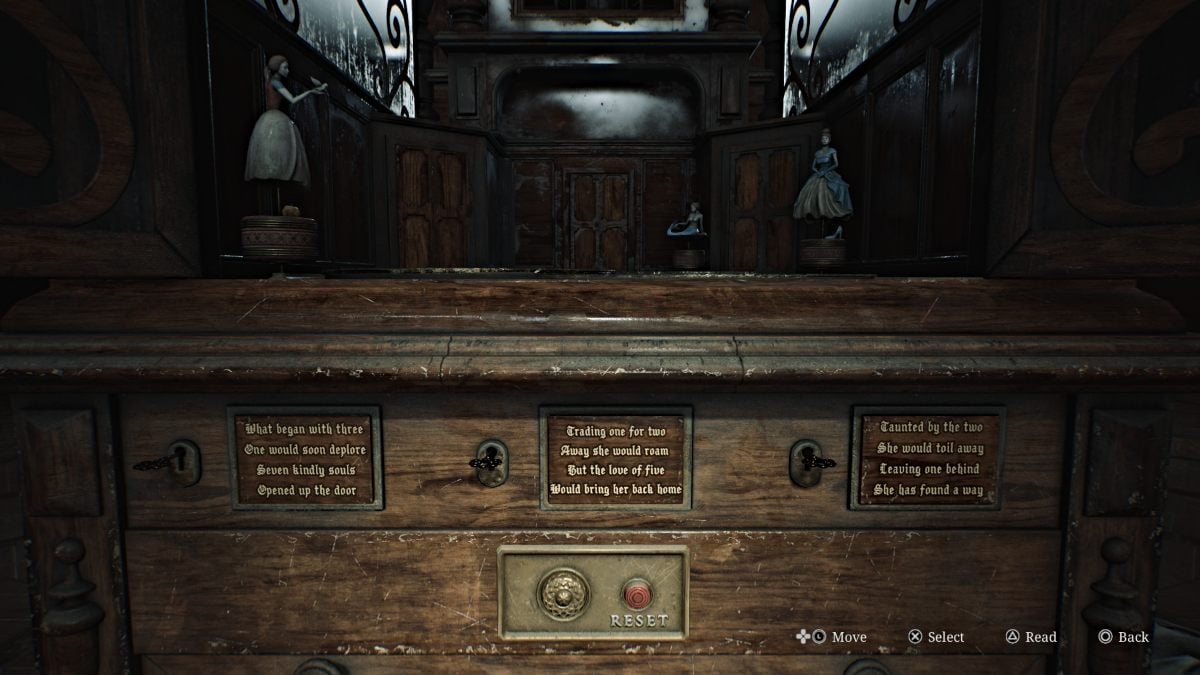
For Snow White, turn her key seven times. For Little Mermaid, turn her key five times. Finally, for Cinderella, turn her key one time.
Once you do, a familiar tune will play for James and he'll receive the 3F Corridor Key . This will unlock the gated hallway on the third floor, where you heard Mary's voice.
It's now time to face the music, literally?
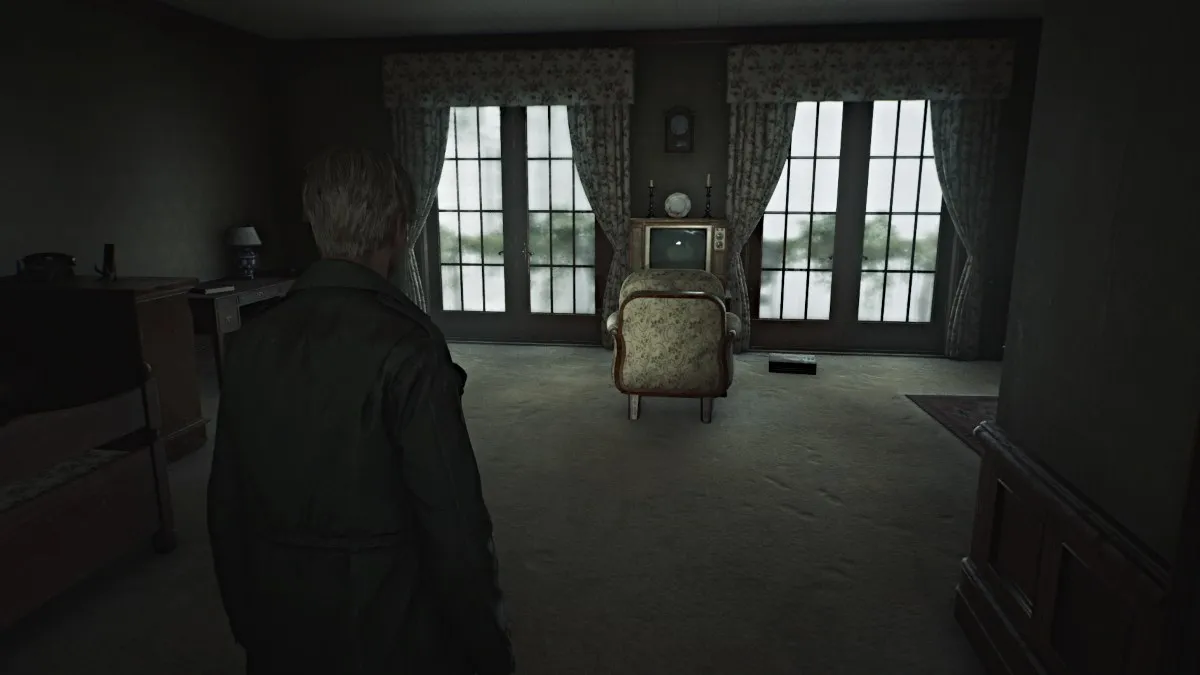
Go all the way up to the third floor and use the 3F Corridor Key on the gate. Go down the hall to the last room on the right and use the Room 312 Key to enter.
As you'll recall, this is the room where James and Mary stayed during their last visit to Silent Hill. Despite his assumption, Mary doesn't seem to be here either, but there's a TV with a VCR for your use. Go over and put the Video Tape you got from the Basement inside the VCR.
During the cutscene, the tape begins with the final moments of their visit to the town, and Mary asking James to bring them back one day. At one point she coughs, and the tape devolves into a mess of static and unstable images. However, among them a sequence plays of James approaching Mary in her bed and suddenly suffocating her with a pillow, revealing that he actually killed her.
James sits in silence, at last faced with the actual truth that he's subconsciously denied this entire time, to the point of believing Mary was dead for three years yet actually still alive (in fact it was only days, thanks to Laura's information).
After an emotional scene with Laura, the room transforms, though not into the usual version of the Otherworld. Instead, everything in the room is burnt and drenched in water, as if in the aftermath of a fire. Mary's voice suddenly calls out to James on his radio.
Once you have control, leave the room.
With the truth now known, the rest of the hotel appears to also be burnt, soaked, and falling apart. Go into Room 314 and grab Handgun Ammo from the bedside table, then go into the bathroom and through the wall gap to the hallway. There's more Handgun Ammo inside a table drawer to your right.
Also, be aware that there are NO monsters in Lakeview's Otherworld, so you can travel freely without having to worry.
The only way forward is south down the hall, so head that way and duck through the debris. You'll notice there's a high crawlspace to your left as you pass. Go down the hall and to the left where there's a pushcart for you to use. Crawl into the room ahead first where there's an ominous message scratched on the wall and a Syringe on a table.
Take the pushcart down the hall to the crawlspace, but it quickly collapses through the floor, ruining that plan. Instead, jump down the hole that's been made, bringing you to the second floor. Go down the hall and grab a Health Drink from Room 207 before going into the nearby Restroom .
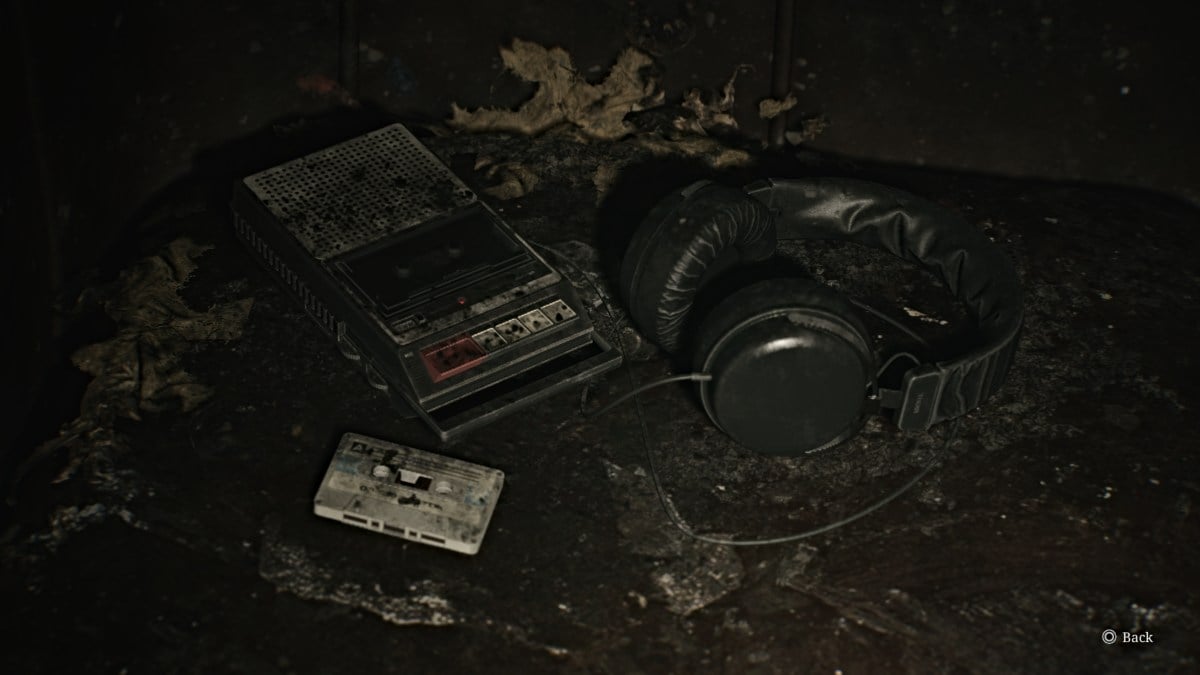
Use it to cross over into the Reading Room , and you'll find a Glimpse of the Past (seen above) sitting on a nearby couch. Use the Red Save Point then leave the room through the double doors. Go across to the Cloakroom and into the Hall. In the back left corner, you'll see the lit Elevator through a hole in the wall, which you need to get to.
To do that, go to the right side of the Hall and look up to spot a crawlspace. Use the shelf under it to climb through to the Nurse's Office . Make your way around through the office, listen to an ominous tape recording on the table if you wish, and then continue through the wall crack to the hallway. Follow it all the way to the Elevator and take it down to the Basement .
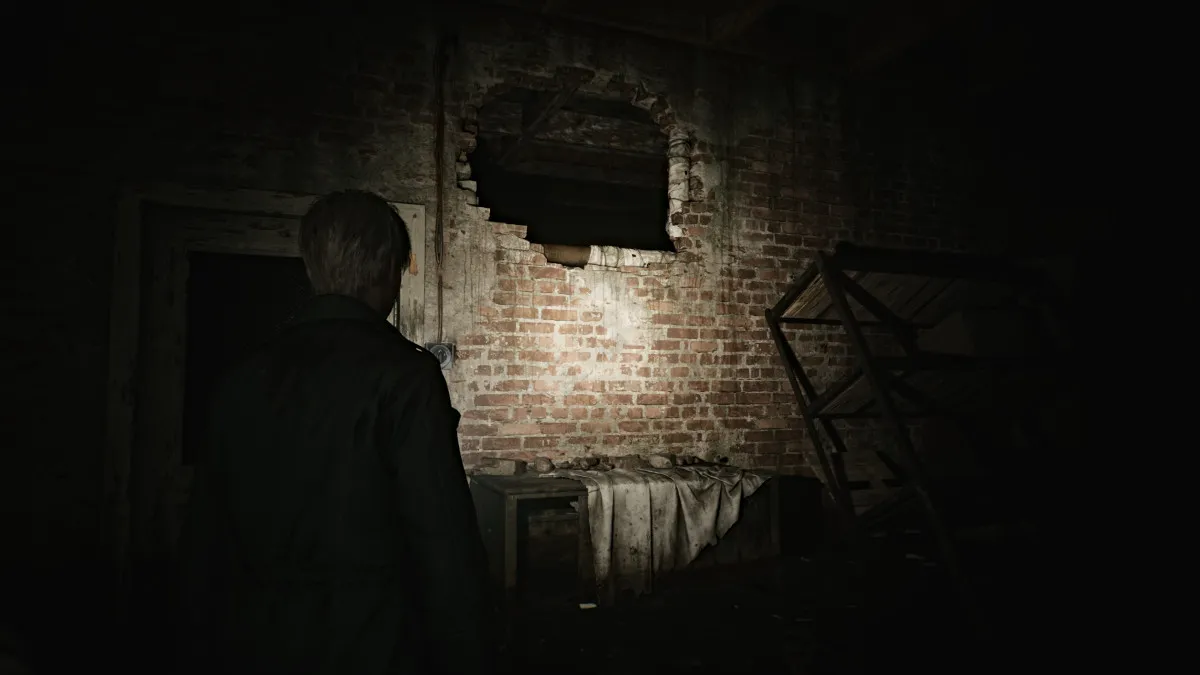
Once you exit the elevator, make your way through the flood to the Venus Tears Bar . Use the Red Save Point behind the bar and then head through the kitchen area and then to Liquor Storage . Grab the Rifle Ammo that's in there and then use the high crawlspace in the wall beside the locked door to get out.
Ahead of you will be a door that's glowing strangely bright from the other side. Head over and go inside, where a cutscene will play with Angela standing on a fiery stairwell.
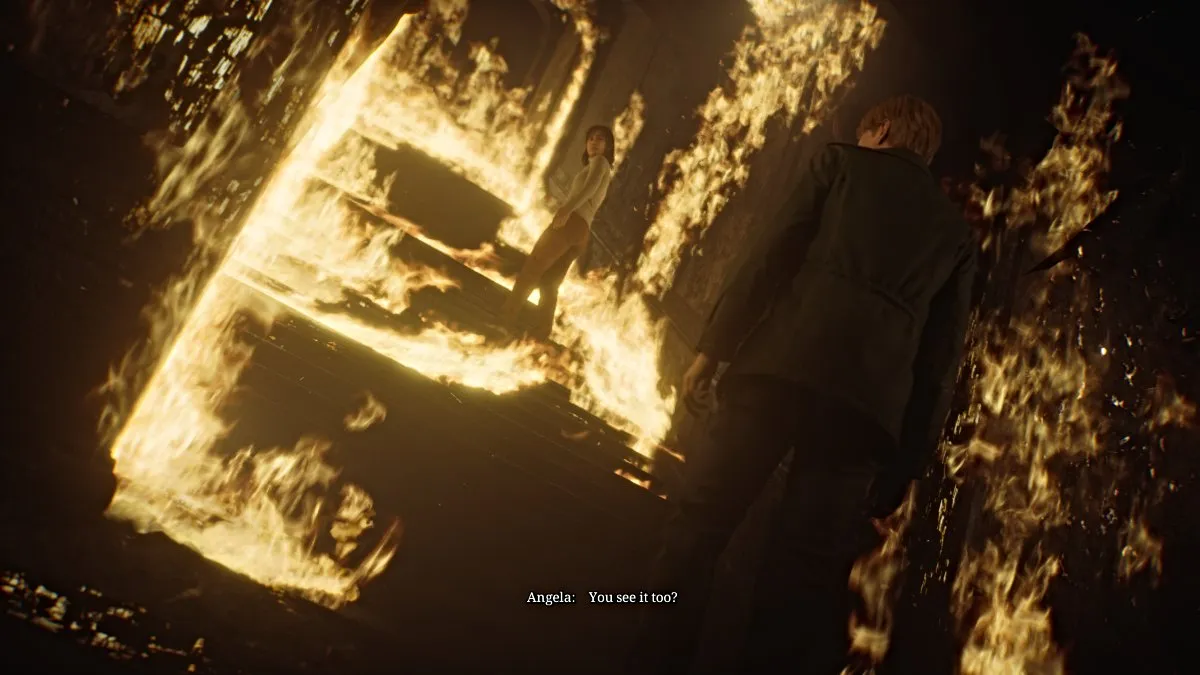
This serves as Angela's final farewell as she goes up the stairs, her fate unknown but hinted. James leaves to continue on.
Make your way through the rest of the Basement, where you'll notice there are now some monsters but they will not attack James . They're entirely passive, so just leave them be and save your ammo . Go into the Manager's Office, cross into the TV Room, and follow a hall that leads off the map.
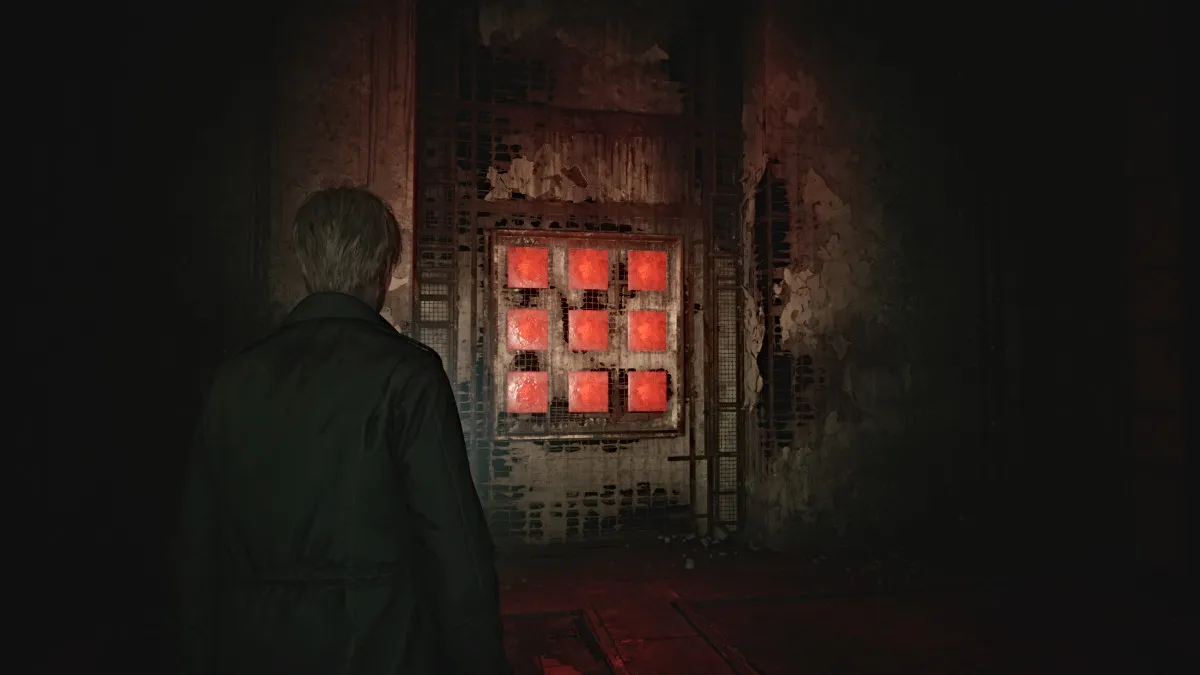
Continue until you come across a set of nine Red Save Points . The game obviously insists that you save here, so do so. With that, take a deep breath and go through the double doors ahead.
Inside is a seemingly dark and empty room, but suddenly Mary...or rather, Maria's voice yells for James. Once again she's "alive" but held captive now by two Pyramid Heads. Despite James' pleas, they proceed to stab Maria dead once again, and he yells in frustration.
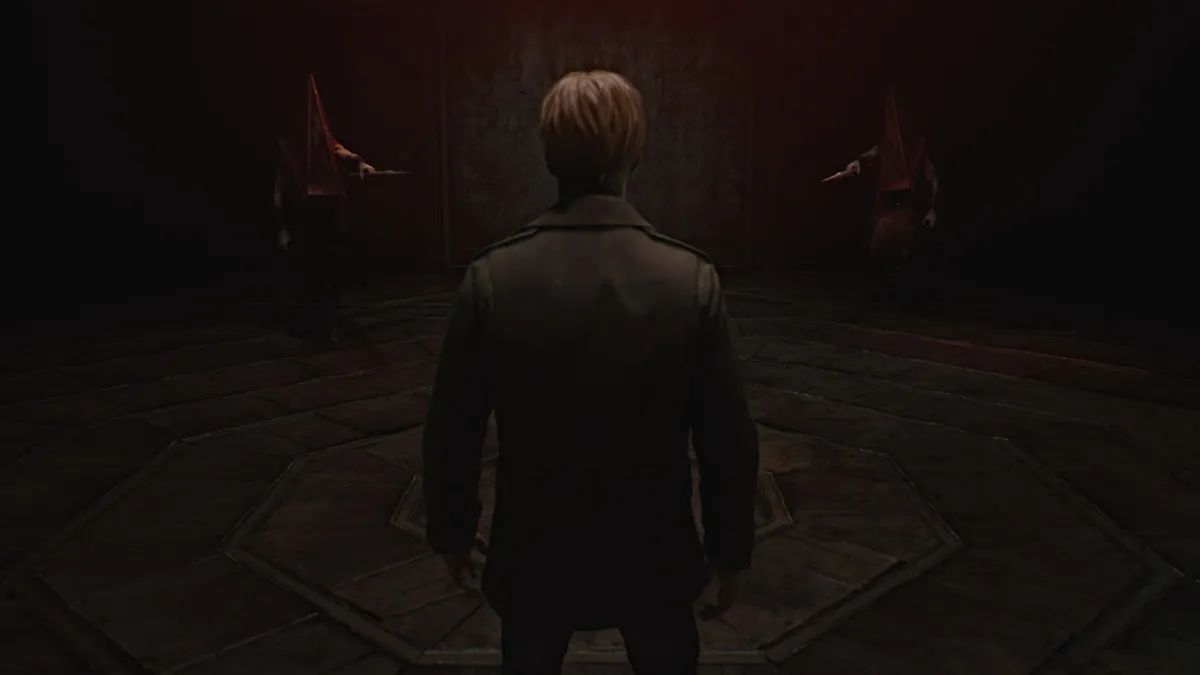
He finally makes his confession of needing Maria, an alluring shadow of his deceased wife, to soothe his pain and at the same time punish him for what he's done. That punishment has clearly been dealt, and James declares, "I don't need you anymore", likely referring to both Maria and Pyramid Head.
With that, they both approach James with spears in hand, ready to test that declaration.
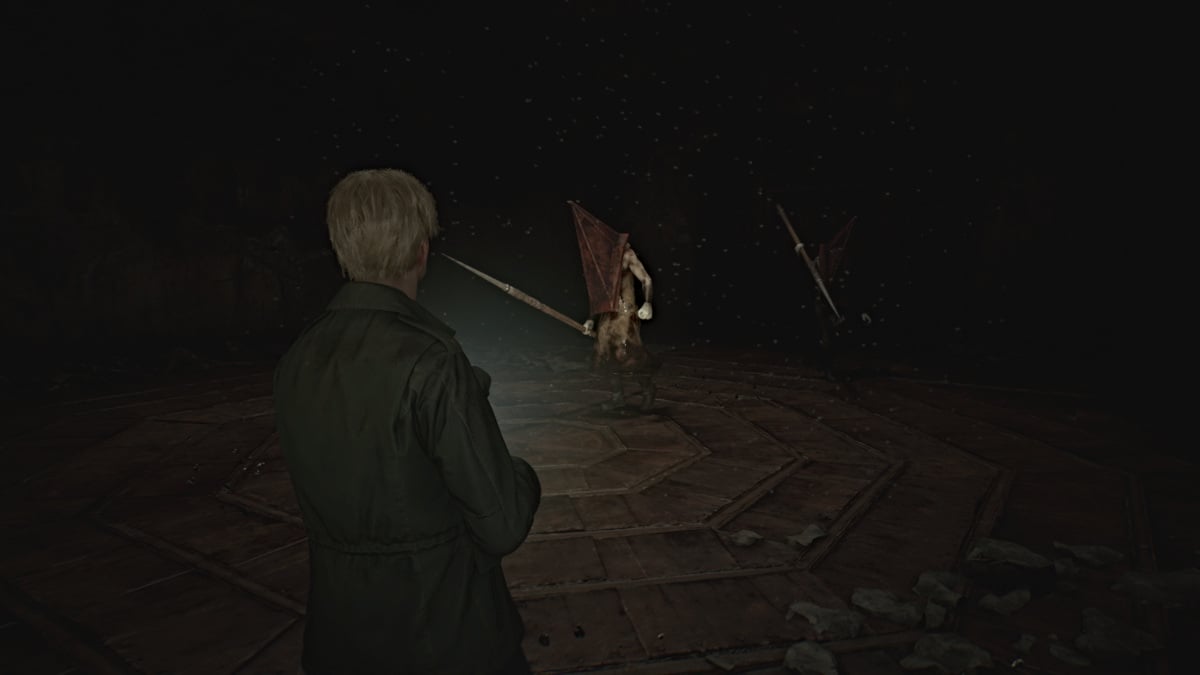
As soon as James says, "I'm ready", the battle begins. Both Pyramid Heads will quickly advance toward you with their spears, and your goal here is to deal as much damage as possible to both of them. You'll need every bullet you've got, and if you need more, there are plenty of ammo boxes and Health Drinks scattered around the room .
Starting with the Hunting Rifle is optimal, as it has the best range with the most damage dealt. After that, you can interchange between the Handgun and Shotgun as needed. Keep your distance as they'll both attempt various lunge and stabbing attacks with their spears. Kite them around the room while unloading as many shots as possible, and eventually, a cutscene will trigger.
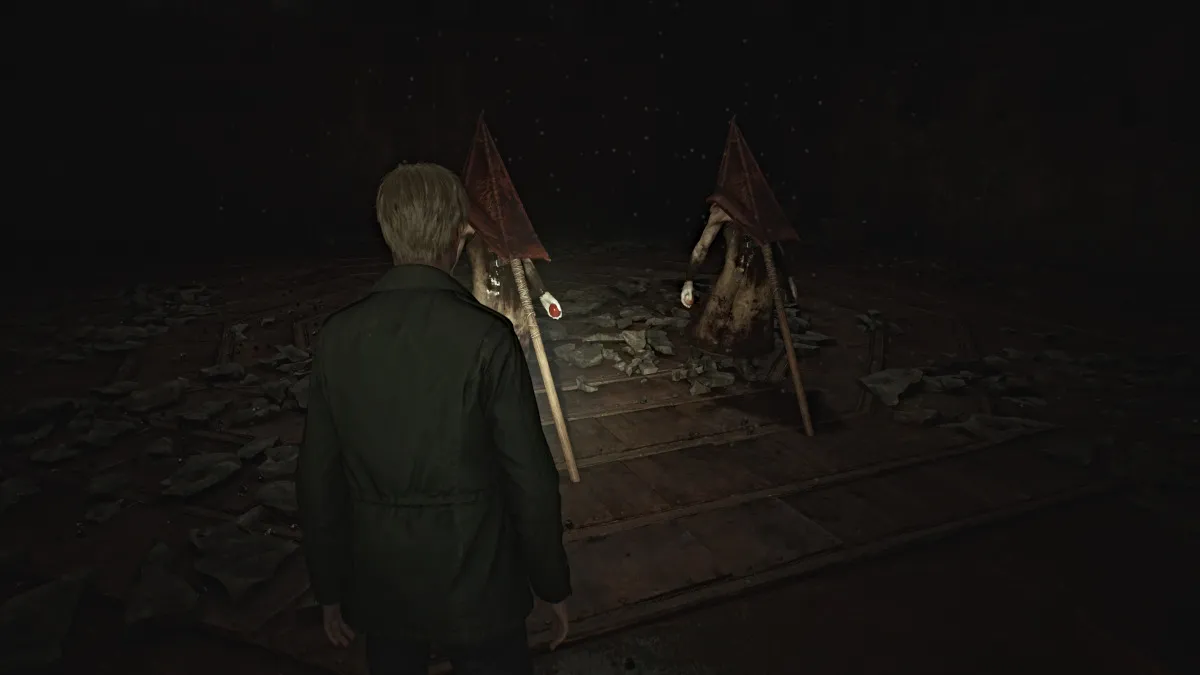
Both Pyramid Heads will go to the center of the room and ceremoniously impale themselves with their own spears. Their judgment has been made, so their presence is no longer needed.
Approach them and take the Scarlet Egg and Rust-colored Egg from their hands. Use these to unlock the doors that lead out.
You'll arrive back outside on a metal walkway, where there are several more ammo cartridges to pick up, along with a Syringe and the "SHAPE FORCES THE MIND" Strange Photo at the back right corner.
Reload all your weapons, top off your health, and head all the way up the stairs until you reach the top of the building. From here, a cutscene with Mary will play that's influenced by your decisions up to that point in the game. How you treated Maria, whether you looked at certain items often, whether you kept your health high or low, etc. They will all affect the subsequent ending as well.
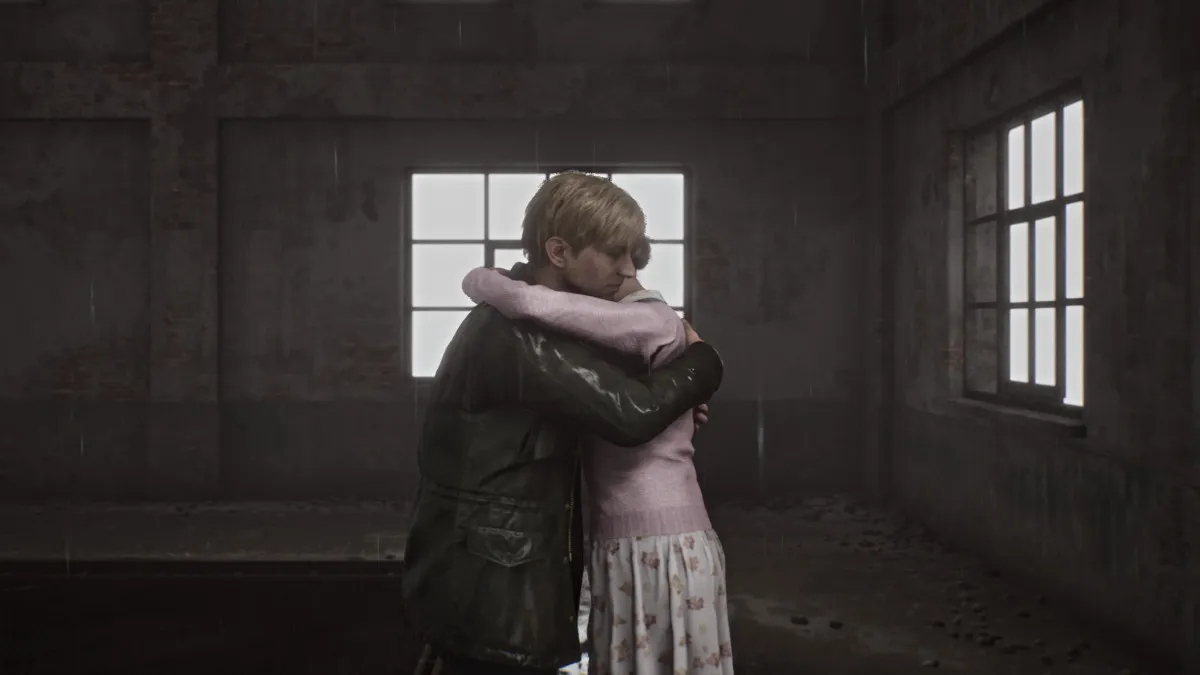
Once Mary (or Maria) succumbs to her turmoil and transforms into a monstrous version of herself, you'll be forced to fight her to ultimately bring peace or at least some sort of finality.
Like the Flesh Lips boss much earlier in the game, she'll be encased in a floating cage, and you'll need to keep your distance and deal damage, preferably with either your Hunting Rifle or Handgun . She also uses flocks of moths to chase and deal ranged damage to James, while also using a tentacle appendage to deal brutal stabbing attacks.
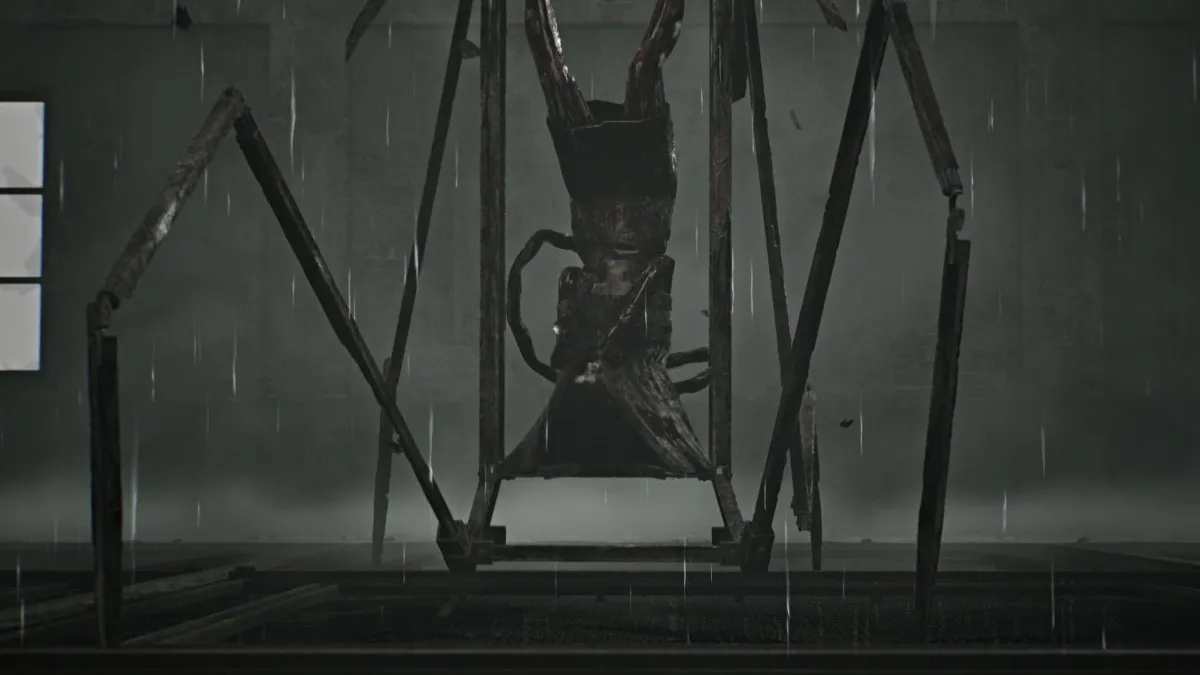
Once you deal enough damage, the cage surrounding Mary will morph into something akin to a spider, also similar to Flesh Lips' second form. She'll force James down into a dark passage area right underneath the metal platform, and you'll need to do damage whenever she appears from above.
The final phase of the fight will collapse the entire area, and you'll need to keep shooting while dodging her charge and swing attacks with her metal "legs". Her attacks hit hard, so be sure to stay topped off as much as possible. This is the final boss of the game, so make use of everything you have.
Eventually, her cage will collapse, leaving her unable to move and mumbling James' name. Go over and shoot one last time to end the fight.
Afterward, your designated ending will play out, again depending on your actions up to now. Félicitations!
Below we've listed all 43 unlockable achievements/trophies in Silent Hill 2 Remake, including 31 hidden ones. Unlocking all of them will require multiple playthroughs.
| Achievement/Trophy | Comment débloquer |
|---|---|
| Tu m'as rendu heureux | Collect all other trophies/achievements dans le jeu. |
| Pas de retour en arrière maintenant | Try to leave Silent Hill in the Observation area. (Walk down the opposite direction on the road at the start of the game until James turns back.) |
| Profitez de votre séjour | Atteignez Silent Hill. |
| Agréable et confortable | Rejoignez les appartements Wood Side. |
| Let's NOT Party! | Shoot all the balloons in Wood Side Apartments. (Shoot all balloons in the "Welcome Home" apartment; recommend saving before doing so to recover the bullets used.) |
| D'un autre monde | Entrez dans l'Autre Monde pour la première fois. |
| Passé | Made your way out of Blue Creek Apartments. |
| Étonnant | Rencontrez Maria. |
| Tout semble en ordre | Découvrez le secret de la salle 106. |
| Restes | Find the pizza in Pete's Bowl-O-Rama |
| Admis | Rejoignez l’hôpital de Brookhaven. |
| Carburant de cauchemar | Battez le Flesh Lip. |
| Alone Again. | Survive the Chase in Brookhaven Hospital. |
| Dans l'abîme | Atteignez le bout du long escalier. |
| Impardonnable | Battez le papa abstrait. |
| Sanctuaire intérieur | Find His Room. (When Pyramid Head first chases you in the Desolate Area of the Labyrinth, run left past a ladder and through double doors to find his lair. Quickly exit after to avoid getting caught by him.) |
| Un être humain | Tuez Eddie. |
| Lueur d'espoir | Rejoignez l’hôtel Lakeview. |
| Fléau du lac Toluca | Passez 10 minutes sur le lac Toluca. |
| Vraiment spécial | Obsolète |
| It's Bread. | Interagissez avec du pain. |
| Obselete | Destroy what you don't need. |
| That Part of Me. | Battez-la. |
| Bûcheron | Trouvez la tronçonneuse. |
| Impitoyable | Achevez 50 ennemis avec une attaque piétinée. |
| Pas grave | Tuez 75 ennemis avec des armes à distance. |
| Traumatisme contondant | Tuez 75 ennemis avec des armes de mêlée. |
| You Never Know... | Essayez d'ouvrir les portes verrouillées 50 fois. |
| Éclaté | Détruisez 50 fenêtres. |
| Faire la paix | Reach the "Leave" ending |
| Cercle vicieux | Reach the "Maria" ending |
| Seule issue | Reach the "In Water" ending |
| Défiez même la mort | Reach the "Rebirth" ending |
| Le meilleur Boi | Reach the "Dog" ending |
| Chapeau en aluminium | Reach the "UFO" ending |
| J'ai vu cette ville | Terminez New Game Plus dans n'importe quelle difficulté. |
| Silence radio | Terminez le jeu sans utiliser la radio. |
| James of All Trades | Kill at least one enemy with Wooden Plank, Steel Pipe, Handgun, Shotgun and Rifle in a single playthrough. |
| Pièces non arrangées | Collectionnez toutes les photos étranges en une seule partie. |
| Archiviste | Collectez tous les mémos en une seule partie. |
| Plus rapide que le brouillard | Complete the game in under 10 hours. |
| As Close as You Like | Terminez le jeu sans tuer d'ennemis avec des armes à distance. |
| Faire la fête comme si c'était 2001 | Voir toutes les fins classiques (Leave, Maria, In Water, Rebirth, Dog). |
| Échos | Soyez témoin de tous les aperçus du passé en une seule partie. |
There are a total of eight possible endings in Silent Hill 2 Remake, and each has its own requirements to be unlocked. Only three specific endings ("Leave", "Maria", and "In Water") can be obtained during your first playthrough, while the rest can be unlocked during New Game Plus.
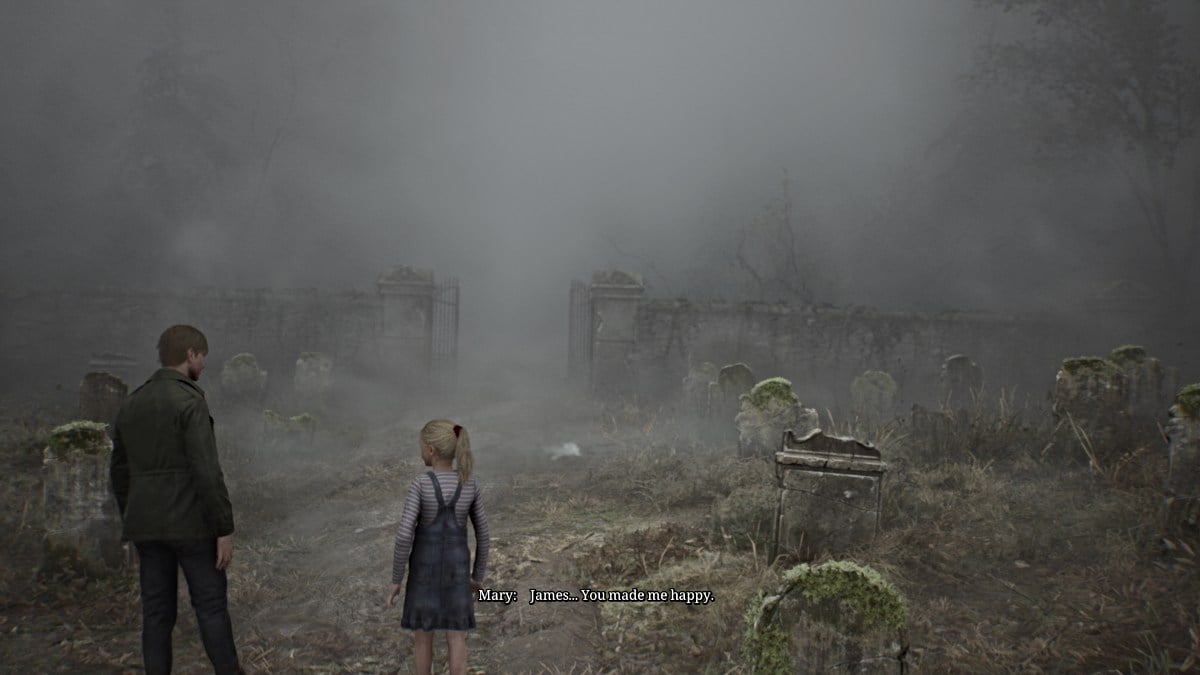
This is the "Best" ending for Silent Hill 2 Remake, as the story ends with James leaving Silent Hill with Laura in tow, having received forgiveness from Mary and realizing that he's allowed to move on. He and Laura leave Silent Hill together, and it's assumed that James adopts her as his daughter, since Mary wasn't able to.
Requirements for this ending:
Getting this ending also unlocks the 'Making Peace' achievement .
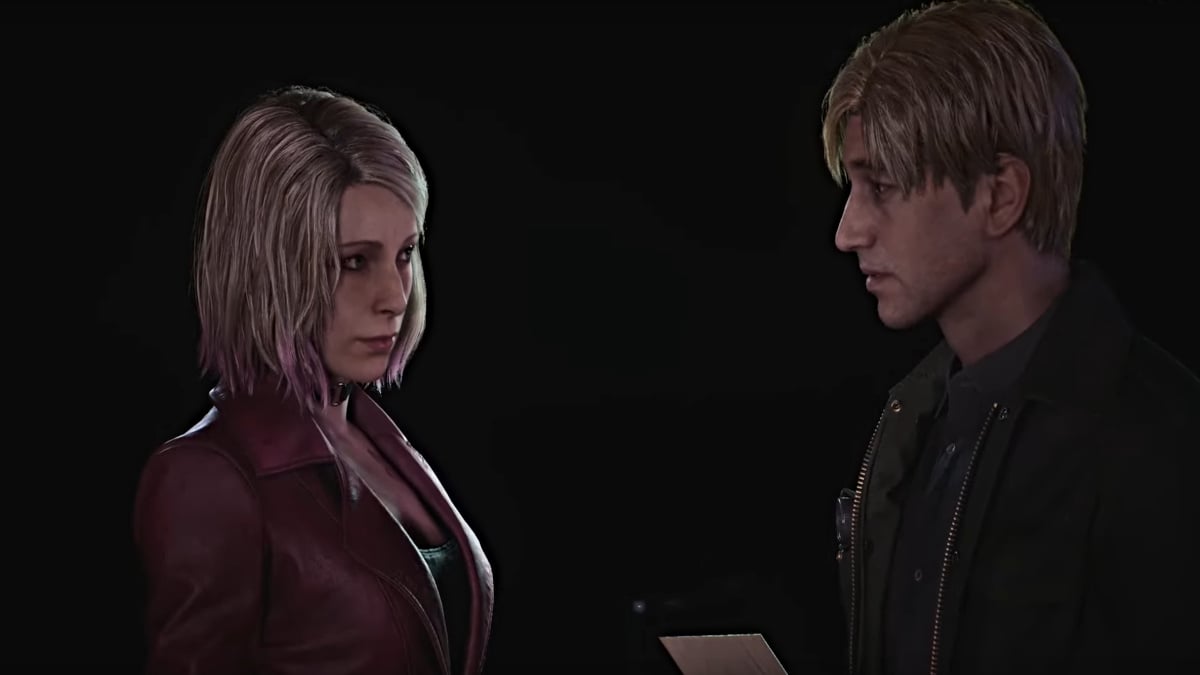
This is the designated "Bad" ending, as James instead leaves Silent Hill with Maria, having chosen her over Mary. At one point, Maria lets out a coughing fit and James acts annoyed, telling her to do something about it. He's learned nothing from his journey and Maria is likely doomed to succumb to the same illness that took Mary, the cycle beginning all over again.
Requirements for this ending:
Getting this ending also unlocks the 'Vicious Circle' achievement .
Debatably another "bad" ending, this is absolutely the most tragic ending in Silent Hill 2 Remake. After everything, James finds himself unable to move on from Mary's death and confesses that he simply can't live without her in his life. James drives his car into the depths of Toluca Lake in an attempt to reunite with Mary in death.
Requirements for this ending:
Getting this ending also unlocks the 'Only Way Out' achievement .
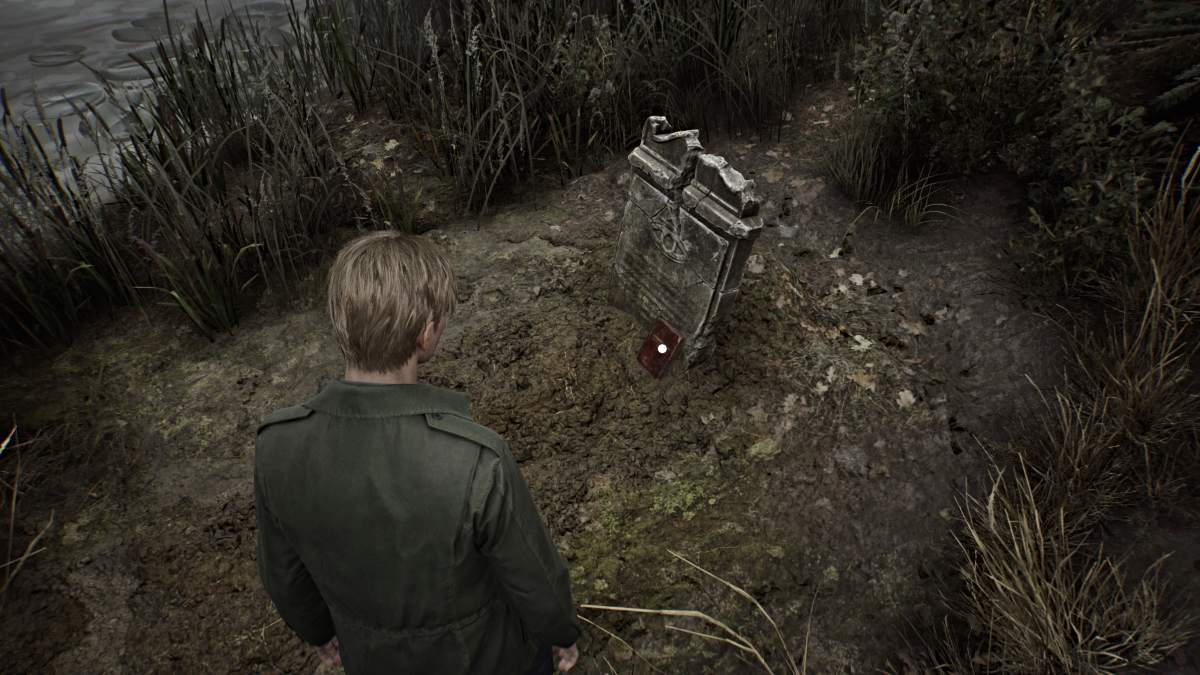
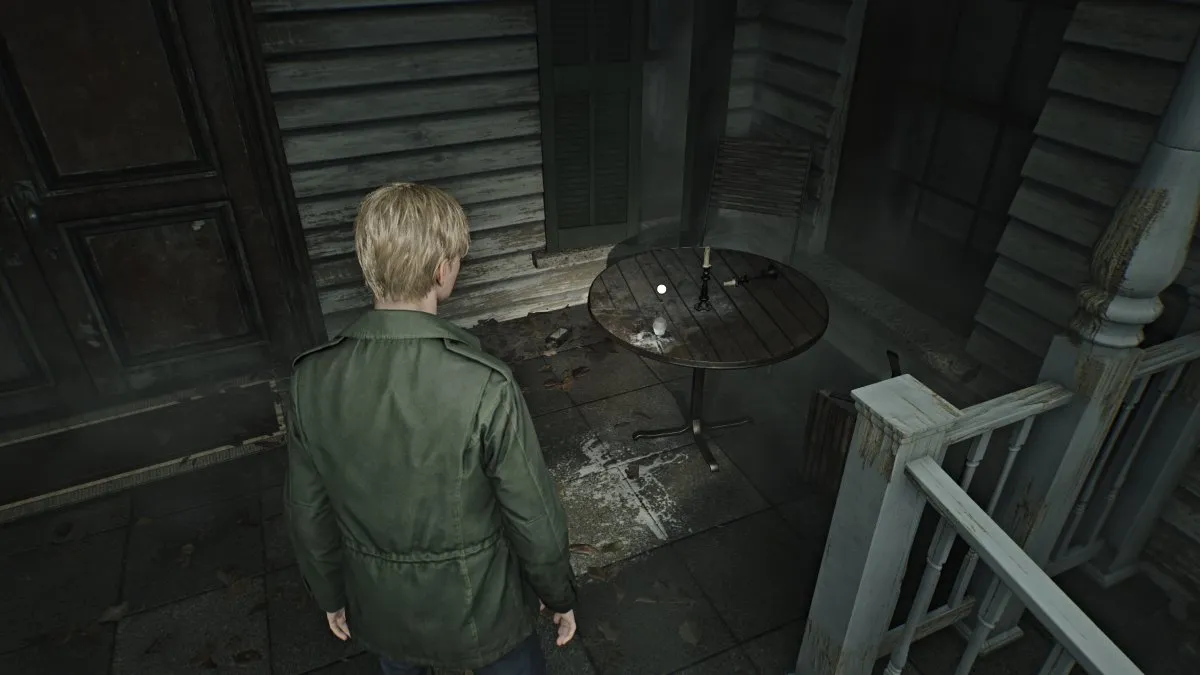
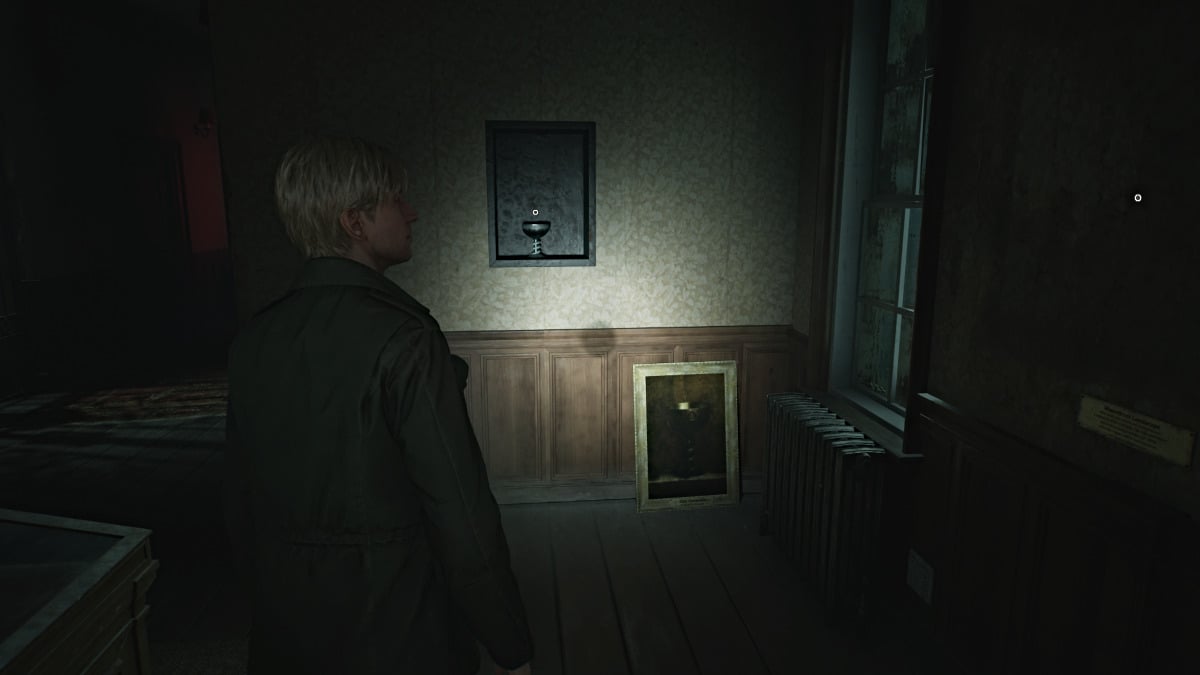
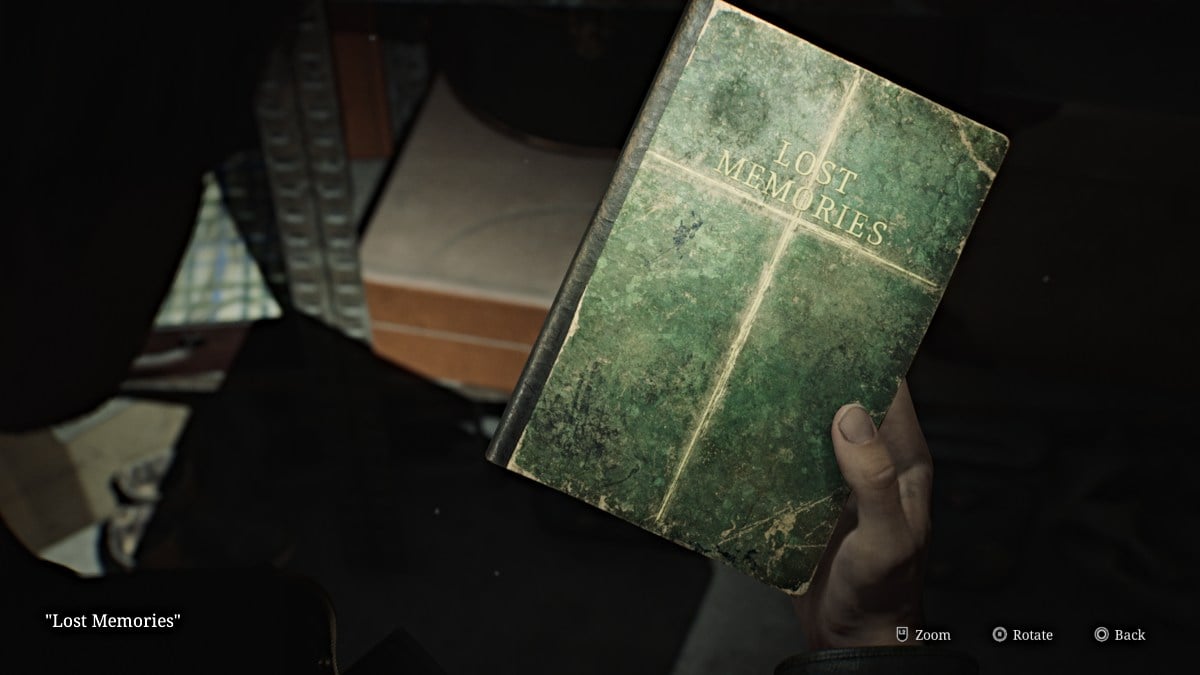
In this ending, after obtaining all the necessary ritual items James takes Mary's body and rows out to the island in the middle of Toluca Lake, where an old church is located. While its history is shrouded in mystery, James is determined to revive Mary using a strange ritual there, and we never know if it actually works.
Requirements for this ending:
Getting this ending also unlocks the 'Defy Even Death' achievement .
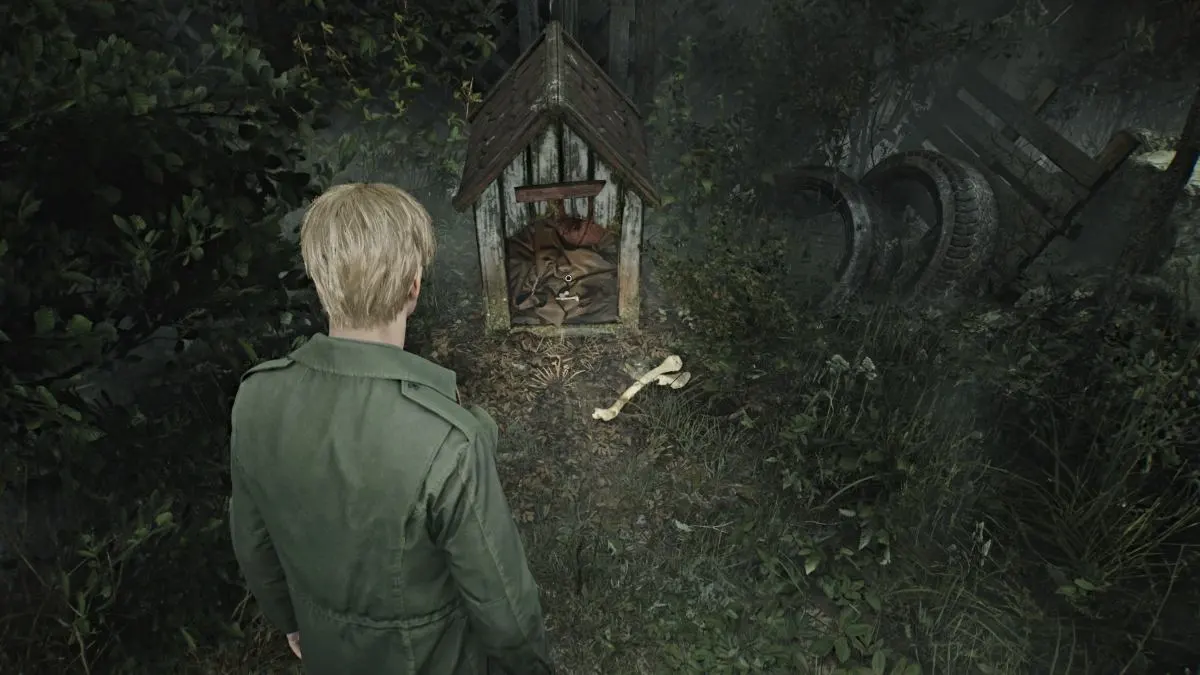
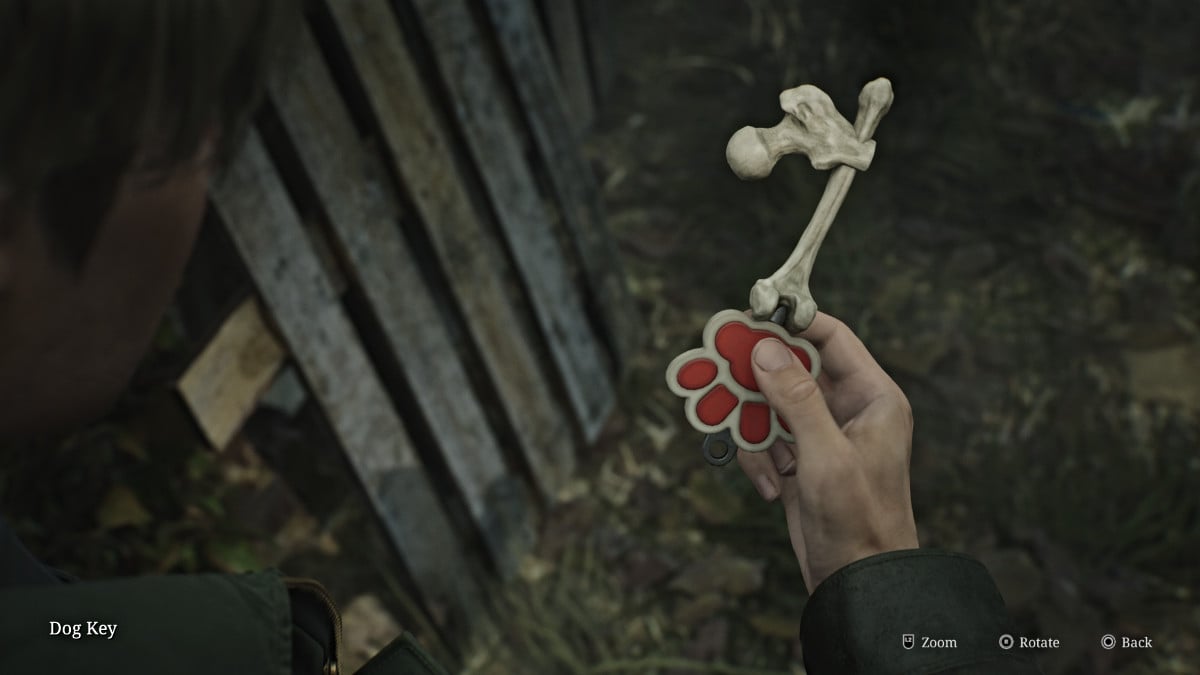
This is one of the game's two comical endings, and probably its most infamous. It has James open a door at the Lakeview Hotel to reveal a Shiba Inu dog named Mira sitting at a big computer console, controlling everything that's happened in Silent Hill up to that point.
Requirements for this ending:
Getting this ending also unlocks the 'The Goodest Boi' achievement .
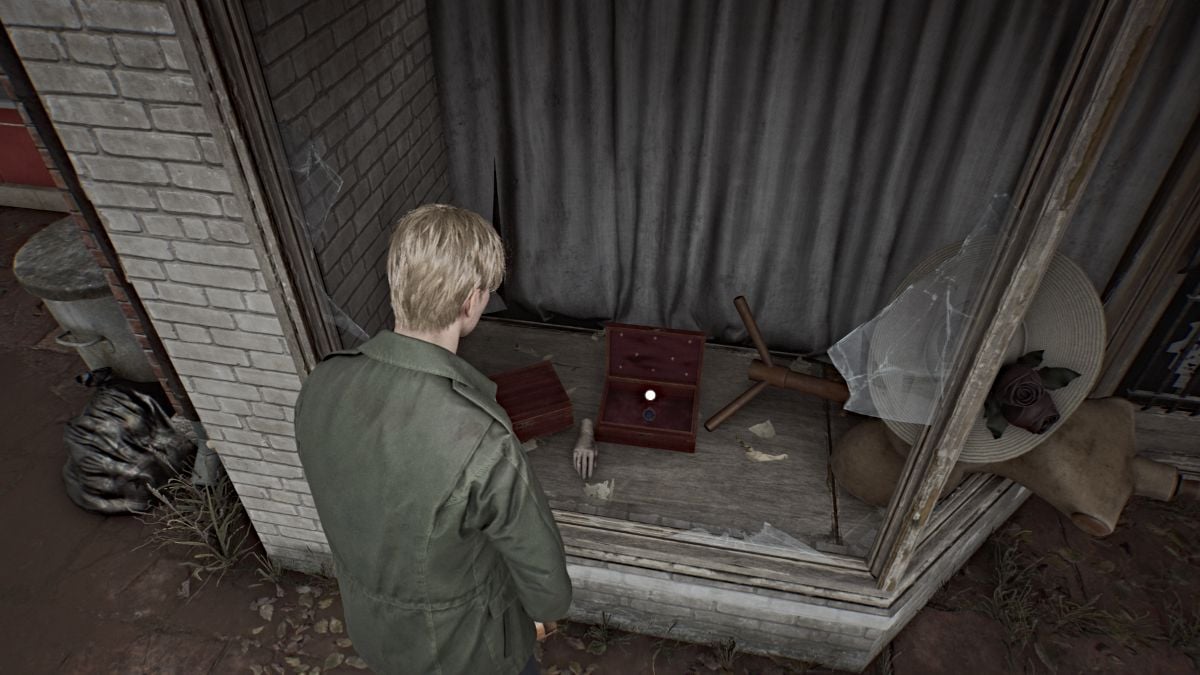
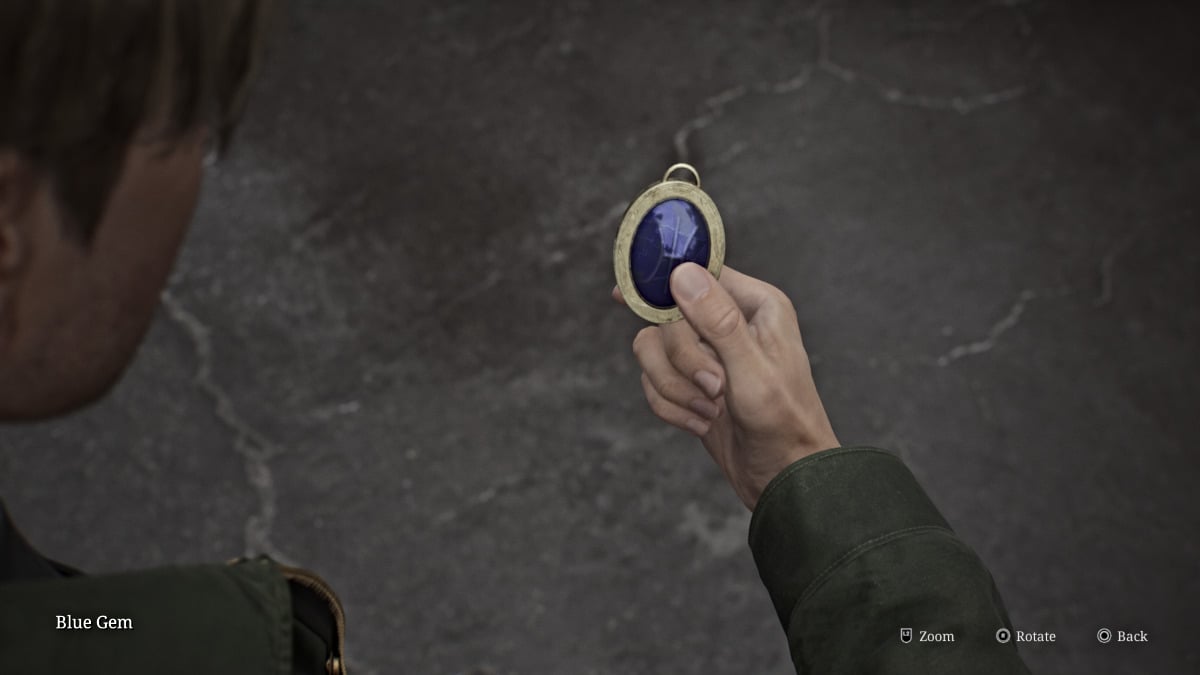
The second comical ending, presented as a silent film sequence, also takes place at the Lakeview Hotel and sees aliens actually visit James along with a hilarious cameo of a character from the original game.
Requirements for this ending:
Getting this ending also unlocks the 'Tinfoil Hat' achievement .
This is the first of two new endings added in Silent Hill 2 Remake, and it acts as a sort of expansion of the "In Water" ending. As James expresses that he simply can't live without Mary, in this version she appears next to him in the car, soothing him with her touch and voice.
James asks if she'll wait for him, and Mary insists that she's "always been waiting for him". The scene ends there, likely meaning that James chooses to live instead.
Requirements for this ending:
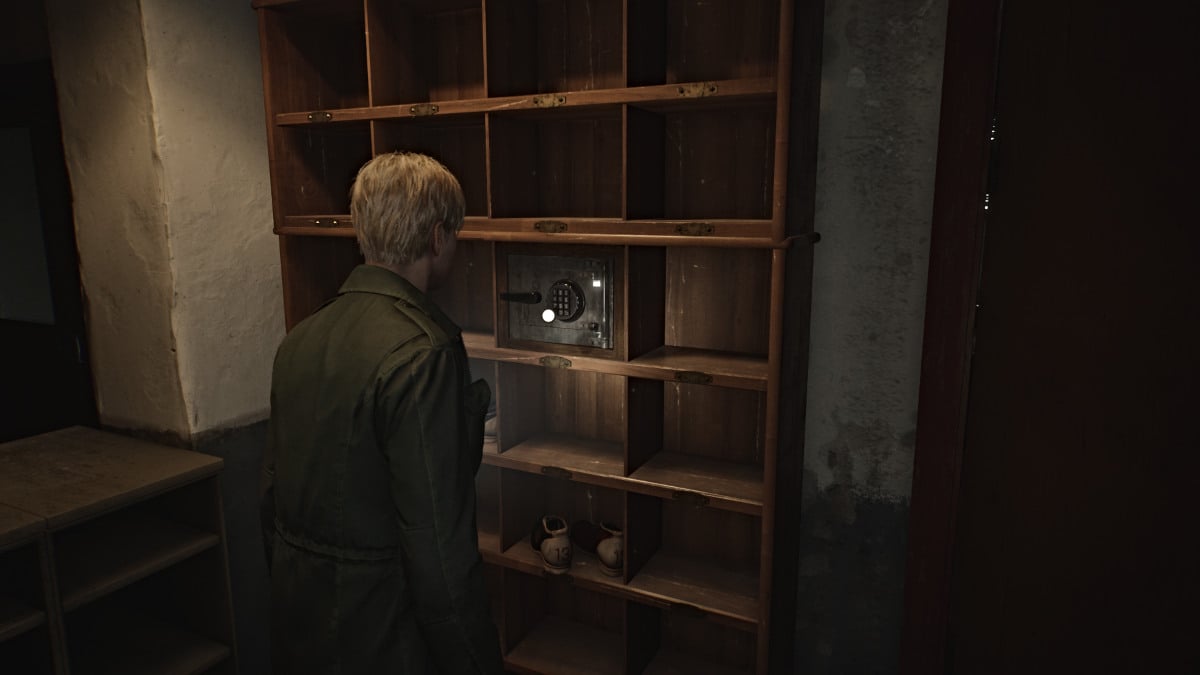
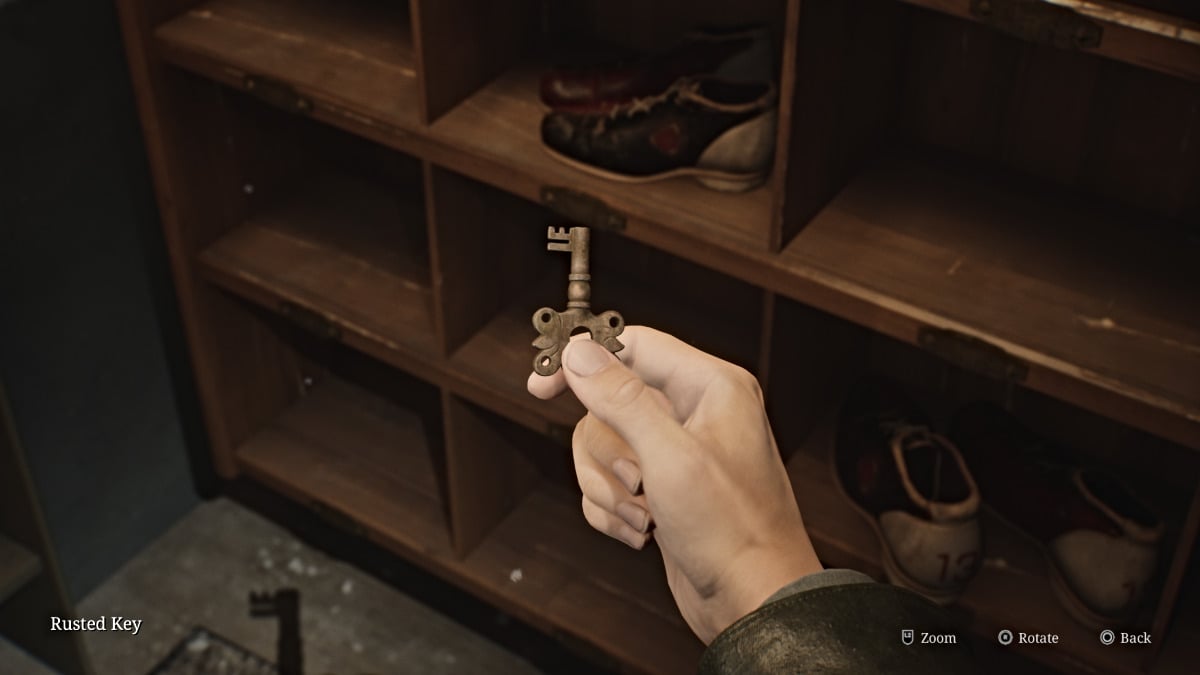
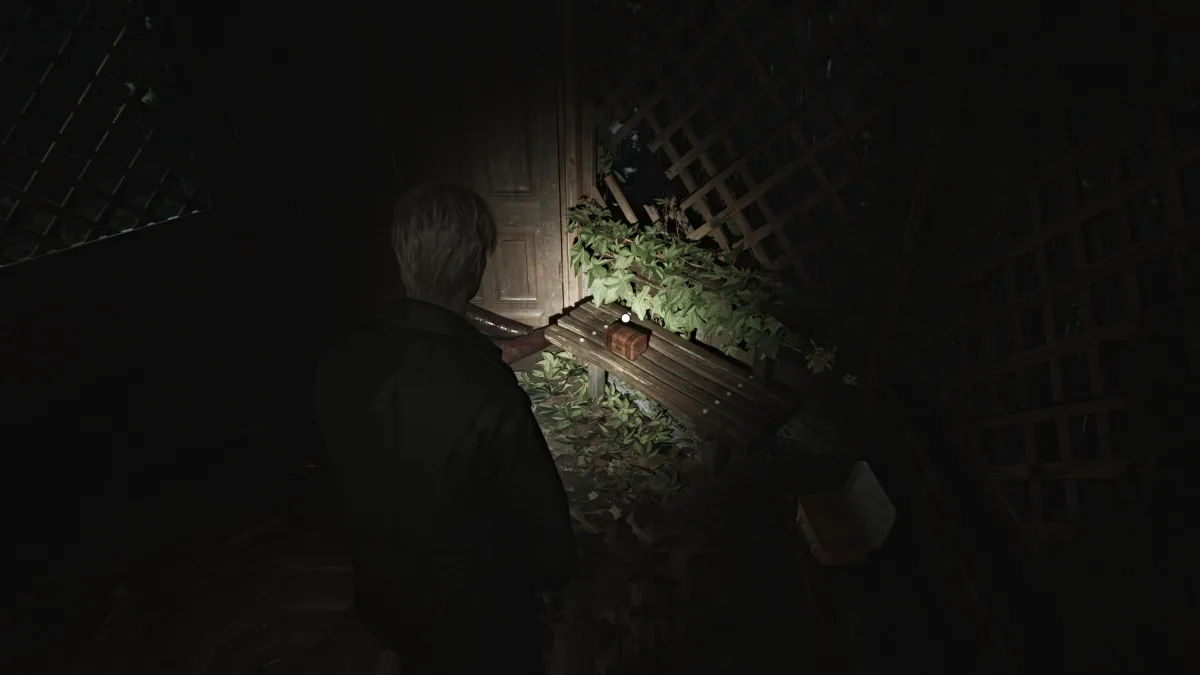
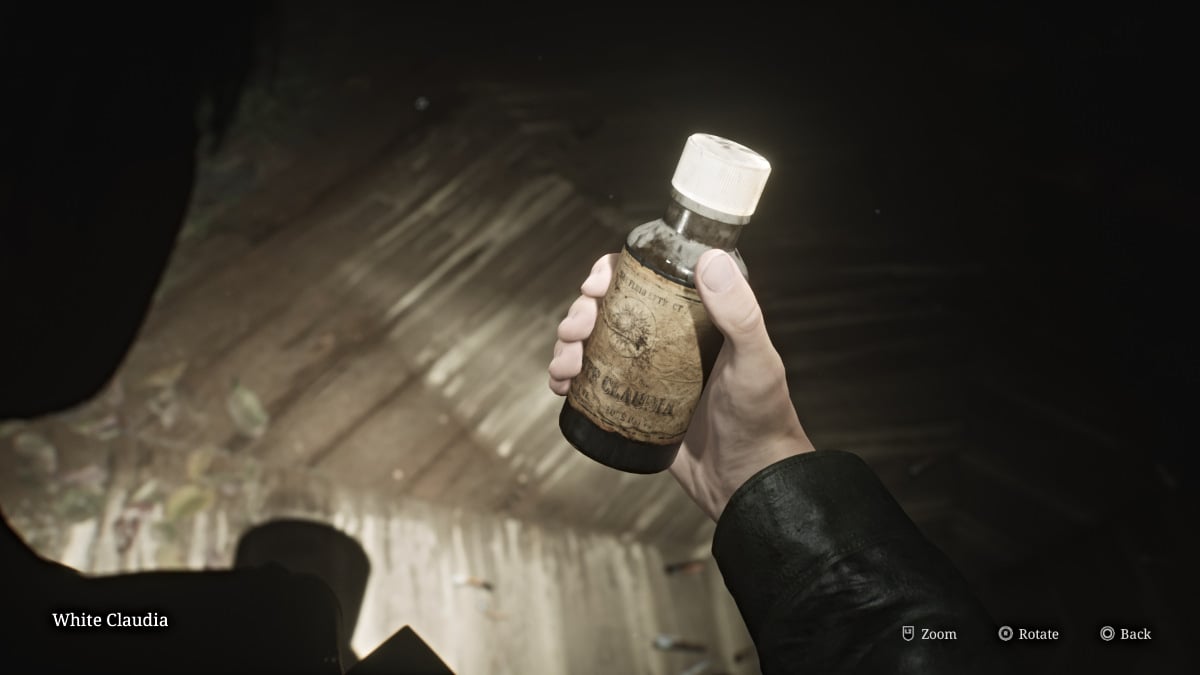
This is the second of two new endings added in Silent Hill 2 Remake, and it essentially presents the tape scene in the Lakeview Hotel much differently. Instead of the tape showing Mary's visible symptoms of illness and her death, James stays behind the camera in their hotel room and eventually puts it down as they continue packing. He promises to bring her back to Silent Hill, and the tape ends.
In the present, James is no longer sitting in the chair, seemingly gone. It alludes that because of the change in events on the tape, Mary was never sick and thus was never killed, meaning that the events of Silent Hill 2, at least for James, never happened.
Requirements for this ending:
Be sure to check out all of our latest gaming guides and news for the Silent Hill franchise here at Pro Game Guides, such as Silent Hill the Short Message walkthrough.