Implementasi berbagai model Deep Image Segmentation dengan keras.
Tautan ke postingan blog lengkap dengan tutorial: https://divamgupta.com/image-segmentation/2019/06/06/deep-learning-semantic-segmentation-keras.html
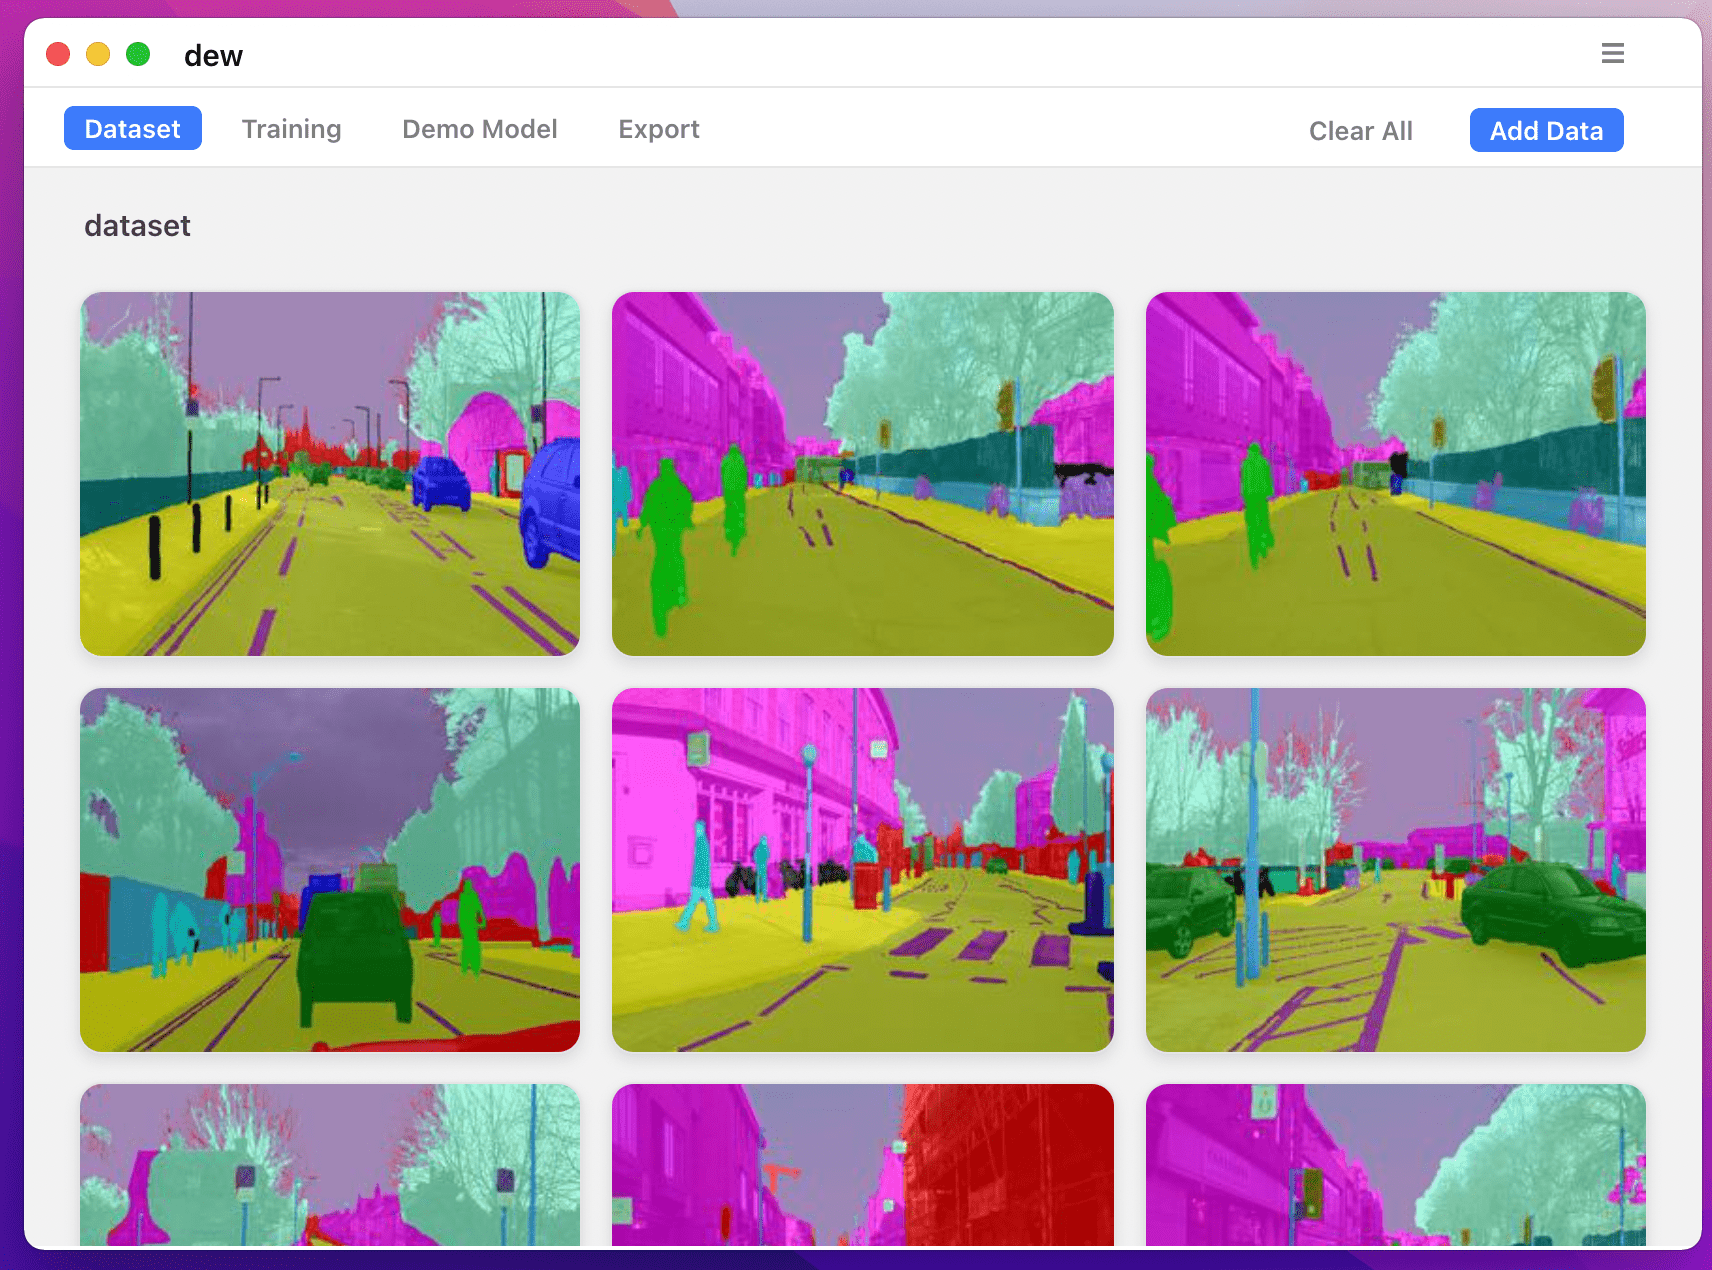
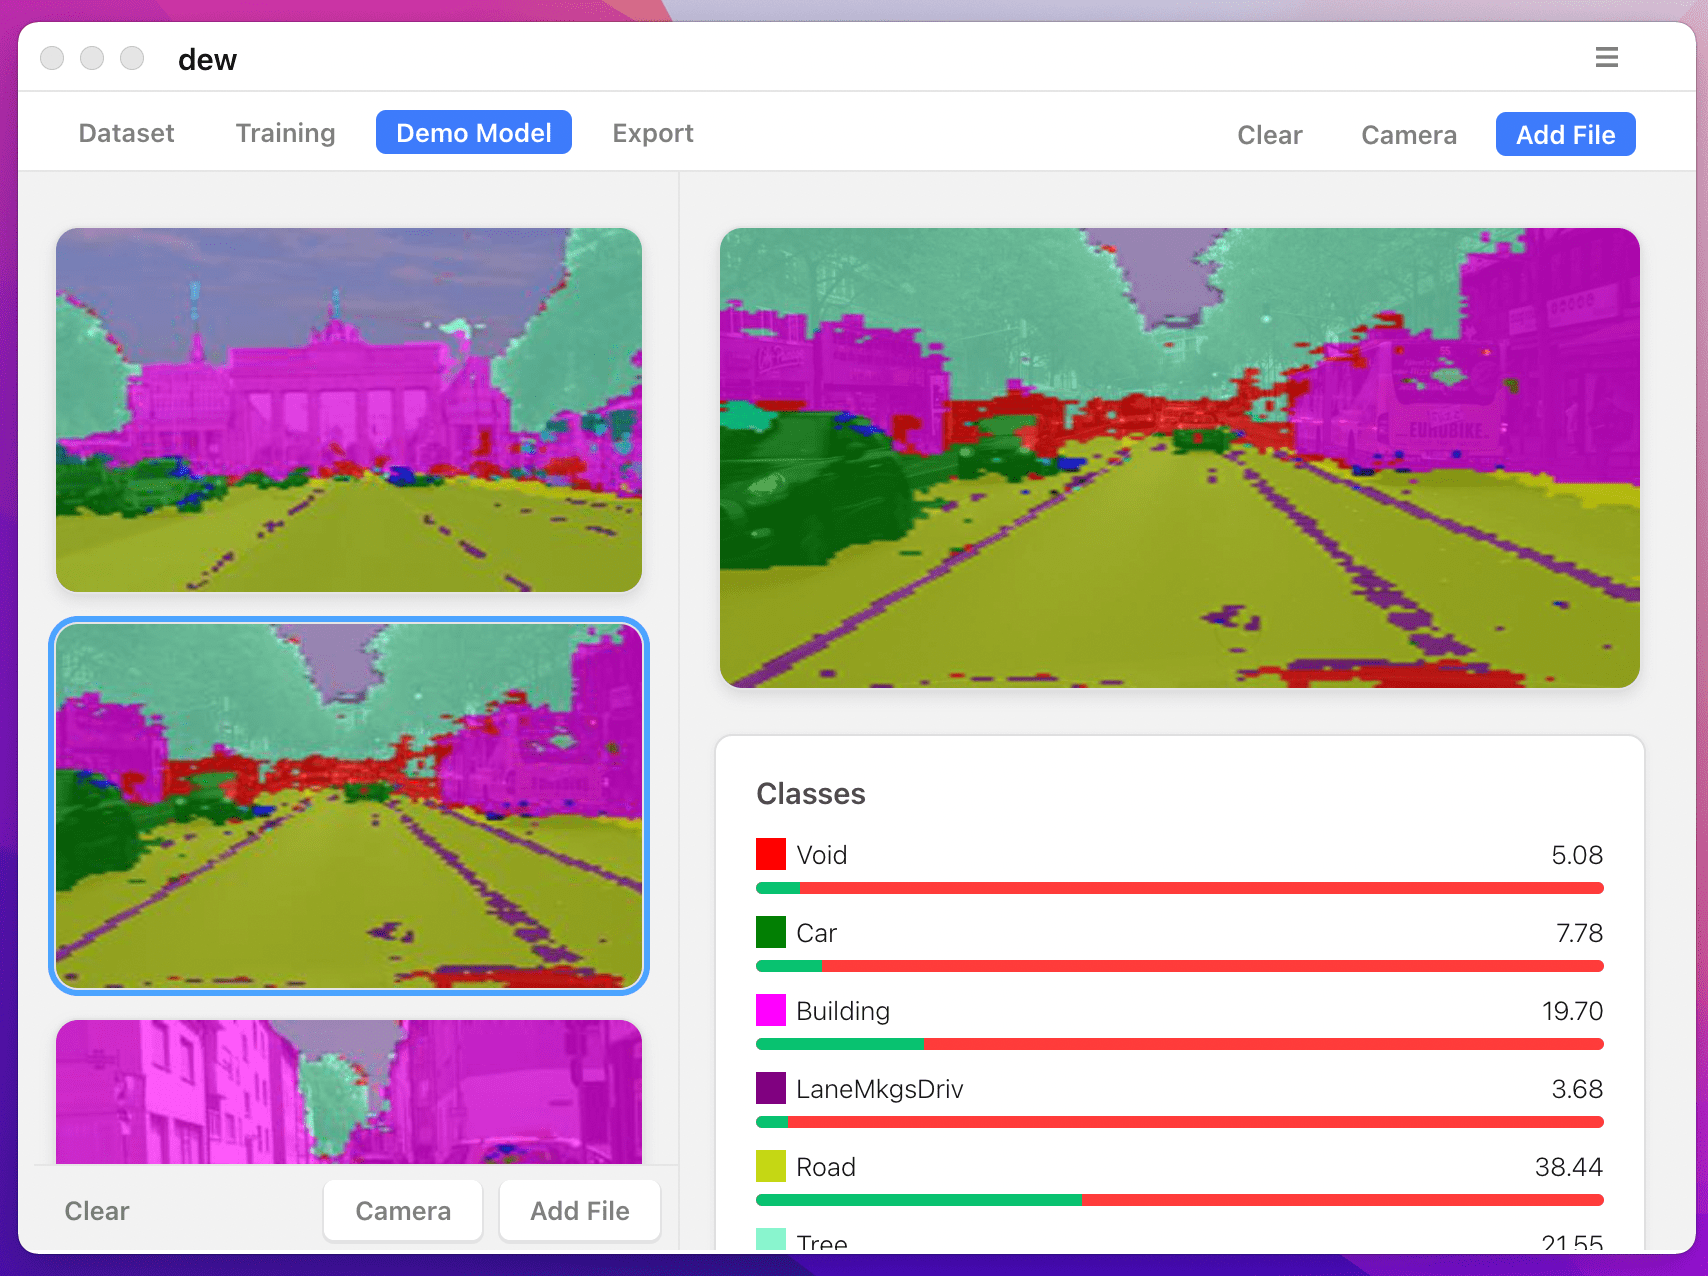
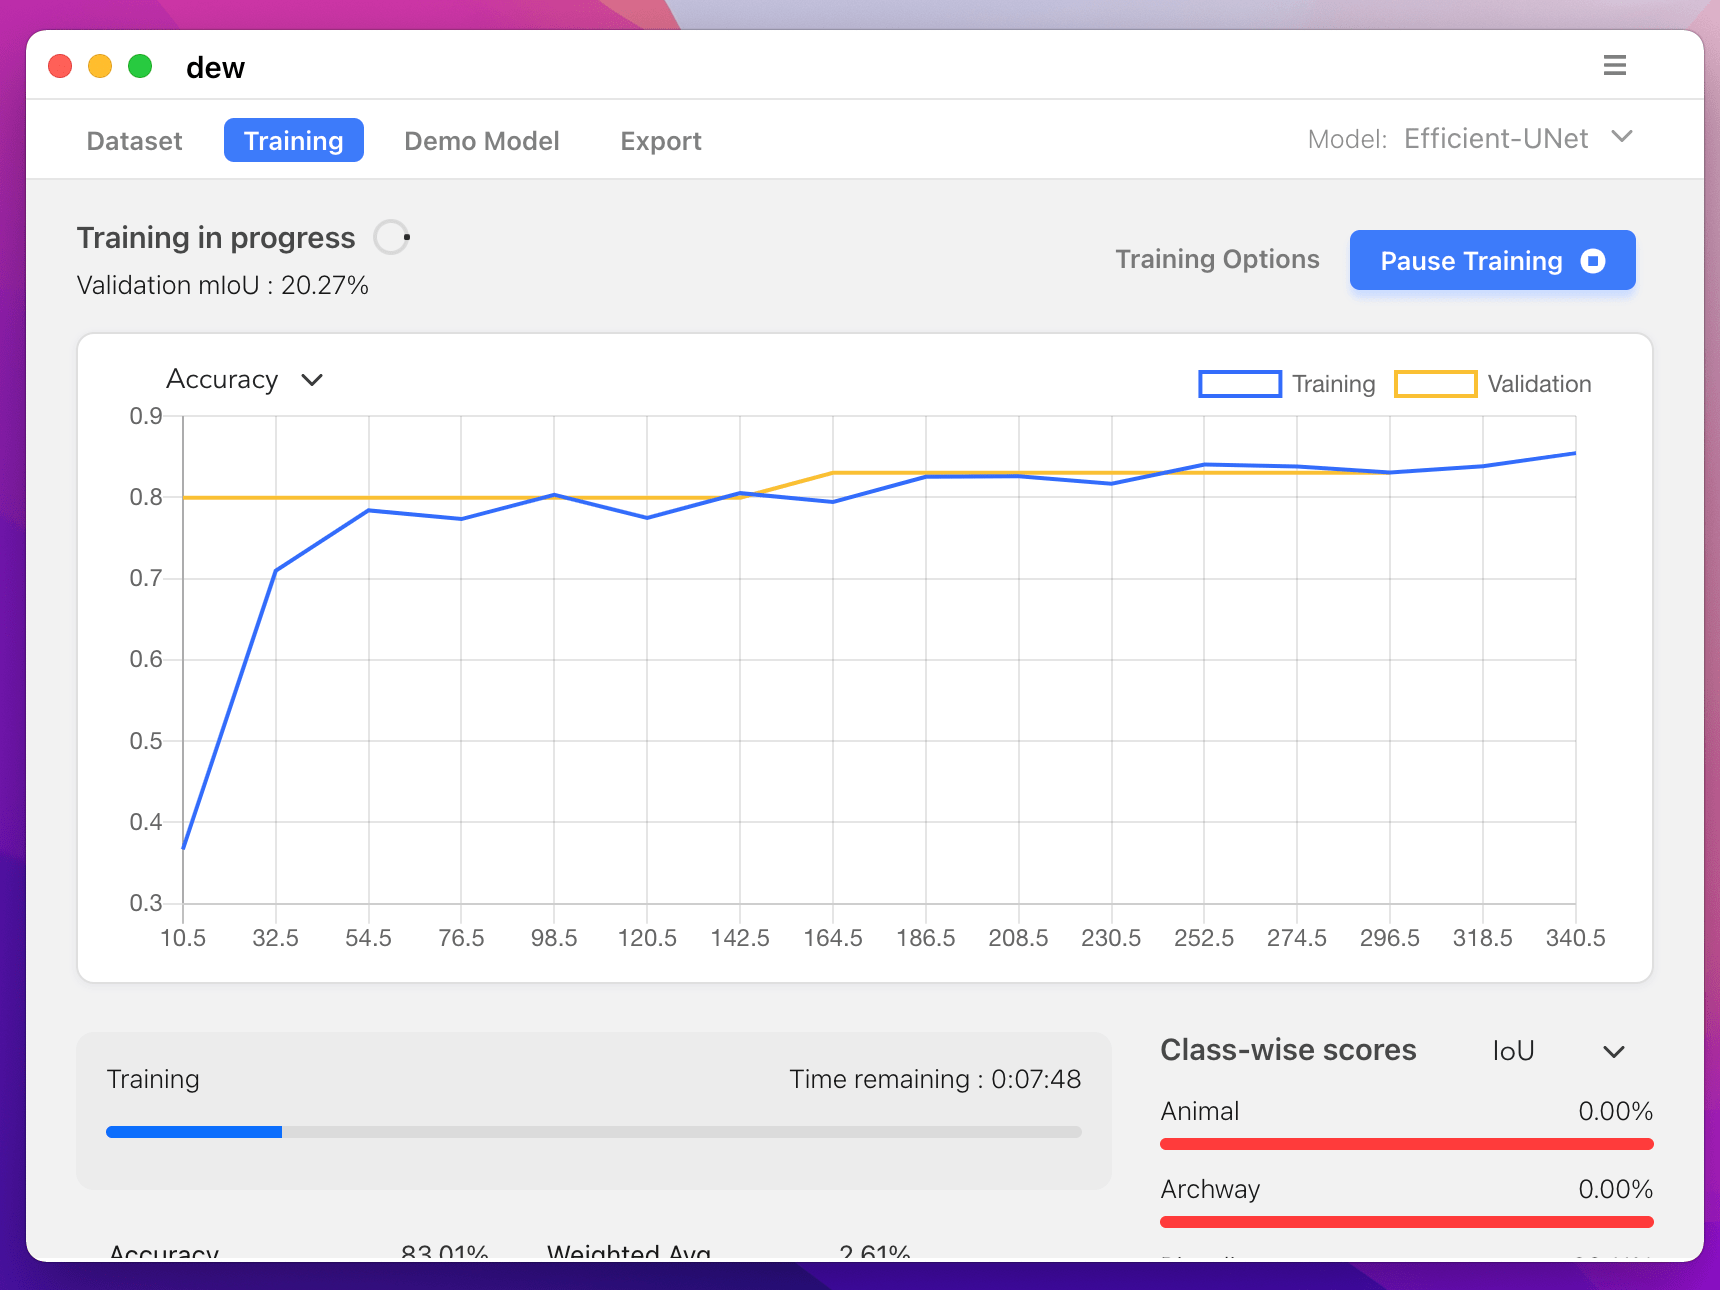
Anda juga dapat melatih model segmentasi di komputer Anda dengan https://liner.ai
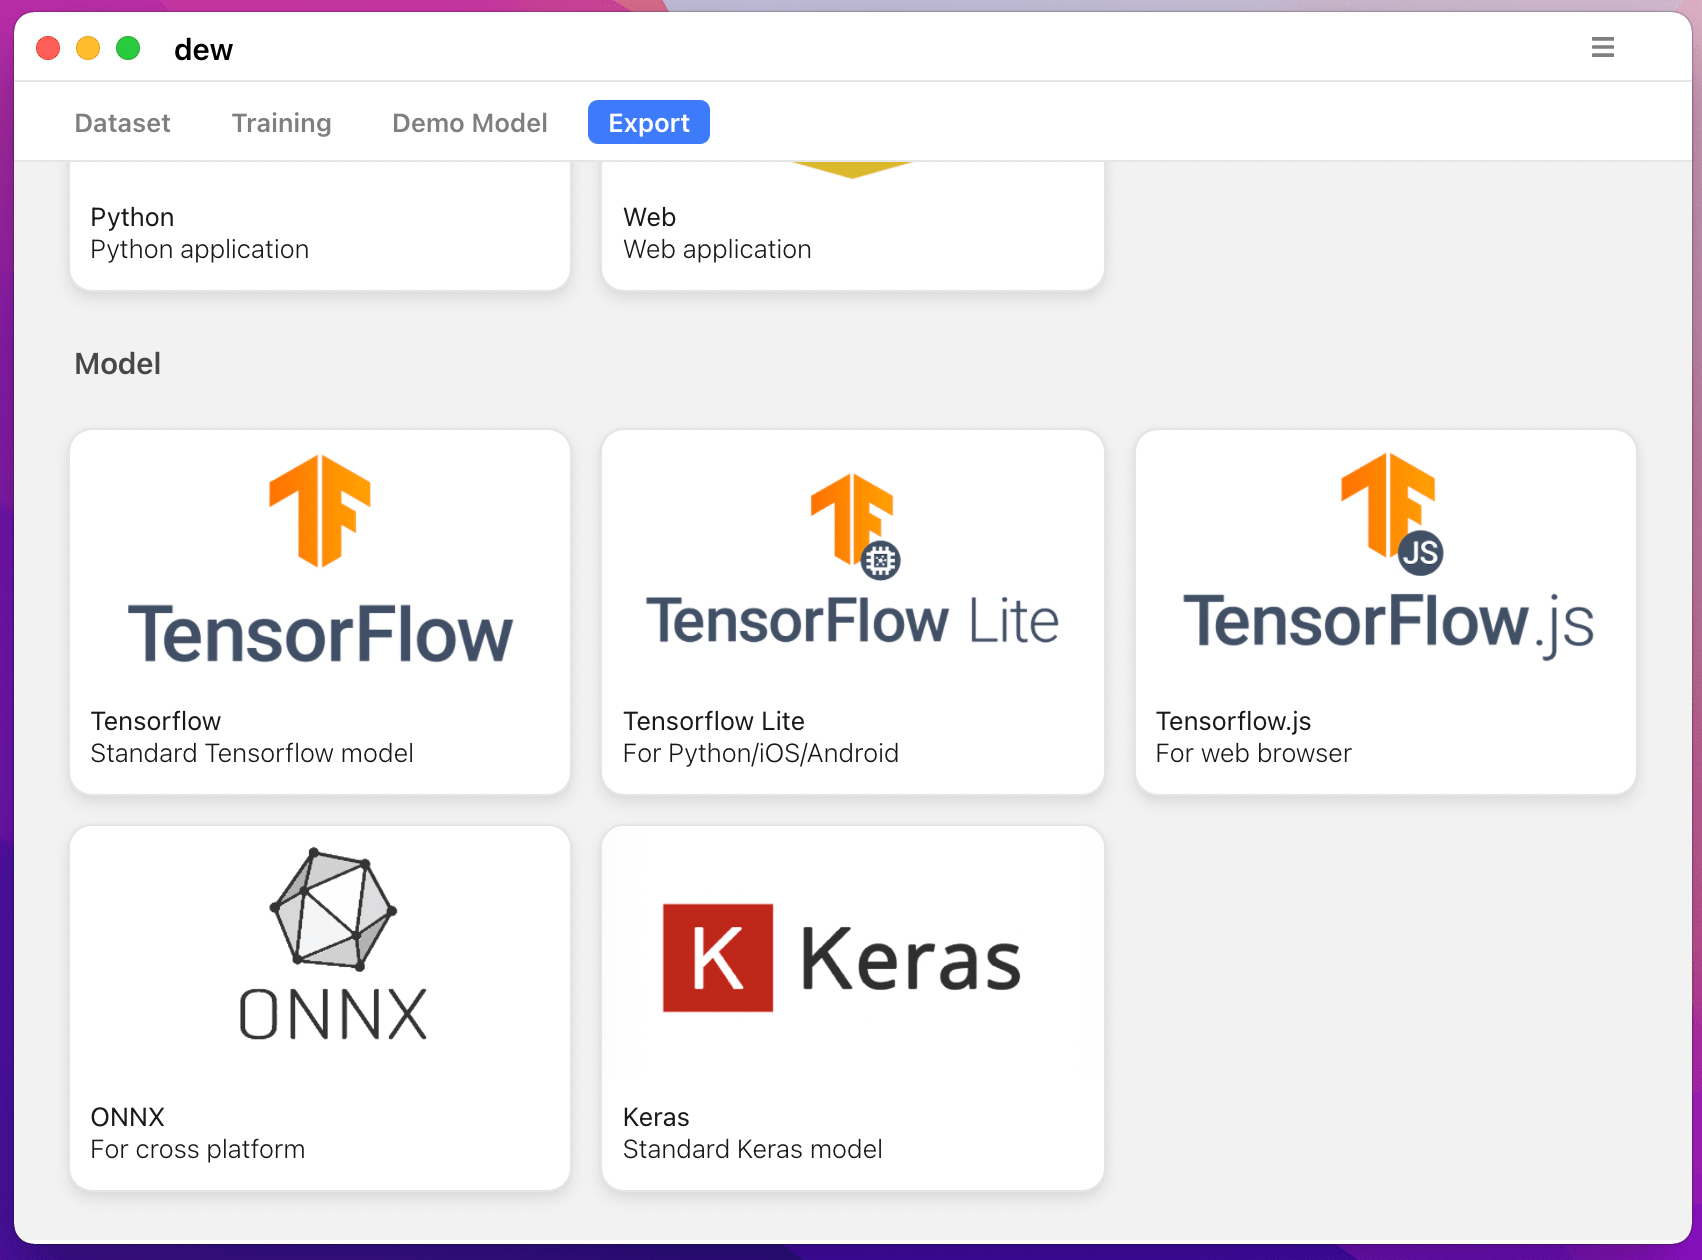
| Kereta | Inferensi / Ekspor |
|---|---|
 |  |
 |  |
Model berikut ini didukung:
| nama_model | Model Dasar | Model Segmentasi |
|---|---|---|
| fcn_8 | CNN vanila | FCN8 |
| fcn_32 | CNN vanila | FCN8 |
| fcn_8_vgg | VGG 16 | FCN8 |
| fcn_32_vgg | VGG 16 | FCN32 |
| fcn_8_resnet50 | Jaringan ulang-50 | FCN32 |
| fcn_32_resnet50 | Jaringan ulang-50 | FCN32 |
| fcn_8_mobilenet | Jaringan Seluler | FCN32 |
| fcn_32_mobilenet | Jaringan Seluler | FCN32 |
| pspnet | CNN vanila | PSPNet |
| pspnet_50 | CNN vanila | PSPNet |
| pspnet_101 | CNN vanila | PSPNet |
| vgg_pspnet | VGG 16 | PSPNet |
| resnet50_pspnet | Jaringan ulang-50 | PSPNet |
| unet_mini | CNN Mini Vanila | U-Net |
| tidak bersih | CNN vanila | U-Net |
| vgg_unet | VGG 16 | U-Net |
| resnet50_unet | Jaringan ulang-50 | U-Net |
| mobilenet_unet | Jaringan Seluler | U-Net |
| segnet | CNN vanila | Segnet |
| vgg_segnet | VGG 16 | Segnet |
| resnet50_segnet | Jaringan ulang-50 | Segnet |
| mobilenet_segnet | Jaringan Seluler | Segnet |
Contoh hasil untuk model terlatih yang diberikan :
| Masukan Gambar | Gambar Segmentasi Keluaran |
|---|---|
 |  |
 |  |
Jika Anda menggunakan perpustakaan ini, harap mengutip menggunakan:
 @article{gupta2023image,
  title={Image segmentation keras: Implementation of segnet, fcn, unet, pspnet and other models in keras},
  author={Gupta, Divam},
  journal={arXiv preprint arXiv:2307.13215},
  year={2023}
}
apt-get install -y libsm6 libxext6 libxrender-dev
pip install opencv-pythonPasang modul
Cara yang disarankan:
pip install --upgrade git+https://github.com/divamgupta/image-segmentation-keraspip install keras-segmentationgit clone https://github.com/divamgupta/image-segmentation-keras
cd image-segmentation-keras
python setup.py install from keras_segmentation . pretrained import pspnet_50_ADE_20K , pspnet_101_cityscapes , pspnet_101_voc12
model = pspnet_50_ADE_20K () # load the pretrained model trained on ADE20k dataset
model = pspnet_101_cityscapes () # load the pretrained model trained on Cityscapes dataset
model = pspnet_101_voc12 () # load the pretrained model trained on Pascal VOC 2012 dataset
# load any of the 3 pretrained models
out = model . predict_segmentation (
inp = "input_image.jpg" ,
out_fname = "out.png"
)Anda perlu membuat dua folder
Nama file gambar anotasi harus sama dengan nama file gambar RGB.
Ukuran gambar anotasi untuk gambar RGB yang sesuai harus sama.
Untuk setiap piksel pada gambar RGB, label kelas piksel tersebut pada gambar anotasi akan menjadi nilai piksel biru.
Contoh kode untuk menghasilkan gambar anotasi :
 import cv2
import numpy as np

ann_img = np . zeros (( 30 , 30 , 3 )). astype ( 'uint8' )
ann_img [ 3 , 4 ] = 1 # this would set the label of pixel 3,4 as 1

cv2 . imwrite ( "ann_1.png" , ann_img )
Hanya gunakan format bmp atau png untuk gambar anotasi.
Unduh dan ekstrak yang berikut ini:
https://drive.google.com/file/d/0B0d9ZiqAgFkiOHR1NTJhWVJMNEU/view?usp=sharing
Anda akan mendapatkan folder bernama dataset1/
Anda dapat mengimpor keras_segmentation dalam skrip python Anda dan menggunakan API
 from keras_segmentation . models . unet import vgg_unet

model = vgg_unet ( n_classes = 51 ,  input_height = 416 , input_width = 608  )

model . train (
    train_images =  "dataset1/images_prepped_train/" ,
    train_annotations = "dataset1/annotations_prepped_train/" ,
    checkpoints_path = "/tmp/vgg_unet_1" , epochs = 5
)

out = model . predict_segmentation (
    inp = "dataset1/images_prepped_test/0016E5_07965.png" ,
    out_fname = "/tmp/out.png"
)

import matplotlib . pyplot as plt
plt . imshow ( out )

# evaluating the model
print ( model . evaluate_segmentation ( inp_images_dir = "dataset1/images_prepped_test/" , annotations_dir = "dataset1/annotations_prepped_test/" ) )Anda juga dapat menggunakan alat ini hanya dengan menggunakan baris perintah
Anda juga dapat memvisualisasikan anotasi yang telah Anda siapkan untuk verifikasi data yang telah disiapkan.
python -m keras_segmentation verify_dataset
 --images_path= " dataset1/images_prepped_train/ "
 --segs_path= " dataset1/annotations_prepped_train/ "
 --n_classes=50
python -m keras_segmentation visualize_dataset
--images_path= " dataset1/images_prepped_train/ "
--segs_path= " dataset1/annotations_prepped_train/ "
--n_classes=50Untuk melatih model, jalankan perintah berikut:
python -m keras_segmentation train
 --checkpoints_path= " path_to_checkpoints "
 --train_images= " dataset1/images_prepped_train/ "
 --train_annotations= " dataset1/annotations_prepped_train/ "
 --val_images= " dataset1/images_prepped_test/ "
 --val_annotations= " dataset1/annotations_prepped_test/ "
 --n_classes=50
 --input_height=320
 --input_width=640
 --model_name= " vgg_unet "
Pilih model_name dari tabel di atas
Untuk mendapatkan prediksi model terlatih
python -m keras_segmentation predict
 --checkpoints_path= " path_to_checkpoints "
 --input_path= " dataset1/images_prepped_test/ "
 --output_path= " path_to_predictions "
Untuk mendapatkan prediksi suatu video
python -m keras_segmentation predict_video
 --checkpoints_path= " path_to_checkpoints "
 --input= " path_to_video "
 --output_file= " path_for_save_inferenced_video "
 --display
Jika Anda ingin membuat prediksi di webcam Anda, jangan gunakan --input , atau berikan nomor perangkat Anda: --input 0
--display membuka jendela dengan video yang diprediksi. Hapus argumen ini ketika menggunakan sistem tanpa kepala.
Untuk mendapatkan skor IoU
python -m keras_segmentation evaluate_model
 --checkpoints_path= " path_to_checkpoints "
 --images_path= " dataset1/images_prepped_test/ "
--segs_path= " dataset1/annotations_prepped_test/ " Contoh berikut menunjukkan cara menyempurnakan model dengan 10 kelas.
 from keras_segmentation . models . model_utils import transfer_weights
from keras_segmentation . pretrained import pspnet_50_ADE_20K
from keras_segmentation . models . pspnet import pspnet_50

pretrained_model = pspnet_50_ADE_20K ()

new_model = pspnet_50 ( n_classes = 51 )

transfer_weights ( pretrained_model , new_model  ) # transfer weights from pre-trained model to your model

new_model . train (
    train_images =  "dataset1/images_prepped_train/" ,
    train_annotations = "dataset1/annotations_prepped_train/" ,
    checkpoints_path = "/tmp/vgg_unet_1" , epochs = 5
)
Contoh berikut menunjukkan transfer pengetahuan dari model yang lebih besar (dan lebih akurat) ke model yang lebih kecil. Dalam kebanyakan kasus, model yang lebih kecil yang dilatih melalui distilasi pengetahuan lebih akurat dibandingkan dengan model yang sama yang dilatih menggunakan pembelajaran yang diawasi vanilla.
 from keras_segmentation . predict import model_from_checkpoint_path
from keras_segmentation . models . unet import unet_mini
from keras_segmentation . model_compression import perform_distilation

model_large = model_from_checkpoint_path ( "/checkpoints/path/of/trained/model" )
model_small = unet_mini ( n_classes = 51 , input_height = 300 , input_width = 400  )

perform_distilation ( data_path = "/path/to/large_image_set/" , checkpoints_path = "path/to/save/checkpoints" ,
teacher_model = model_large , student_model = model_small , distilation_loss = 'kl' , feats_distilation_loss = 'pa' )Contoh berikut menunjukkan cara menentukan fungsi augmentasi kustom untuk pelatihan.
 from keras_segmentation . models . unet import vgg_unet
from imgaug import augmenters as iaa

def custom_augmentation ():
    return  iaa . Sequential (
        [
            # apply the following augmenters to most images
            iaa . Fliplr ( 0.5 ),  # horizontally flip 50% of all images
            iaa . Flipud ( 0.5 ), # horizontally flip 50% of all images
        ])

model = vgg_unet ( n_classes = 51 ,  input_height = 416 , input_width = 608 )

model . train (
    train_images =  "dataset1/images_prepped_train/" ,
    train_annotations = "dataset1/annotations_prepped_train/" ,
    checkpoints_path = "/tmp/vgg_unet_1" , epochs = 5 ,
    do_augment = True , # enable augmentation
    custom_augmentation = custom_augmentation # sets the augmention function to use
)Contoh berikut menunjukkan cara mengatur jumlah saluran input.
 from keras_segmentation . models . unet import vgg_unet

model = vgg_unet ( n_classes = 51 ,  input_height = 416 , input_width = 608 ,
                 channels = 1 # Sets the number of input channels
                 )

model . train (
    train_images =  "dataset1/images_prepped_train/" ,
    train_annotations = "dataset1/annotations_prepped_train/" ,
    checkpoints_path = "/tmp/vgg_unet_1" , epochs = 5 ,
    read_image_type = 0  # Sets how opencv will read the images
                       # cv2.IMREAD_COLOR = 1 (rgb),
                       # cv2.IMREAD_GRAYSCALE = 0,
                       # cv2.IMREAD_UNCHANGED = -1 (4 channels like RGBA)
)Contoh berikut menunjukkan cara mengatur fungsi prapemrosesan gambar kustom.
 from keras_segmentation . models . unet import vgg_unet

def image_preprocessing ( image ):
    return image + 1

model = vgg_unet ( n_classes = 51 ,  input_height = 416 , input_width = 608 )

model . train (
    train_images =  "dataset1/images_prepped_train/" ,
    train_annotations = "dataset1/annotations_prepped_train/" ,
    checkpoints_path = "/tmp/vgg_unet_1" , epochs = 5 ,
    preprocessing = image_preprocessing # Sets the preprocessing function
)Contoh berikut menunjukkan cara mengatur callback kustom untuk pelatihan model.
 from keras_segmentation . models . unet import vgg_unet
from keras . callbacks import ModelCheckpoint , EarlyStopping

model = vgg_unet ( n_classes = 51 ,  input_height = 416 , input_width = 608 )

# When using custom callbacks, the default checkpoint saver is removed
callbacks = [
    ModelCheckpoint (
                filepath = "checkpoints/" + model . name + ".{epoch:05d}" ,
                save_weights_only = True ,
                verbose = True
            ),
    EarlyStopping ()
]

model . train (
    train_images =  "dataset1/images_prepped_train/" ,
    train_annotations = "dataset1/annotations_prepped_train/" ,
    checkpoints_path = "/tmp/vgg_unet_1" , epochs = 5 ,
    callbacks = callbacks
)Contoh berikut menunjukkan cara menambahkan input gambar tambahan untuk model.
 from keras_segmentation . models . unet import vgg_unet

model = vgg_unet ( n_classes = 51 ,  input_height = 416 , input_width = 608 )

model . train (
    train_images =  "dataset1/images_prepped_train/" ,
    train_annotations = "dataset1/annotations_prepped_train/" ,
    checkpoints_path = "/tmp/vgg_unet_1" , epochs = 5 ,
    other_inputs_paths = [
        "/path/to/other/directory"
    ],


#     Ability to add preprocessing
    preprocessing = [ lambda x : x + 1 , lambda x : x + 2 , lambda x : x + 3 ], # Different prepocessing for each input
#     OR
    preprocessing = lambda x : x + 1 , # Same preprocessing for each input
)Berikut adalah beberapa proyek yang menggunakan perpustakaan kami:
Jika Anda menggunakan kode kami dalam proyek yang tersedia untuk umum, silakan tambahkan tautan di sini ( dengan memposting masalah atau membuat PR )