サイレントヒル 2 リメイクは、Bloober Team がオリジナルの傑作ホラーを完全に再構築したもので、サイレントヒルの深淵を通るジェームズの旅の間に、おなじみの謎や新しい謎や恐怖がたくさん発見されます。ここでは、ゲームの多くの目標、パズル、その他の不可解な秘密を理解するのに役立つ詳細なウォークスルーを紹介します。
次のウォークスルーは、両方の種類の難易度 (つまり、戦闘とパズル) を「標準」に設定して行われます。そのため、別の難易度をプレイしている場合は、健康ドリンクやドリンクなどの特定のアイテムの場所や入手可能性が異なる場合があります。弾薬。パズルの解決策も異なる場合があります。
象徴的なオープニング カットシーンの後、ジェームズの動きとインタラクションを把握し、彼の車の運転席から最初のマップを手に取ります。
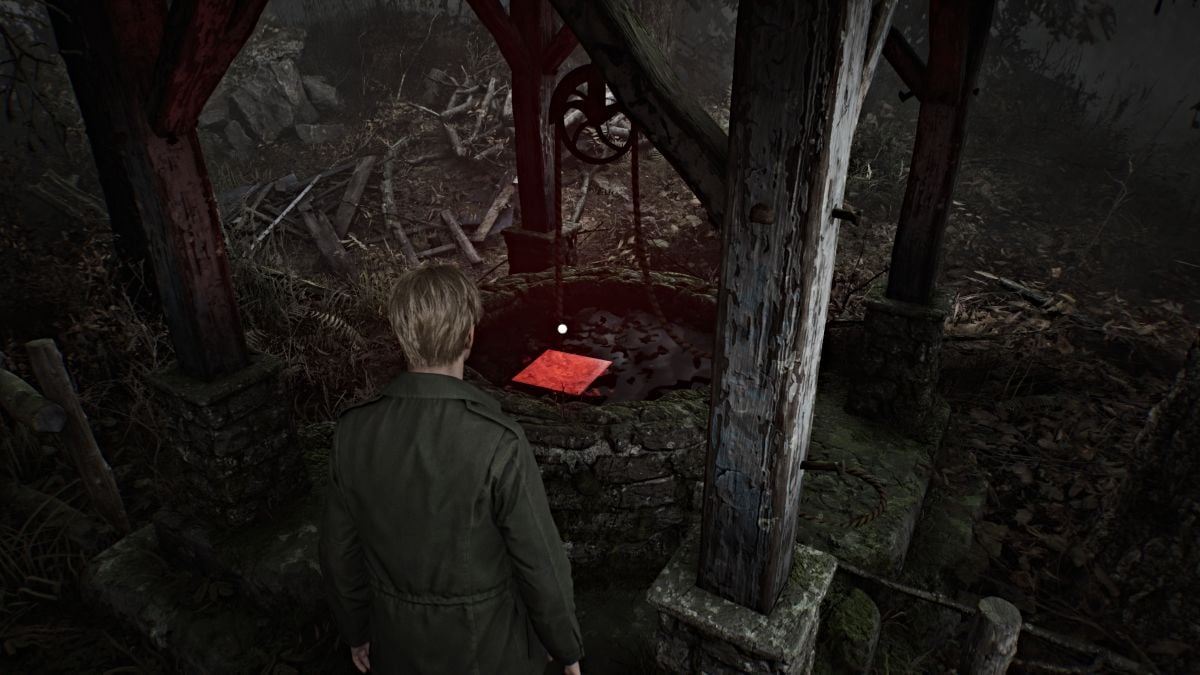
展望エリアの一番端にある階段を降りて、サイレント ヒルに向かって霧に満ちた長い散歩を始めましょう。ある時点で、赤い光を発している井戸に遭遇します。そこまで行ってください。内側には、最初の手動セーブ ポイントを示す明るい赤い四角形があります (以降、これらを「赤いセーブ ポイント」と呼びます)。プレイ中にこれらをできるだけ多く見つけて使用してください。
墓地のある教会に到着するまで主要な道に沿って進み、そこで初めてアンジェラ・オロスコに会います。彼女は父親と兄と一緒に母親を探していると主張しているが、それ以外はほとんど明らかにしていない。カットシーンの後は、自由にエリアを探索してください。ただし、ここでは拾うアイテムがないことに注意してください。必要に応じて、アンジェラにさらに数回話しかけて、よりユニークな会話を行うこともできます。
墓地を出て、サイレント ヒル ランチ エリアを通過する同じメイン パスに沿って歩き続けます。
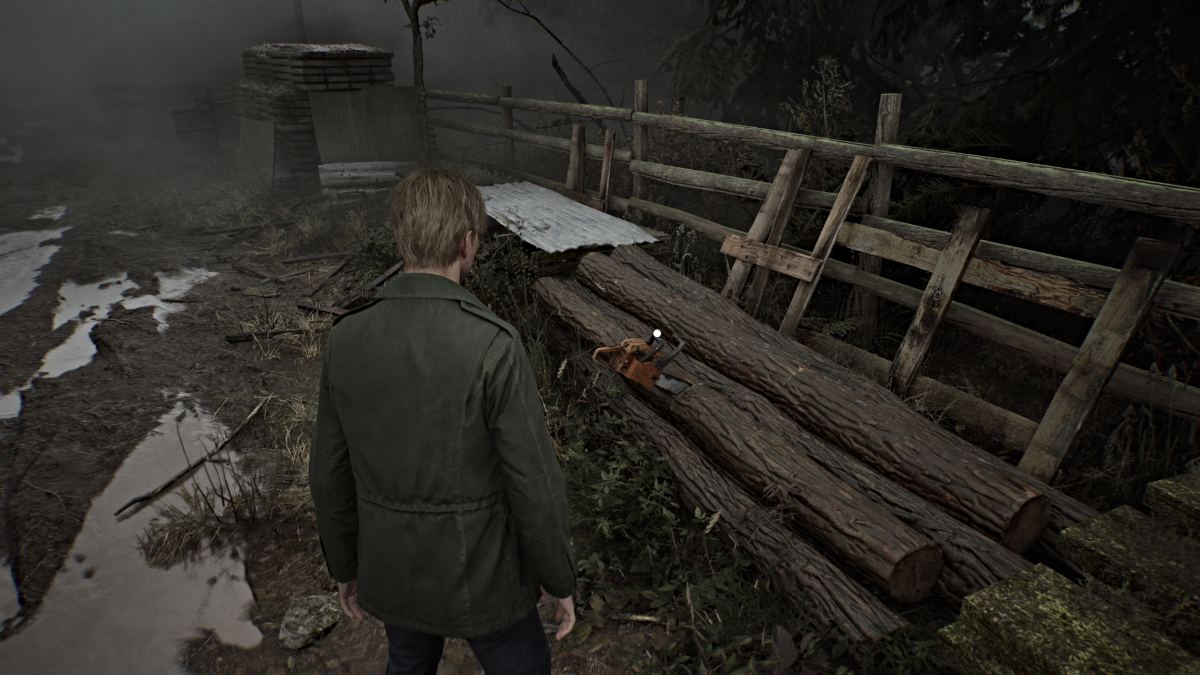
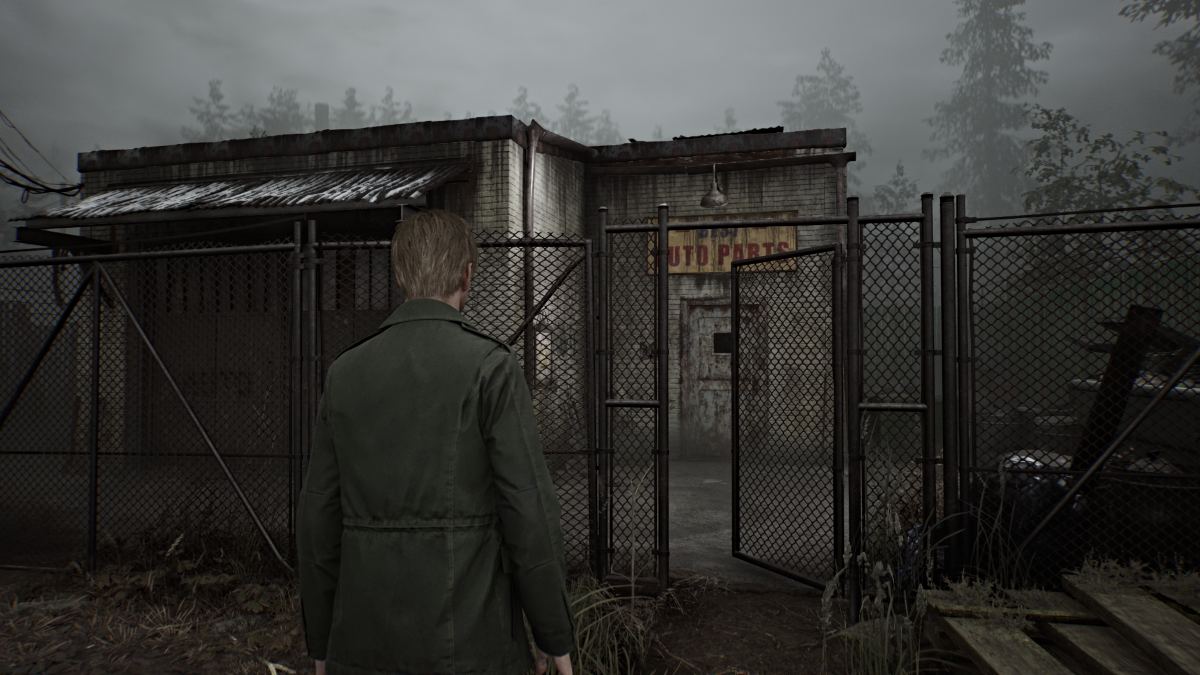
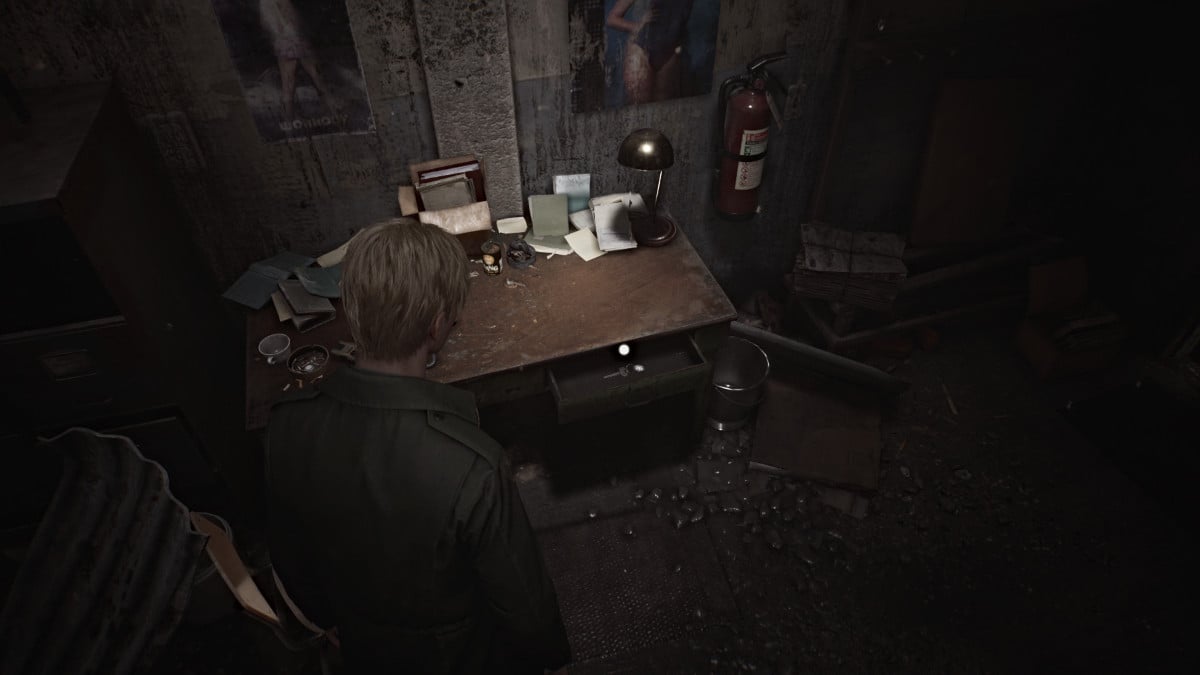
道路にある大きなバリケードに到達するまで進み、その上に小さなドアが施錠されています。近くの左手に門が開いている小さな自動車部品店を探してください。敷地に入り、建物の周りを左に回り、開いている窓からジャンプできます。内部のライトアップされた机を探すと、引き出しの中に自動車部品のキーがあり、行く手を阻む外側のドアのロックを解除します。
フェンスと壊れた板で埋め尽くされた高架の下にある、(オリジナル版をプレイしたことがあるなら)見覚えのある場所に到達するまで、道をまっすぐに進み続けます。中に入ることはできませんが、過去の垣間見るイースターエッグであるため、そのスポットと対話することができます。
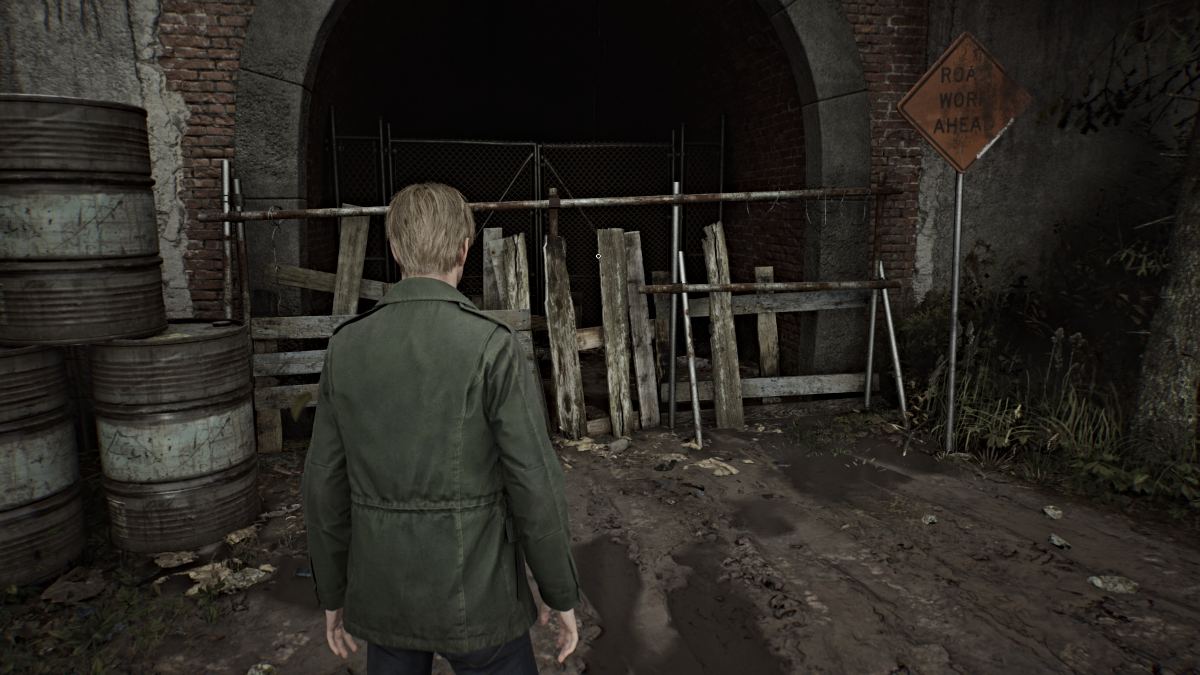
高架の空き地の下で左折し、前方のゲートを通過すると、Witse Road (地図によると) に入り、Silent Hill の町に入ります。
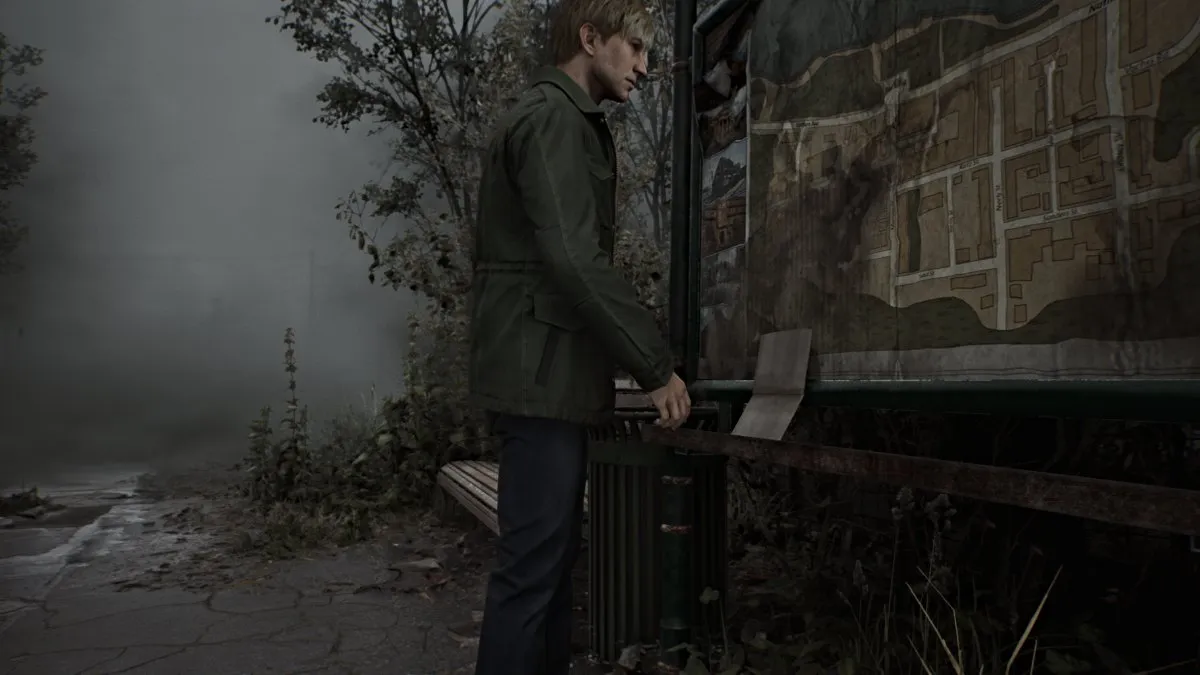
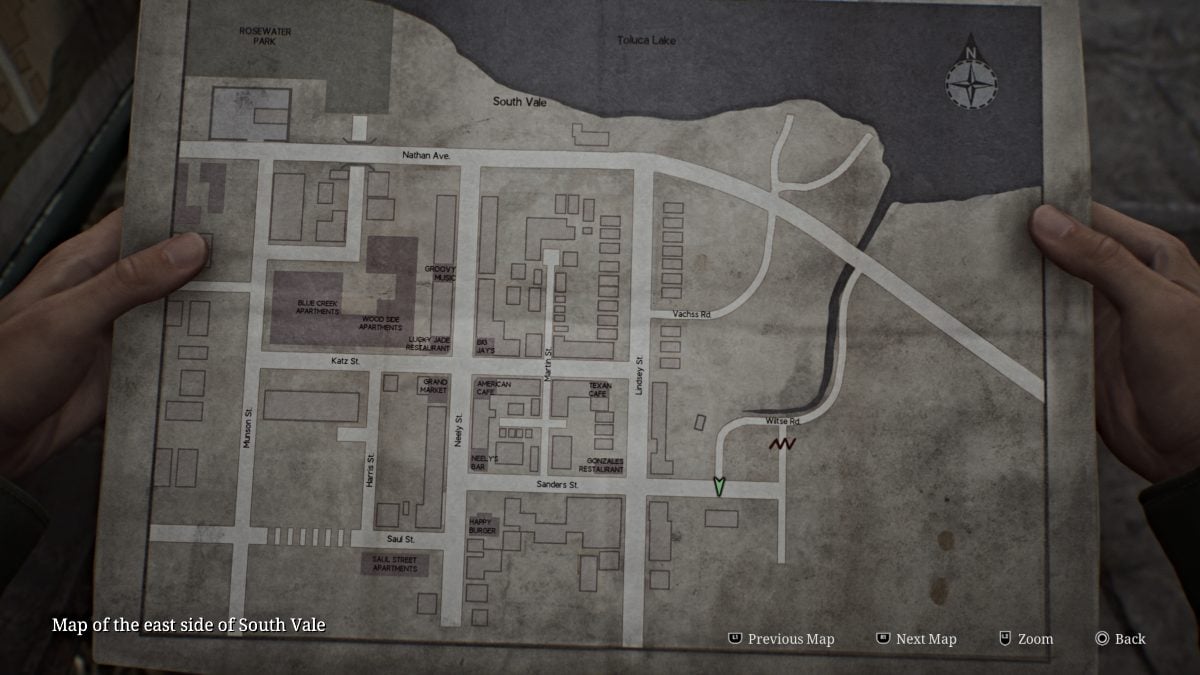
サンダース ストリートに到着すると、ジェームスが看板の下にある町のさらに拡大された別の地図を見つけるカットシーンが再生されます。これにより、タウンマップの西側と東側の両方とすべての主要なランドマークを頭上から見ることができます。
まずは近くのお花屋さんに行き、店頭にある「フラワーショップメッセージ(メモ)」を受け取ります。
ジェームズが見ることができる近くの床の血痕を除けば、内部には何も見つけることができません。そのため、外に出てサンダース・ストリートを下って、リンゼイ・ストリートを北に続くはるかに大きな血痕が見えるまで進みます。他のすべての道は今のところ巨大なバリケードで封鎖されているので、ただ道をたどってください。
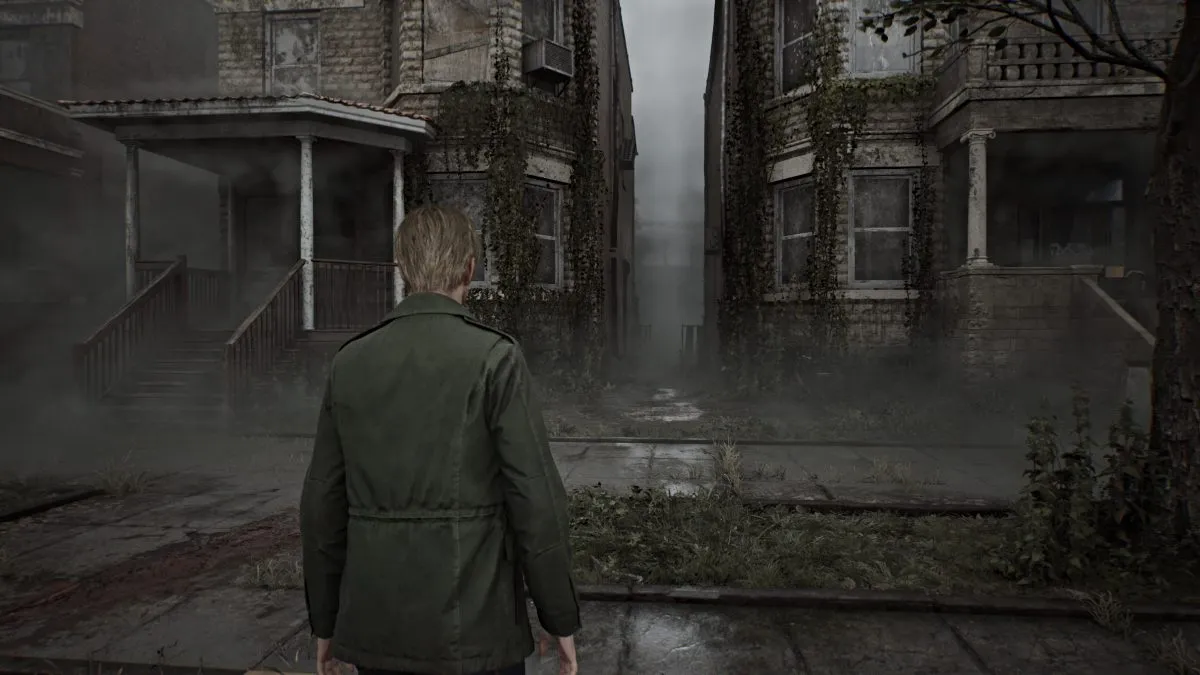
別のカットシーンでは、ジェームズの前を遠くで歩いている奇妙な人物が明らかになり、あなたはそれを追いたくなります。そのまま直進すると、血しぶきが飛び散り、2 つの建物の間の道路の左側から不気味な迂回路にたどり着きます (上図)。
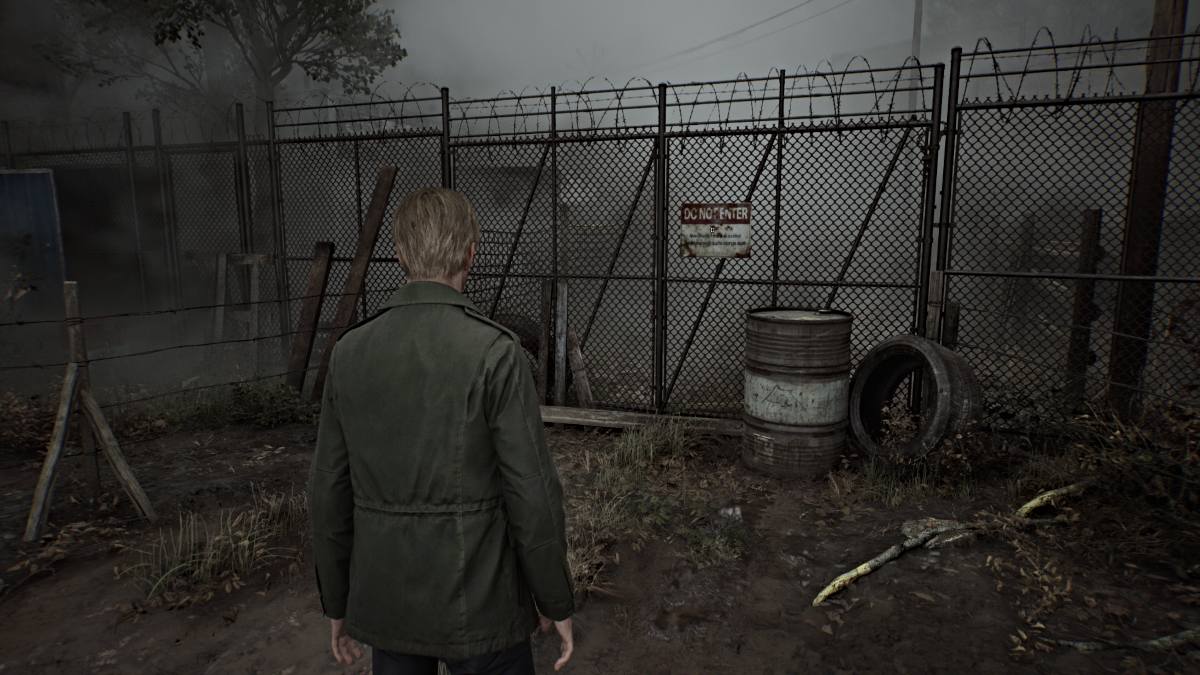
路地を通過する前に、方向転換して Vachss Road を「進入禁止」ゲートに到達するまで走ります。それを操作して、別の過去の垣間見を取得します。
さて、路地を抜け、奇妙な音に従って路地裏エリアを通って、ドアの下部に壊れた穴のあるガレージに到着します。それを這って家に入ります。
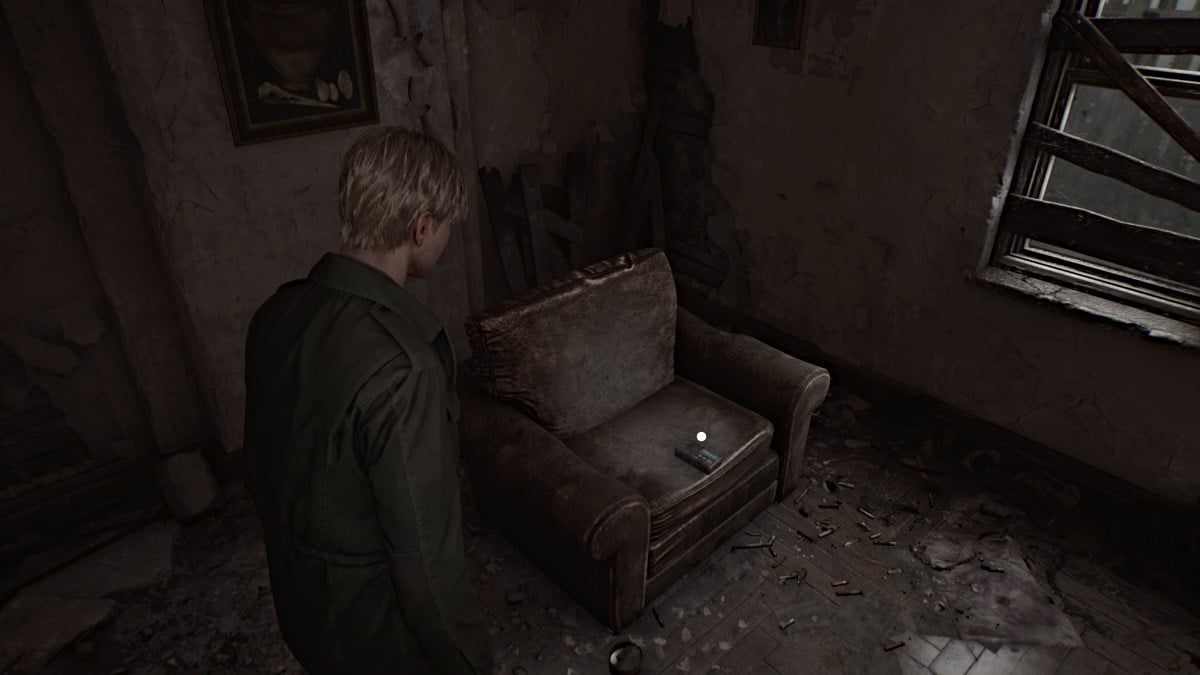
近くの壁にある赤いセーブポイントを使用して、すぐにキッチンに入ります。引き出しの 1 つからヘルス ドリンクを取り出し、左側のドアまで進みます。廊下を進む静音のような音に従って、右側のドアに入るまで進みます。部屋の中では、ラジオが肘掛け椅子に座っています。
それを掴むと、カットシーンが続き、ジェームズが前と同じ人物と対峙しますが、その人物はモンスター (横たわる人物として知られています) であることが判明します。
これは、(適切なボタンを使用して)攻撃と回避の両方ができるゲームの戦闘システムへの最初の紹介です。ジェームズが窓からつかんだ木の板を使って、横たわる人物に打撃を与え、その物理的攻撃と酸攻撃に注意してください。地面に落ちるまで圧力をかけ続け、同じ攻撃ボタンを使って死ぬまで踏みつけます。
壁に壊れた隙間を見つけて通り抜けられるまで、家の中を進み続けます。右側の机の上にある応急処置キットを開けて注射器(強力な健康アイテム) を入手し、板で正面の窓を壊して家から脱出します。カットシーンの後は、マーティン ストリートから続行できます。
マーティン ストリートの最北端には、白いピケット フェンスの近くに別の過去の垣間見があります (下を参照)。
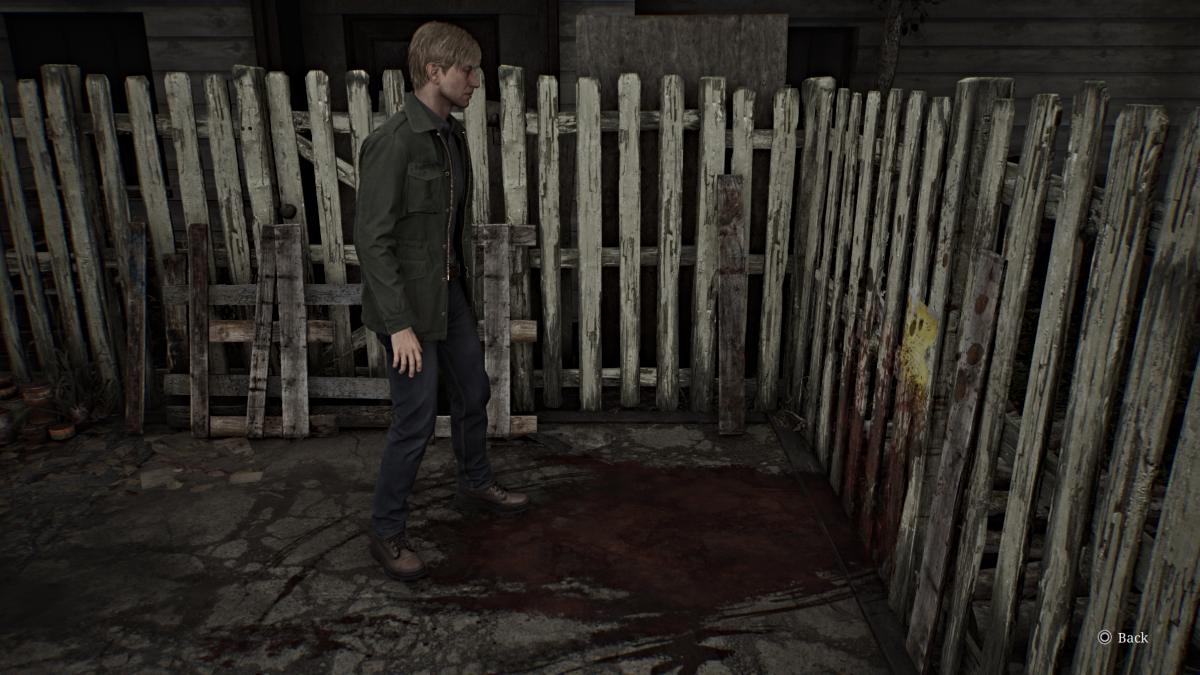
次に南に走り、前方の歩道にある血まみれの死体と対話して、次の目的地の 1 つであるNeely's Barからマッチブックを受け取ります。また、死体の数フィート先でマーティン・ストリート・ノートを拾いましょう。
サイレントヒルのさまざまな場所でいくつかのモンスターが活動するようになるため、後方に注意し、戦闘を選択し、健康アイテムを賢く使用してください。
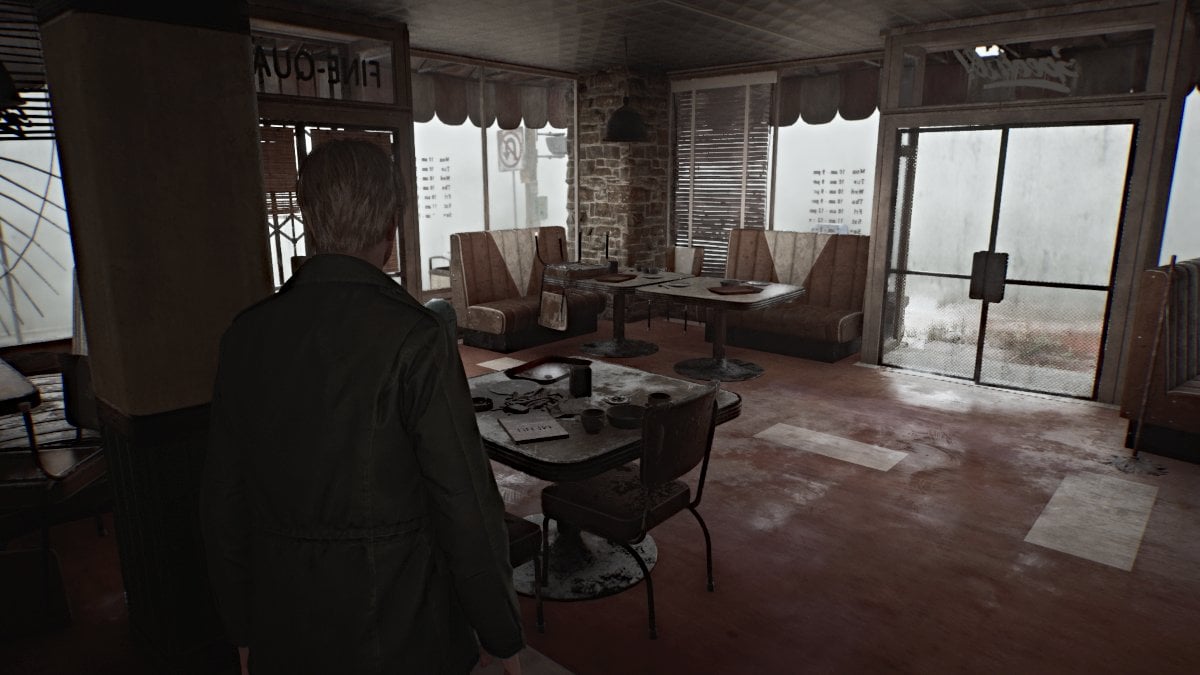
Big Jay's カフェの裏口が見つかるまで Katz St に沿って進みます。中に入って、中に潜んでいる横たわる人物に注意してください。それに対処してカフェの前に向かい、テーブルの 1 つにBig Jay's Note を見つけます。ヘルスドリンクはブースエリアの別のテーブルにあります。カフェの正面玄関を出て、Neely Street に出ます。
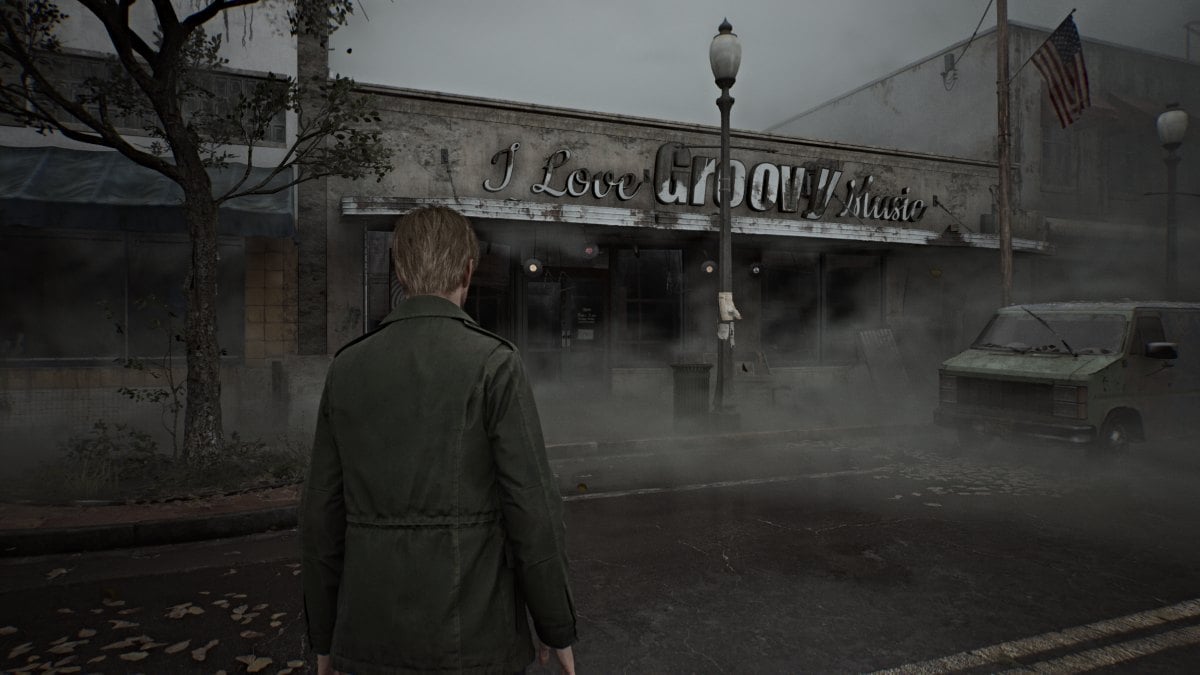
まず、ニーリーを北に進み、近くのパトカーの窓を割って最初の拳銃の弾を入手します。これは後で役立ちます。 I Love Groovy Music Shop (風鈴で見つけやすい) に着いたら、まず向かいの路地に寄り道して、テーブルの上にある健康ドリンクを求めます。
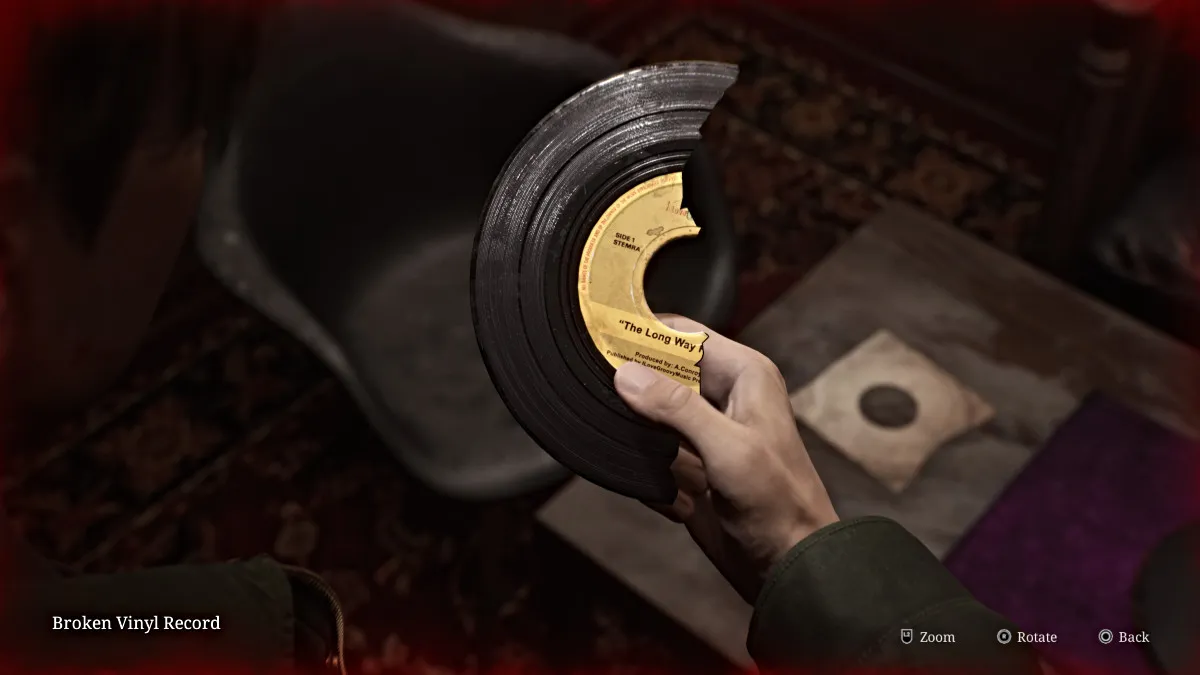
ミュージックショップに戻り、中に入ると、2人の横たわる人物が待っています。今は自分を守るための板しかないので、一度に 1 つずつ対処するように最善を尽くしてください。それが完了したら、カウンターからレコードストアノートを集めて、後ろに向かい、大きな窓の1つを割ってレコードルームに入ります。中央のローテーブルにはビニールのりと壊れたビニールレコードが置かれます。
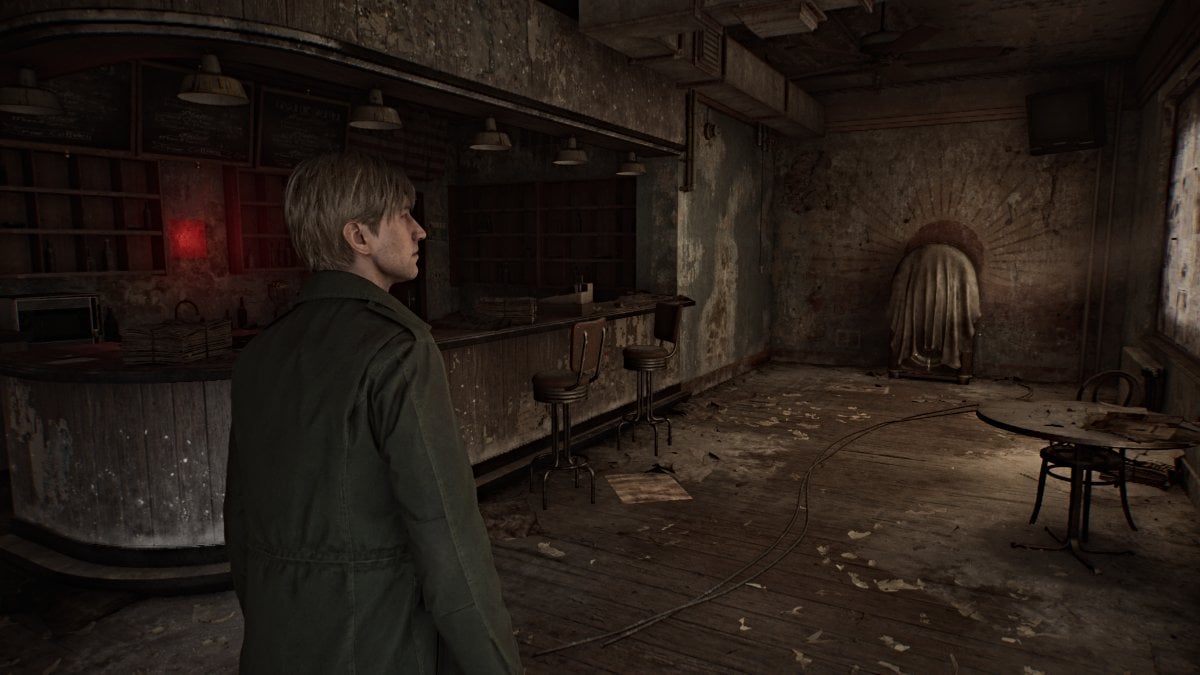
店を出て、いよいよNeely's Barへ向かいます。中に入ると、左側の壁に別のレッドセーブポイント、カウンターにニーリーズバーノート、そしてロックされたドアがあります。 特殊なキー。窓の 1 つに、「ここに穴がありました。今は消えています。」という不安なメッセージが表示されています。 。奥の壁のそばには、ゲームの最初のパズルとして機能する壊れたジュークボックスがあります。
中には壊れたビニールレコードの半分がトラックの上に置かれて再生を待っています。それを操作してマシンから削除し、インベントリに追加します。次に、ビニール接着剤と壊れたビニールレコードの残りの半分を使用して、両方の部分を結合します。これにより、 「The Long Way Home」というタイトルの接着ビニールレコードが得られます。
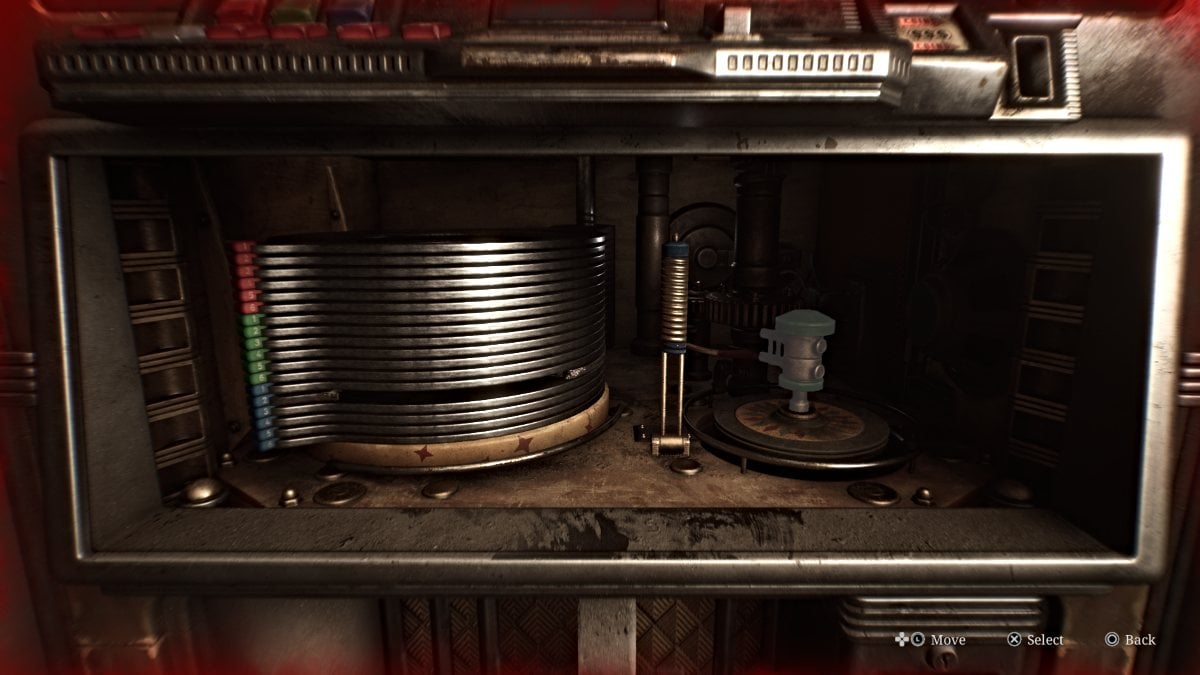
次に、レコードを再生するためのマシンを準備する必要があります。内部には、青、赤、緑の3 つの部分があり、動かすことができます。最初の目標は、赤いパーツを緑のパーツに接続して、押し下げる必要がある青いパーツの邪魔にならないように後ろに移動できるようにすることです。
それが完了したら、接着されたビニールレコードを置くためのトラックが押し出されるまで緑色の部分を押します。トラック機構が持ち上がるので、正しいボタンを押してレコードを再生する必要があります。ただし、必要な「2」ボタンがないため、コインも必要です。だから、今はジュークボックスから離れてください。
Neely's Bar Note には、男がボタンとレコードの半分 (すでに修正済み) を持って逃走し、その男が薬局の近くのソール ストリートのアパート 9に住んでいることが示されています。 Saul Street Apartments は地図上で丸で囲まれています。
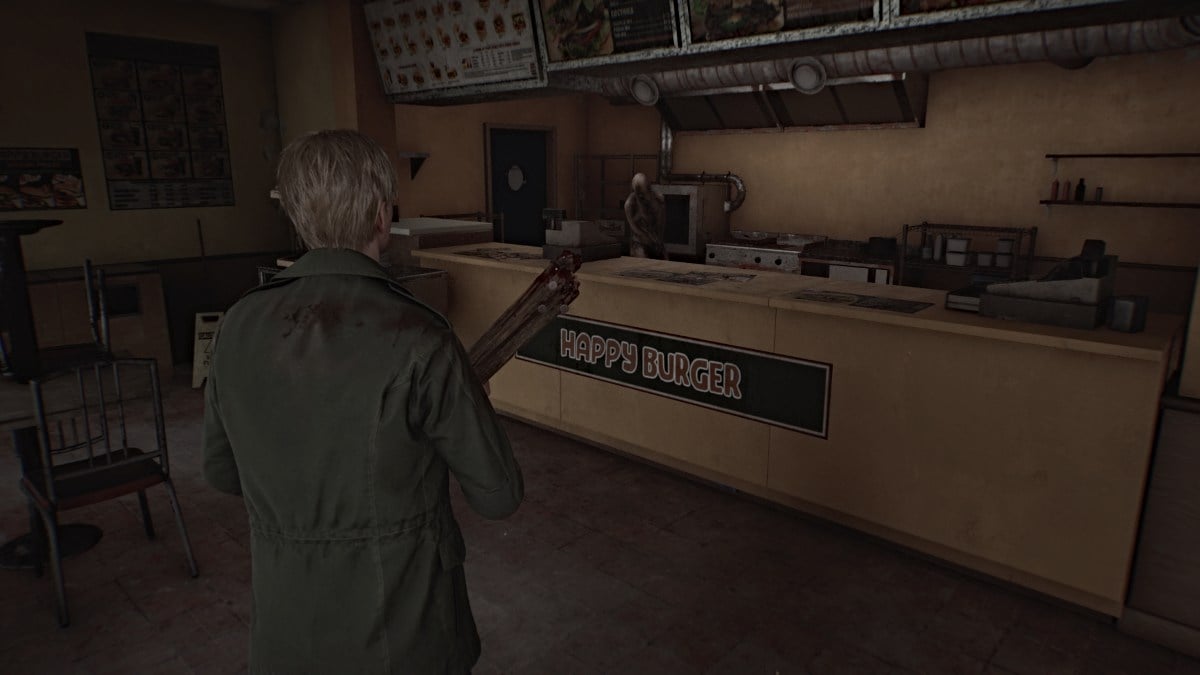
Saul Street Apartmentsに向かって進みます。必要に応じて、途中でハッピーバーガーをチェックすることもできますが、そことその周りに3人の横たわる人物が潜んでいます。中にあるのは、ヘルスドリンク(飛び抜けた窓のすぐ隣のテーブルの上) と、モンスターの 1 人によって守られている注射器(キッチンエリア) だけです。
戦ったり逃げたりするのに十分な自信があると思わない限り、今はヘルスドリンクだけを手に取り、続行することをお勧めします。
Saul Street Apartmentsに入り、すぐ右側にあるオフィスに注目してください。ドアは施錠されていますが、廊下をさらに進んで右側の次の出入り口 (アパートメント 1) に行くと、ドレッサーを押して中に入ることができます。オフィス内には、アパート 5 の鍵と、水漏れに関する小さなメモもあります。また、廊下の壁にある建物の地図 (以下を参照) をメモして、適切なアパートメントへの道を見つけてください。
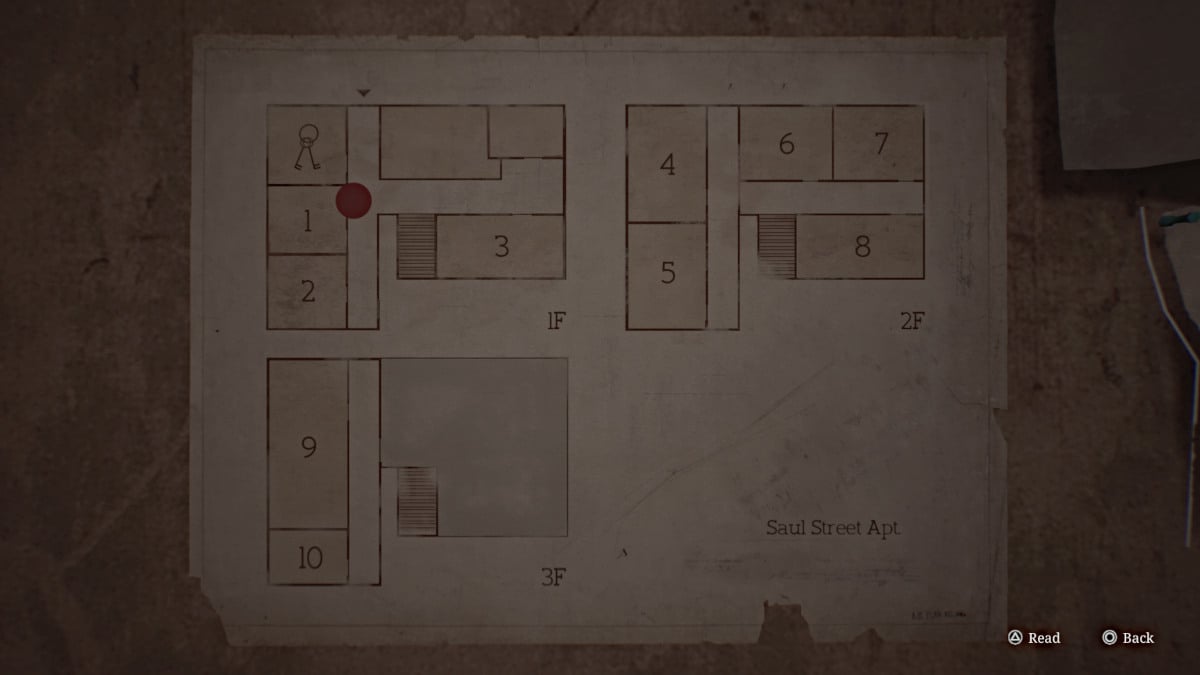
ただし、そこに向かう前に、階段の吹き抜けを過ぎて左折し、アパート 3 の反対側の左側にあるひびの入ったドアを通って、 Green Pharmacyに通ってください。注射器は入って右側のテーブルの上にある応急処置キットの中にあります。
次に、アパートの 2 階につながる階段まで戻り、アパート 7の隣にクロールスペースが見えるまで右に進みます。それを通過すると、中にテナントノートがあります。クロールスペースまたはロックを解除できるドアを通って戻り、アパート 5 に向かいます。鍵を使って中に入り、アパート 4につながる壁の隙間を探してください。カットシーン中に、ジェームズが引き起こす騒音は、あなたが到達する必要があるアパートメント 9の上の 3 階に騒音を引き起こします。楽しい。
ここでは拾うアイテムはないので、瓦礫で塞がれた廊下の反対側につながる次の壁の隙間を通ってください。開いている窓からバルコニーに出て、非常階段を上って、最上部の右端に別の開いた窓を見つけます。非常階段を飛び越えるとすぐに後戻りできなくなります。
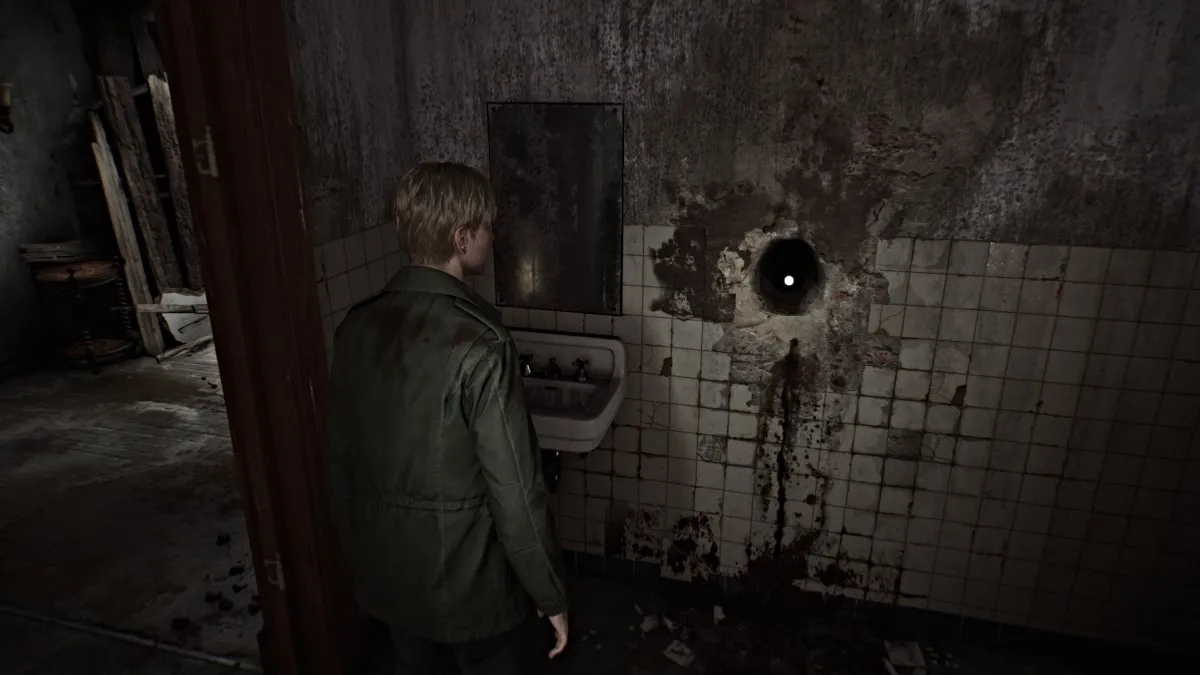
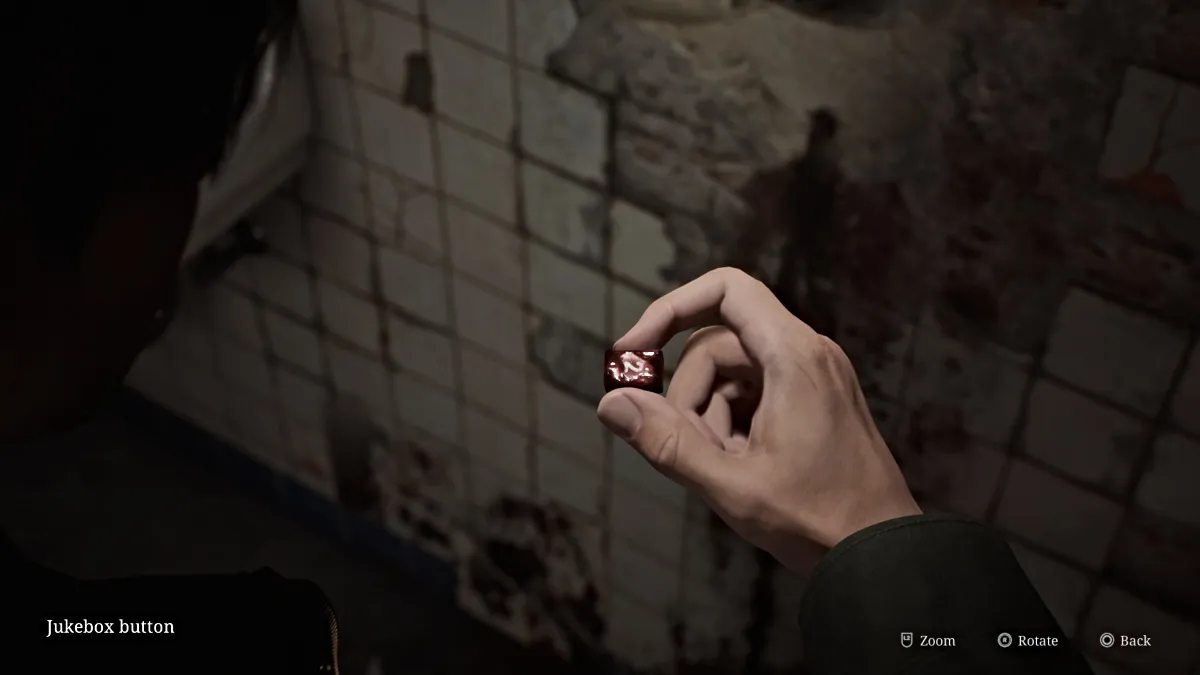
バスルームの隣のドアに向かうと、カットシーンが再生され、ジェームズがドアを開けようとするが、ドアは鎖で閉ざされており、中からひどい臭いが漂い、ドアノブから手を握った手が黒い物質で汚れていることに気づきます。次に、壁に大きな穴がある隣のバスルームに入ります(上を参照)。ジェームズがジュークボックスの欠けている「2」ボタンを引き出すまで、それを操作して「検索」します(素敵なサウンドが含まれます)。
近くのドアから屋上に出ると、前方にはしごが見えます。
右側のドアは別の屋内階段につながっていますが、完全に破壊されているため、それは選択肢ではありません。はしごを降りると、建物のゴミ捨て場に行き着きます。反対側からロックされたドアから外に出ます。
ソール ストリートをそのまま進むと、左側の開いたゲートの後ろにモーター ホームがあります。近くに横たわる人物が近づいてくるので、対処してから中に入ります。モーターホームノートと健康ドリンクを手に取り、出発時に地面に落ちている「彼らは殺される可能性があります。彼らがじっとしていることを確認してください」と告げるソールストリートノートを手に入れてください。
また、モーターホームの近くの路上に転がっている古い地図(別のメモ)も必ず入手してください。
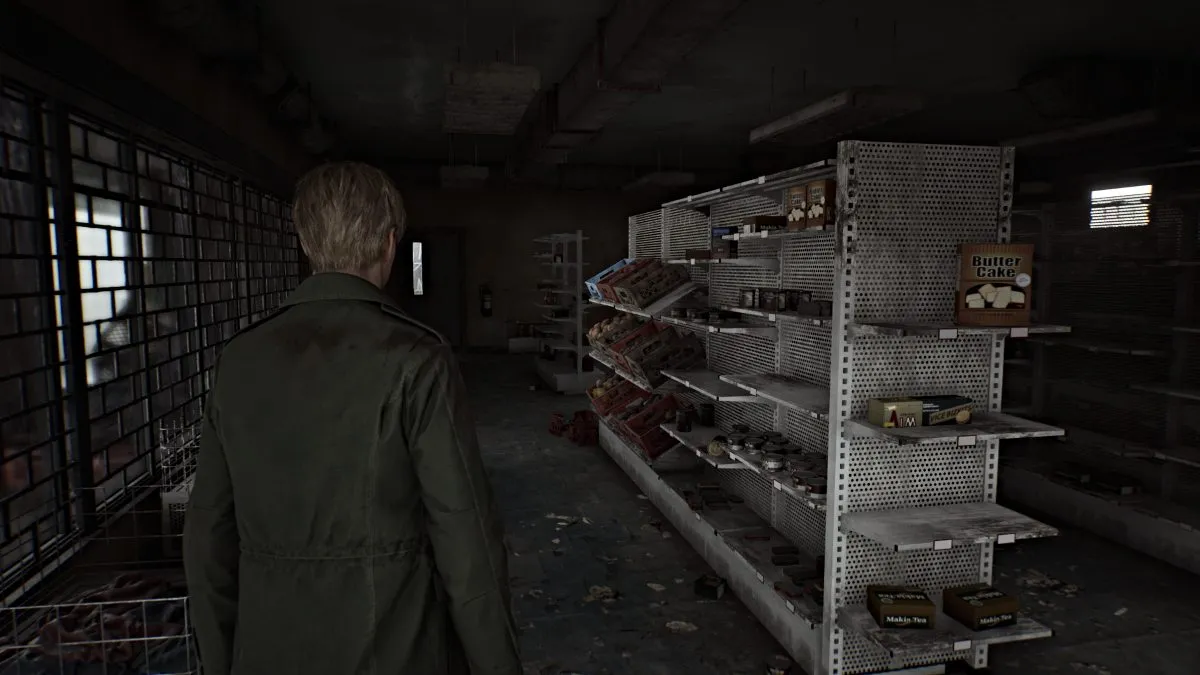
ジュークボックスでレコードを再生するにはまだコインが必要なので、まだ Neely's Bar には戻らないでください。まず、それを通り過ぎてニーリー・ストリートを北上し、グランド・マーケットへの裏口のある開いた路地を見つけます。ドアのロックを解除するにはコードが必要です。サンダースストリートのトラックの近くにあるコードメモがヒントを提供します。
基本的に、最後にそれを試みた人は「4439」という番号に到達し、「もうかなり近づいている」と感じました。つまり、正解するまで後続の数字を入力できますが、時間を節約するために、コードは「4444」 (標準パズル難易度) です。中にはなんと4 本のヘルスドリンクと2 箱のハンドガンの弾薬が入っているので、ピットストップする価値は十分にあります。
右折して カッツストリート そして一番奥の大きなバリケードのそばのテキサンカフェまでずっと走ってください。ロックされていない側のドアを通ってカウンターの後ろのレジに進みます。レジスター内にすでにあるキーと下部のボタンを使用して引き出しを開け、 Neely's Bar Coinを取り出します。その後待ち伏せしてくる横たわる人物に注意してください。
さて、ニーリーズ・バーに戻る時間ですが、その前に、サンダース・ストリートの中腹にある大型リグ・トラックの近くに横たわっている死体からサンダース・ストリート・ノートを手に入れたことを確認してください。
Neely's Bar Coin をジュークボックスに挿入し、 「C」ボタンと「2」ボタンを押して最終的にレコードを再生します。ジェームズは支離滅裂なフラッシュバックを経験している間、懐かしい曲が流れます。終了後 (またはむしろ壊れた後)、ジュークボックスはNeely's Bar Key を吐き出します。これは近くの施錠されたドアで使用できます。
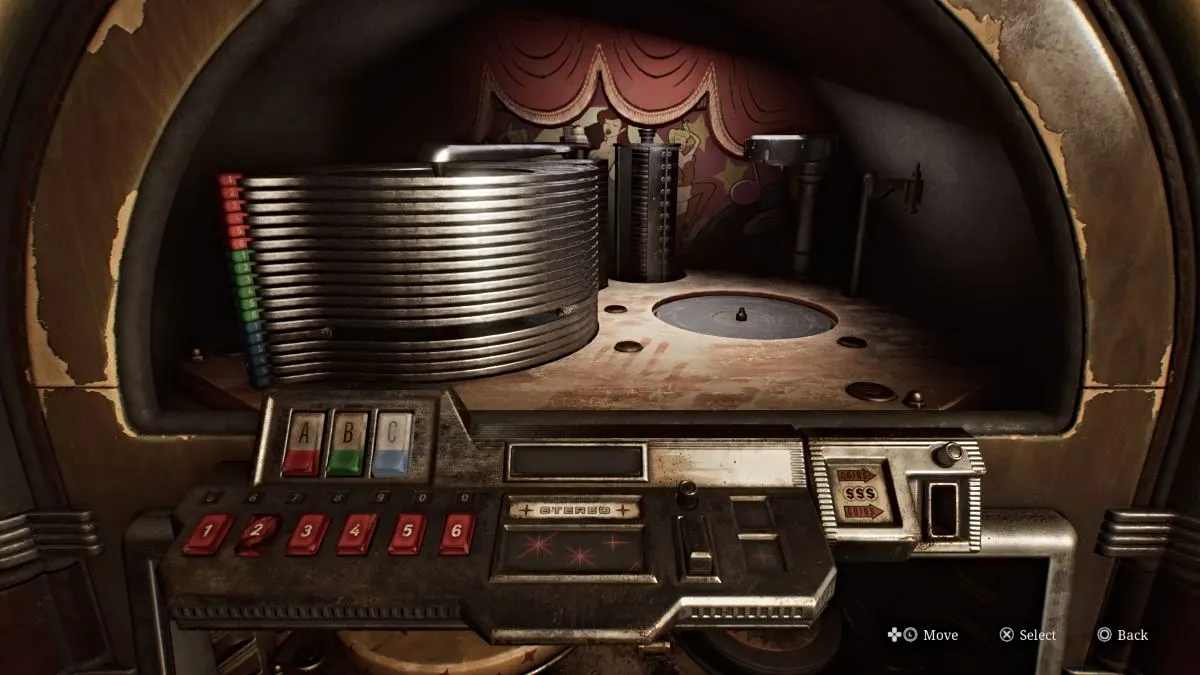
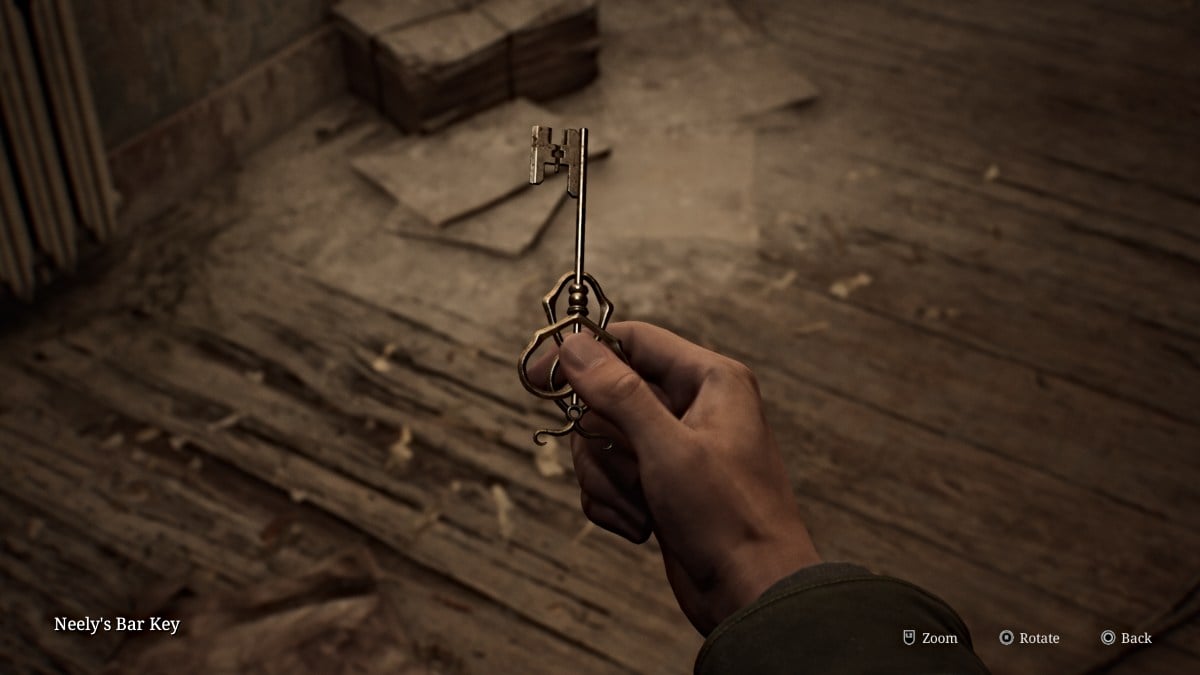
ドアを通ってすぐに右側を見てください。壁の高いところにクロールスペースがあり、そこに到達するには道を塞いでいるカートを使用する必要があります。壁に向かって押し、登って通り抜けます。
壁の応急処置キャビネットからヘルスドリンクを手に取り、次の部屋に行き、机からバックルームレターを手に入れます。これは、「06」で終わるプレートが付いている緑と青の車を見つける必要があることを示しています。による。車でいっぱいの別の裏路地エリアにつながる裏口を出ないでください。
このエリアで何かを積んでいる唯一の車は、マーティン ストリートとの交差点で右側にある明るい緑色の車です。運転席には健康ドリンクが置かれます。後戻りして、ジェームズが描いた地図上の疑問符に向かって直進してください。バリケードのドアを通過すると、右側に放置された緑と青の車があり、その横には血まみれの衣服の山があります。
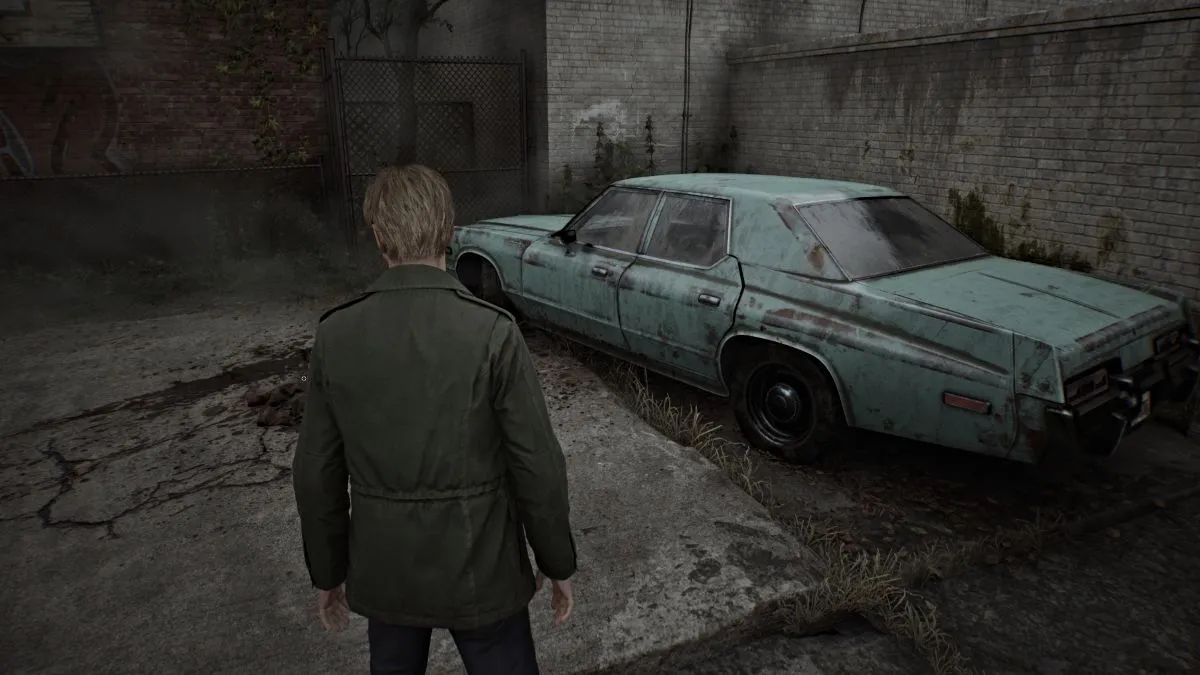
それと対話すると、ジェームズは複数の横たわる人物に待ち伏せされる前に、そこからウッドサイドアパートの鍵を引き出します。彼ら全員と戦うことはできないので、近くの路地から逃げられる場所を探してください(入ってきたドアはロックされているので、試みないでください)。路地を進むとカッツ ストリートに戻りますが、ここも横たわる人物でいっぱいなので、健康を維持するために避ける必要があります。
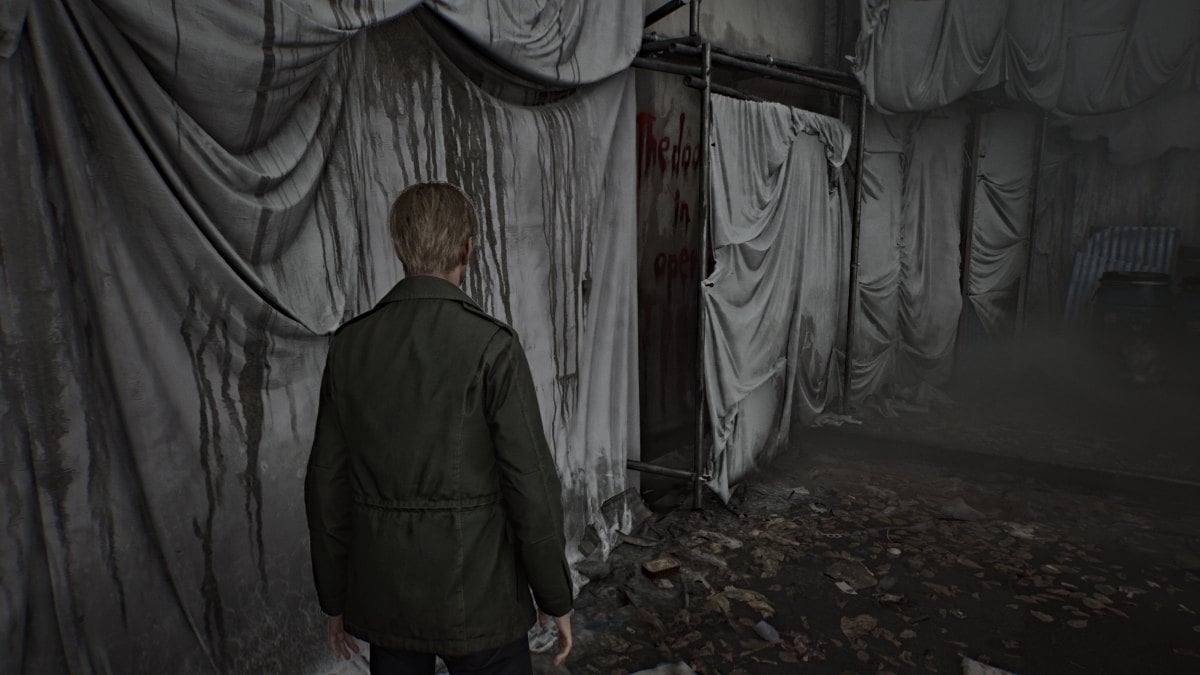
まず、巨大な障壁に到達するまで、Katz Street をずっと西に走ります。地面に横たわっているバリアノートのメモをつかみ、もう一度過去を垣間見るために、血で書かれたフレーズ(下を参照)が見えるバリアの隙間を探してください。
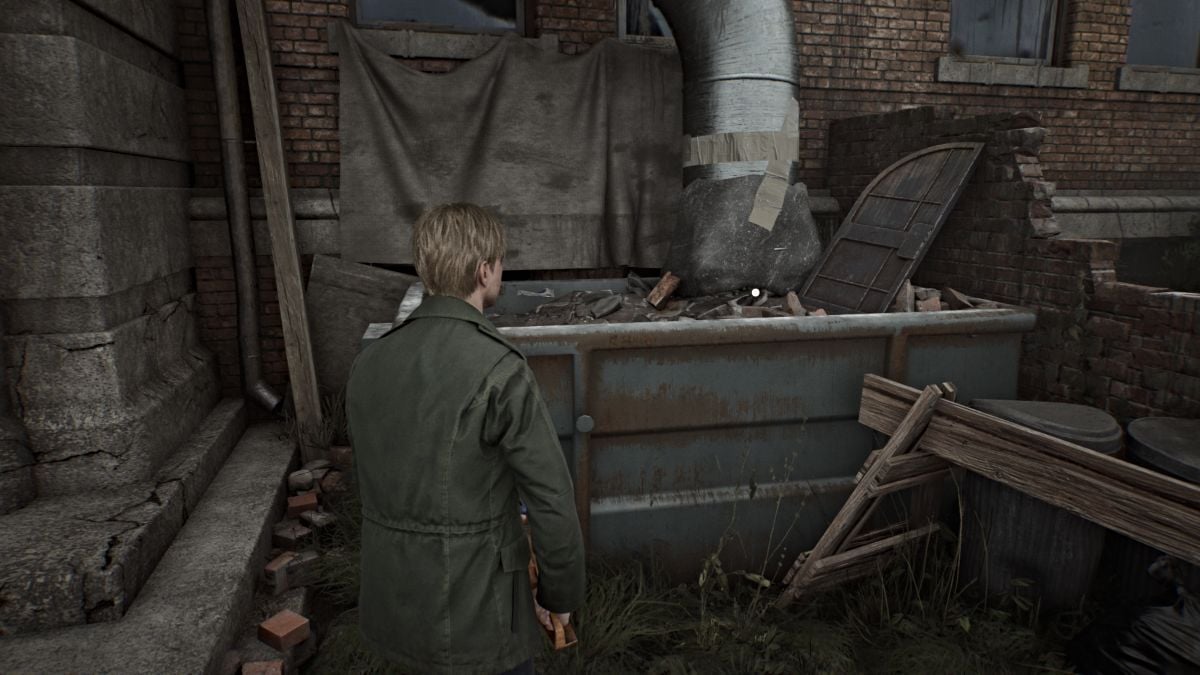
左側に Wood Side Apartments への入り口が見えるまで後戻りしてください。中に入る前に、入り口の右側にあるゴミ箱 (上記参照) まで走って、もう一度過去の垣間見るためにゴミ箱と対話してください。近くのボードからテキサン カフェ フライヤーのメモを取得し、鍵を使って中に入ります。
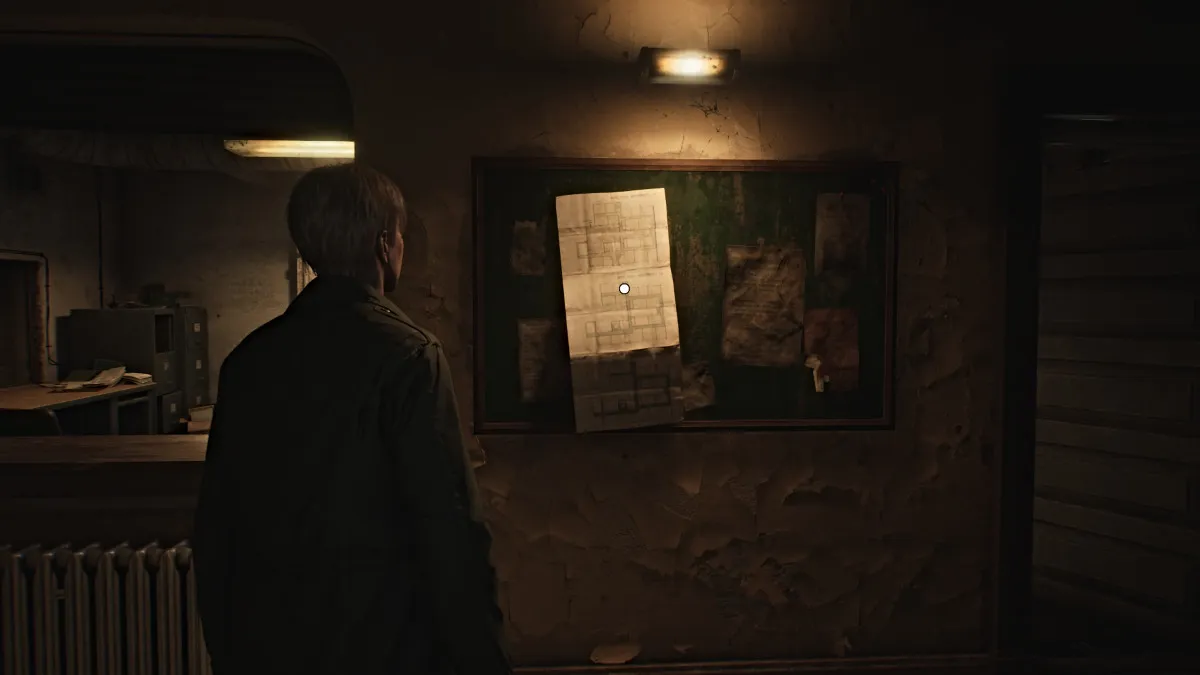
ロビーに入り、壁の掲示板からアパートの地図を入手します。 Wood Side Apartments 1F ~ 3Fのレイアウトが表示され、適切なボタンを使用して各フロアを順に移動できます。次に、ロビーオフィスに入り、左側にあるレッドセーブポイントを使用します。その先の部屋に入り、すぐ右にあるキャビネットを開けてハンドガンの弾を入手します。
部屋の反対側のシートの下で、ジェームズは奇妙なキャビネットを発見し、それが次のパズルになります。くぼみに入れる特別なコインを見つける必要があるので、これについては後ほど説明します。
オフィスの右側にある管理用トイレをチェックして、ハンドガンの弾薬を入手してください。その側の他のドアは今のところロックされているので、フロアの左側に戻ります。文書バインダーでいっぱいの棚がある左奥に進み、そこから管理ノートのメモを入手します。このメモには、アパート 217からの銃声について書かれています。また、階段の下に座っているから別の健康ドリンクを入手します。
1階の他のドアはすべて施錠されているので、とりあえず2階へ向かいます。
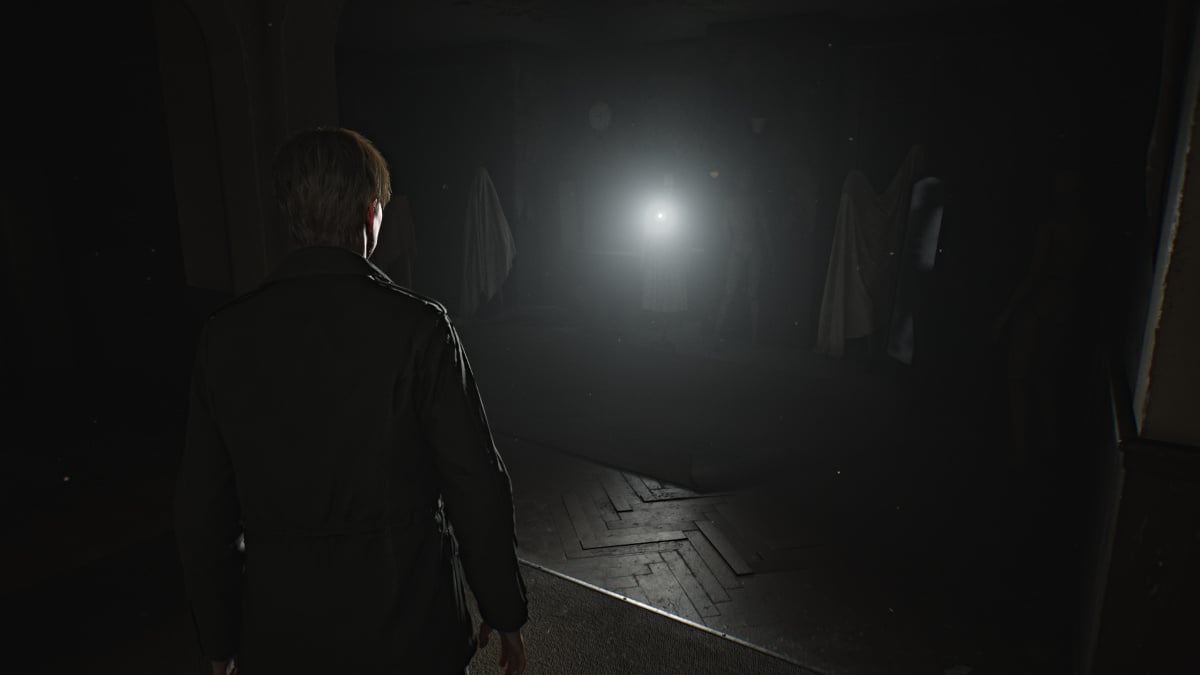
右側のアパートメントを除き、2 階の大部分は現在アクセスできません。アパートメント 202のドアが大きく開いていますので、中に入ります。リビングルームに異常に明るい光が見え、それはメアリーの衣装を着たマネキンで、懐中電灯が差し込まれていることが判明しました。それを飲む前に、まずキッチンエリアに行き、キャビネットの1つからヘルスドリンクを手に取ります。
次に、懐中電灯を入手してください。これは今後非常に有益です。マネキンと呼ばれるその後ろに隠れている新種のモンスターが待ち伏せするので、短い QTE の後、板を使って倒しましょう。 Lying Figures のように酸を吐き出すことはありませんが、物理的な攻撃は凶悪なので注意してください。また、彼らは急所攻撃を好み、時にはじっとしていることで無線機を騙すこともあります。
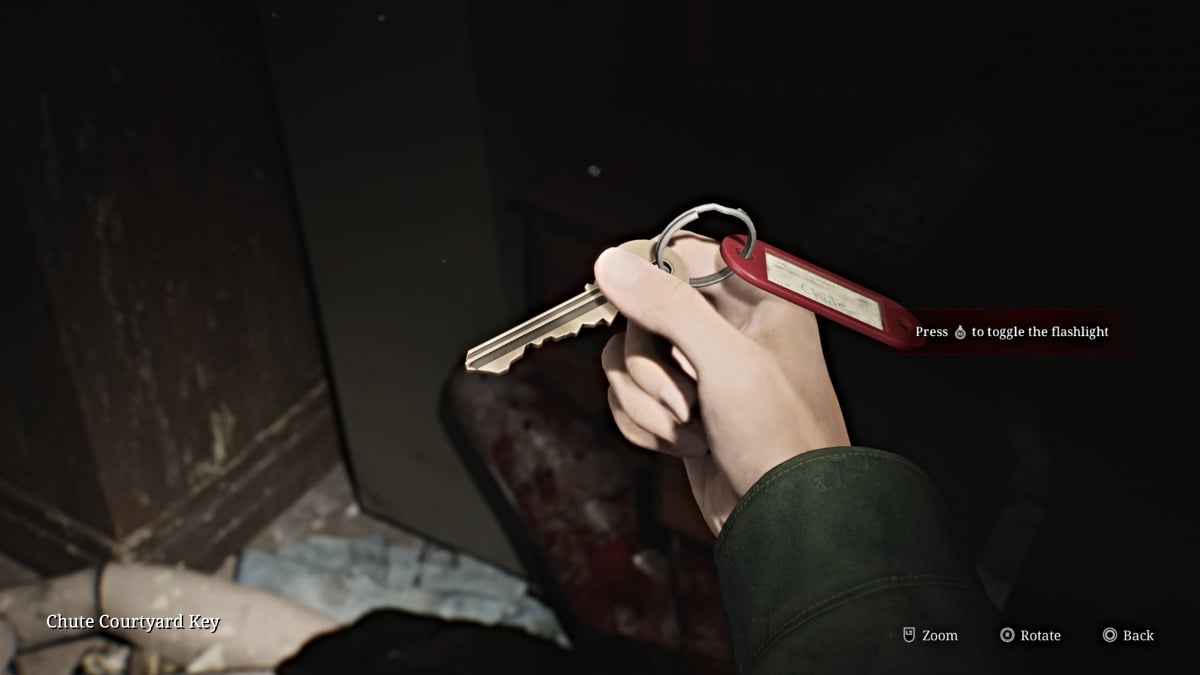
その後、近くのドレッサーからシュート コートヤード キーを入手し、アパートを出ます。
3 階 (現在は施錠されています) を過ぎて、行き止まりに到達するまで階段を駆け上がります。ハンドガンの弾薬はここの小さなテーブルの上にあります。走って一階まで戻ります。
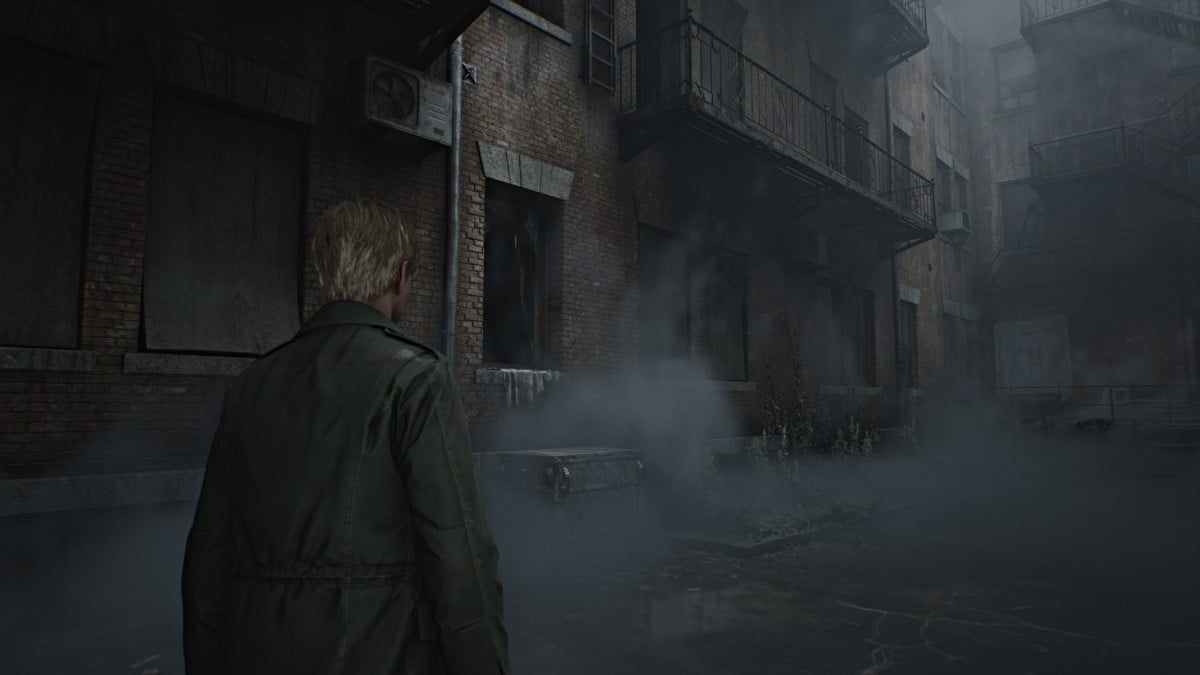
管理人用トイレの左側にあるドアにあるシュート中庭の鍵を使用すると、建物のメインのゴミシュートがある中庭に出られます。シュートの右側に開いた窓に注目し、近くの手押し車をそこに向かって引いて、アパート 112に登ります。
すぐ左側の部屋のドレッサーの引き出しの中にハンドガンの弾を見つけます。右側のキッチンのテーブルの上に、有罪判決を受けた殺人犯ウォルター・サリバンに関する地元のニュース記事が置かれています。アパートを出て、廊下を右に進みアパート 109に向かいます。
リビングルームのテーブルの下にマネキンが隠れているので、戦う準備をしてください。その後、近くの寝室からハンドガンの弾を手に取り、アパートを出てください。廊下を進み、右側にあるシュート中庭の反対側に通じるドアのロックを解除します。さらに先へ進むと、地面に鍵がいくつかのバーでブロックされているのが見えます。それを操作してカットシーンを開始します。
若い女の子が鍵を蹴って逃げたら、中庭を通って近道をしてロビーエリアに戻ります。 1 階の両側が完全にアクセス可能になり、モンスターでいっぱいになっていることがわかります。したがって、慎重に歩いてください。そこから鍵を入手する必要があるため、最初に右側に進みます。
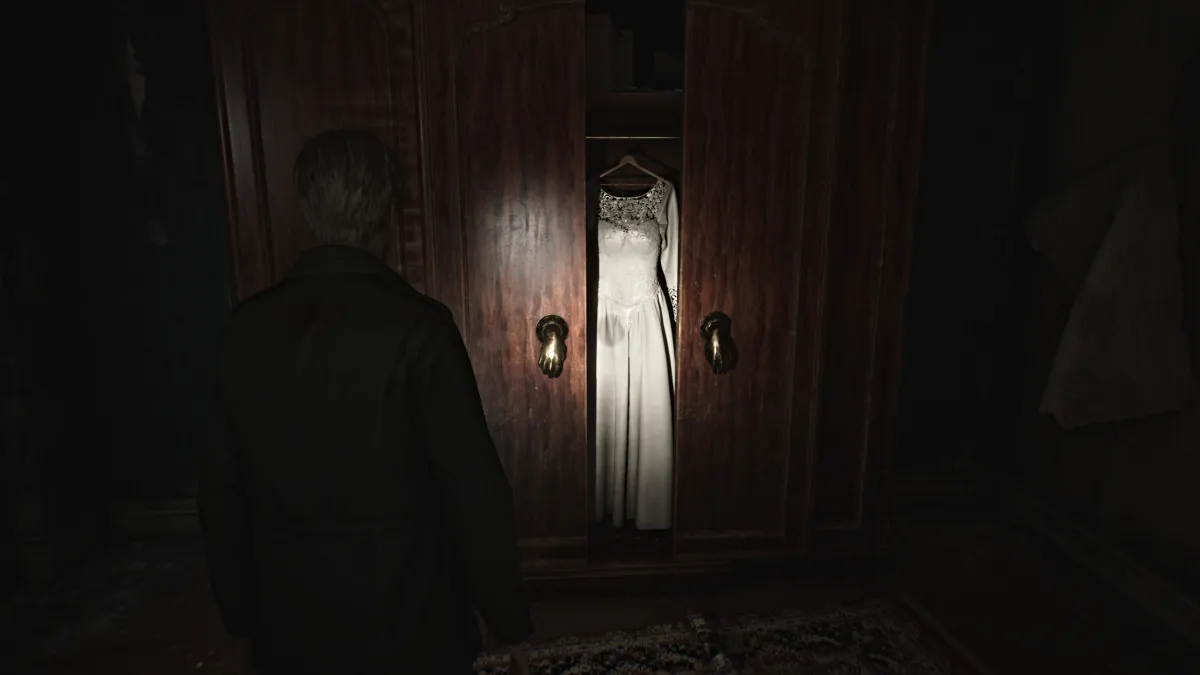
アパートメント 108に立ち寄り、奇妙な手の形のハンドルが取り付けられた寝室の大きなワードローブに行きます (上図参照)。左手を下に向けて操作し、金のリンゴのハンドルを叩き落とします。それを持ってアパートを出てください。廊下を進み、鉄格子のそばにある2F 廊下の鍵を入手します。すぐに向かいのアパートメント 107に駆け込み、寝室のドレッサーから健康ドリンクを手に取り、立ち去ります。
アパート 106へのドアが開いており、横たわっている人物が道を遮っています。それを倒してアパートに逃げ込み、リビングルームのキャビネットからハンドガンの弾を入手します。建物の左側に向かって進みます。
さらに横たわる人物を処理した後、アパート 102に入り、 「バレンタインデー」と書かれたテレビの近くにある奇妙な写真を拾いに行きます。
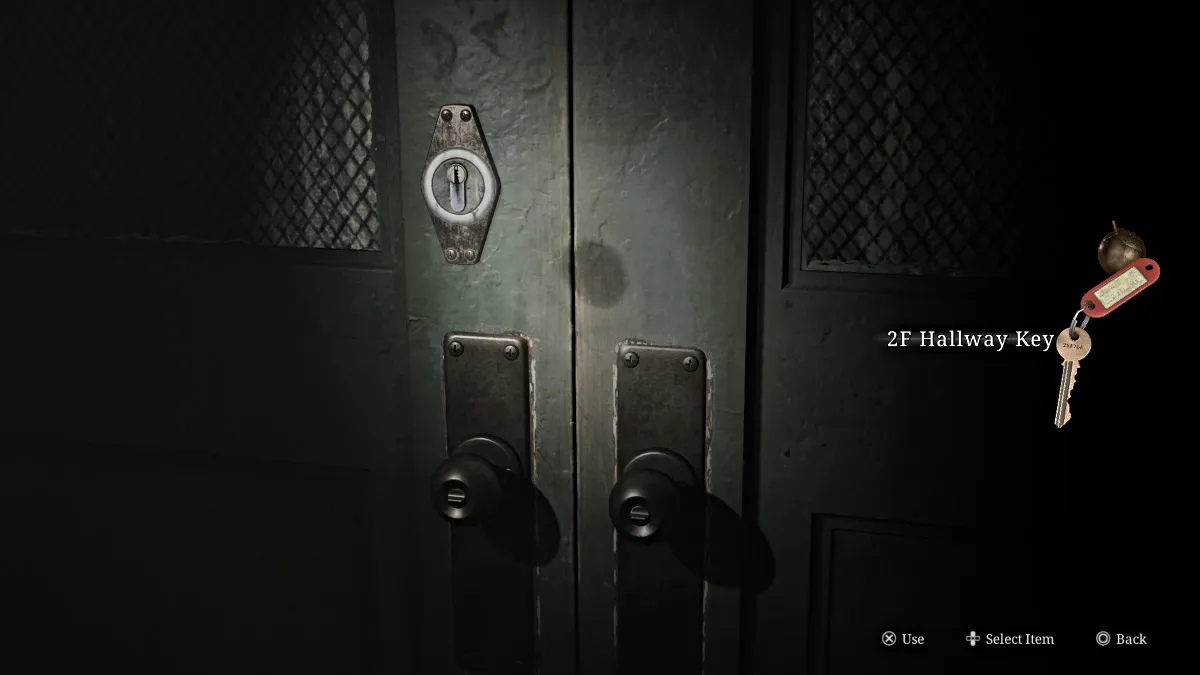
新しい鍵を使って 2 階に戻り、左側にある緑色の二重ドアのロックを解除し、フロアの残りの部分にアクセスできるようにします。廊下を進むと、左側の窓の隙間から、建物の外の誰もいないプールに乳母車が座っているのが見えます。それを覚えておきたいでしょう。
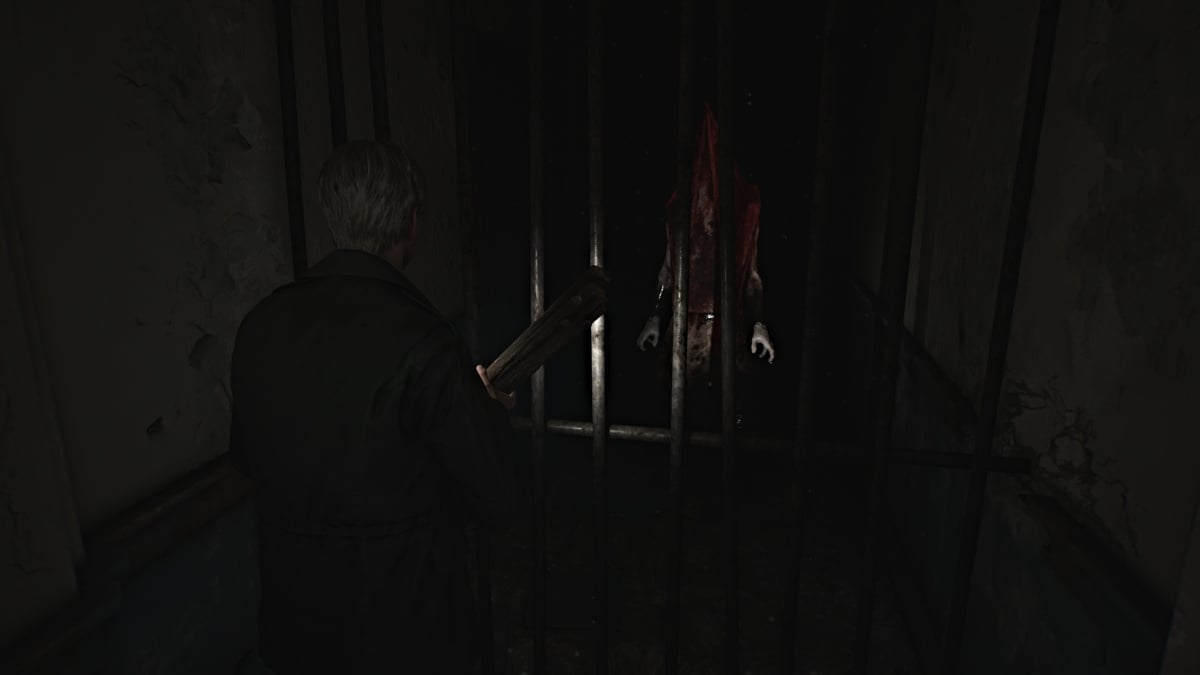
廊下を進み、遠くに何か赤いものが見えるまで右に曲がります。それに近づくと、それはほかならぬピラミッドヘッドであることがわかり、別の鉄格子の後ろからジェームズを見つめています。不安ではありますが、彼は (今のところ) 何もしないので、アパート 213まで少し戻ります。
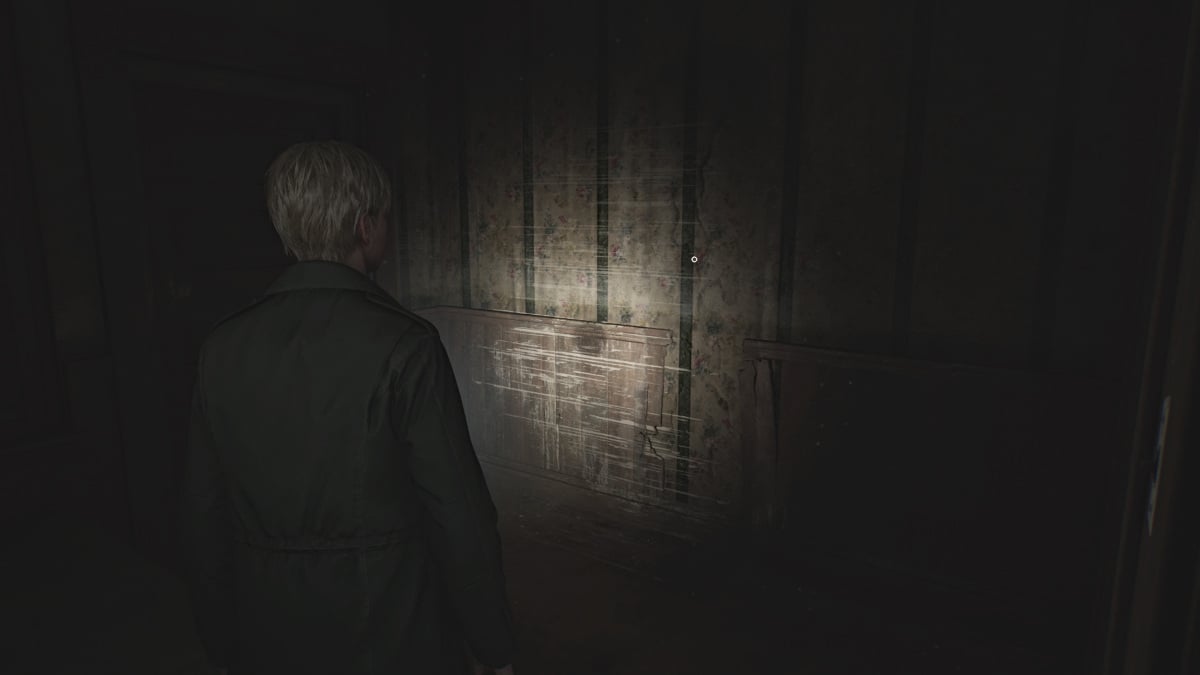
そこの中で、寝室の壁にある別の過去の垣間見スポット (上を参照) を探し、壊れたドアでブロックされた廊下の反対側につながるキッチンの近くの壁の隙間に移動します。終点のアパートメント 217までお進みください。
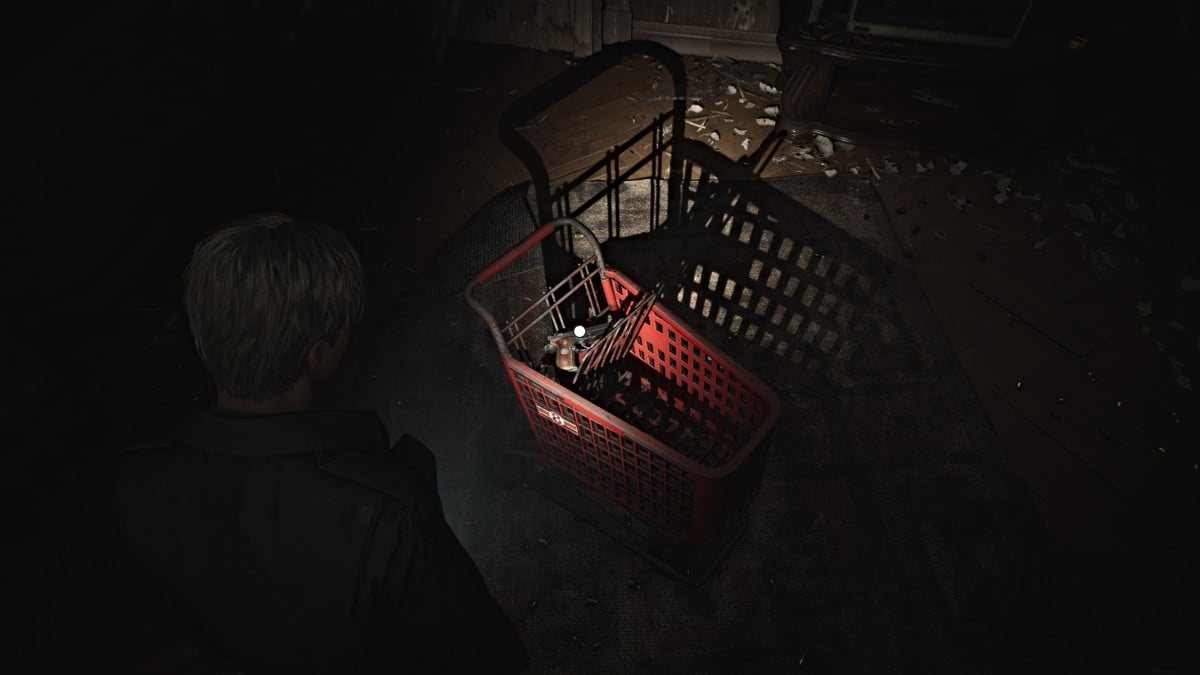
中に入ると、弾痕と薬莢でいっぱいのリビングルームがあり、その真ん中に赤いショッピングカートが置かれています。中を覗くと、これまでで 2 つ目の武器であるハンドガンが得られます。また、ご想像のとおり、アパートにはハンドガンの弾がたくさんあるので、どこでも確認してください。これまで熱心に弾薬を集めてきたのであれば、少なくとも 20 発程度はあるはずです。
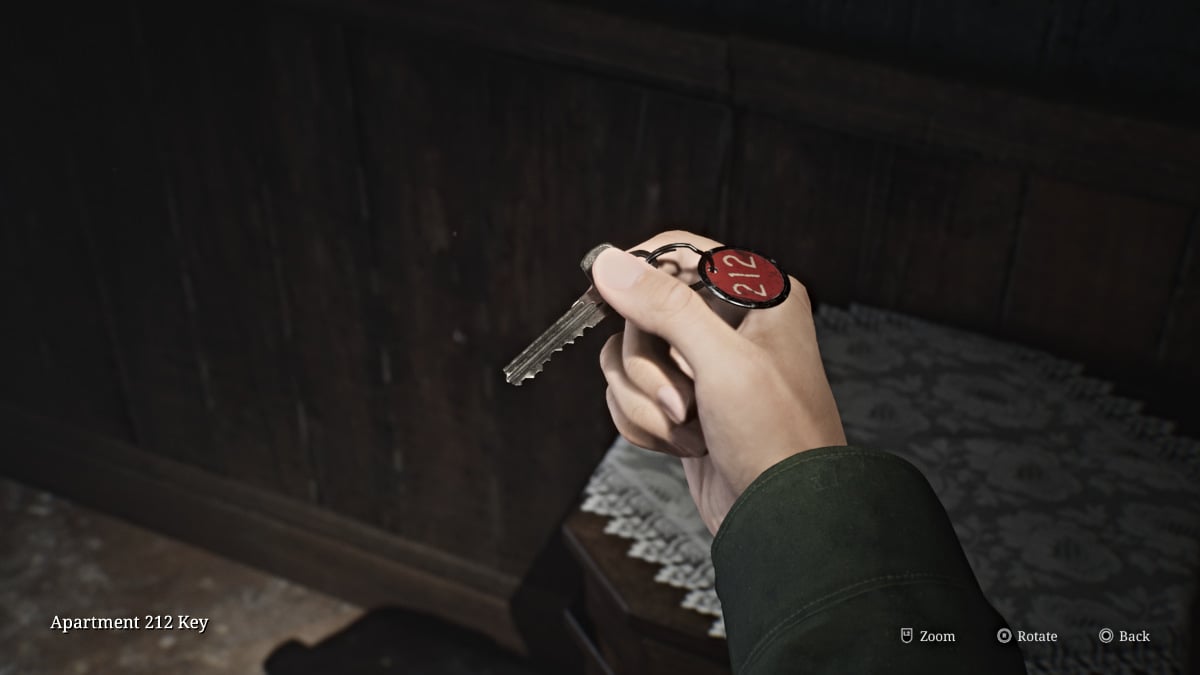
アパートを出て、壁の隙間を通って213番地に戻ると、血にまみれた謎の人物が静止テレビの前に座っています。短いカットシーンを操作してから、近くのドレッサーからアパート 212 キーを入手します。アパートを出ると、ピラミッドヘッドがなくなっていることに気づきます。鍵を使って他のアパートに入ります。
屋内のキッチンからヘルスドリンクを手に取り、開いたドアからバルコニーに出ます。そこを渡って反対側のアパートに行くと、開いた冷蔵庫の中にマネキンと拳銃の弾が入っています。アパートを出て、ホールを下りてフロアの南東側に回りましょう。途中、別のバルコニーに出て近くのレバーを引いて非常階段を地上レベルまで下げ、別の近道を開きます。
アパート 207に行くと、横たわっている人物、バスルームに隠れているマネキン、およびハンドガンの弾が見つかります。
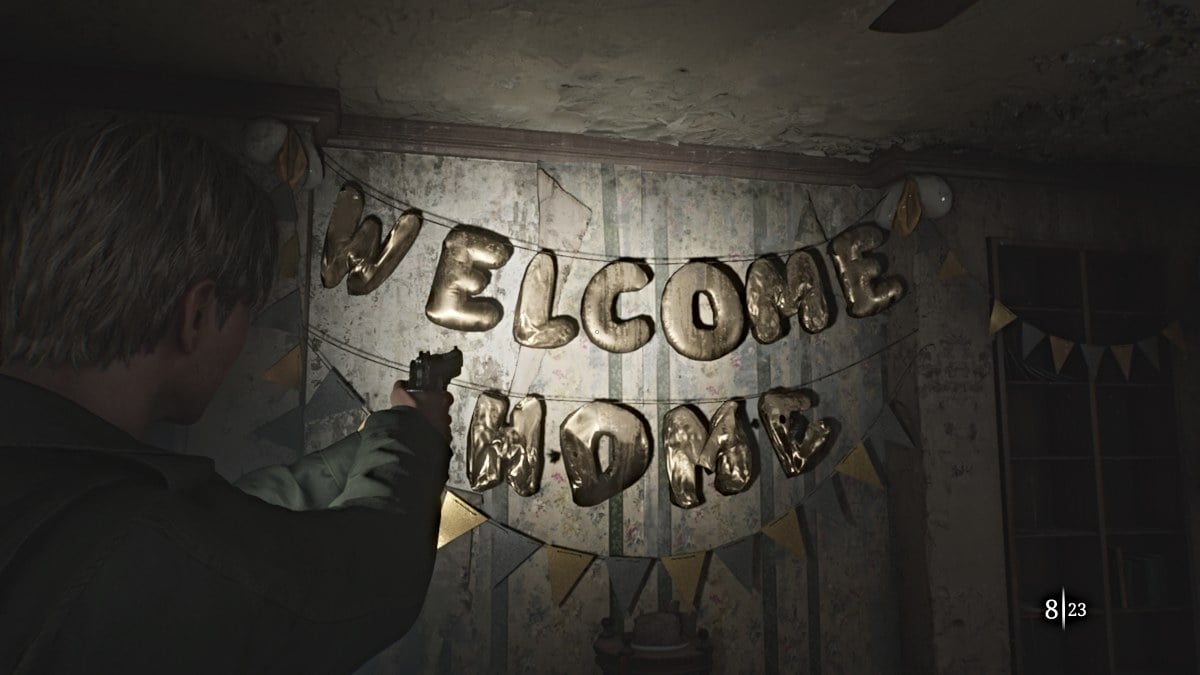
205番はバルコニーからブロックされているので、代わりに廊下に戻り、アパートメント208に向かいましょう。
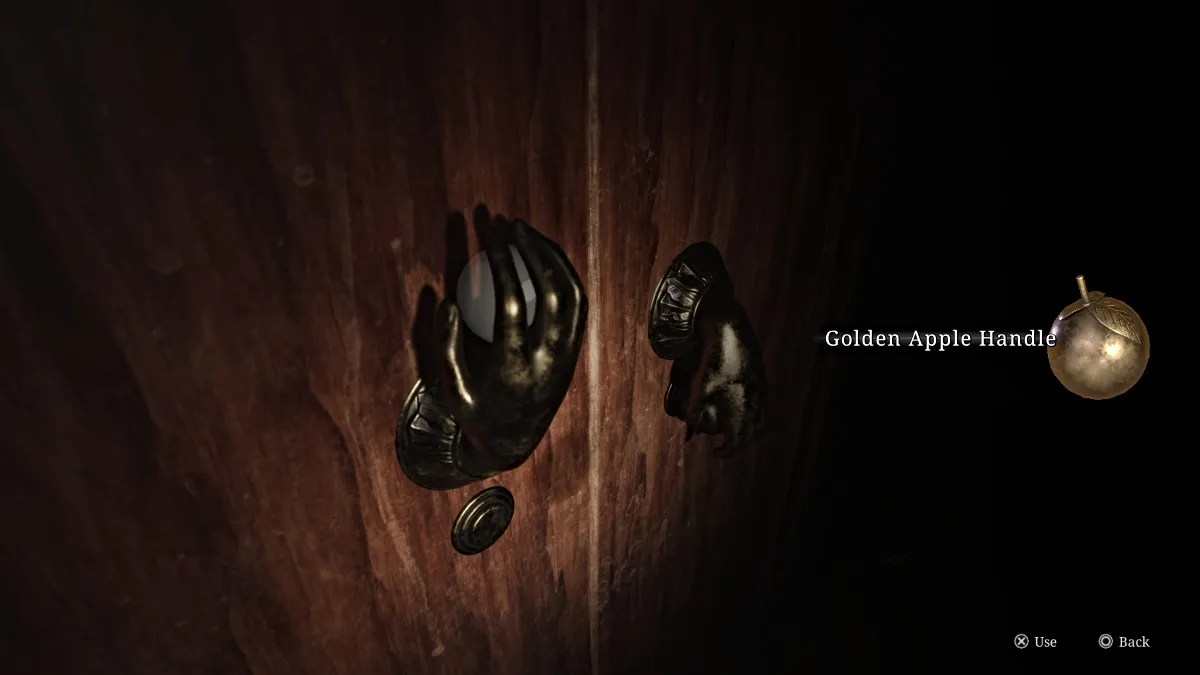
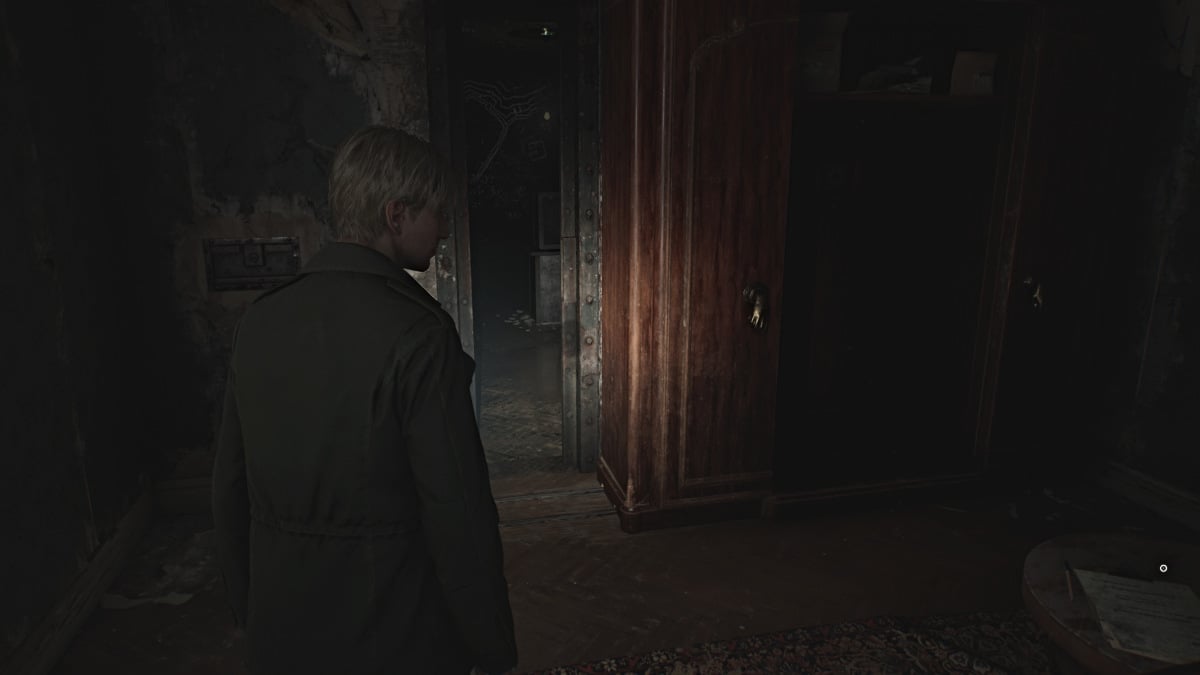
中には、黄金の手が描かれた別の壮大なワードローブがあります。それに近づいて、以前に入手したゴールデンアップルハンドルを使用してワードローブのロックを解除します。左側に移動して操作して押し倒すと、壁に文字が書かれた秘密の部屋と中央に鍵のかかった金庫が現れます。中に入るとすぐにドアが後ろで閉まります。
金庫を開けるには、正しい組み合わせを入力する必要があります。得られる唯一のヒントは、入ってきた場所の近くの壁に書かれた文章からです。正しい組み合わせ (標準パズルの難易度) は、 「右 13」、「左」です。 7、次に 'right 11' 。金庫が開き、マンコイン(階下のコインパズル用)と部屋の反対側のドアに使用するスチールキー(白い四角が描かれている)が現れます。
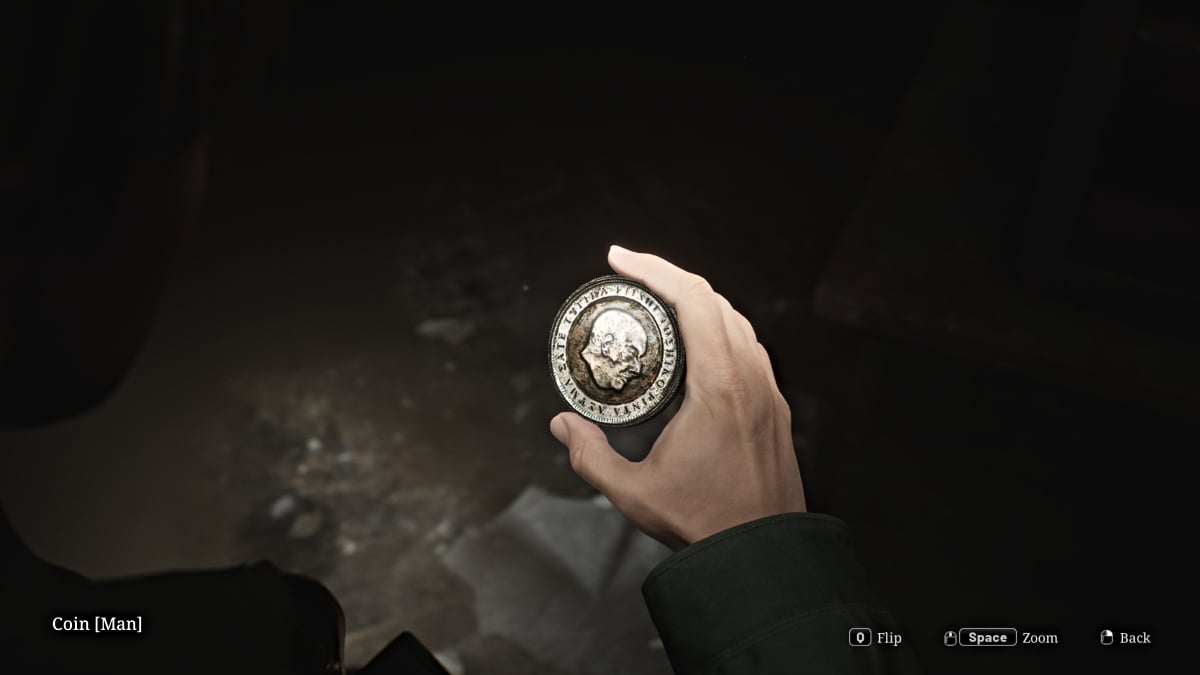
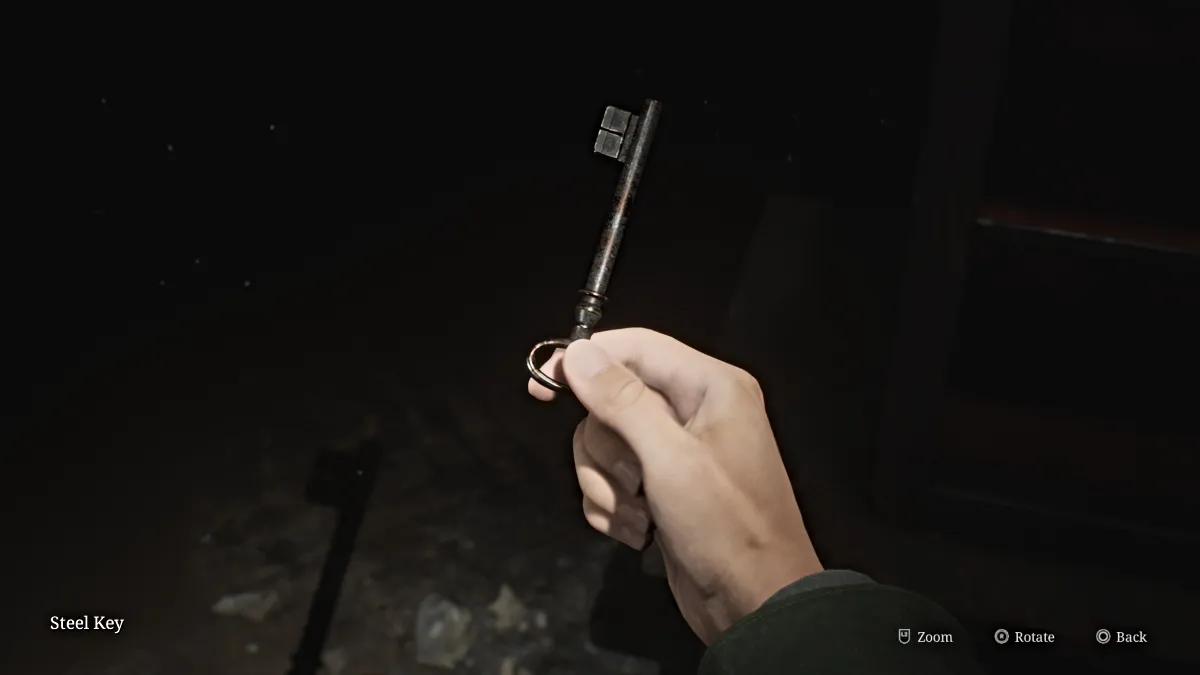
部屋を脱出すると、廊下に戻り、アパートメント 205へのドアが大きく開いています。中に入ると、薬の缶に入ったヘルスドリンク、キッチンにハンドガンの弾、部屋の中央の椅子に座っている2Fの小さな階段の鍵と一緒にいくつかのバグモンスターが見つかります。
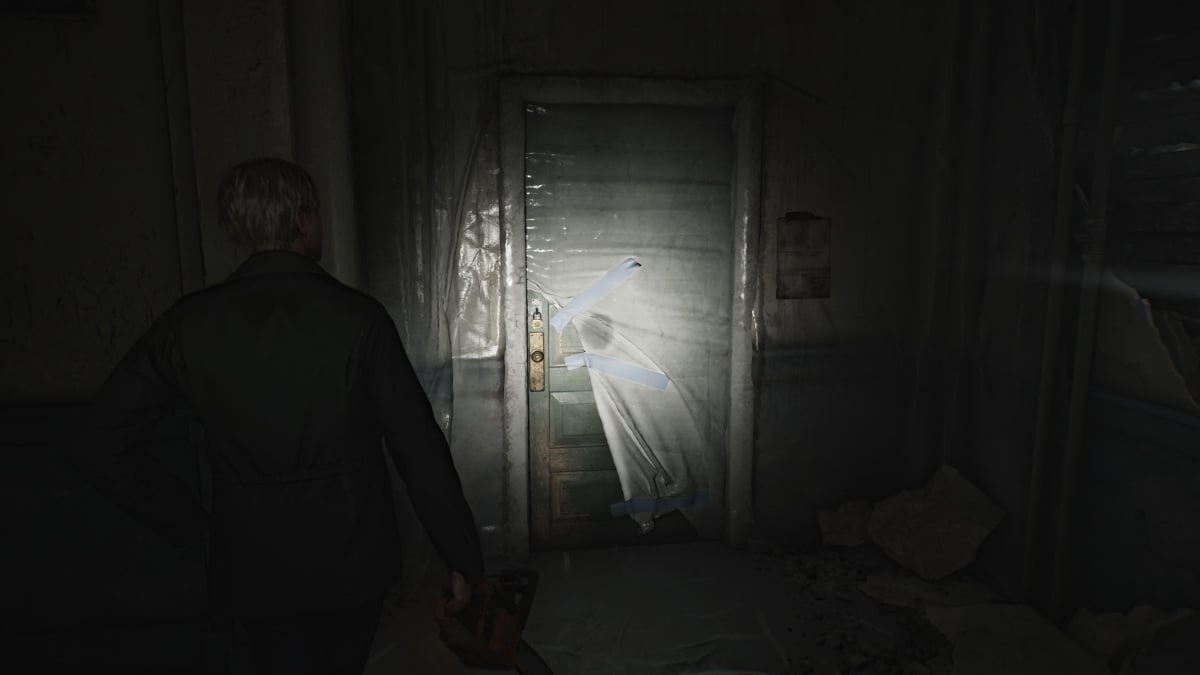
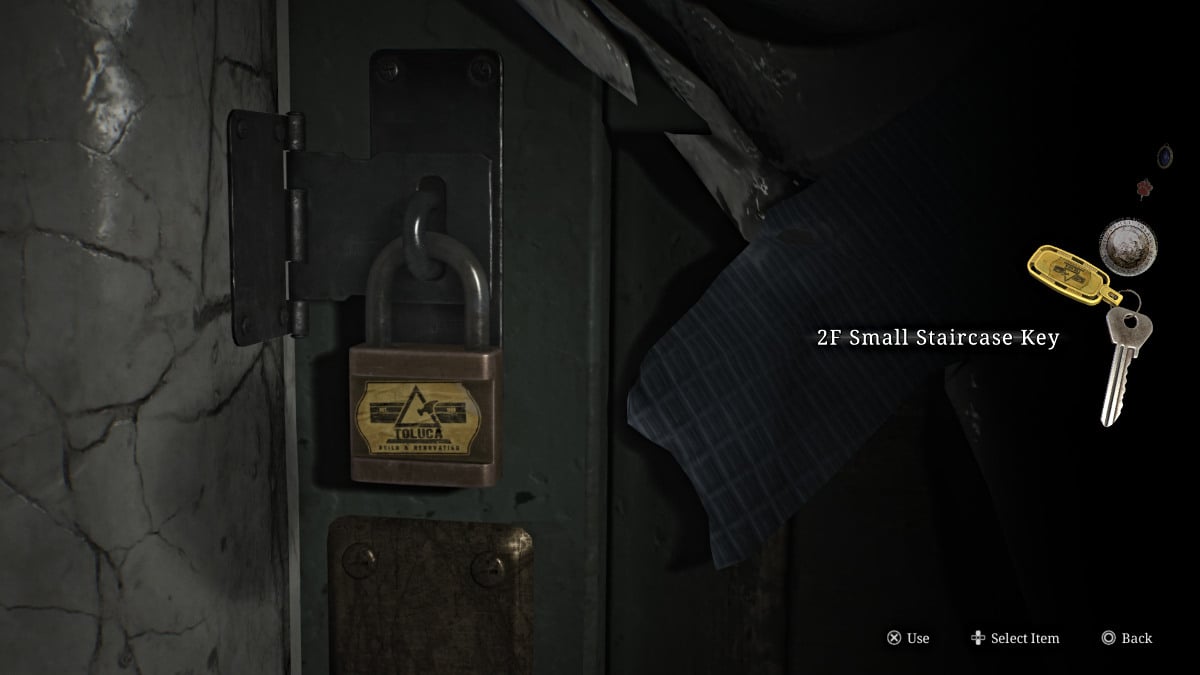
それを手に、ビニールで覆われた床の北側の階段まで戻ります。その上にある2F小階段の鍵を使用すると、最終的にアクセスできます。中にあるレッドセーブポイントを利用して3階へ向かいます。
3 階に着いたら、まず廊下をまっすぐ進み、行き止まりの肘掛け椅子に座ってハンドガンの弾を受け取ります。次に、後戻りして右に進み、別の行き止まりと壁の隙間に到達すると、アパートメント 311 (下図) につながります。近くで待ち伏せをしている 2 つのマネキンに注意してください。
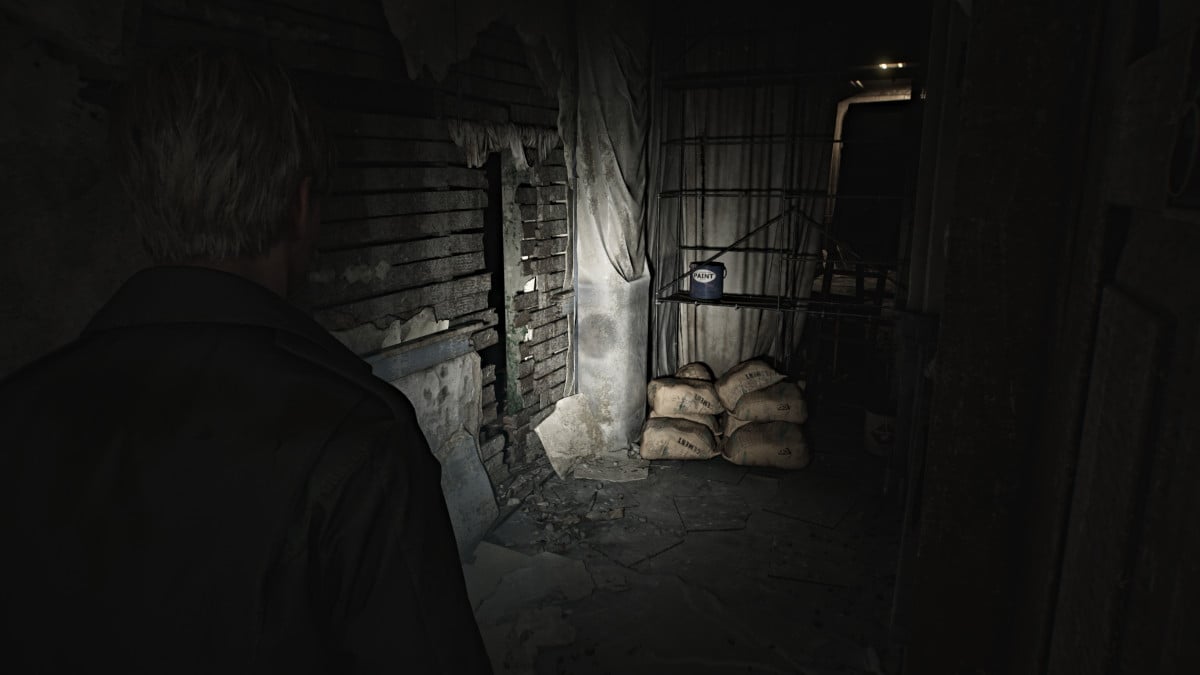
道を進み、アパートメント 309に渡ってから、少し廊下に戻り、別の隙間を通ってアパートメント 310に進みます。このアパートメントは半分に分かれているので、必ず両面を確認してください。廊下の向こう側には、机から拾える奇妙なメモと応急処置コンテナに入った拳銃の弾がいくつかあります。
さらに待ち伏せしているマネキンに注意し、バルコニーを使ってアパート 312に渡ります。そこでは、応急処置キットの中に注射器、健康ドリンク、そして壁に掛かっているシニスター ノートのメモが見つかります。
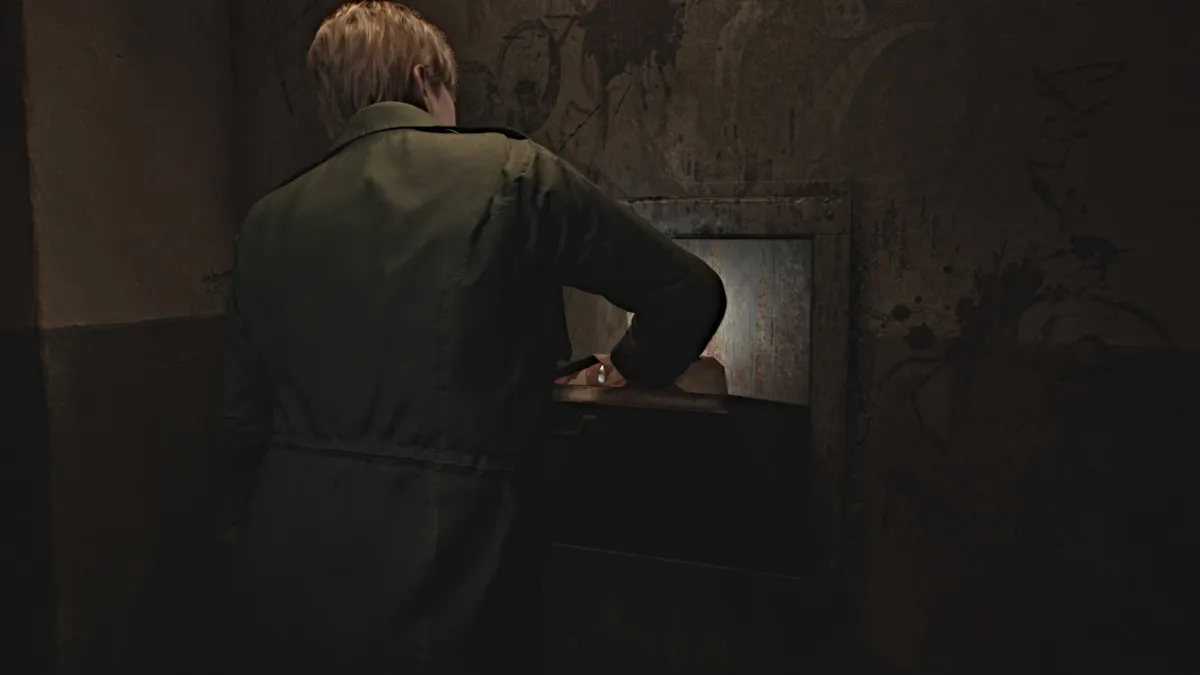
アパートの左側には黒い残留物が残ったスペースがあります。そこを這って進むと、ランドリールームに出ます。テーブルから缶ジュースのパックをつかみ、近くのシュートまで持っていき、落とし込みます。その重さにより、別のコインを含む大量のゴミがシュートの中庭に落ちます。外出の途中で洗濯機の上にあるハンドガンの弾薬をさらに入手してください。
北の階段を 1 階まで降りて、一番下の箱にあるハンドガンの弾をさらに入手します。廊下に出ると、右側からむせかえるような音が聞こえます。彼らを追って最後にあるアパート116へ行くと、開いた冷蔵庫の中に死体があり、近くのバスルームで誰かが吐いている。
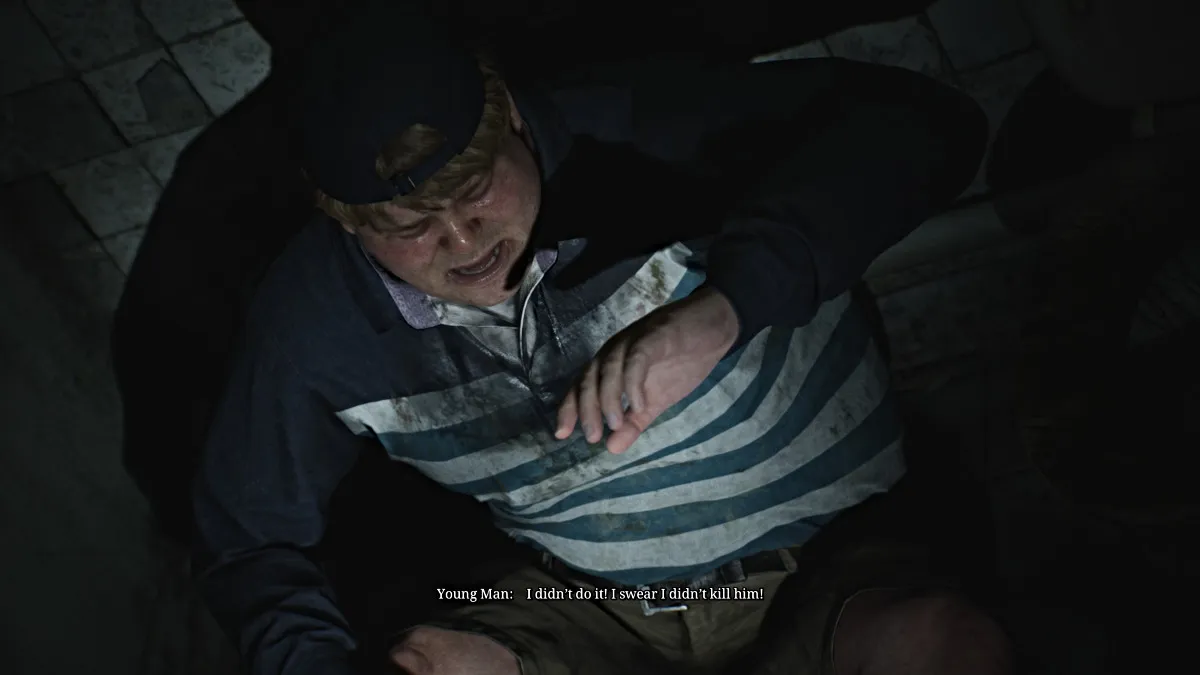
そこに近づくと、ジェームズをエディ・ドンブロウスキーに紹介するカットシーンが再生され、彼は奇妙に気まずく、明らかに体調が悪いように見えます。彼は町を離れることを心配しているようで、ジェームズに一緒に来るように頼みますが、ジェームズは丁重に拒否します。カットシーンの後、プールエリアに行く前にアパート内でアイテムを探します。プールエリアには横たわるフィギュアが這っているため、慎重に移動する必要があります。
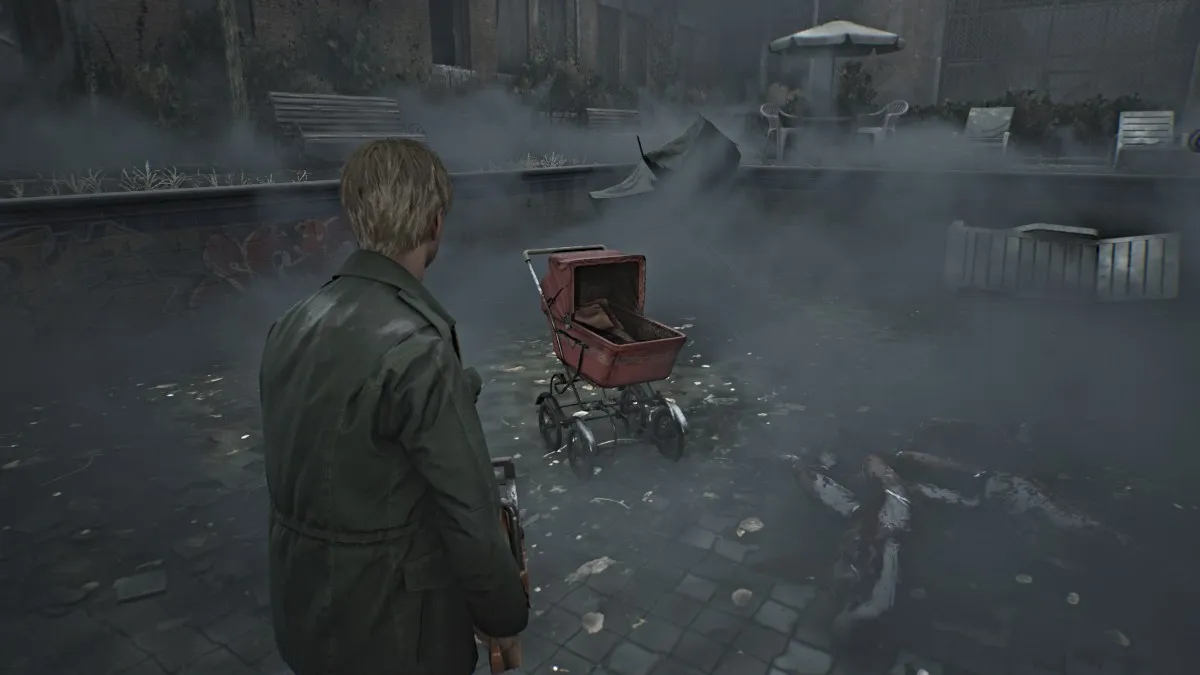
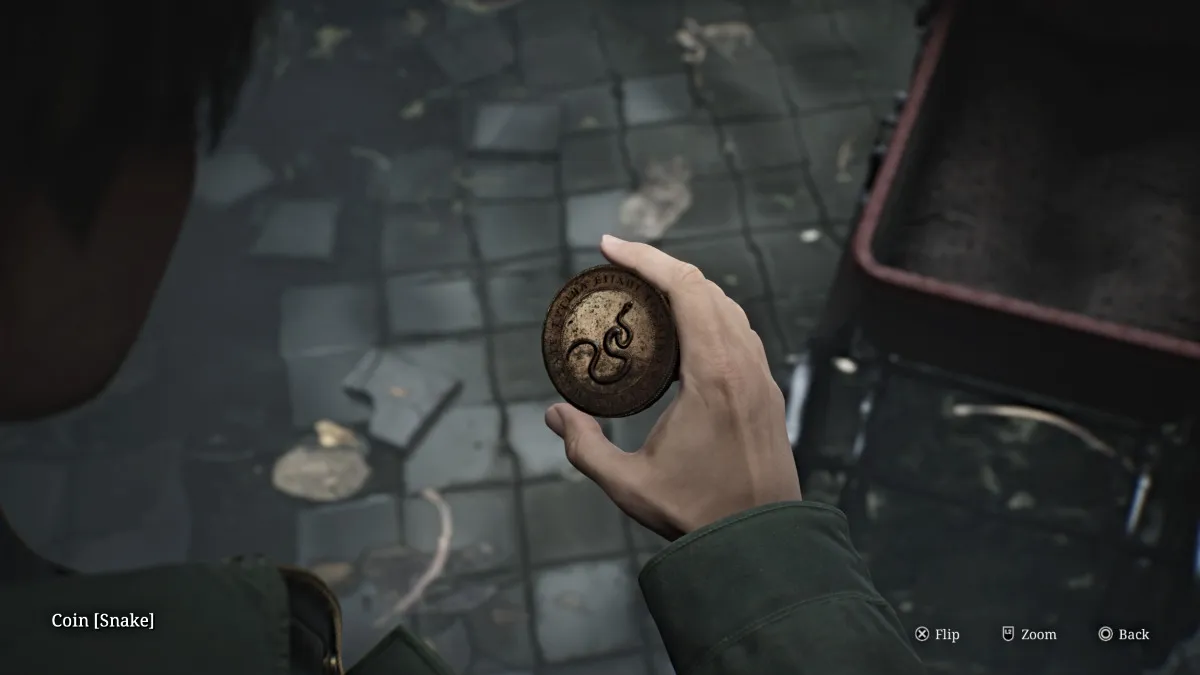
必要なものだけを殺して、スネークコインが入っているプール内の乳母車まで向かいましょう。
来た道を戻り、アパートから出て、シュート中庭に戻る二重ドアに向かいます。
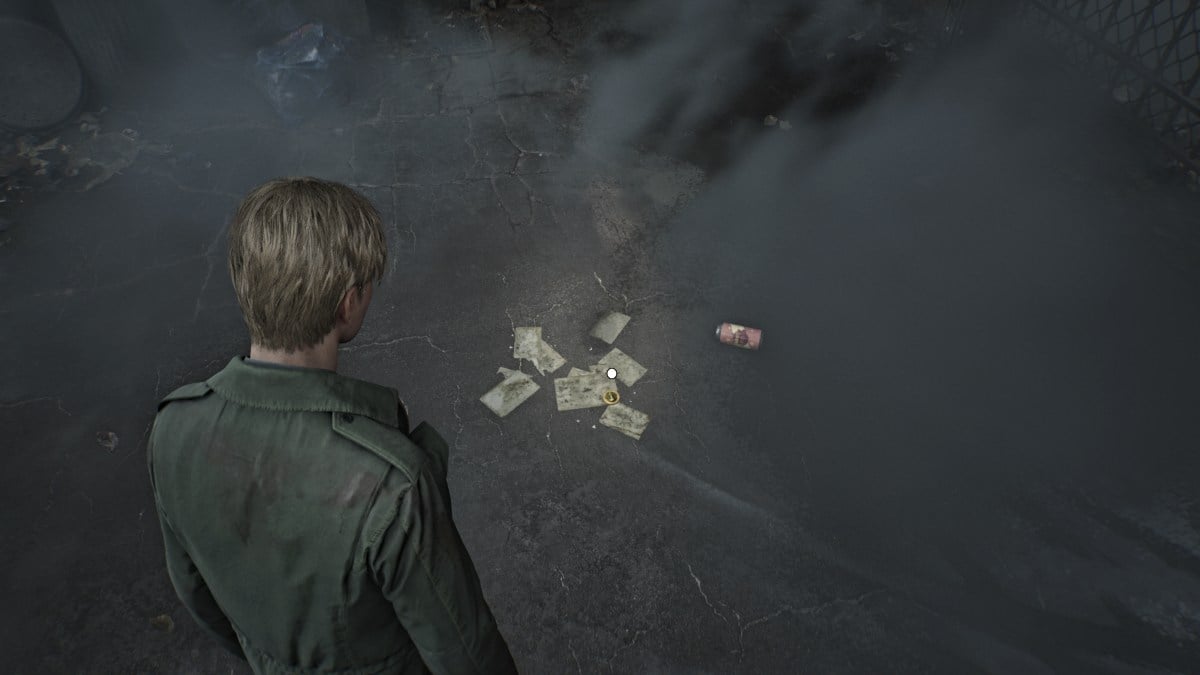
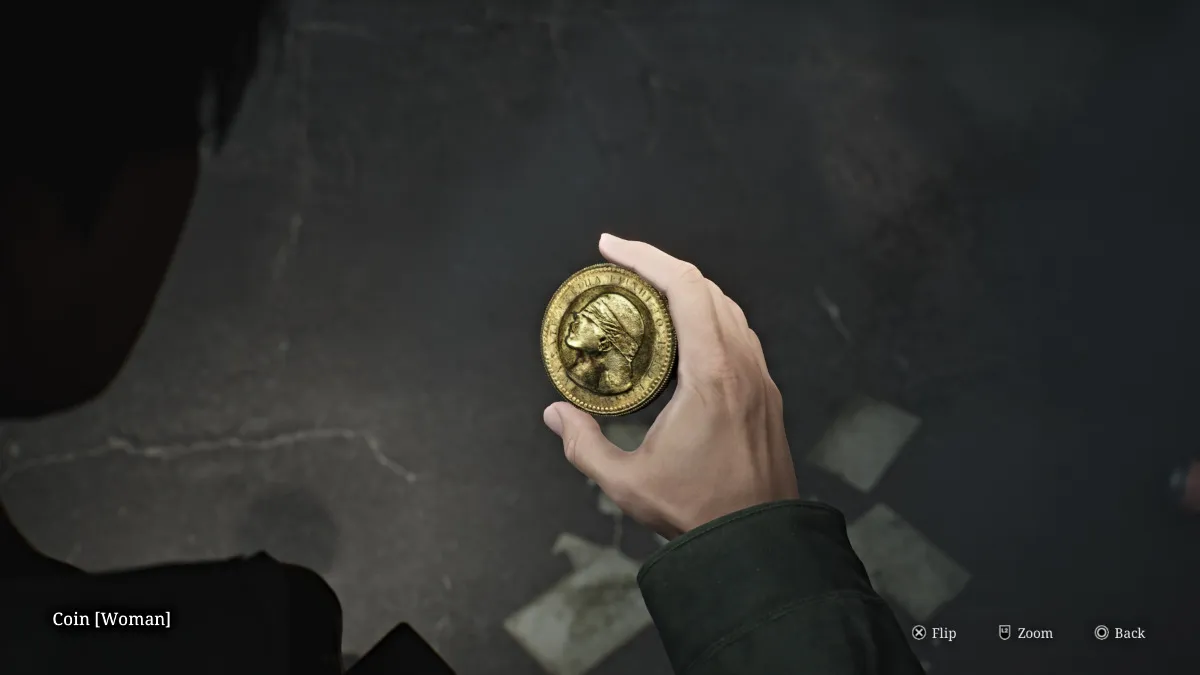
慎重に地面を探してWoman Coinを探します。これはジュースの缶の 1 つの近くにあります (上を参照)。これで必要なコインがすべて揃ったので、ロビーのオフィスに戻って最終的にパズルを完成させましょう。
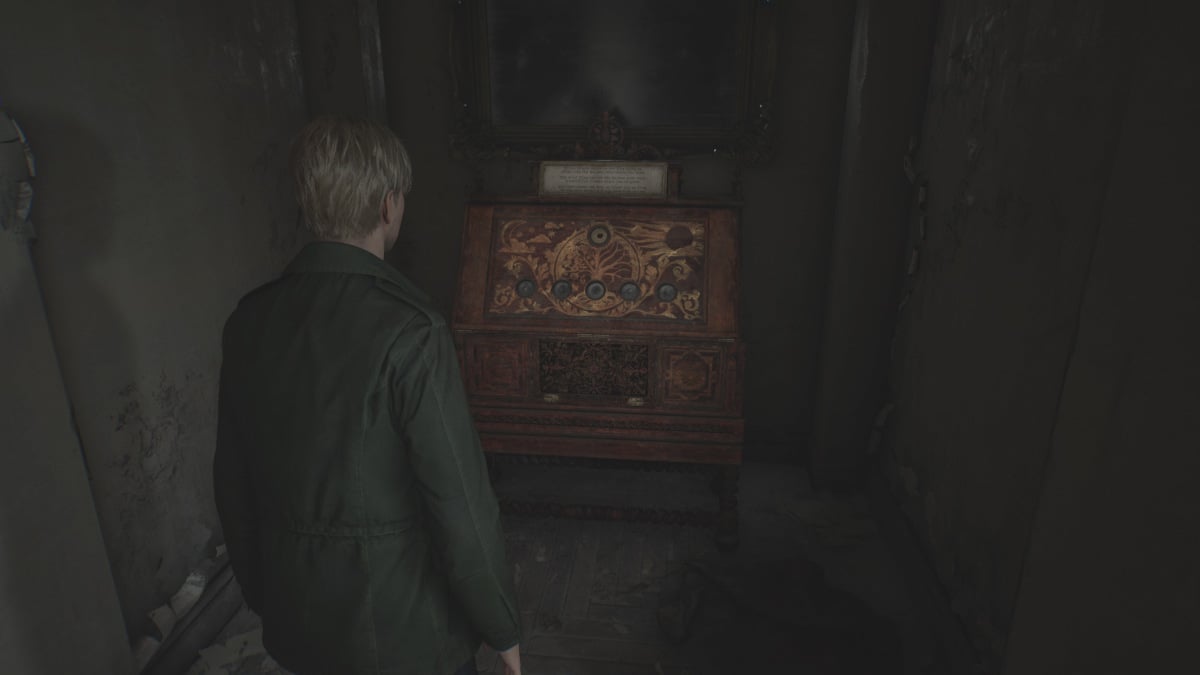
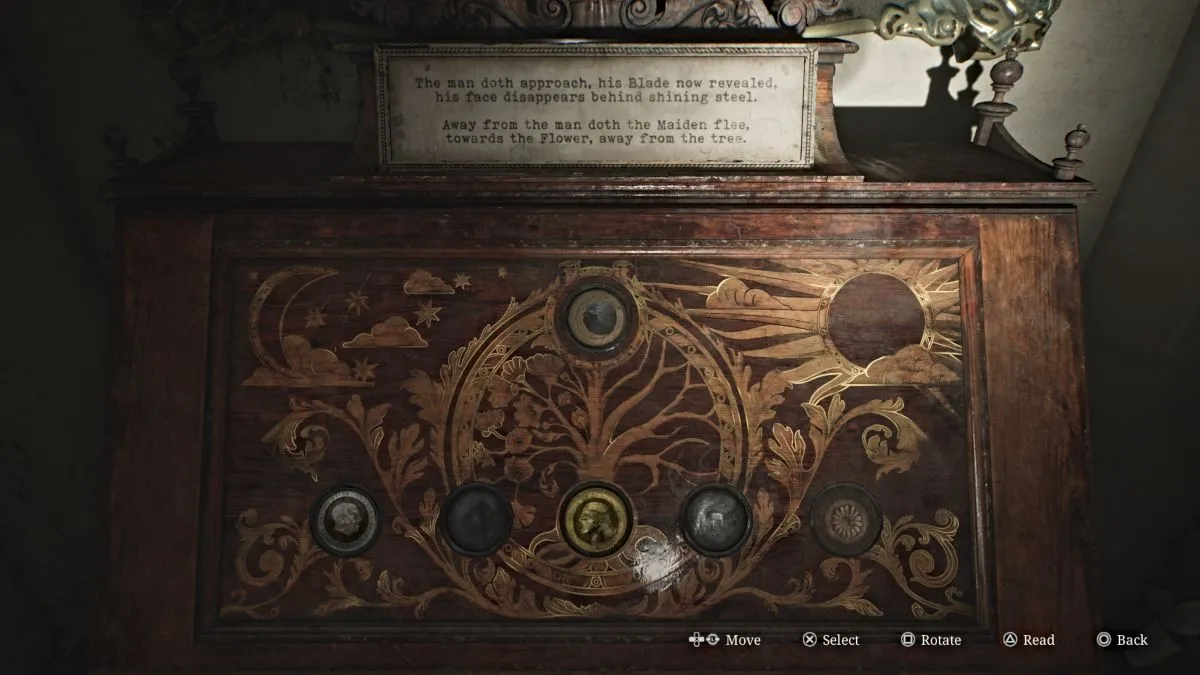
ロビー オフィスにある華やかなキャビネットを開けるには、上記の詩に従って 3 枚のコイン (およびそのバリエーション) を正しいスロットに置く必要があります。各ステップを完了するとコインが変わります。以下に、パズル (標準難易度) の完全な解決策を示します。手順は順番に記載されています。
これで、パズルには最後のステップが 1 つあり、どのコインを「責める」か (男、女、または蛇) を選択する必要があります。間違った答えはありませんが、あなたの選択は、得られる結末に影響します。あなたの努力に応じて、アパートメント 201 の鍵も入手できます。
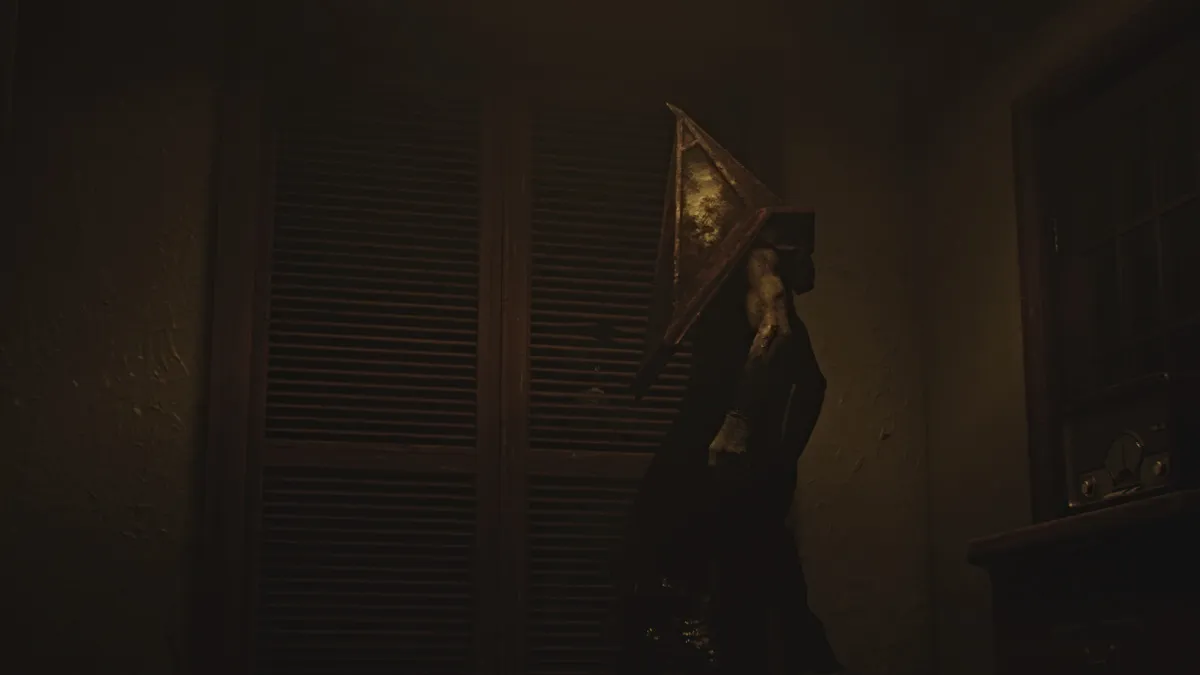
ロビーのメイン階段を使って2 階に戻り、右折してアパートメント 201に向かいます。ライティングデスクの上でハンカチを見つけるまで探索すると、ピラミッドヘッドといくつかのマネキンが登場する悪名高いカットシーンが始まります。
彼が去った後、机に戻ってハンカチを集め、反対側の真っ赤なドアに近づき、別のカットシーンが表示されます。そこでは、ジェームズが文字通りある建物から別の建物へと渡らなければなりません。厳密にはブルー クリーク アパートメントですが、異世界に閉じ込められたバージョンです。
異世界では、通常の環境が大きく異なって見えます。より荒廃し、錆び、多くの場合、汚れた工業的な骨組みにまで取り除かれています。まだ地図にアクセスできないので方向を確認し、近くの青いドアを通り抜けてください。右側の肘掛け椅子からハンドガンの弾を手に取り、次に左に向かい、 Blue Creek Apts 2F-3Fの地図を入手するまで廊下を進みます。
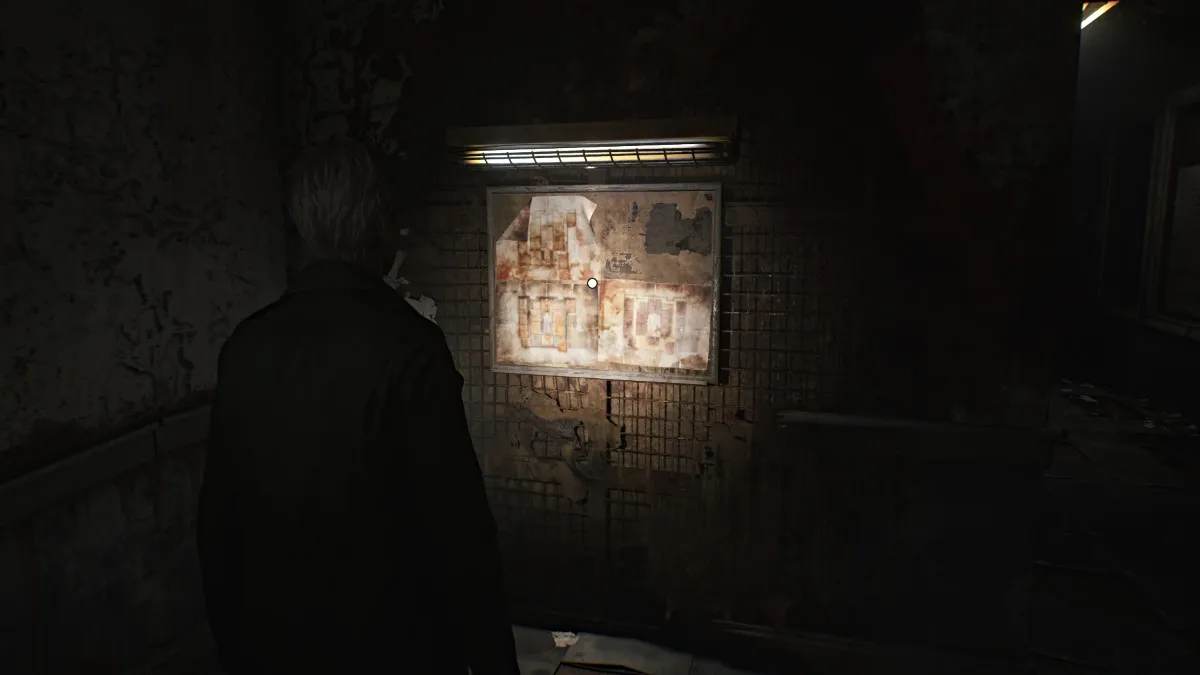
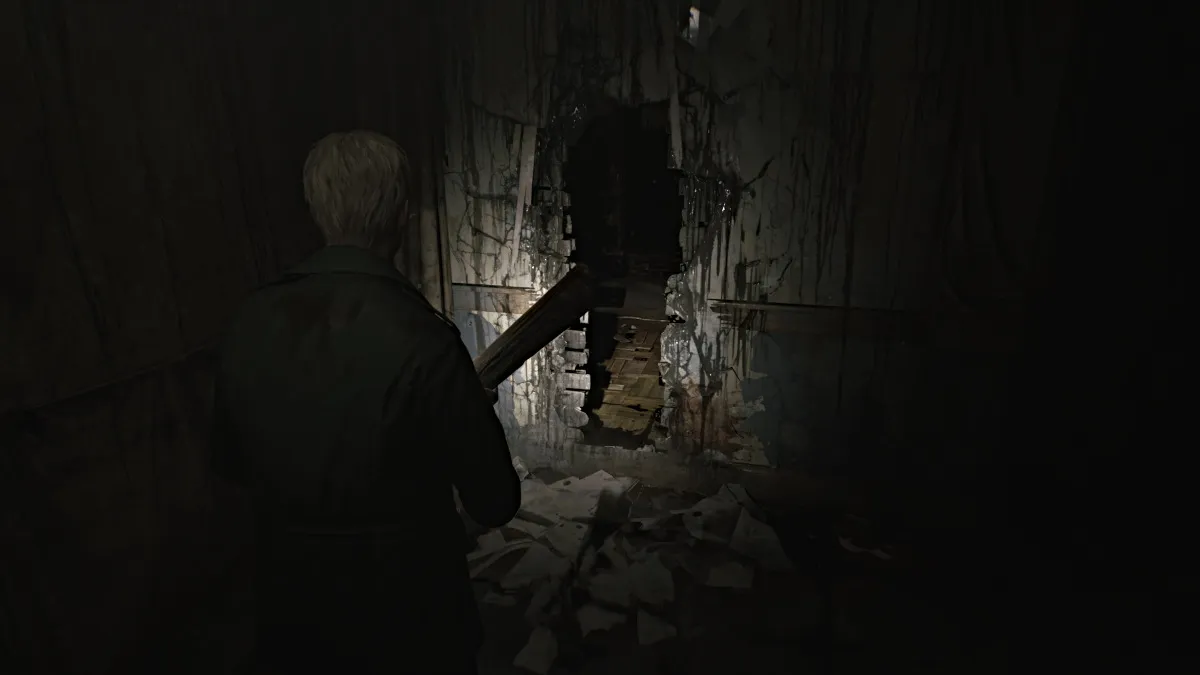
壊れそうな壁に到達するまで廊下を進みます。木の板を使って破壊し、すり抜けます。近くの引き出しからハンドガンの弾を収集し、アパートの反対側に慎重に進みます。廊下に出る前に、モンスターを処理し、キッチンエリアからハンドガンの弾をさらに入手してください。
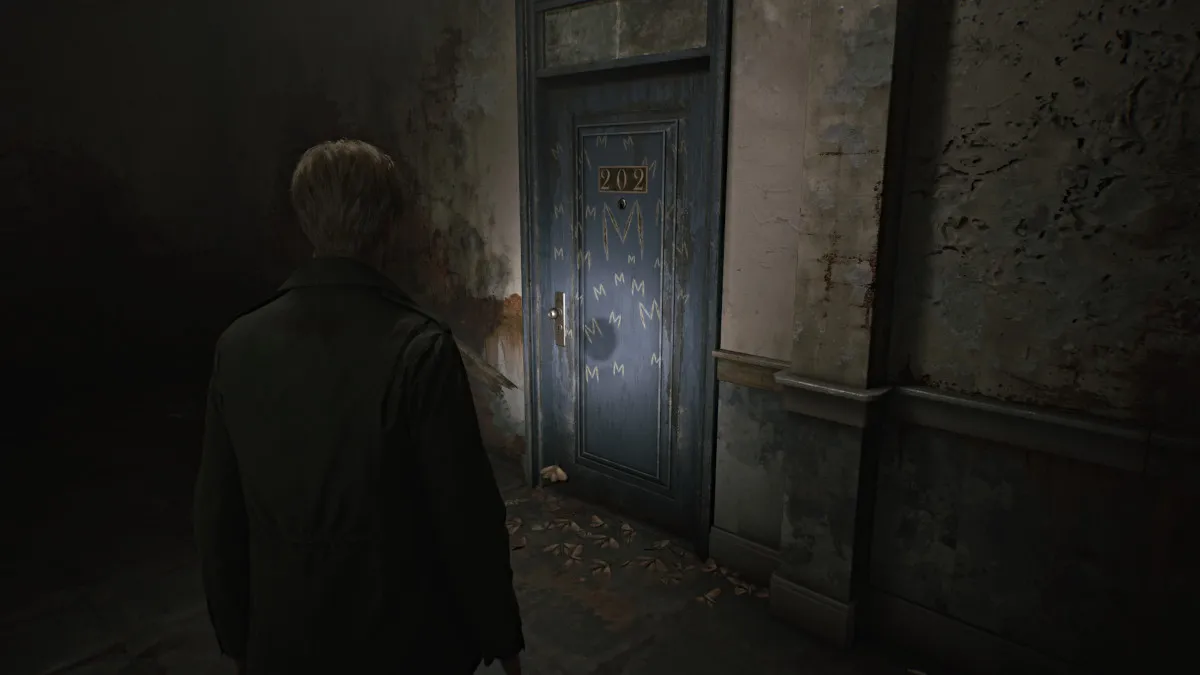
ある時点で、アパート 202への青いドアを通過します。ドアには「M」が繰り返し刻まれており、ドアの前には数匹の死んだ蛾がいます。後で戻ります。
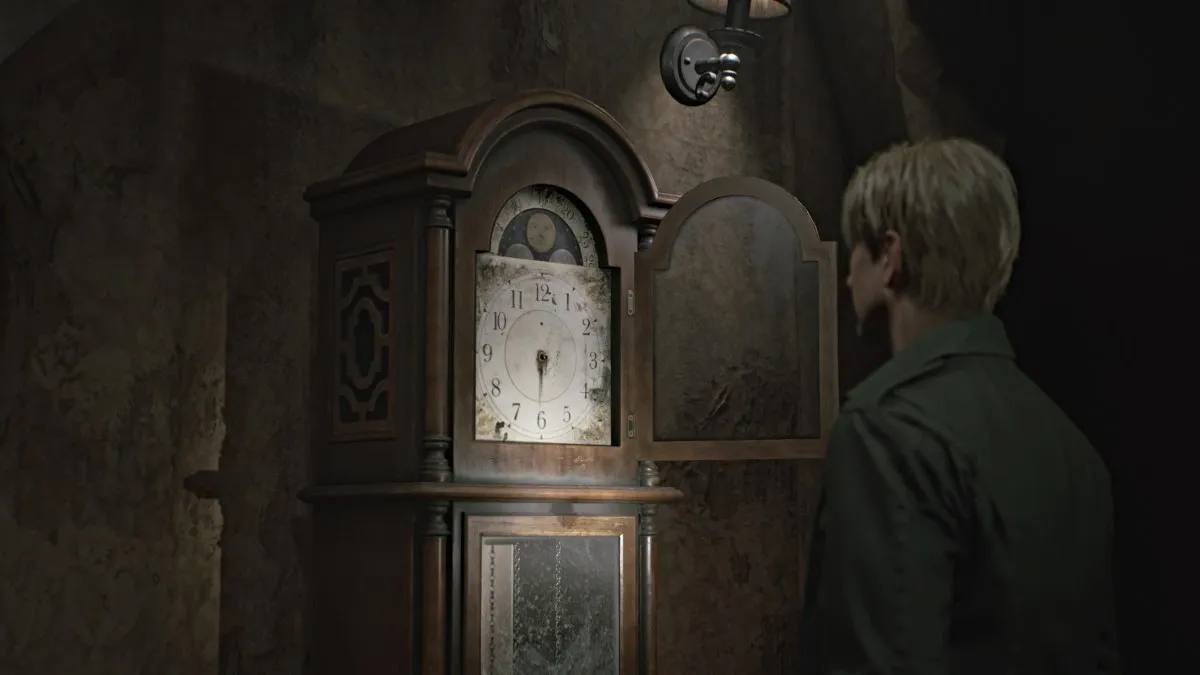
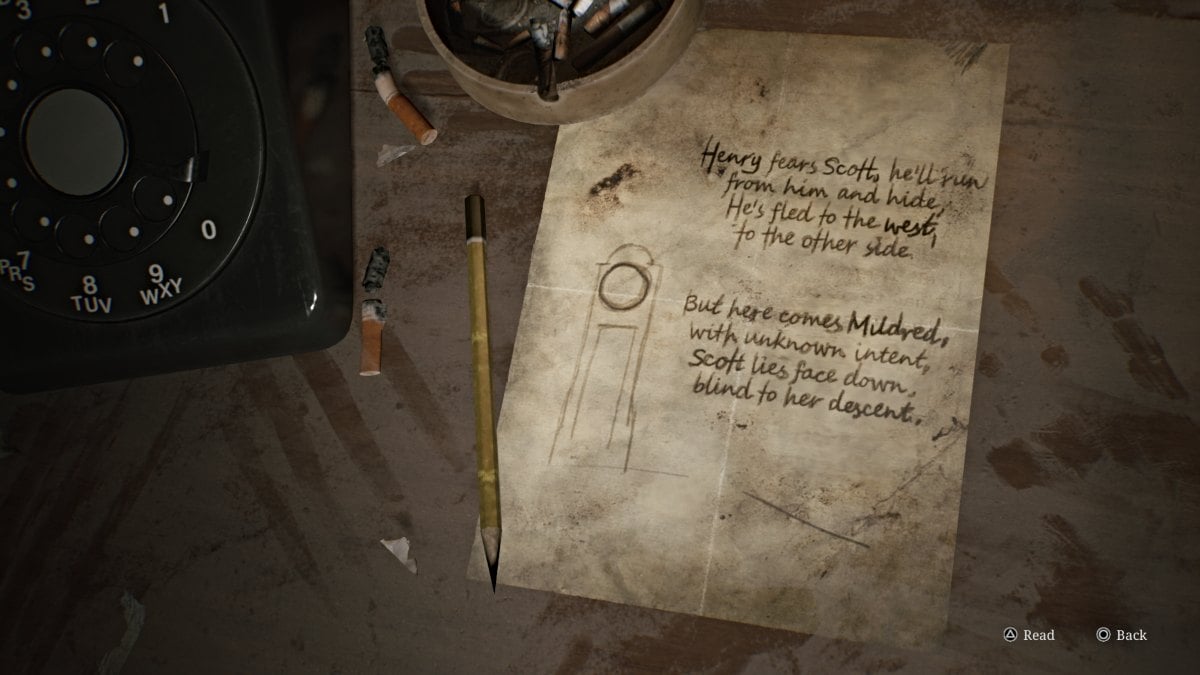
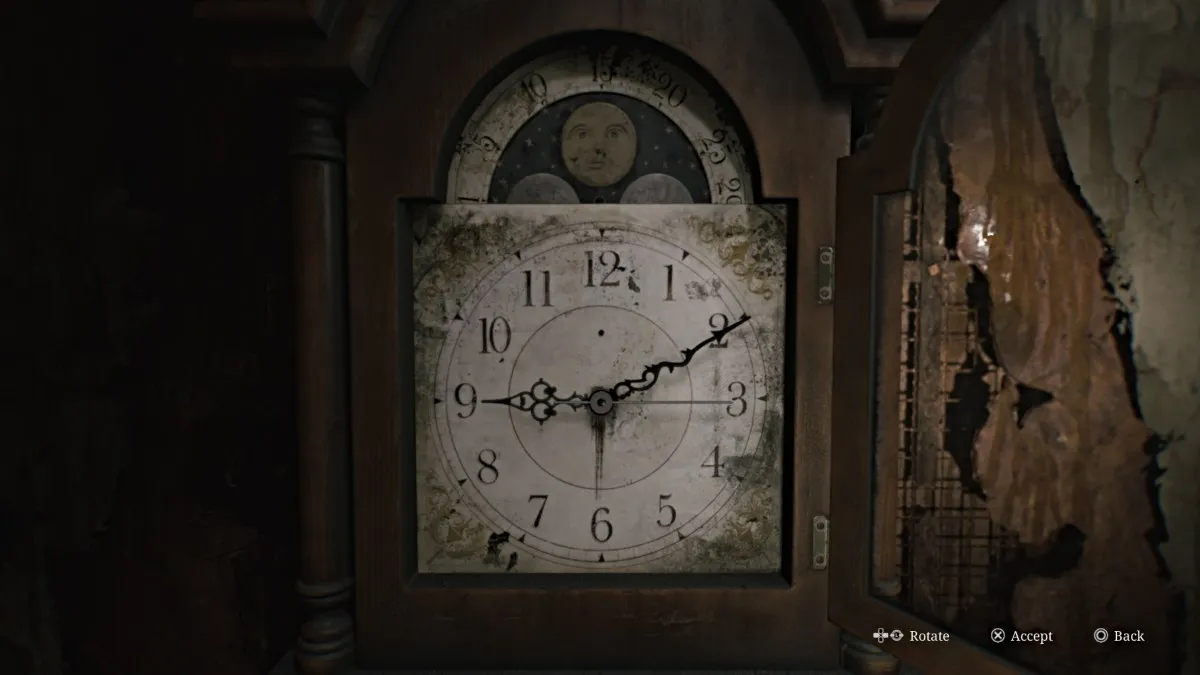
とりあえず、アパート 212に行ってください。そこにはレッド セーブ ポイントと実際にはパズルである祖父時計があります。ただし、これを完了するには、まず、欠けている時針、分針、秒針を見つける必要があります。
時計の反対側のテーブルには、針をどの方向に置く必要があるかについてのヒントを提供する手書きのメモもあります。
バルコニーに出てみましょう。そこには、ことわざにある道路の分岐点があります。右側には、大きな「H」の傷が付いたオレンジ色のドアがありますが、まだ開くことはできません。代わりに、左に進み、アパートメント 203に入ります。キッチン内でシリンジをつかみ、そこの壁を壊して205に入ります。
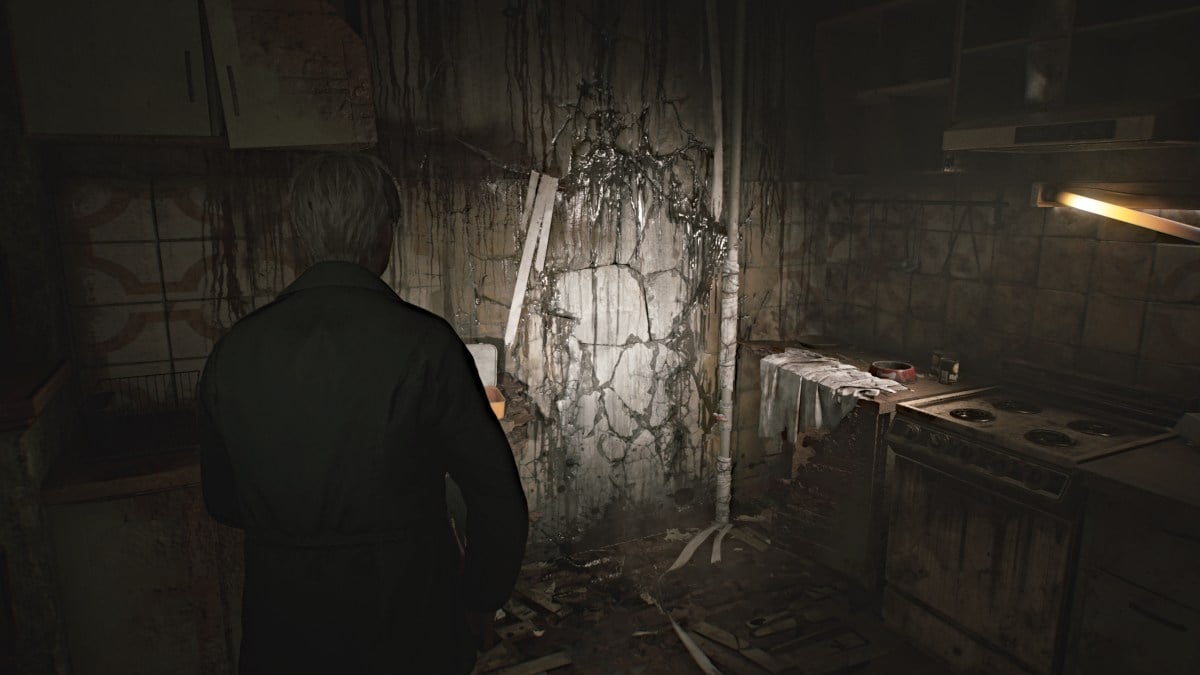
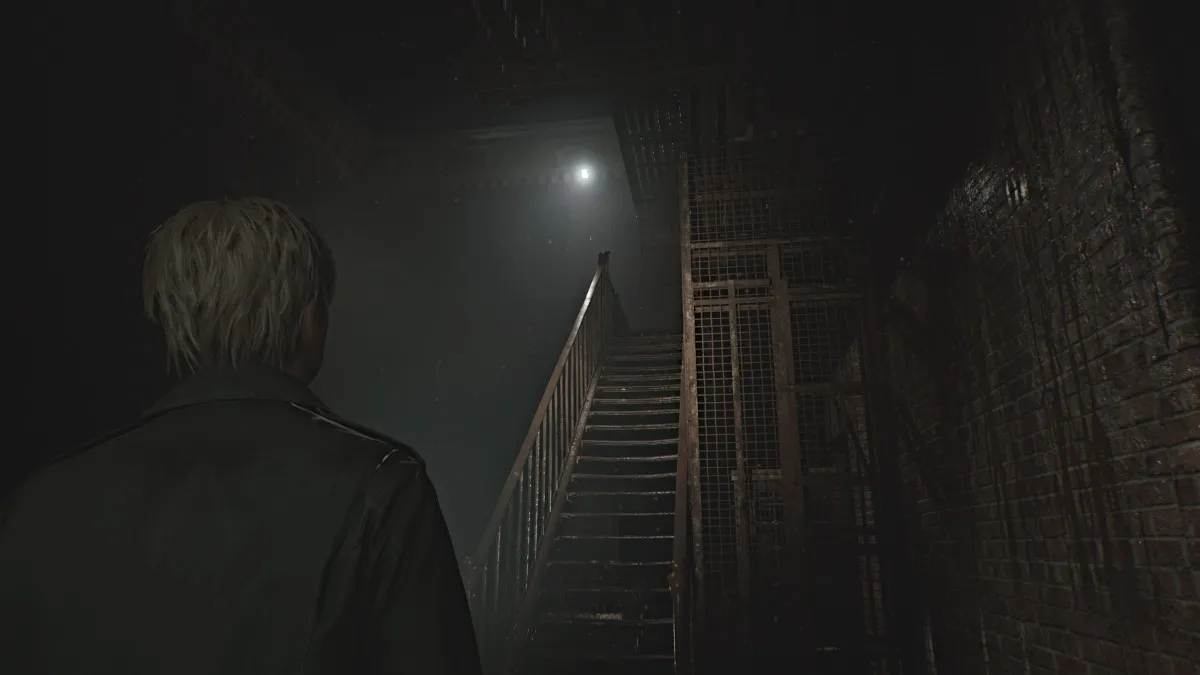
反対側のベビーベッドからハンドガンの弾を回収し、別のバルコニーに続く開いた窓に到達するまで進みます。行く前に近くのトイレからハンドガンの弾をさらに入手してください。階段を3 階まで上がり、クロールスペースを通ってアパートメント 303に到着します。
まず、キッチンエリアに進みます。そこにも壊れやすい壁があります。それを過ぎると、ハンドガンの弾薬と健康ドリンクがあるユーティリティ ルームに到達します。
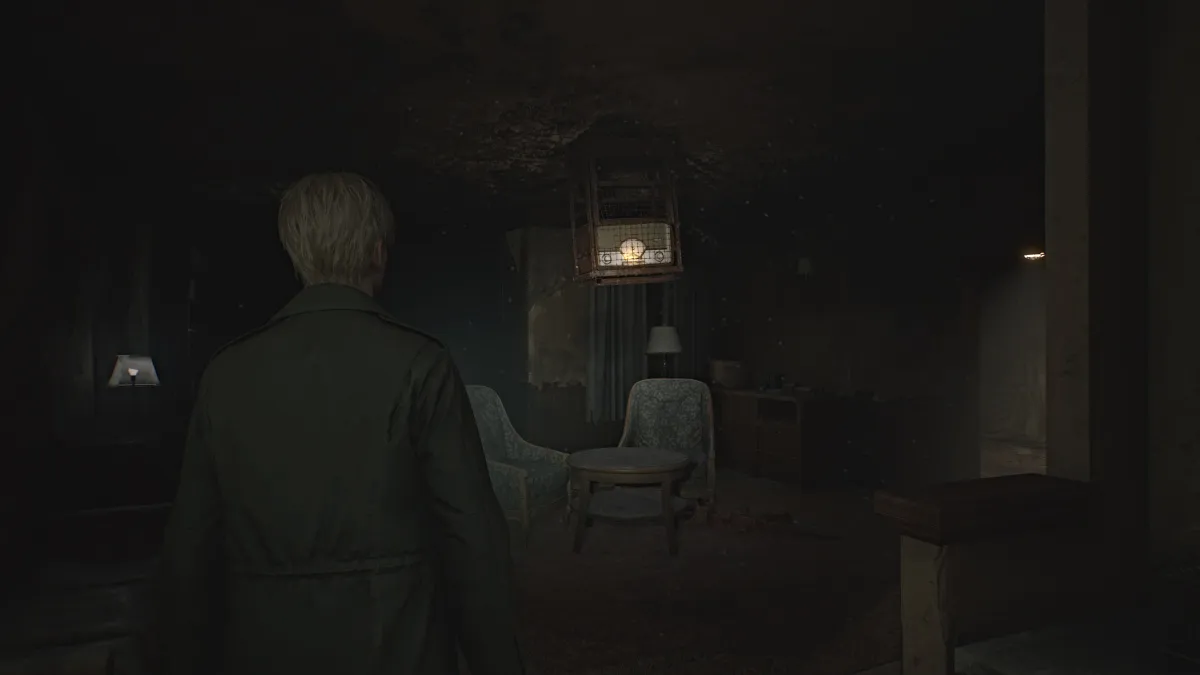
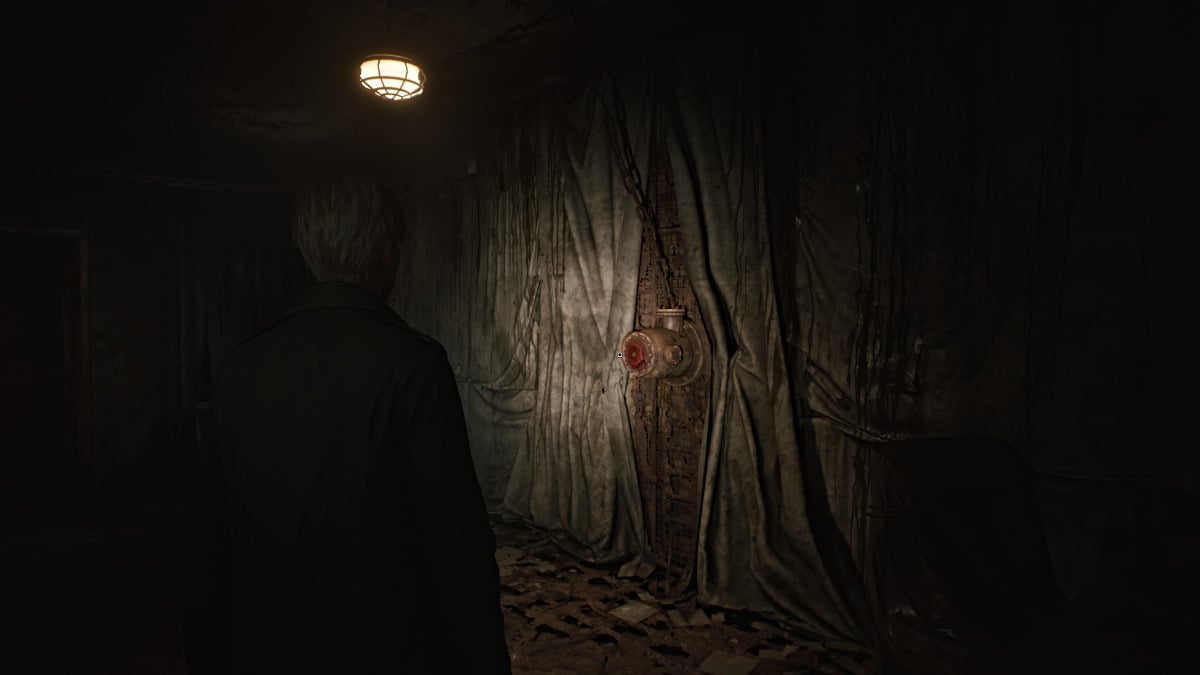
廊下に出てアパートメント 307に行くと、天井に吊り下げられた大きなラジオが音楽を流しているのが見えます。さらにハンドガンの弾を集めたら、バルブが欠けている壁に赤いクランクがある右側の部屋に行きます。
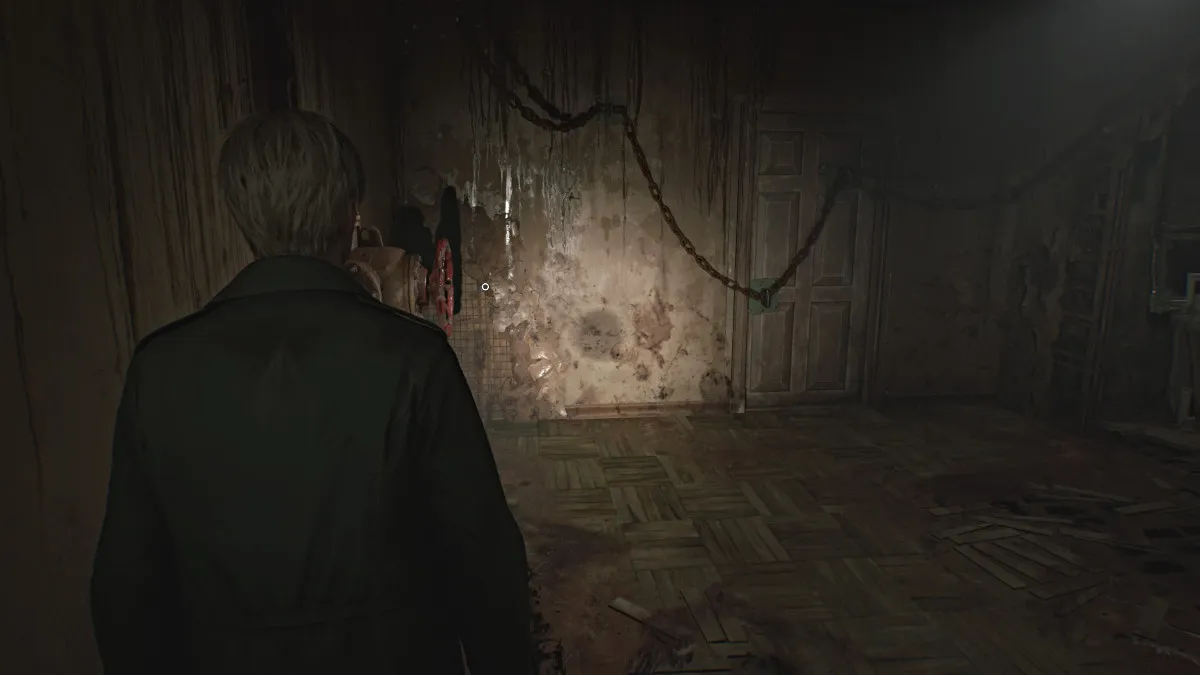
まず、部屋のもう一方のドアを通って、別のバルコニーに行き、アパート 305に戻ります。窓が後ろで密閉され、壁にあるもう一方の赤いクランクを使用して、近くにある鎖でつながれたドアをこじ開ける必要があります (画像を参照)。その上)。横たわる人物2体がすぐに攻撃してきますので、処分しましょう。出発する前に、テーブルからアパートメント 306 キーを必ず取得してください。
アパートメント 306まで移動し、ハンドガンの弾薬と健康ドリンクをすべて探索して集めてください。リビングルームには、別のレッドクランクが見えます。
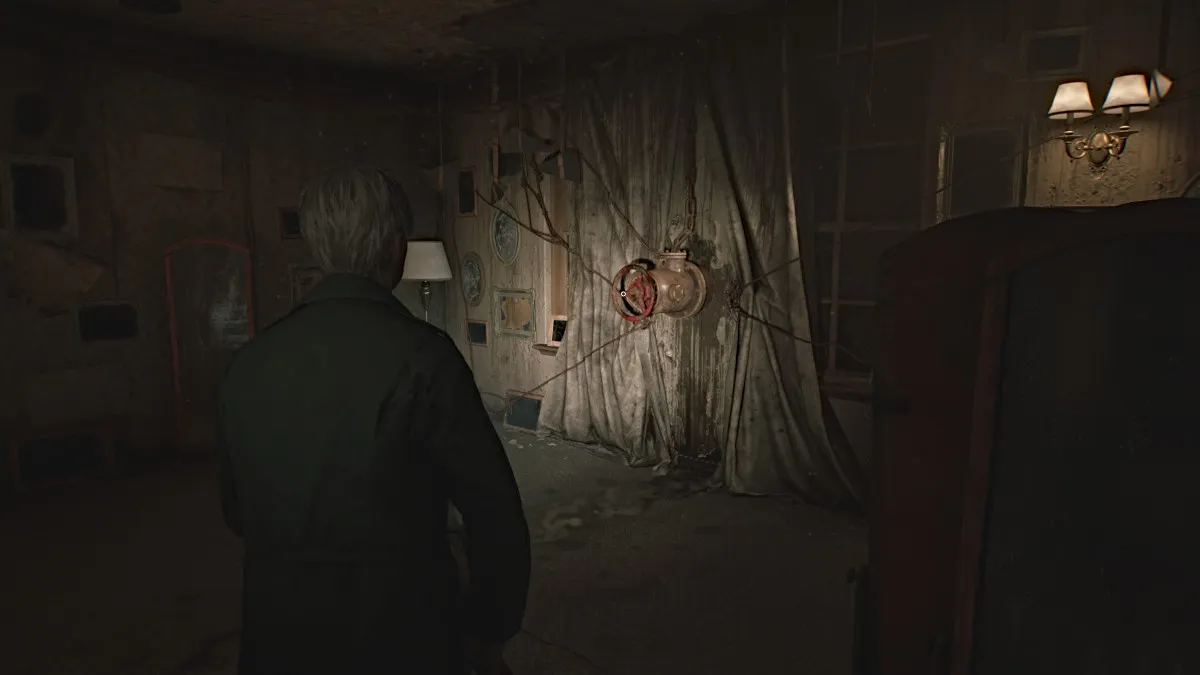
それを回して部屋の向こう側のドアをこじ開け、その後壊れたバルブを回収します。次に、アパート 307に戻り、壁のクランクにあるバルブを使用して、ケージ内のラジオを降ろします。
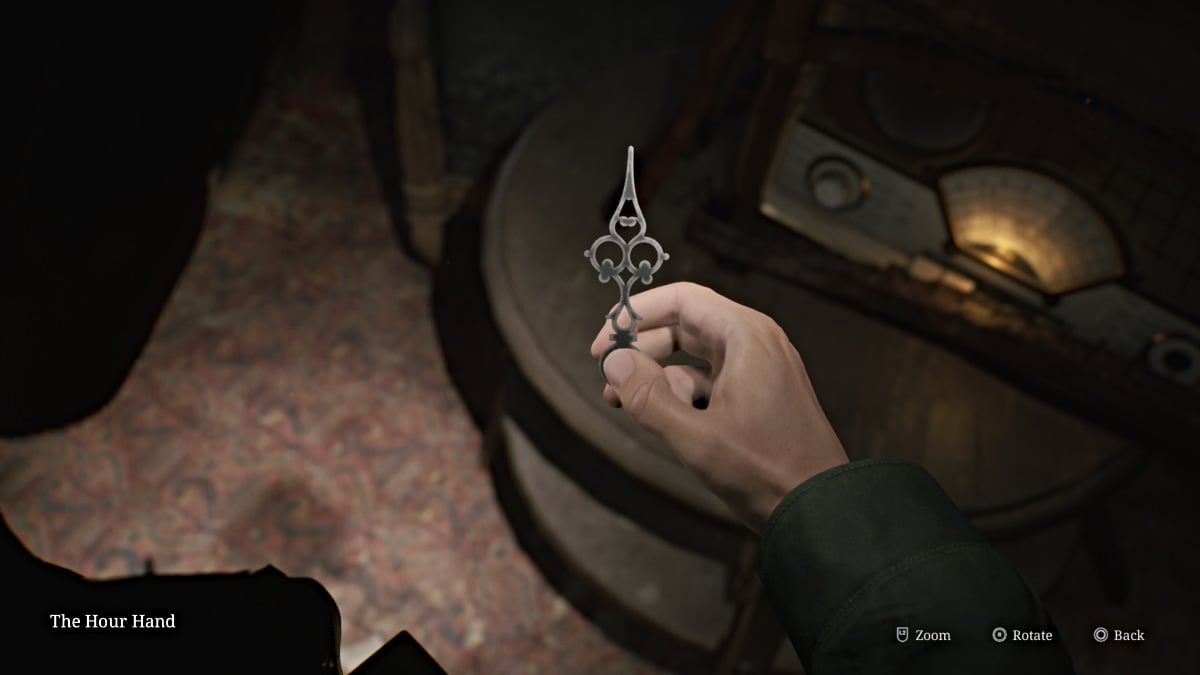
その後に近づくと、グランドファーザー クロックの時針が入手できます。それから、非常階段を下りて (壁のレバーを使って階段を 2 階に下げます)アパート 212に戻り、時計に時針を置いて最初の時計パズルを開始します。
この場合、時針を時計の「9」に合わせると、近くにあるオレンジ色の「H」ドアが最終的にロック解除されます。バルコニーを経由して「H」のドアに進むと、アパートメント 210 に入ります。内部では、あらゆるものが鳥をテーマにしていることに気づくでしょう。リビングルームの小さな「シーソー」(ジェームズが呼んでいるように)は、それを計量するために鳥の形のオブジェクトを必要とし、近くにある鍵のかかったドアには、鳥の形をしたロックの鍵が必要です。
キッチンに行き、カウンターから拳銃の弾薬をつかみ、近くの壁を壊してバスルームにアクセスします。中に入ると、唯一の検索可能な領域は(もちろん)トイレでいっぱいです...まあ、「Goop」。ジェームズが時計のために瞬間の手を引き出すまで「検索」します。
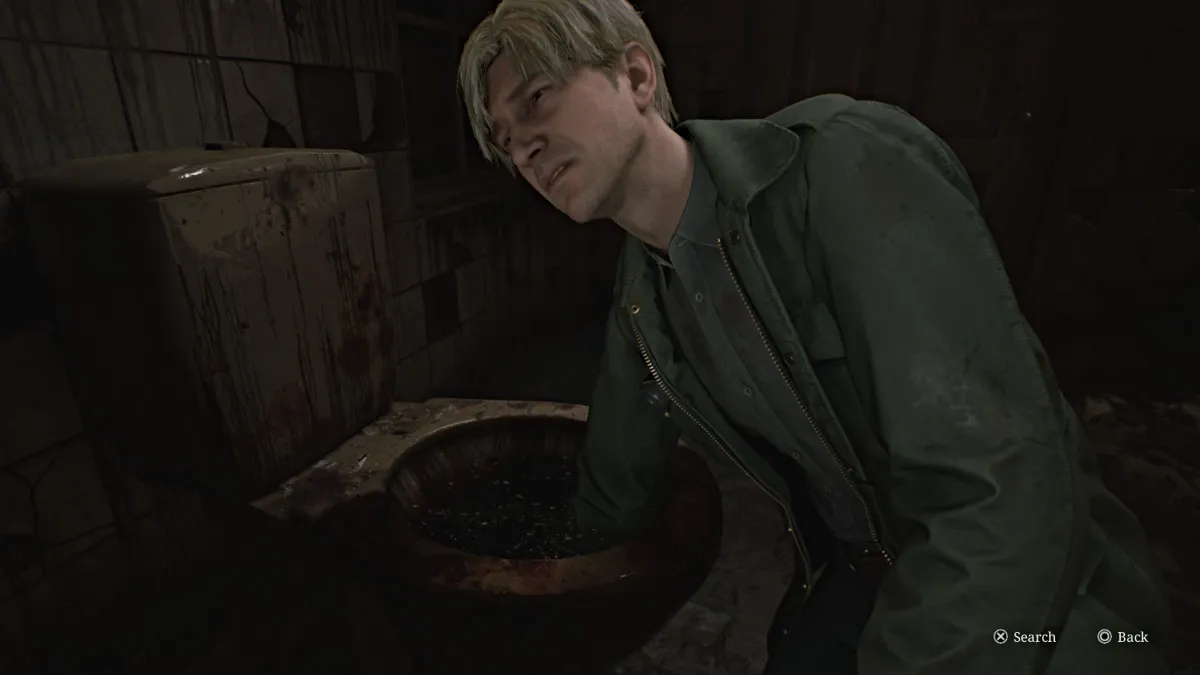
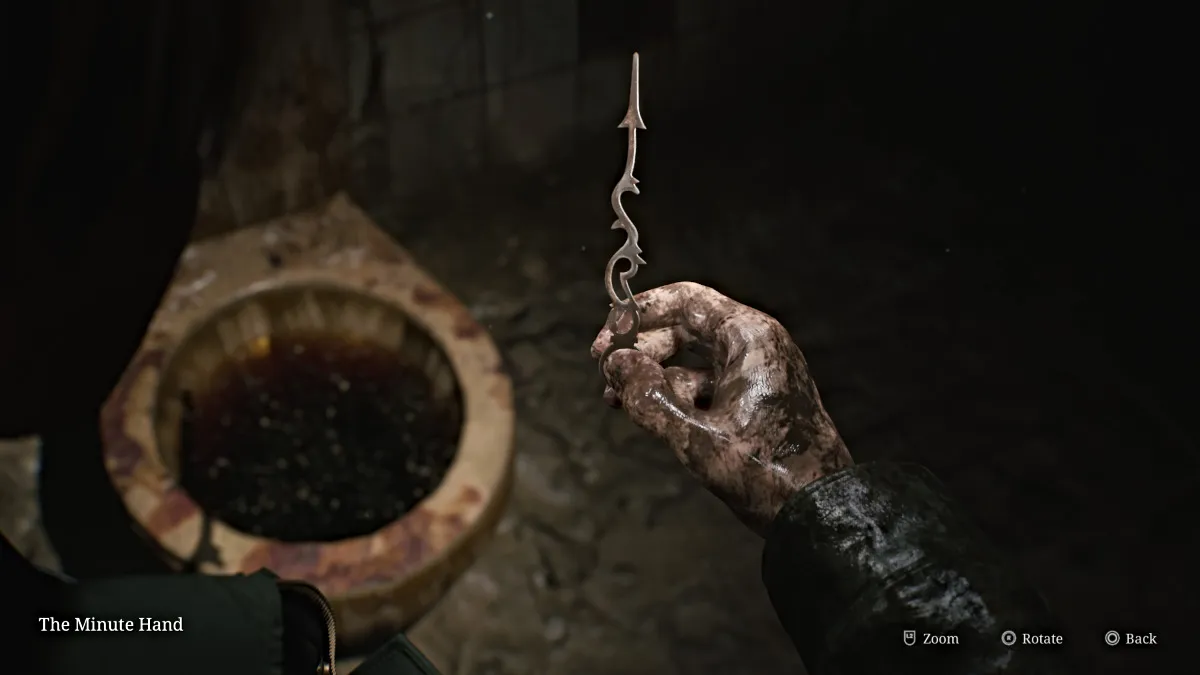
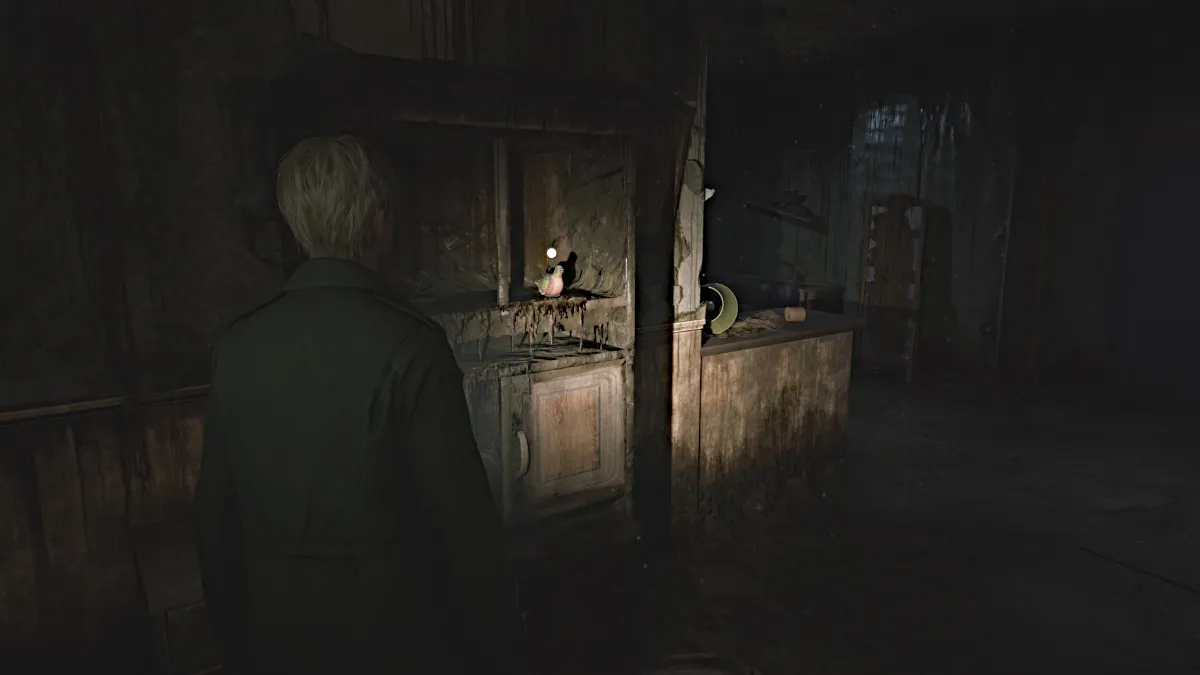
しかし、そうすることで、ジェームズ周辺の環境は突然変化し、別の方法を見つける必要があります。バスルームを出て、近くの棚からハトの置物をつかみます(以下を参照)。 (異世界で死んだ後に爆発したことを覚えておいてください)嘘をついた嘘の姿に対処した後、ピジョンの姿をシーソーの左側に置きます。次に、バランスを取るために他の数字を見つける必要があります。
出発してホールを下ってアパート209に行きます。寝室を通り抜けてトイレに行き、内側のシャワードアを壊して、奇形の置物部分を取得します(以下を参照)。
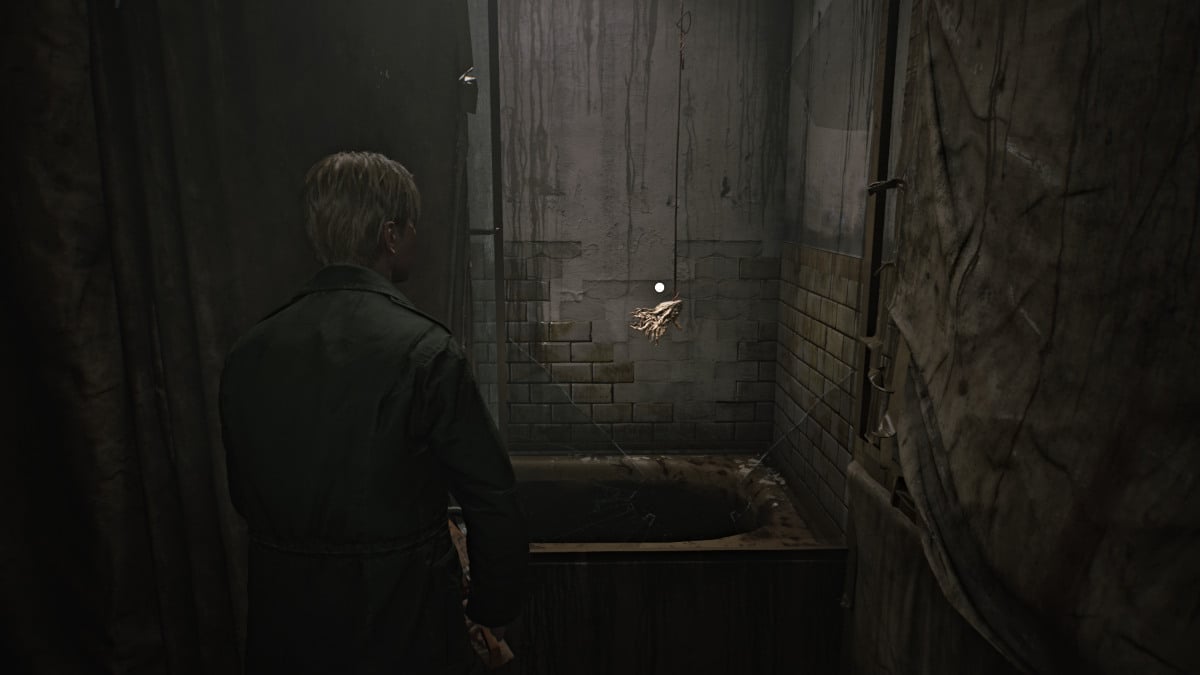
出て行く途中の嘘をついている姿に注意して、デッドエンドから左に拳銃の弾薬をつかんで、アパート211に向かいます。壊れた壁や実際のドアから入ることができ、ヘルスドリンクがドアの近くに座っています。
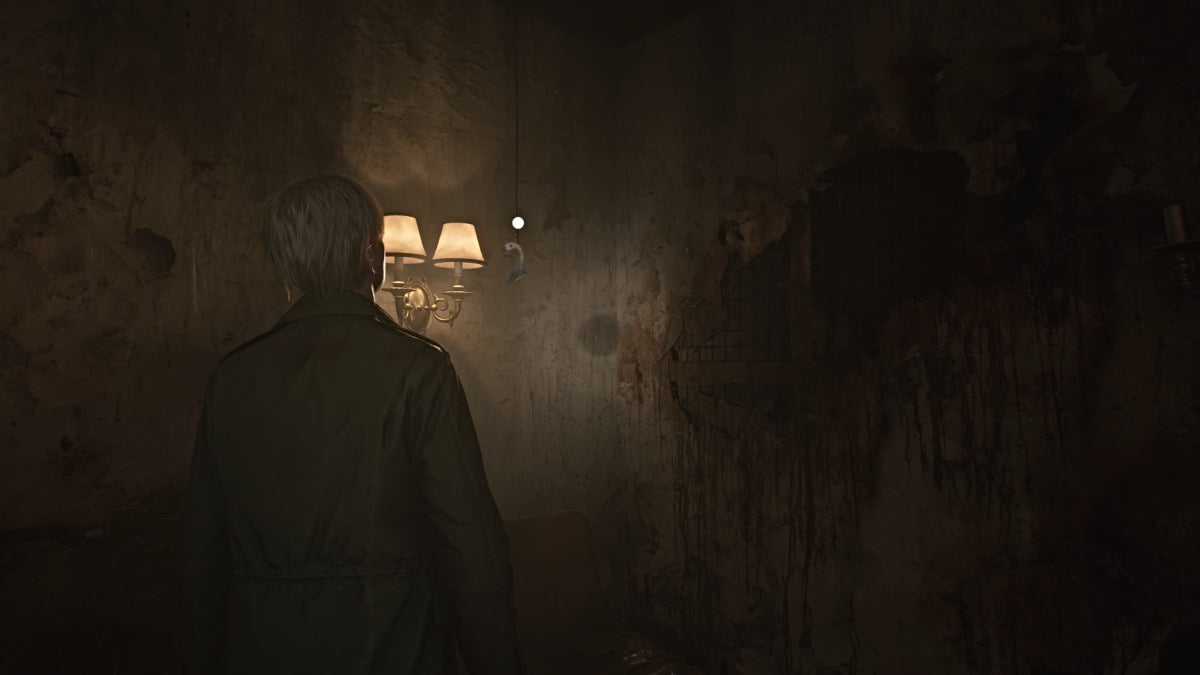
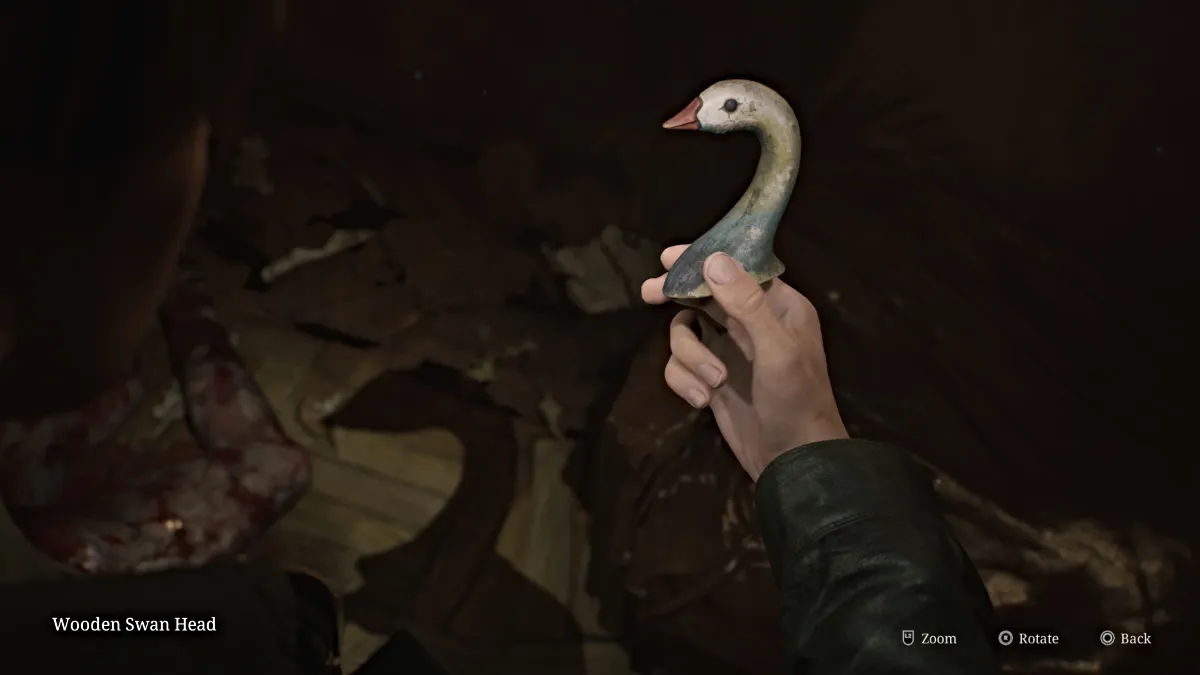
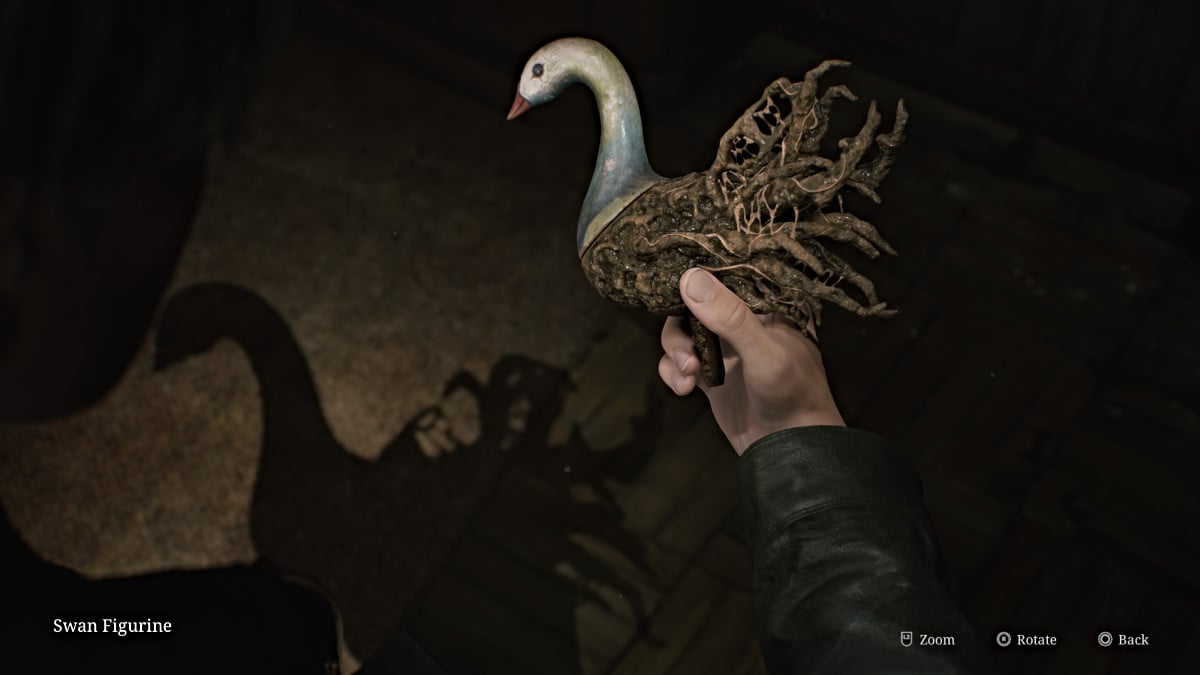
中に入って、あなたにドロップを取得しようとして2人のマネキンに対処してください。右側の同じ部屋で、後ろの壁に奇妙な影があることに気付くでしょう。周りを見てみると、木製の白鳥の頭(上記)は、光の近くの弦からぶら下がっています。それを取ってから、在庫にそれを不正な置物の部分と組み合わせて、白鳥の置物を作ります。出て行く途中でキッチンからさらに拳銃の弾薬をつかみ、アパート210に戻ります。
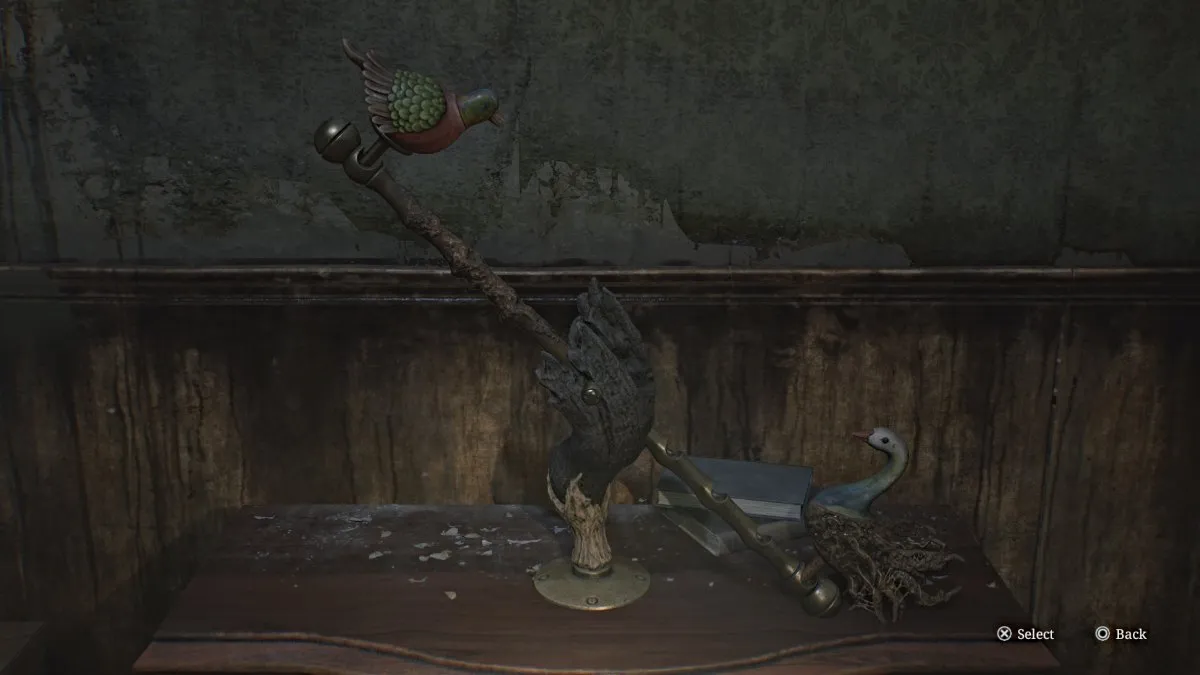
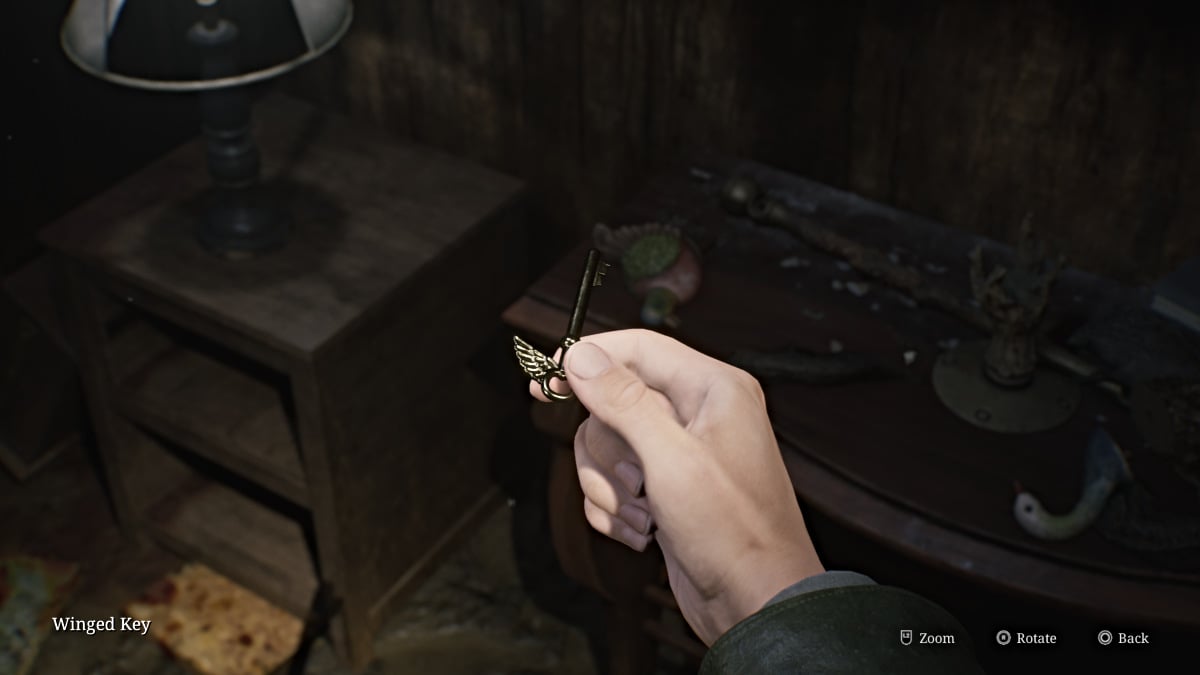
スワンの置物をシーソーに置き、中央から2番目のスロットに調整して、シーソーのバランスを取ります。木材の支点は粉砕され、翼のある鍵が明らかになります。それを取り、近くのロックされたドアで使用します。中に入ると、飛び降りる必要がある床に大きな穴が表示されます。これにより、ブルークリークアパートの1階に連れて行かれます。
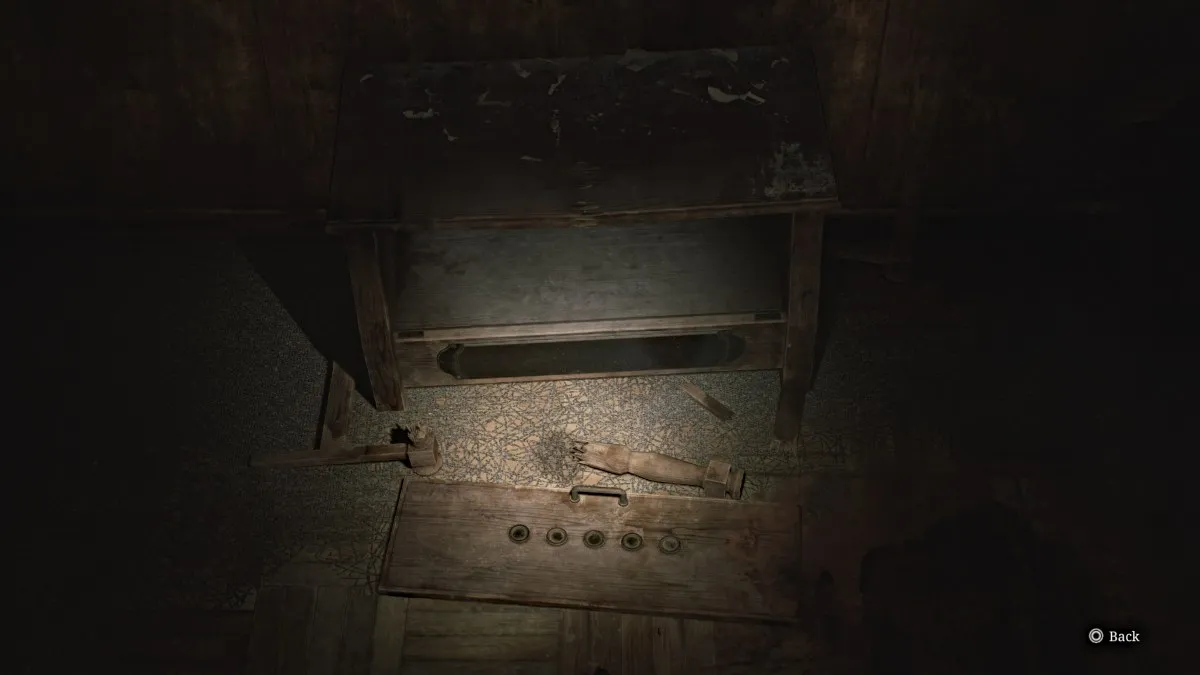
地図を開くと、1階のアパート110にいることに気付くでしょう。あなたの道を進むと、あなたは元のゲームのコインパズルキャビネットである過去(上記)の別の垣間見ることに出くわします。入り口のドアがロックされている間、壁の隙間を通り抜けて進みます。廊下の北に向かうと、環境がその側で異なって見えることに気付くでしょう。
はるかにきれいに見えるアパート109の中に入り、前方の白いドアを通ります。カットシーンは、以前よりも迷子になっているように見えるアンジェラと遊ぶでしょう。
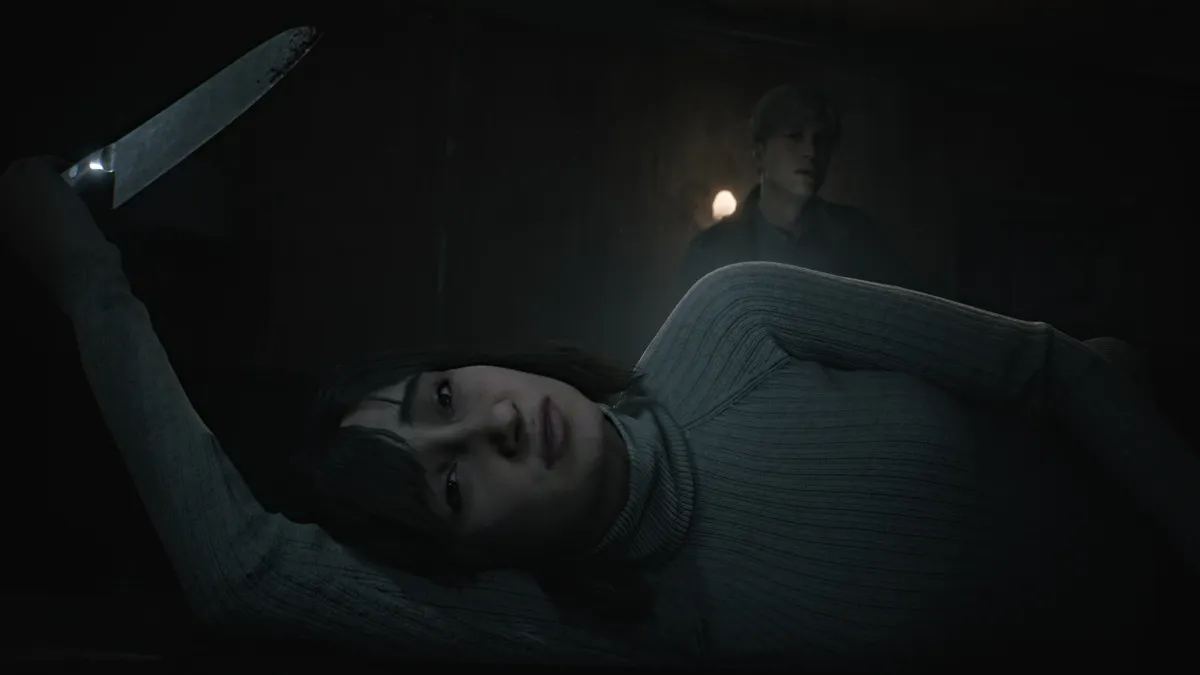
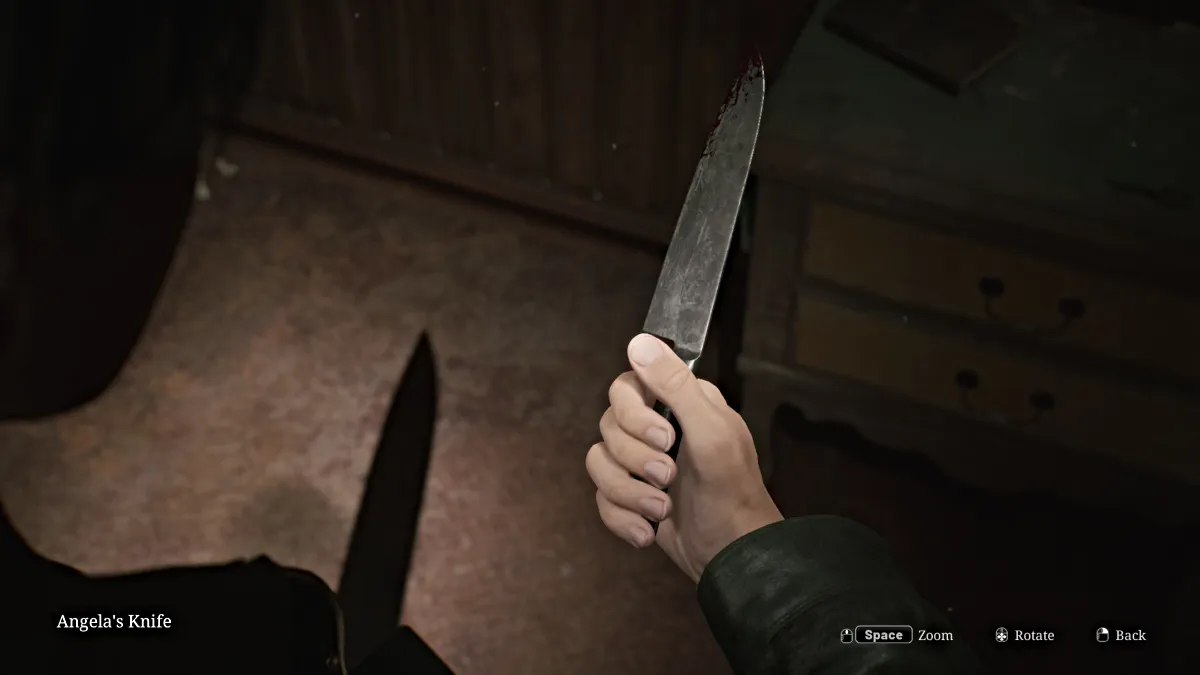
カットシーンが終了し、彼女がナイフを置き去りにすると、ジェームズは彼の在庫のためにそれを取ります(上記参照)。
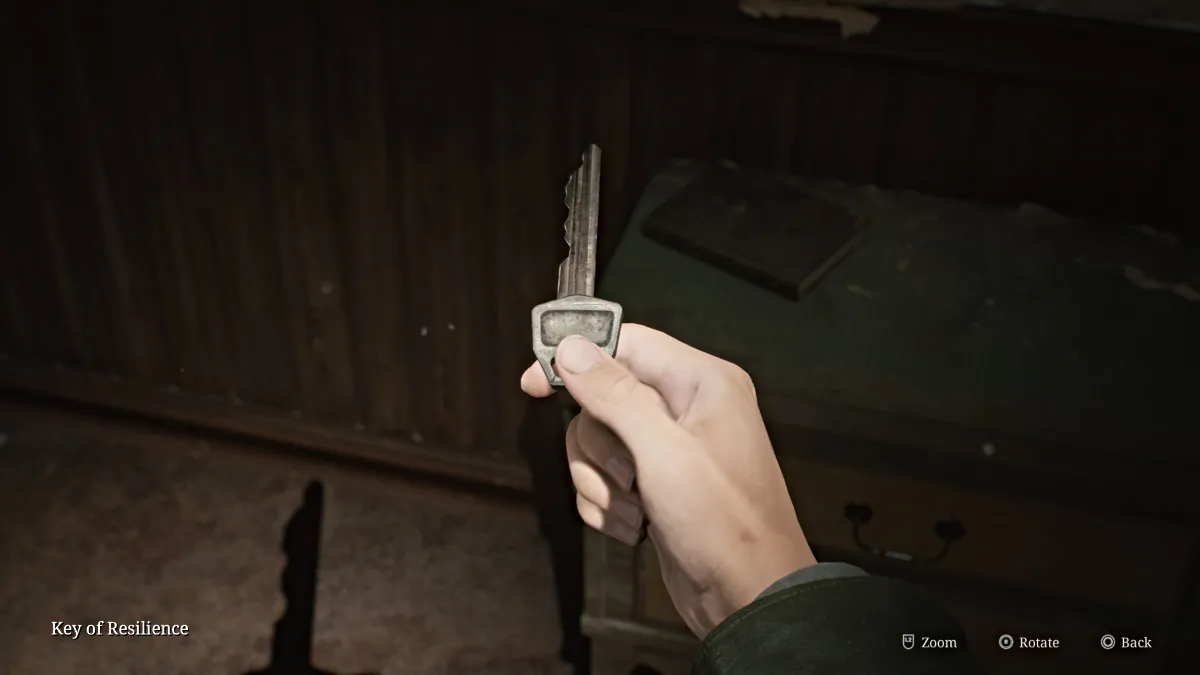
テーブルの上にある回復力の鍵を取り、アパートを出ます。ホワイエエリアと手紙の「s」でエッチングされた二重ドアにつながる最南のドアの回復力の鍵を使用します(以下を参照)。ただし、ロックされているため、別の方法を見つける必要があります。
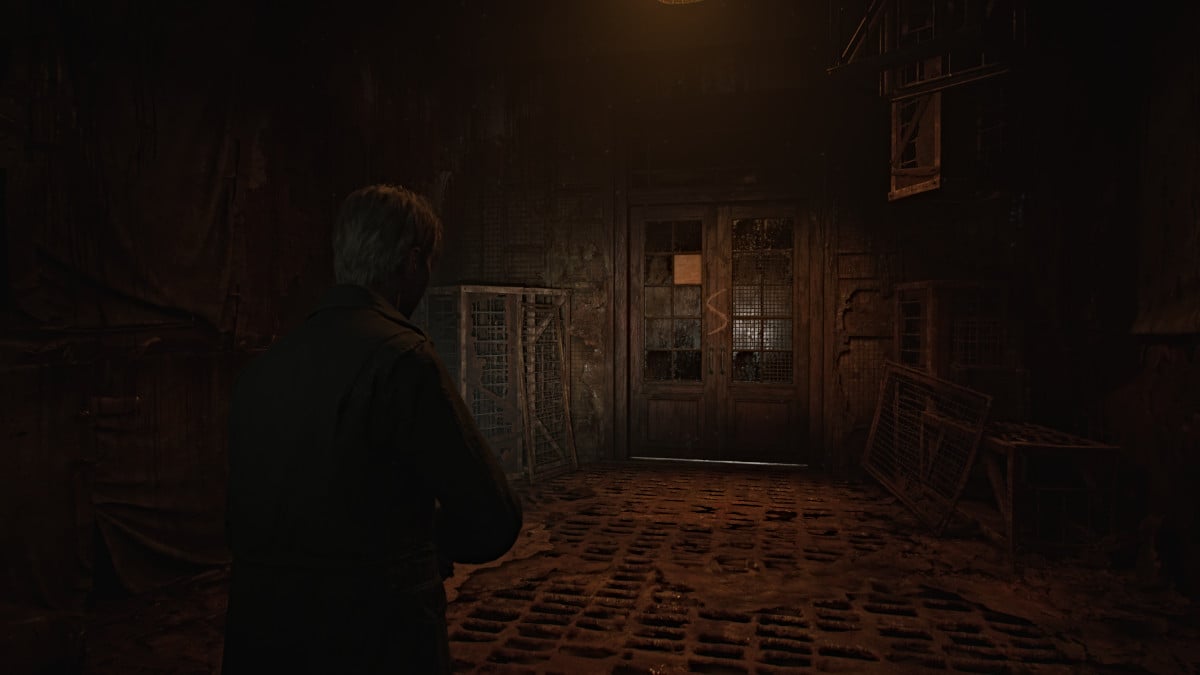
ホワイエを通り過ぎてアパート101に入り、そこから拳銃の弾薬と注射器を集め、それを使用して廊下の障壁を迂回すると、階段の客室につながります。マネキンがあなたを待ち伏せする場所に入ります。それを殺してください。そうすれば、 「一緒に」「一緒に」(奇妙な写真)から得ることができます。
階段を上って(いいえ、彼はそこにあなたを待っていません)、ドアを通って2階に戻ります。あなたが分を持っているので、時計の部屋(212)に戻り、それを時計に置きます。パズルの次の部分を解決するために、「2」に変えて「Accept」を押します。これにより、2階の「M」ルームのロックが解除されます。
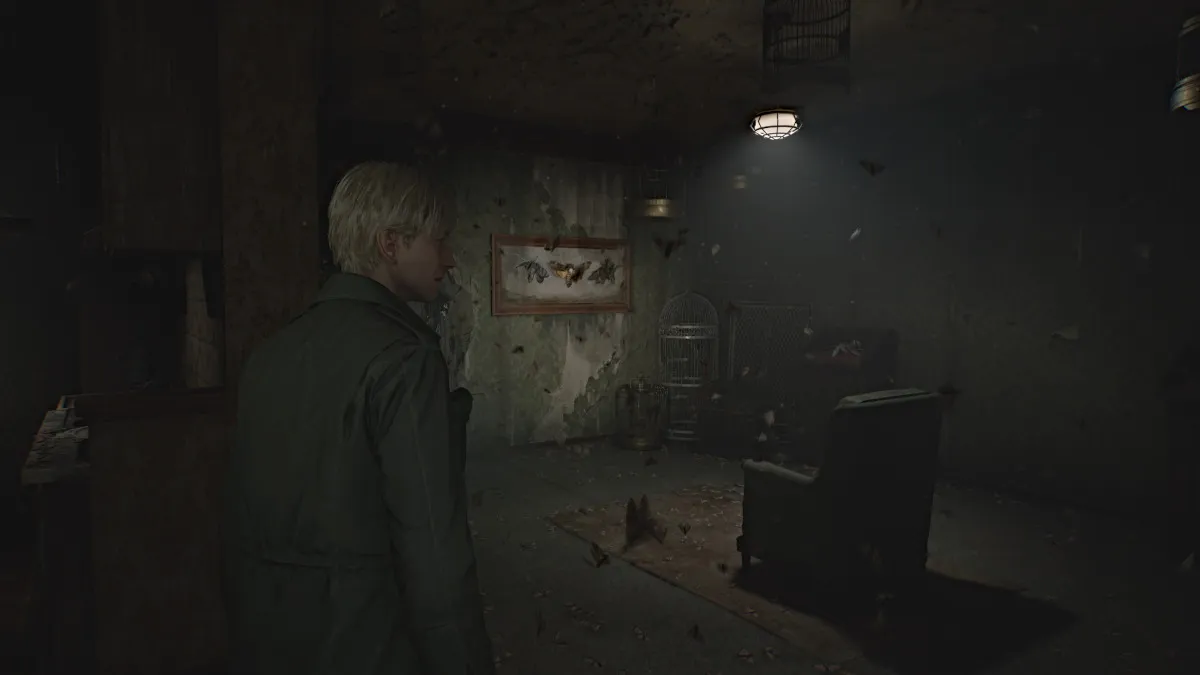
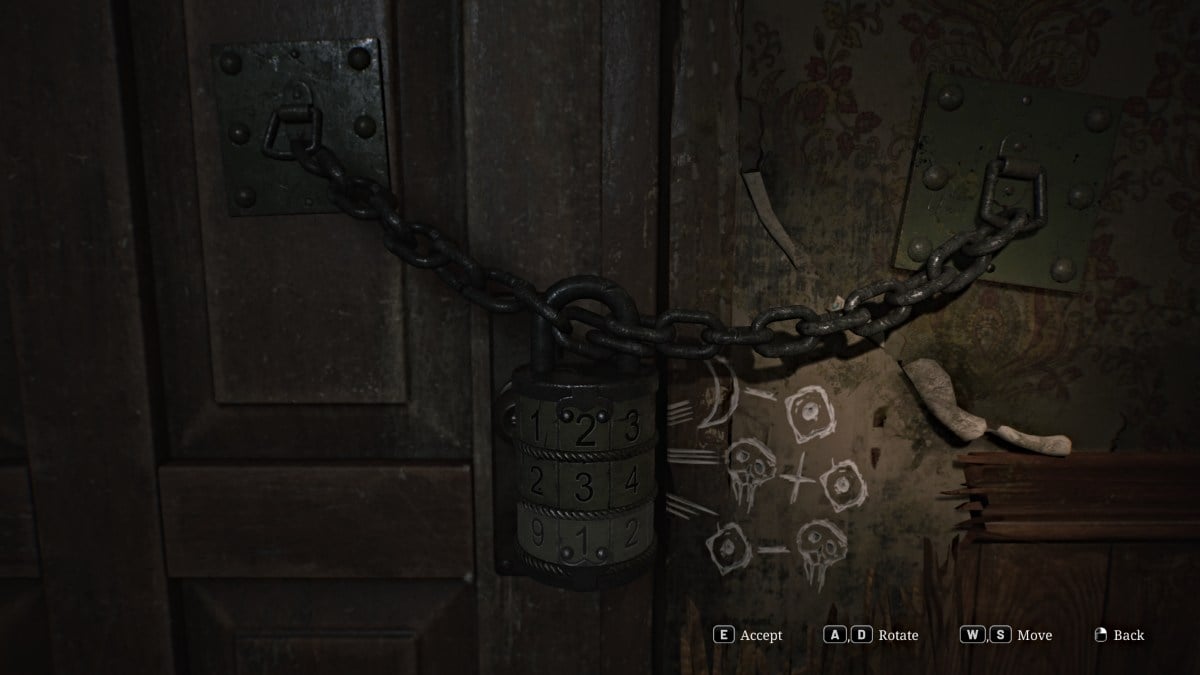
ホールを下ってMルーム(またはアパート202 )に向かい、別のパズルのために中に入ります。場所全体はmothで満たされており、メインルームの周りのmothの剥製のさまざまな展示に気付くでしょう。アームチェアの後ろには、別のドアが鎖で閉じられており、大きな組み合わせロックがあり、解決するために解決する必要があります。
基本的に、正しい組み合わせを取得するには、アパート全体(壊れやすい壁の後ろの隠されたものを含む)と翼のシンボルに表示されるすべてのmothをカウントする必要があります。それらをロックの横にある象徴的な数学の問題に導き、解決すると数字が得られます。
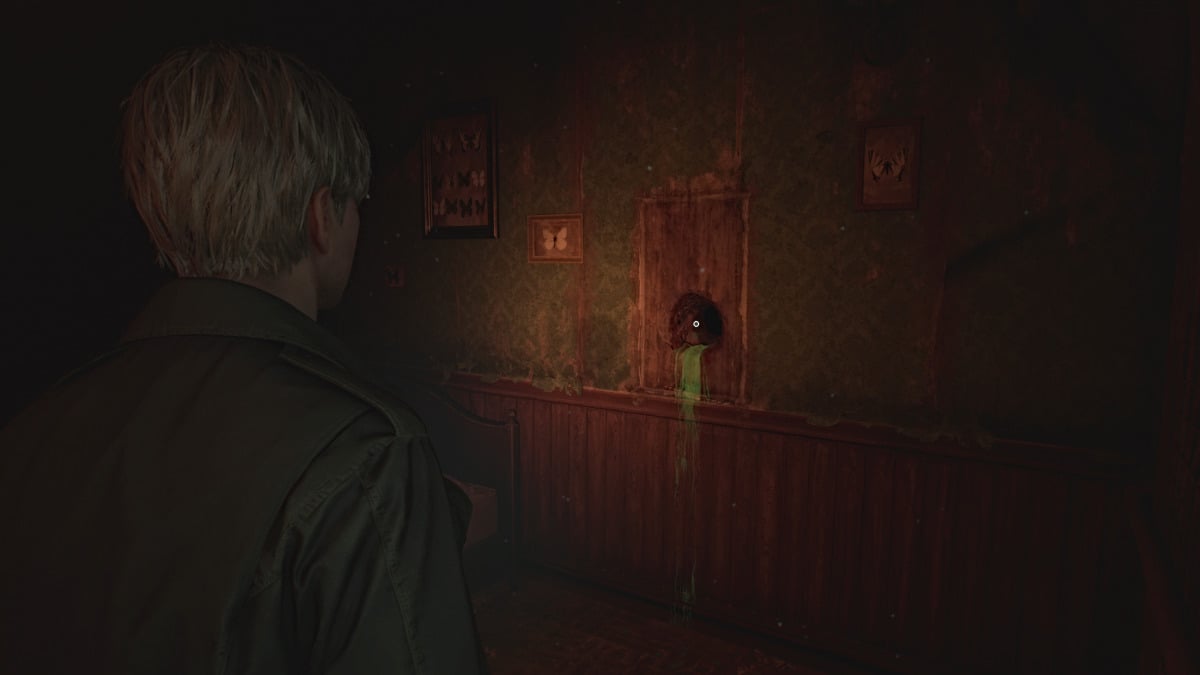
ただし、時間を節約するために、ロックの正しいコード(標準難易度)は373です。完了したら、ジェームズが手を貼るために壁に信じられないほど魅力的な穴がある場所に入ります。その後アパートを出ます。
時計の部屋に戻り、秒針を時計の中に置きます。パズルの3番目の最後の部分を完了するには、 「3」に変換すると、1階の不吉な部屋のロックが解除されます。時計の部屋を出る前に、隣の部屋から拳銃の弾薬をつかむようにしてください。
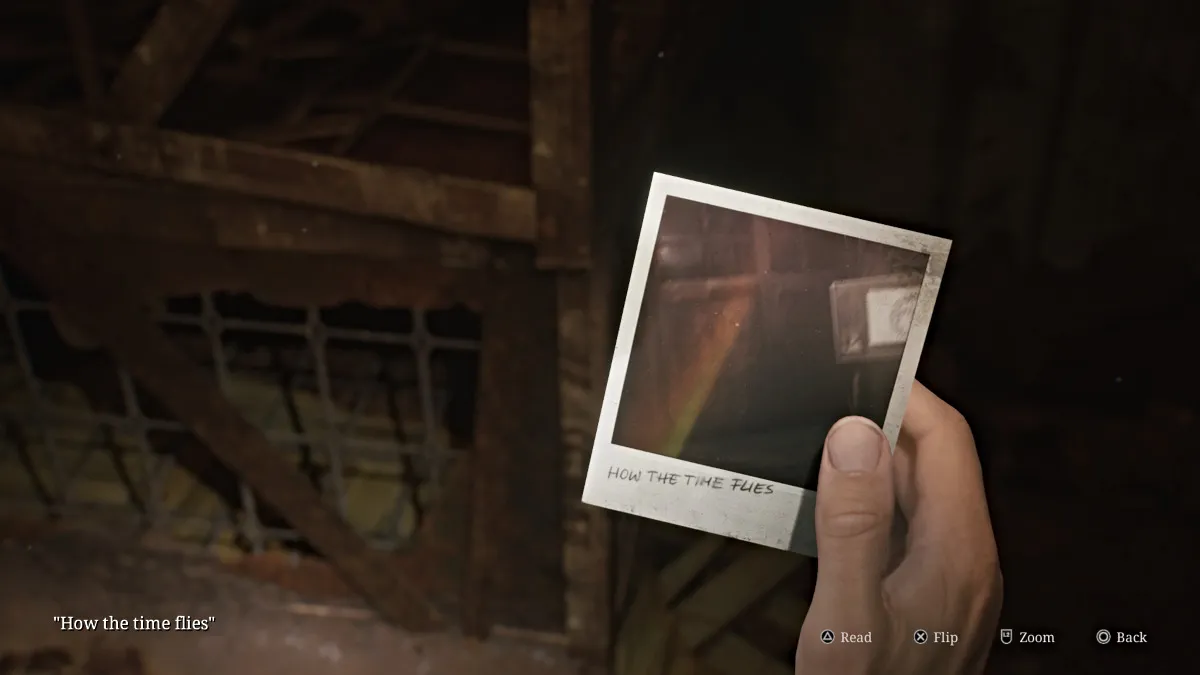
また、 Sルームはこのエリアに戻ることができないポイントであるため、進行する前にブルークリークのアパートで欲しい他の場所を必ず探索してください。
準備ができている場合は、2階の西側の階段を1階まで連れて行きます。途中で床や壁に新鮮な切り傷があることに気付くことができ、巨大な刃を持つ人がそのエリアをストーカーしていることを示しています。 Sルームがあるホワイエエリアに戻り、深呼吸をして中に入ります。
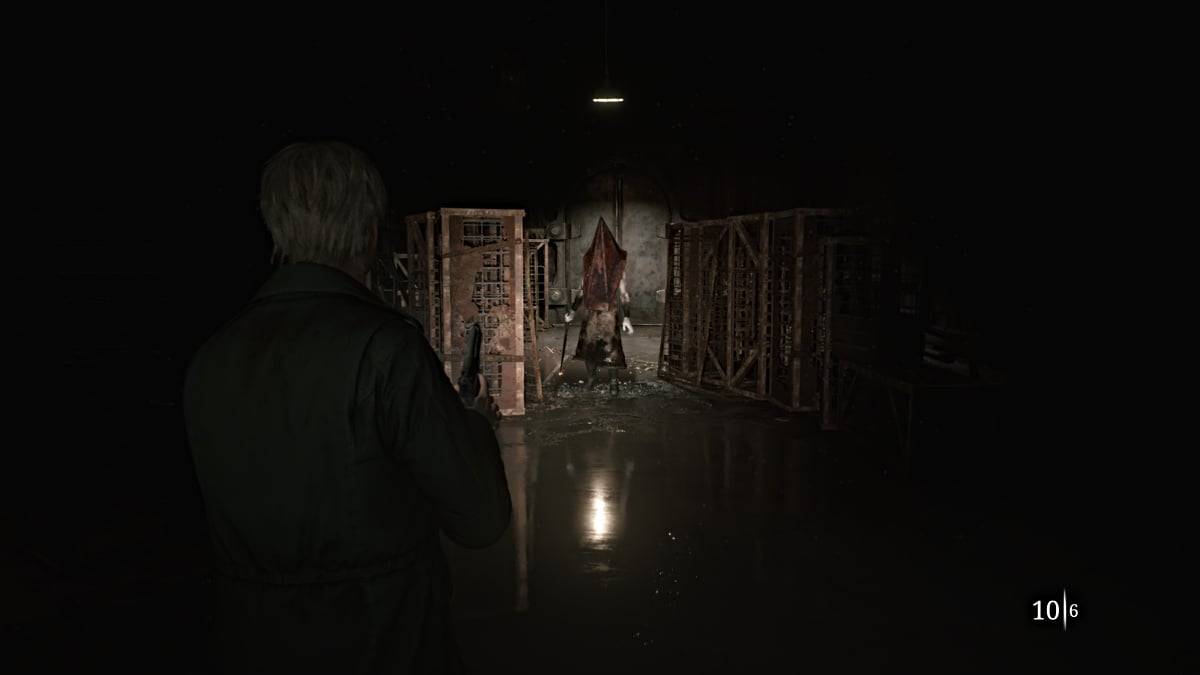
Sの部屋には、ピラミッドの頭が居住していて、あなたの到着を待っています。彼があなたに向き合うとすぐに、戦いが始まります。
むしろ、あなたがすぐに気づくように、ピラミッドの頭がダメージを与えるのにほとんど損害にかかるので、それは十分に長く生き続けるためのあなたの戦いです。ここで使用したい唯一の武器は、彼からの距離を保つことが最優先事項であるため、拳銃です。近接攻撃を試みると、彼の偉大なナイフの1回のスイングは、ひどくダメージを与えるか、完全にあなたを殺します。
ありがたいことに、部屋には拳銃の弾薬の箱が散らばっているので、部屋の周りに丸い円を作っている間、それらを利用してください。弾丸を彼に発射し続けてください(ヘルメットを避けてください)、ある時点で、部屋が浸水し始めている間、彼はより攻撃的になります。
最終的に、サイレンが鳴り始め、ピラミッドヘッドがすぐに攻撃を止めるまで、同じ戦略を続けます。カットシーンは彼が去り、戦いを完全に終わらせることを示します。コントロールしたら、拳銃の弾薬の部屋をダブルチェックして、見逃した可能性がありますが、同じドアを出て、外側にまっすぐに連れて行き、町の路上に戻り、異世界がなくなりました。
あなたの進歩を救うために戦いの直後に赤いセーブポイントを叩き、その隣の車に健康を飲んでください。地図をチェックすると、サイレントヒルのウェストサウスベールエリアにいることに気付くでしょう。北のローズウォーターパークが囲まれていることがわかります。つまり、それが次の主な目的です。
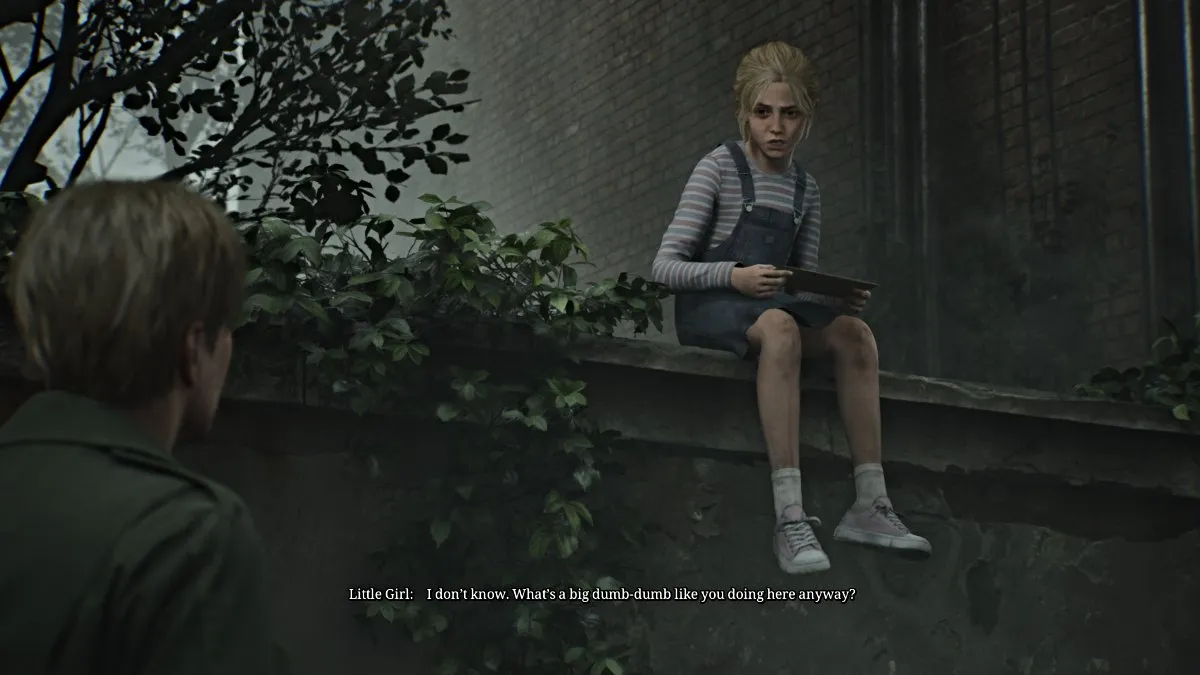
角を曲がり、右側の緑の車をドライバーの座席の拳銃の弾薬を確認します。続けて、別のカットシーンがジェームズが以前から若い女の子に出くわす場所で遊んでいます(ローラと名付けられましたが、彼女は後でそれを明らかにしません)。彼女は手紙を持っているように見えますが、ジェームズが何であるかを伝えることを拒否し、彼は「とにかくメアリーを愛していなかった」と言って再び離陸します。カットシーンはジェームズで終わり、ジェームズは他の誰かがメアリーのためにここにいることを困惑させました。
ローズウォーターパークに直行するトンネルを通り続けてください。最初の左をベンチエリアに向けて、ジャケットの横に注射器を見つけることができます。次に、小さな橋を渡り、それが分岐します。正しい道を進んで、それに従ってください。
「ローズウォーターパーク」サインの下をまっすぐに進み、トルカ湖のそばの桟橋エリアに連れて行ってくれます。
ガゼボへの長い中央の道を進み、霧の中に女性の姿が見えます。
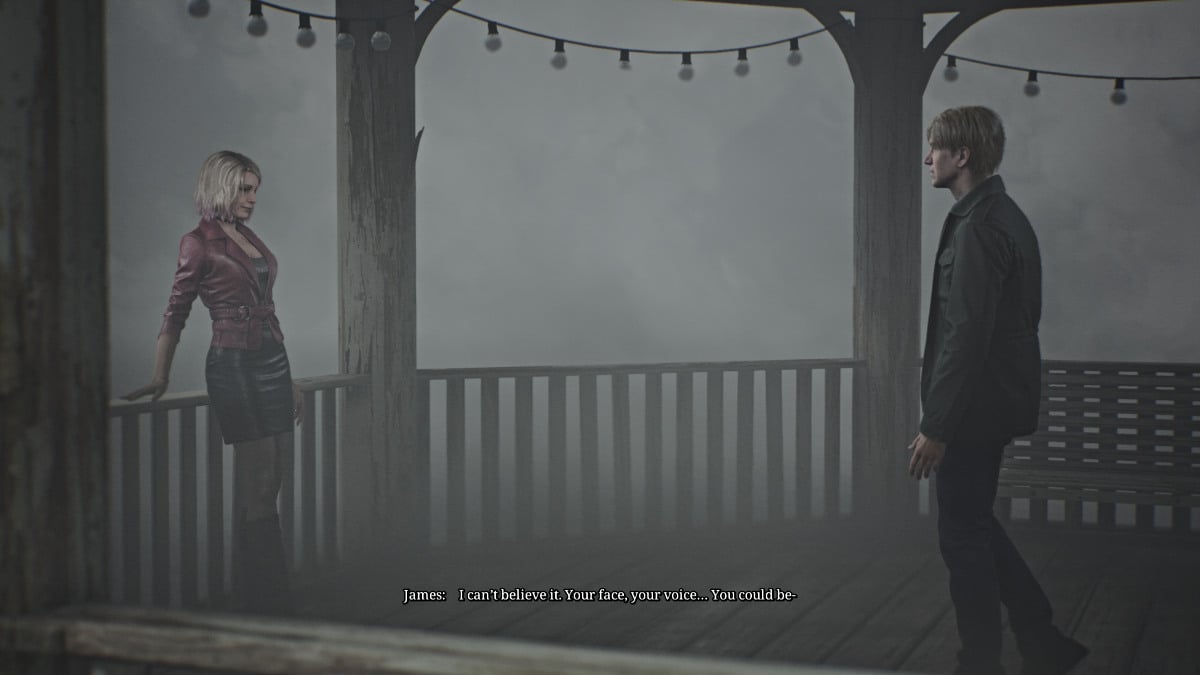
カットシーンは、それがメアリーに不気味に似ている女性であることを明らかにしていますが、顕著にもっと来ると見た目があります。彼女は自分自身をマリアとして明らかにします。
ジェームズが目に見えて失望し、混乱して成長するにつれて、マリアは彼を別の「特別な場所」に連れて行くことを申し出ます。一人で行くことを好むにもかかわらず、マリアは「すべてのモンスター」と一緒に彼と一緒に来ることを主張しています。彼はしぶしぶ同意し、今あなたの旅にあなたの仲間としてマリアが含まれています。
公園の左側の周りに旋回します。そこでは、座っているエリアに「家から遠く離れた」奇妙な写真、チェステーブルにもう少し拳銃の弾薬、公衆トイレエリアにヘルスドリンクがあります。ローズウォーターパークは西の出口からネイサンアベニューに出発します。
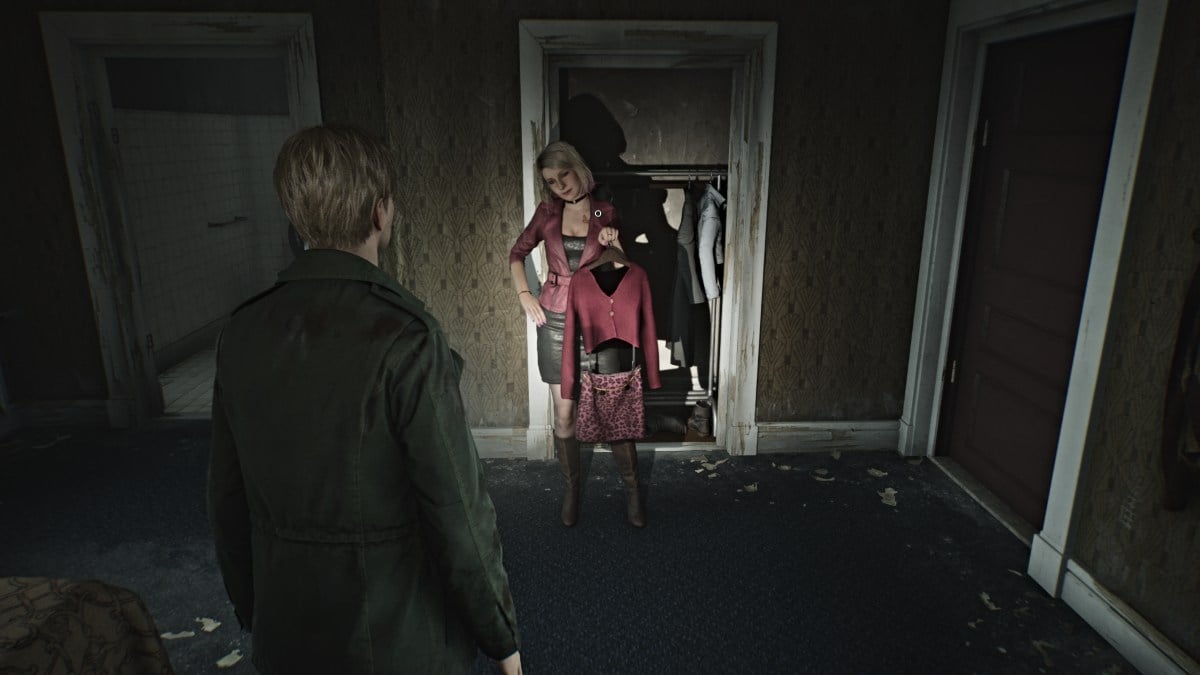
マリアはジェームズに、ジャックの宿を通り抜けて目的地に行くように言っているので、通りの向こう側に向かいます。最初にモーテルオフィスに向かいます。これは、背面のドアからアクセスできます。カウンターの下には、コードを開く必要がある小さな金庫があります。 107室で示唆する掲示板からレセプションデスクのメモをつかみます。モーテルの後ろに向かう高架建物でそれを見つけるでしょうが、そこに着くには部屋108の窓を壊す必要があります。
入ったら、部屋107に接続された壁を分解し、寝室にはツールボックスメモがあり、次の謎が得られます。
適切な数学を行うことで、コード0451を取得します。部屋を出る準備ができたら、マリアはクローゼットで見つけた服であなたをからかい、それが彼女によく見えるかどうか尋ねます。
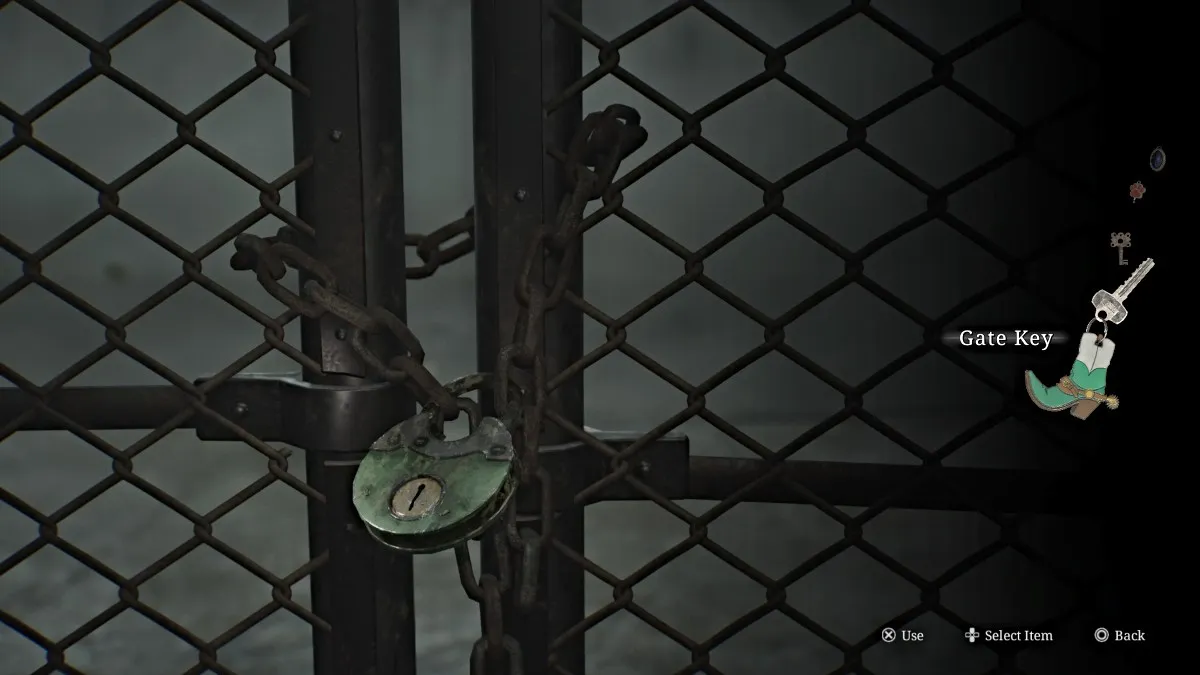
Motel Officeに戻り、コードを使用し、SAFEの内部にはゲートキーがあります。マネキンが突然マリアを待ち伏せするので、あなたはそれを見る時間があまりありません。ワンショットはそれを取り下げます。
車のトランクに座っている赤いセーブポイントを使用した後、今こそ、ストーリーを続ける前にエリアの他の場所を探索する時です。危険)あなたがするとき。
ジャックの宿に入ったところから、オクタニスの燃料に到達するまでネイサンアベニューを左に向かいます。到着すると、マリアはあなたが間違った方向に進んでいると言い、彼女のアドバイスを無視し、ゲーム全体でモンスターに攻撃されることがあなたのエンディングに影響を与えることに注意してください。
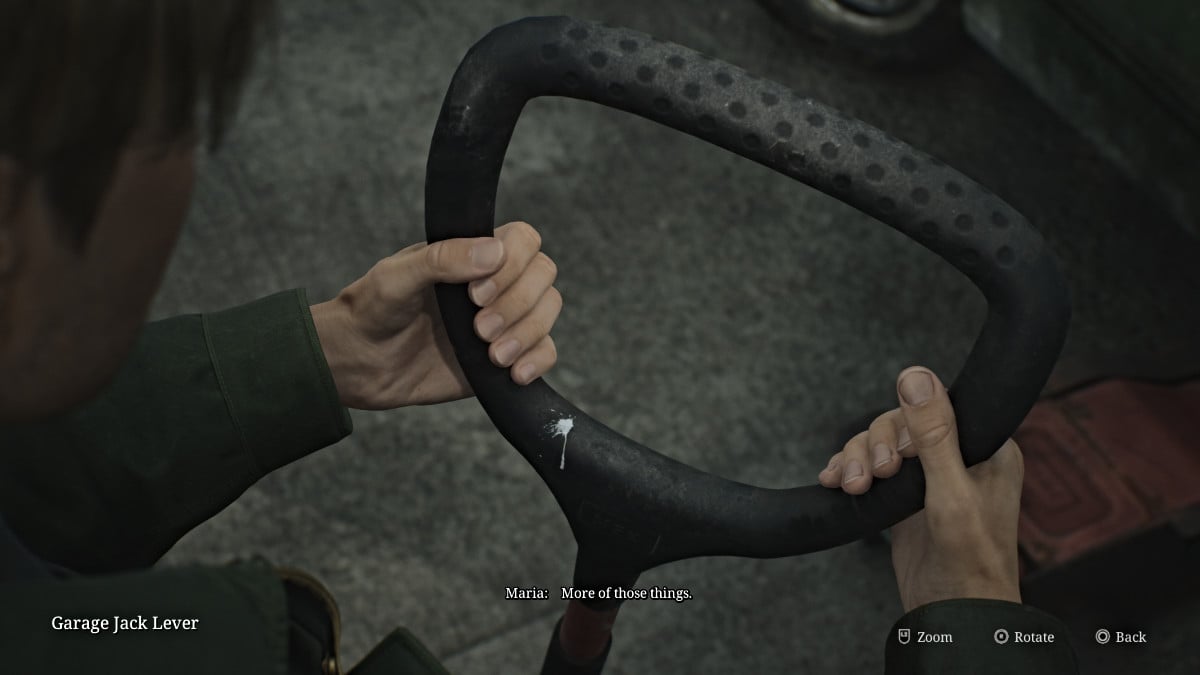
オクタニスの燃料の後ろに向かい、そこでガレージジャックで持ち上げられた車が見つかります。歩いて、ガレージジャックレバーをそこから取りますが、ノイズはその過程でいくつかのモンスターを目覚めさせます。実行される嘘をついている人物とバグの世話をしてください。
また、そこにいる間に、キャロルストリートを渡ってピートのボウルオーラマに向かい、内部を探索してください。オリジナルのゲームでは、ここでエディとローラを越えてつまずきましたが、リメイクの場合はそうではありません。場所は完全に空ですが、赤いセーブポイント、いくつかの予備の拳銃弾薬、およびボウリングレーンの近くでほぼ食べられるピザと一緒に横たわっている健康飲料を見つけることができます。
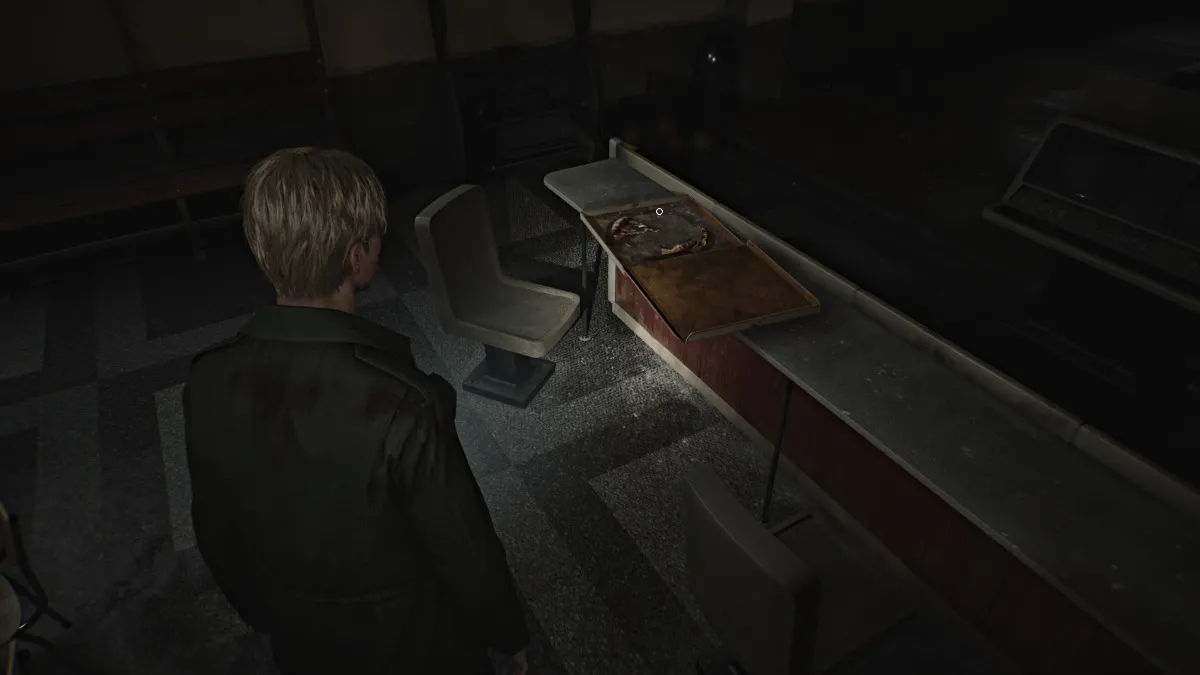
それと交流して過去をもう一度垣間見ると、ジェームズは「この場所はモンスターでいっぱいです。誰かがここに座ってピザを食べることができますか?」と言います。これは、オリジナルのゲームの最も象徴的なシーンの1つである楽しいうなずきであり、エディはまだここにいたかもしれません。
準備ができたらピートを離れ、ネイサンアベニューをローズウォーターパークに向かって戻ってください。現在、通りに沿って散らばっているモンスターに注意してください。戻ったら、特にローズウォーターパークのすぐ外の駐車場に行きます。その中に駐車した車の1つには、拳銃の弾薬があるので、スマッシュとつかみがあります。
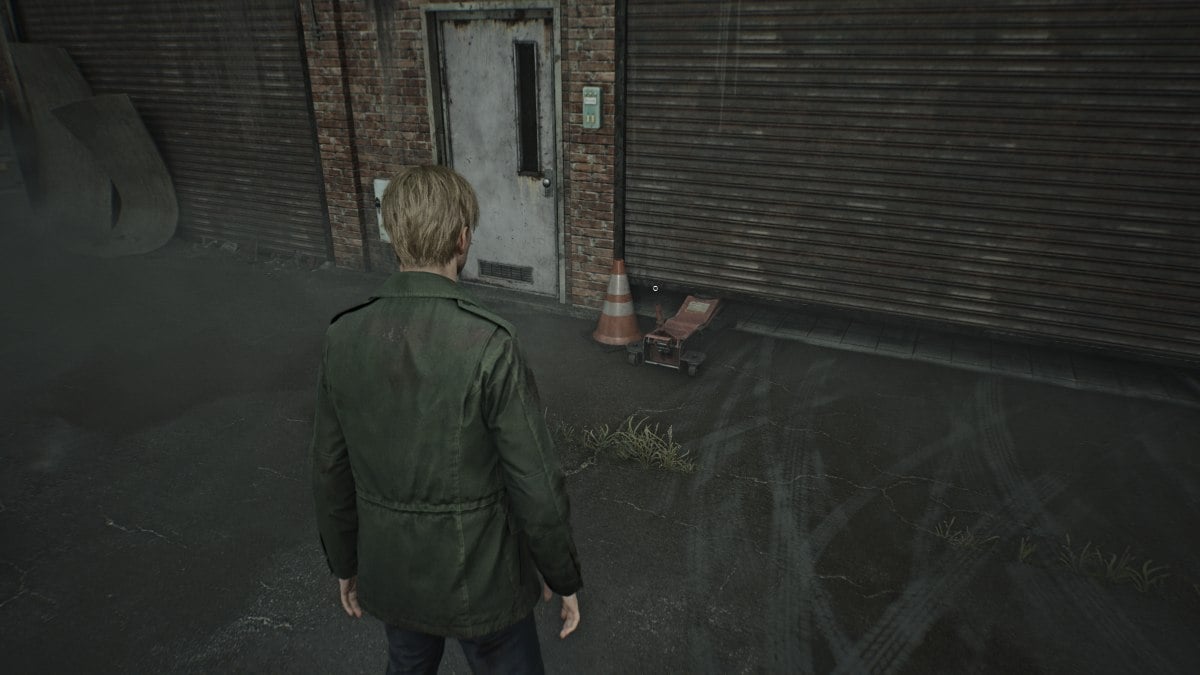
駐車場のガレージの後ろに走り回ると、レバーがありませんが、ガレージジャックのそばにあるゲートが開いているのがわかります。回収したものを使用すると、ゲートを完全に開くことができます。内部には、次のような役立つアイテムの群れがあります。
それで、あなたは今のところその地域で探索するために必要なすべてのものをカバーするでしょう。それで、ジャックの宿の駐車場に戻って、そこで再び赤いセーブポイントを使用し、以前に取得したゲートキーを使用して、西側のゲートのロックを解除し、ウェストサウスヴェールの残りの部分にアクセスしてください。
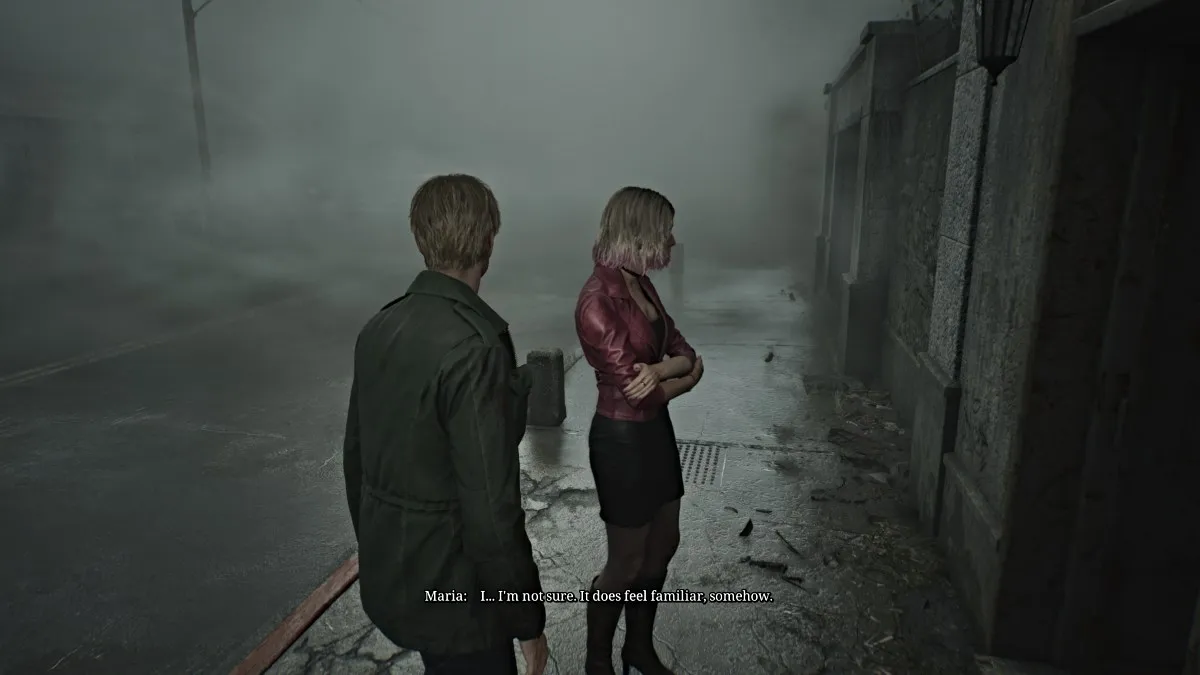
最初に左に向かって迂回すると、ウィッシュから生まれた元のゲームのサイドストーリーから目立つ場所であるボールドウィンマンションに出くわします。残念ながら、そのドアはロックされており、マリアは中庭に入ることさえ拒否します。
それにより、マンソンストリートを南に向かって、別の背の高いバリケードがあなたの邪魔をしているので、カッツ通りに右にぶら下がっています。最終的に、カットシーンは、道路が地面の別の大きなギャップで終わることを明らかにし、マリアは別の方法を見つけることを主張します。ジェームズは何かを感じて、モンスターが群れを始め、霧が以前と同様に再び鳴り響き始めると、路地のショートカットを見つけます。
路地の門を通り抜けた後、ジェームズは木製の板でそれをバリケードしてモンスターを締め出し、彼の唯一の近接武器が失われたようです。しかし、彼は向きを変えて、代わりに喫煙車に突き出ている鋼管を見つけ、その過程でアップグレードを提供します。
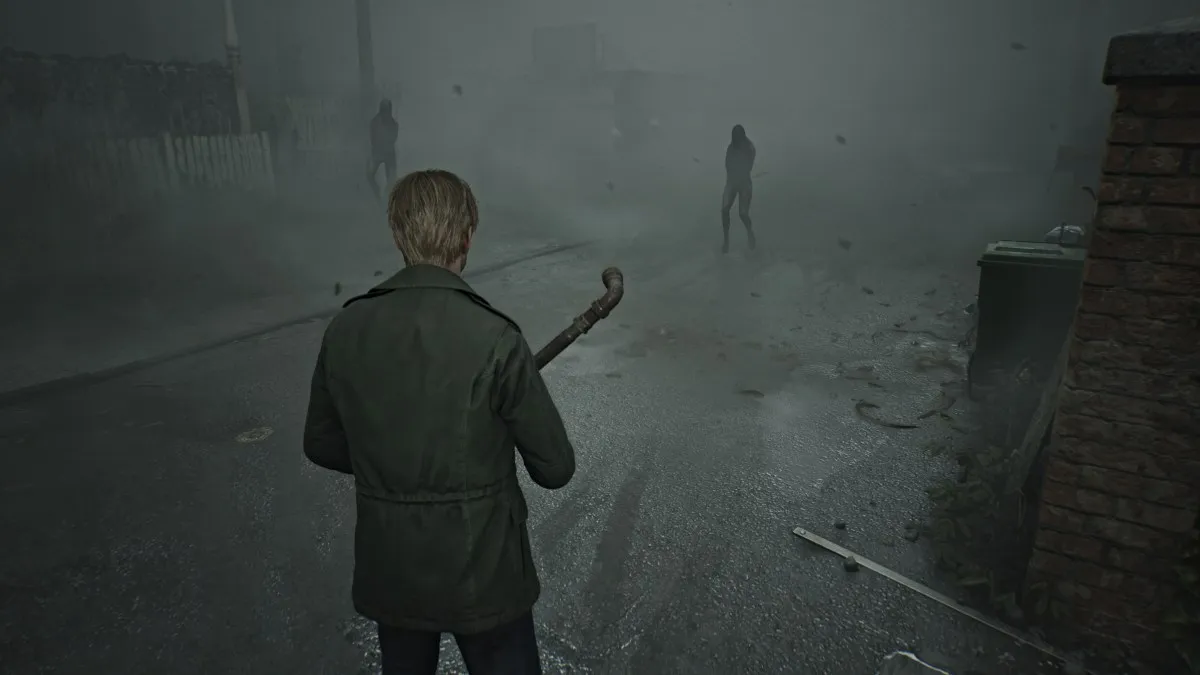
新しい近接武器を使用して、あなたの前にモンスターをかわし、天国の夜に向かって後ろの路地とヤードを通り抜けます。途中でできる拳銃の弾薬をすべて拾います。
最終的に、マリアはあなたをフェンスのギャップに導いて逃げます。それを取ってください、そして、短いカットシーンの後、あなたは天国の夜のすぐ後ろに自分自身を見つけるでしょう。建物の裏口に向かうと、それがロックされているにもかかわらず、マリアはあなたのためにそれを開きます。 「殺す準備ができている!」など、アイテムのキッチンとドレッシングルームのエリアを探索してください。奇妙な写真。
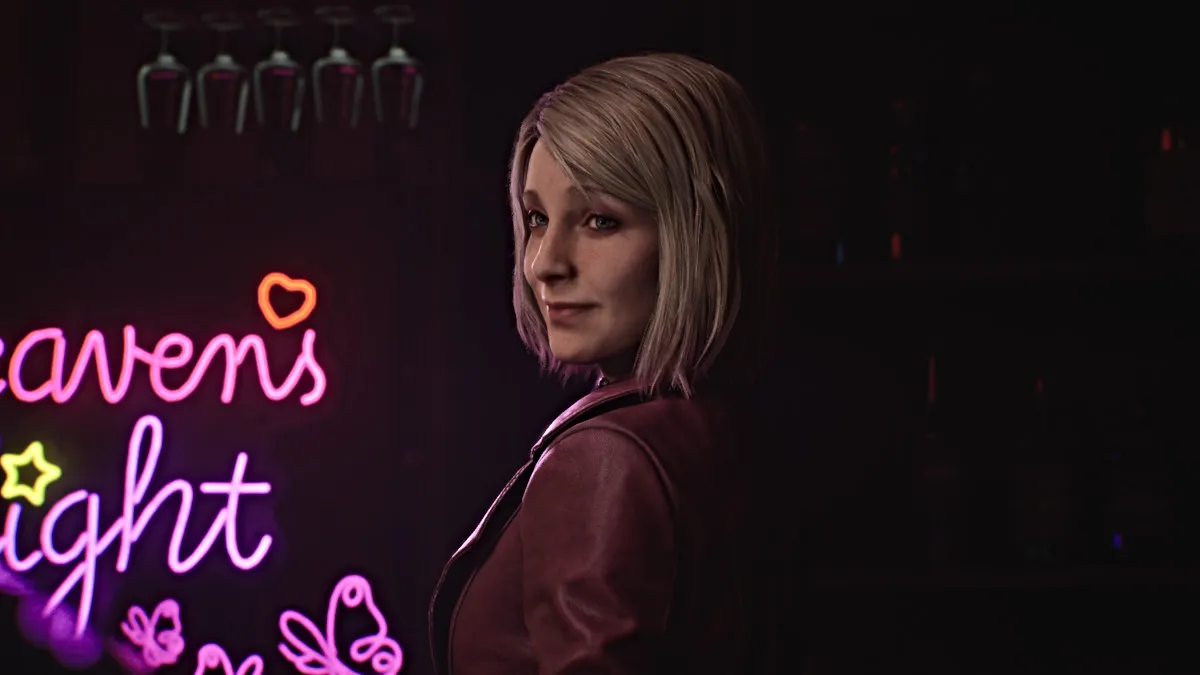
その後、フロントダイニングエリアとバーに到達するまで、開いたドアと舞台裏エリア(こちらのアイテムの詳細)を通り抜けます。長いカットシーンは、マリアがジェームズをリラックスさせようとし、何らかの理由でそこで時間を過ごすように努力します。彼女は、これは彼女が言及していた「特別な場所」ではなく、単なる近道ではないと主張しています。
最終的に、彼は動き続ける方が良いと判断し、マリアは彼を玄関から出し、彼女が意味する実際の「特別な場所」に導きます。
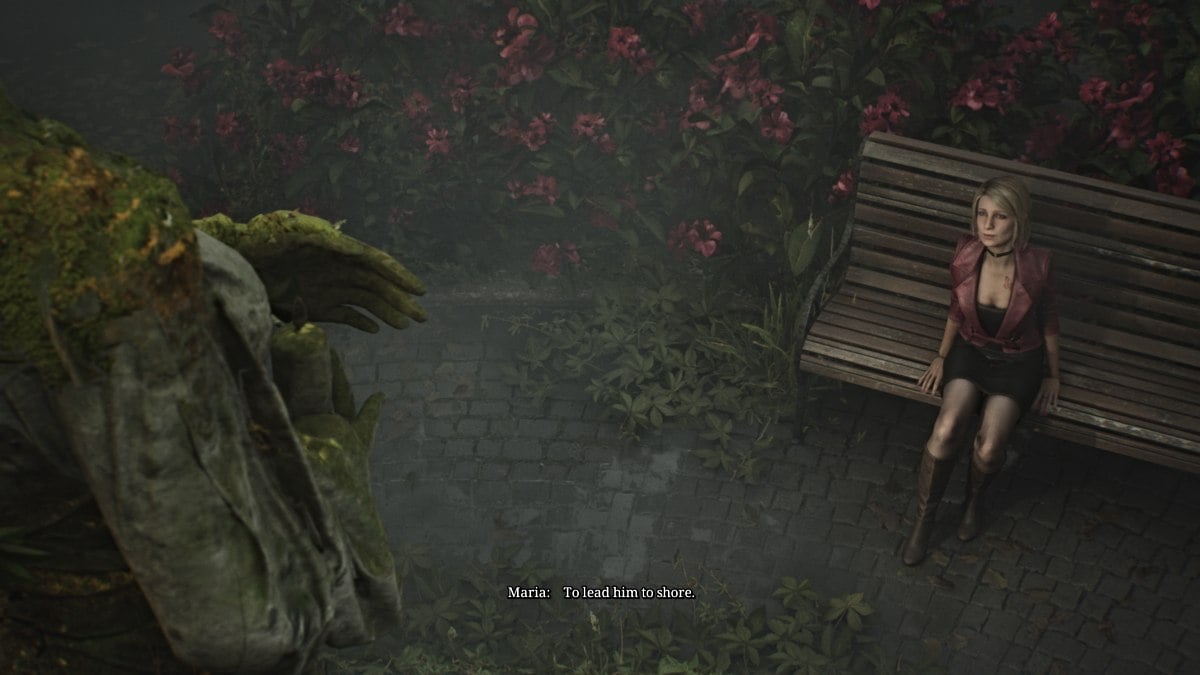
マリアはジェームズをムーンライトパークと呼ばれるサイレントヒル(そしてリメイクに新しい)にいなかった場所にジェームズを導きます。彼らは女性の像が立っている小さな中庭に到着します。
一方、この物語は明らかにジェームズに影響を与えます。ジェームズは、状況を与えられたメアリーを見つけるという希望を失い始めます。マリアは彼を慰め、彼らが見続けると主張し、突然近くの叫び声が彼らに警告します。
マリアをフォローして、隣のレビーリーシアターの裏側に向かって進みます。ここでは、ジェームズが適合して調査するためのクロールスペースが高くなります。マリアは映画が嫌いなので後ろにとどまることを主張しています(ええ、ボウリングではありませんか?)。
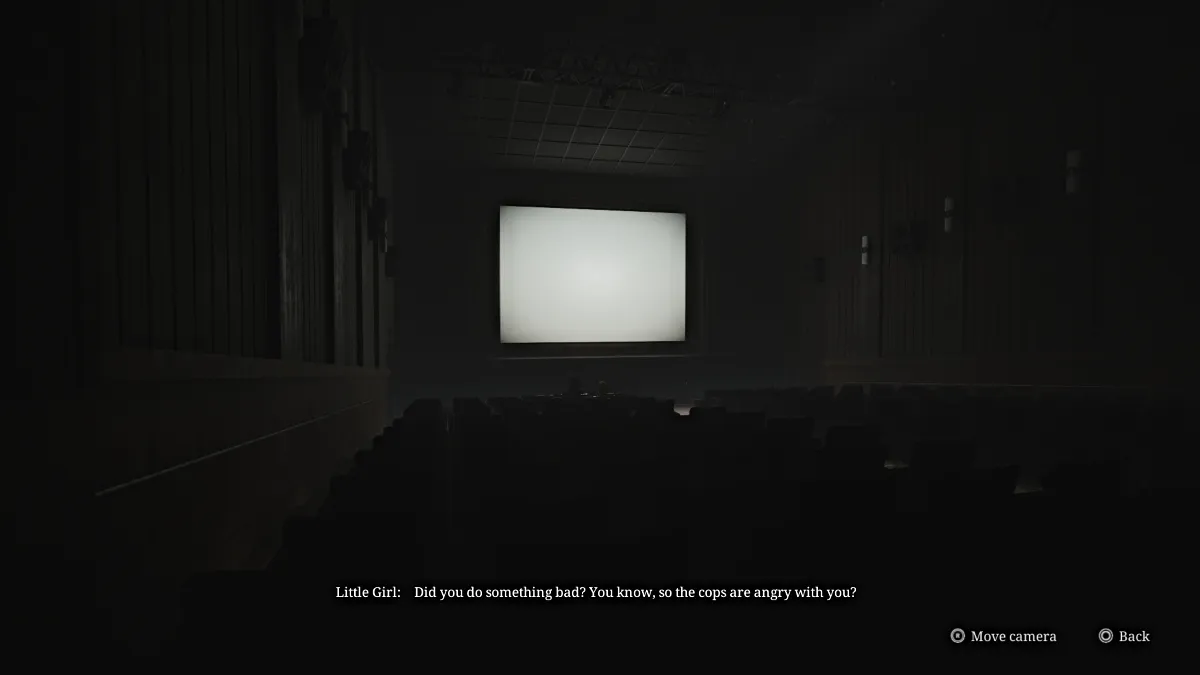
中に入ると、すぐにエディとローラの声が聞こえます。エディとローラは、明らかに映画を一緒に見ているようです。
周りを見回して近くのキャビネットと対話して、ドアの邪魔にならないようにして、騒ぎを引き起こします。エディが滞在している間、ローラは怖がって逃げます。ドアを通り抜け、角を曲がって左に行き、劇場に入ります。そこでは、別のカットシーンがエディと一緒に遊びます。
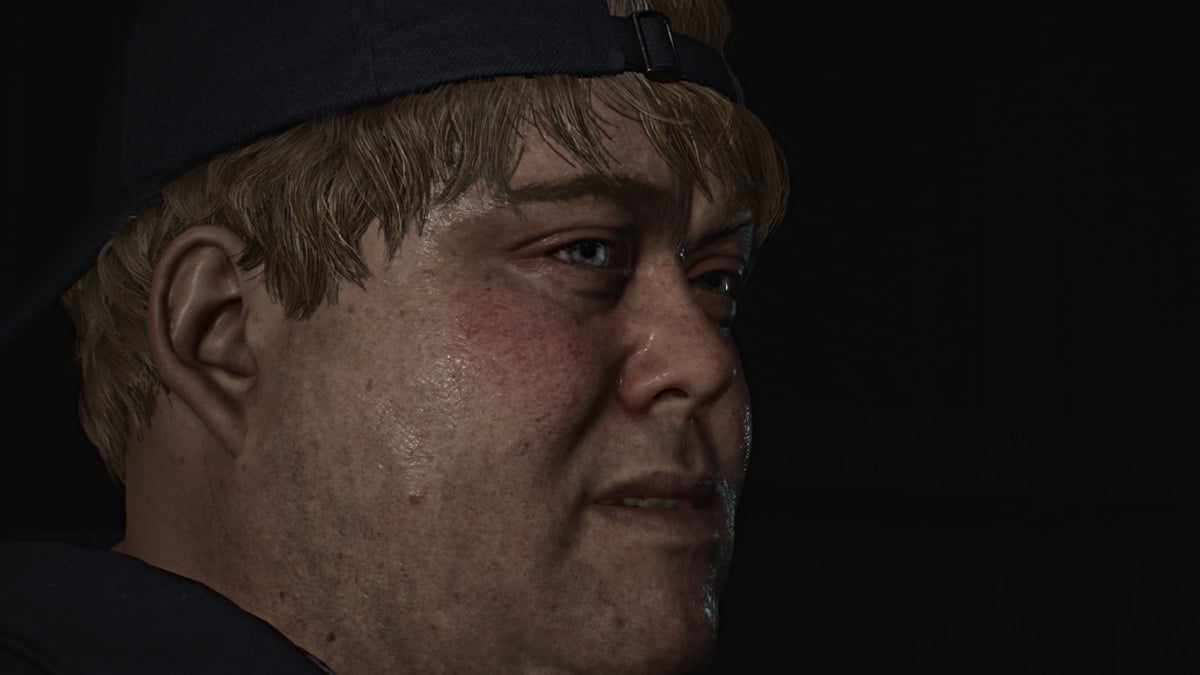
終わったら、左側のドアを通り抜けて次の劇場室に行きます。ローラはプロジェクターをオンにしてジェームズをいたずらします。後ろのドアを通って廊下に向かい、近くの階段を上げます。プロジェクションルームを通り抜けて、フィルムリールでいっぱいの部屋に戻ります。 2つの棚とジェームズの間のギャップを絞ると、再び逃げる次のプロジェクションルームでローラが見つかります。
2番目のプロジェクションルームを通り、バックドアを通り抜けて、劇場の正面玄関からずっと追いかけ続けます。あなたが行く前に、より多くの拳銃の弾薬のために両方のロビーバスルームをピットストップしてください。
外で走ると、マリアはまだ彼女を捕まえることができると言うでしょう。通りを左下して角を曲がって行くと、別のカットシーンが、ゲームの次の主要な場所であるブルックヘブン病院に駆け抜けるローラが明らかになります。
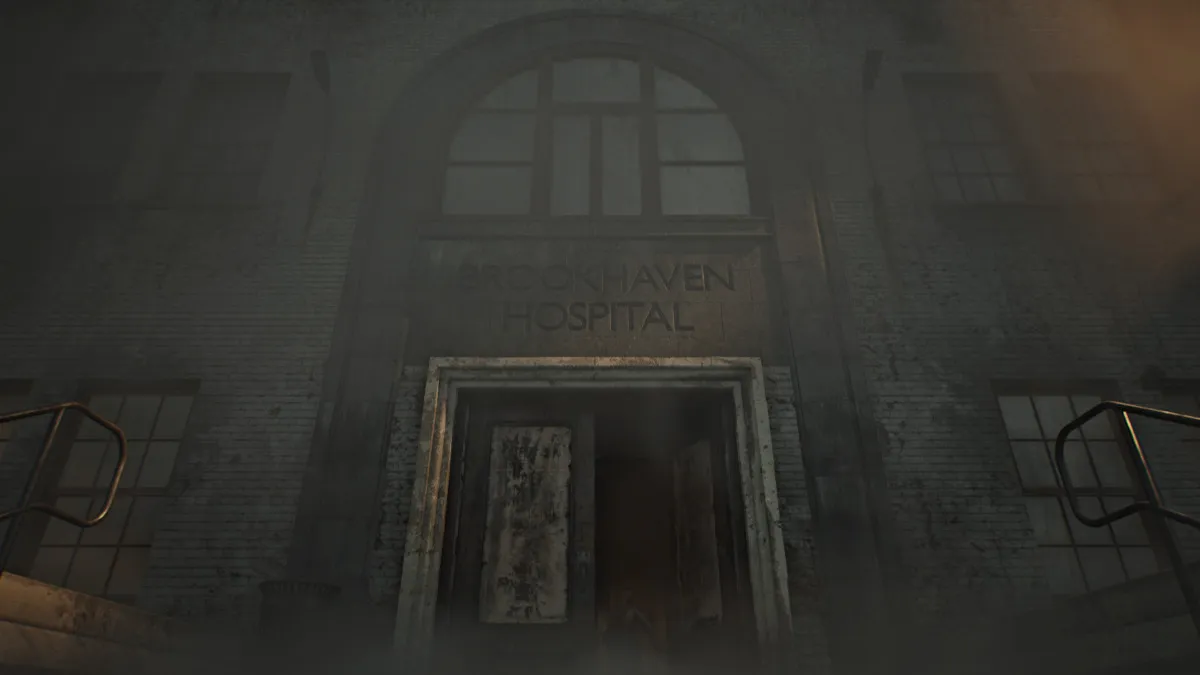
ブルックヘイブン病院に入り、すぐに右折してエントリーオフィスに入ります。ショットガンがかつてあったオープンガンキャビネットに気付くと、まだどこか病院にいる可能性が高いことをほのめかしています。近くのデスクからショットガンシェルの最初のバッチをつかみます。
次のドアのセットを通過し、走り回って、掲示板の下の雑誌ラックからブルックヘブン病院マップ1F-3Fをつかみます。レセプションオフィスに左に行き、南京錠の組み合わせと試験室3に言及するキーロッカーのメモをつかみます。机の上にも拳銃の弾薬があります。
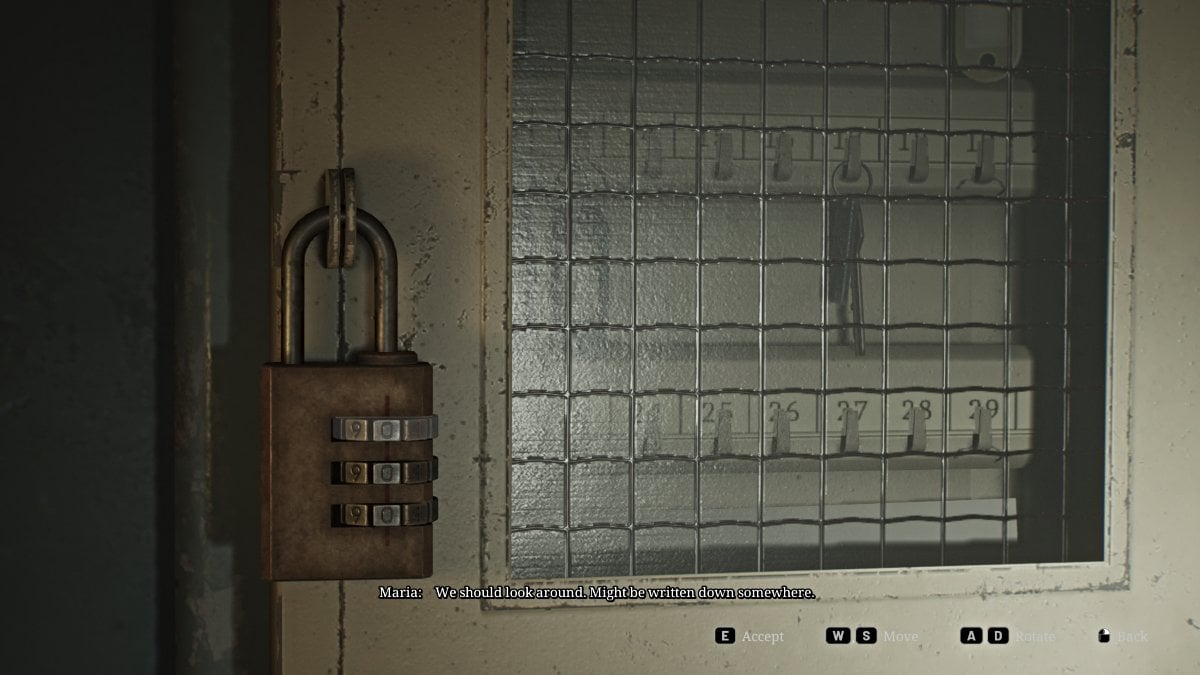
向きを変えて、開いた窓から風が吹く部屋に入ります。赤いセーブポイントを使用してから、前述の南京錠で壁にあるキーセーフ(上記)に注意してください。正しい組み合わせ(標準難易度)は724ですが、試験室3に向かい、シリンジとショットガンのシェルとともに、看護師のメモを取得できます。ボックスを開いた状態で、地下キーを取得します。
1階の他のほとんどのルートは今のところロックされているので、東側の階段に向かいます。カットシーンは、ジェームズを見つけて逃げる前に、ローラが壁に描かれていることを示しています。彼女を2階までフォローすると、今のところドアがロックされていることがわかります。キーがあるので、代わりに地下レベルに戻ります。下部の階段の下の引き出しから拳銃の弾薬をつかみ、ドアを通り抜けます。
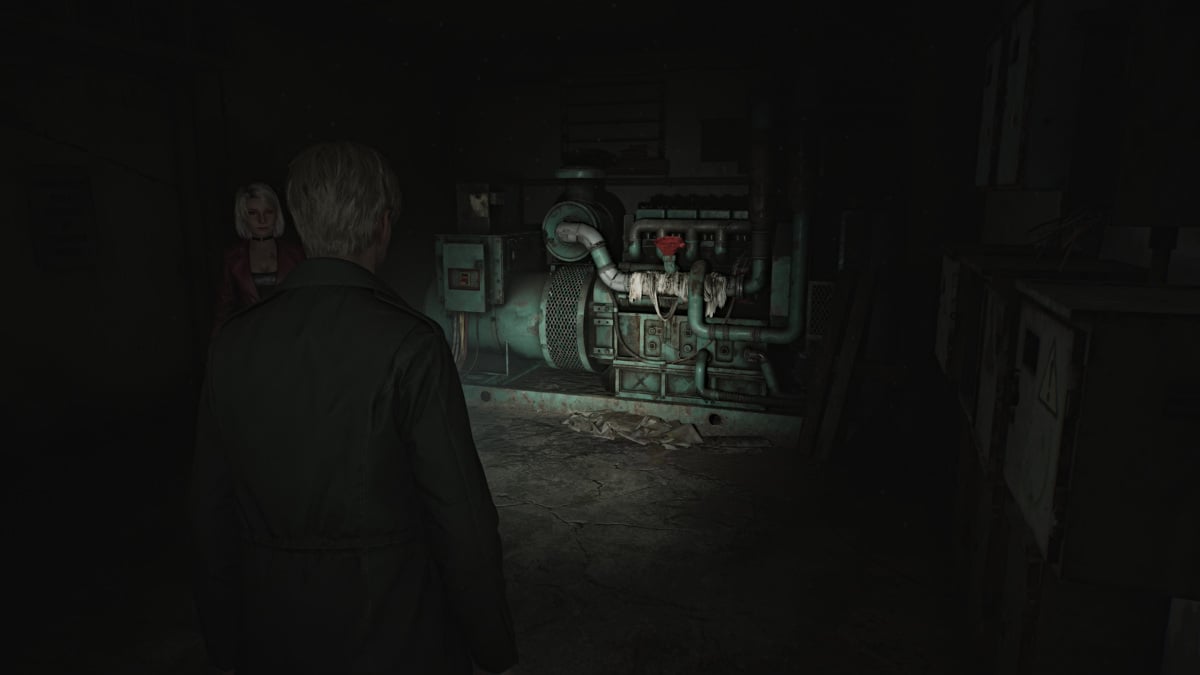
すぐにブルックヘブン病院の地下室の地図があります。ベアリングを手に入れてから、北に向かってポンプルームに向かい、右側の容器に拳銃の弾薬があります。ジェネレータールームまで進みます。ここでは、現在電力が供給されていない巨大な発電機が表示されます。タンク上の赤い漏斗は、燃料が必要であることを示しています。
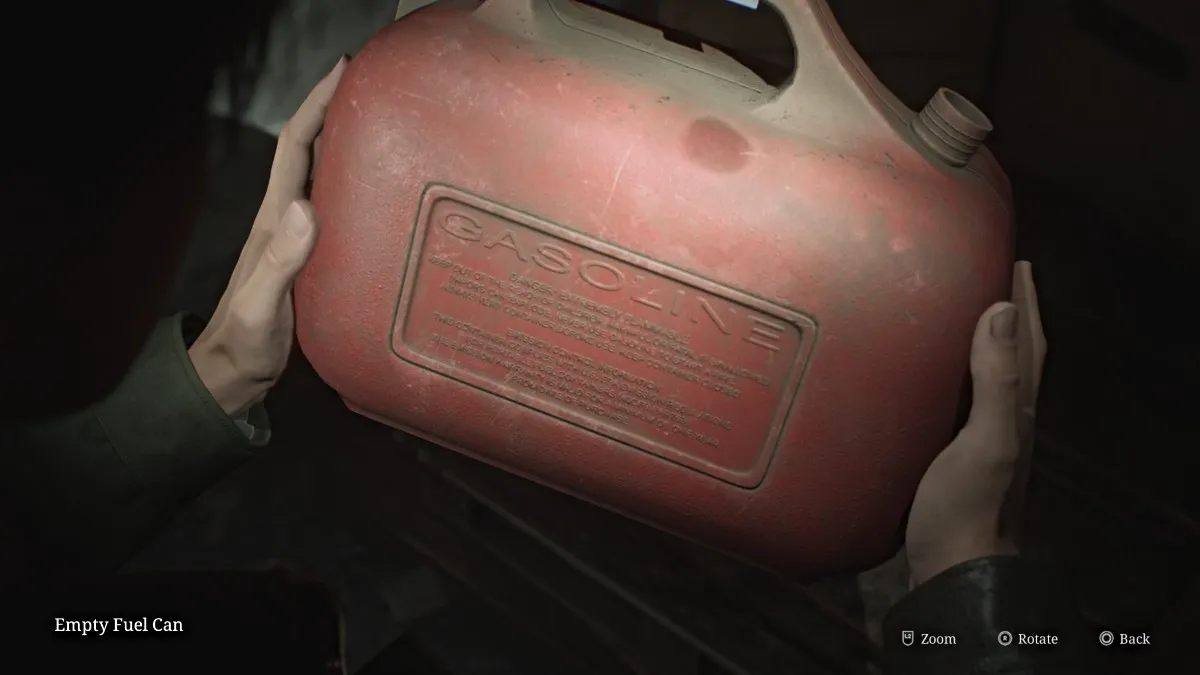
ボイラールームエリアに移動し(2つの部屋で構成されています)、待ち伏せマネキンに注意してください。後ろの壁で拳銃の弾薬をつかんでから、 2番目のボイラールームに行き、そこには後ろの角に空の燃料缶が見つかります。
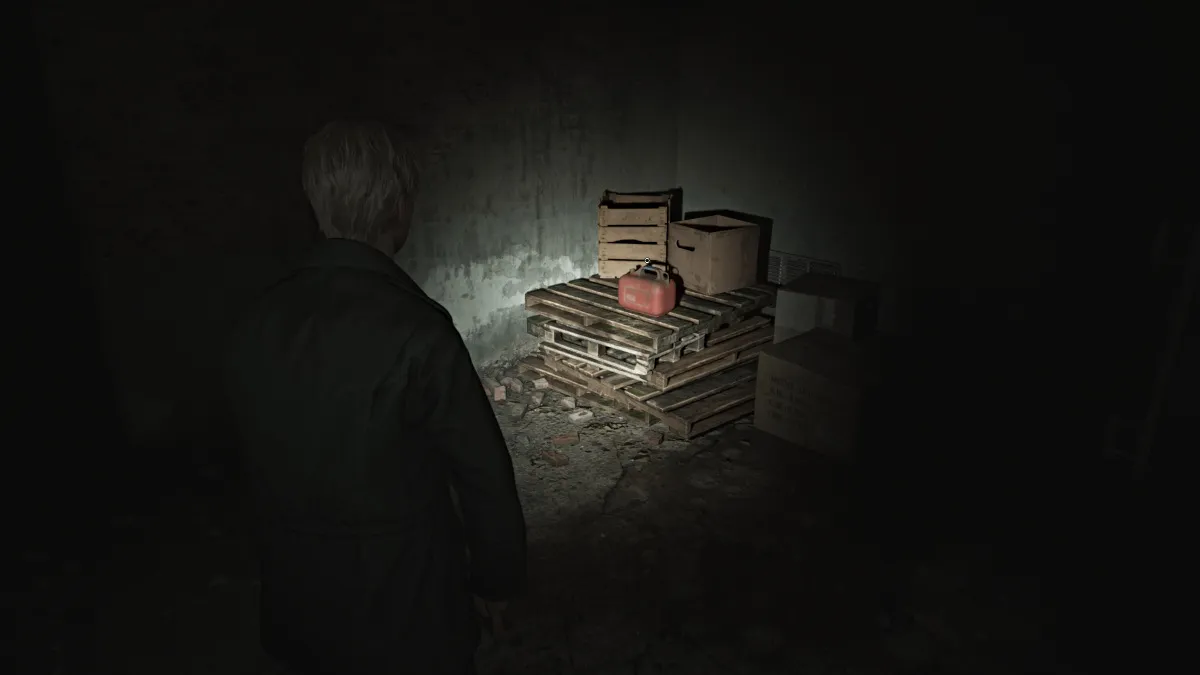
ボイラー室を離れて、プッシュする必要があるハンドカートがあるランドリー収納に行きます。あなたの目的地は、隣の部屋(ランドリールーム)の真っ直ぐなクロールスペースです。別のマネキンが途中であなたを待ち伏せするので、あなたは最初にその世話をしたいかもしれません。この地域からさらに拳銃の弾薬をつかみます。
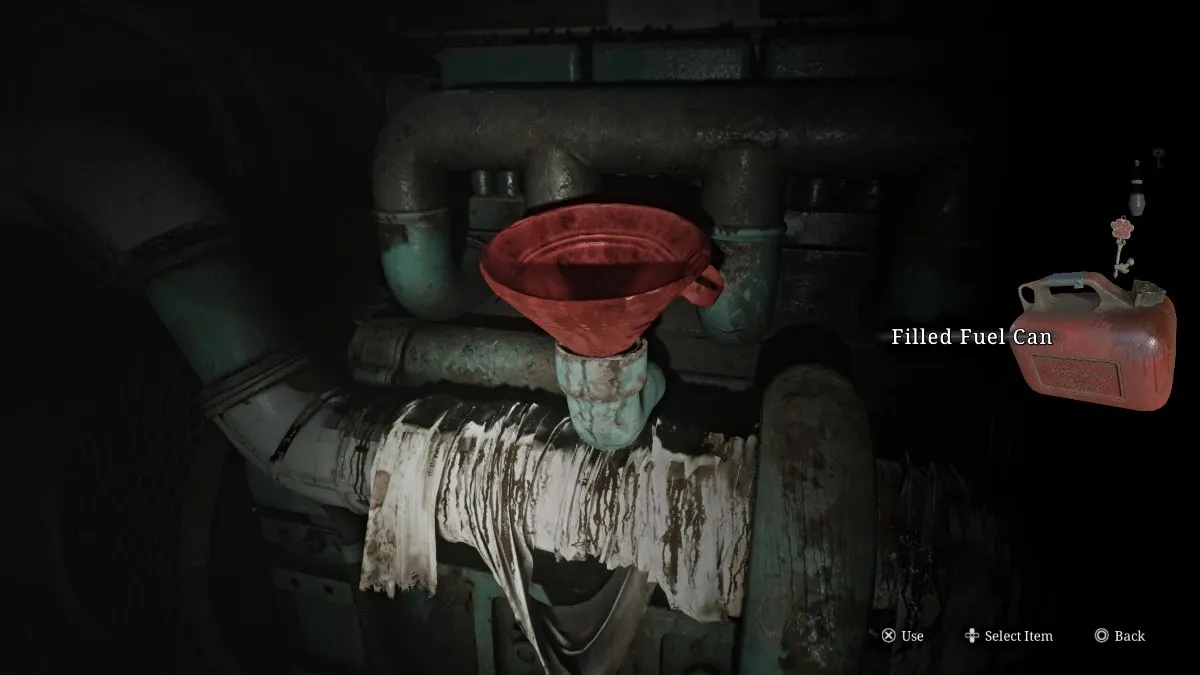
保管室に登ります。そこでは、拳銃の弾薬、注射器、そして空の燃料缶を満たすことができる大きな燃料タンクがあります。完了したら、発電機の部屋に戻ります。発電機を収集した燃料で満たしてからオンにします。これにより、エレベーターへの電力が回復します。
そこに行く途中で、ハイテクルームで拳銃の弾薬とショットガンの殻を止めてください。エレベーターを2階まで持って行くと、そこに着いたらカットシーンが再生されます。
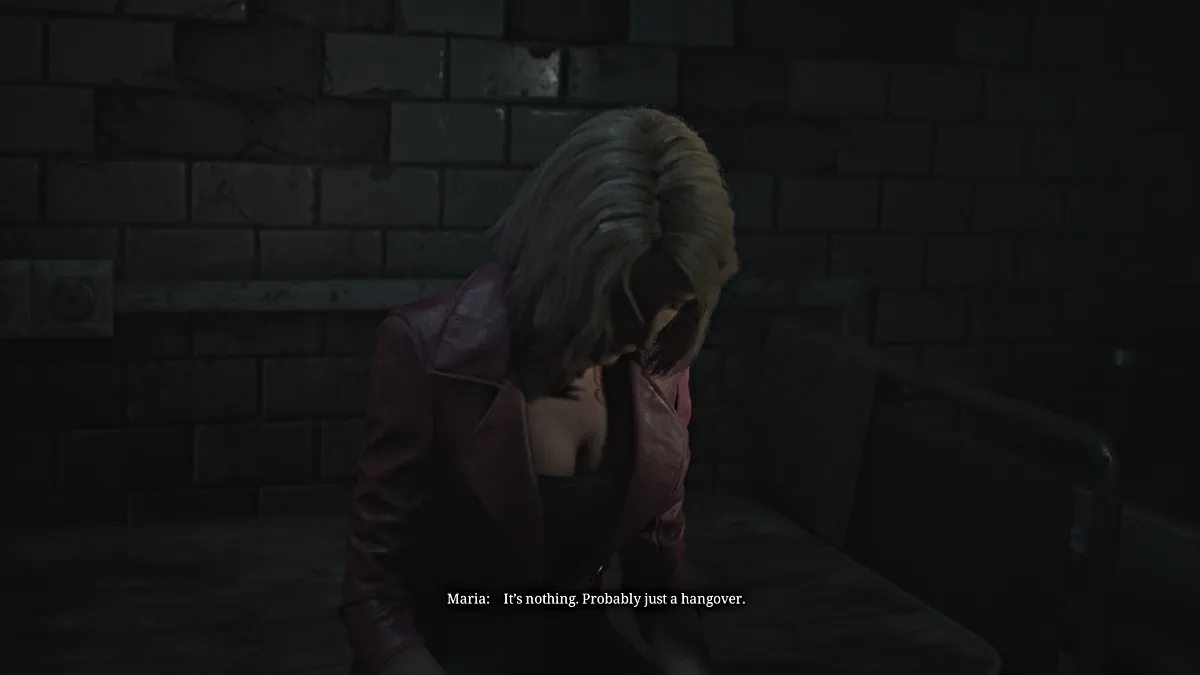
ジェームズは今では暗くて雨が降っていることに気づきましたが、マリアは奇妙なことに近くのケアルームにアヒルになります。ジェームズは彼女に何が間違っているのか尋ね、彼女はただ疲れていると主張し、止まって休むことに決め、薬を飲んで横になっている。ジェームズはローラを探し続けることを選択し、彼が戻ってくると言います。
部屋から出て、赤いセーブポイントとヘルスドリンクがある部屋のC3に行きます。その隣のトイレには、拳銃の弾薬と、途中の部屋のC2があります。監督のオフィスの近くの二重のドアは今のところロックされているので、北の廊下とそれらのドアを通り抜けて、バブルヘッドの看護師との最初の出会いがあります。
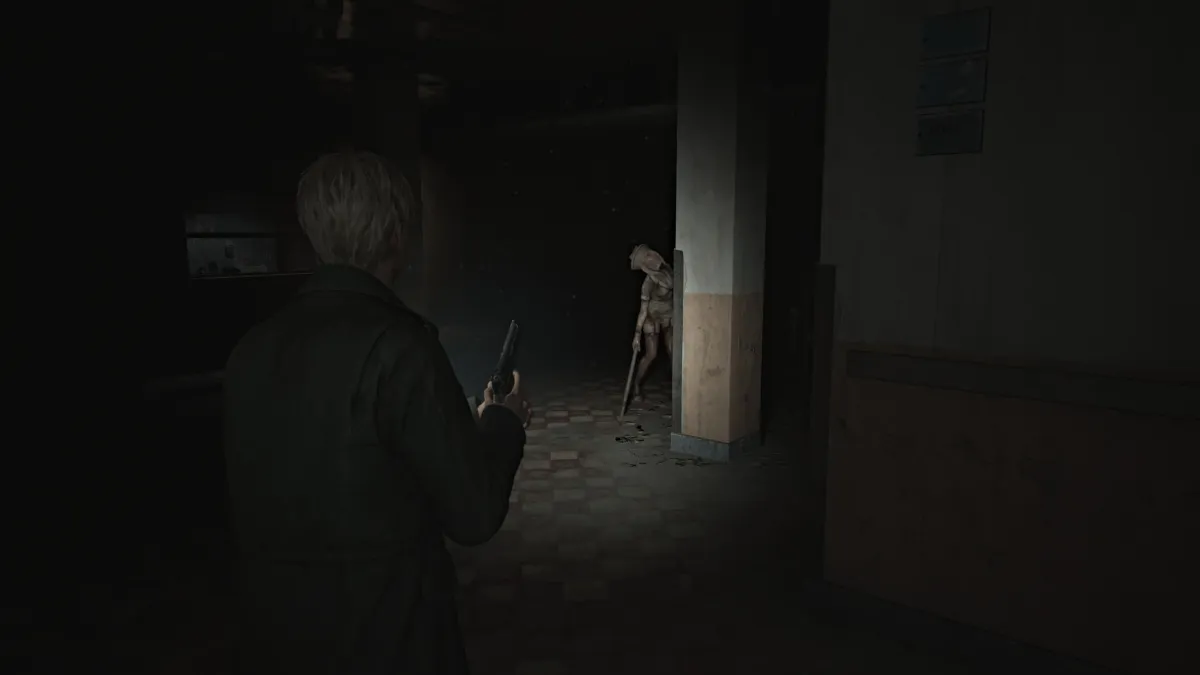
マネキンのように、バブルヘッドの看護師は機敏で、攻撃をかわすことができますので、注意してください。それに加えて、彼らはパイプやナイフなどの自分の武器を振り回し、繰り返し攻撃し、非常に迅速に地面を覆うことができるので、彼らは間違いなくゲームで最も恐ろしいモンスターの1つです。そして、彼らは病院にいるので、弾薬を賢く使ってください。
看護師の駅と部屋L3の間のオープンエリアに到着するまで、ホールを下り続けます。クロールスペースを使用してルームL3に入ります。ここでは、拳銃の弾薬、ショットガンの殻、ヘルスドリンク、「彼女の絵」が展望室に奇妙な写真を撮ることができます。
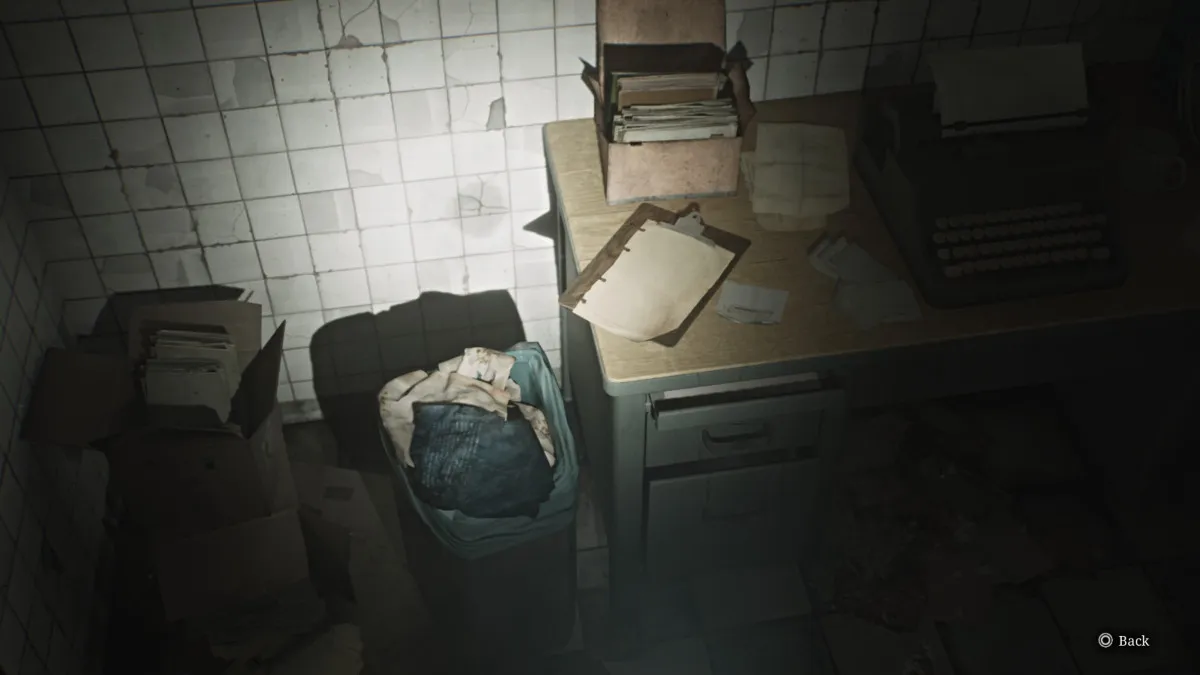
左に曲がり、監督のオフィスに向かって中央の廊下を下って近道をすることができるまでバックトラックします。途中で、ランドリールームに立ち寄って、ゴミ箱(上記)といくつかのショットガンシェルで過去をもう一度垣間見ることができます。
別の左を取り、最初に部屋のC1に入ります。そこでは、壁からボートのポスターを取り、血液に描かれた赤い目とインタビューの成績証明書を明らかにすることができます。以前に開くことができなかった二重のドアのロックを解除してから、ホールを越えてシャワールームに行きます。シャワールームには拳銃の弾薬と襲撃を待っています。それを使用してルームL2に到達します。そこでは、ショットガンの殻、拳銃弾薬、ヘルスドリンク、さらに2つのモンスターを見つけることができます。
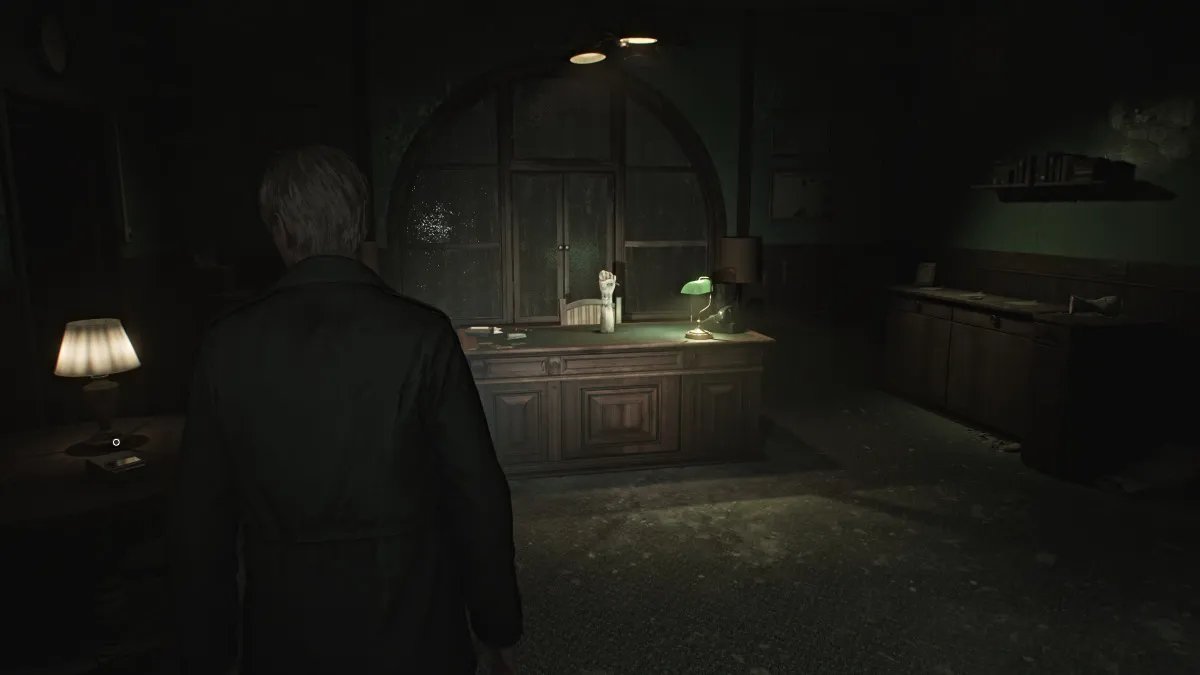
最後に、監督のオフィスに行き、そこには患者#50、#90、#130のレッドセーブポイント、ロックドア、オーディオ録音、評価カードがあります。また、赤いカーテンの後ろには、奇妙なシンボルのある金庫がありますが、そのうちの1つは欠落しています。
それに加えて、机の上に支えられているマネキンの腕があり、前述のロックされたドアの鍵を握っています。それを取得するには、腕には3つの患者ブレスレットが必要です。
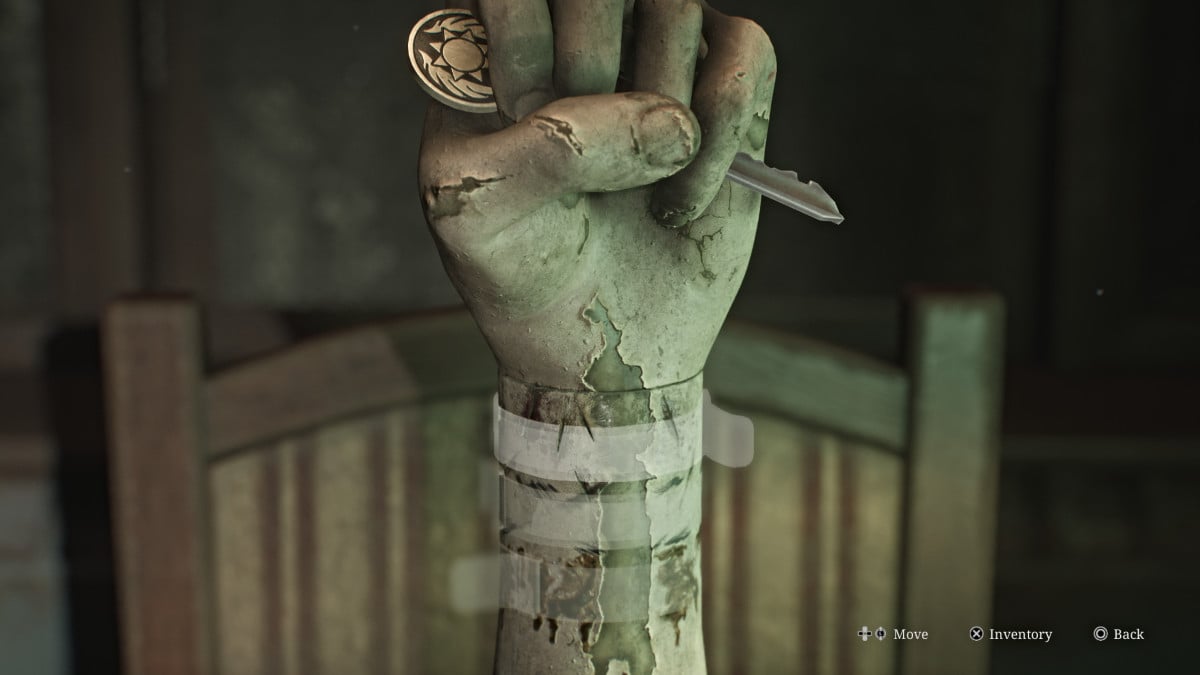
ありがたいことに、あなたが選んだ評価カードは、セーフのために不足しているシンボルプレートと一緒にそれらをどこで見つけるかについてのいくつかのヒントを与えます。地図をチェックしてから、オフィスを離れます。
別のバブルナースを扱った後、ホールの向かいのトイレの両方と部屋M5から拳銃の弾薬を拾います。ホールをさらに下ると、部屋のM1にはショットガンの殻と、ロックを解除する過去のもう1つの垣間見ることができます。
西の廊下に行くと、著名な患者の1人が移動した部屋L1へのドアがその側から閉じ込められていることに気付くでしょう。女性用ロッカールームに行き、そこには行方不明のショットガン(yoink)があり、椅子の詰めたクマからより多くのショットガンシェル、拳銃の弾薬、ヘルスドリンク、曲がった針があります。
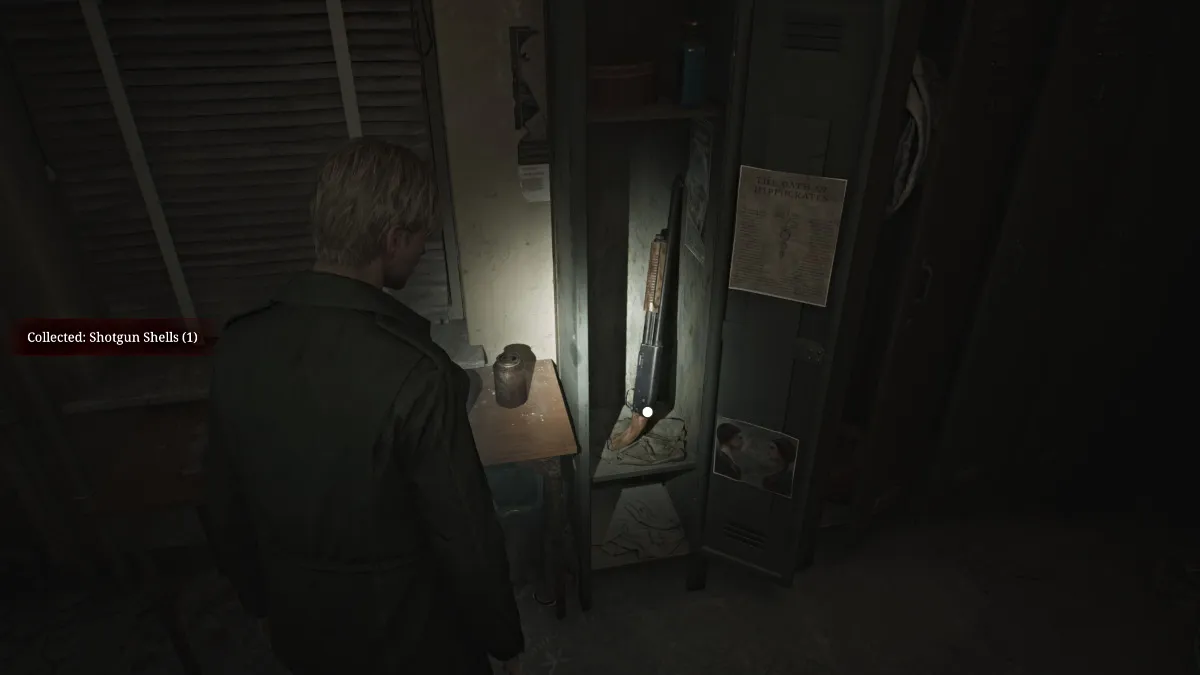
シェルを手に入れるのが難しいので、必ずショットガンを賢く使用してください。それで、出かけて、廊下を看護師のラウンジまで進みます。内部では、 L1ルームキーとバブルナースがそれを守っていることがわかります。それを主張した後、部屋のL1に戻り、内部を冒険します。部屋は大きく、不快な量の乱雑さがあり、さらに小さな部屋から来る奇妙な音がいくつかあります。
あなたがそれに入るために使用できる高いクロールスペースと、それに到達するために部屋の正しい光景にプッシュカートがあります。カートをつかみ、クロールスペースの下を転がし、内部に飛び込みます。ノイズにもかかわらず、部屋は空っぽです。
部屋を出て、ホールの向こう側にユーティリティルームをチェックします。ここでは、「何か」が壁の穴から逃げます。もちろん、それに従う以外に選択肢はありません。壁を滑り落ちた後、すぐに1階、マークのない部屋に戻ってきます。あなたの前の片方のドアはロックされているので、その隣のクロールスペースを通り抜けて、医療記録室に連れて行ってください。
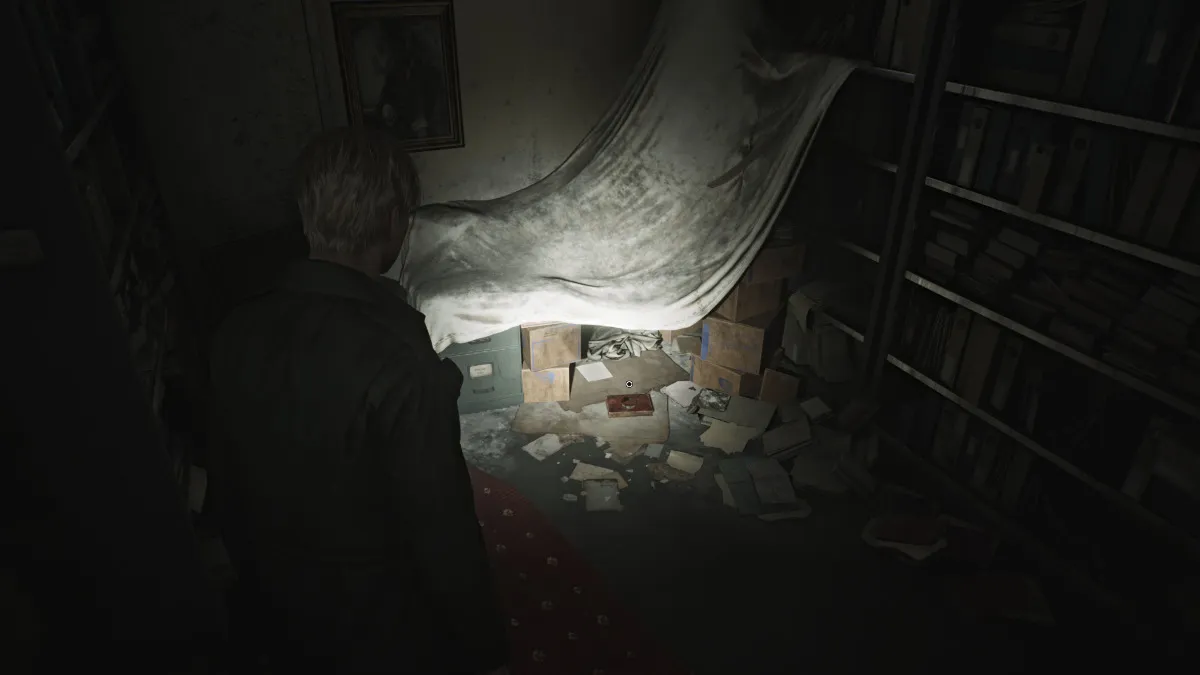
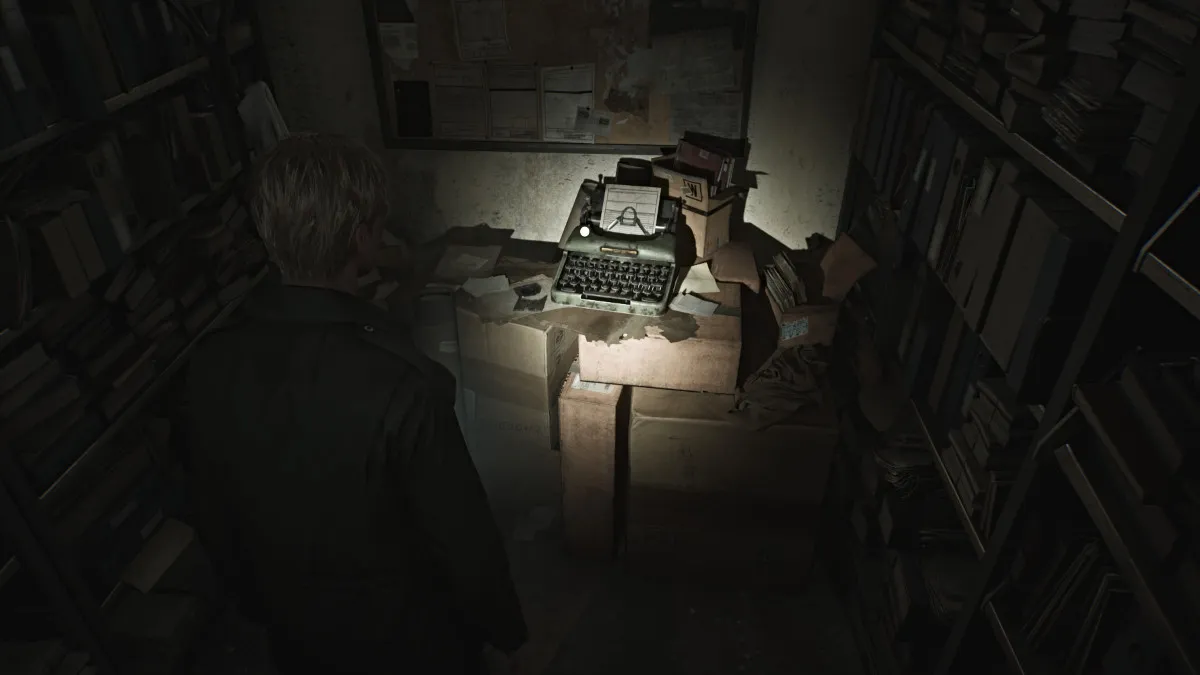
目の前の床から落書きのメモを手に取り、左側の左側には、過去をもう一度垣間見ることができます(以下を参照)。
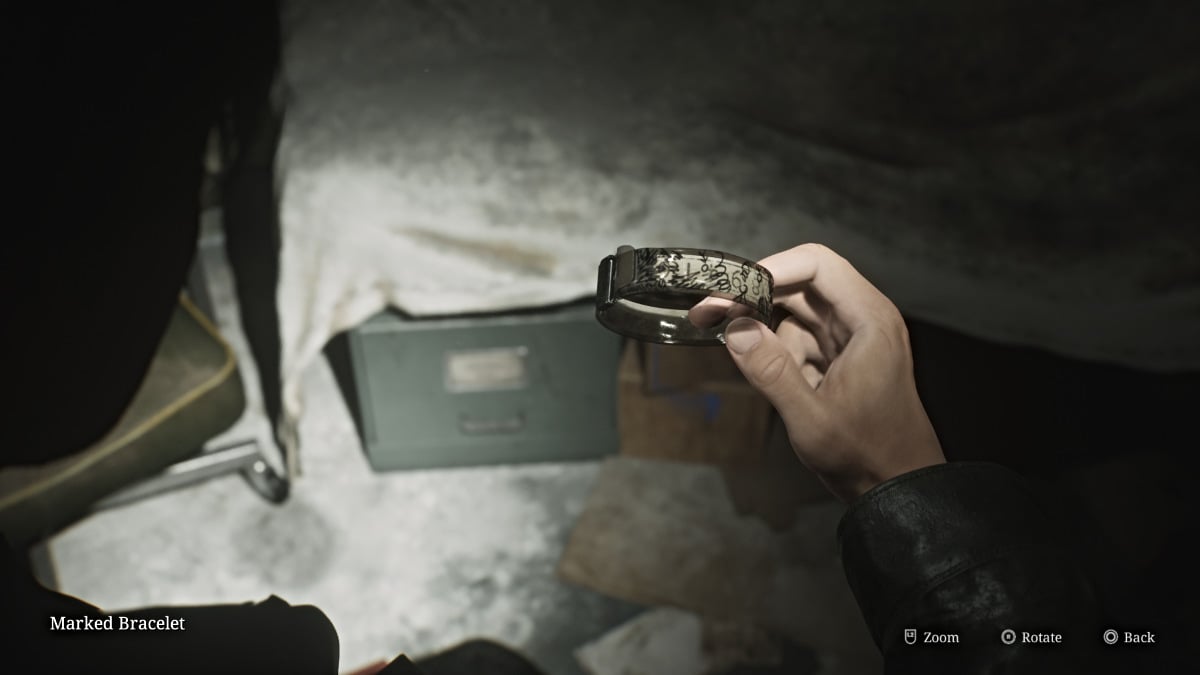
さて、シートの下に座っているもの(上記)が表示されている場所に向かいます。これは、必要な3つのうちの最初のブレスレットであることが判明しました。これはマネキンの注目を集めているので、その後それに対処してください。
復元されたエレベーターであろうと東の階段であろうと、2階に戻ってください。監督のオフィスでマークされたブレスレットを降ろすか、今のところそれを保持することを選択できます。
いずれにせよ、次に、キーパッドロックを備えた看護師のオフィスに向かうことができます。時間を節約するために、正しいコード(標準難易度)は3578です。入る前に、その隣の保管室でショットガンのシェルをすぐに確認してください。
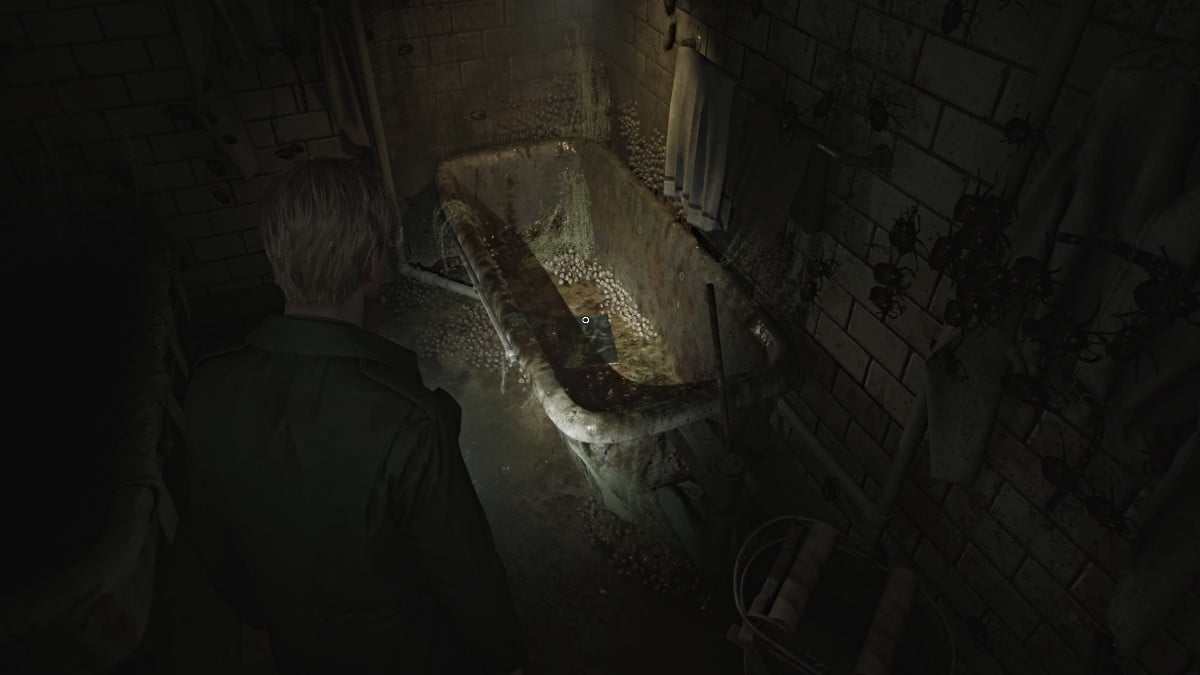
看護師のオフィスの窓からスタッフのメモをつかむと、最初の部屋とその向こうの治療室に拳銃の弾薬があります...バグ、どこにでもあります。ありがたいことに、彼らはあなたを傷つけることができない種類です。右側の3番目の浴槽を見て、そこからカビの生えたリトグラフを拾います。出発する前に、トリートメントルームのメモもつかみます。
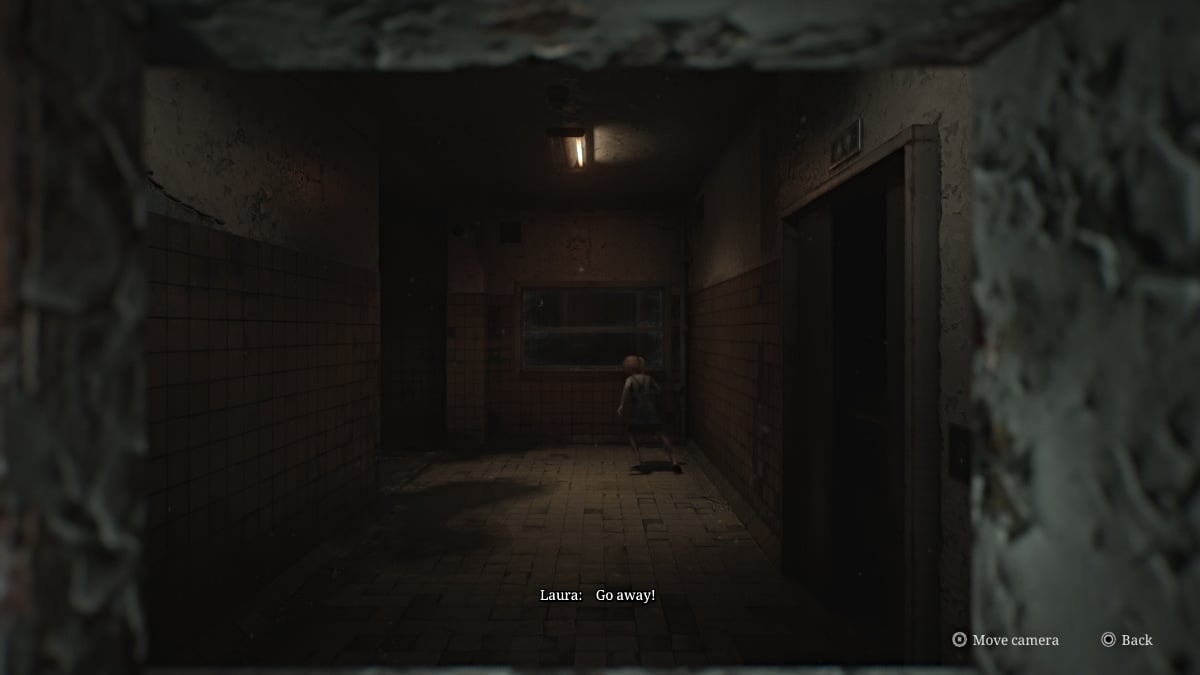
西の階段の吹き抜けにあなたを連れて行く隣のドアを出て行きます。 3階に上がると、若い女の子がハミングし、壁にもっと絵を描くように聞こえるものが聞こえます。ローラは明らかに近くにあり、彼女は巨大な金属製のドアで塞がれている床の制限されたエリアにいることが判明しました。ウィンドウを開いて、反対側のローラを見る。もう一度、彼女はジェームズが言葉を得ることができる前に逃げます。
とりあえず、部屋D1に向かいます。これには、組み合わせロックがあります。通常、 X線ルームの画面にある2つのX線写真を使用してコードを把握する必要があります。
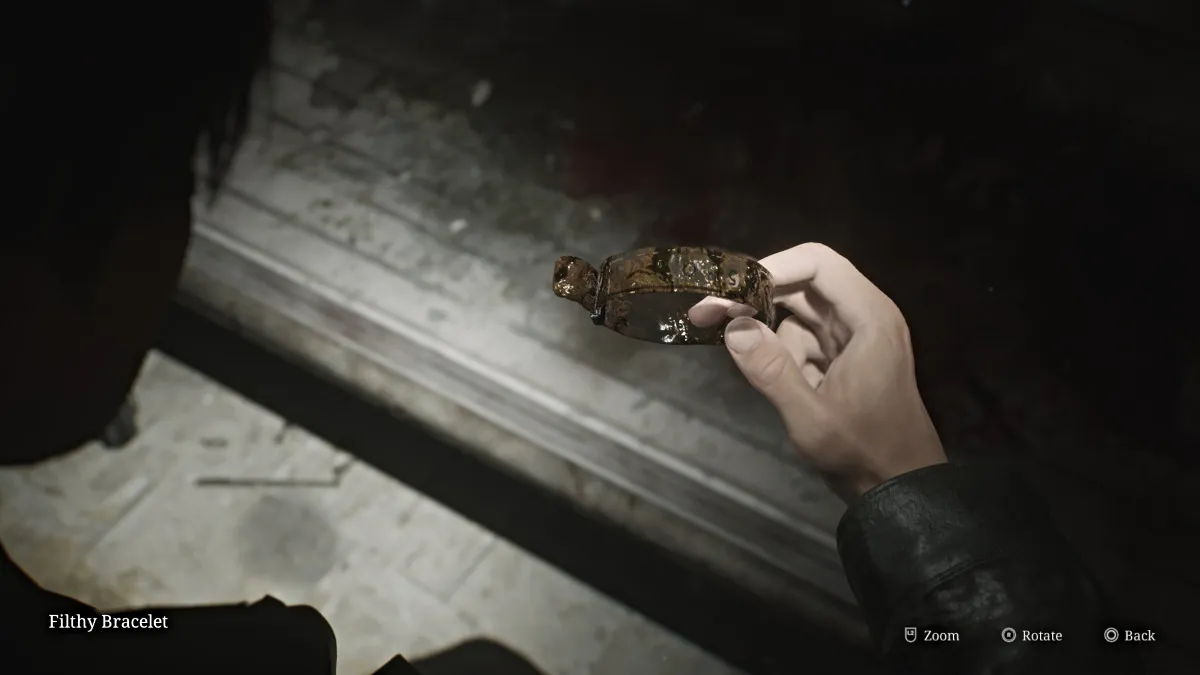
ただし、時間を節約するために、正しいコード(標準難易度)は04(右)、37(左)、12(右)です。中に入ると、患者のベッドとやり取りすると、ジェームズは毛布を剥がして、2番目の患者と不潔なブレスレットの残骸を発見します。
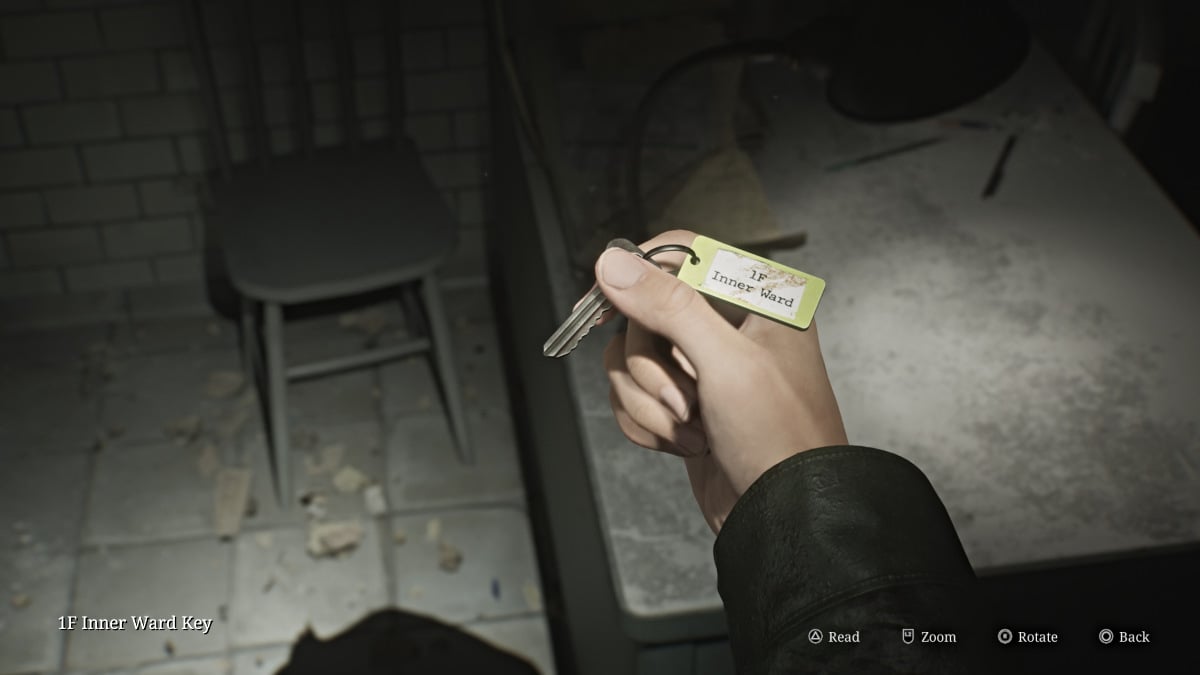
その後、他の近くの部屋を探索して、より多くの拳銃の弾薬を飲んでください。窓を粉砕して試験室5に入り、デスクから1F内側のワードキーを請求します。
今のところ、他にどこにも床に行くことができないので、新しい内側の病棟キーを持って1階に戻ります。東の階段を下ろすと、試験室1のドアが開いていることがわかります。中に入ってマネキンに対処して、拳銃の弾薬と「少なくとも彼女はそこにいた」奇妙な写真を請求できるようにします。
あなたの道をブロックする決心をしたバブル看護師に気をつけながら、廊下を進みます。中央の廊下を上って、内側のワードキーを使用して、最終的に床の残りの部分にアクセスします。最初に、拳銃弾薬とキーパッドの組み合わせメモを右の医師のオフィスをチェックしてください。
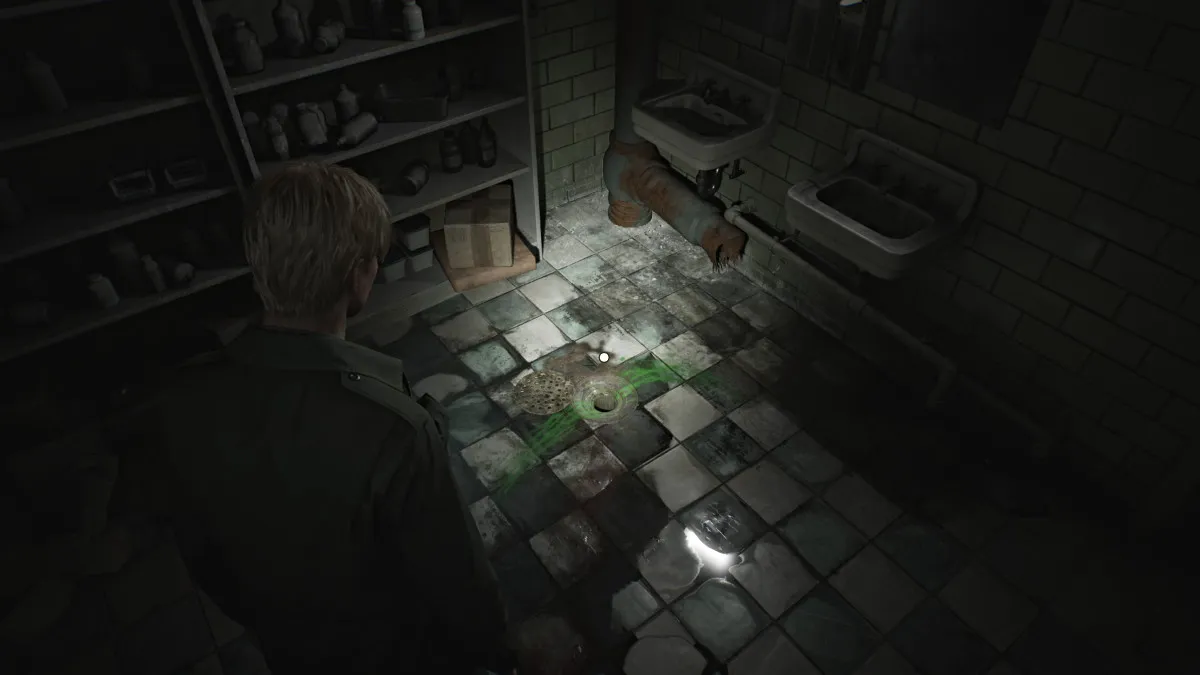
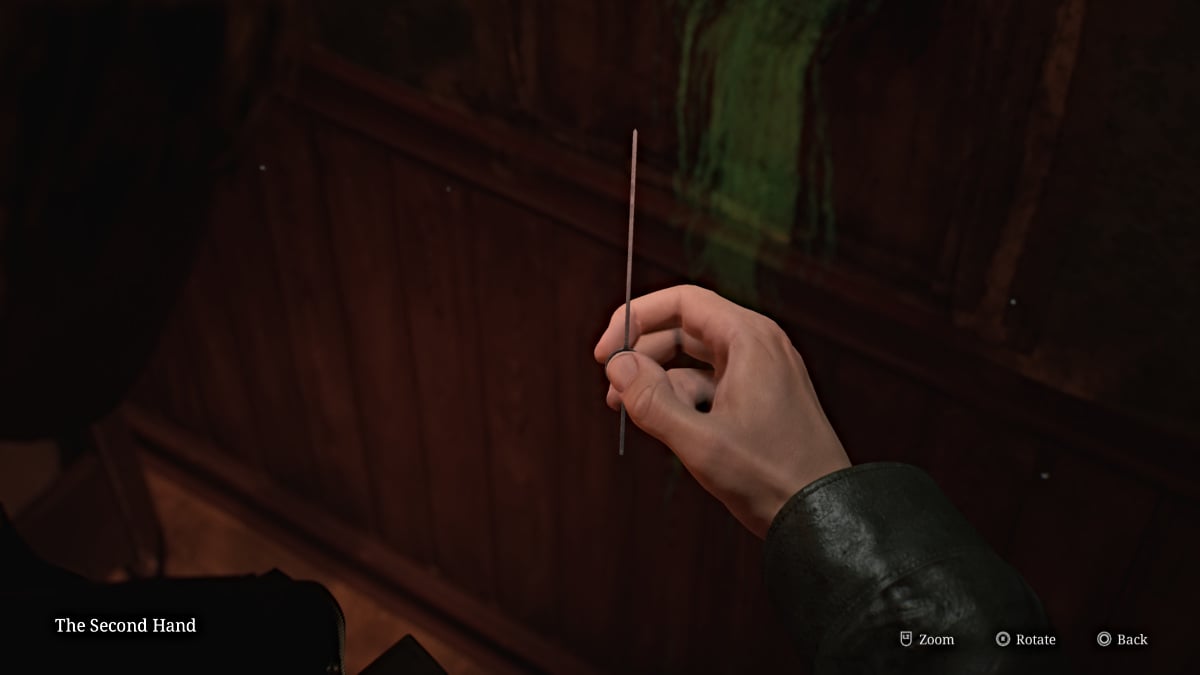
次に、より多くの拳銃の弾薬とバブルナースが潜んでいるデイルームをチェックしてください。死んだ後、左の壁の隙間を使用して薬局に渡ります。そこには、拳銃の弾薬が増え、シンクの近くの床に奇妙な開いたパイプがあり、明るい緑の残留物がそこから浸透しています。その中に何かが立ち往生しているので、それを出すために適切なツールが必要です。幸いなことに、あなたはすでにその半分を持っています(曲がった針)。
とりあえず、庭のエリアに通じる開いた窓に向かって気づきます。それを飛び越えて探索を開始しますが、モンスター(主に嘘をついている人物)でrawっているので注意してください。左側のガゼボに行き、背面のクロールスペースを使用してそれに入ります。内部のマネキンと対処し、拳銃の弾薬と注射器をつかみます。
庭の右側に向かい、木製のテーブルの上で散弾銃の殻をつかみ、温室に入ります。引き出しからより多くの拳銃弾薬をつかみ、開いた窓を使用してプールエリアに渡ります。
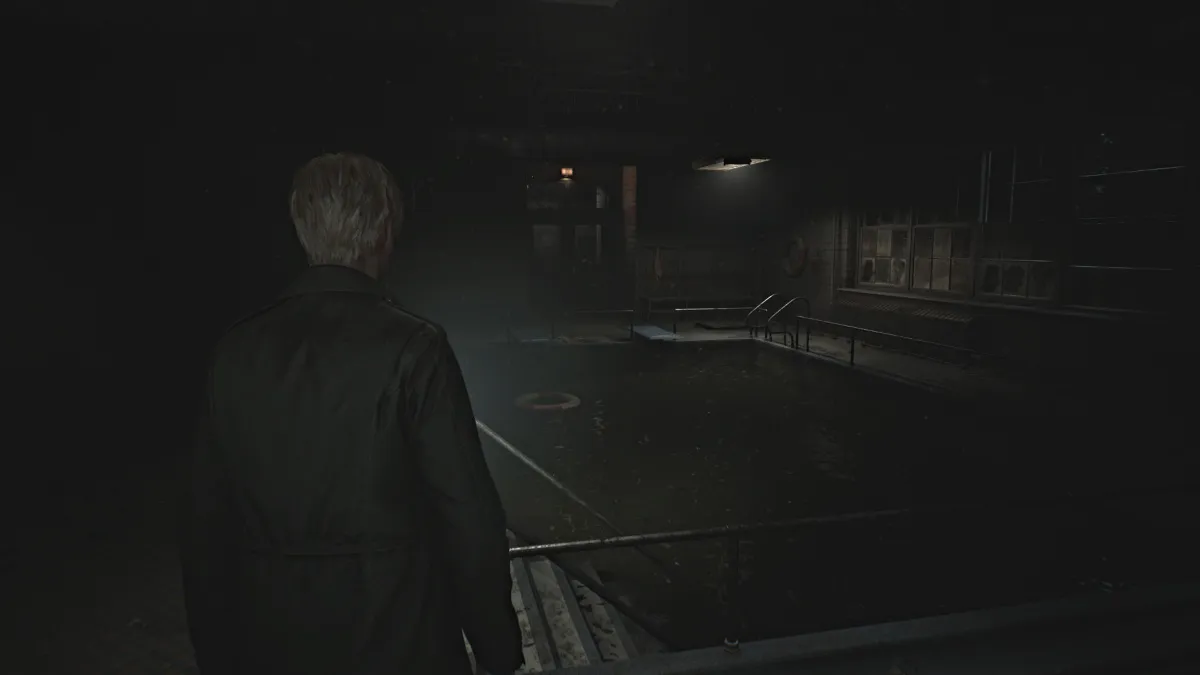
あなたが手に入れる必要があるのはプール内ですが、残念ながら、それはいくつかの非常に厄介な水で満たされており、ジェームズにさえ制限があり、入りません。プールの反対側には、床にラッチのドアが見えますそれには、開くにはキーが必要です。これにより、プールのポンプシステムにアクセスできます。これにより、排出できるため、そのキーを見つける必要があります。
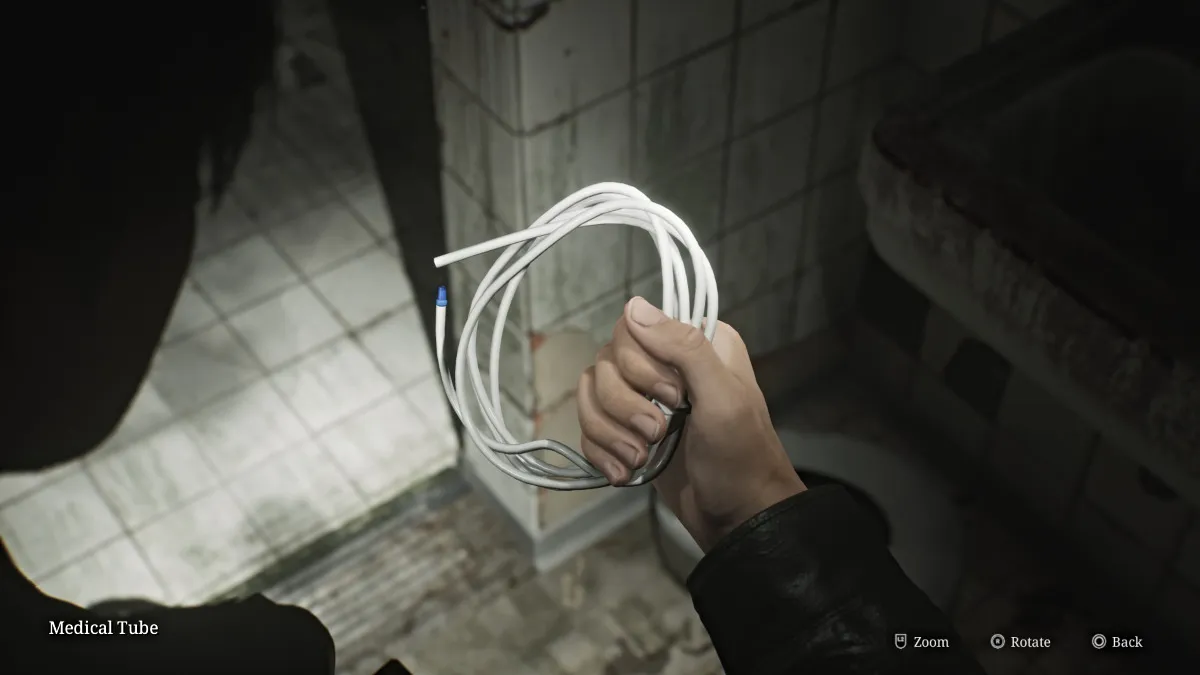
シャワールームに進み、屋台の1つで別のマネキンと対処し、拳銃の弾薬、ショットガンシェル、およびシンクの1つに座っている医療チューブ(上記)のスプールを集めます。庭のエリアを通って薬局までバックトラックします。
そこに着いたら、在庫に入り、曲がった針と医療用チューブを組み合わせます。パイプの排水溝に行き、新しいツールを使用して、プールのメンテナンスキーであることが判明しました。
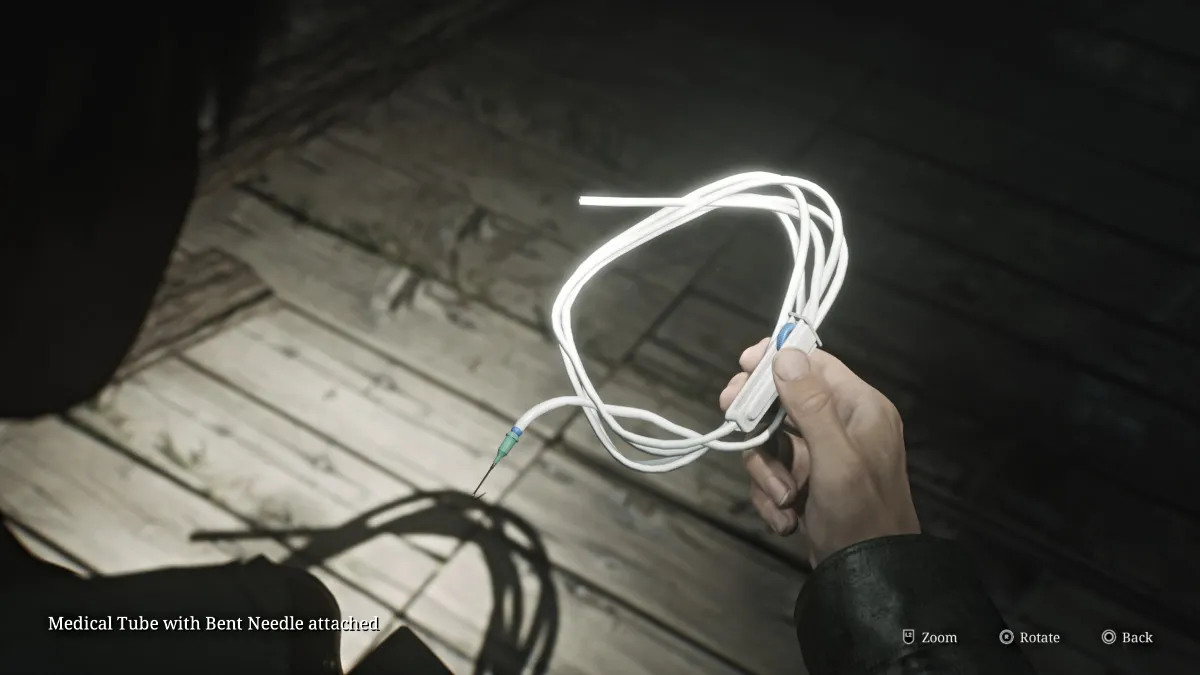
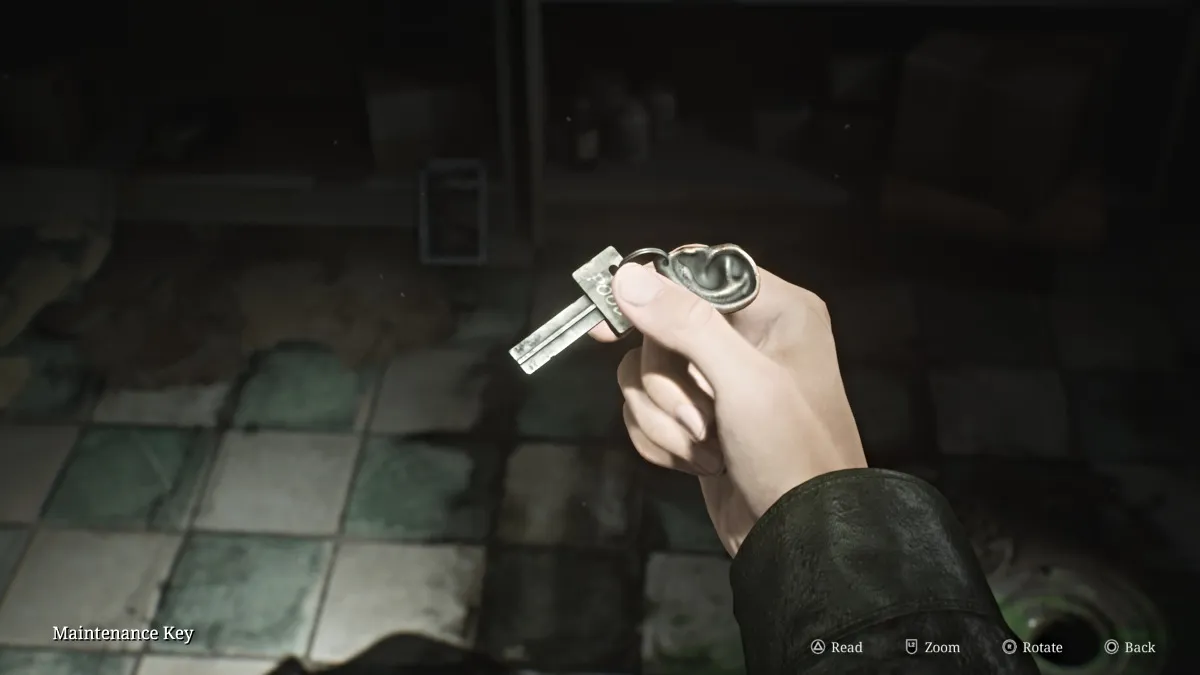
それで、再びプールに戻り、ラッチドアのメンテナンスキーを使用してポンプにアクセスし、プールを完全に排出します。それに降りて、漏れている目が血まみれのブレスレットを手に入れることであるタイルを粉砕します。
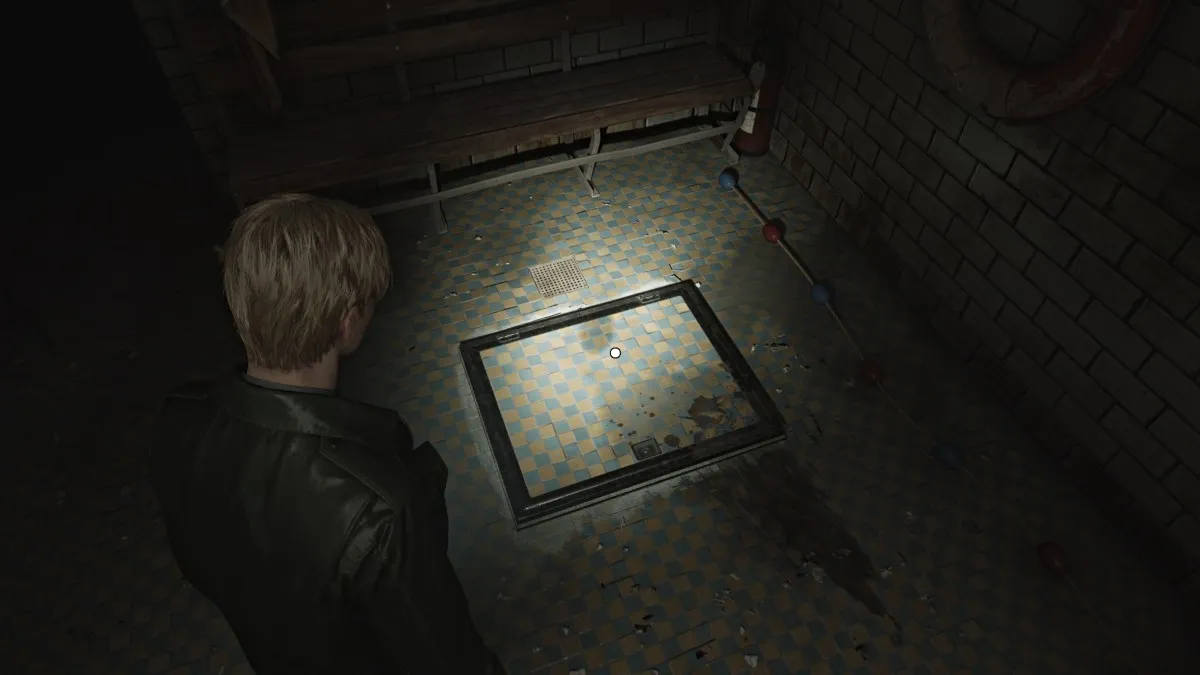
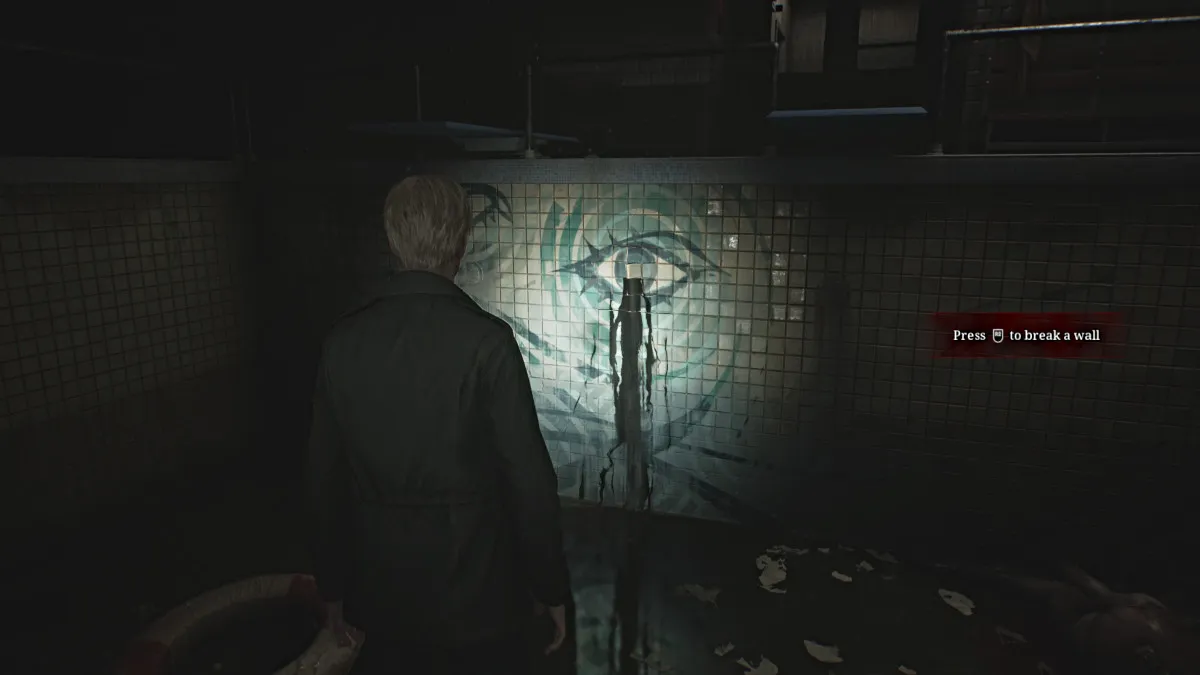
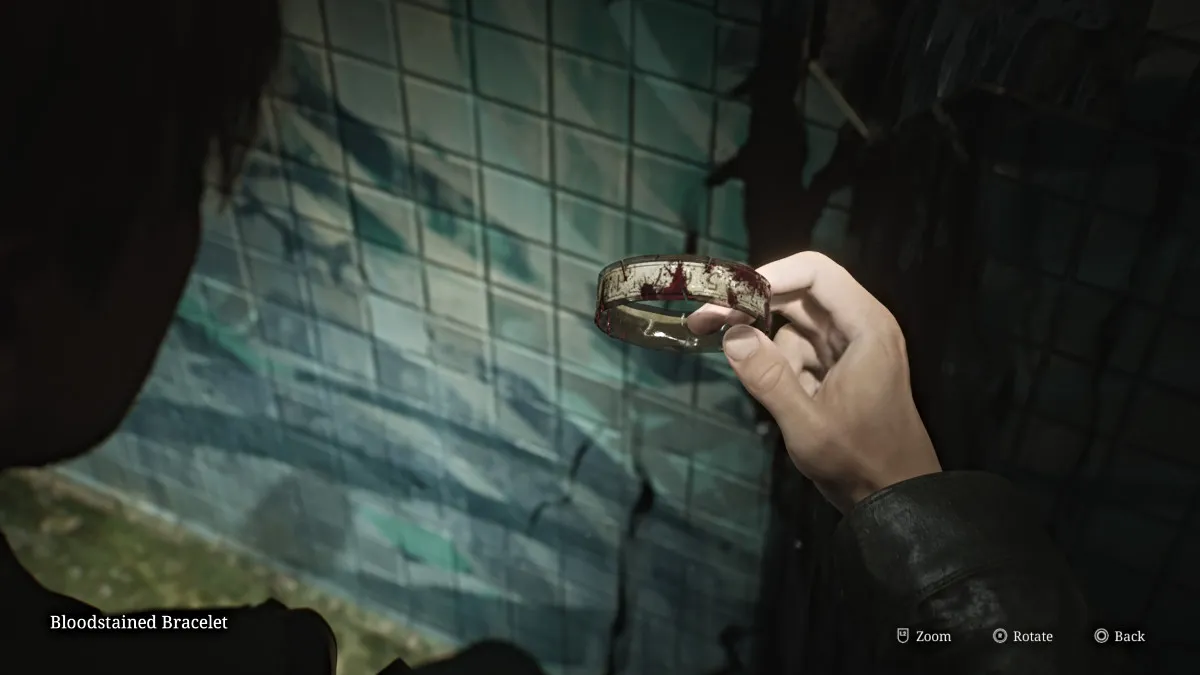
プールにある庭で殺したモンスターの多くが復活して攻撃し、貴重な弾薬と健康を無駄にしたくないので、薬局に戻ることをお勧めします。 。
2階に監督の部屋に戻る前に、まず西側の内側の残りの部分を探索する必要があります。薬局を通り過ぎて、北西の階段への門を解き放ちます。次に、オーブンの近くに座っている金型リムーバーのボトルを見つけることができるキッチンの内側に向かいます。これを使用して、フロア3のコンボロックのコードが必要な場合は、以前に入手したカビの生えたリトグラフをクリーンアップできます。
キッチンの向かいの小さなトイレにある拳銃の弾薬と、近くのカフェテリアエリアのショットガンの殻以外に見つけることはほとんどありません。探索が完了したら、2階に戻って監督の部屋に向かいます。
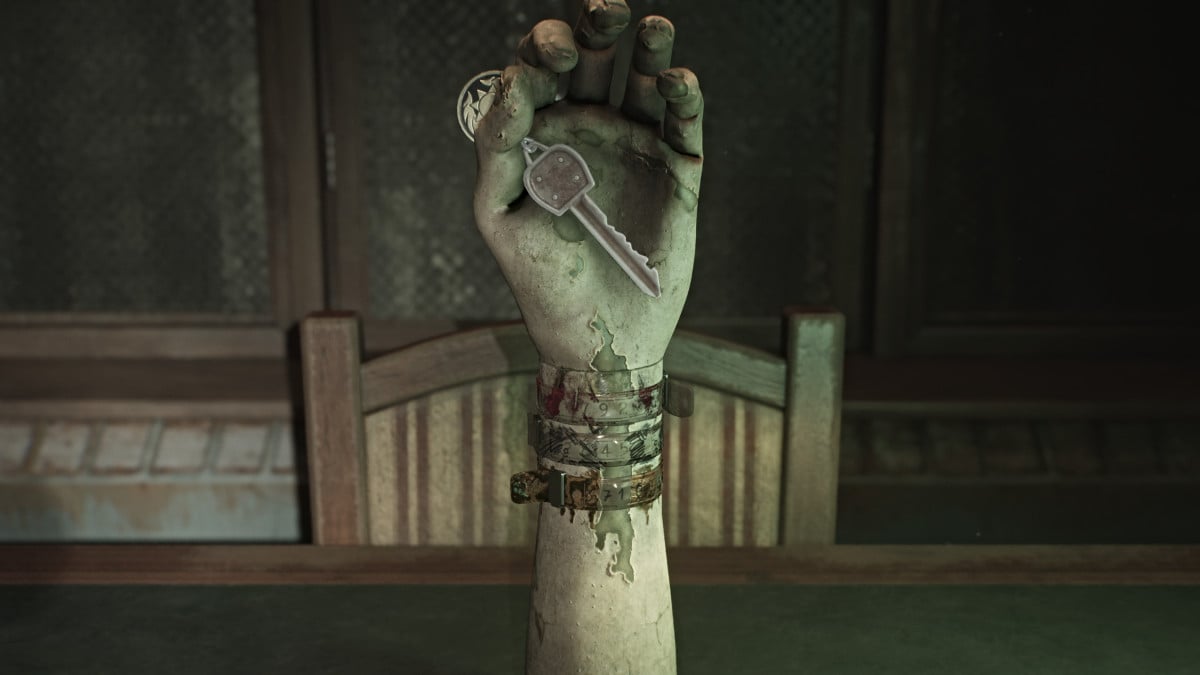
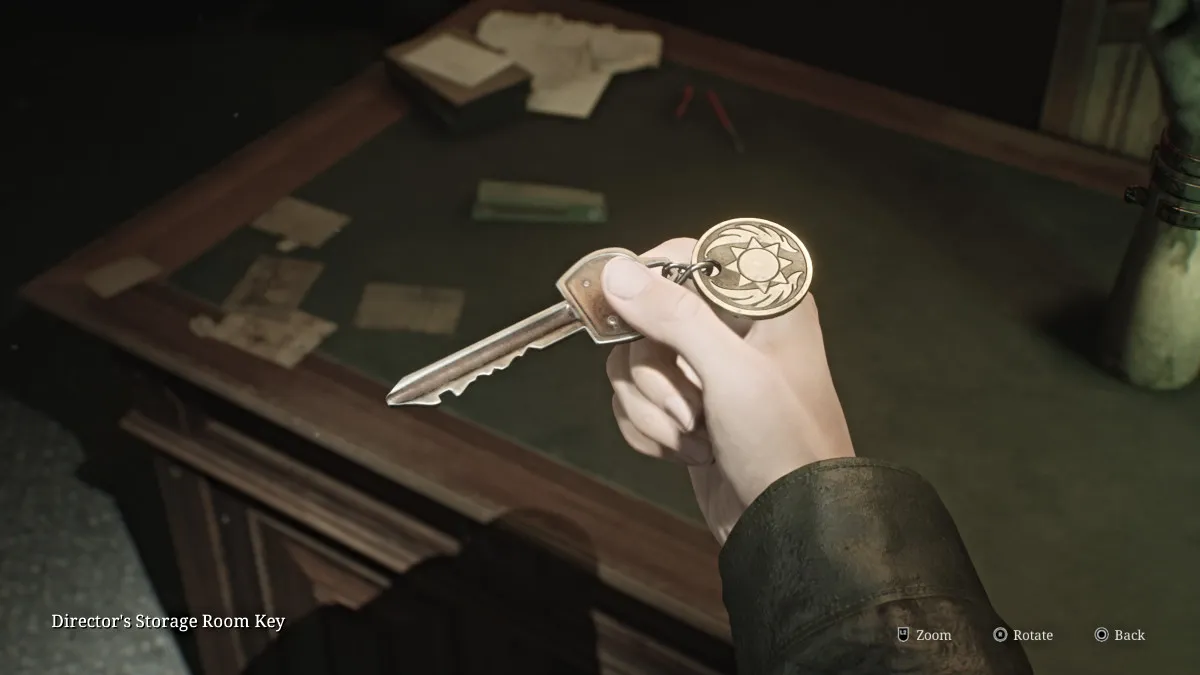
マネキンの腕に取得した残りのブレスレットを配置します。その時点で、正しい順序で配置し、正しい数字のセットが面倒になるように「回転」する必要があります。上から下まで正しい順序(標準的な難易度)は、血まみれのブレスレット、マークされたブレスレット、および数字の不潔なブレスレットです: 92、45、71は上に並んでいます。
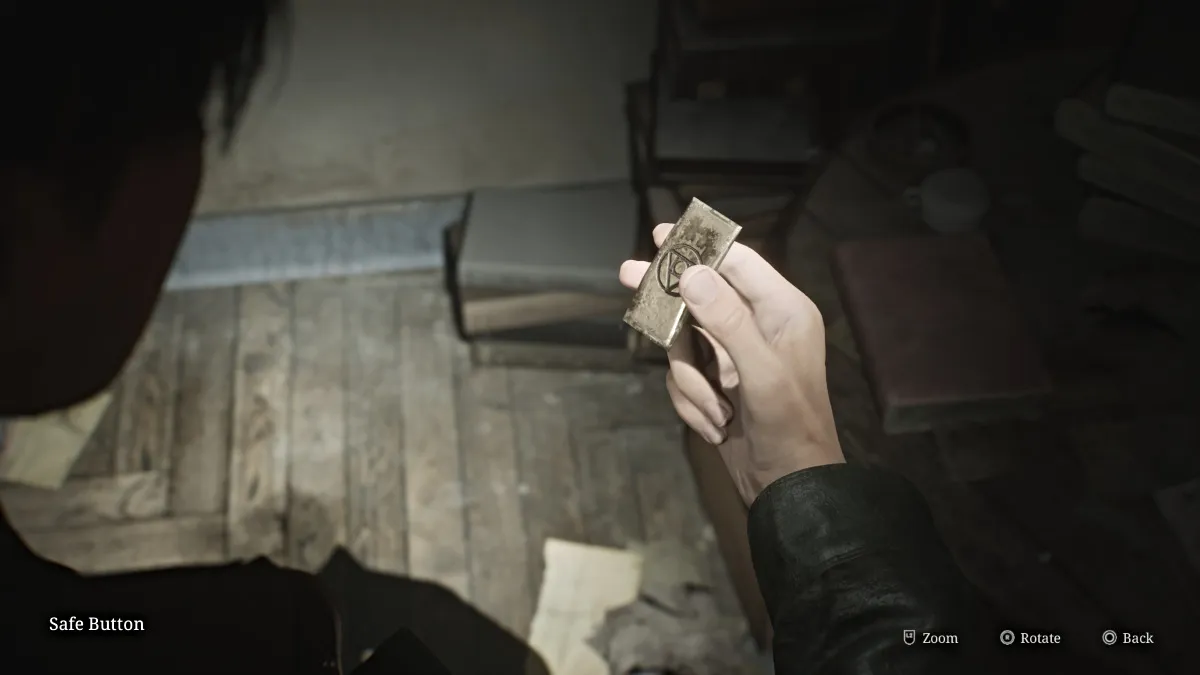
完了すると、監督の保管室のキーを撮るために手が開きます。行って、近くのロックされたドアで使用し、内側に向かいます。そこには、机の上とその向かいの棚の上に、別のパズルの上にありません。
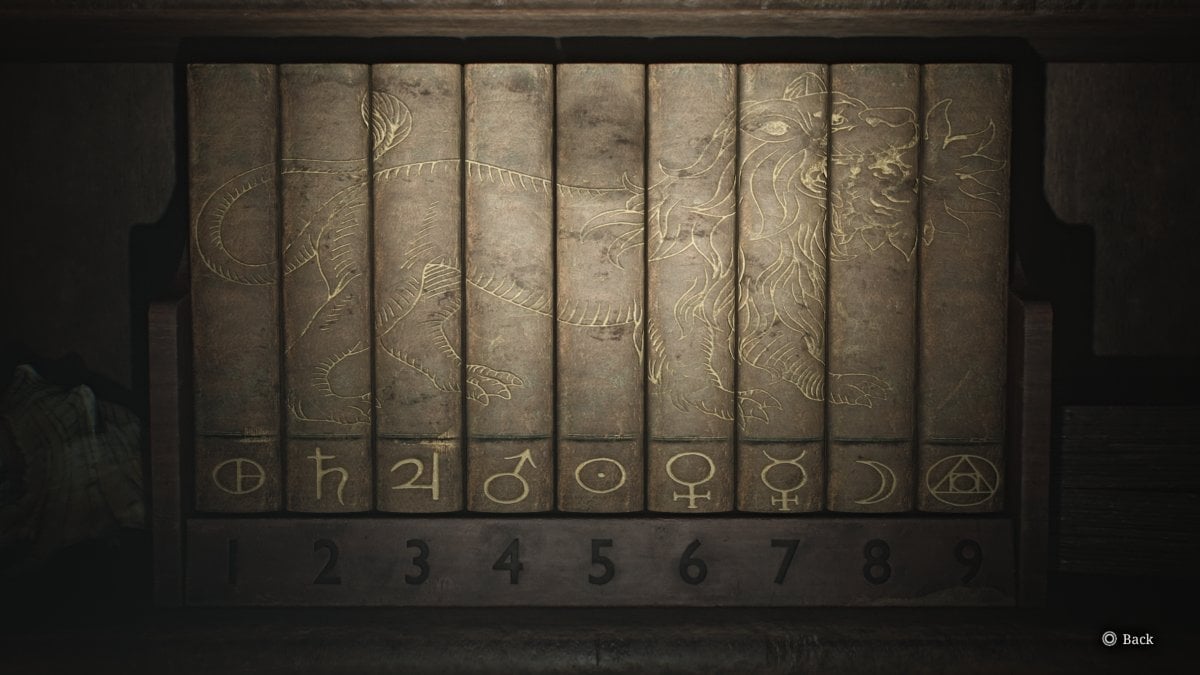
この場合、9冊の本を手配して、スパインが一致して火を吐くライオンのイメージを形成する必要があります(上記のように)。 It may seem like there's no reward afterward, but in fact the order of the symbols at the bottom is a clue for what you need to punch into the Director's Safe. Your other clue is the set of numbers from the bracelets.
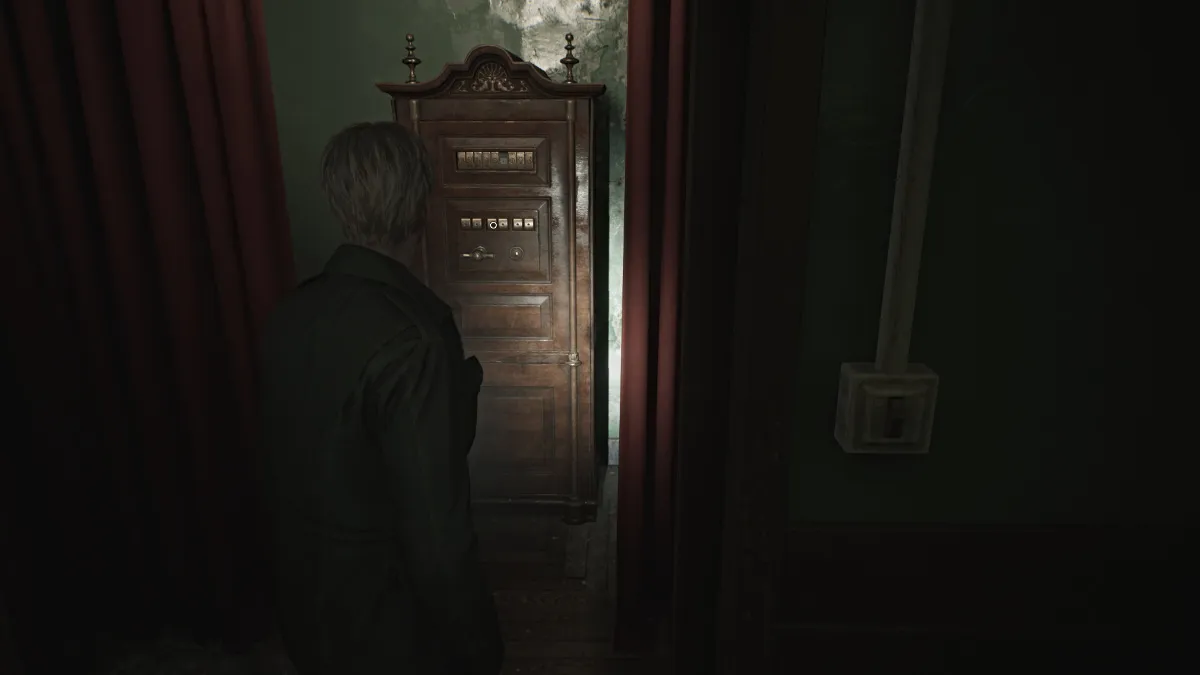
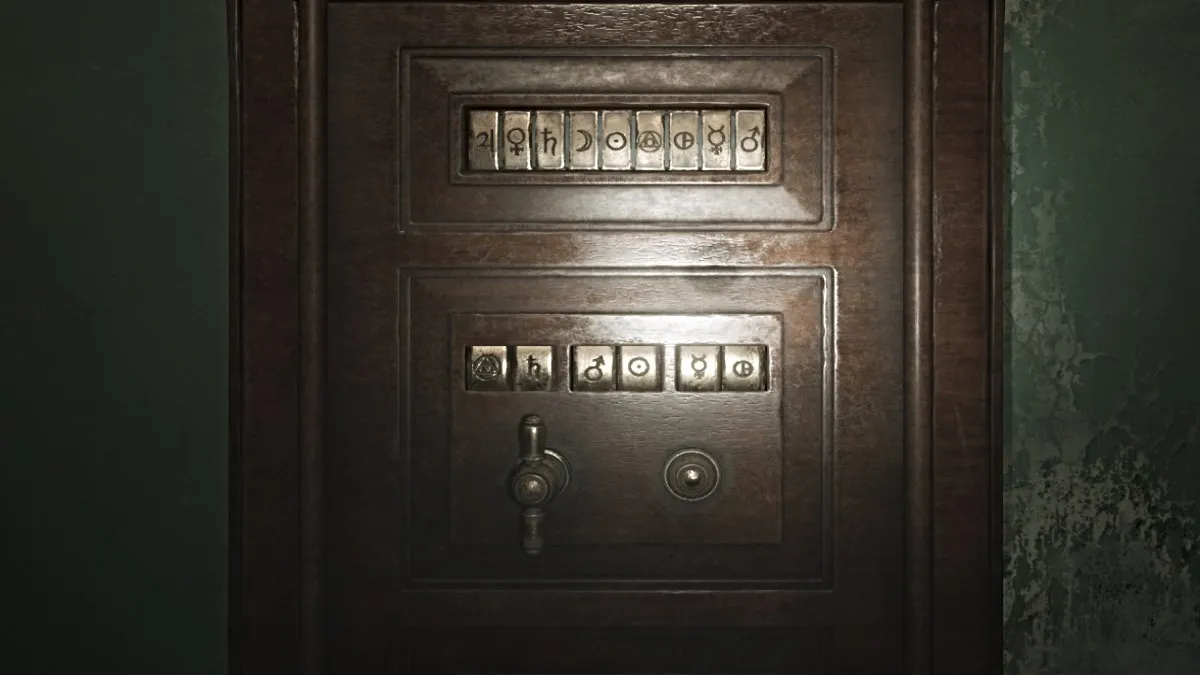
With that, go over to the safe, place the missing button you found into it, and use both your clues to figure out the correct symbol combination. Essentially, '92-45-71' from the bracelets is the numerical order of the combination, and you need to equate that to the symbol order from the book puzzle, all to form a cryptogram of sorts.
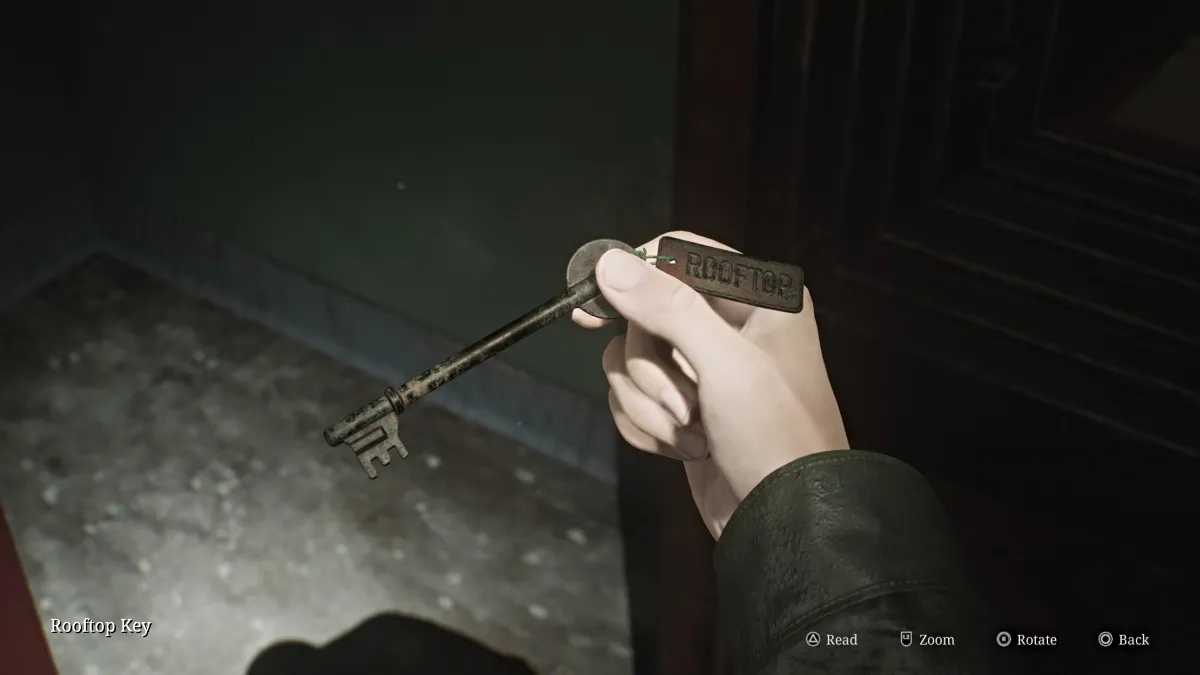
Once the correct combination is done (seen above), the safe will open and inside you can retrieve the Rooftop Key and the Safe Note , which gives some foreshadowing about the key taking James where he needs to go, and that "pain" will be involved, yay.
With that, go back and use the Red Save Point and start your journey up to the roof of Brookhaven.
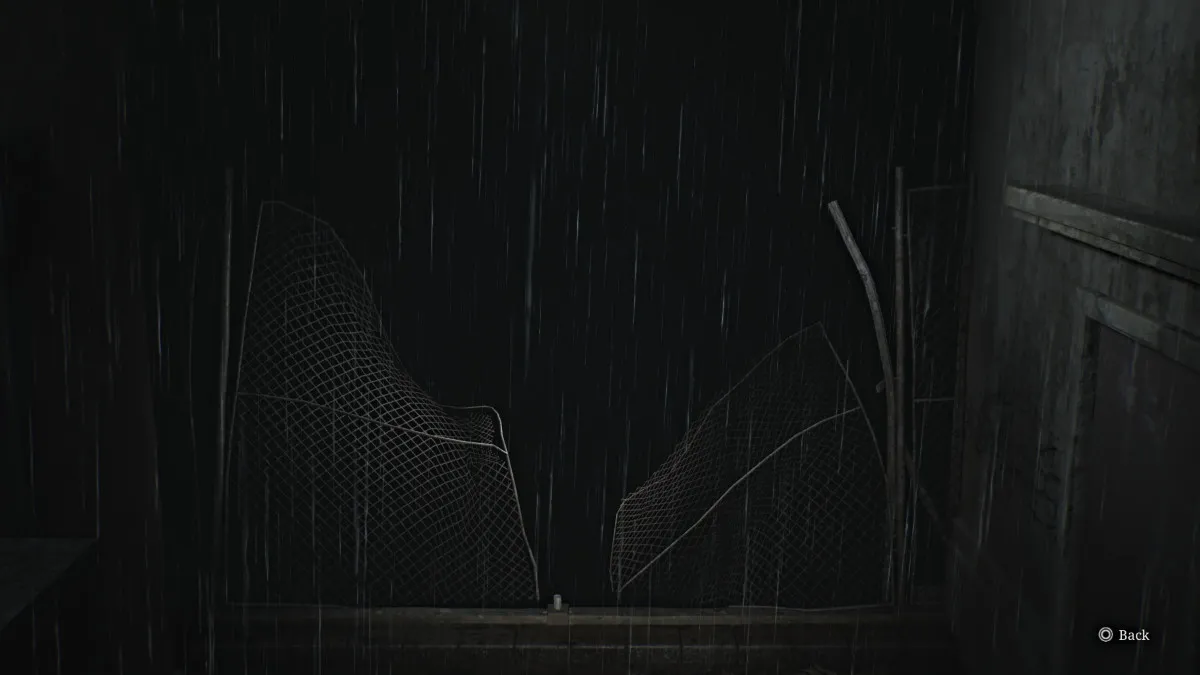
Once you arrive on the roof, first hang a right onto the nearby metal catwalk that has Shotgun Shells sitting at the end of it. Then go back to where you were and instead go straight, until you find an entrance to another metal catwalk that takes you around the left side of the roof.
At the end of it, you'll find another Glimpse of the Past (seen above) which happens to be the spot where James was shoved off the roof by Pyramid Head in the original game. However, that doesn't seem to be the case here.
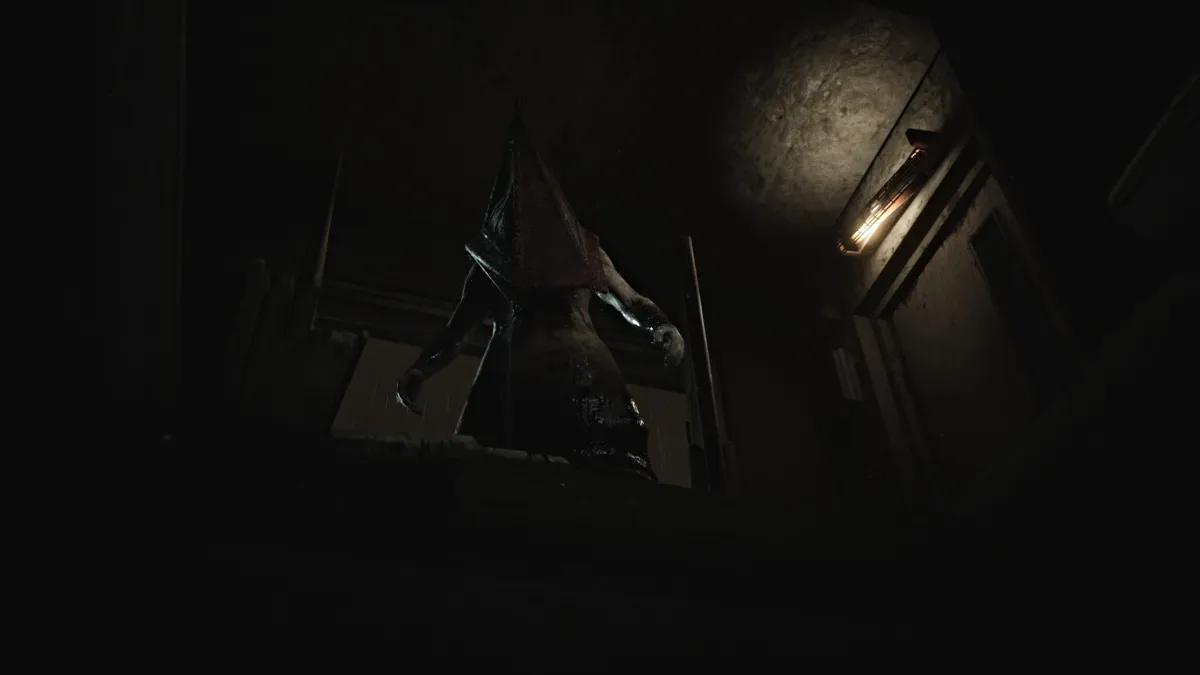
Now, go and investigate the yellow double doors that lead back inside. In what looks like the top of a wooden lift, you'll find the Page From a Diary on the floor. Pick it up, and as you try to go back through the doors, Pyramid Head will suddenly appear and grab James by the throat. This time, he shoves James down through the shaft, sending him back to the third floor.
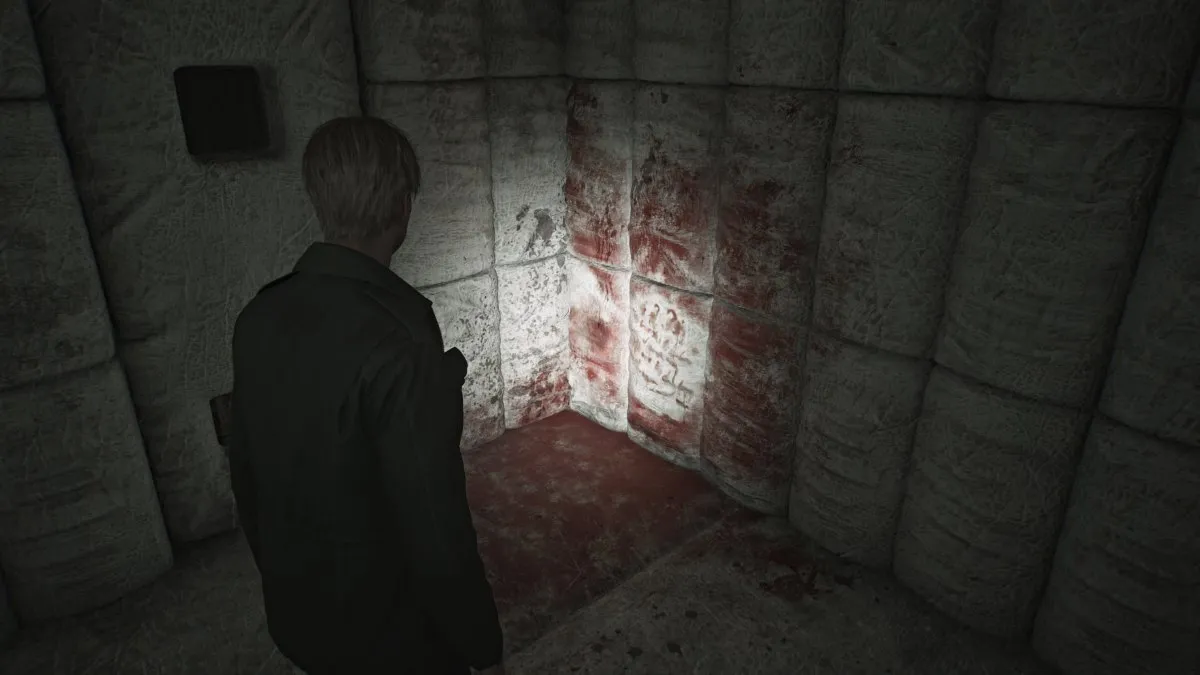
After James collects himself, you'll notice that you landed right on the opposite side of the huge 'Restricted Area' gate where Laura was last seen. First go investigate the Hydrotherapy Room , where you'll find Shotgun Shells , a Health Drink , and a Syringe . Next, when checking the padded rooms, in Room 13 you'll find another Glimpse of the Past covered in blood.
Continue on ahead and through the next set of yellow doors. Soon a cutscene will show James finally finding Laura in a room playing with teddy bears. He pleads for her to stop running and tell him how she knows about Mary. Laura seems hesitant to say much, but admits that she and Mary were friends and that they met at the hospital "last year".
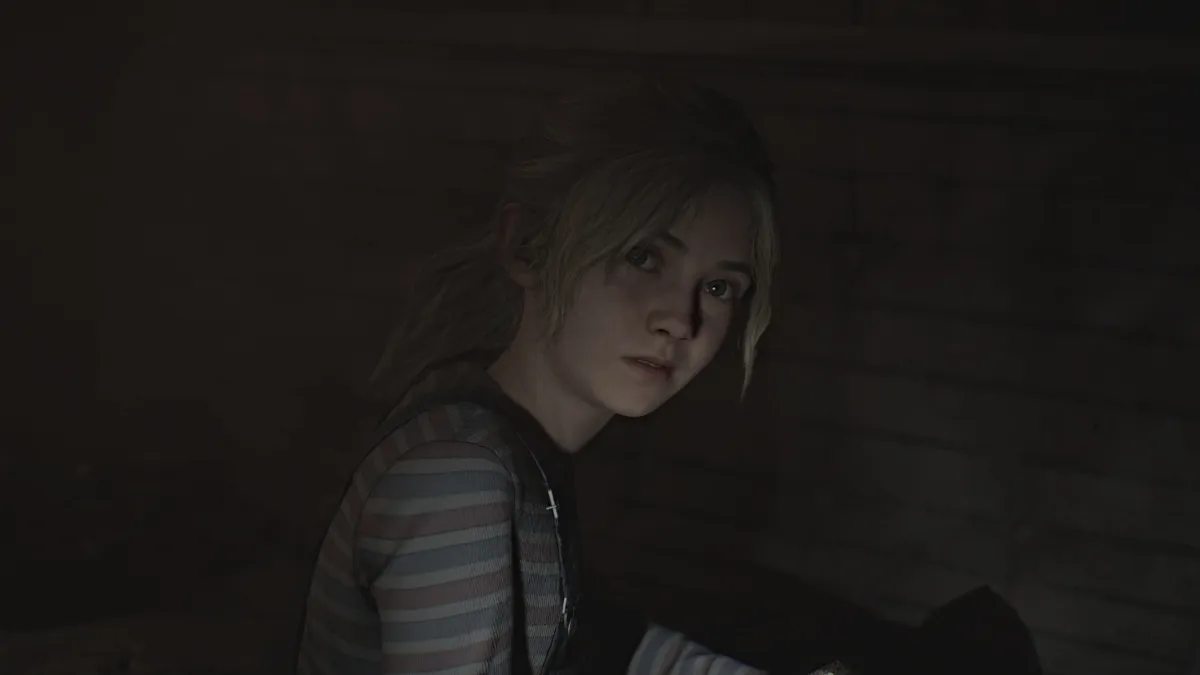
In confusion, James lashes out and calls Laura a liar, who immediately grows cold again and decides to play a trick on him. She baits him to another room nearby with the promise of another letter from Mary. The noise riles up a different kind of monster from within the walls, and now it's time for another boss fight.
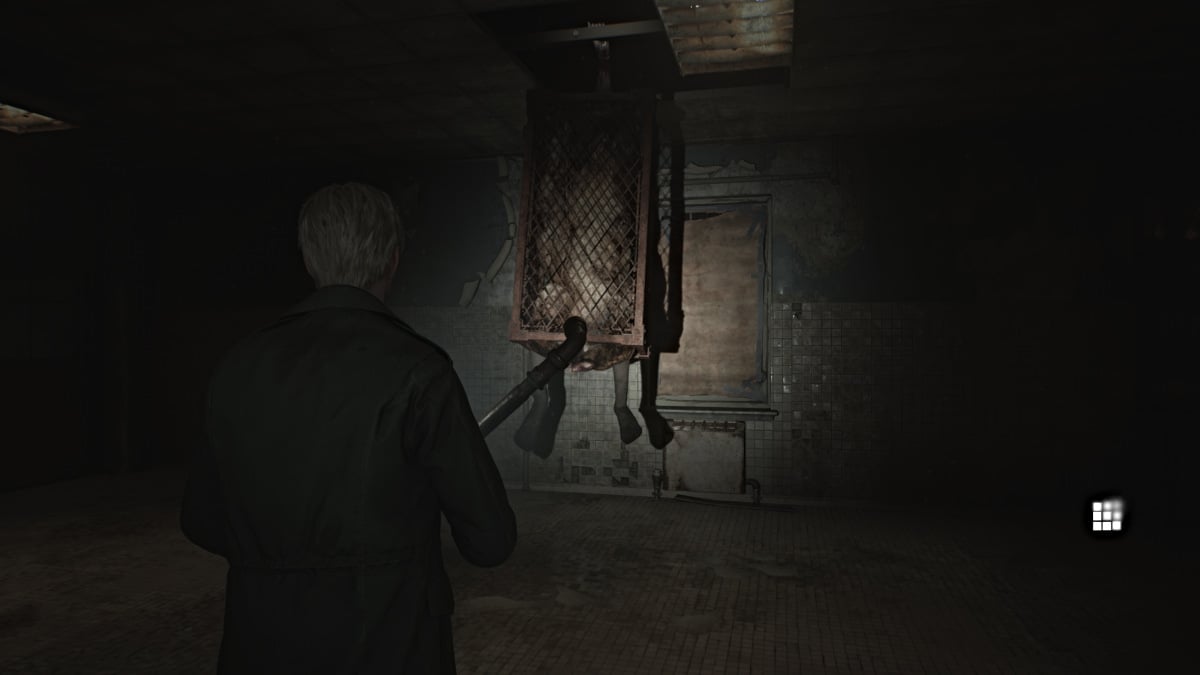
As the second boss fight in the game, Flesh Lips is as dangerous as it is disturbing to look at. Encased in a metal cage hanging from the ceiling, Flesh Lips will start the fight by essentially playing peek-a-boo with James, popping out from random places in the ceiling. Again, keeping your distance is a big priority.
While you can use both your Handgun and Shotgun to deal damage, Shotgun is king in this fight as you'll soon realize. Start by shooting its legs (shooting the cage won't do anything), and make note of the Shotgun Shells scattered around the room for your use.
The more damage you deal to it, its cage will start to come apart, allowing you to start damaging the body within as well. Eventually, this will cause Flesh Lips to take on a different form, using the metal bars from its cage like spider legs to chase you around the room.
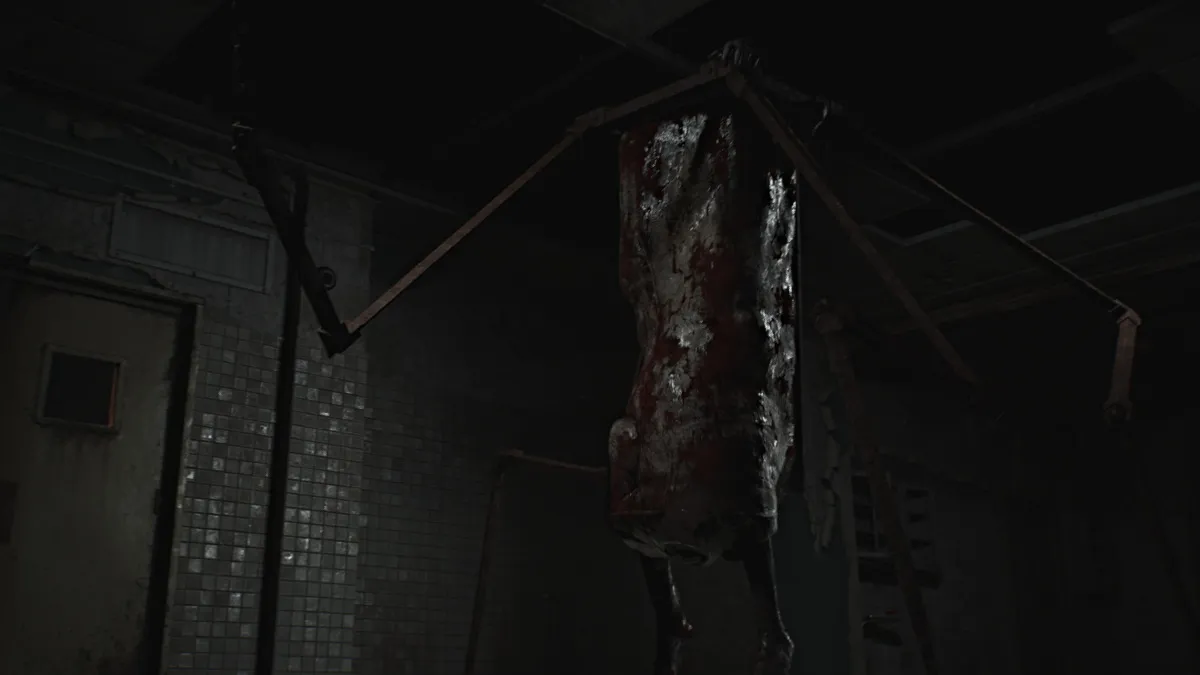
Deal damage as fast as you can, as this boss hits like a truck and you may find yourself swigging Health Drinks faster than you can blink. Occasionally it will emit a screaming attack that, while terrifying, just serves to stun you for a moment.
Eventually, Flesh Lips will collapse dead and James will go over to assess the damage. Suddenly, a second Flesh Lips monster will appear and capture James, dragging him through the ceiling and into an ominous cutscene that eventually lands us back in the Otherworld.
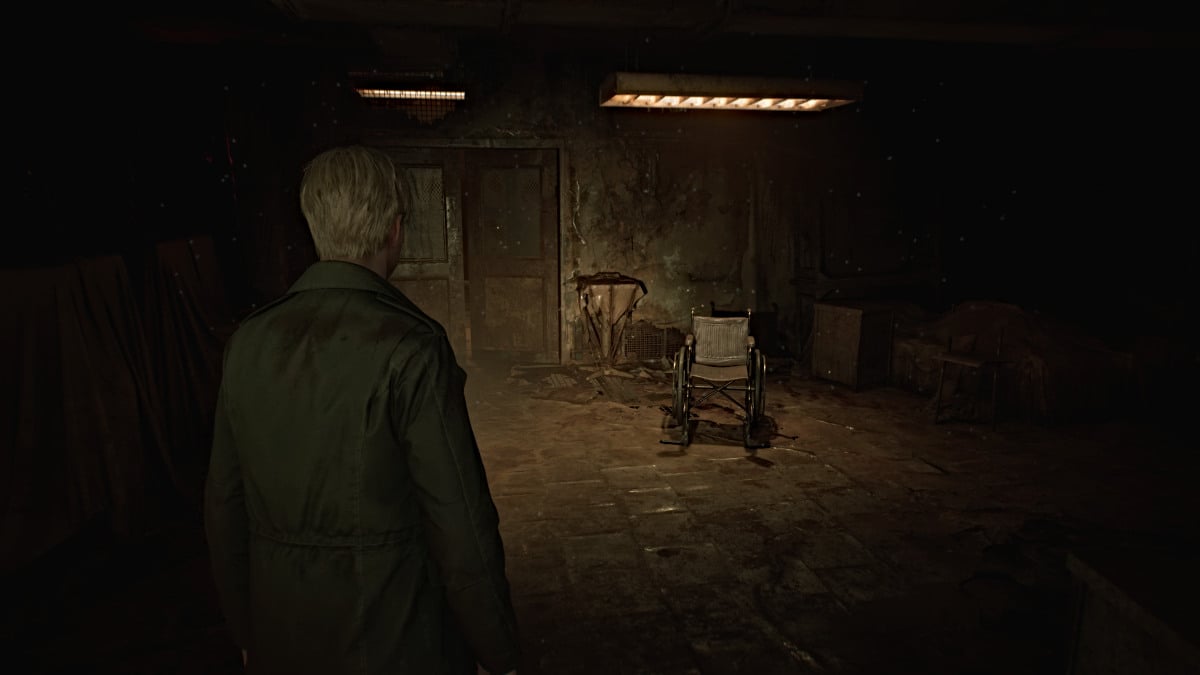
After being dropped off near the hospital's garden area, get your bearings and check your map. You'll notice that all of your markings have been wiped clean and that Brookhaven's version of the Otherworld spans every floor, including the Basement. So you've got a lot of exploring ahead of you.
Start off by going through the Dayroom and picking up some ammo there along with a Syringe and the Evaluation Card, Patient #3141 from the wheelchair in the middle of the room. Head out into the hall and use the Red Save Point to your left.
Much of the first floor is blocked off right now by large gaping holes in the floor and locked doors, so your only path is to the Elevator. Notice that it's missing the button for the Basement level , and you'll need to find it to reach there. For now head to the second floor.
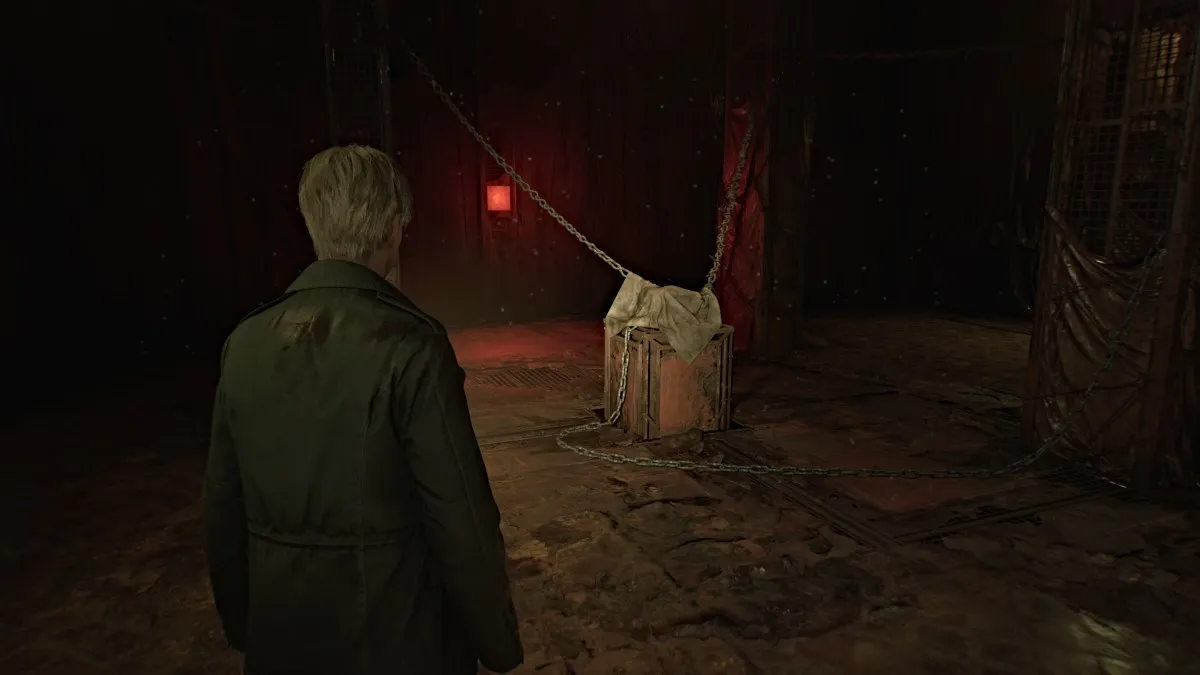
Once there, head right, and near the Nurse's Office , you'll see something sitting on top of a crate, chained and covered up (with a convenient Red Save Point behind it). Uncover it to find a lock box sealed with two numerical locks and a keyhole, meaning you'll need two codes to unlock it, as well as a key .
While we can provide you with the correct codes for the locks to help save you some legwork, before you can use those you need to find the key first. To do that, you need to get to the third floor.
First, investigate the nearby Nurse's Office for items and watch out for the Bubble Nurses who now wield knives instead of pipes. You'll find both Handgun Ammo and Shotgun Shells here, as well as a Health Drink . Cross your way over to the Treatment Room , and then take the crawlspace at the south wall into the Women's Locker Room . In there, you'll find a Syringe and more Shotgun Shells .
Circle around the hallway to the northwest stairwell, which you can take up to the third floor.
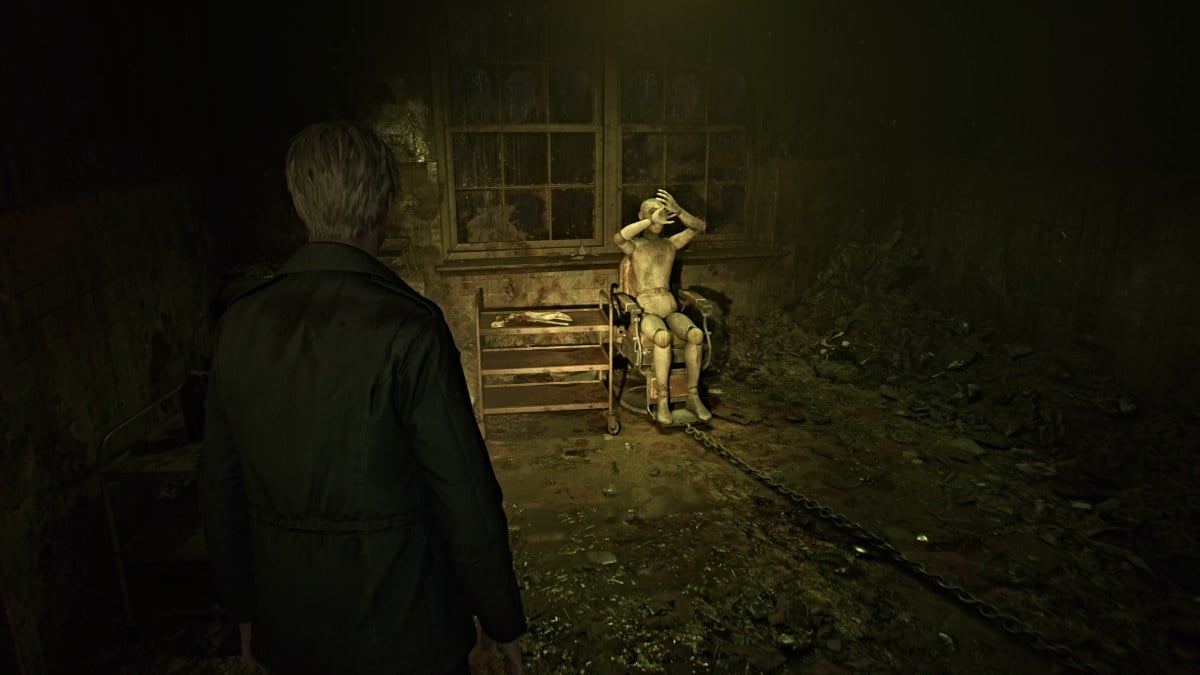
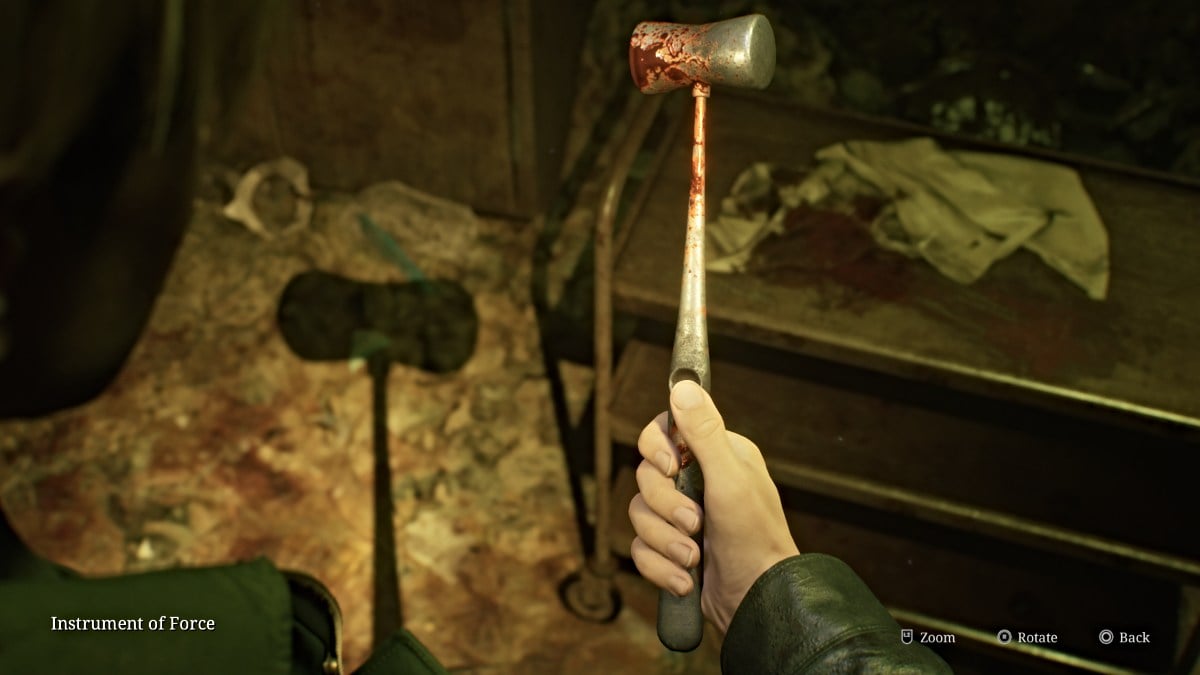
Once there, first head into the X-Ray Room and pick up The Procedure memo from the operating table. Over in Exam Room 4 you'll find a mannequin (no, not the monster) in a surgical chair with its hands in front of its face (seen above). Pick up the Instrument of Force from the tray nearby. This is one of two tools you'll need to get what's hiding inside the mannequin.
Make your way through Exam Room 5 and watch for another Bubble Nurse and Lying Figure in the hallway. Grab some Handgun Ammo from the desk tucked in the corner near Room D3 . Go in there next for Shotgun Shells and a Mannequin that sneaks off to ambush you from around the next corner. Deal with it and retrieve the Health Drink from that corner.
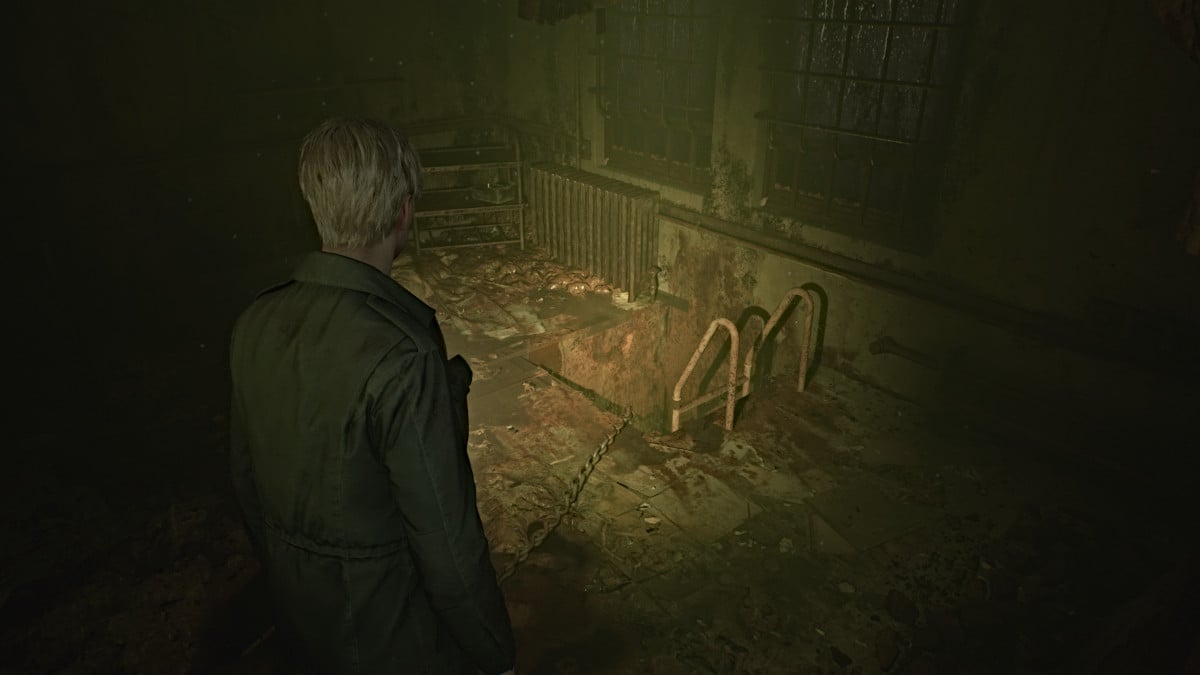
Backtrack to Room D2 and smash the wall on the north side to get in. Use it to cross over to Room D1 , where you'll find a ladder you need to climb down. This brings you down into the Kitchen on the first floor. Grab some Handgun Ammo from the Pantry area and ignore the back room behind it, as you'll only find a Mannequin in there. Explore the nearby Restrooms if you want for more Handgun Ammo and a Shotgun Shell .
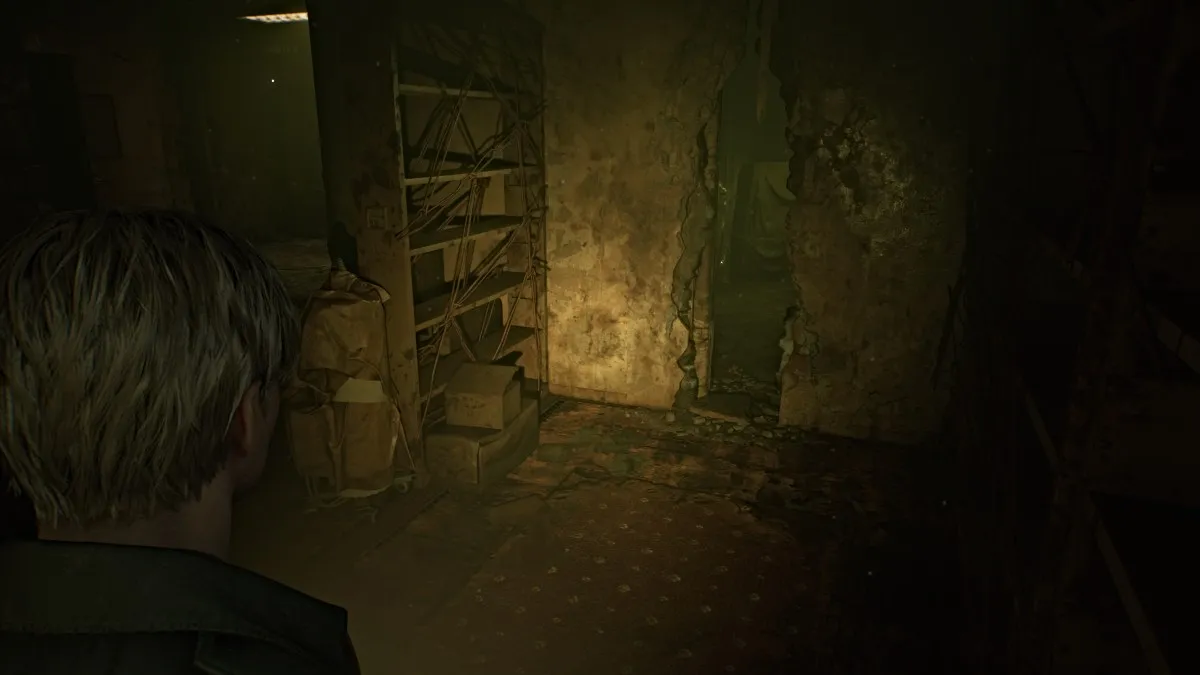
Head down the south side of the Kitchen and around to the Cafeteria . Deal with two Bubble Nurses and a Mannequin there then retrieve the Handgun Ammo on the middle table. Head into the Storage and Medical Records rooms next, where you'll find more Handgun Ammo , Shotgun Shells , and a Health Drink .
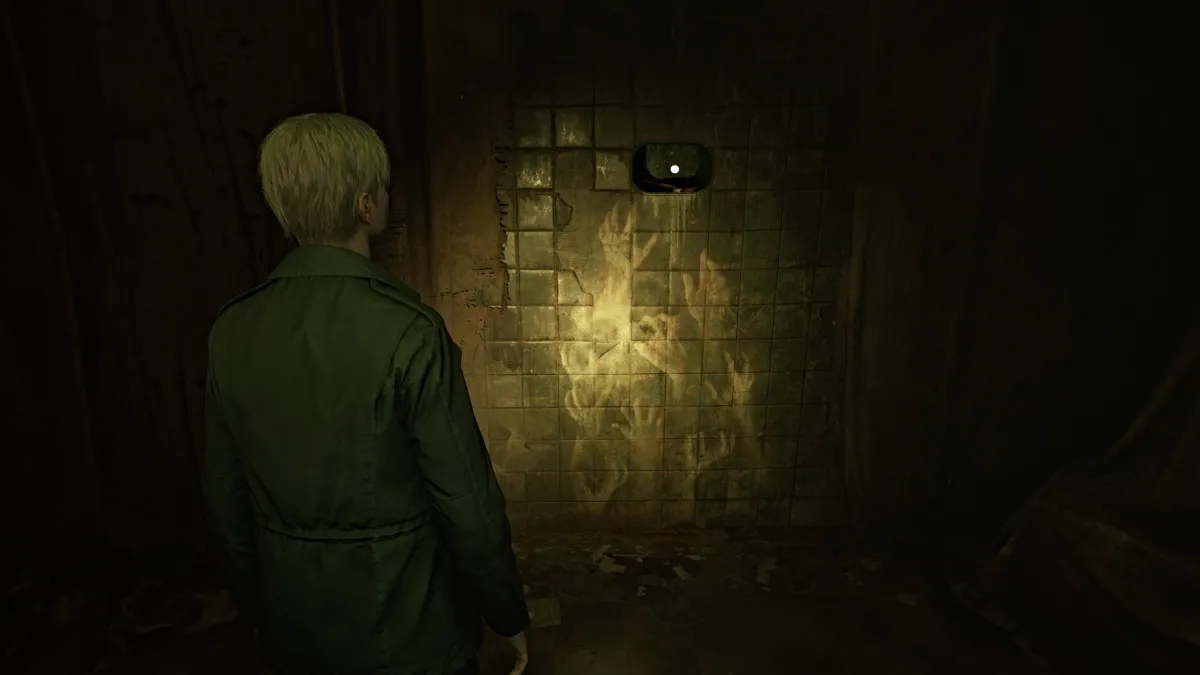
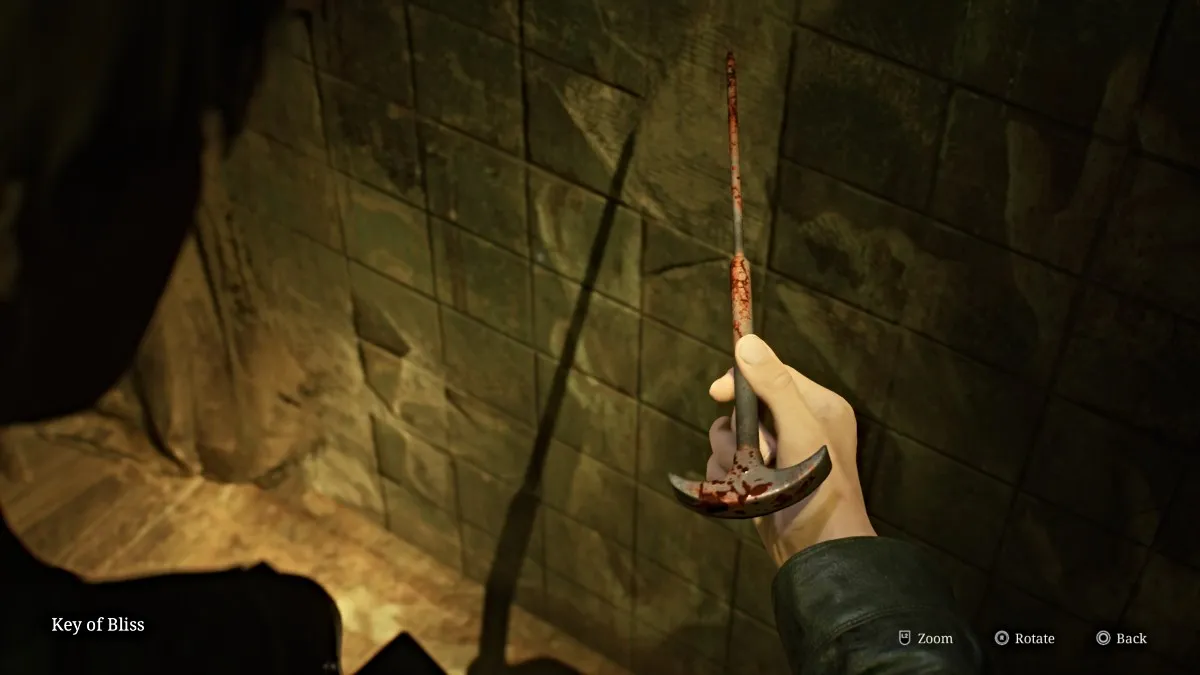
Slip through the wall crack near the back into an unmarked room, and on the wall to your right you'll see a familiar hand mural (seen above), and above it in a crevice, the Key of Bliss, the other tool you need 。 Take it and make your way back up the ladder in the Kitchen.
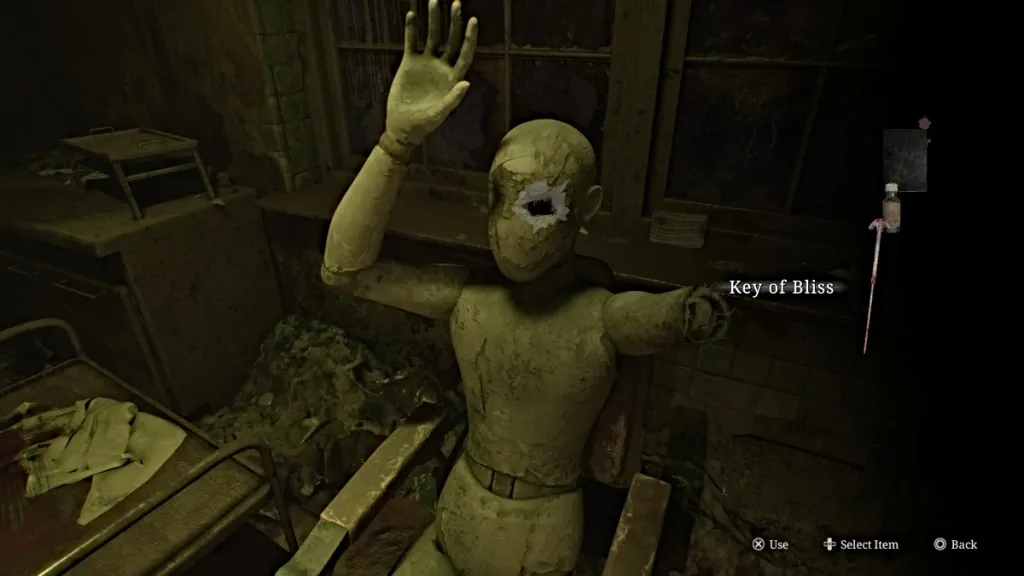
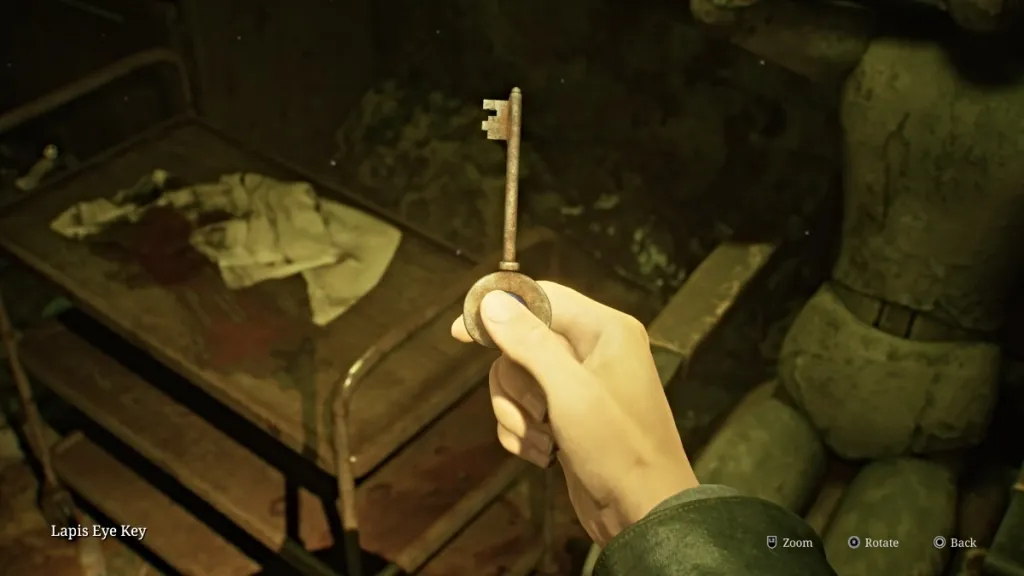
Head back to your mannequin friend in the surgical chair in Exam Room 4 . Use the Instrument of Force to break the right arm off, push the left arm away, and then use the Key of Bliss to brutally lobotomize the Lapis Eye Key from the eye socket. This is the key you need for the safe box.
With that done, make your way back down to the second floor via the stairwell.
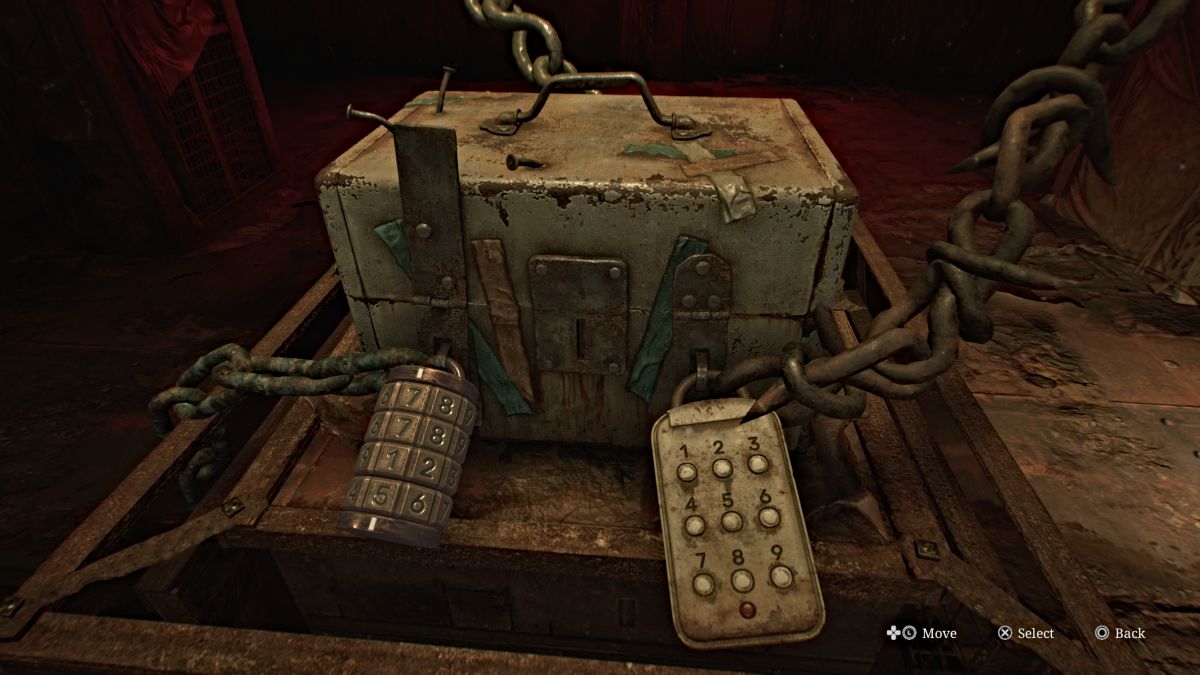
Head back to the chained box on the second floor, and first use the Red Save Point behind it. Use the Lapis Eye Key you just got on the box. This leaves the two numerical locks for you to crack. Luckily, we've got both of those codes figured out for you to save time.
If you're wanting to collect all of the memos in the game for the achievement, however, you should still visit Room M2 on the second floor for the Calendar Page , which provides the hint for the combination lock.
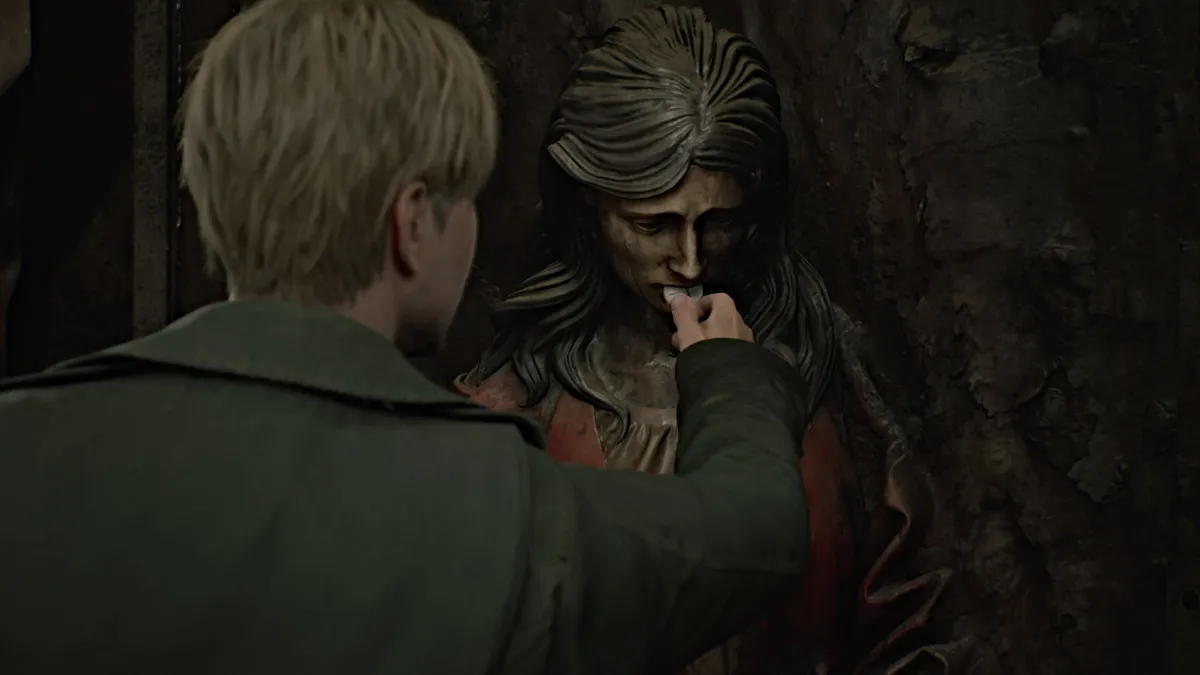
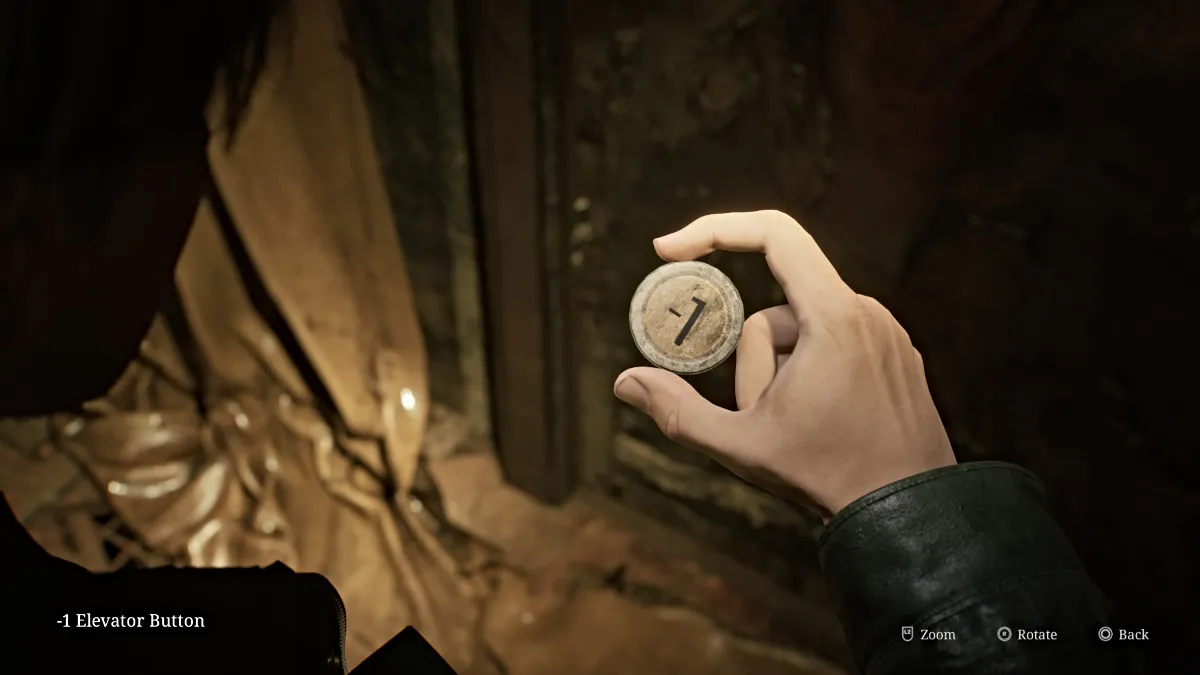
Once open, a cutscene will play where it's revealed that nothing is in the box, which leaves James dejected. However, a curtain nearby suddenly falls to reveal a strange door with a partial statue of a woman on it. James approaches it and finds the '-1' Elevator Button in its mouth, allowing you to use the elevator to reach the Basement .
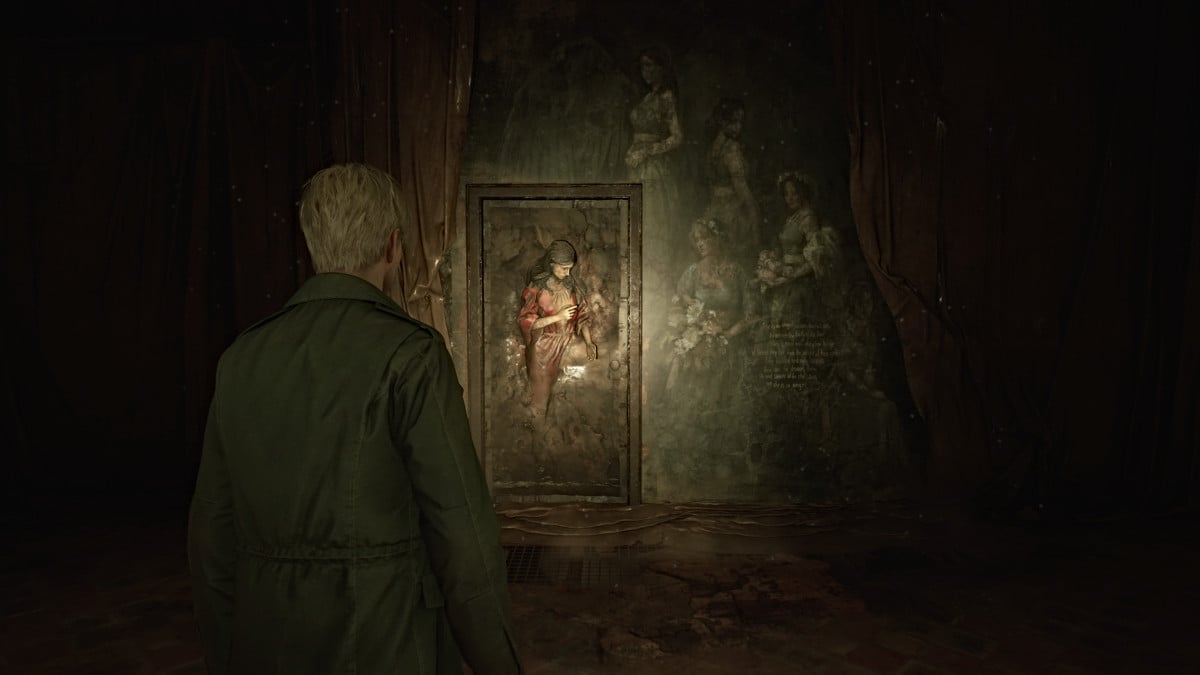
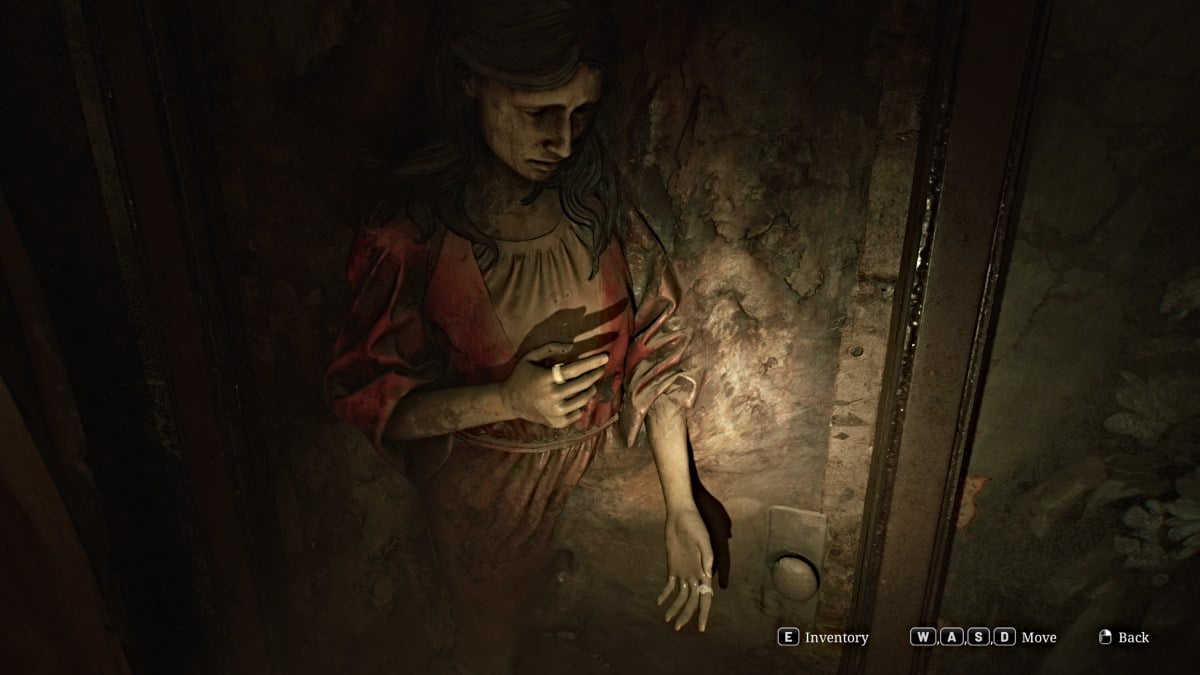
To open the Lady of the Door , you need to find the two rings missing from both her hands (seen above). To find one of them, the Basement is conveniently your next destination. Head to the Elevator and use the -1 Button to repair and take it down to the bowels of Brookhaven.
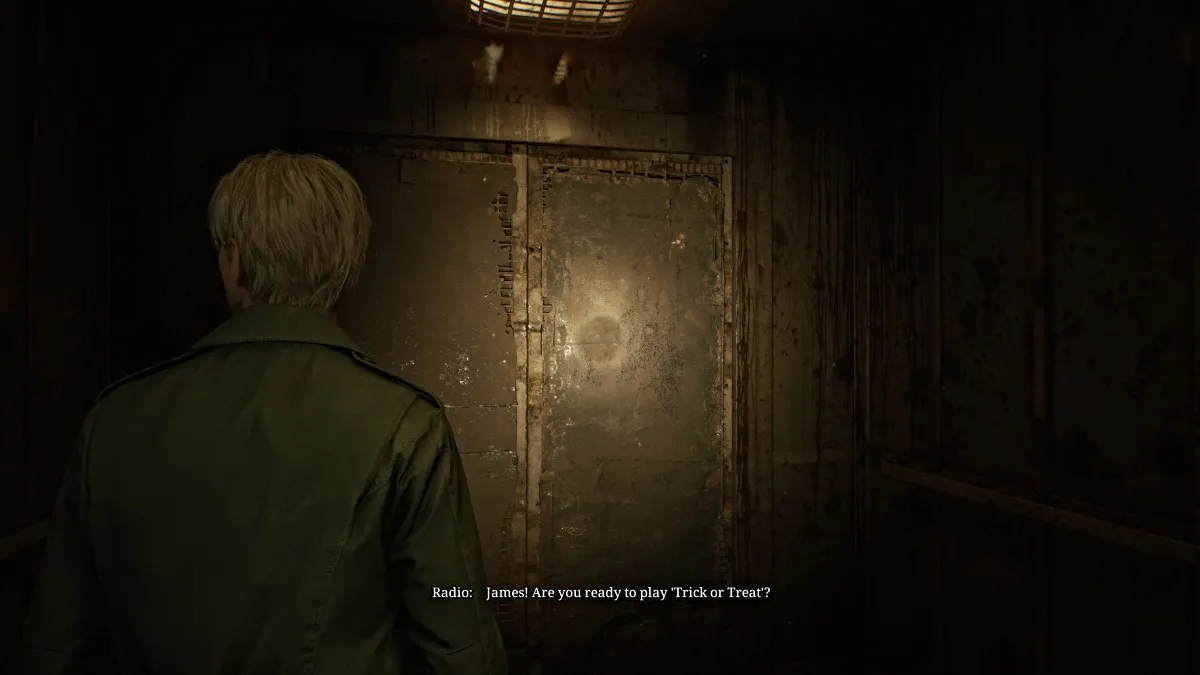
However, along the way, a mysterious voice will come over the radio system and enact a Trick or Treat game show just for James. It recites three quiz questions related to Silent Hill and its history that you'll need the right answers to when the time comes. So that you have them handy, here are the correct answers:
Soon you'll arrive in the Basement, and the right path is blocked so you'll need to navigate around on the left side of the floor. Check the Kitchen Disposal Room for some Handgun Ammo and Shotgun Shells then go through the Maintenance Room to get to the Generator Room . From there, head south into Laundry Storage where you can find Handgun Ammo then further into the Laundry Room and Storage Room which has a Health Drink .
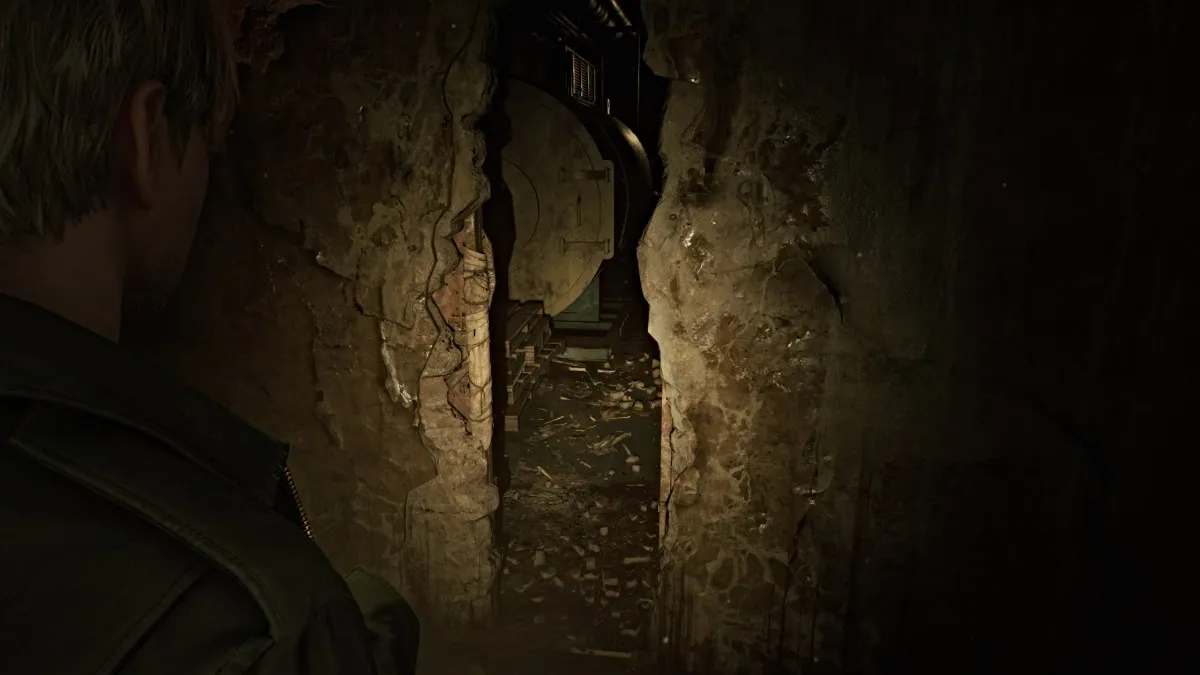
You'll come out on the other side of the huge gap in the floor, so you can continue down and around. The rest of the hallway is blocked, but a gap in the wall nearby will take you into the first Boiler Room . Cross into the second Boiler Room , deal with the Bubble Nurse patrolling the area, and then use the high crawlspace on the right side to make it out to the other side of the east hallway.
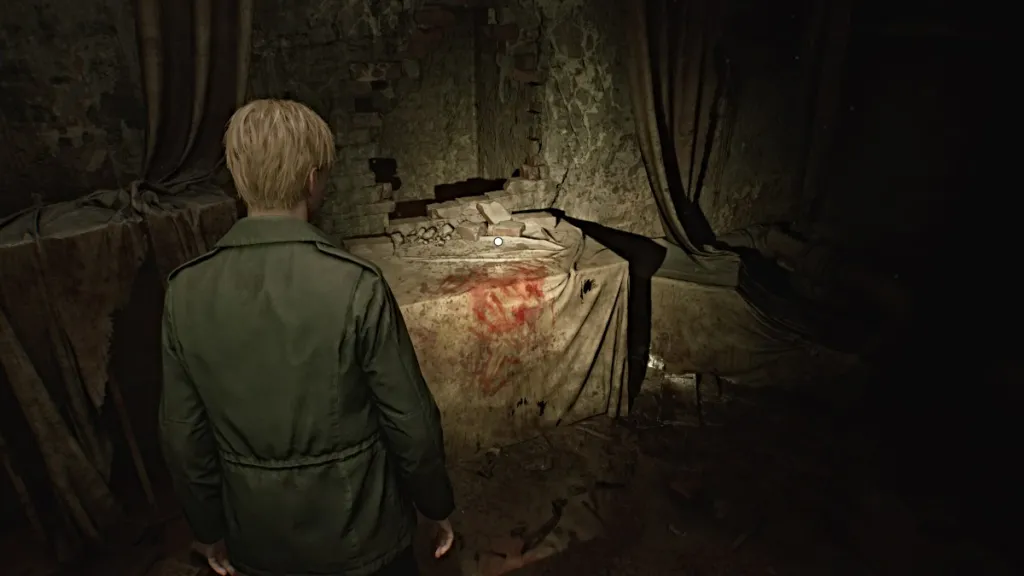
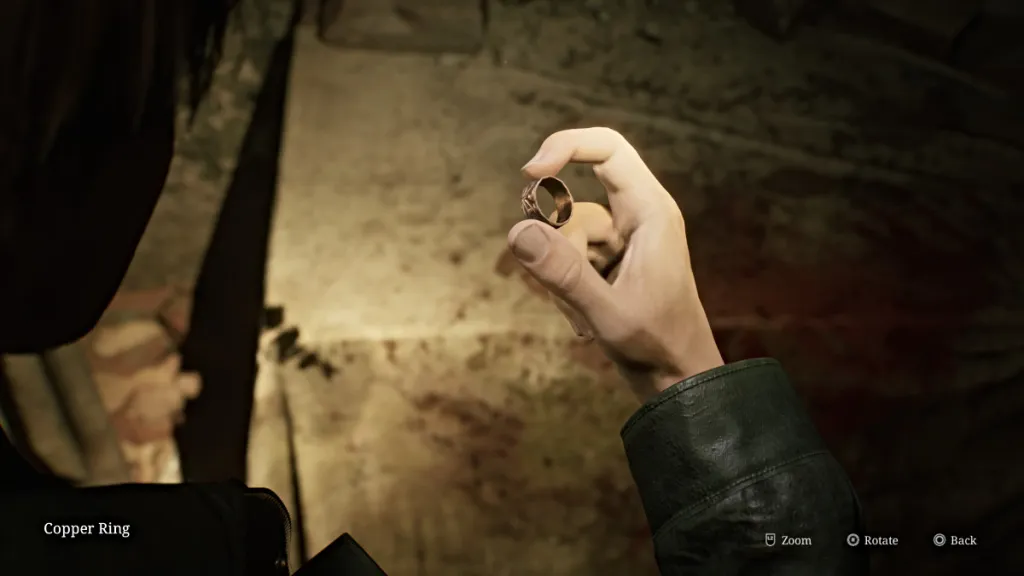
Your options are still very limited, so just go straight ahead through the next wall crack into the Pump Room . Sitting on a table to your right is the Copper Ring (seen below), the first of two that you need. As soon as you grab it a cutscene shows Maria suddenly appearing from the shadows, seemingly better than earlier.
James almost mistakes her for Mary, which of course doesn't sit well with Maria. The conversation instead turns to Laura, with whom Maria feels a strange connection that she can't explain and just insists on finding her. With that, Maria returns as your companion.
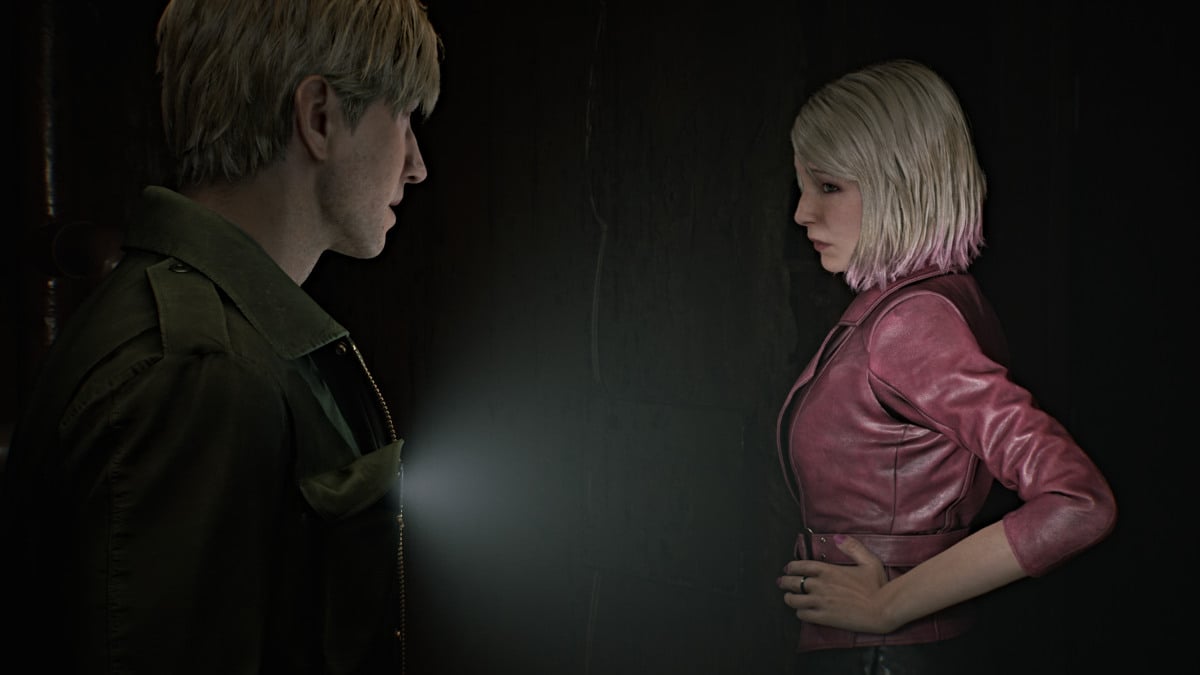
Continue through the Pump Room and back out into the hallway. The Tech Room is blocked, so the only way forward is back up to the first floor . Make your way up through the rooms on the east side, starting with Exam Room 2 . Cross into Exam Room 3 where you can find a Syringe , then cut back into the hallway.
Follow Maria as she remarks about a "stroll in the rain", strangely unbothered by the Otherworld around them. The rest of the rooms on the right side are blocked, so the path takes you instead to the Pool area. Pick up the "They musn't know" Strange Photo from a nearby bench, then make your way around the pool (now a giant gaping pit) to the Shower Room , then across the hall to the Doctor's Lounge .
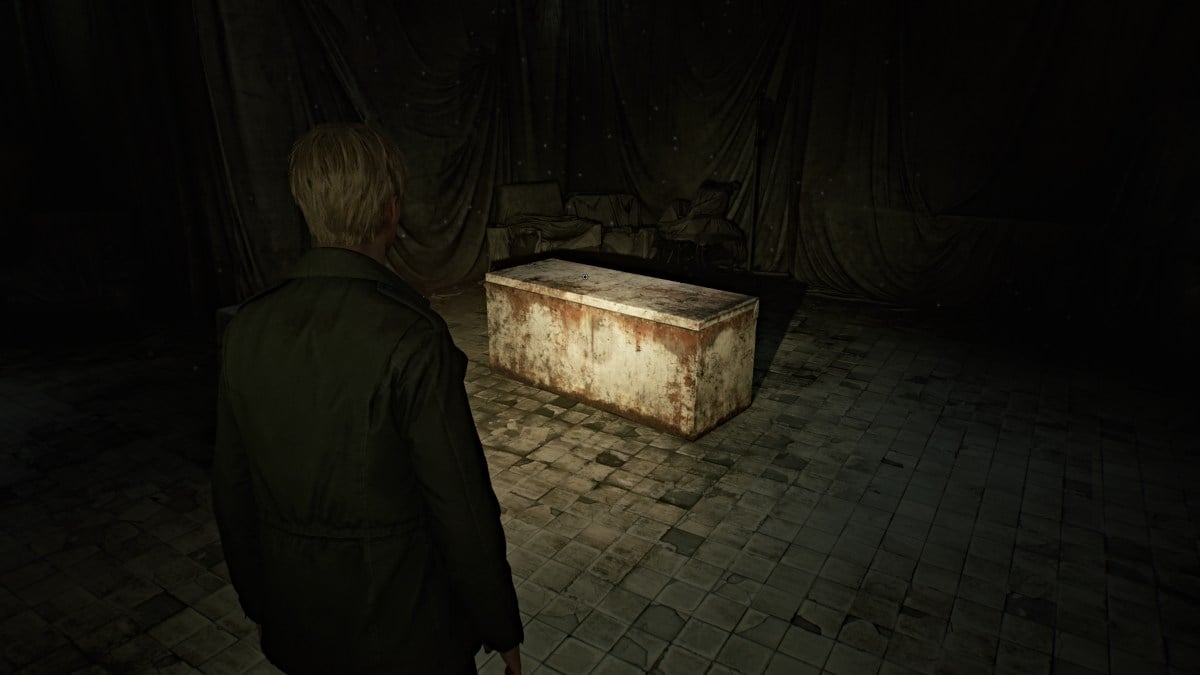
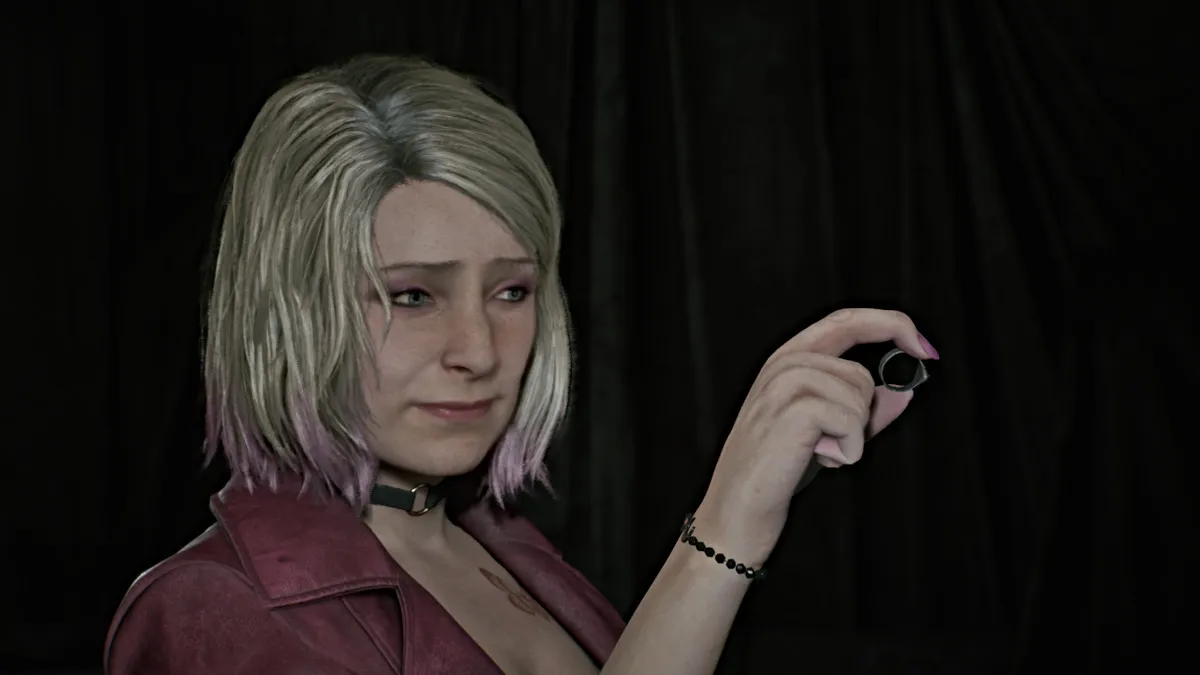
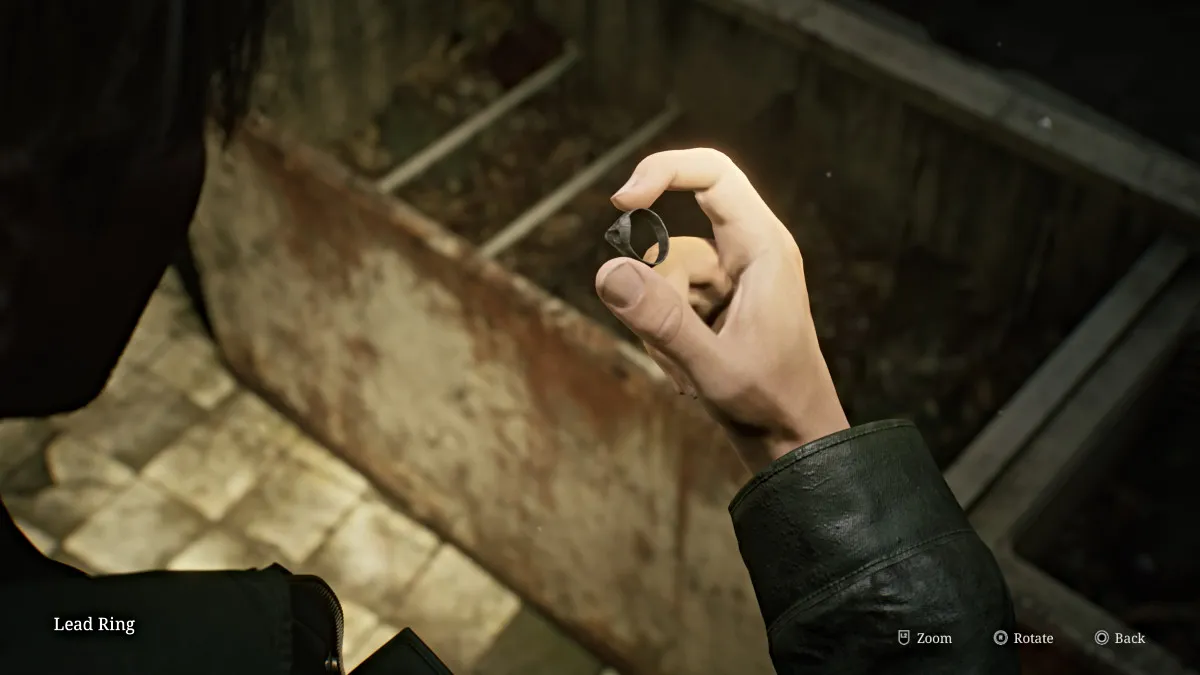
The room itself is mostly empty except for a large fridge that's been toppled over. James finds himself unable to open it alone and Maria teases him for it before offering to help with a hint of exasperation. They manage to open it together and upon peeking inside Maria finds a Lead Ring . It just so happens to be the other ring you need for the Lady of the Door.
Cross through the Locker Room to your left and pick up the Dissociated Note in there before continuing to the central hallway. Use the Red Save Point nearby before heading in the direction of the elevator. Before taking it though, head over to the Pharmacy , where you'll find an ornate box sitting on the counter.
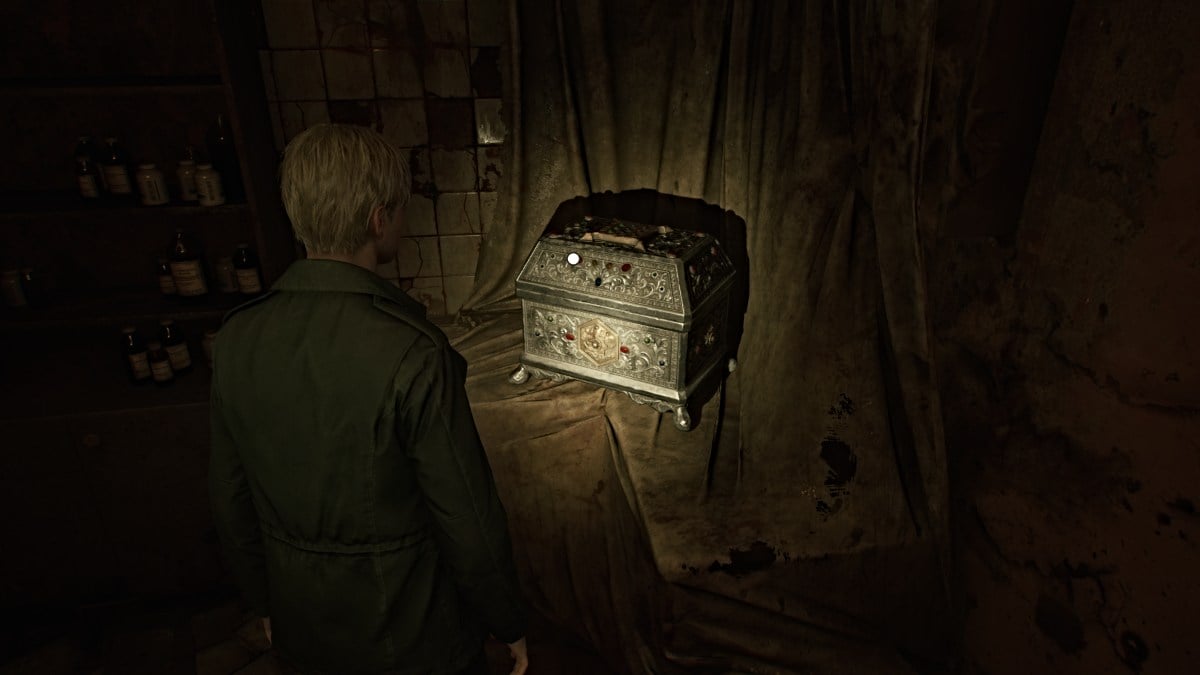
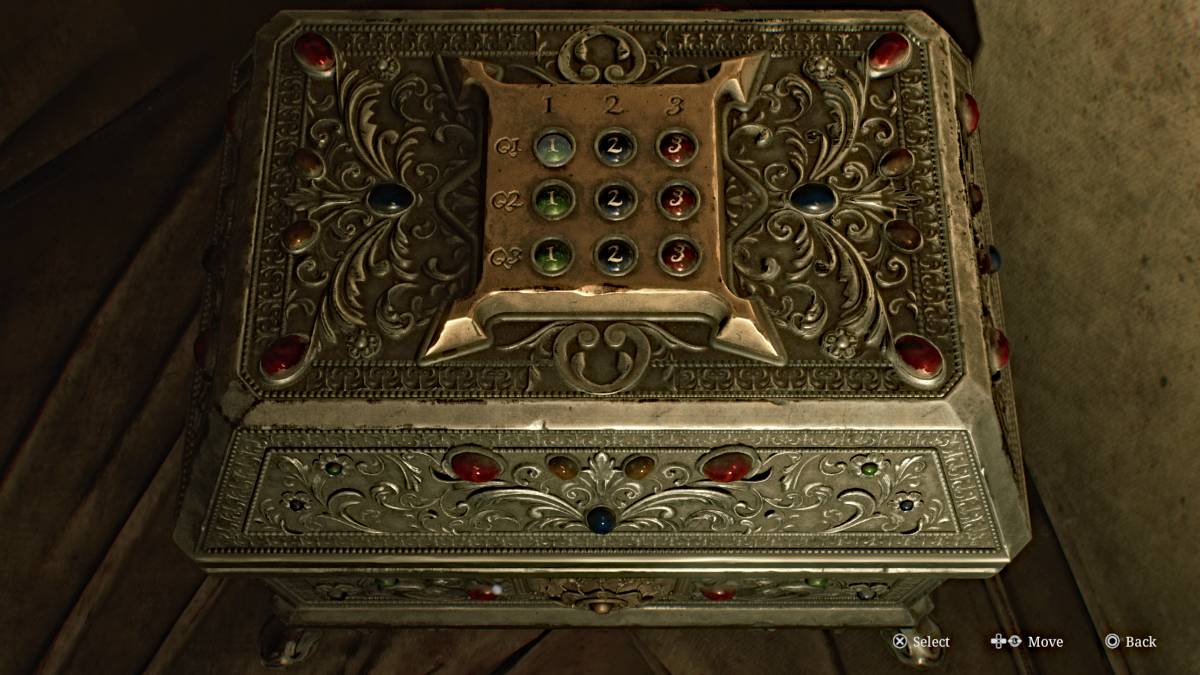
This is the "prize box" for the Trick or Treat quiz you received earlier, and you need to use the buttons on the top of it to punch in the correct answers. As mentioned earlier, the correct order is: 2,3,1.
If you punch them in correctly, you'll receive a nice reward of 5 x Shotgun Shells and 2 x Syringes . If you put the answers in wrong, you'll get pain instead, to put it lightly. When you're ready, take the elevator back to the second floor.
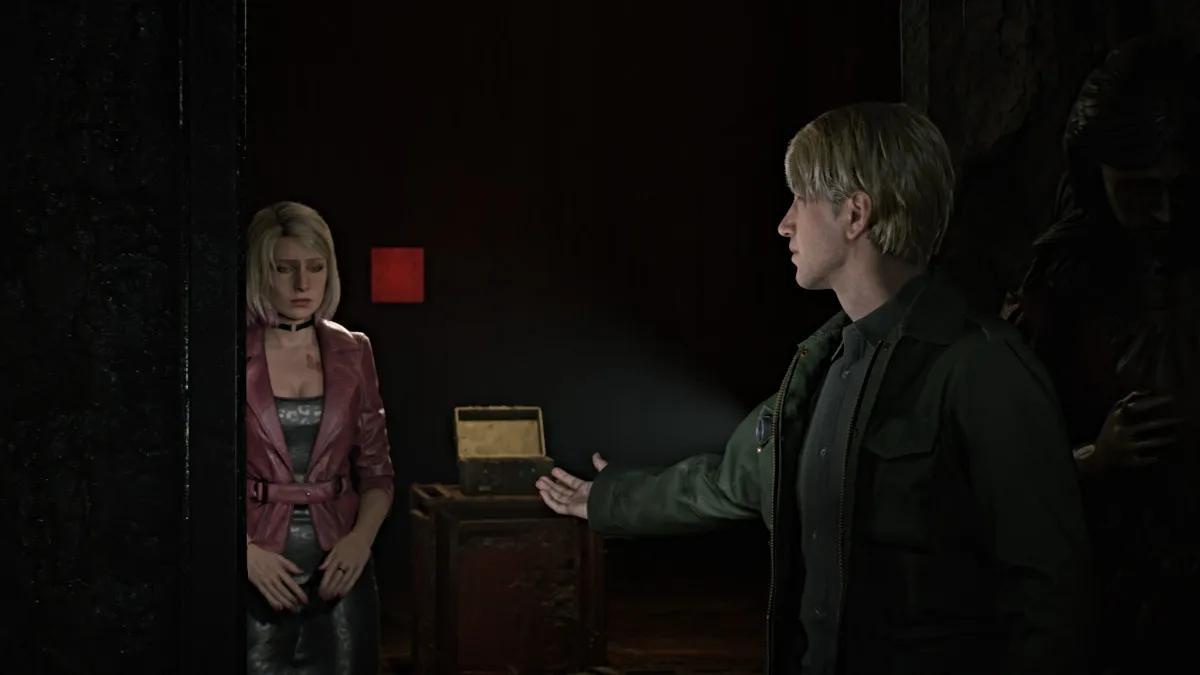
Once you're there, use the Red Save Point then go over to the Lady of the Door and place both rings on both hands. A cutscene plays as the door opens and James steps through, but Maria seems almost terrified to follow.
The path behind the door leads down a winding stairwell. Pick up the Ominous Note on the way down that reads, "It is done. Sick no more." Keep going down and there will be another Red Save Point for you to use if you haven't already. Continue down the steps and soon your map will be inaccessible, hinting that you've gone somewhere else entirely.
At the very bottom, go through the door and follow the path through the winding hallway. At a certain point, however, a cutscene triggers and James suddenly spots Pyramid Head approaching them, a spear in hand this time.
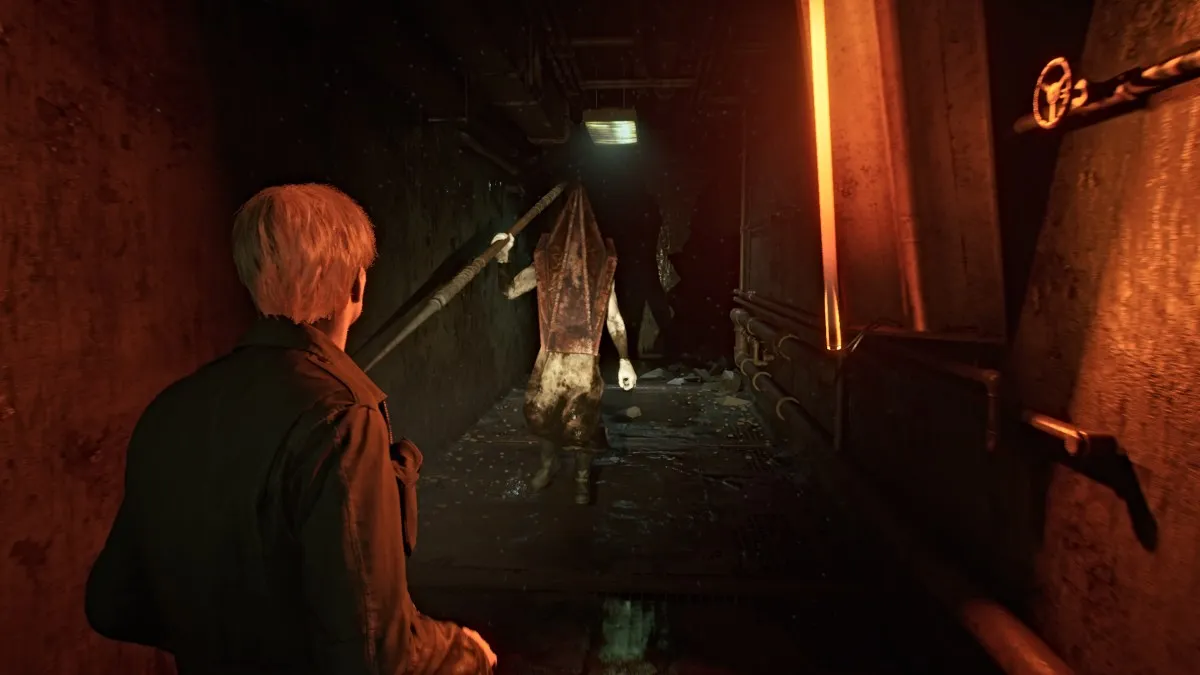
As soon as you regain control hit and hold your 'Sprint' button as Pyramid Head will be moving much faster this time, determined to catch both of you. Evade the obstacles that fall in your way and holes in the floor and keep going until you reach an elevator ahead.
James gets in first but the elevator tries to force itself shut as Maria tries to get in. However, Pyramid Head catches up and impales Maria with his spear, killing her instantly as the elevator shuts closed.
Soon the elevator opens, bringing you back to the first floor. The music calms and the threat is gone, and no monsters are present. Make your way across to the Reception Office , and on the desk by the open window is the Hospital Entrance Key . James sees Laura run off down the street into the darkness.
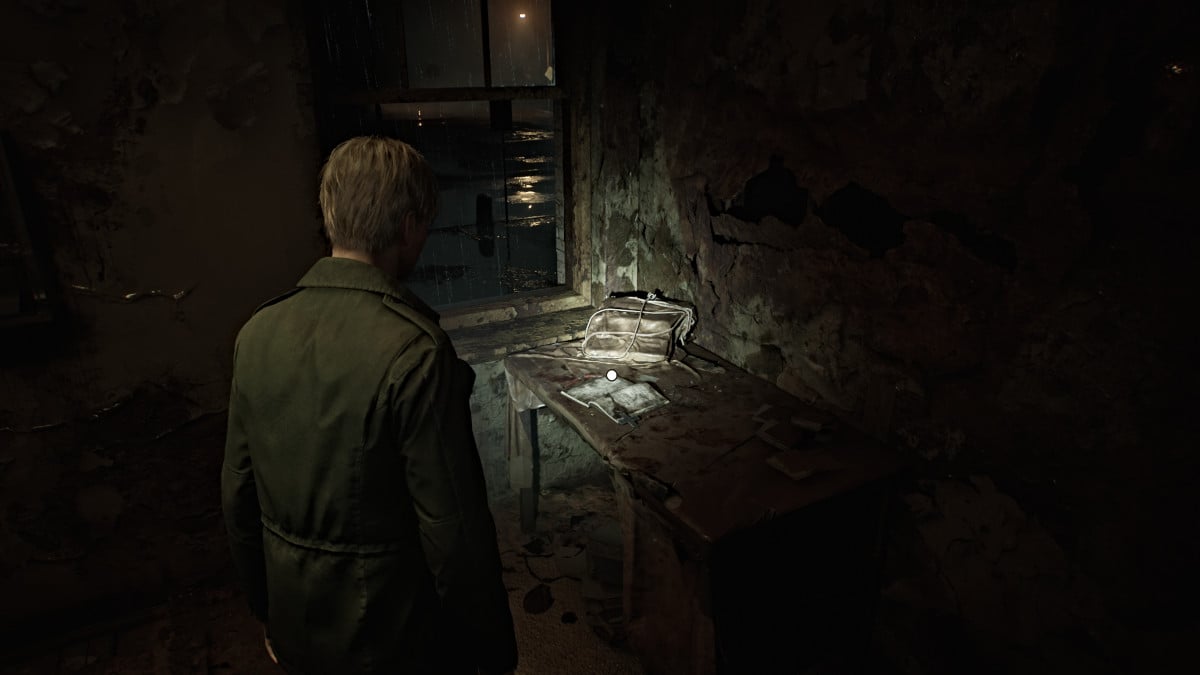

For now, make your way out of Brookhaven and into the stormy night.
Unfortunately, the Otherworld has now spilled out onto the streets and brought the monsters from the hospital with it, so tread carefully. Before you head straight to the story's next objective you can try to do some exploring in the area for items.
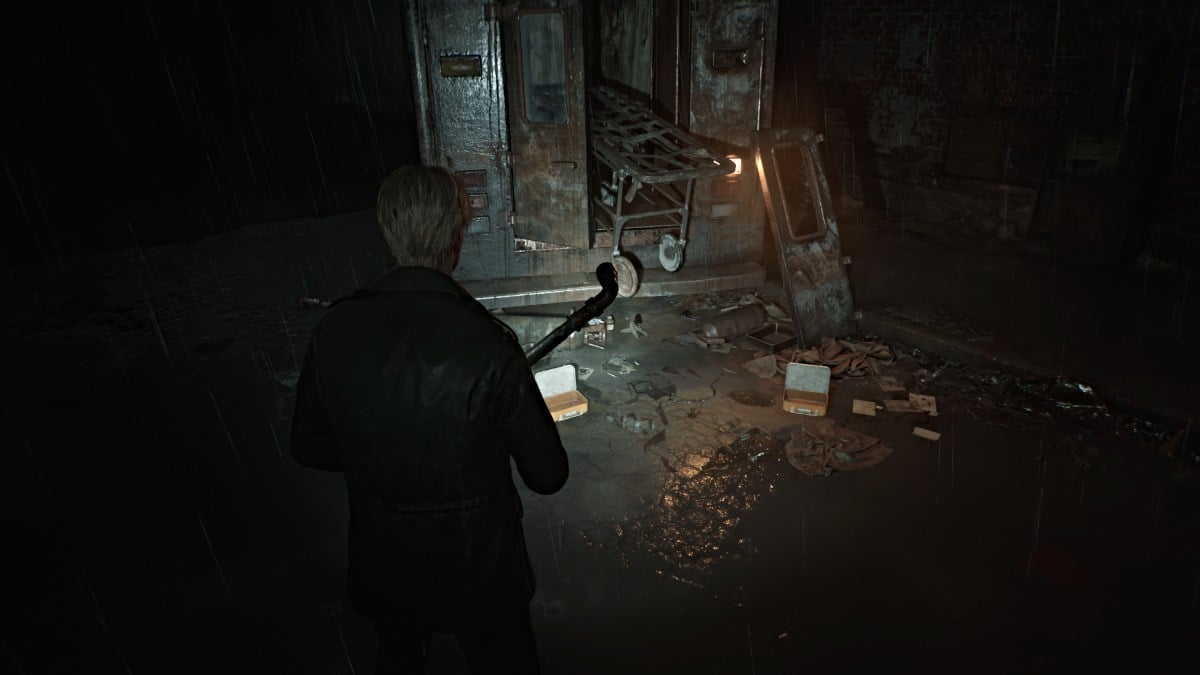
There isn't much to the left as the entire street is nothing but a chasm in that direction. There is a nearby wrecked ambulance that has a Health Drink and Syringe lying near it, if you feel up to dealing with the Bubble Nurses guarding it.
Head down the street to the right and you can find some Handgun Ammo and Shotgun Shells inside cars. Go through the door beyond a barricade near Heaven's Night and you can find more ammo in a nearby garage shed. Go all the way to the far right end of the street behind Heaven's Night where you'll see another shed area. On the right wall inside it you'll find a breakable spot, so tear it down and slip through.
Enter the Garage and grab the Syringe and Handgun Ammo , then use the Red Save Point on the wall. Head out and you'll catch Laura just beyond a gate ahead. Deal with the Bubble Nurse and Mannequin in your way first, then run to the far right corner where the door you used to get into Heaven's Night is. Some Handgun Ammo will be on the ground there.
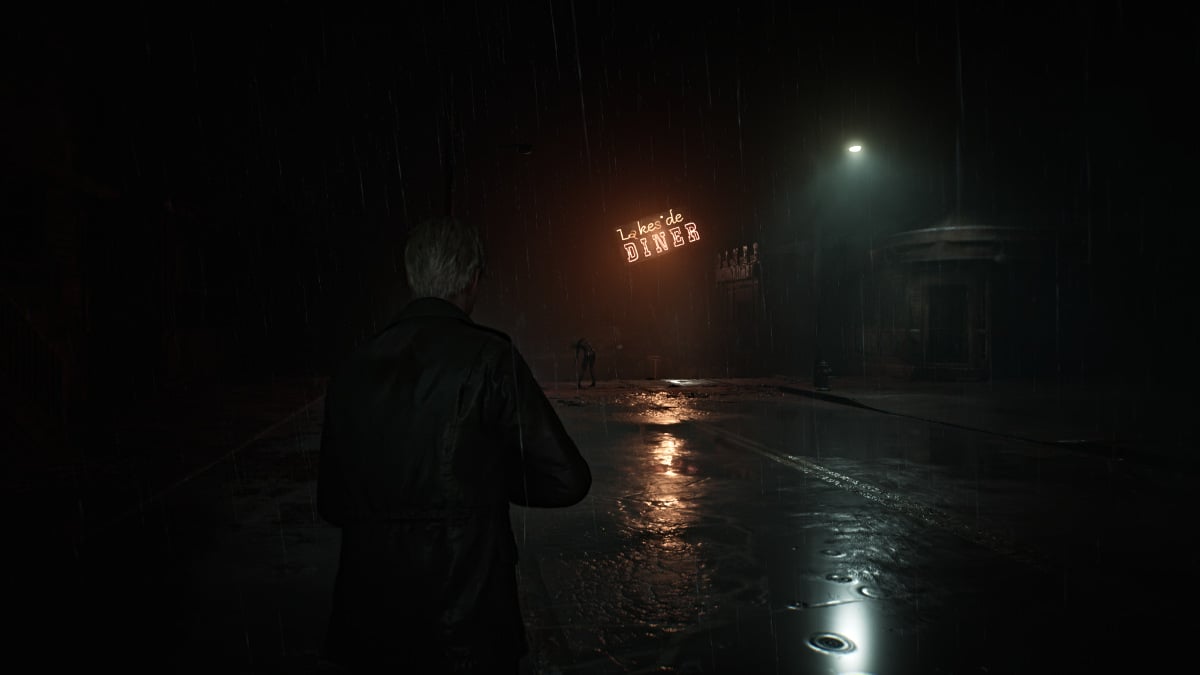
Backtrack to grab the handcart and push it in front of the gate, so you can jump over it. Soon you'll find yourself on Rendell Street and near the Lakeside Diner . First, grab Handgun Ammo sitting on the tire of a truck nearby then head towards the diner, then more on the front deck of a house on the left.
Deal with the Bubble Nurses in your way and then grab a Health Drink from one of the cars parked near the diner. Head inside and venture behind the counter for some Handgun Ammo and Shotgun Shells . Deal with more monsters in your way and use the double gate doors on the other side to leave.
Maneuver between the school bus and big rig truck, and you'll find more Handgun Ammo sitting on the bed of a pickup and Shotgun Shells on a barrel behind it. Pass through the gate back onto Rendell Street and head east. Be sure to check the front porches of the houses and cars you pass for more items.
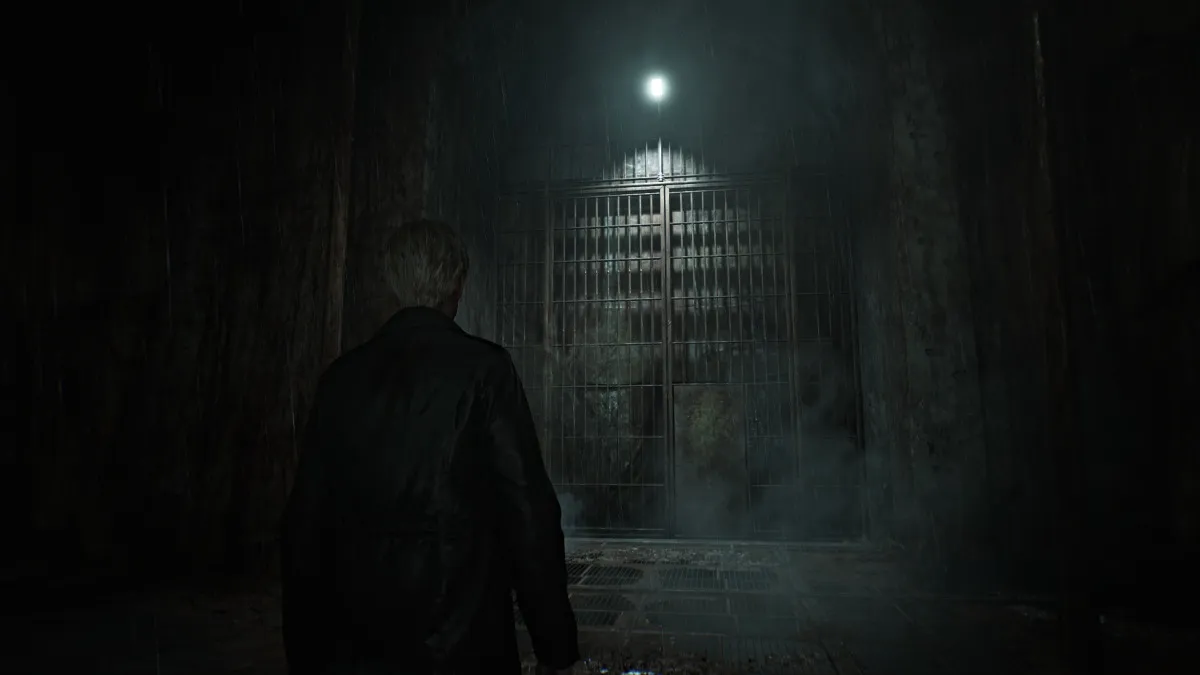
Soon you'll reach Munson Street , but there's nowhere to go but south towards the edge of your map. You'll catch another glimpse of Laura as she runs through a large gate, so follow her through. Cross the long and dark metal catwalk until you reach the other side.
Now you're back on the east side of town on Saul Street . Go into the Motor Home to your right, where you'll find a Red Save Point , Handgun Ammo , and the Note on a Map which has an ominously foreshadowing written message and a clue about where to go next for a "letter and a wrench 」。
As you go further down the street, there will be a high crawlspace you can climb up and through to enter a warehouse. Navigate through it, pick up more ammo and deal with monsters along the way until you reach a breakable wall at the back of it. Slip through and continue on until you reach the other side of the chasm on Neely Street .
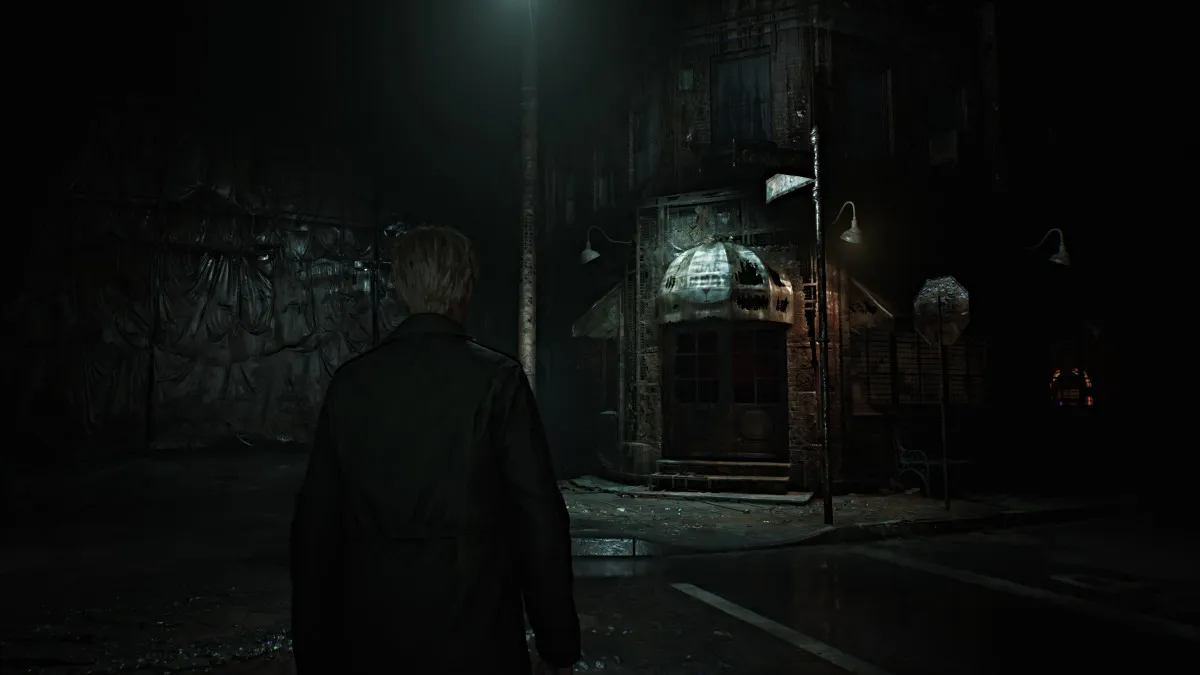
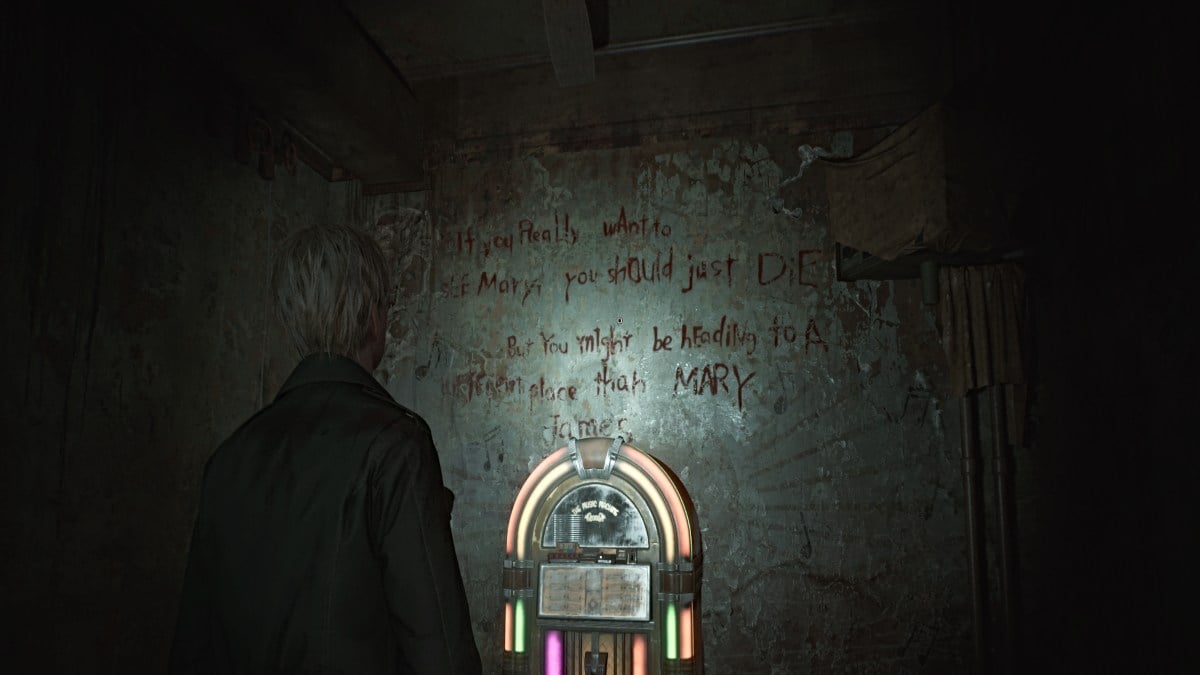
This will bring you face-to-face with Neely's Bar once again. Go inside and you'll see the jukebox is on, but rather than playing music it sounds like breathing. A threatening message on the wall behind it suggests that if he wants to see Mary "he should just die" but that he "might be going to a different place than Mary" when he does.
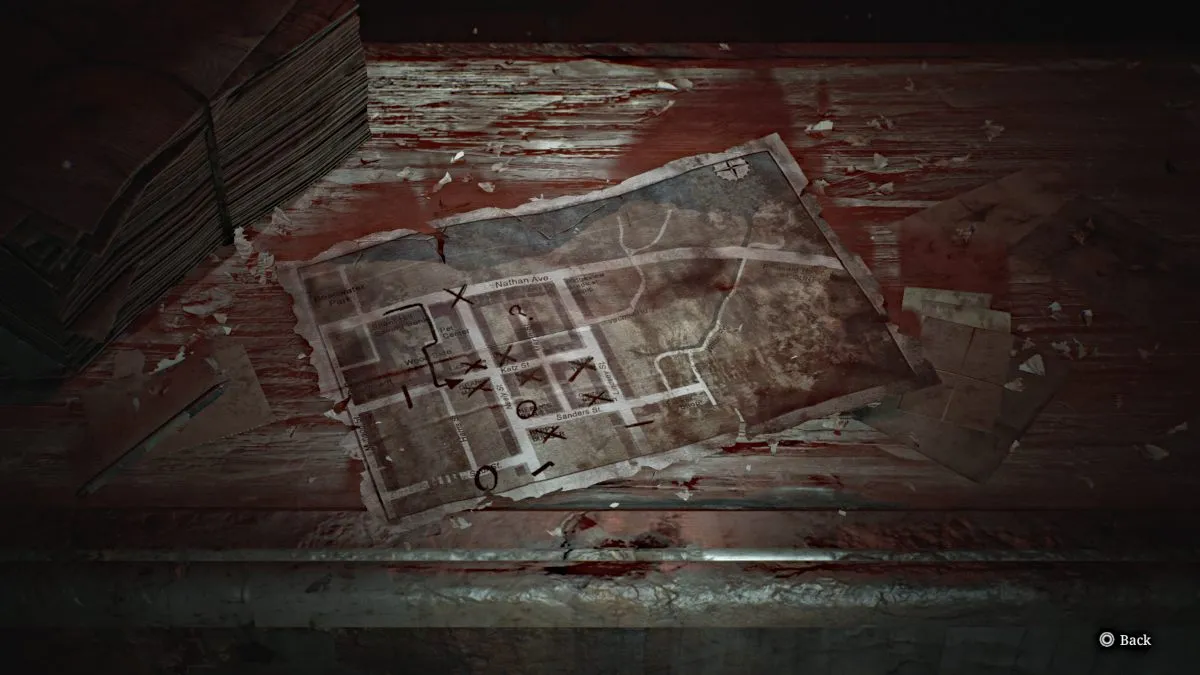
Go over to the counter to collect another Glimpse of the Past , then behind it for some ammo and a Red Save Point . Go to the door on the left that's slightly open and grab a Health Drink on your way out the back of the bar.
Go through the back alley area, grab some Handgun Ammo from a nearby car, a Health Drink on the ground near the chasm in front of you, and make your way around the corner to the back of a Laundromat . There will be a high crawlspace for you to climb up through.
Once inside, you'll hear a phone ringing somewhere nearby. Smash and grab the nearby Health Drink and deal with the two Bubble Nurses that approach you through the wall crack. Go through the crack yourself afterward, make your way through the front of the laundromat, and jump through the open window on the right to the street.
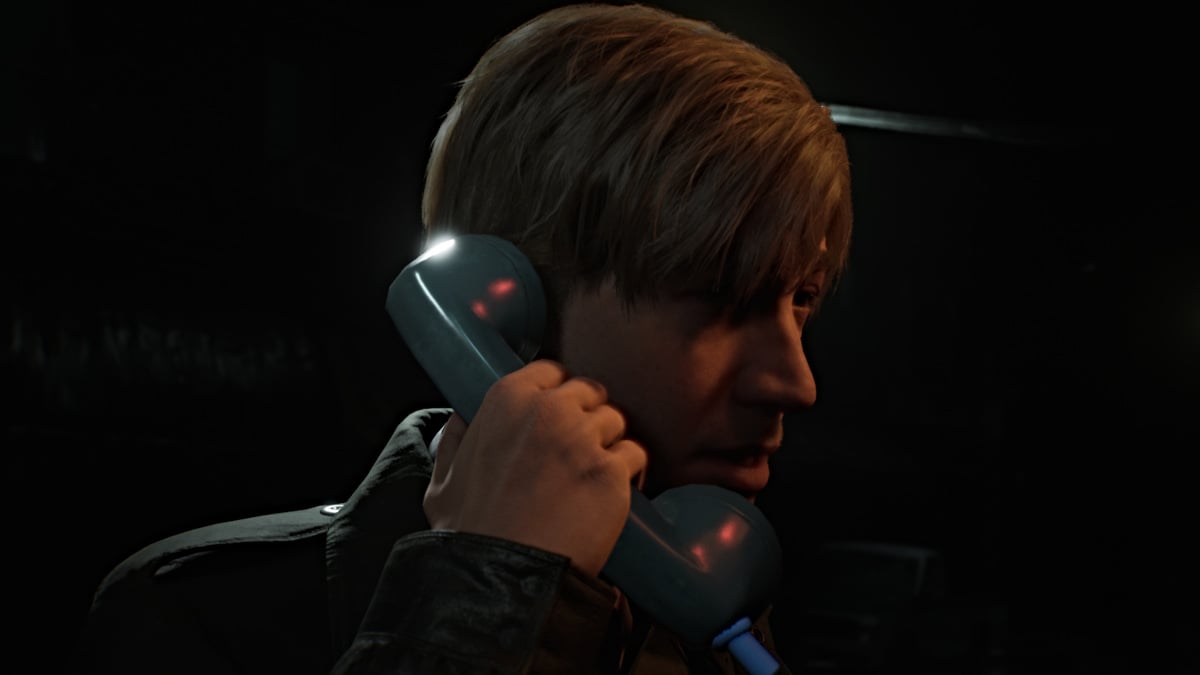
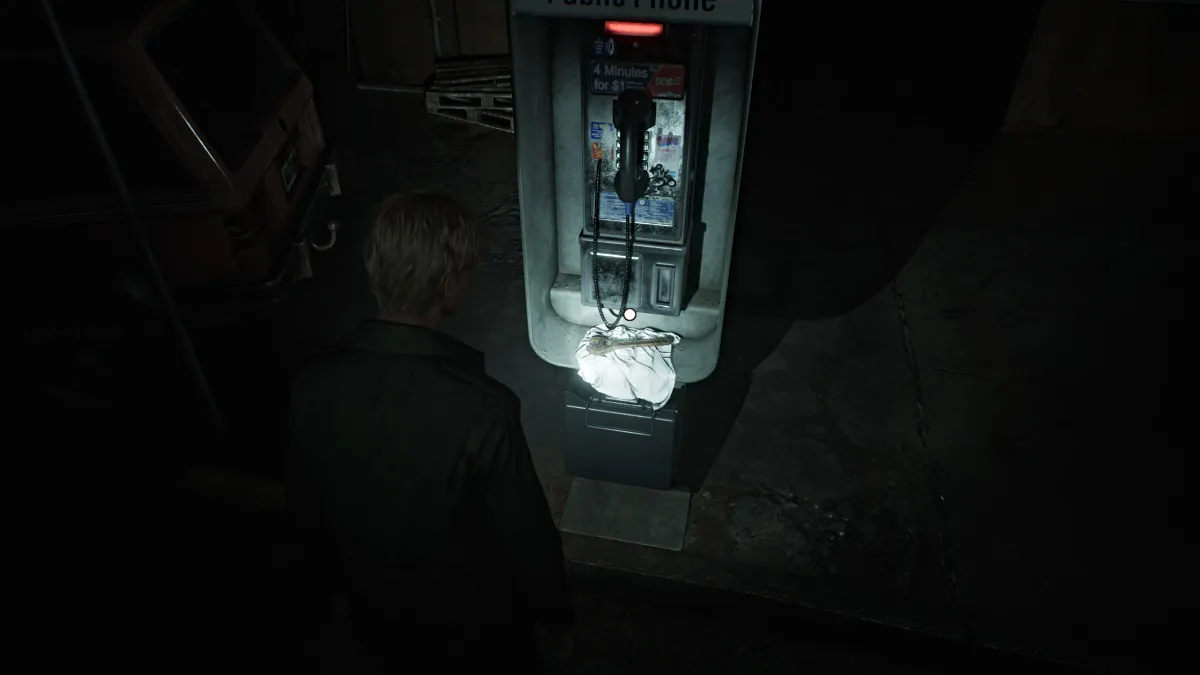
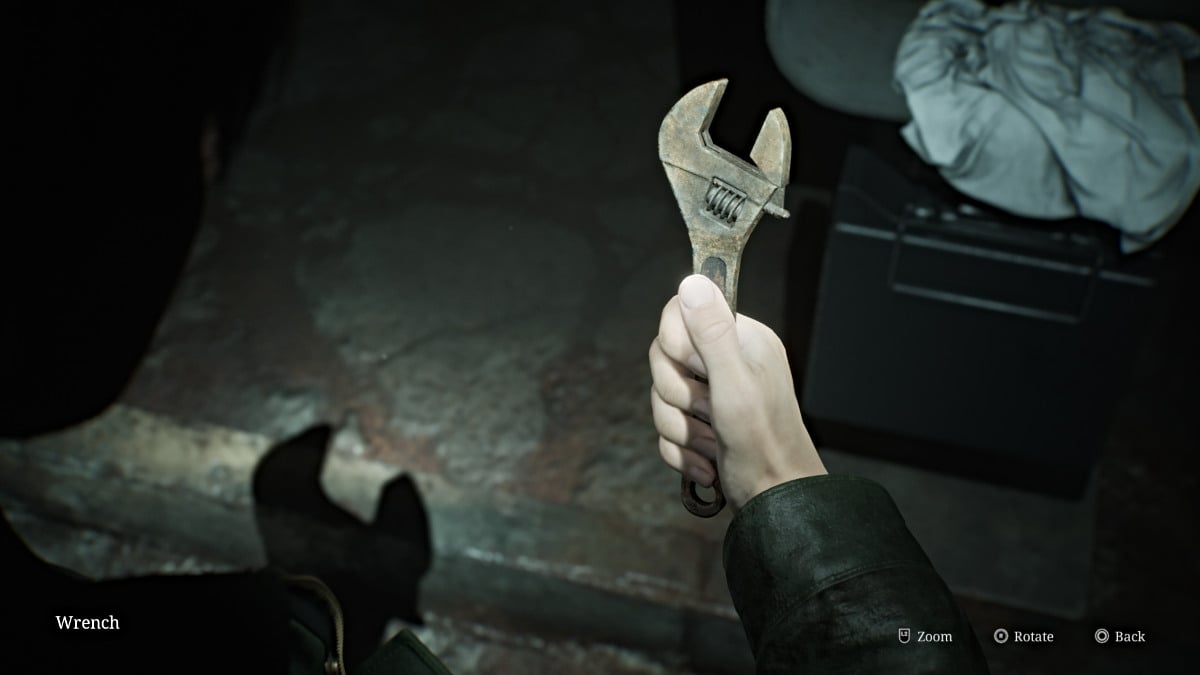
Turn left and you'll notice it's a payphone ringing. Walk over and answer it, but no one is on the other line. After James hangs up the phone, a piece of paper drops in the change slot. It reveals yet another message that implies that "the key is in the park, at the feet of the praying woman", and that "the wrench will open the gate". With that, pick up the Wrench sitting under the phone.
Now you'll need to head back north to Rosewater Park to find what you need. Head to Neely Street and run north until you reach a tall barricade with a door. Head through and you'll find another huge gate ahead. Use your Wrench to open it and pass through.
You'll find yourself going over another metal catwalk, but this time a new monster called a Mandarin is crawling beneath it. Even though it's beneath the grate, it can still attack you if too close, so keep your distance and keep running until you reach the end of the tunnel. Beyond that, you'll find yourself back in the same tunnel you used to enter Rosewater Park.
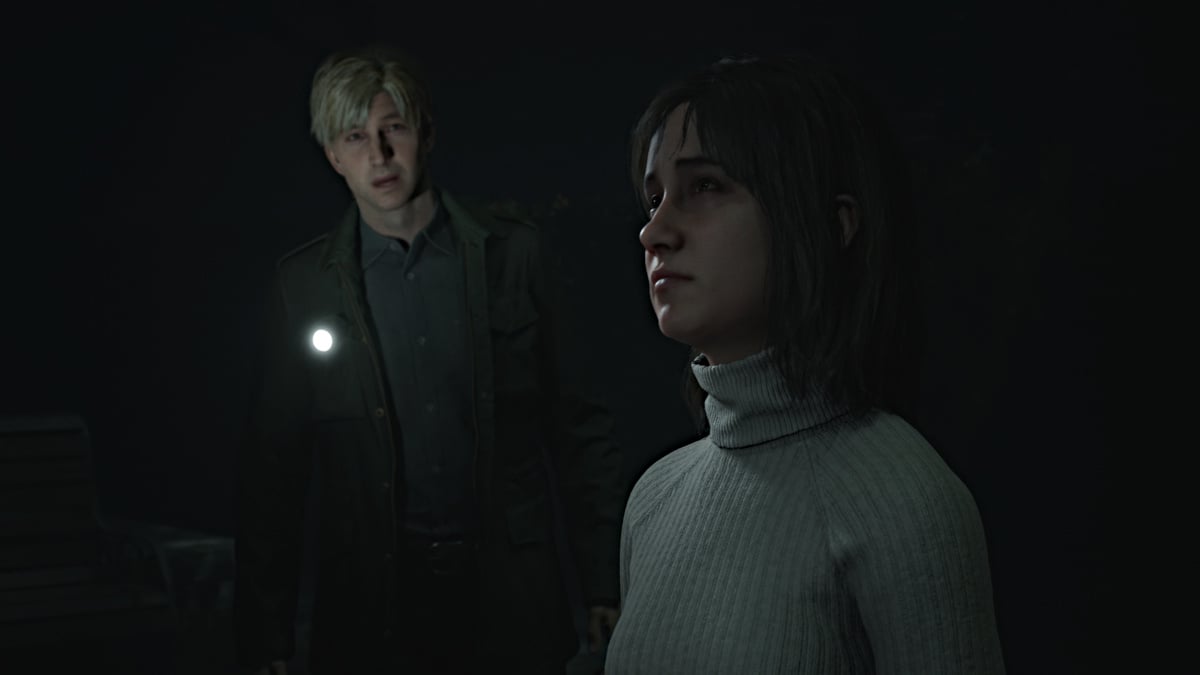
Head inside and make your way toward the west side of the entrance area. There are no items are monsters to worry about here, so just head straight for the iron gate on the west side . Follow the path straight across until you see what looks like a statue lit up ahead. Approach it and you'll notice that Angela is surprisingly there too.
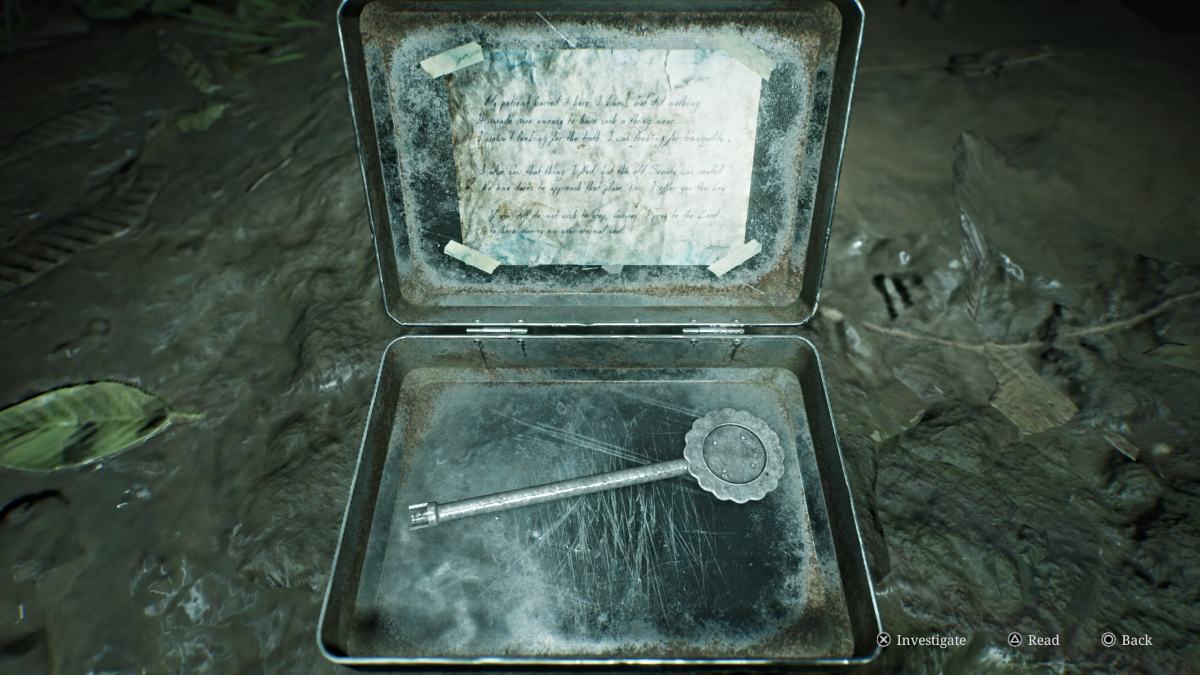
After the cutscene, interact with the praying woman statue and James will dig up a metal tin that contains the Historical Society Key . The Historical Society is located further west on Nathan Avenue , so leave the park and make your way there.
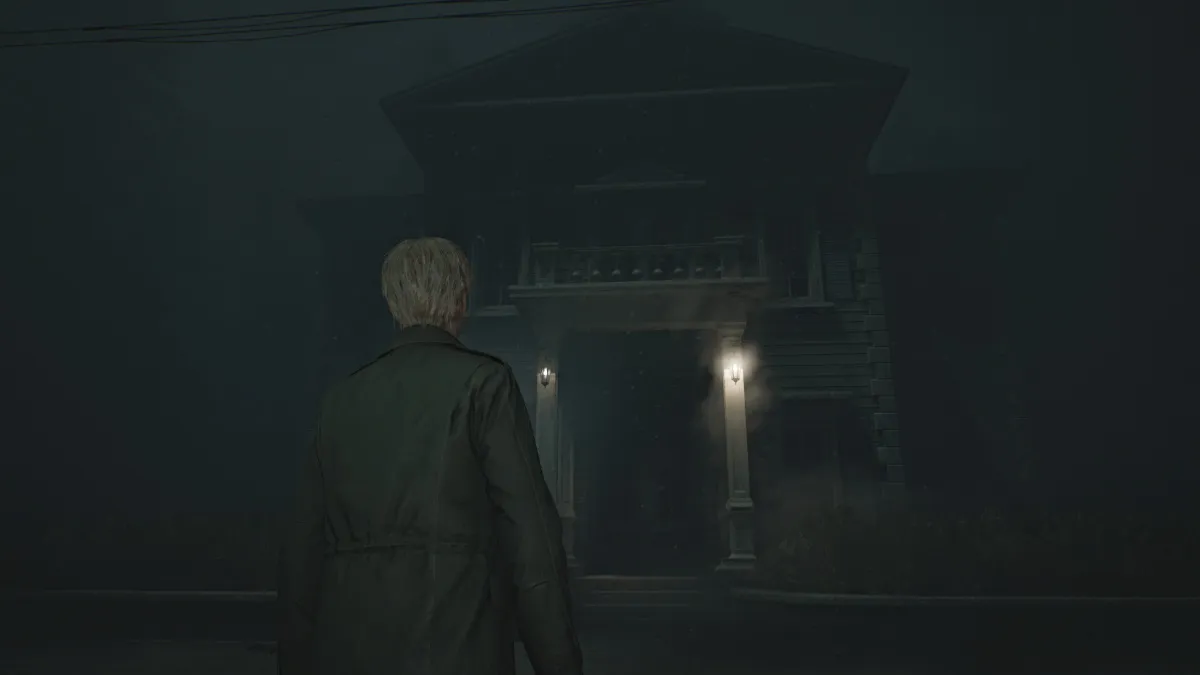
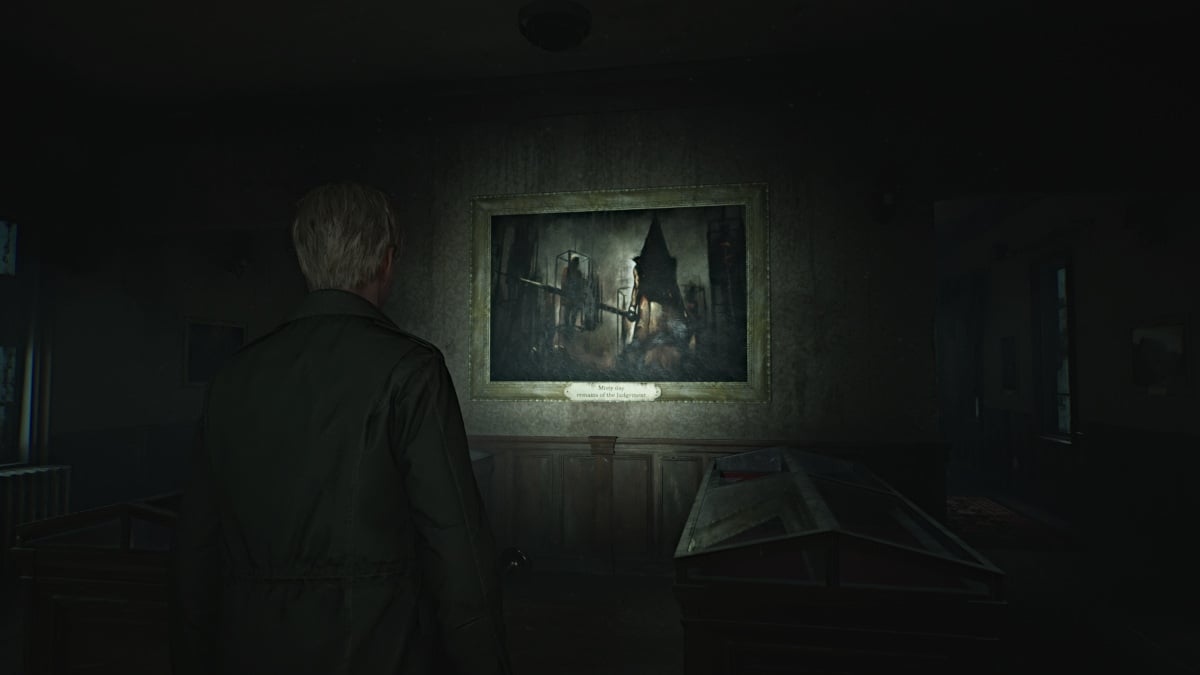
The journey along Nathan Avenue to the Silent Hill Historical Society is a somber and quiet one, as there are no monsters anywhere on the road. Soon enough you'll see the building lit up in the fog to your right. Use the Historical Society Key and head inside. Use the Red Save Point near the entrance.
As you explore, it's definitely hard to miss the portrait straight ahead that depicts Pyramid Head himself. Make your way toward the back of the museum and there will be a strange dark tunnel in the wall for you to enter. You won't be returning to the surface of Silent Hill for a while beyond this point .
The staircase you take down through the tunnel is very, very long, and the distant sound of foghorns accompanies your descent. That is a reference to the Little Baroness steamboat that sank in Toluca Lake decades earlier, of which there's a picture in the Historical Society.
This staircase seemingly takes you deep beneath the lake, but when you finally cross through a door at the bottom, you'll find yourself in Toluca Prison .
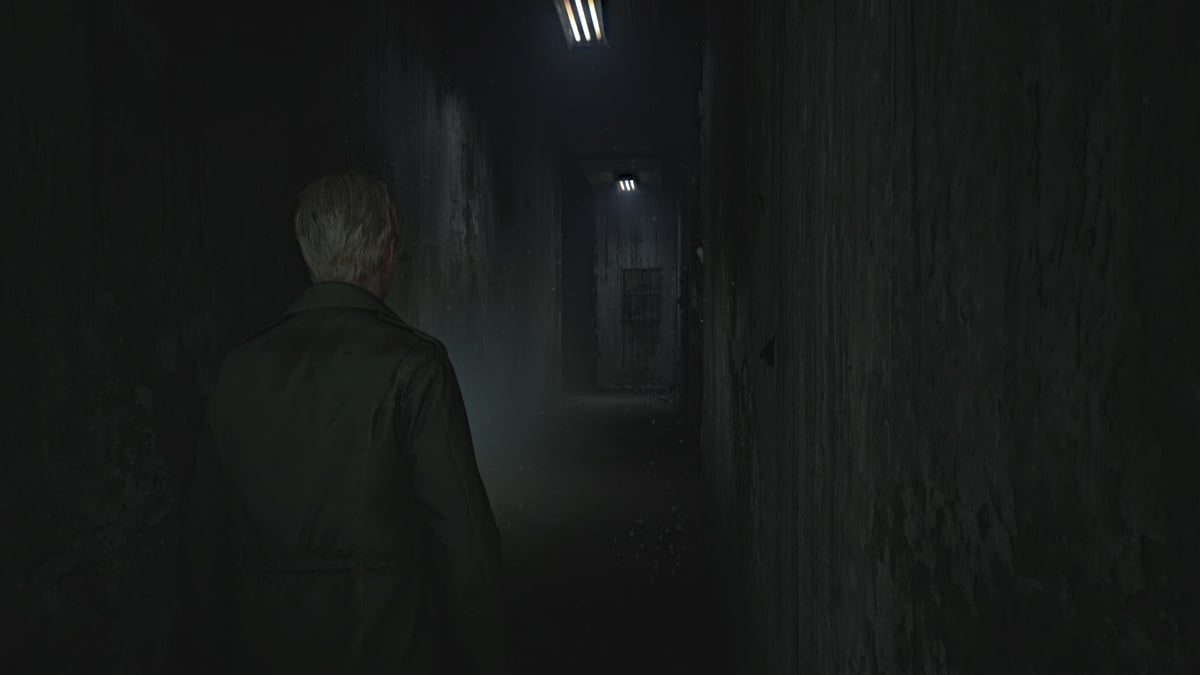
Grab the Syringe from a first aid kit on the table in the small room you pass through, then continue on through the next door. You don't have a map of this area yet, so keep an eye on your surroundings. The door to your right is locked, so head left down the hall . The path will diverge, and left is a dead end so go right .
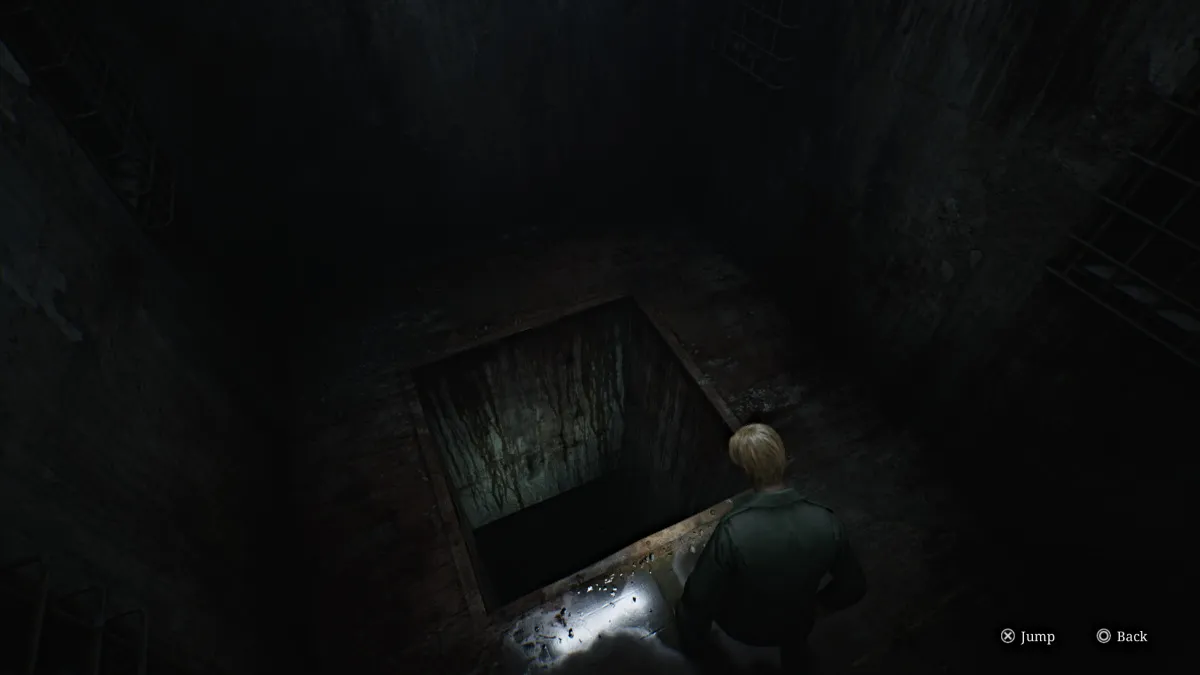
You'll soon see another door, so go through it. Inside, you'll find nowhere to go but a large dark hole in the floor, forcing you to go deeper. Interact with it twice and James will hesitantly take the plunge.
Upon reaching the bottom, you'll find yourself in what looks like a well with no visible way out. There is a way out, however, and you just need to find the right spot on the wall to break through . Keep trying different spots until one lets you out and has a door on the other side.
You're now in what seems to be a flooded area of the prison, shaped like a maze. Go right and then turn left when you can and head straight towards the door ahead of you. Deal with the Lying Figure that blocks your way and you'll then see that there are two doors. The one in front of you is locked, so take the right door .
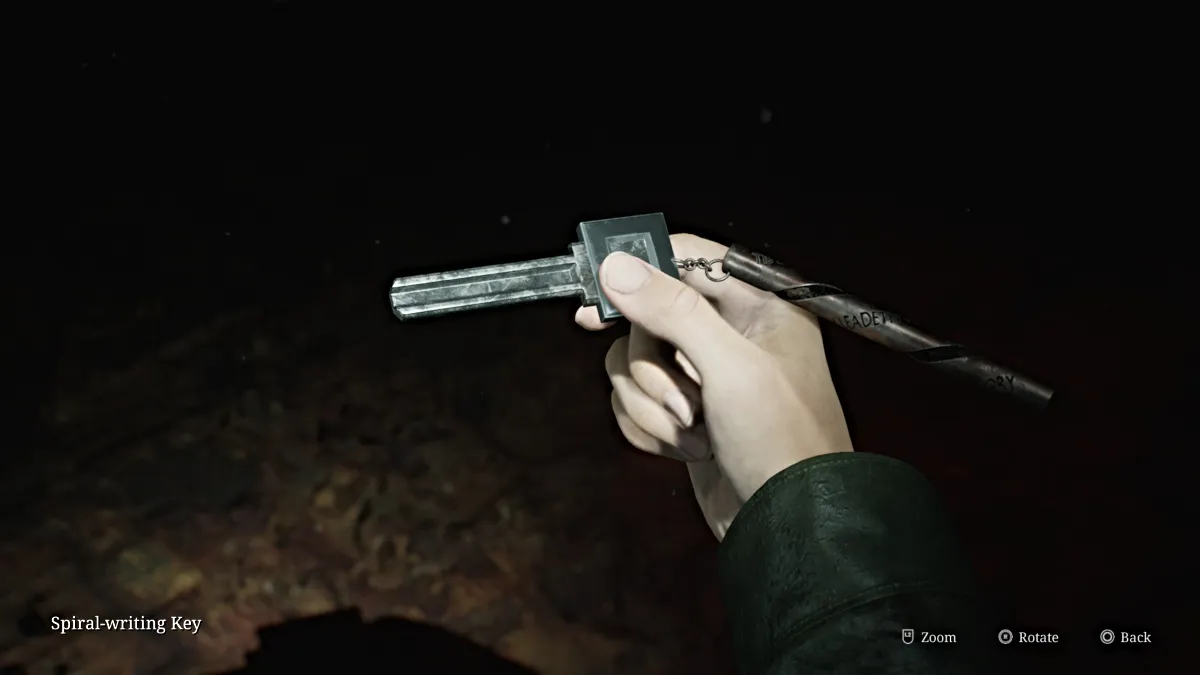
Down the hall ahead is what looks like another deep hole, but is blocked off by a locked prison gate. Backtrack a bit and go through the door on your right, where on the floor you'll find the Spiral Writing Key .
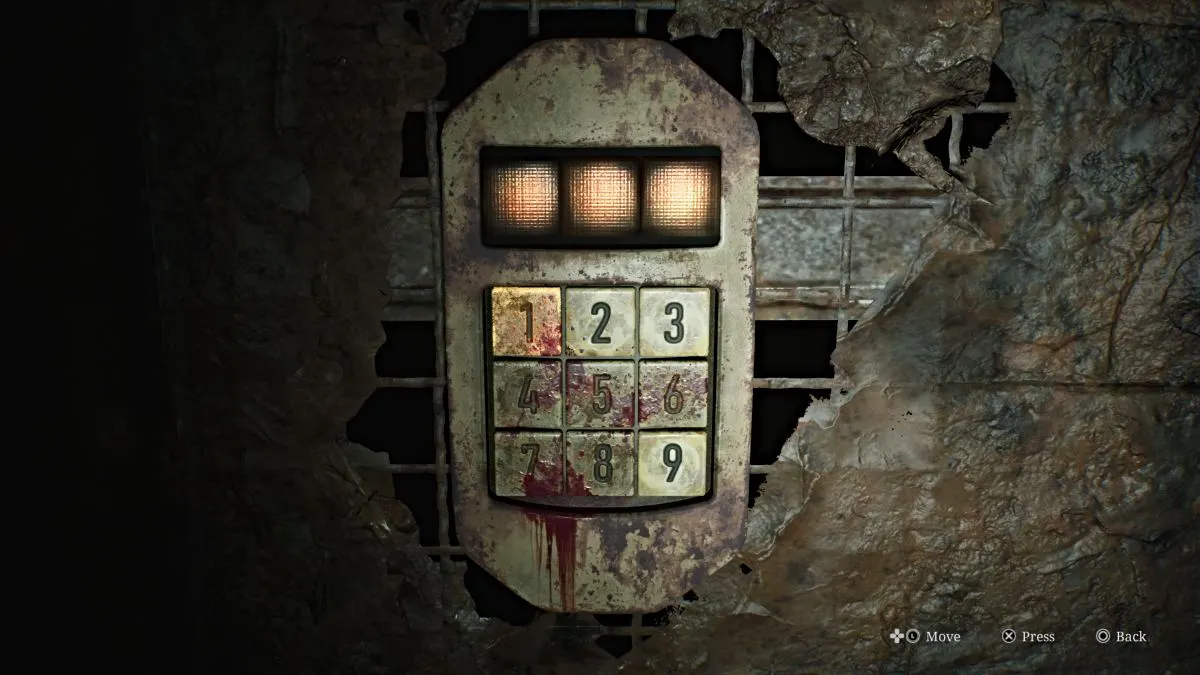
After picking it up, however, the lights will shut off and then turn back on to reveal the room suddenly covered in bugs who will bite James occasionally, causing damage.
To escape the room you need to use the keypad (seen above) and figure out the correct code, which is a random combination of the numbers 2, 3, and 9 (the only ones not covered in blood). The solution for every playthrough, regardless of difficulty, is entirely random , so it's an anxious test of trial and error. To help you out, here are all of the possible combinations for you to work through:
| 2-3-9 | 2-9-3 |
| 3-2-9 | 3-9-2 |
| 9-2-3 | 9-3-2 |
Once you break out, go back over to the locked prison gate and use the Spiral Writing Key on it, revealing the next hole for you to jump down. Interact twice to jump further into the abyss.
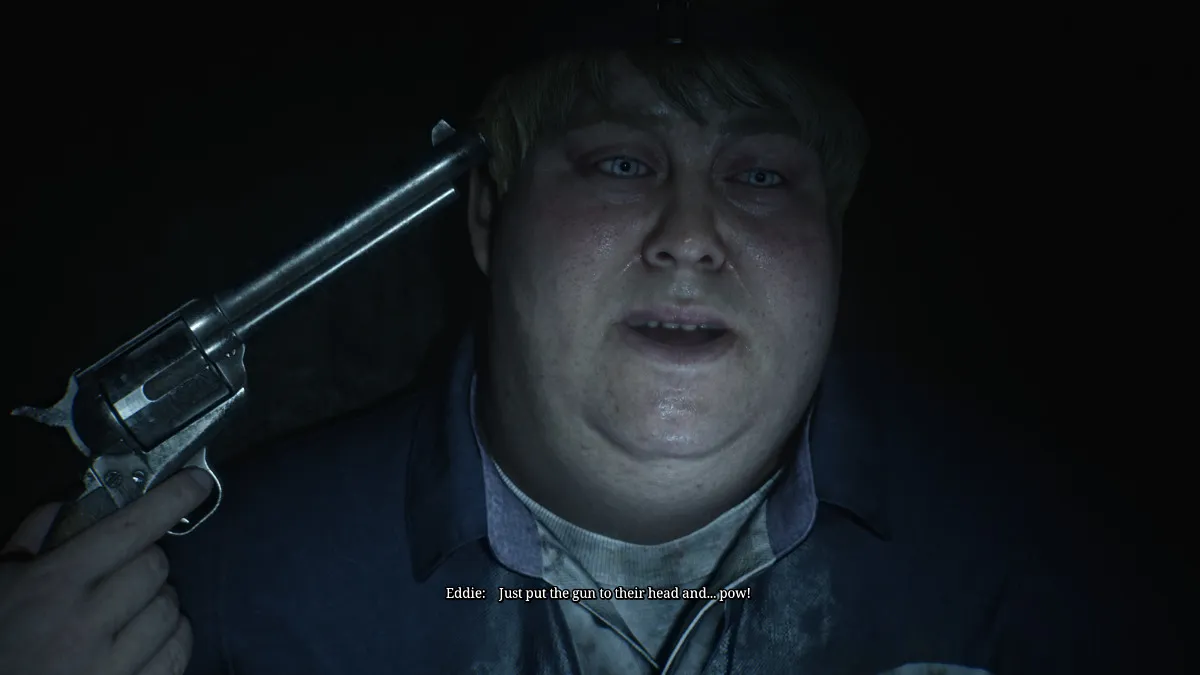
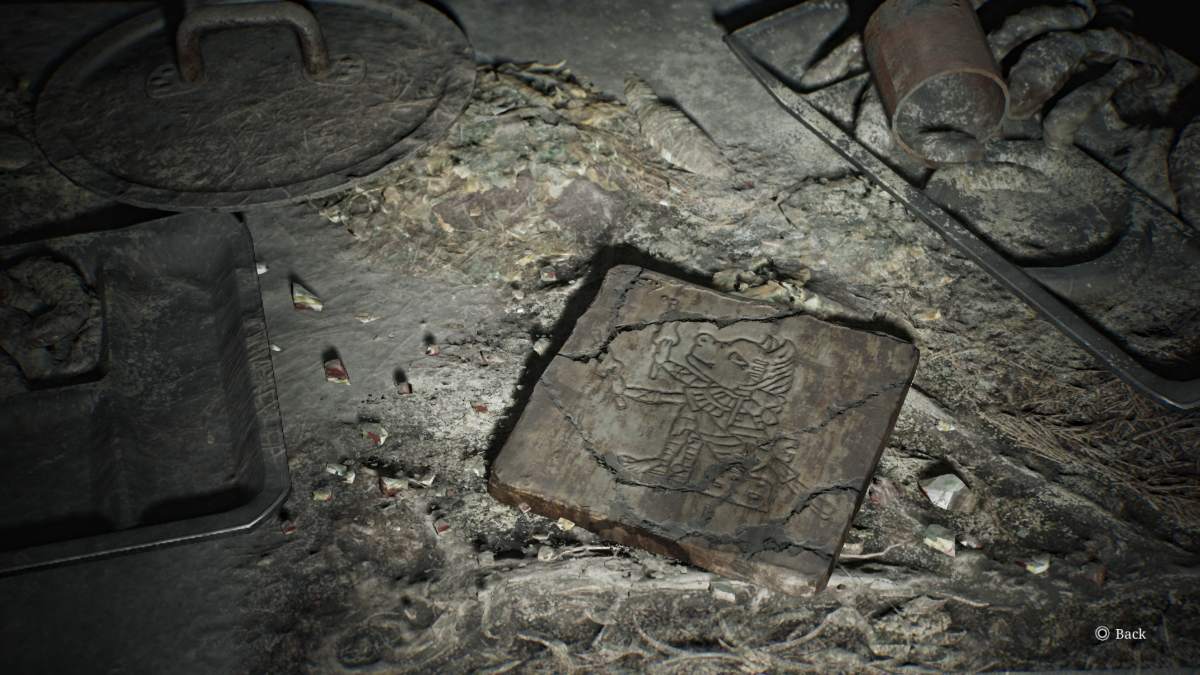
After your next fall, you'll land in the Canteen room of the prison. Grab a Health Drink from the food line at the back of the room, then explore the right side of the room to find a Glimpse of the Past on one of the tables. When you're ready, approach the body under the bright light hunched over a table, recently killed.
Eddie appears from the shadows, remarking that killing a person "ain't no big deal". James tries to understand Eddie's reasoning for what happened until it becomes clear that Eddie killed them for how they "looked at him". Eddie gets defensive when James reprimands him before opting to go off on his own.
Once he's gone, go through the same doors and ahead you'll find the prison's Armory . After using the Red Save Point , on the back wall, you can finally grab a map of the entire prison .
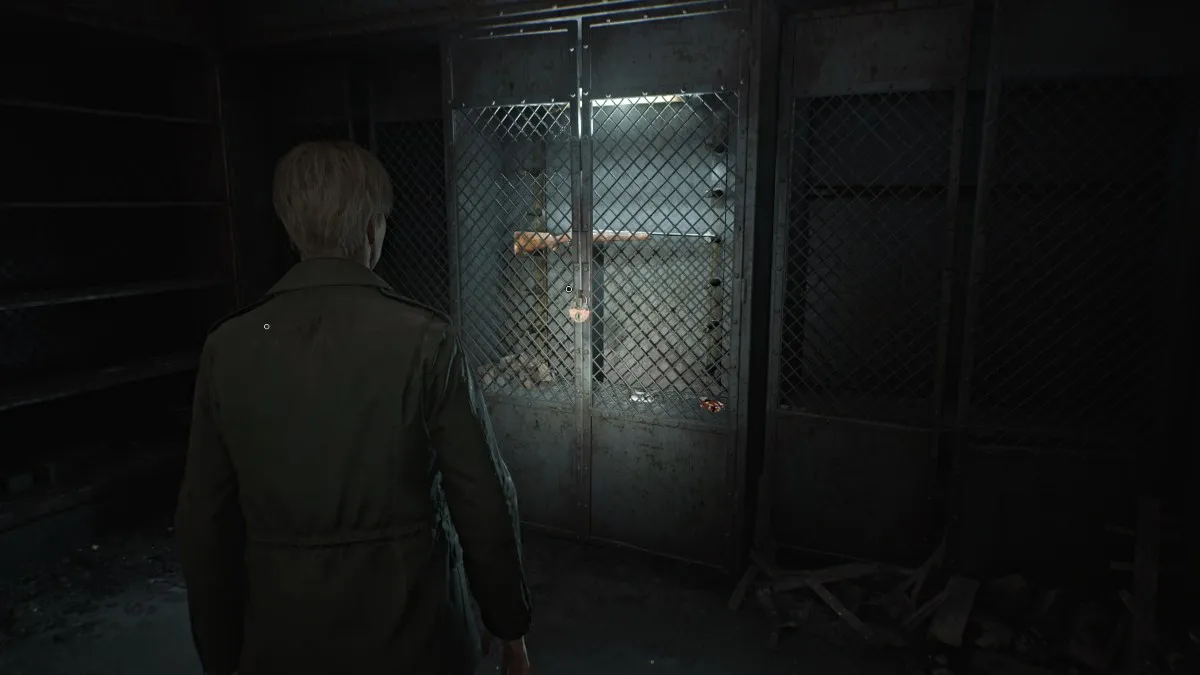
There's also Handgun Ammo , a Syringe , Rifle Ammo , and a Hunting Rifle weapon , though it's currently locked in a cabinet. You'll need to find the key for it, and thankfully there's a hint in the nearby Gun Cabinet Notice .
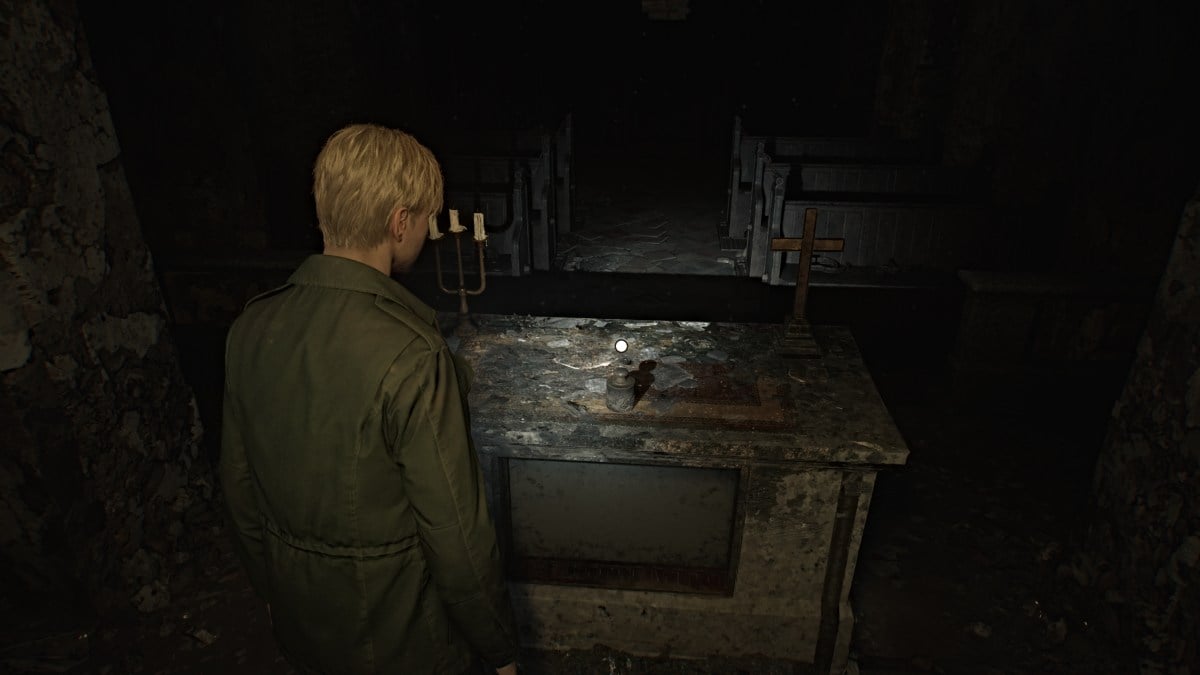
For now, start exploring the surrounding areas such as the Church to the left of the Armory. Inside you'll find an object called The Heaviest Weight up at the pulpit. Over in the Vestry you can find a Syringe .
Head next through the double doors to Block A and Block B . To your right as you enter, you'll notice a door with a Hornless Ox portrait on it. Meanwhile, over in Block B is a door with an Eyeless Boar portrait , the far end of Block A is a door with a Headless Serpent , and the door to the Basement has a Wingless Dove .
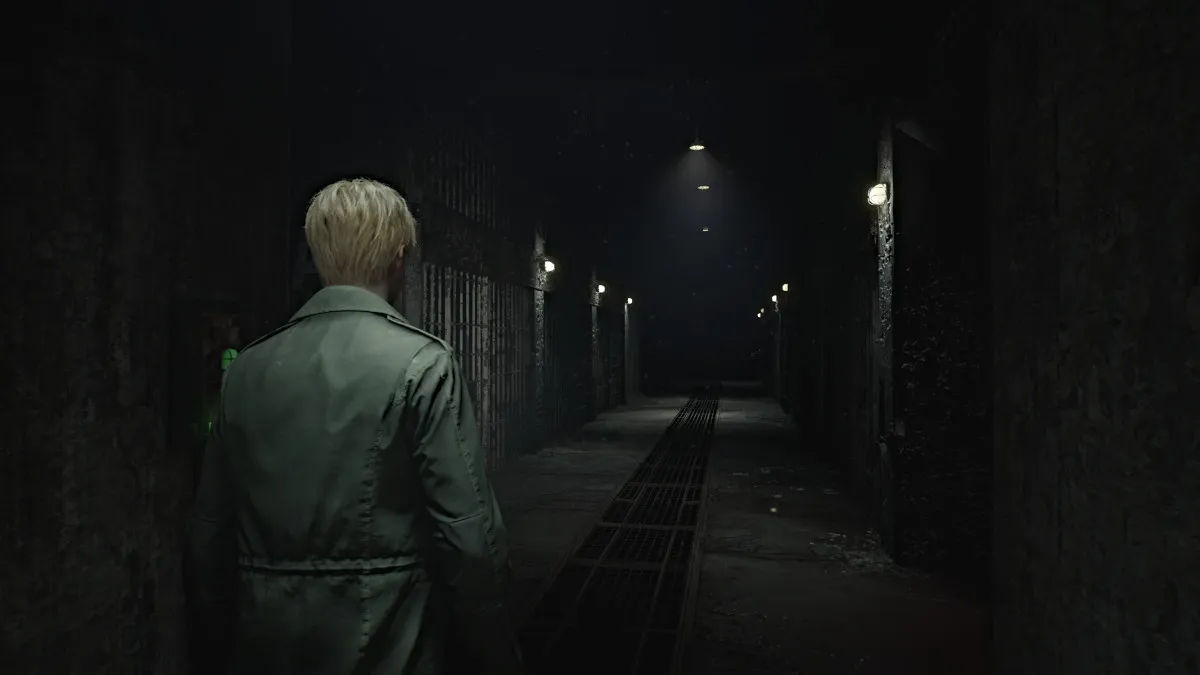
The levers on the walls can give you some temporary light in the block, as even with the flashlight it's uncomfortably dark. However, it will also send Mannequins scurrying up walls to the ceiling. Yep, you now have "Spider Mannequins" to deal with.
In Cell A3 you'll find Rifle Ammo and a Glimpse of the Past in the form of a shrine. In Cell A5 will be Handgun Ammo . Over in Cell A7 there's a crawlspace that takes you to Cell B1 , which has a Health Drink and a hiding Mannequin. Cell B3 has a breakable wall that lets you cross to Cell A9 and A8 , which has Shotgun Shells and another Mannequin.
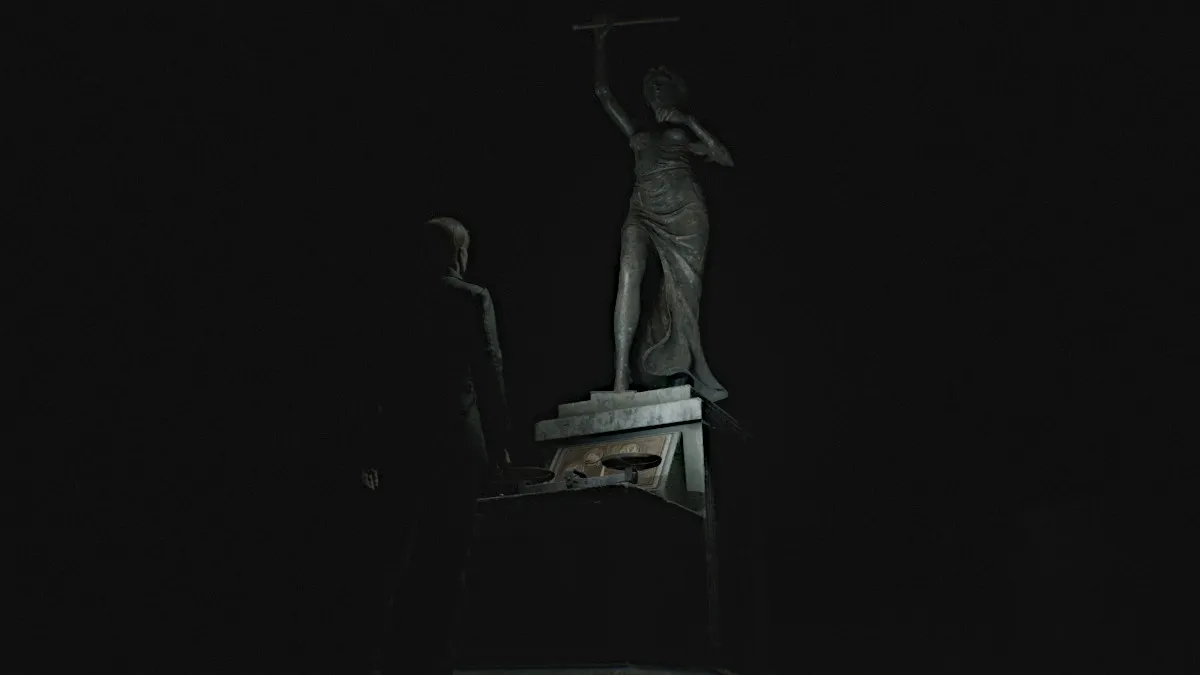
After exploring both blocks, head east down the hallway to the Yard , and use the Red Save Point to your left. This area is unbearably dark, but to keep your...bearings (aha), just run straight ahead. You'll hear a strange galloping noise circling around you, but rest assured there are no monsters in this area.
You'll soon see something ahead of you with a cover over it. Interact to pull it off, revealing a statue with a scale contraption at its base. This is where you put The Heaviest Weight to use, as you need to use it with the smaller weight already available.
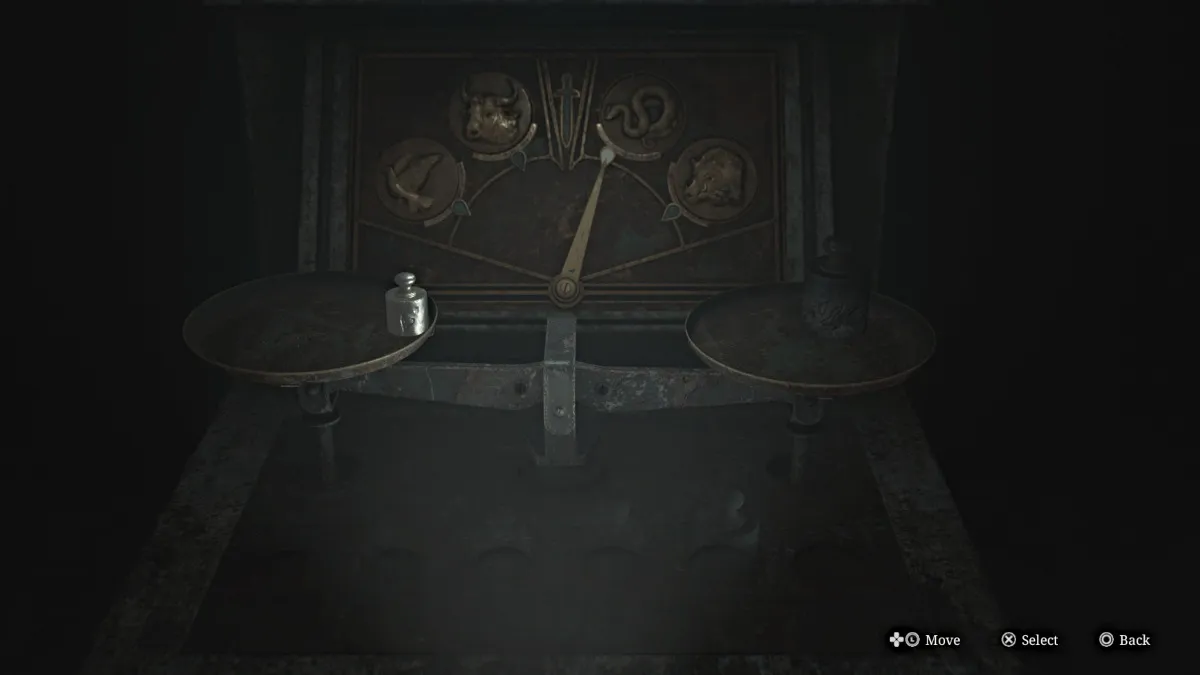
Place the smaller weight on the left scale, and the Heaviest Weight on the right scale , which will tip the arrow above it to the Serpent symbol. This means the Serpent Door within the prison has been unlocked. Head back inside.
The Serpent Door is over at the far end of Block A, to your left after returning from the Yard. Head through it and you'll pass by a lit room with an electric chair in it.
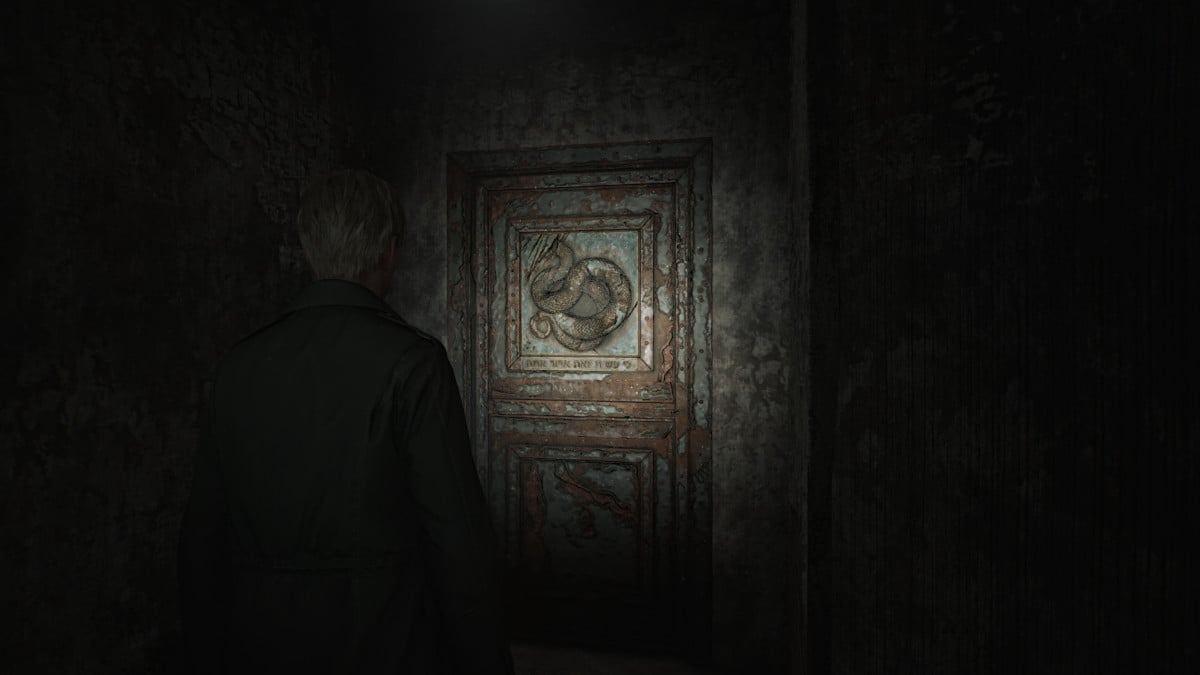
Enter the Guardroom , where you can find a Syringe , Shotgun Shells , and another wall lever you can use to light your way while keeping the spider crawling Mannequins at bay.
Make your way down the block, and in Cell E4 you can grab the Family Photo (memo). Further on, the room next to the Death Chamber has some Handgun Ammo . Now make your way across to the other side of the block, which has much higher ceilings crawling with spider Mannequins. Do your best to keep the lights on as you explore and deal with them when they jump back down to attack.
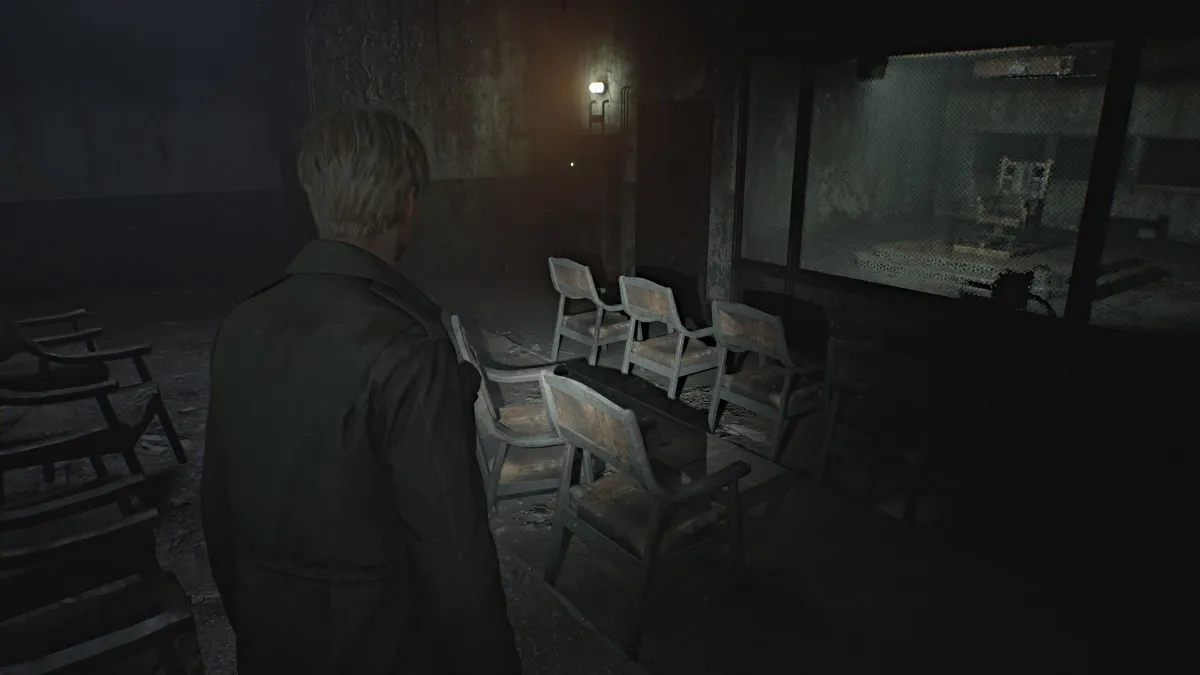
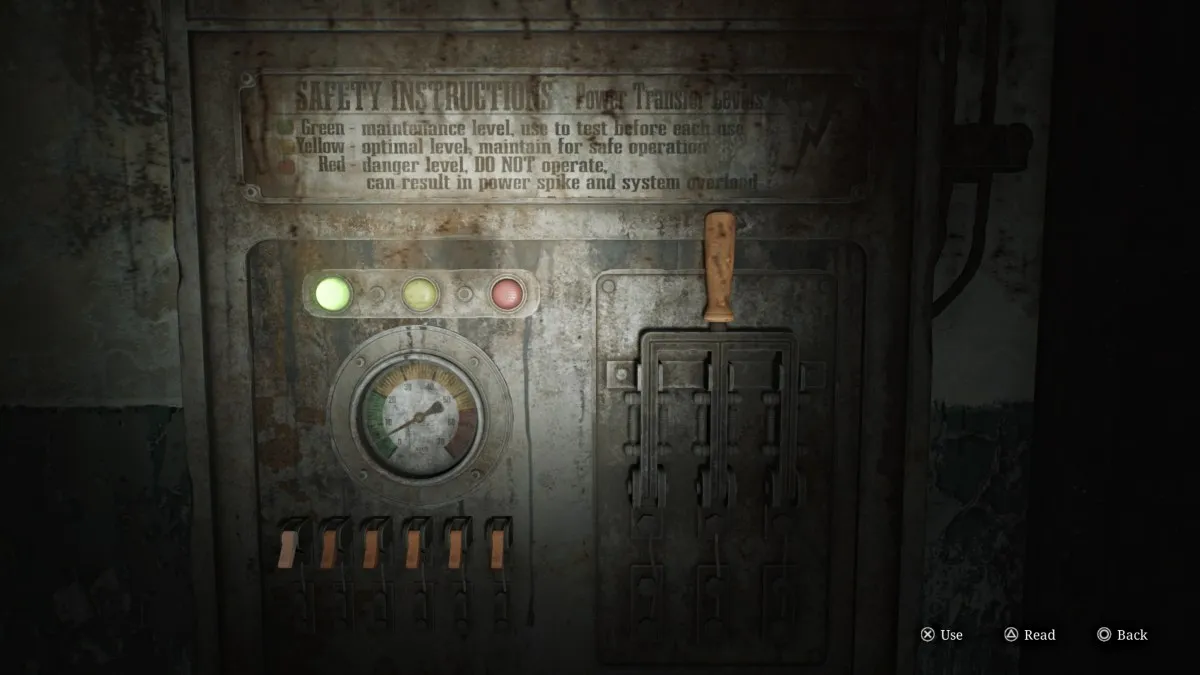
Investigate the rooms on the northeast side, including the Witness Room where you'll find, Handgun Ammo , a Red Save Point , and the machine used to operate the electric chair. Interact with it and you'll see a power gauge along with a sequence of switches and the lever to pull when ready.
The instructions note that you don't want to throw the lever when the power is in the red, but that's actually exactly what you want to do. You'll need to press the switches in the correct order to where they're all turned on at once , sending the power to maximum. Once you have, pull the lever which will overload the power system and automatically unlock all cell doors in the area.
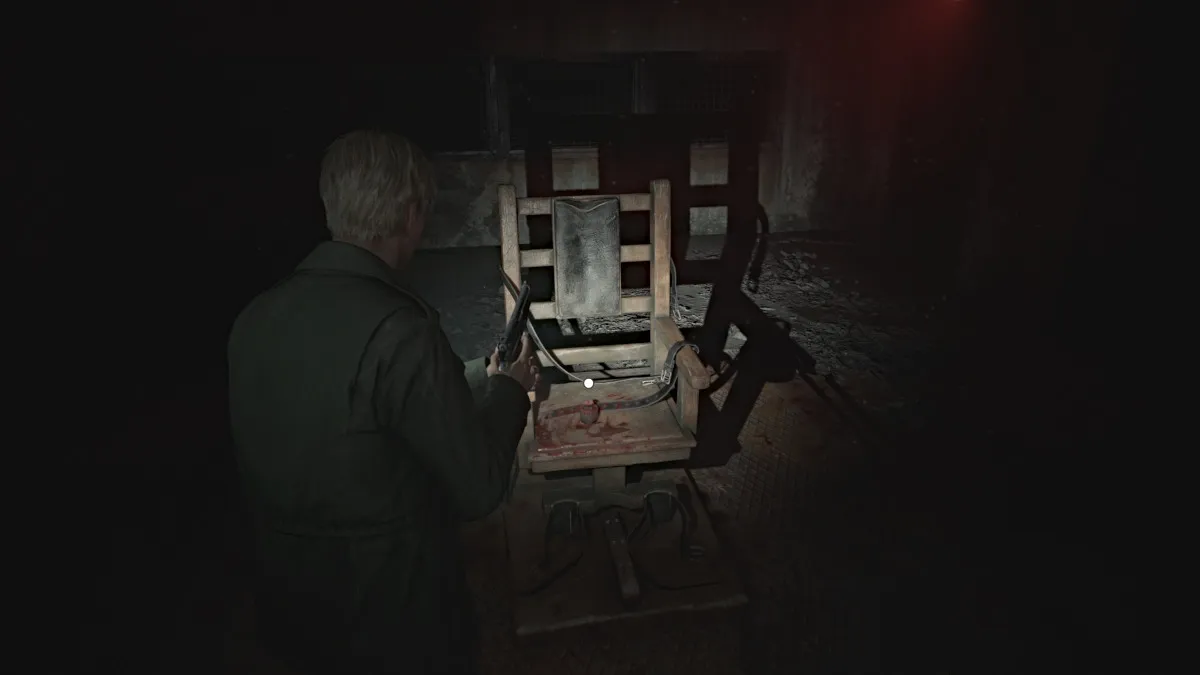
This means you can now enter the Death Chamber and claim the Medium Weight sitting on the electric chair. Now you need to focus on making it through the rest of the block alive, as the alarms have riled up all monsters in the area, and you can no longer use the lights. The path you came in is blocked so exit via the Death Chamber.
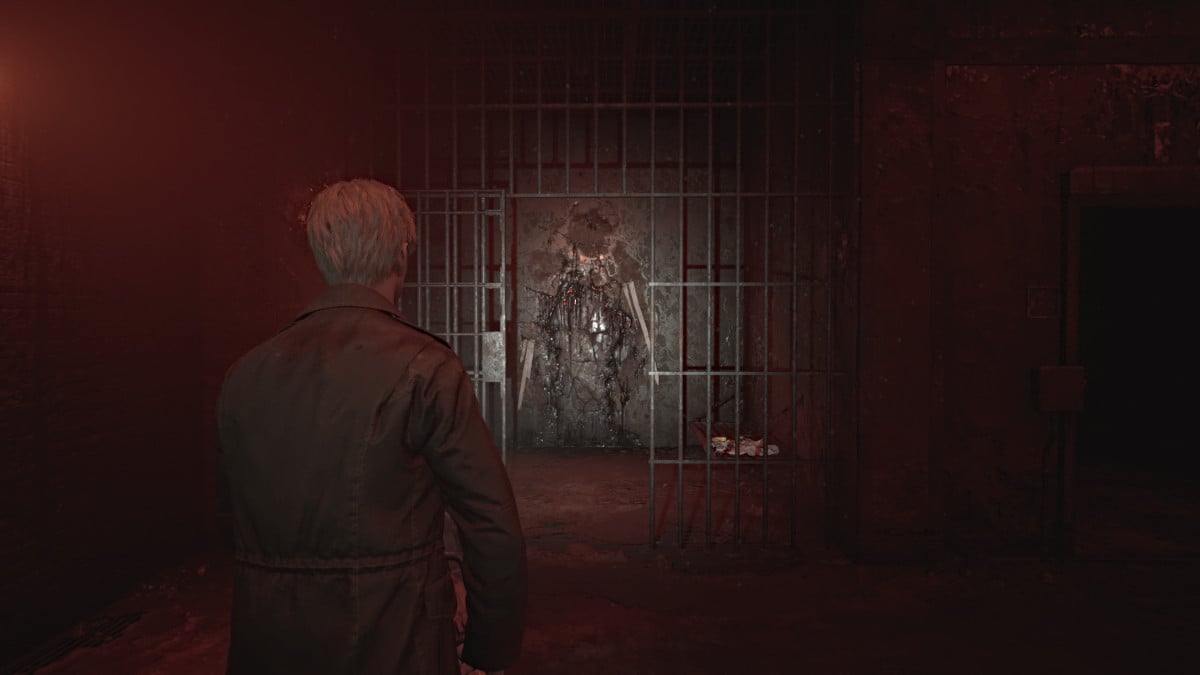
Explore the open cells to find more Handgun Ammo , Shotgun Shells , and a Health Drink . In Cell E1 near the start of the block is a breakable wall, so bash it down to get to the other side of the block. You can find several more Shotgun Shells in the cells on this side. When ready, go into Cell E10 and slide through the wall gap into the Witness Checkpoint area.
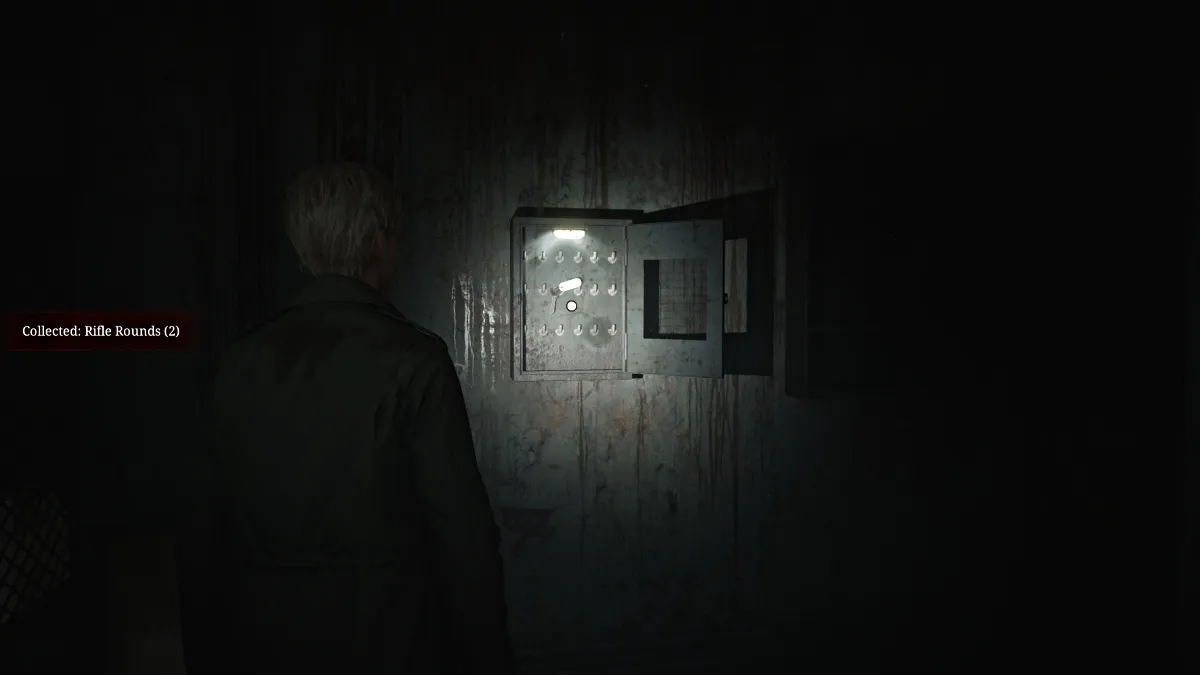
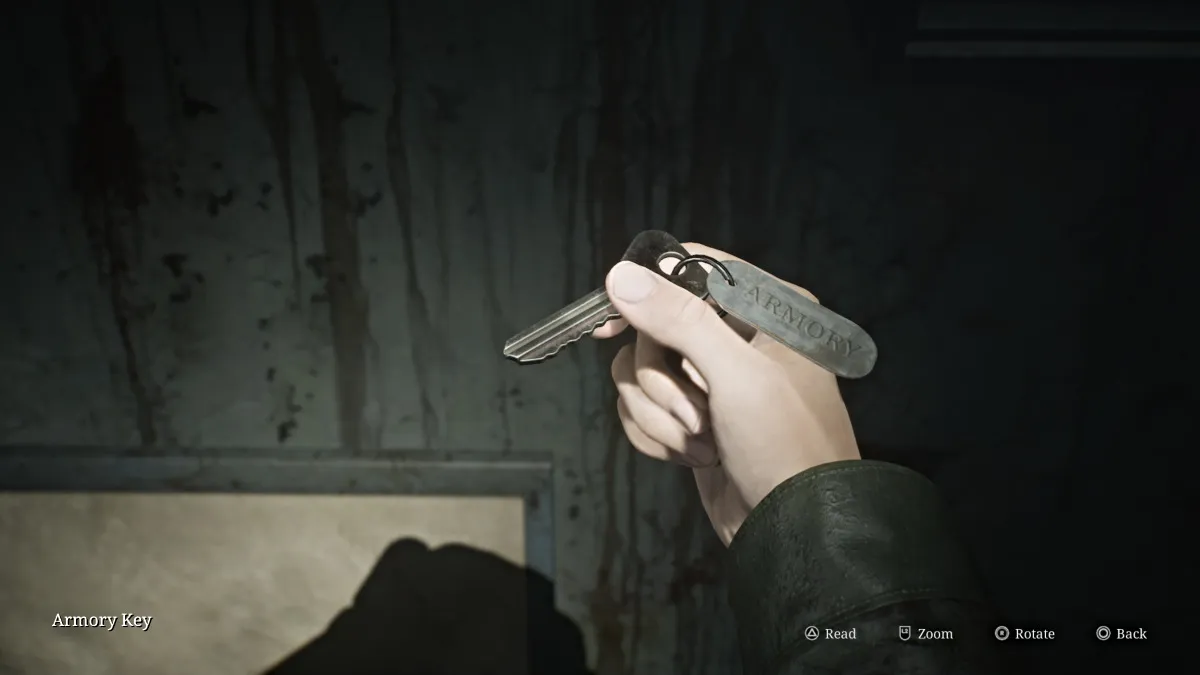
Pick up the Handgun Ammo and Health Drink you find here, as well as the Armory Key hanging in a cabinet on the wall. This will allow you to go and claim the Hunting Rifle . Head back to the Armory and do just that, then use the Red Save Point before heading back to the Scales of Justice statue in the Yard.
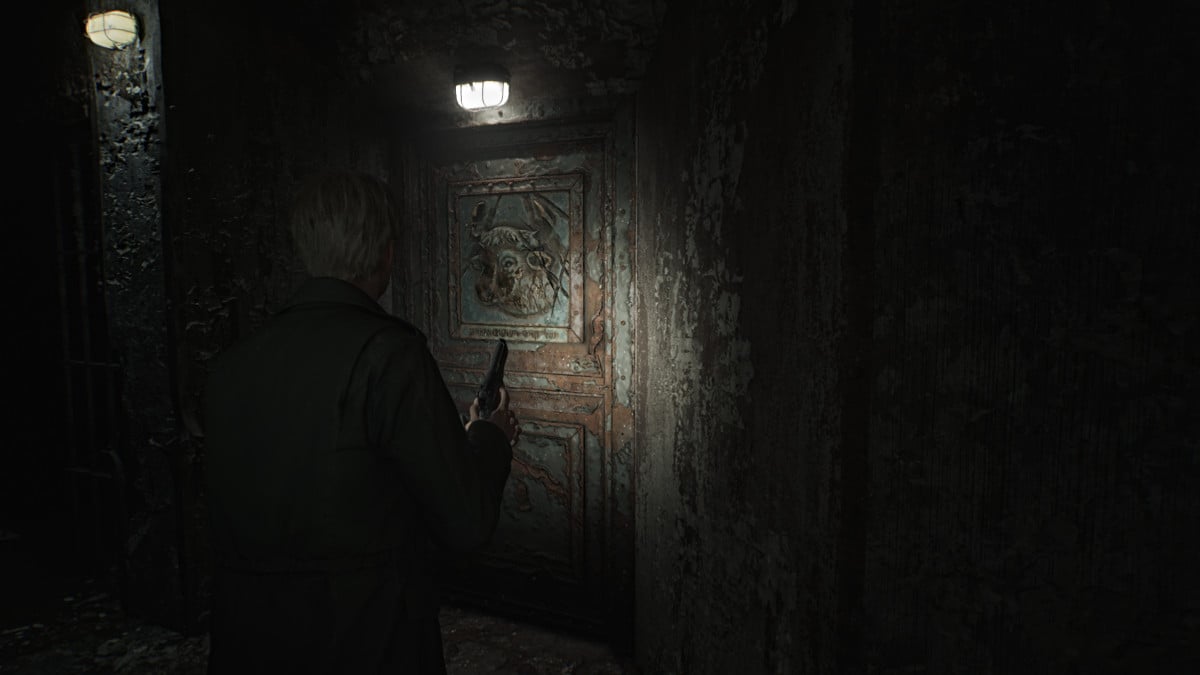
Once you return to the statue in the Yard , your next objective is to place the smallest and Heaviest Weight on the left scale, and your newly acquired Medium Weight on the right scale . Upon doing so, the Hornless Ox Door (seen above) near the entrance to the entire block will unlock.
Head back and through the new door then up the stairs to the second floor of the prison. This area is absolutely crawling with spider Mannequins, so keep your wits about you as you progress through. Go down the first row of cells on the right and use Cell C2 to cross into C3 . Cell C4 has a crawlspace but requires a key to be unlocked . Grab the Health Drink from Cell C5 then head to the Guardroom on the right side.
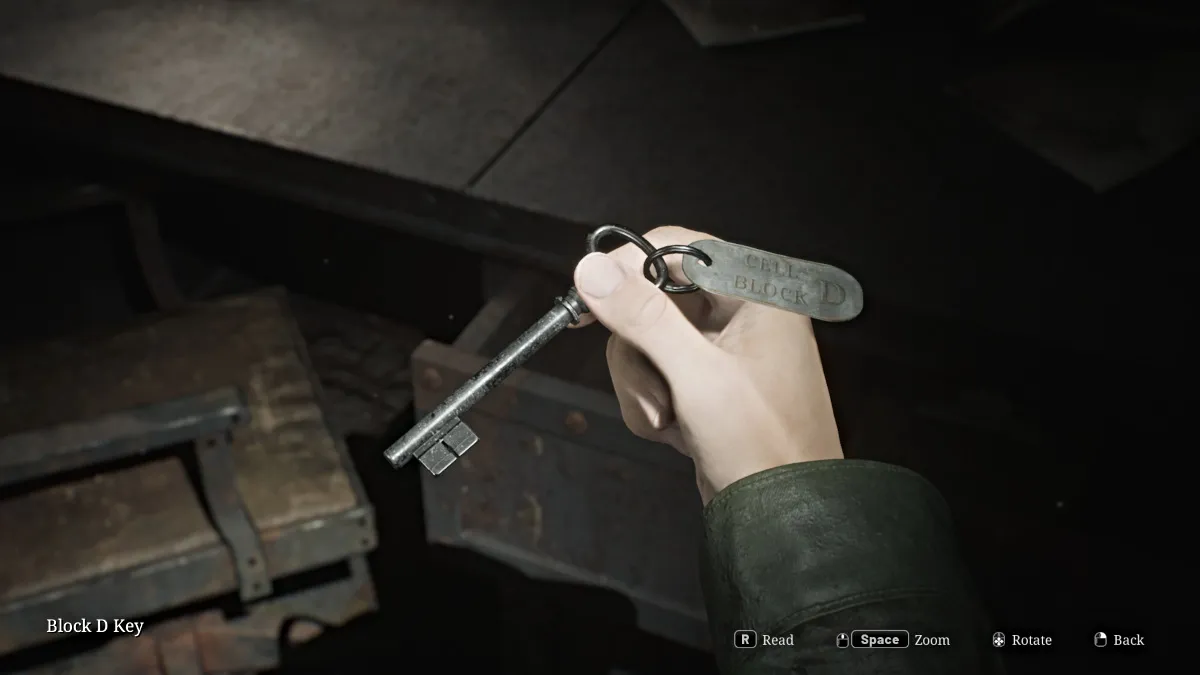
Inside you'll find the Block D Key in a desk drawer along with a Red Save Point , some Handgun Ammo , and a prison guard's notes about something important in Cell D5 . Start making your way to the other side of the block. Use the breakable wall to get into Cell C6 for a Health Drink and a Syringe . Continue down the walkway and use the Block D Key on the door ahead to get into D Block.
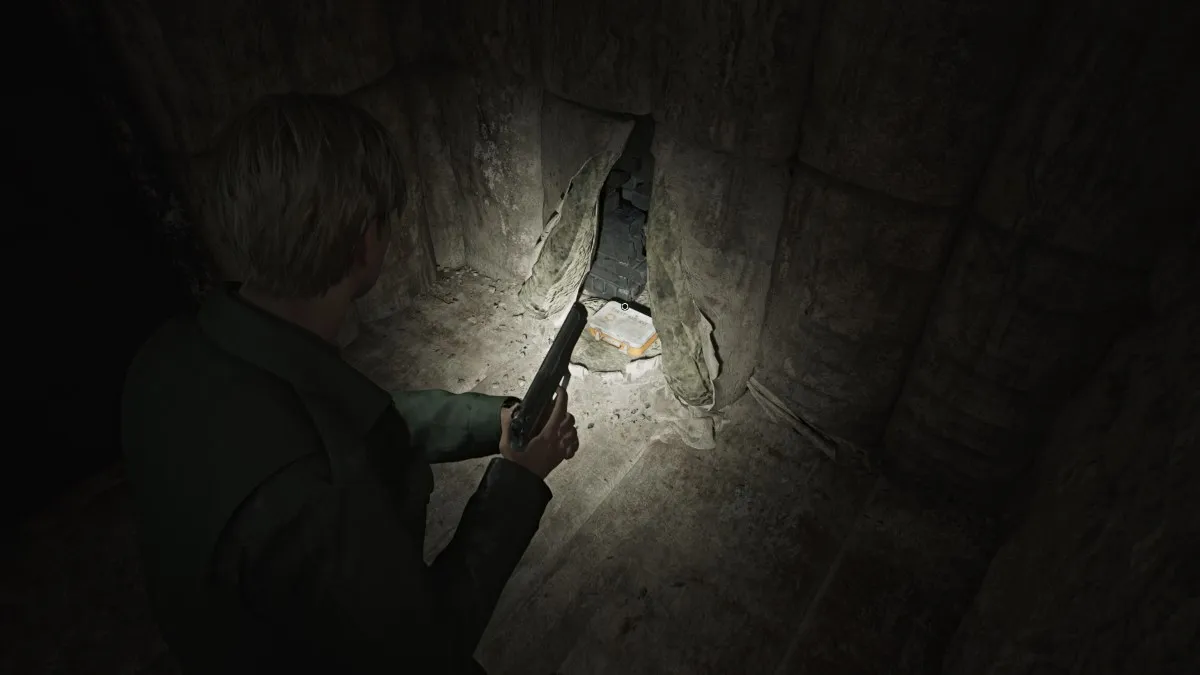
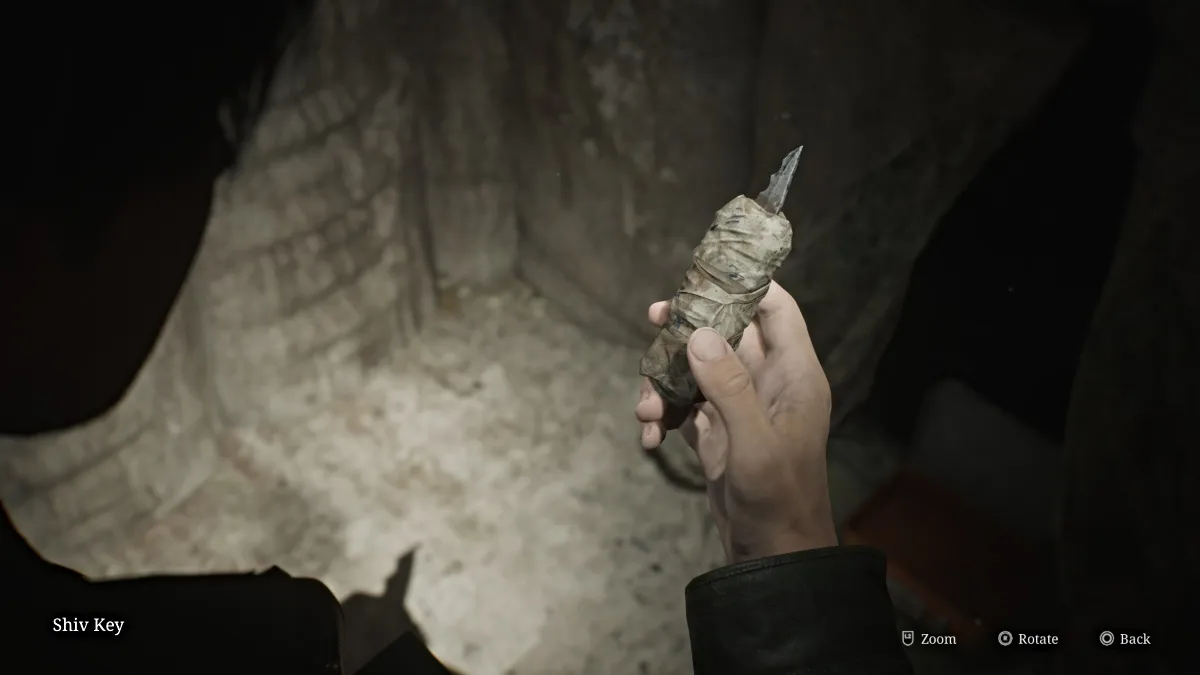
Keep the lights on as you make your way around to Cell D5 , which is a padded room. Inside a first aid kit box you'll find the Shiv Key , and the Threatening Note on the wall that says "we could both use a bath". With that, head back across to the C Block and use the Shiv Key on Cell C4 .
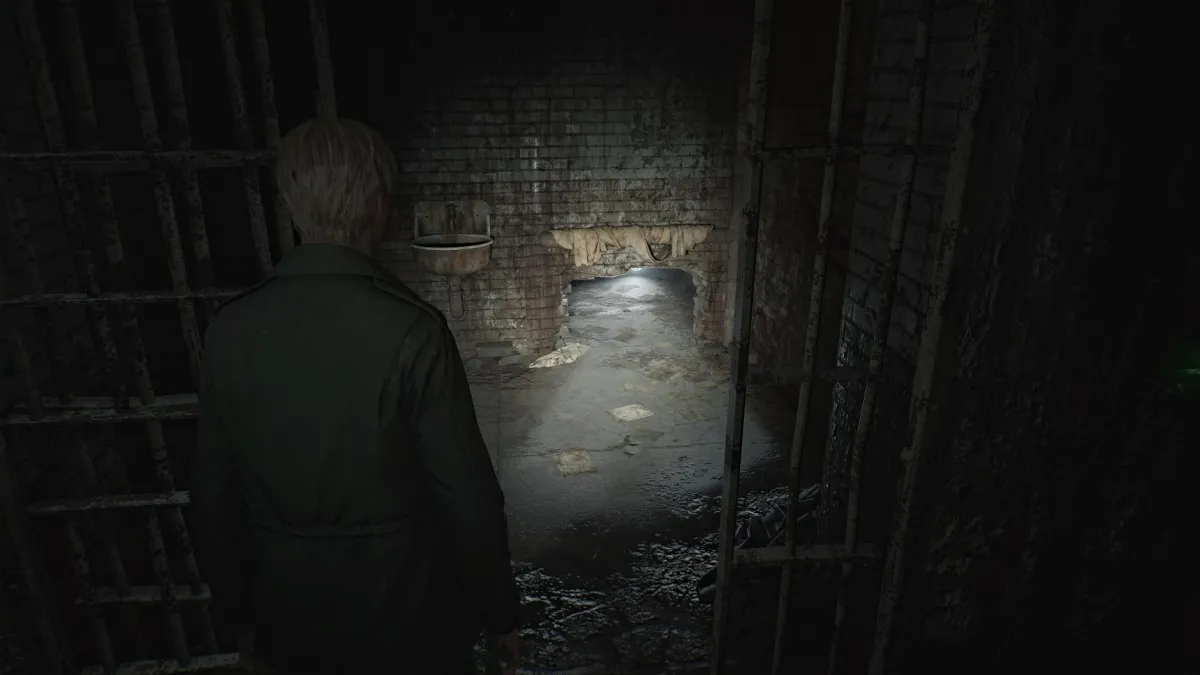
Slip through the crawlspace and grab the Paranoid Note off the pipe. Slip between the pipes on the left side, then down through another crawlspace.
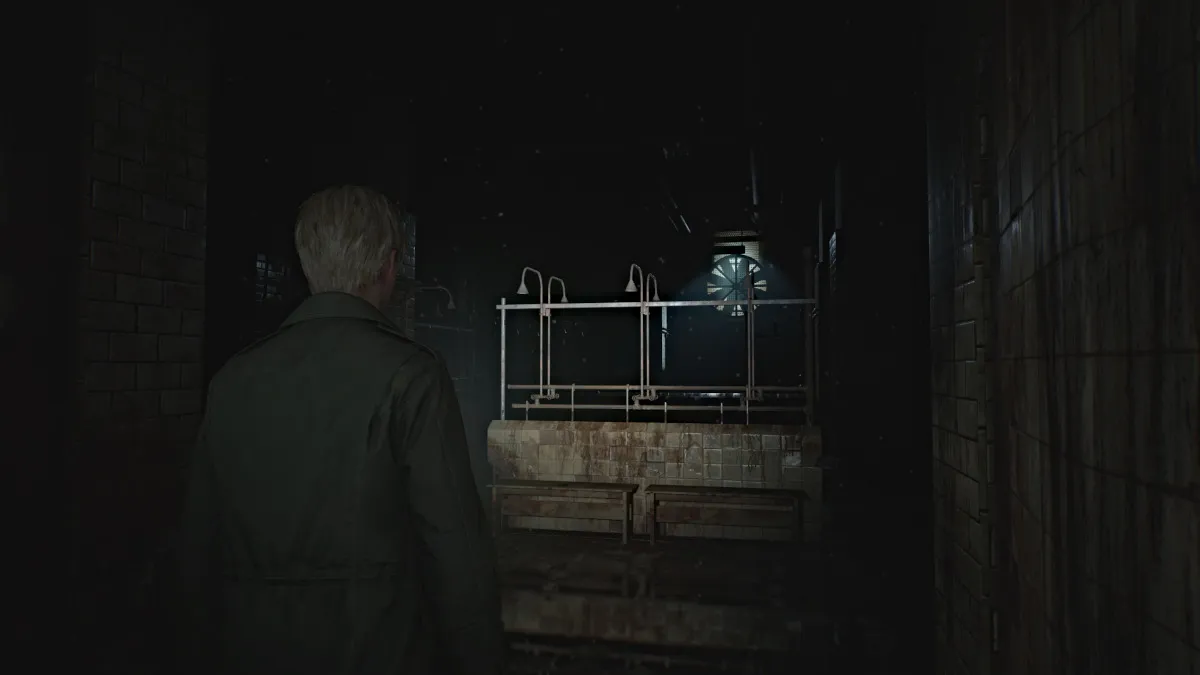
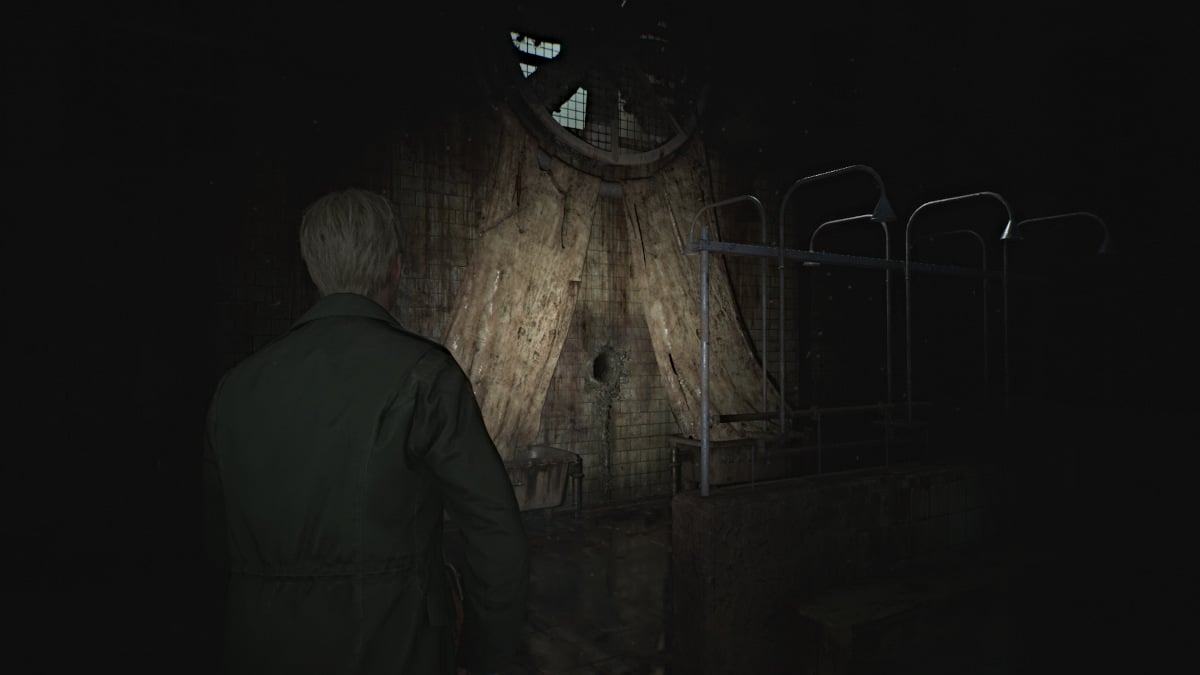
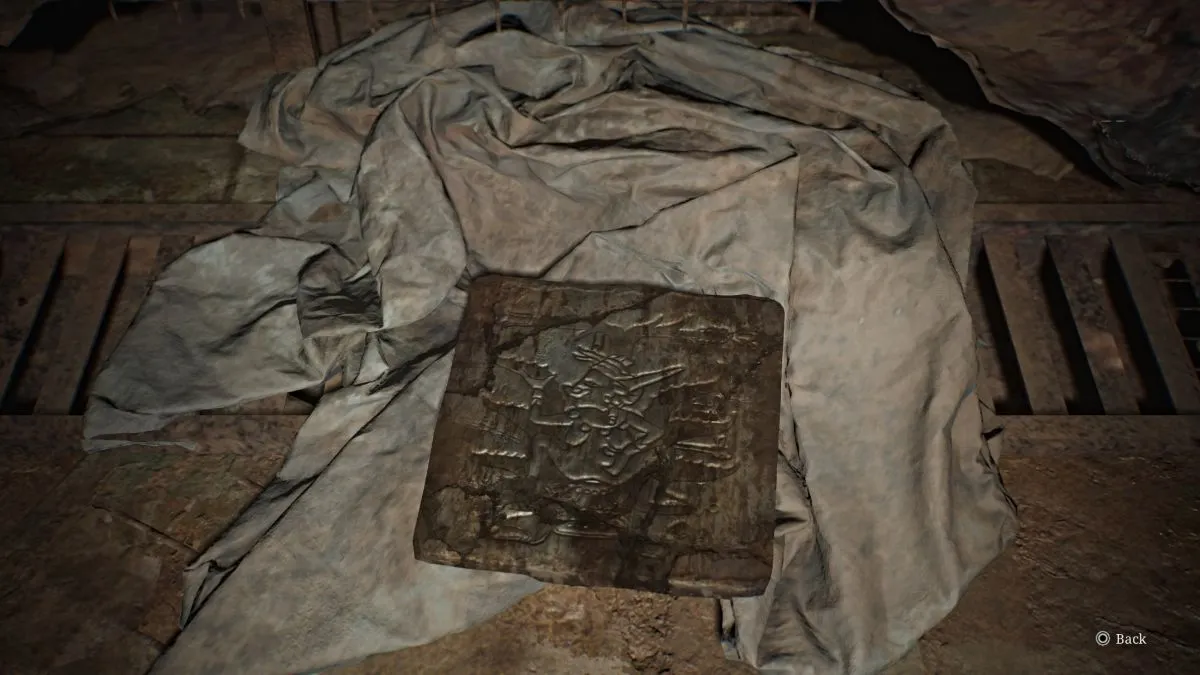
This brings you to the Toilets Room , where you can find some Handgun Ammo on a bench and a Health Drink in a stall. Head over to the Showers area next and deal with the Bubble Nurse patrolling the center of the area. Make note of all the corpses scattered everywhere too, because they won't be still for long.
Venture up the right side of the room, where you'll find another tablet-shaped Glimpse of the Past on the floor.
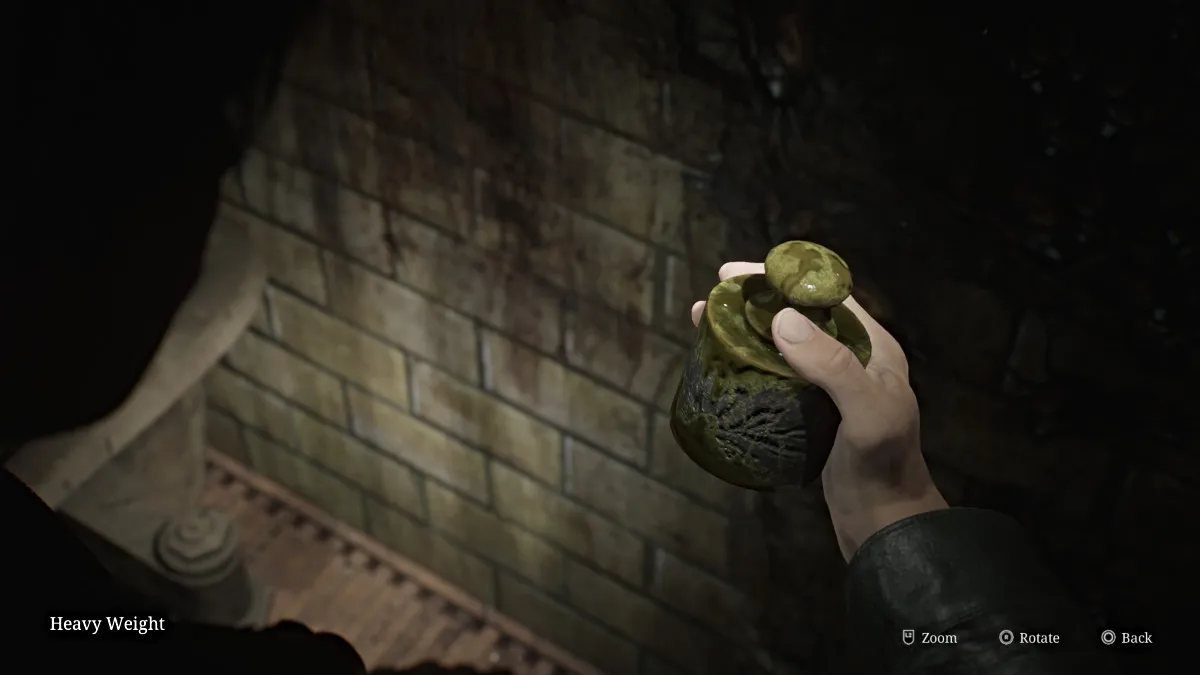
Head towards the back and underneath the rotating fan you'll find a strange "curtain" structure with a hole in the wall that obviously you'll need to have James stick his hand in. Interact with it and you'll obtain the Heavy Weight (seen above).
This will rile up several monsters in both rooms and rather than fight them all, bum rush back to the crawlspace in the Toilets Room and escape through. Make your way all the way back through the block and out the Ox Door.
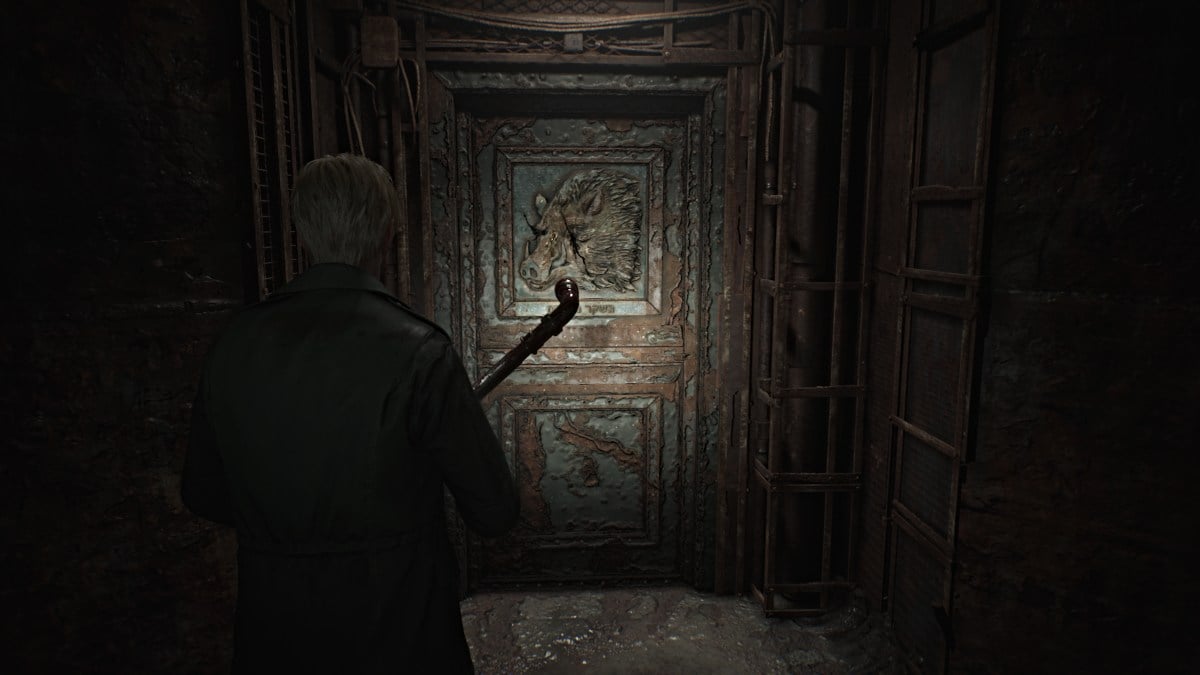
Once again, head back to the Yard to complete the next step of the Scales of Justice. This time, place all of the weights you have on the right scale, except for the smallest weight which you'll put on the left scale. This will unlock the Eyeless Boar Door next which leads to the Administrative Section of the prison. Head back inside and straight ahead to that door, which will be on your right.
Head inside and take the hallway around the Warehouse room, which you can access from the door on the left side. In there, you'll find a couple of monsters along with some ammo and the "Old Man's always prepared" Strange Photo .
Now make your way to the Visitation Room , and grab the Prisoner's Note from station 7 before backtracking to station 5 where you can jump through to the other side.
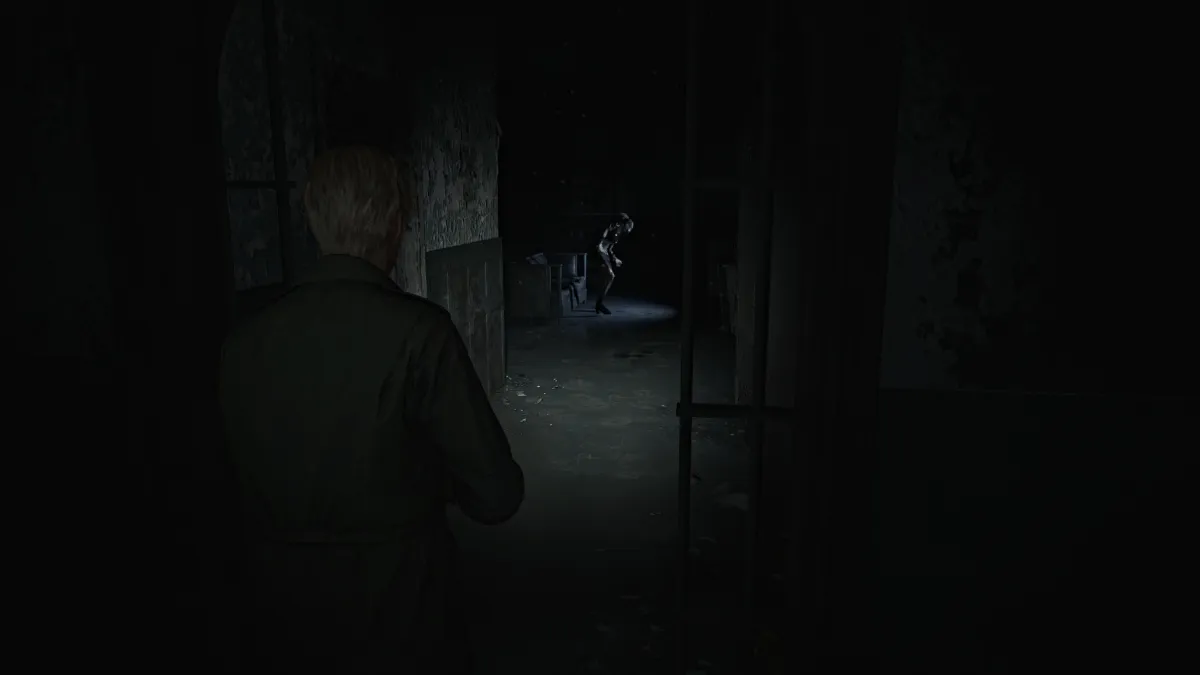
Grab the Shotgun Shells from station 7 before moving on towards the Break Room . On the way there, stop in the Women's Restroom for a Health Drink and a surprise in the last stall, then the Men's Restroom for a Red Save Point .
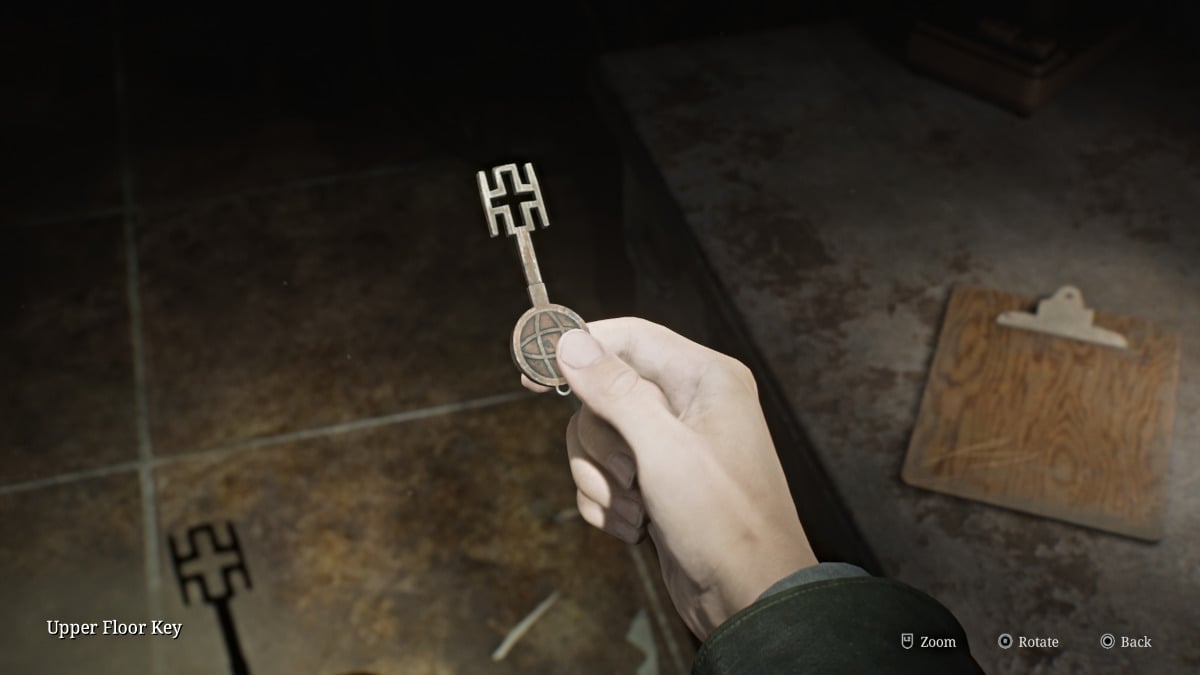
Cut through the Break Room , grab the Handgun Ammo that's in there, then head north to the Infirmary . As expected, there are a few Bubble Nurses to deal with in there, so fight your way through them to the very back room of the Infirmary. There you'll find Shotgun Shells , a Health Drink , and the Upper Floor Key .
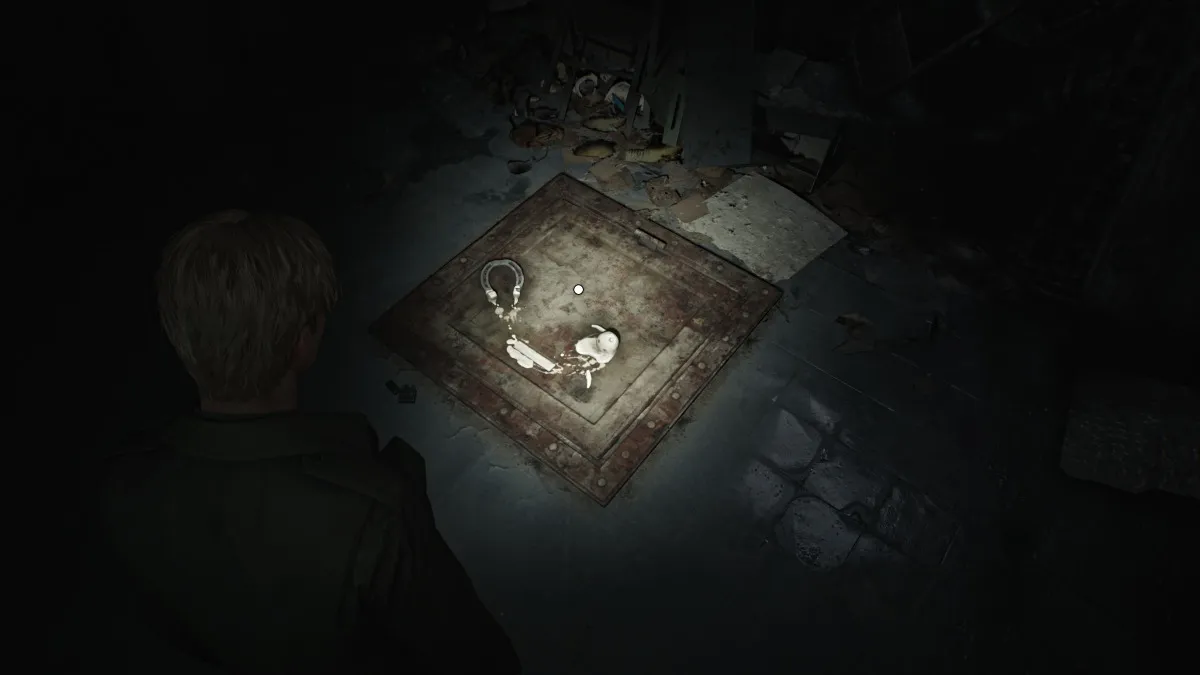
Backtrack on the other side of the Break Room to find another Glimpse of the Past on the floor in front of you, consisting of a horseshoe and a melted wax figurine.
Run back over to the Restrooms and use the Upper Floor Key on the locked gate near the Men's Restroom (by the wall that says "Reap What You Sow"). Take the stairs all the way up to the Warden's Office on the third floor, use the Red Save Point in the nearby storage room, and grab the Handgun Ammo there as well.
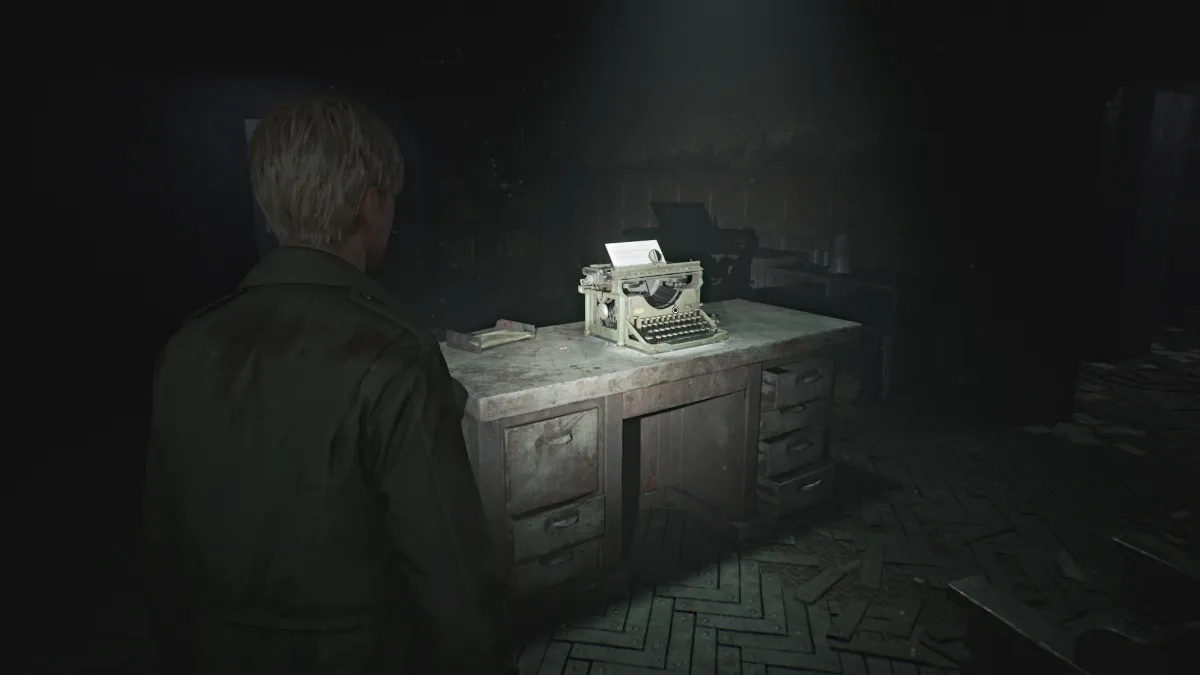
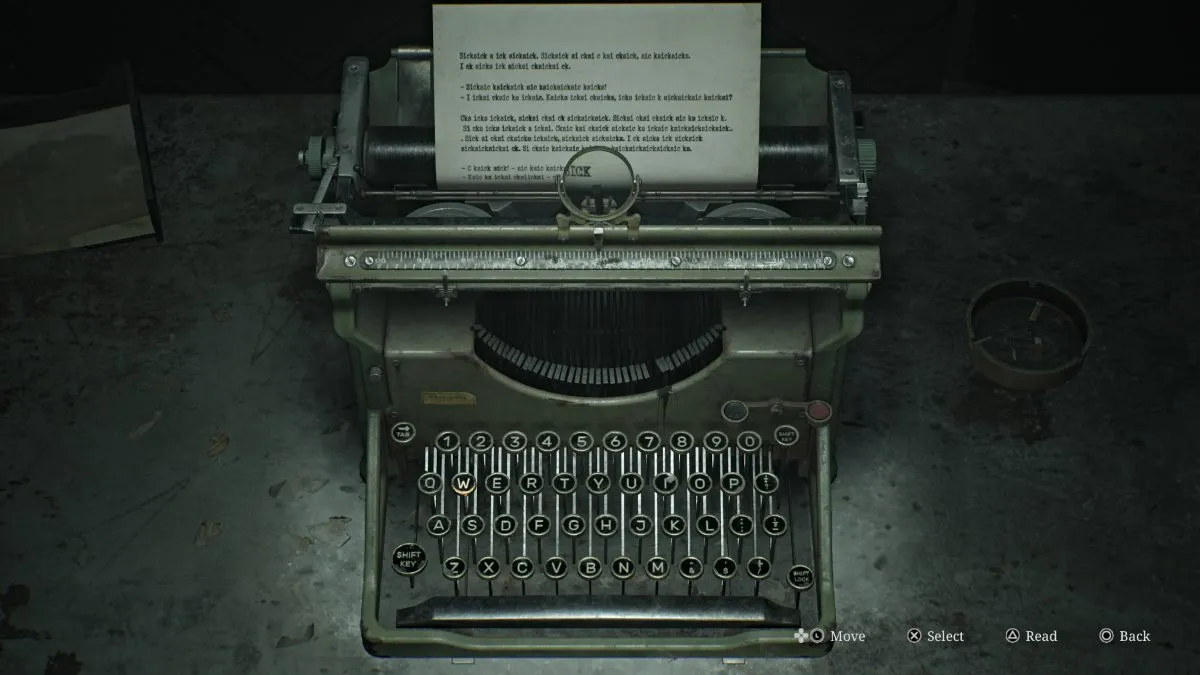
Go back into the office where there's a typewriter on the desk. The paper set in it has the word "sick" typed endlessly, and all you need to do is type repeatedly (any keys) until the desk drawer underneath opens. Inside you can claim the Light Weight . Now you need to make your way back to the Yard once again for the next step.
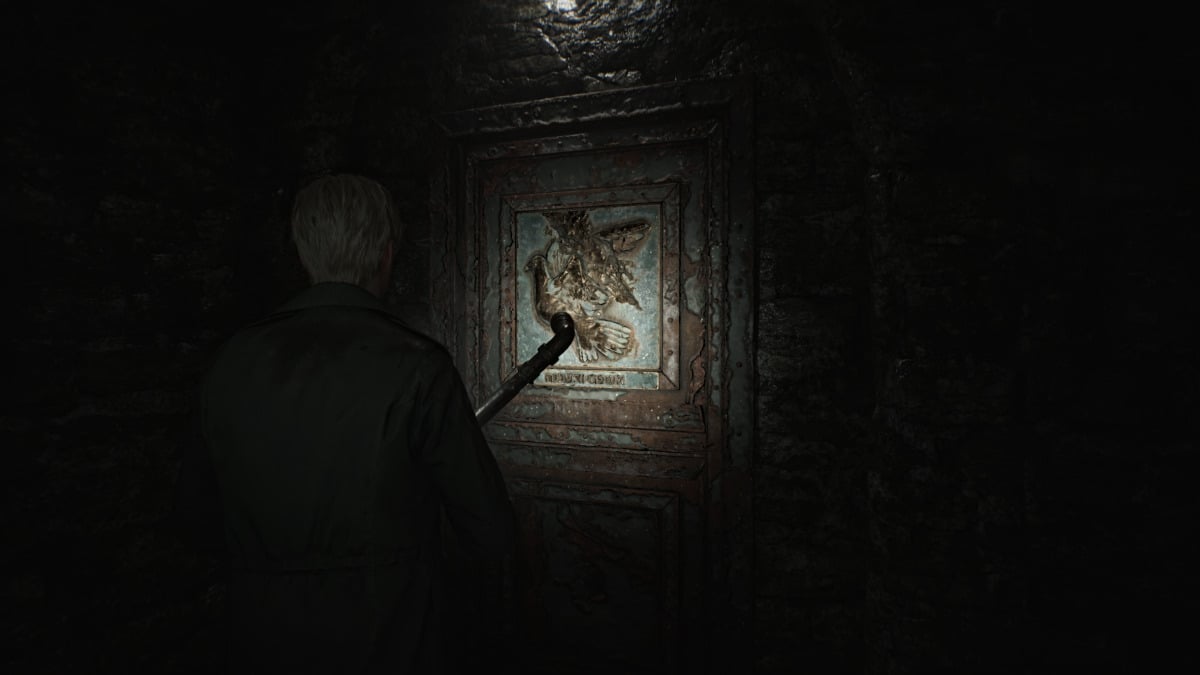
Once you're back at the Scales of Justice, this time you'll need to place every weight on the left scale, except for the Medium Weight which you put over on the right scale . This will open up the Wingless Dove Door , which leads to the Basement level . Head back inside and immediately turn left to find the door down a flight of stairs.
Once inside, start exploring the lower half of the cell block and when you look inside Cell F6 you'll notice the last weight you need sitting on a sheet. For now, go over to Cell F9 and bash through the breakable wall to get to F10 , where there's a ladder you can take up to unlock one of the doors on the first floor.
Head back down and make your way through all the sneaky Mannequins to Cell F14 and grab the Health Drink there. In F16 you'll notice piles of books and glyphs painted on the walls. If you wait long enough, you'll hear an otherworldly voice chanting something.
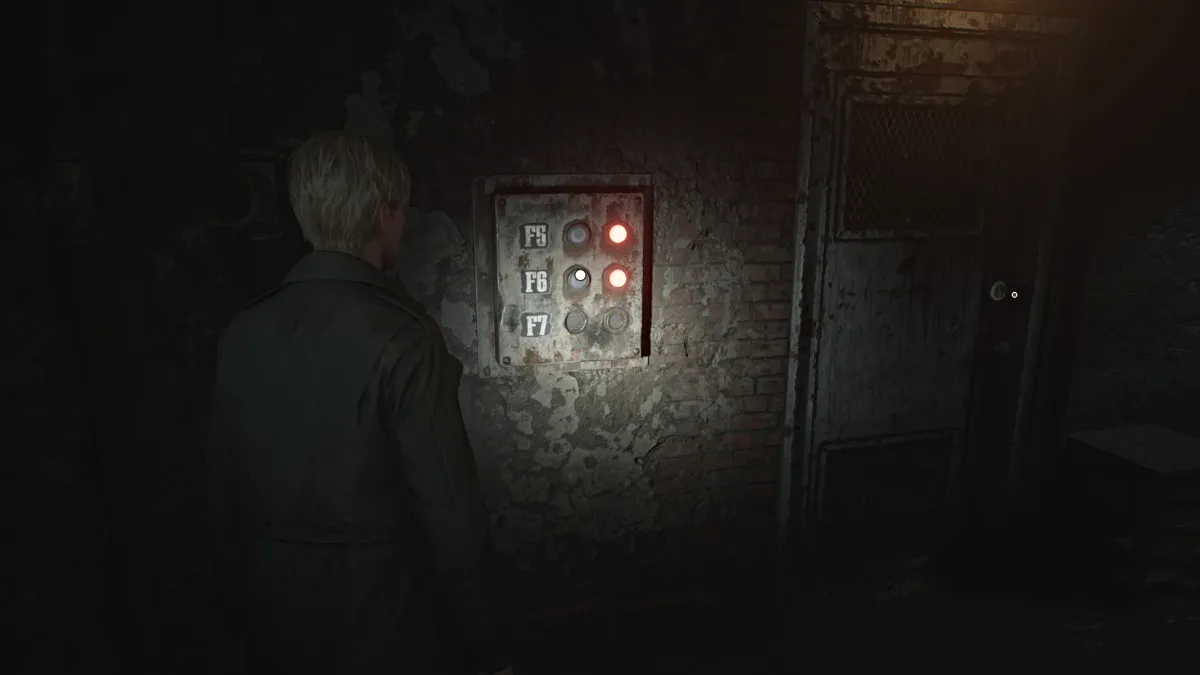
Use the crawlspace on the other side of the hall to get into the next room. Grab the Shotgun Shells from the desk, and view the note on the wall that mentions a prisoner being moved to Cell F6 , where the weight you need is. Go over to the button panel where there are options lit for Cells F5 and F6.
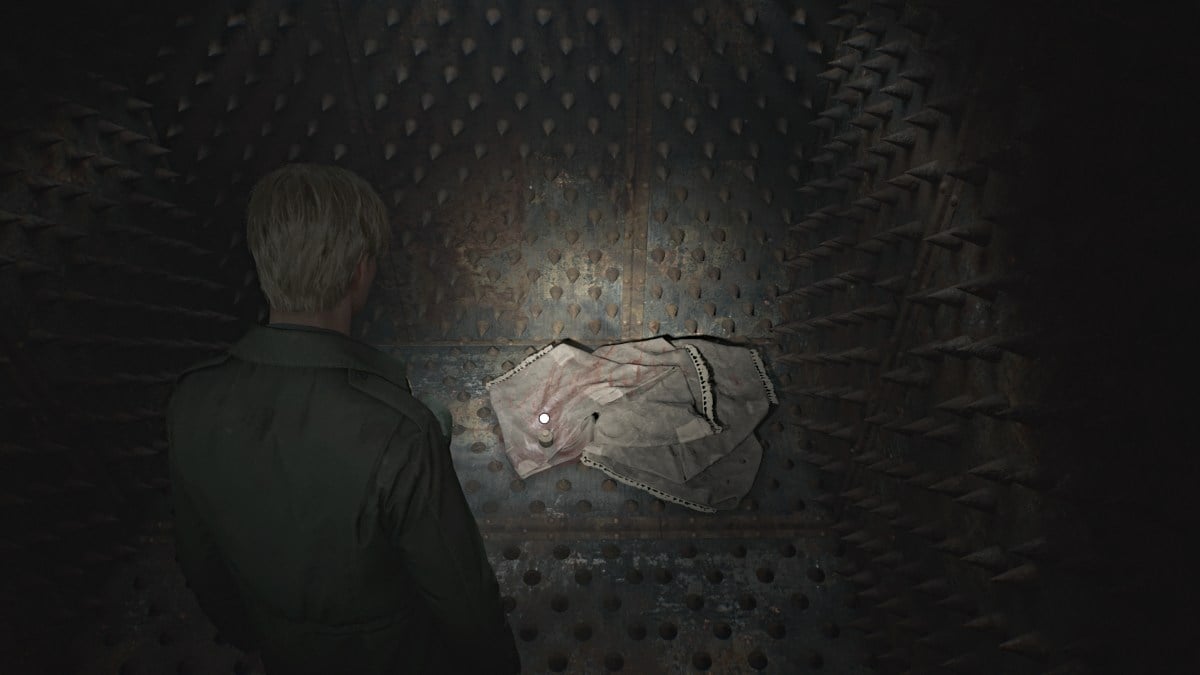
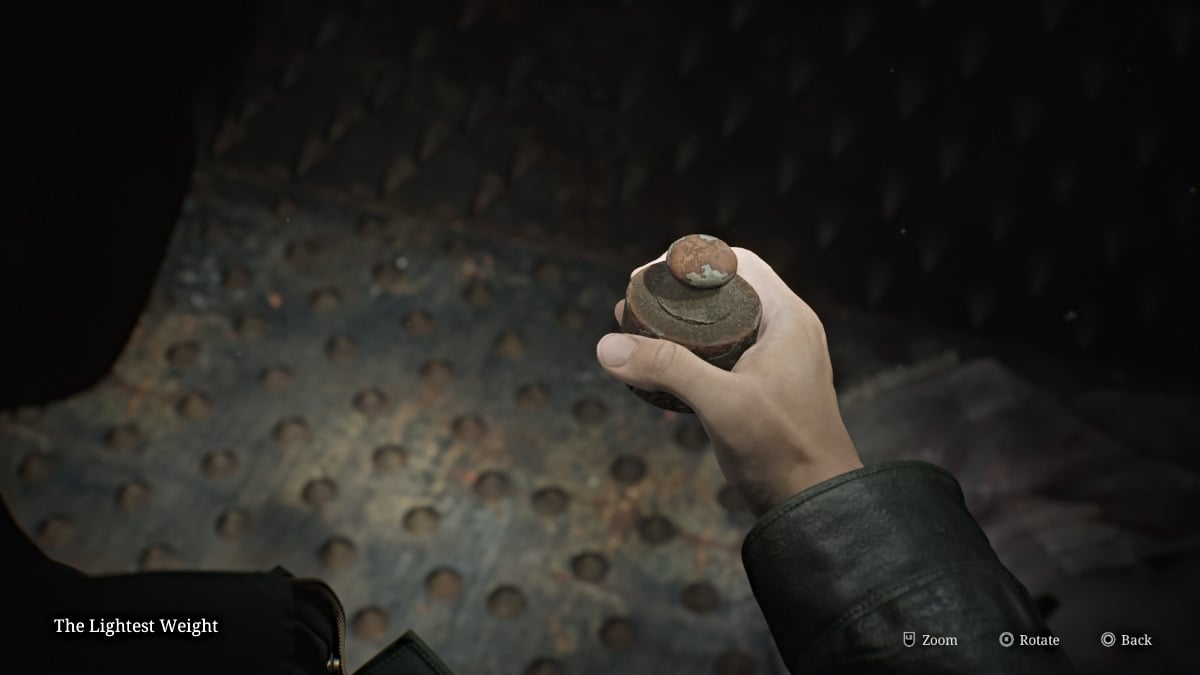
Press F6 and head over to claim the Lightest Weight from inside the cell along with the Confession memo. The door will slam shut temporarily for a nice jumpscare but you'll be able to leave soon enough. Remember to use the ladder in Cell F10 to get out since the entrance is caved in.
Time to head back to the Scales of Justice for the final time.
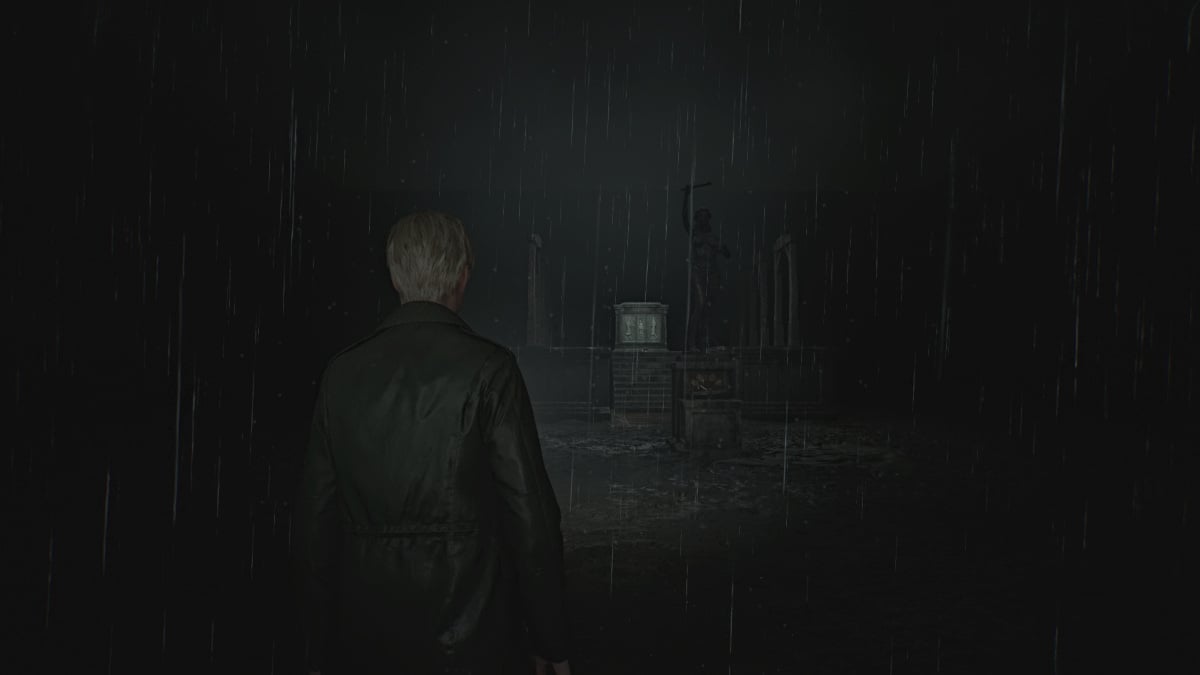
Head back out into the Yard , where it's now raining somehow (being that you're supposedly miles underground). Go over to the Scales of Justice and this time, do the following to perfectly balance the scales:
Putting all the scales back in their respective slots underneath the scale first can help you figure out which weight is which if you're having difficulty. Once the weight is balanced and the arrow centers on the sword symbol, something will fall out of the statue's hand and it's the Execution Lever . This is what you'll need for the next puzzle ahead.
For the Gallows Puzzle , place the Execution Lever in the slot on the platform between both rows of Gallows. The slab in front of you will open to reveal six criminals and their sins, and six slates depicting justifications for those sins.
You'll need to sort out which slates go with which passages regarding the sins of various criminals, and some passages can be different depending on your playthrough and difficulty. At the end, you'll need to choose which criminal was "justified" in their actions, or acting in self-defense.
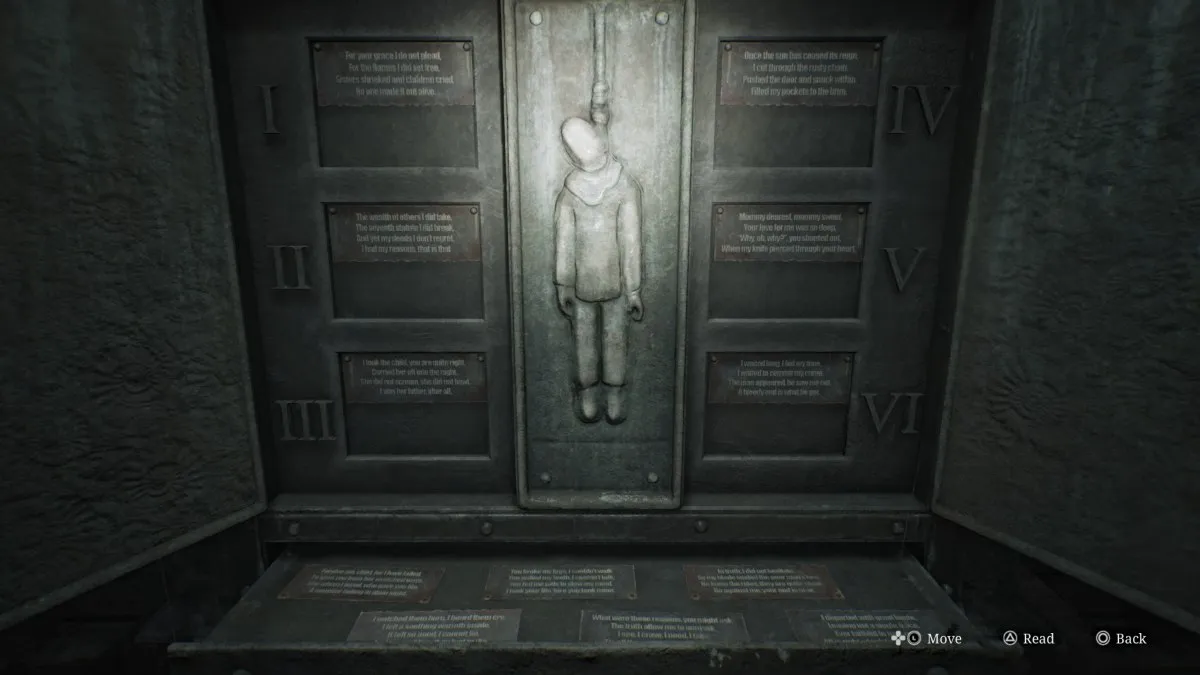
This is arguably the most difficult puzzle in the entire game, but to help you match up the slates with the correct passages, here are the possible answers for each.
| Passage No. | 詩 | Possible Answers |
|---|---|---|
| 私 | For your grace I do not plead, For the flames I did set free, Sisters shrieked and children cried, No one made it out alive. | Answer #1 - Though the young ones' deaths I mourn, Their tormentors are no more, On young souls the nuns did prey, Took their innocence away. Answer #2 - I watched them burn, I heard them cry, I felt a soothing warmth inside, It felt so good, I cannot lie, And for my bliss, they had to die. |
| Ⅱ | The wealth of others I did take, The seventh statute I did break, And yet my deeds I don't regret, I had my reasons, that is that. | Answer #1 - The reason, if I have to say, Was to survive another day, To them, it was a loaf of bread, To me, a cherished step ahead. Answer #2 - What were those reasons you might ask, The truth allow me to unmask, なるほど。 I crave, I need, I take, 'Tis all the sense it needs to make. |
| Ⅲ | I took the child you are quite right, Carried her off into the night, She did not scream, she did not bawl, I was her father, after all. | Answer #1 - Forgive me, child, for I have failed, To save you from her wretched ways, She whom I loved, who gave you life, A monster hiding in plain sight. Answer #2 - My only daughter, joy of days, They wanted to take you away, Hush, little baby, and be still, If I can't have you, no one will. |
| Ⅳ | Once the sun has ceased its reign, I cut through the rusty chain, Pushed the door and snuck within, Filled my pockets to the brim. | Answer #1 - So my guilt is plain to see, I had robbed the pharmacy, Yet, I did so not for gain, But so I could ease the pain. Answer #2 - I departed with great haste, Leaving not a single trace, Ever faithful to my creed, All is right, which feeds my greed. |
| V | Mommy dearest, mommy sweet, Your love for me was so deep, "Why, oh, why?", you shouted out, When my knife pierced through your heart. | Answer #1 - You broke my legs, I couldn't walk, You pulled my teeth, I couldn't talk, You fed me pills to slow my mind, I took your life 'fore you took mine. Answer #2 - You were, oh, so kind to me, Filled my heart with joy and glee, In the end, it was for naught, "Why, oh, why?", you ask.なぜだめですか? |
| VI | I waited long, I bid my time, I waited to commit my crime, The man appeared, he saw me not, A bloody end is what he got. | Answer #1 - In truth, he was less man than beast, And on my flesh and soul he'd feast, My will to live he'd try to break, There is so much a man can take. Answer #2 - In truth, I did not hesitate, As my blade sealed the poor man's fate, He knew the rules, they are quite clear, Go against me, your end is near. |
For the passage(s) that has Answer #1 as their choice, that will be the one you want to choose as innocent or "justified". More than one passage may indicate innocence based on this, and you need to decide which one best describes self-defense or defense of another (such as a child).
When you've made your choice, go over to the corresponding noose and pull it down.
If you guessed correctly, you'll fall through the platform and land inside The Labyrinth . If you guessed wrong, you'll instead fall into a room with several monsters you'll need to run through and make your way back up to the Gallows and try again.
After successfully completing the Gallows Puzzle, ahead of you will be not one but two more massive holes to jump into, sending you to a depth clearly beyond reality. Afterward, you'll take a mineshaft elevator down to a floor with a Red Save Point . Use it and enter through the door ahead.
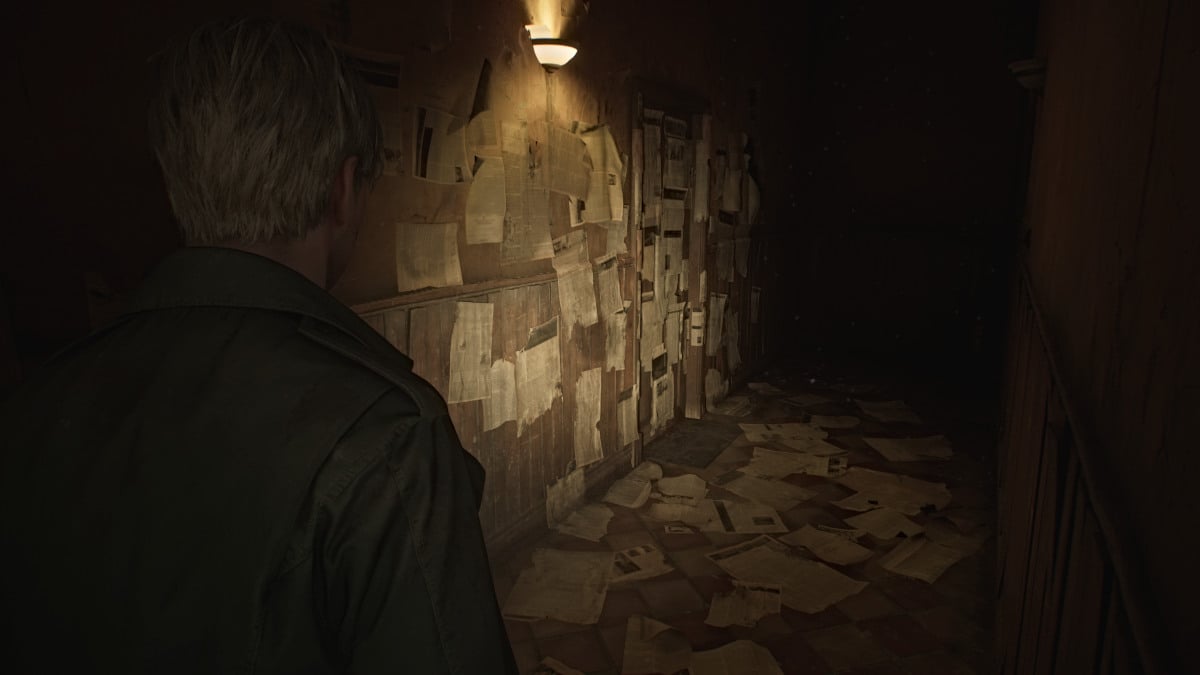
Follow the path through what resembles an apartment hallway, and you'll hear whispers behind the doors you pass. If you budge the doors, they'll hush in response. Keep going until you reach a section of the hallway decorated with newspaper clippings, including a bloodied one on the floor you can read about the murder of Thomas Orosco, Angela's father .
Suddenly, Angela's screams can be heard from behind the door ahead, alluding to a conflict with her father. Go inside, grab the Health Drink and Shotgun Shells from the kitchen area, then take a deep breath and go through the darker door on the left, where you'll see one of two more doors. The one in front of you is likely the bedroom of Angela's brother.
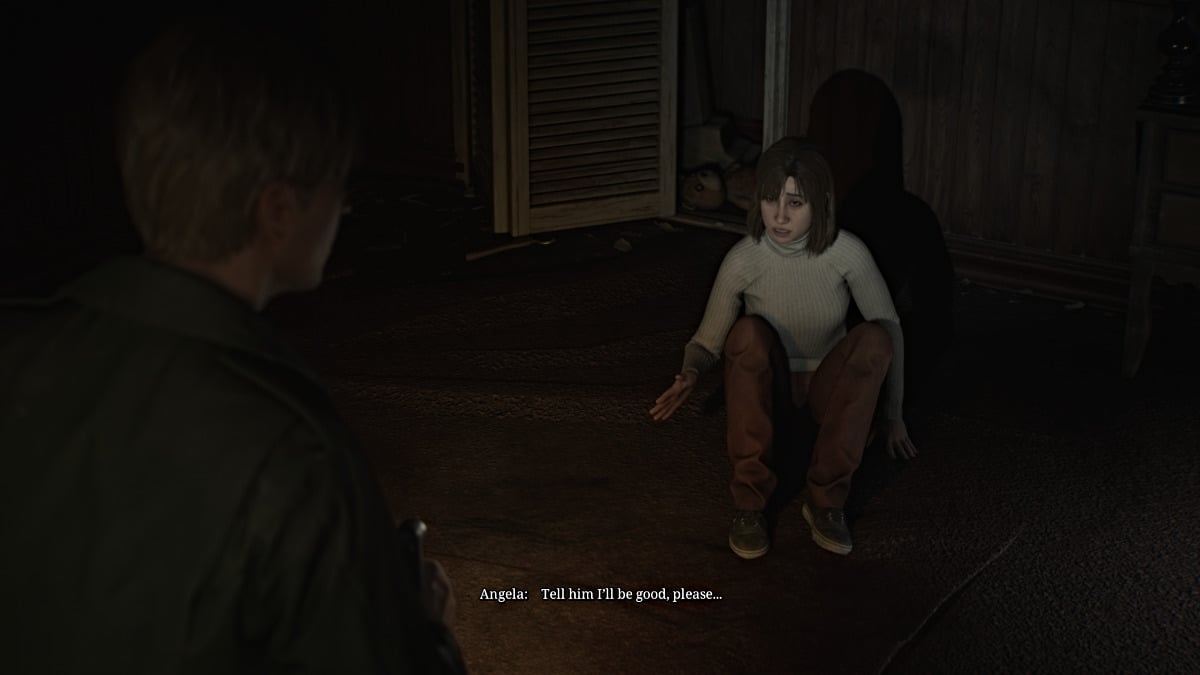
Go to the one on the left, where you'll find Angela cowering inside. Before James can figure out what's wrong, a much larger monster called the Abstract Daddy suddenly attacks and slams him through a wall. Take a deep breath and prepare for one of the most challenging and emotionally devastating fights in the game.
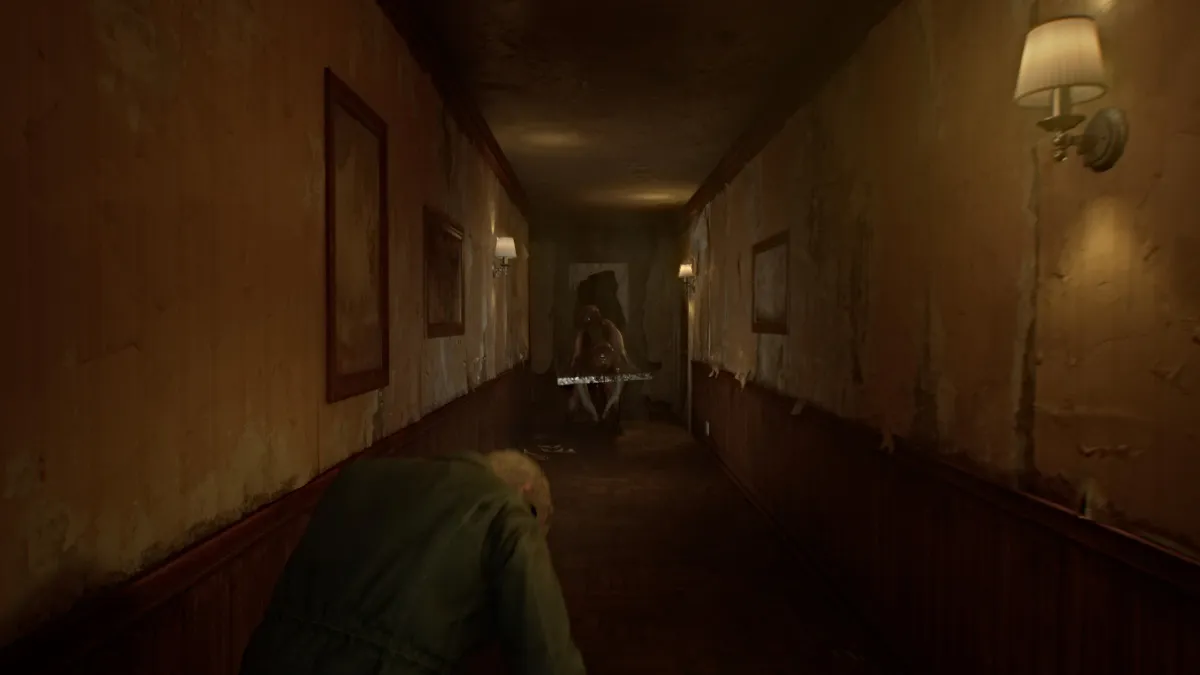
If it wasn't already obvious, Abstract Daddy is the disturbing manifestation of Angela's intense trauma from being sexually abused by her father as a child, and its physical form is meant to embody that. It makes it one of the most intense and consequential fights in the game.
The battle begins with Abstract Daddy confronting you in the hallway, and once again, keeping your distance from him is imperative. If he manages to charge and grab you, he can deal significant damage in each instance, so be sure to keep your health topped off.
You may initially think you're fighting him in tight quarters, but the "arena" has suddenly taken the form of a seemingly endless maze within Angela's home. This allows you to land hits on Abstract Daddy while constantly keeping your distance. Prioritize your Hunting Rifle and Shotgun for dealing damage, and time your shots well because he has an insane amount of health.
At certain junctions when you've dealt enough damage, Abstract Daddy will disappear briefly, allowing you time to recover and reload your weapons . Make sure to explore everywhere you can for extra ammo and health. As you travel through the maze, you'll see Angela fleeing in terror herself, and occasionally a scratchy recording of her father will play, further inferring his verbal abuse.
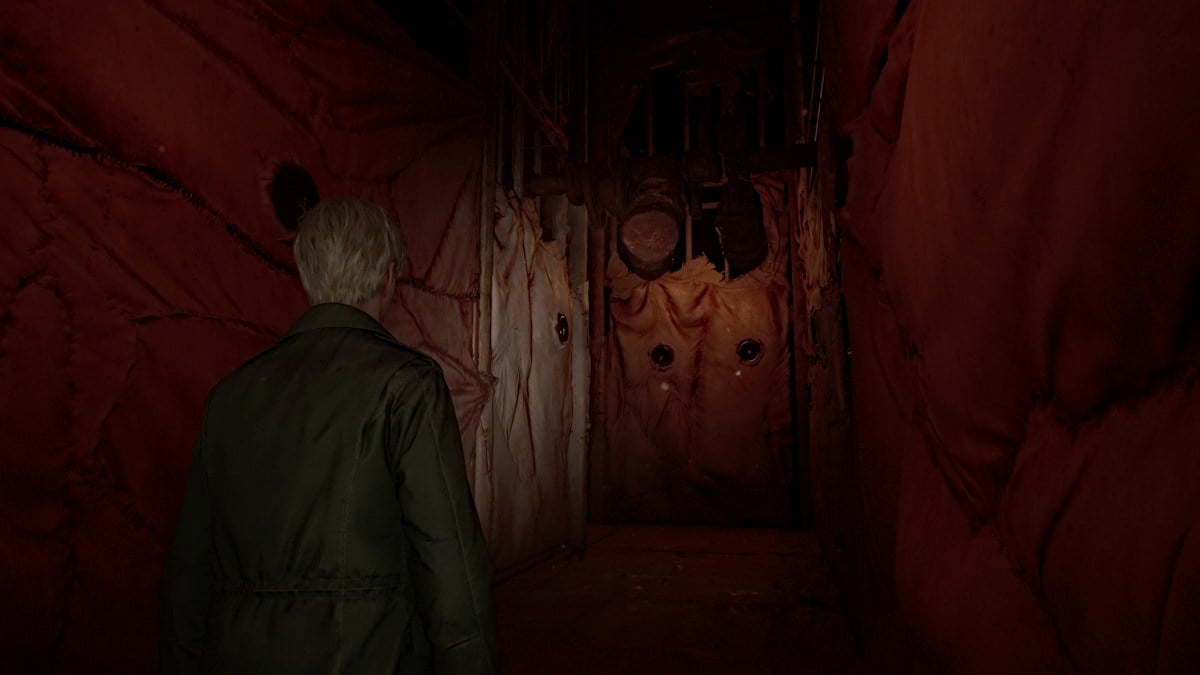
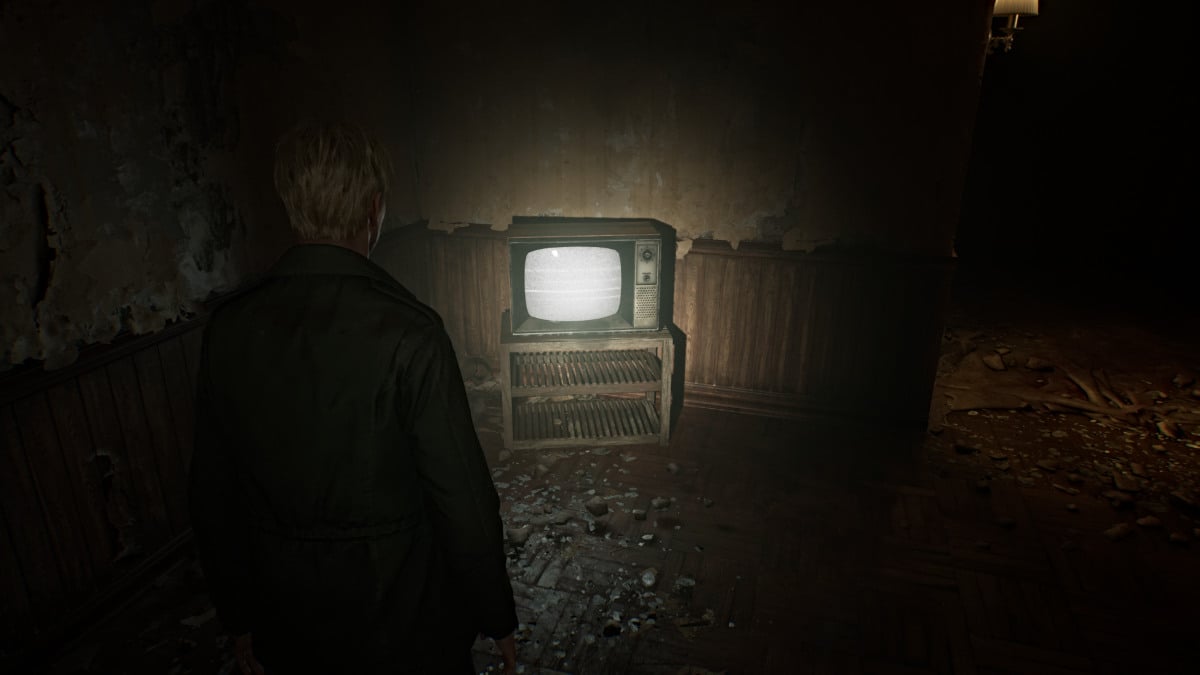
The fight occurs over multiple phases, and at least three times you'll need to trigger the next one by finding a static TV and smashing it with your pipe. The further into the fight you go, the more the environment changes into something closer to the Otherworld, and the walls turn...well, "fleshy".
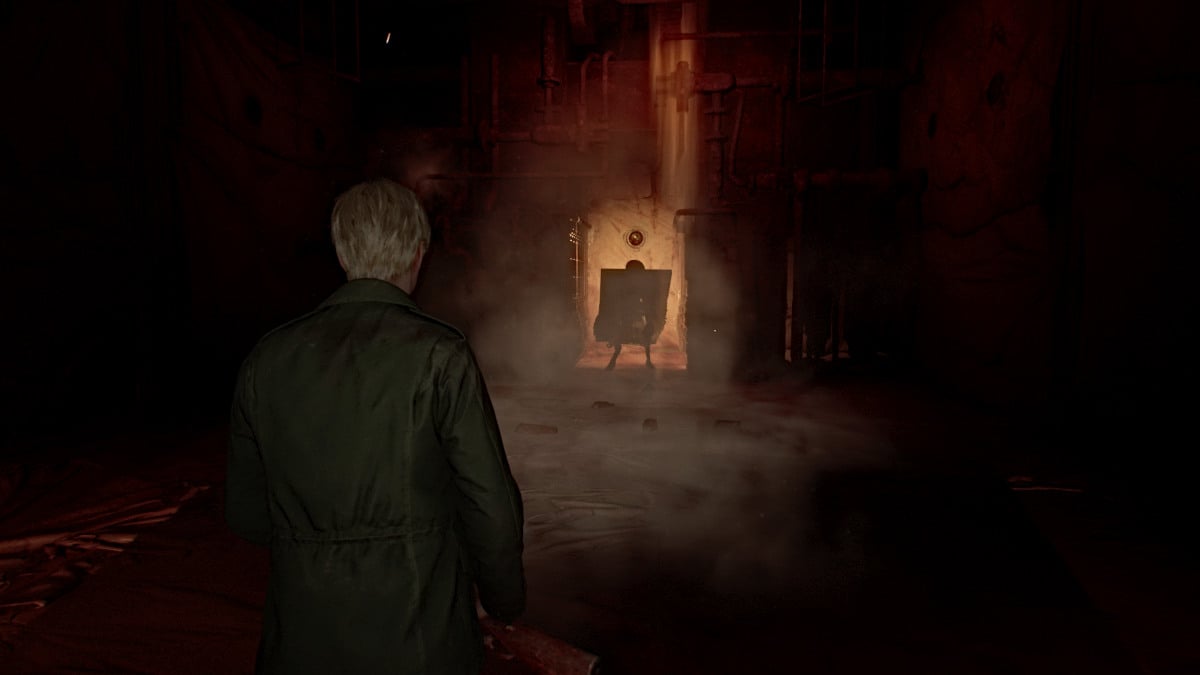
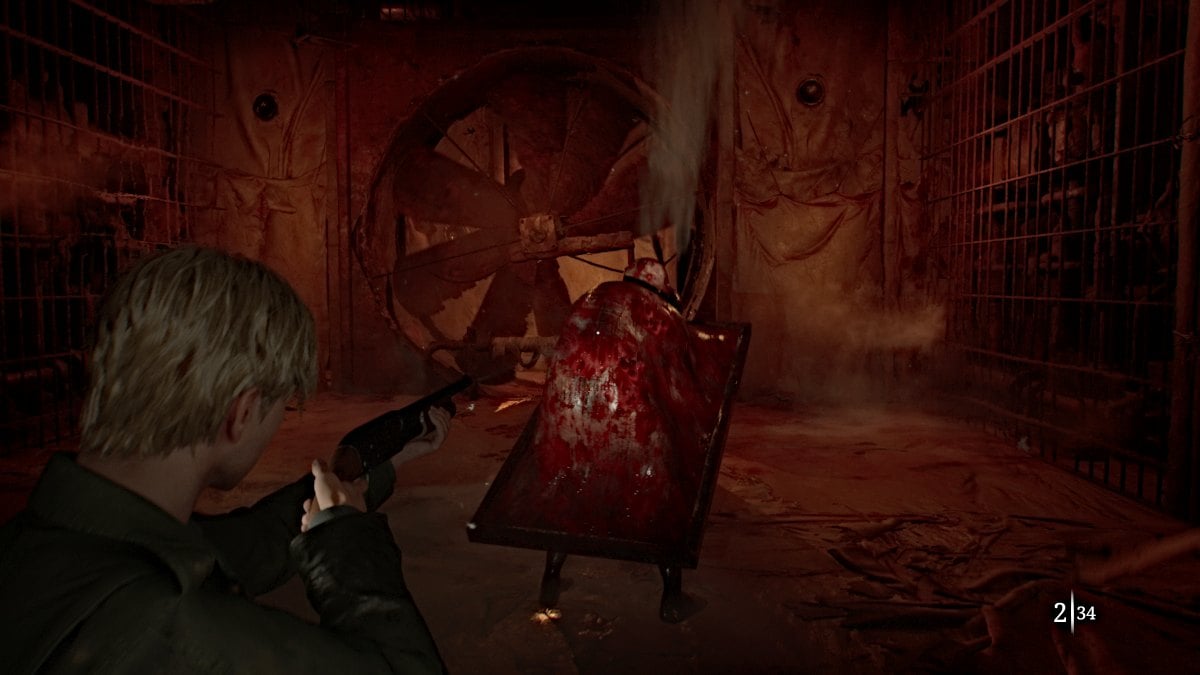
Eventually, you'll arrive at the final phase of the fight in a wide-open area. By this point, you've likely exhausted most of your ammo if not your health stores as well, so make use of the items spread around the room. Keep dealing damage, and Abstract Daddy's attacks will gradually slow down and become easier to dodge. Soon enough, he'll go down and a cutscene will follow.
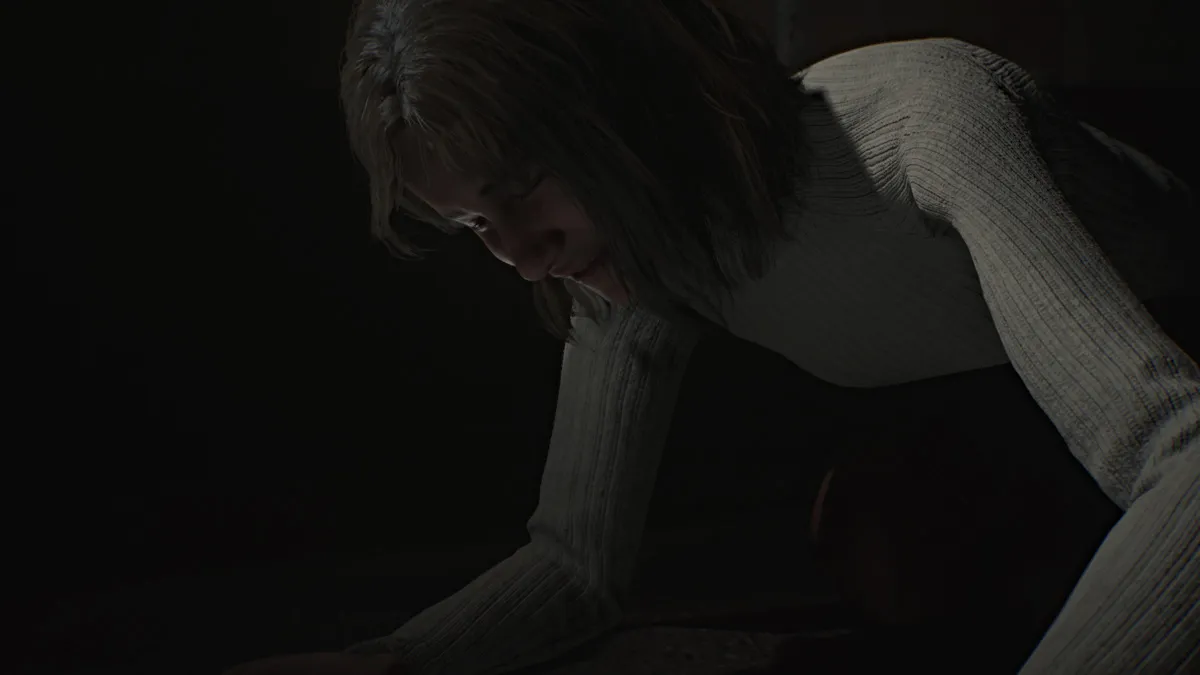
Angela approaches in rage and slams a TV on top of the Abstract Daddy, killing it. The environment has also returned to the way it was before the fight began. James tries to console Angela though to little effect, and the two argue over his possessiveness of Mary and how he treated her while she was sick.
Soon enough, Angela will retreat and now you're free to explore the rest of the Labyrinth.
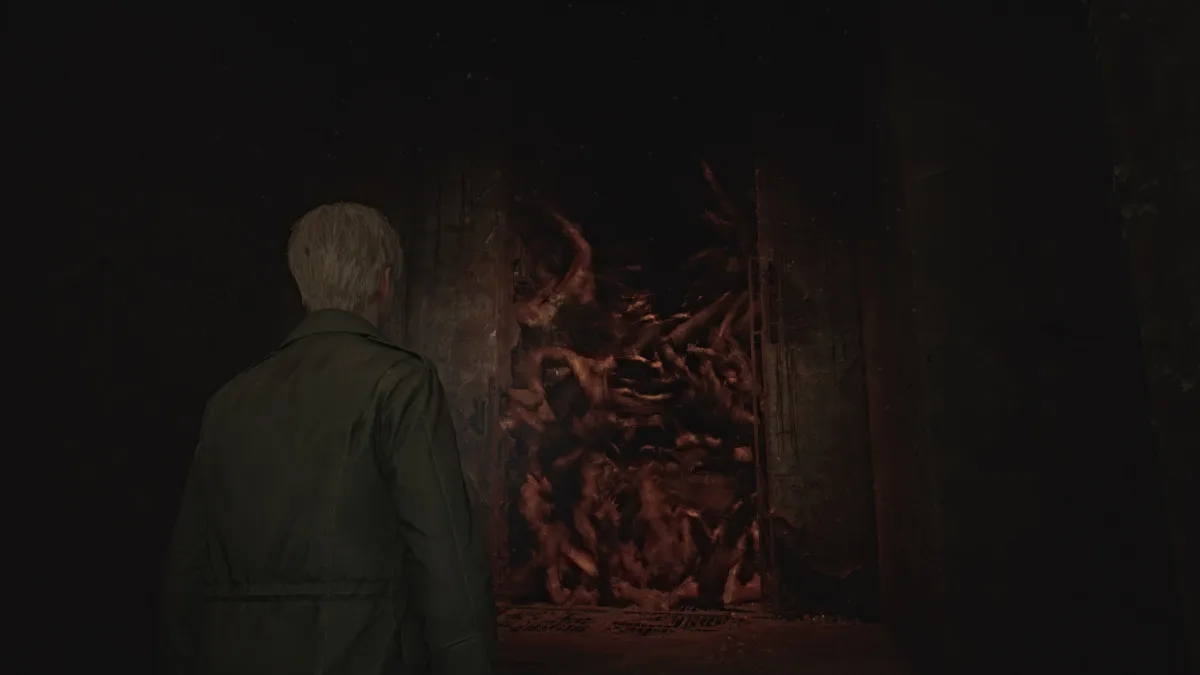
After you move on from "Angela's apartment", you'll soon find yourself in a strange, maze-like area, and in front of you a barrier made of what looks like monsters from Silent Hill. If you try to cross through it, James will feel nauseous and back off, so you need to find a way to remove it. James will call it the "Strange Wall" on your map.
For now, head right and use the Red Save Point along the way. Go all the way across (the door to your right is locked) and down the stairwell and through the door ahead. On the other side is something, or rather someone, that James definitely didn't expect to see.
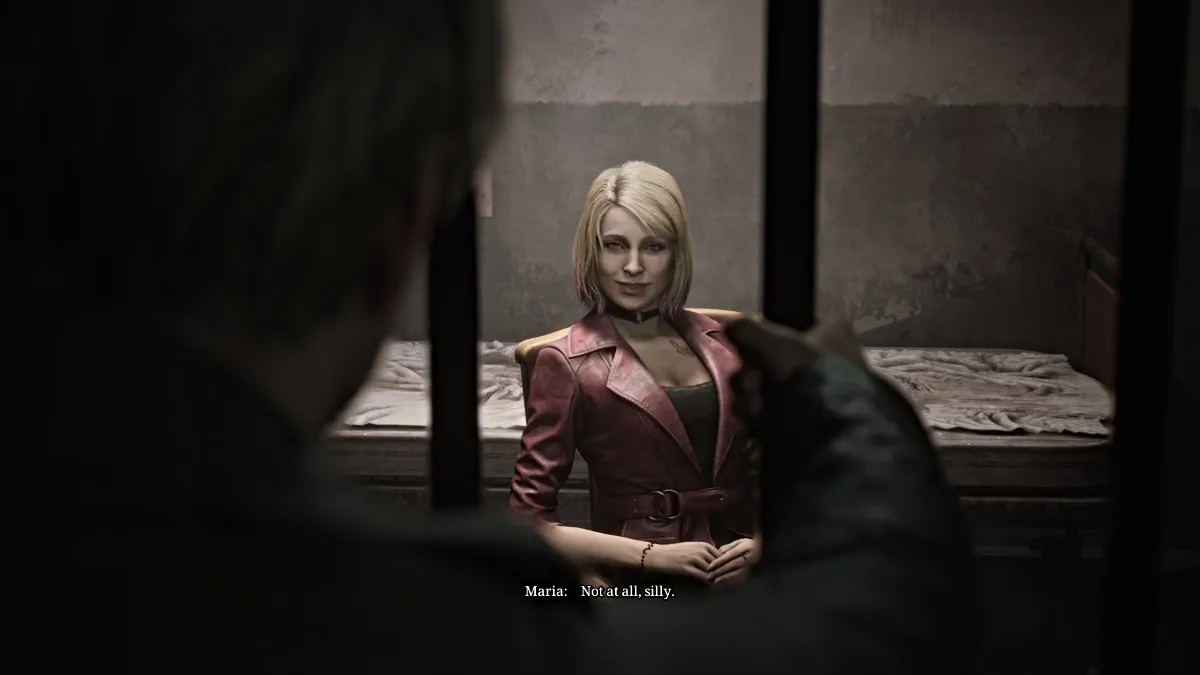
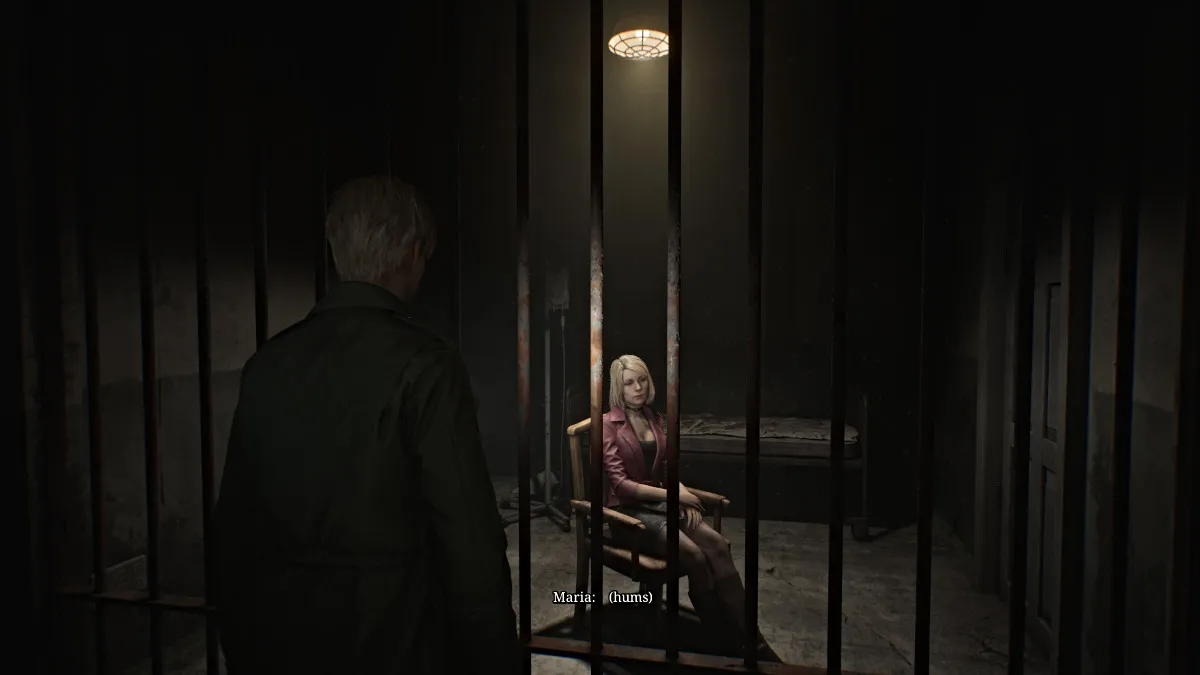
Maria is "alive" and well, sitting in a cell, and chides James for seeming to think she had been killed by Pyramid Head "in that long hallway". She laughs and muses about how he was "always so forgetful". She eerily sounds like Mary, which James notices and mentions. However, she rebuffs that she's not "his Mary", and insists that she's all he needs since she's "real".
Grappling with the situation, James starts to walk away and says with some hesitation that he'll find a way to get her out of the cell.
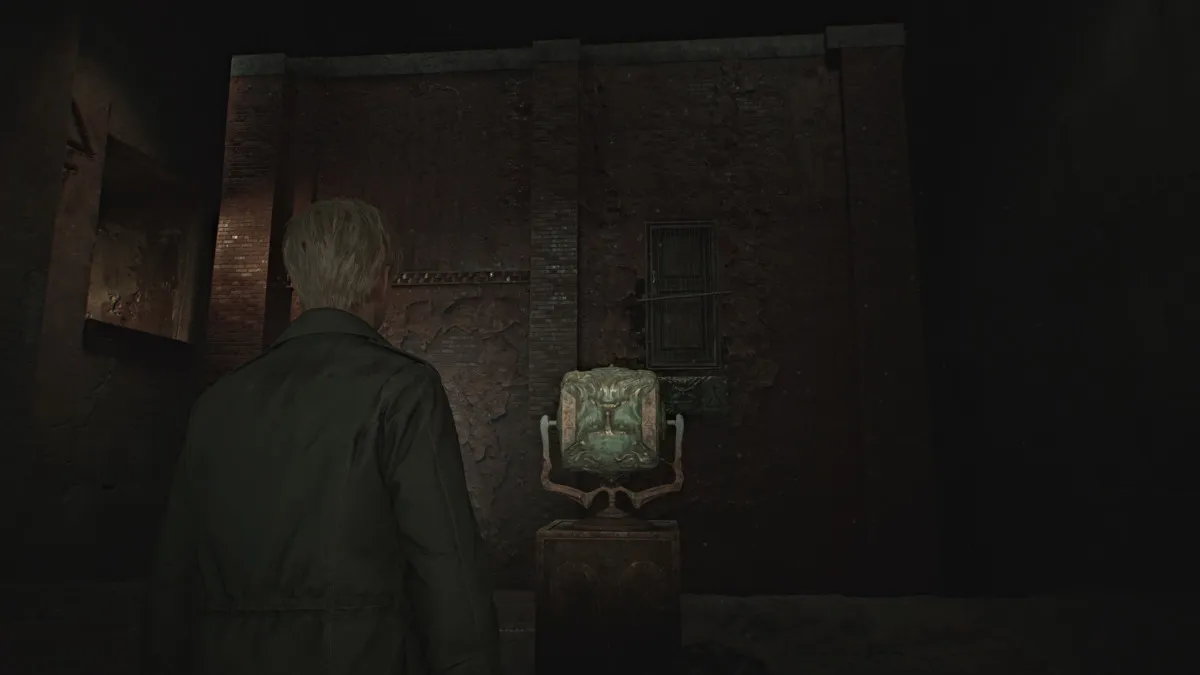
Head back up the stairs to the path you walked before, and now you'll find the Rotating Cube Puzzle contraption in the center of it, along with what looks like an entire building in the chasm next to you. The rotating cube features different faces on each side, along with different symbols.
Depending on how you turn it, the building in front of you will rotate as well and reveal new paths and three other main areas for you to explore. Those areas include: the Rotten Area, the Desolate Area , and the Ruined Area .
This puzzle serves as the focal point of the Labyrinth, and your goal here is to use it to access each of those different areas one by one. For easy reference, here are the symbols required for each area:
| シンボル | Area Unlocked |
|---|---|
| Upward-facing triangle with a cross underneath | Rotten Area |
| Infinity symbol with a vertical line above crossed through twice | Desolate Area |
| Downward-facing triangle with a cross underneath | Ruined Area |
| None (side axis of the cube) | Optional; Find the "Your best buddy!" Strange Photo inside the cube itself. |
So for now, you'll want to start with accessing the Rotten Area . Turn the cube in the proper direction, then go into the building and take the stairs that lead up to the path on the left side. Go down the hallway and at the end there will be three doors, for each of the three areas. Go through the Green Door on your left to enter the Rotten Area.
You'll start in a hallway completely covered in bugs, so move through carefully and watch out for where the floors switch to metal grates, as Mandarins will be lurking beneath. Remember that all of your maps for the Labyrinth are hand-drawn, so you have to learn the area as you go.
After that first metal grate path, turn left and find some Handgun Ammo on a dresser (which you're probably starved for after Abstract Daddy) at a dead end. Backtrack to the main hallway and continue on until you see a door ahead. Go through it and you'll enter a room with a Suspended Cage high up, three other different doors, and a Red Save Point .
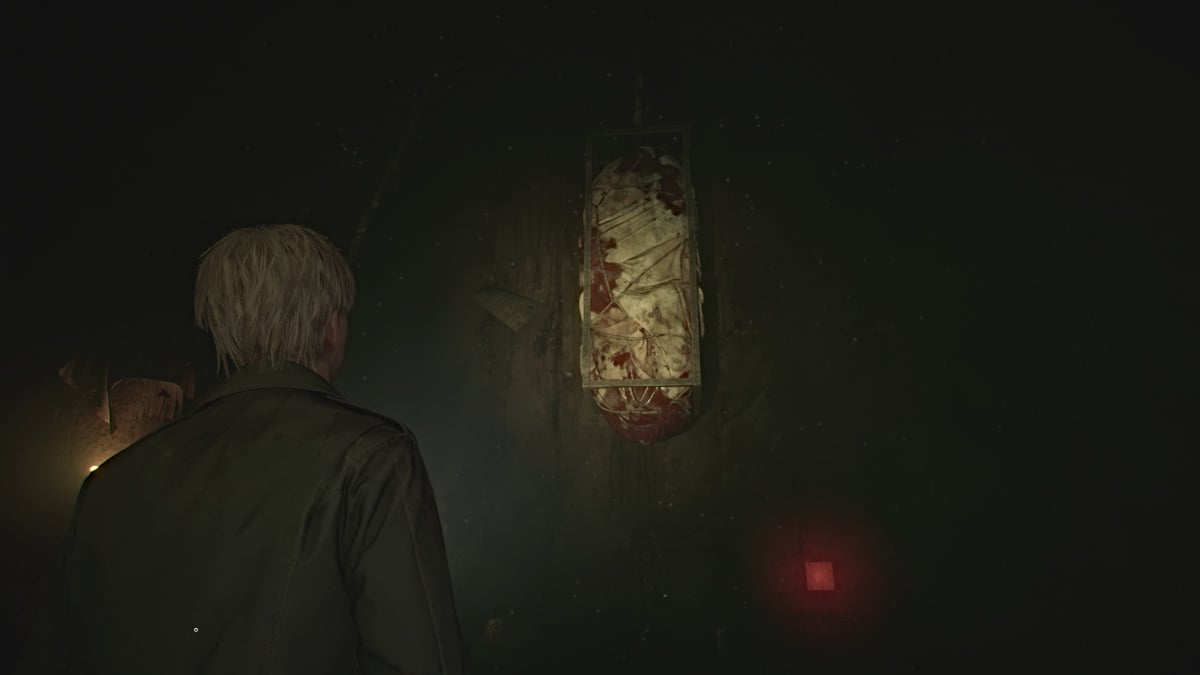
To bring down the Suspended Cage you'll need something to cut its tether, so for now head through the door to your left.
Go down the hall, grab Rifle Ammo from a small cabinet on your right, and continue straight to the open door at the end. Be extra careful here as not only are there bugs everywhere, but the floor of the entire main hallway area is metal grating, so Mandarins will be patrolling.
Keep your distance from them (these seem to be invincible so don't waste your ammo) and make your way down the hall until you reach the second left. Take it and follow the next hallway until you find another door. Inside the floor will be normal, so you get a breather. Deal with a couple of Mannequins lurking there and claim a Syringe and Handgun Ammo .
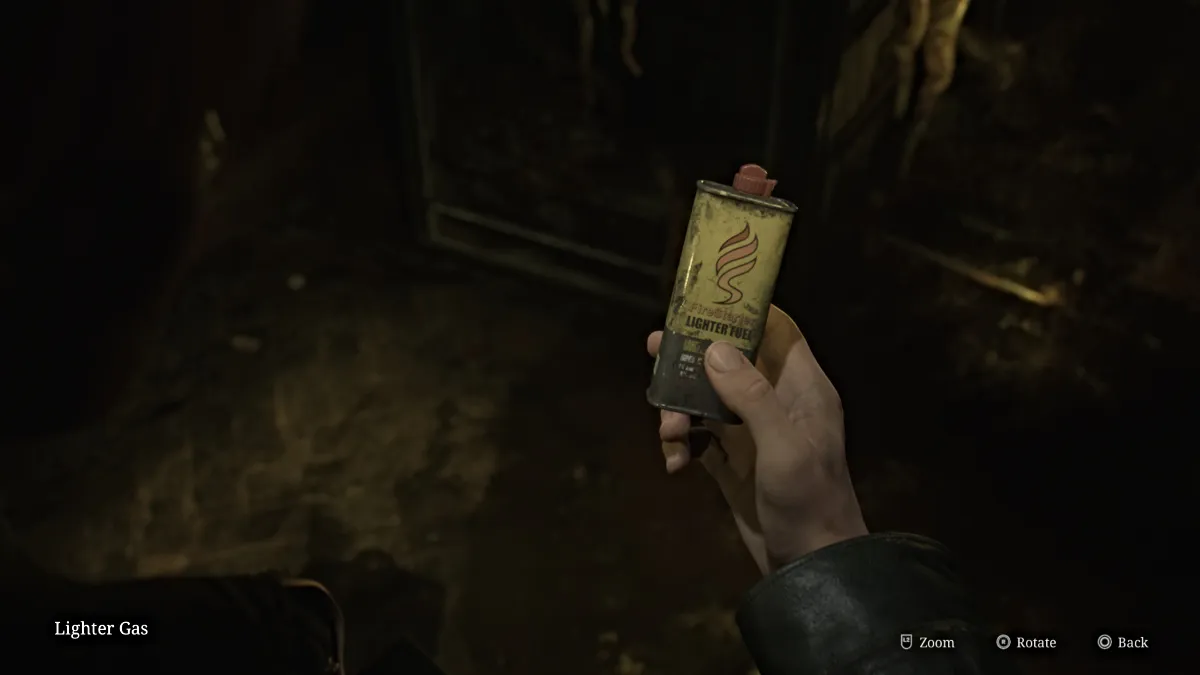
Take the pushcart in the room over to the high crawlspace near the door, and climb up and through to the next room over. Inside you'll notice the fridge in the kitchen shaking nonstop. Approach it and through all the lovely muck that pours out from it, James will find a small can of Lighter Gas . Grab the Handgun Ammo and Health Drink nearby as well.
Carefully make your way back out into the main hallway and bum rush your way back to the Suspended Cage Room.
Now take the door to the south and sprint across the grated hallway all the way south until you can leapfrog over a box and find a set of double doors ahead of you. Go through them and grab a Health Drink on your way through the next door ahead. Watch out for a Mannequin in the dark and grab Shotgun Shells from a small cabinet.
In the next room you'll find a bed that's been brutally split in half (could venture a guess who did that) and on the wall behind it a hole oozing blood. James knows the deal by now, so go over and interact with it until you pull out the Lighter Wick .
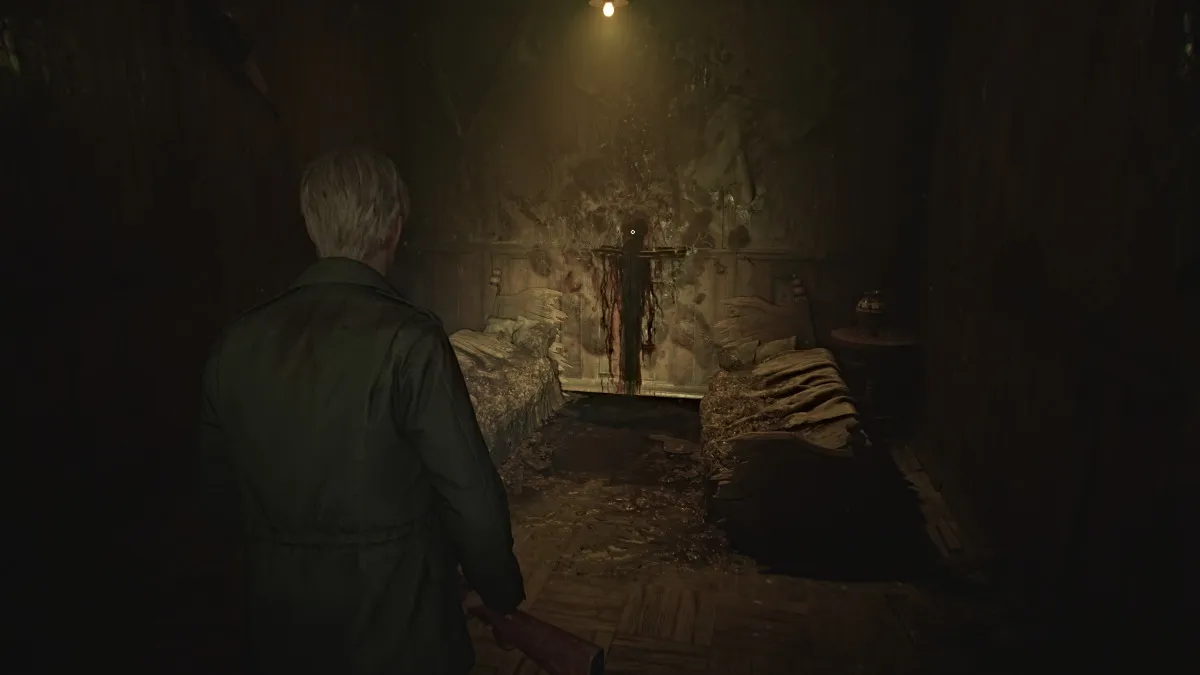
Now, before you go back to the Suspended Cage room, exit through the door beyond the bedroom, and run down the hallway until you can turn right and follow the path to another door. Go through and inside is just one huge room with a desk right in the center. Deal with the Bubble Nurse patrolling it and then check the drawer to claim the Iron Key .
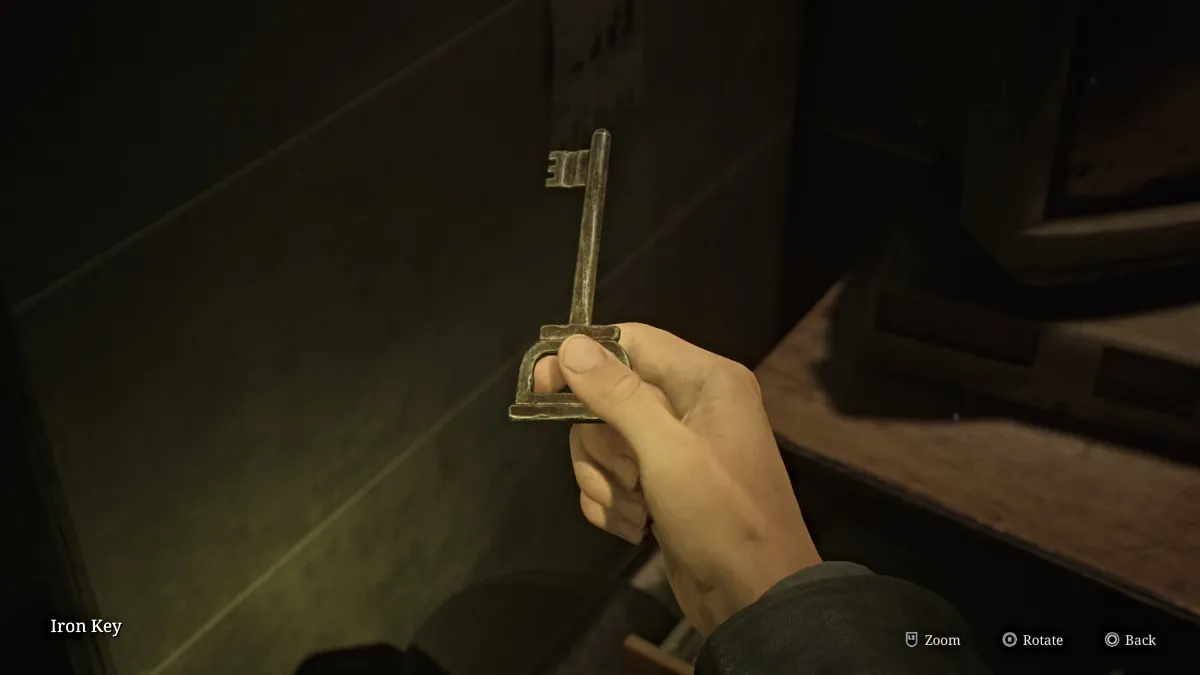
Now make your way back to the Suspended Cage Room and go back through the first door you went through where you found a locked door requiring a key. Use the Iron Key to unlock it and you'll find a bathroom inside. Interact with the nearby bathtub and James will quickly learn that the liquid bubbling inside it is too acidic for him to touch. This means you need to drain it somehow.
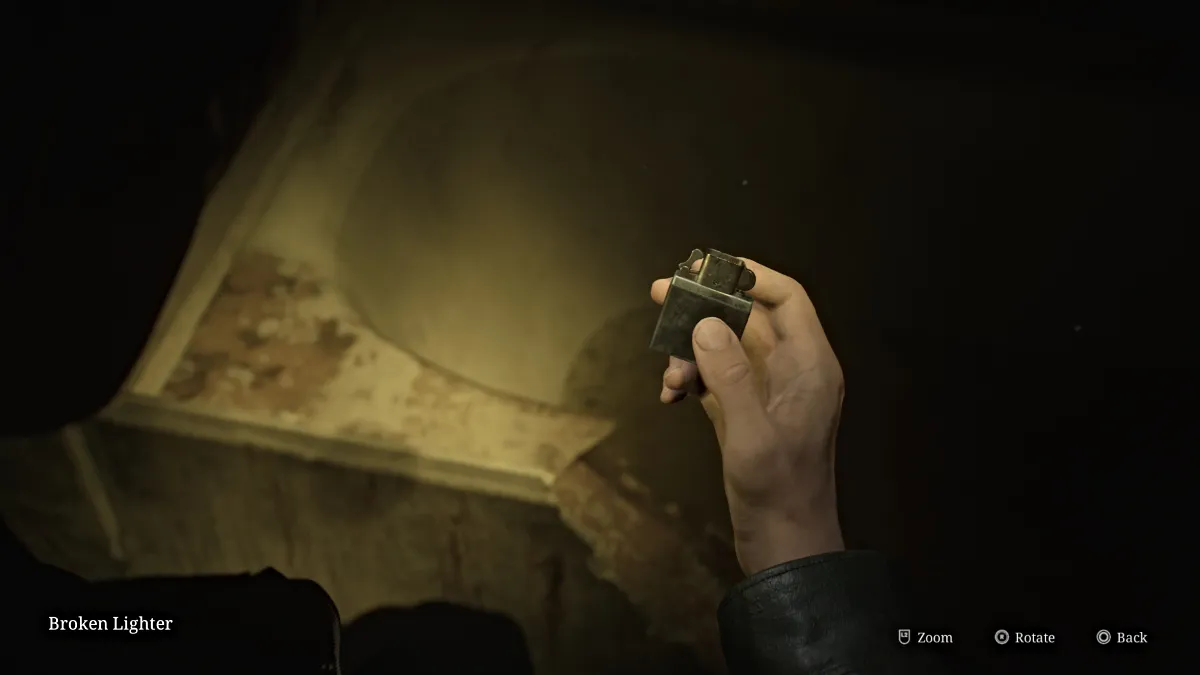
Go through the nearby gap in the wall and follow the narrow hallway all the way down until you reach a bug-filled room with a red crank. Turn it until the pipes burst and the tub breaks open, draining all of the bad stuff out so you can reach your prize. Return to it to claim the Broken Lighter .
Return to the Suspended Cage room and combine the Broken Lighter with the Lighter Gas and the Lighter Wick to make an actual Lighter . Use it on the tether holding up the cage and soon the entire thing will fall and break through the floor, leaving a large hole behind, perfect for you to jump through. Use the nearby Red Save Point and then do just that.
This brings you back to the Labyrinth Center with the Rotating Cube Puzzle, and now it's time to move on to the next area. Turn the cube to the appropriate direction (as seen in the table above) to unlock the Desolate Area next. Run through the building and back up to the left-side path, and this time take the door straight ahead.
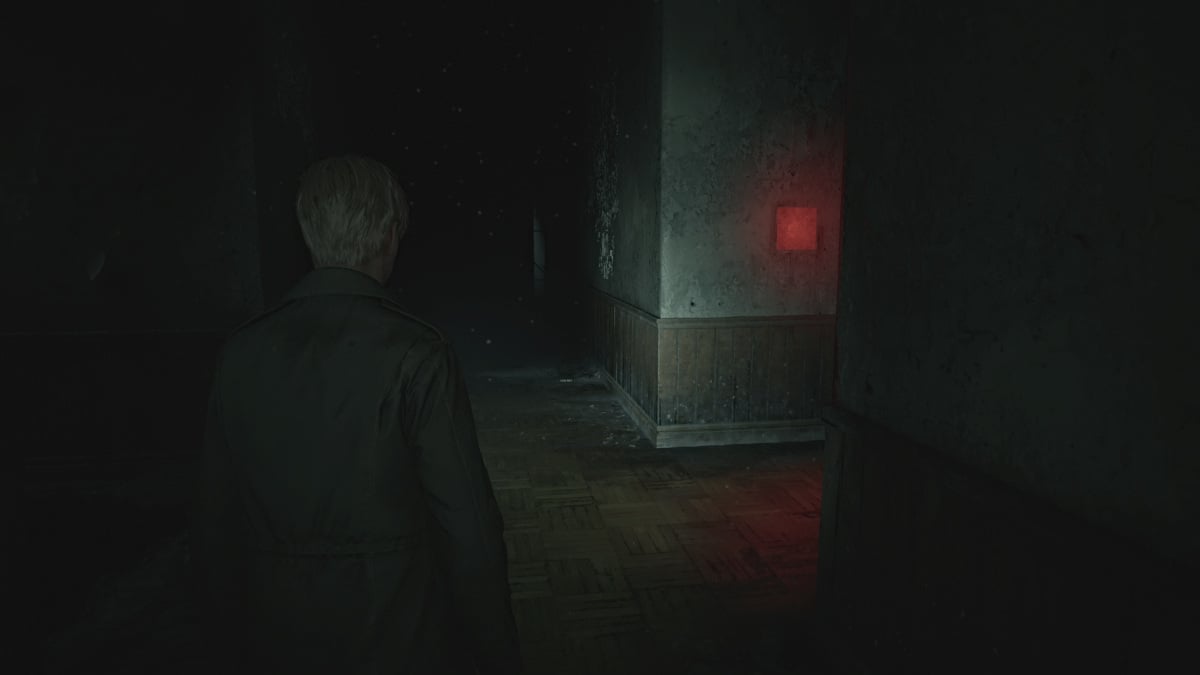
Upon entering the Desolate Area , use the nearby Red Save Point and make note of the locked door to your right, and the ladder to your left. Continue straight ahead and find the second door on your right and go through it. There will be a wall crack by a closet for you to take to the room adjacent, where you'll find some Rifle Ammo , Shotgun Ammo , and a Mannequin hiding behind a bookshelf.
Backtrack to the small bedroom where you find a Health Drink and Ladder II . Go down it to reach the Flooded Level , and follow the path until you find a hole you can peek through to see a key (which you will need).
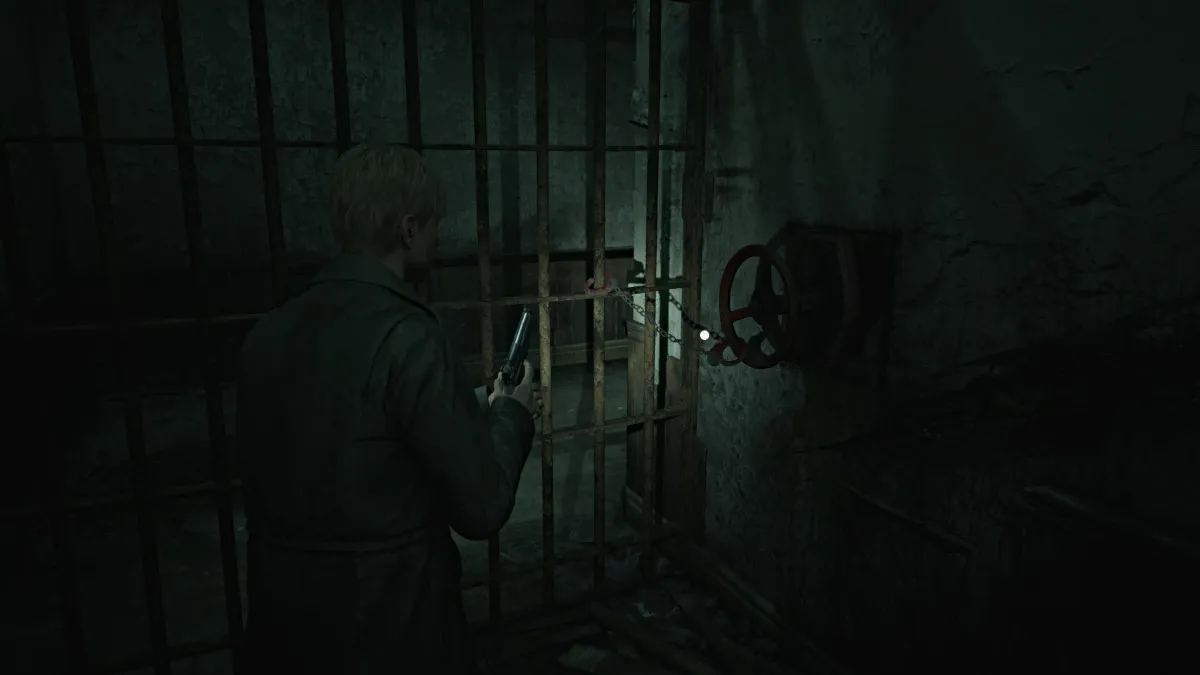
Keep going and you'll see that the door to that room is locked. Make your way south until you find Ladder I and climb up, where ahead of you will be the Handcuffed Gate (seen above). You'll need a certain key you already saw to unlock it, but for now, go through the door to your left.
Follow the hallway until you can make two rights to find another ladder that will take you back down to a cave area. Follow it until it brings you to the room where you spotted the key. Pick up the Small Key and head back to Ladder I to use it on the Handcuffed Gate . Now you can access the rest of the Desolate Area.
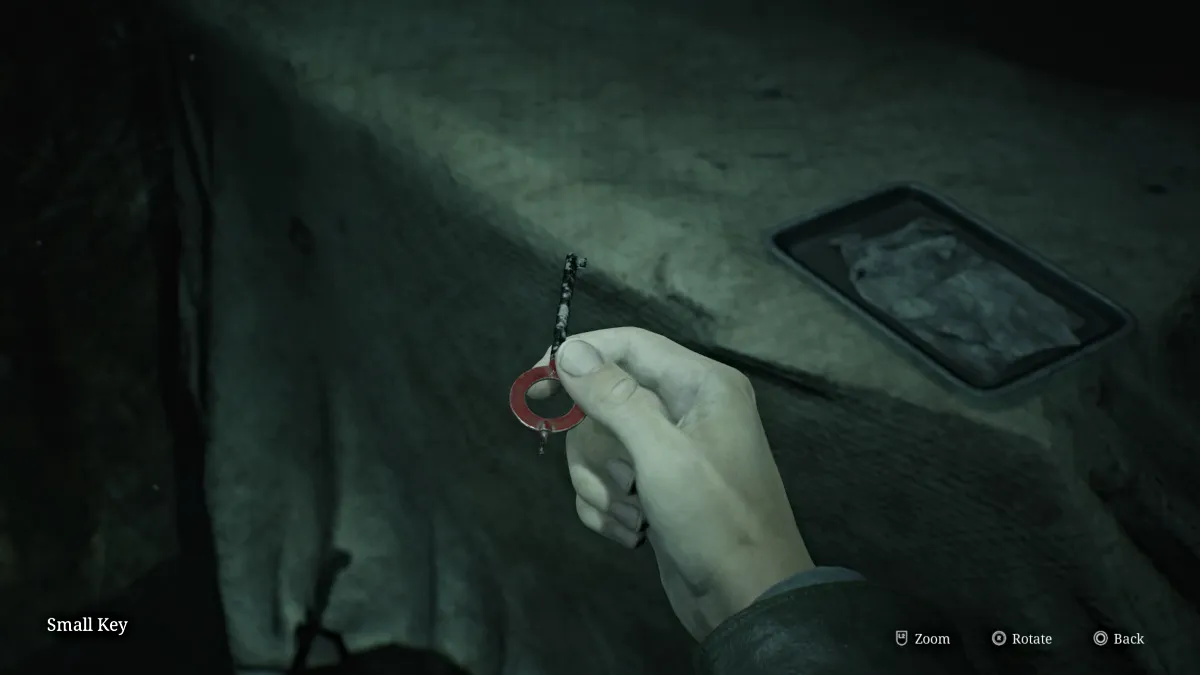
Follow the corridor to the next room and look for a pushcart you can use to reach a high crawlspace. Climb up and through and continue until you find Ladder IV to take back down to the Flooded Level . Another crawlspace ahead will bring you to a Wire Barrier that prohibits you from going forward. You'll need something to help get rid of those wires.
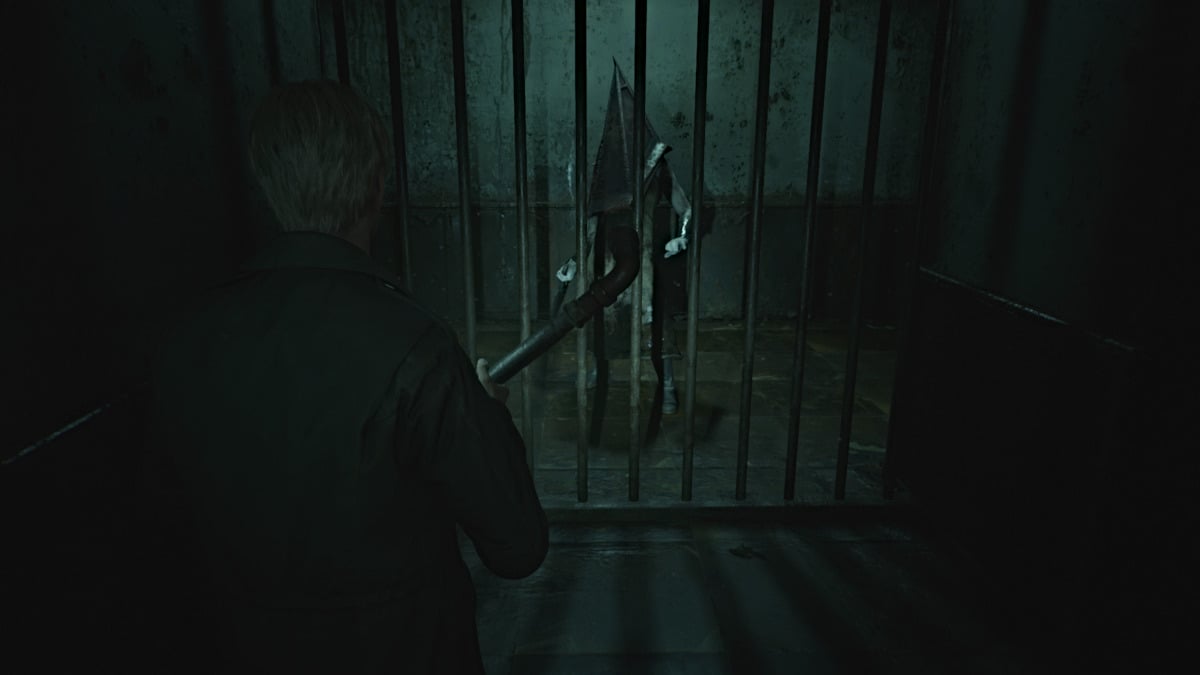
Go through the next hallway on the right, full of bugs of course, and suddenly Pyramid Head will appear and start giving chase. This is not a boss fight, you're simply in his domain now and need to avoid him at all costs while completing your objectives.
Go up Ladder V and follow the long hallway up until you can turn left, but quickly go right for some Handgun Ammo in a dresser at the dead end. Backtrack and go left through the wide open door to the room where you can remove a set of Wirecutters from a broken fuse box.
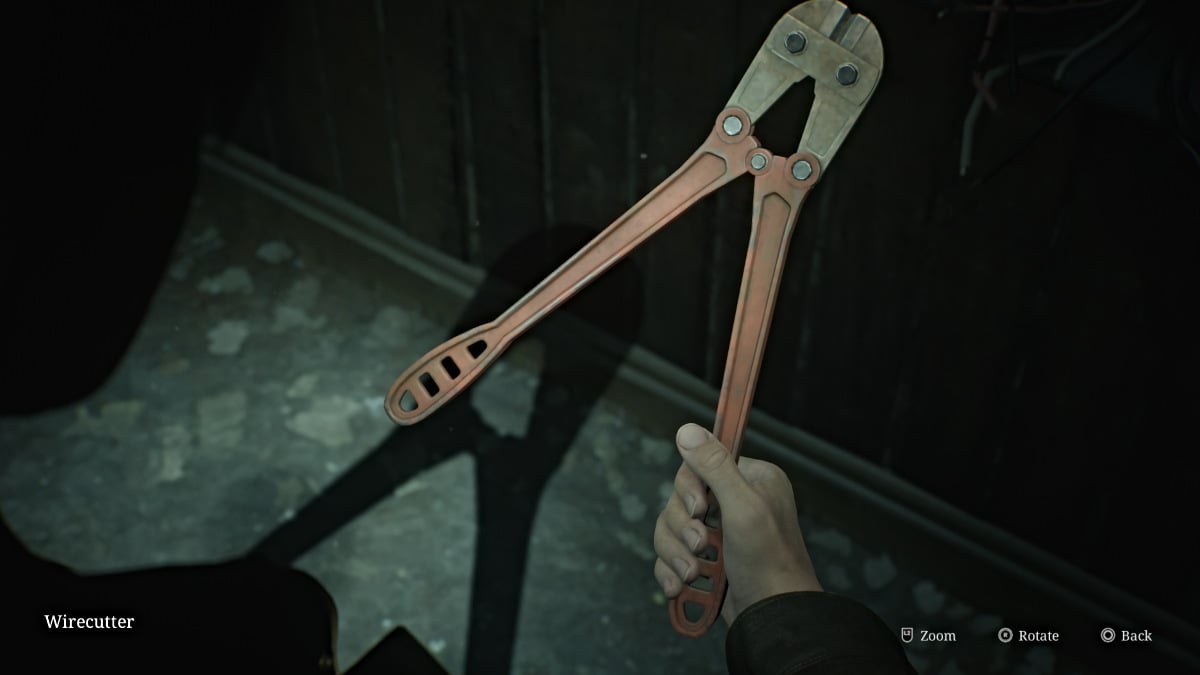
As tempting as it might be, do NOT take the south corridor past the fuse box as that will bring you back to the tunnel with the crawlspace that caved in after passing through, meaning you'll have to backtrack much further around the map.
Instead, go back down Ladder V to the area where Pyramid Head was, but he'll no longer be there. Instead, you'll have to deal with Mandarins and other monsters in your way.
For some extra items and a Strange Photo you can make your way to and up the ladder you initially passed while evading Pyramid Head. Otherwise, head back to the tunnel with the barrier of Wires and use the Wirecutters to get through. Go down the next ladder ahead, and grab a nearby Health Drink before dropping down another hole that brings you back to the Rotating Cube Puzzle once more.
Be sure to use the Red Save Point nearby to save all your recent progress. Now it's time to turn the cube in the appropriate direction for the Ruined Area . Remember, the symbol is an upside-down triangle with a cross underneath . Cross through the building and up the path to where you can now take the red door to the right.
The Ruined Area of the Labyrinth is quite different from the other areas in that it's essentially a monster gauntlet. You'll enter different areas where you need to defeat various monsters to progress forward. Make sure to gather all of the ammo and health items in the areas first, then go interact with the red door at the back for the alarm to go off and the monsters to come alive .
In the first two areas, it'll be mostly regular monsters such as Lying Figures, Mannequins, and Bubble Nurses. The third area will be full of bugs and you'll need to kill Mandarins crawling beneath the floors. The Shotgun and Hunting Rifle are best for those.
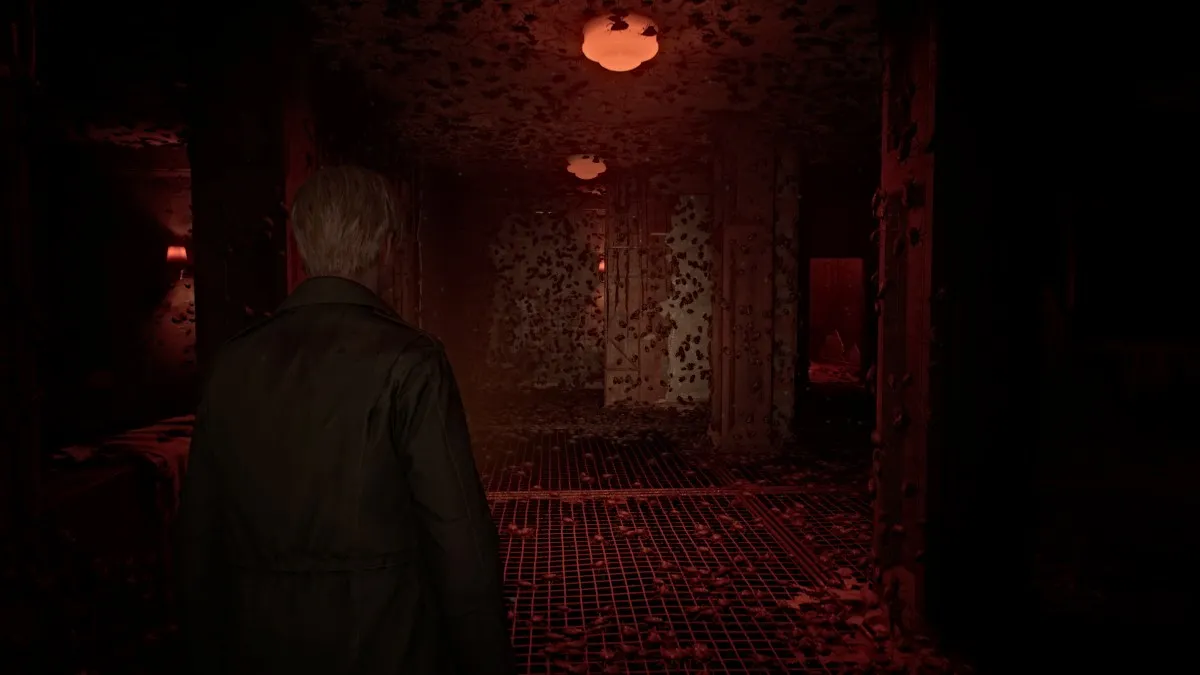
At the end of it all, you'll get a gracious Red Save Point , which we recommend because soon after you'll run into Pyramid Head yet again. He'll give chase and you need to run in the other direction until you reach a familiar-looking barrier made of monsters. This time, however, you're able to get through before Pyramid Head catches you. Continue on into the next room, where you'll find Maria at last, but it seems it's too late once again.
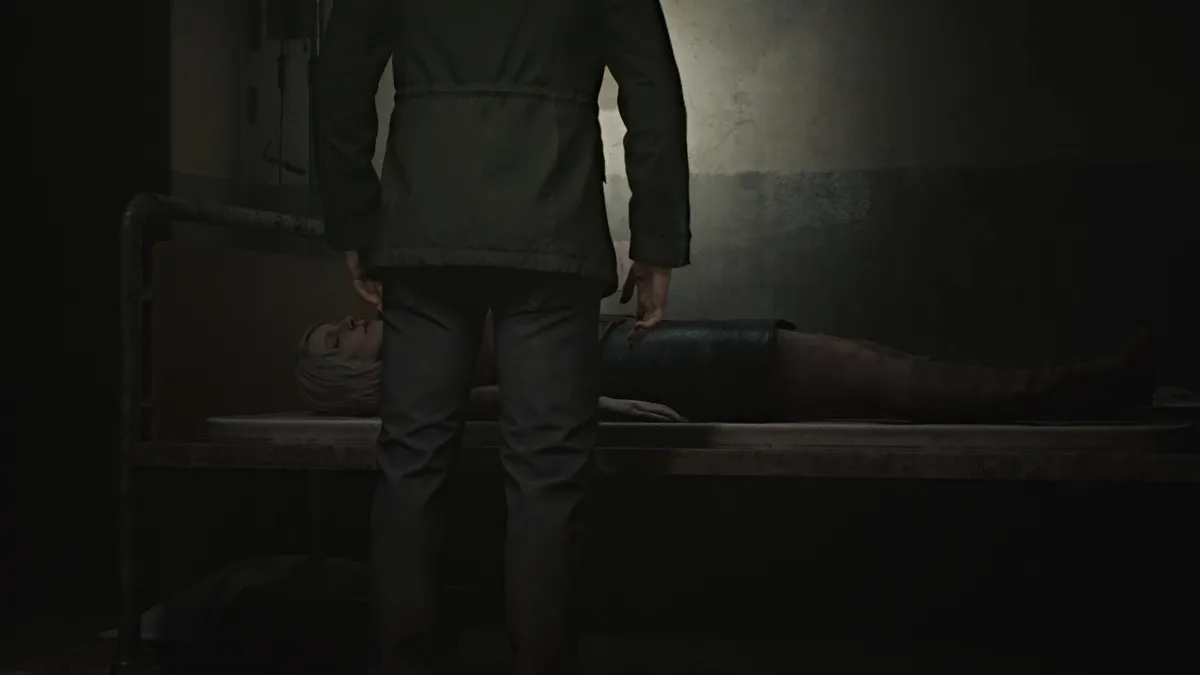
James finds himself overcome with grief at the sight of Maria clearly dead and murdered (likely by the same culprit), and him unable to help her in time. Likely a similar grief to the loss of Mary, he whispers her name and leaves, powerless to do anything else.
Once you leave the room, head up the stairs to where the Rotating Cube Puzzle normally is, but now it's been brutally destroyed, and among the rubble is the Great Knife , Pyramid Head's main weapon.
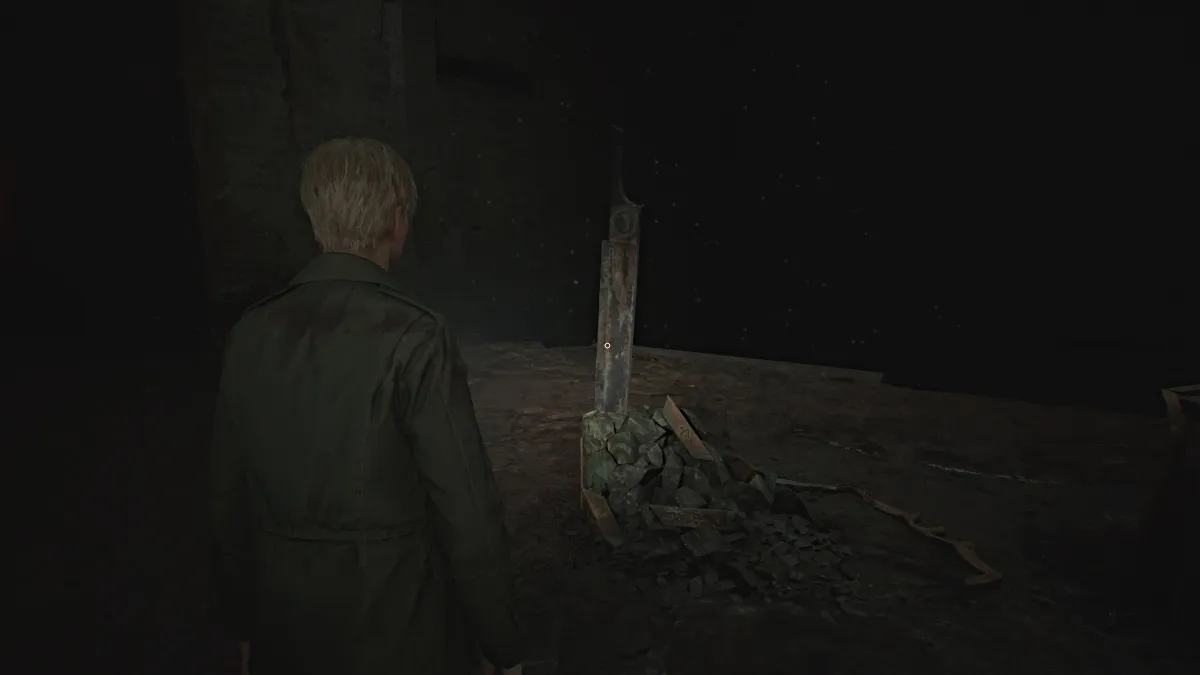
Interact with the Great Knife and James will pry it loose, allowing you to wield it, sort of. Drag it left toward the Strange Barrier and you'll now be able to pass through it. Drag the Great Knife all the way until you're completely through the barrier with a ladder ahead of you. You can now drop it and continue on (sorry, you can't keep it in your inventory this time).
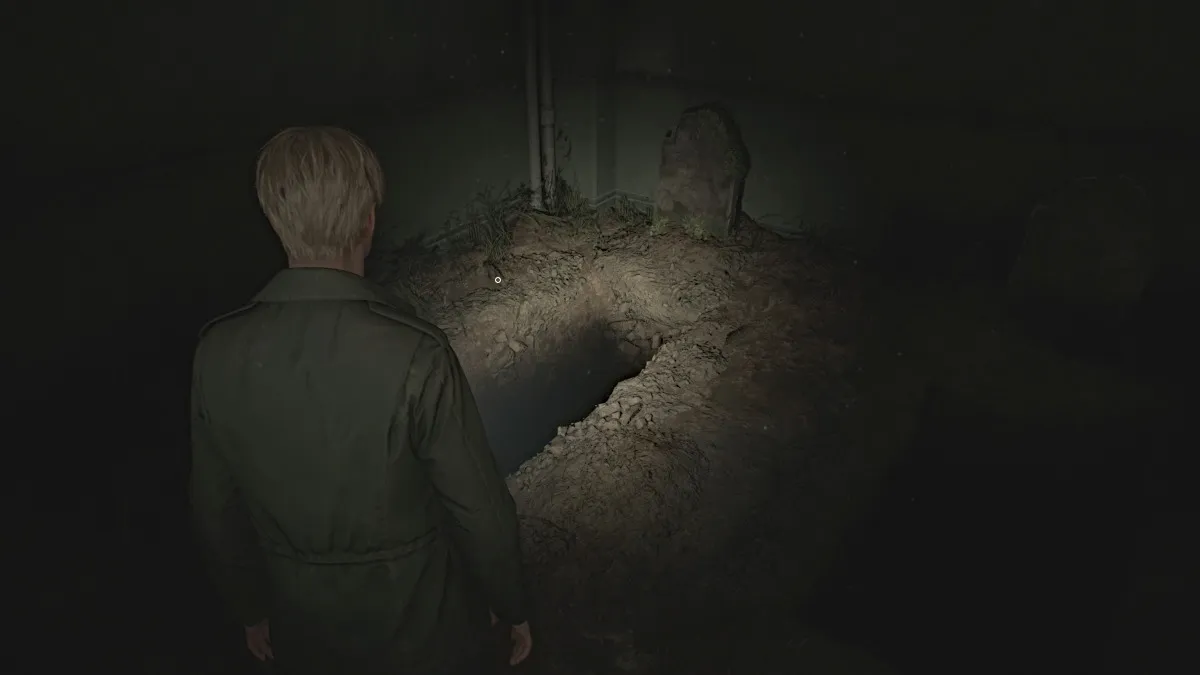
After climbing the ladder, follow the hallway until you can climb back down another ladder, which leads you to a small cemetery area. You can salvage some Shotgun Shells and a Health Drink here. Among the gravestones you'll find three that are of particular importance: Angela Orosco, Eddie Dombrowski, and James Sunderland.
To progress onward, you'll need to jump down into the hole that is your grave. When you're ready, take the plunge to the deepest reaches of the abyss, where your final adversary of the Labyrinth will be waiting. Follow the long hallway ahead of you, and at the end will be a freezer door soaked in blood. Go through it, and Eddie will be on the other side.
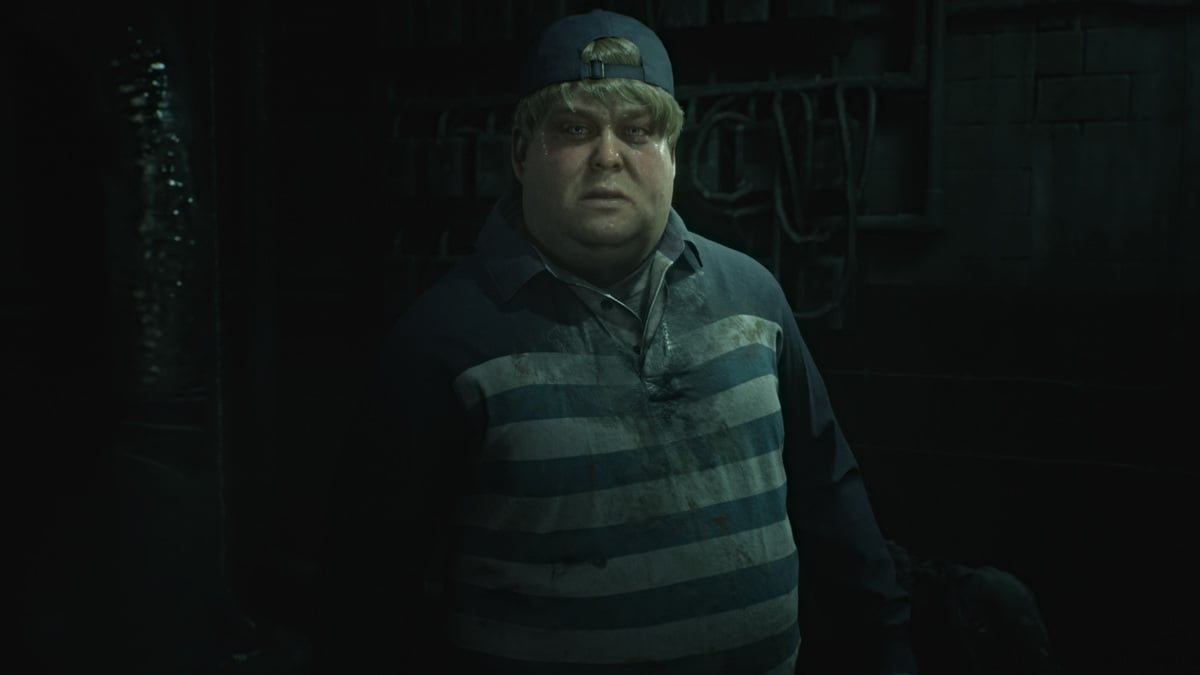
Clearly having lost himself, Eddie claims the corpse in front of him has been following him the whole time, laughing and insulting him. He then accuses James of doing the same, and that Silent Hill called them both because they're "not like other people". Determined to punish James the same way, he coerces him to the meat freezer for a fight.
Grab the Health Drinks on both sides of the room, make sure your guns are reloaded, and then follow Eddie through the same door.
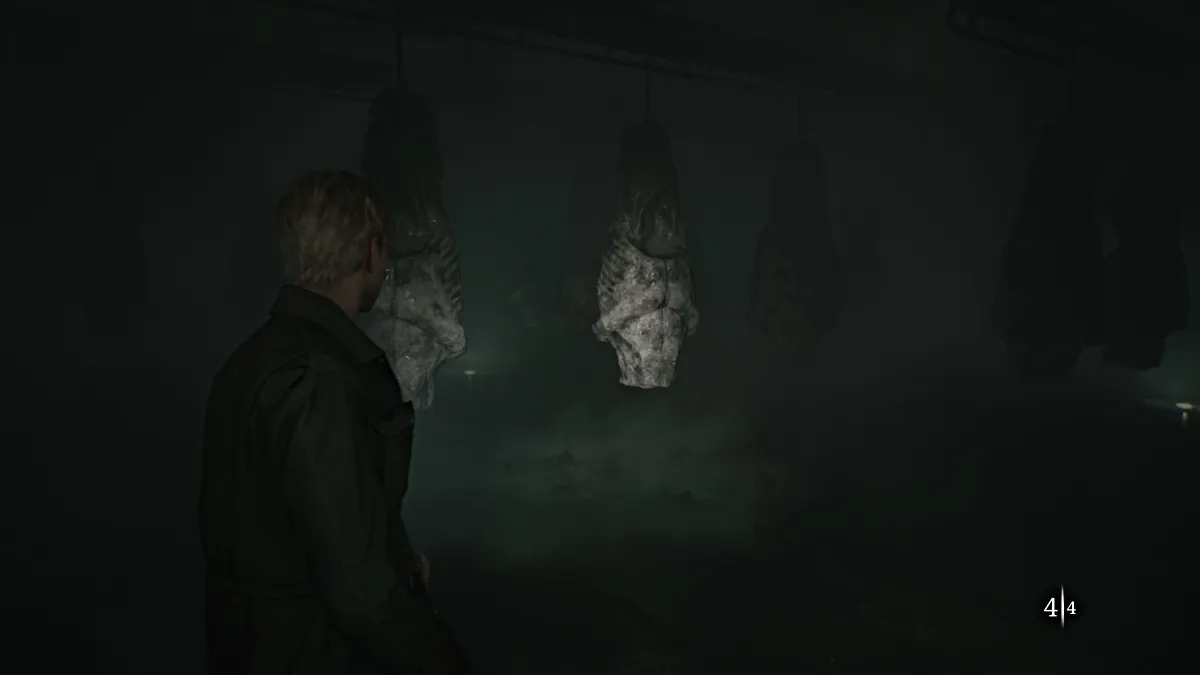
Make your way into the freezer and Eddie will officially engage you in a fight, and you'll want to avoid getting shot by him as much as possible because even just one shot from his gun hurts a lot .
Use the hanging sacks of meat for cover as Eddie circles around for sneak attacks. Do your best to keep him in your sights, or at least a sense of where he is, at all times. There will be some extra Shotgun Shells scattered around the walls of the room.
Shoot him enough times and he'll shoot a gas pipe that fills the room with fog, making it harder to spot where he is. Do your best to keep your back to a wall while waiting for him to approach. After a few more shots, the conveyors of meat will start to rotate, and you'll need to be wary of being caught in the open.
Be extra vigilant as Eddie will get more aggressive now with more gunshots and will attempt to sneak behind you for a pistol whip. Keep damaging him as much as possible and soon he'll succumb to his wounds and collapse, dead.
There's nothing left to do, so find the black double doors and open them to find your way out. Go through one more door, and you'll find yourself somehow back outside at the edge of Toluca Lake.
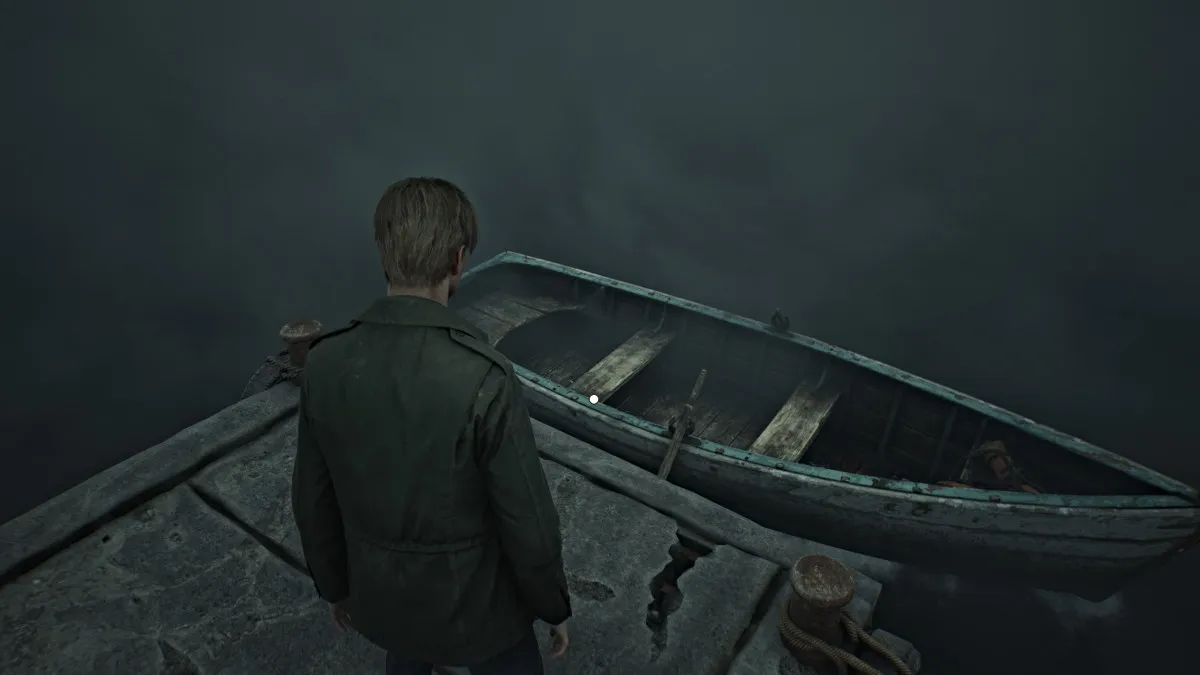
With all that James has experienced so far, it's now time to go to the one other "special place" Mary could be, which is the Lakeview Hotel . To get there though, you'll need to get across Toluca Lake, meaning you'll need a boat of some kind. Walk down the pier after using the Red Save Point and a small rowboat will be waiting for you.
After James climbs in and starts rowing, you'll soon need to take over yourself. You can control both oars separately (to turn if you veer off-course) with the appropriate controls or together at the same time to row straight.
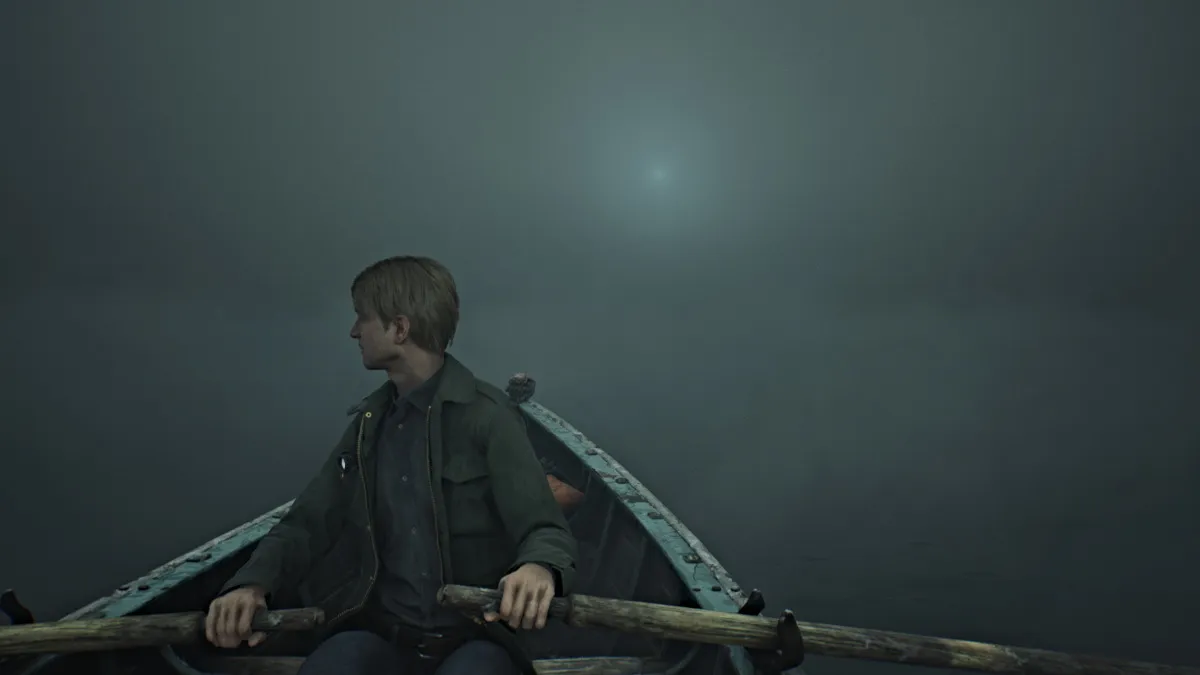
Your goal is to follow the light in the distance, which is coming from Lakeview Hotel. As you get closer, the light will grow bigger and brighter, so follow it until James reaches the pier in front of the hotel.
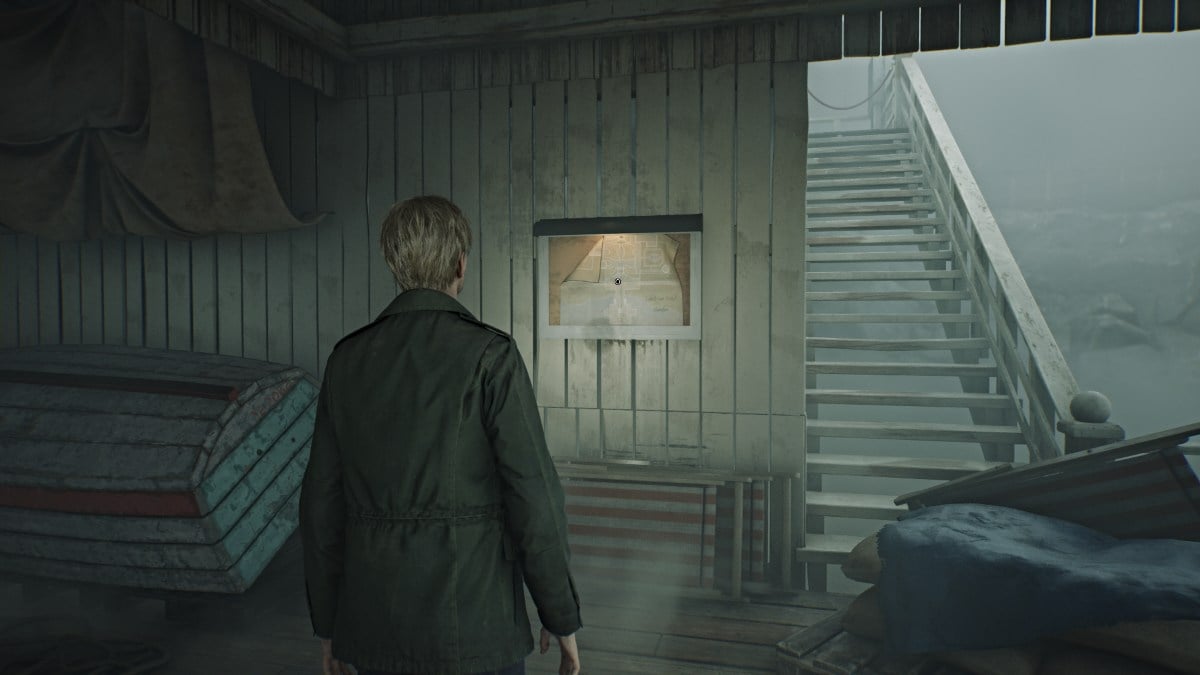
After another brief cutscene, you'll find yourself at the Lakeview pier. Go immediately to your right where you should spot the Lakeview Hotel Garden Map posted on a wall. Take it to get a look at where you are, which is the massive front entrance to the hotel.
For now, head up the central stairs and north in the direction of the garden area. Go up the next set of stairs and head left to find some Handgun Ammo in a gazebo. Now run to the far right side and on a small bench will be the Rotten Apple . Take it and make your way up the east side of the garden. Inside the Fish Fountain, you'll find a Glimpse of the Past in the form of a broken music box.
There's nothing else of note outside for now, so head to the hotel's entrance where you'll hear a piano being played inside.
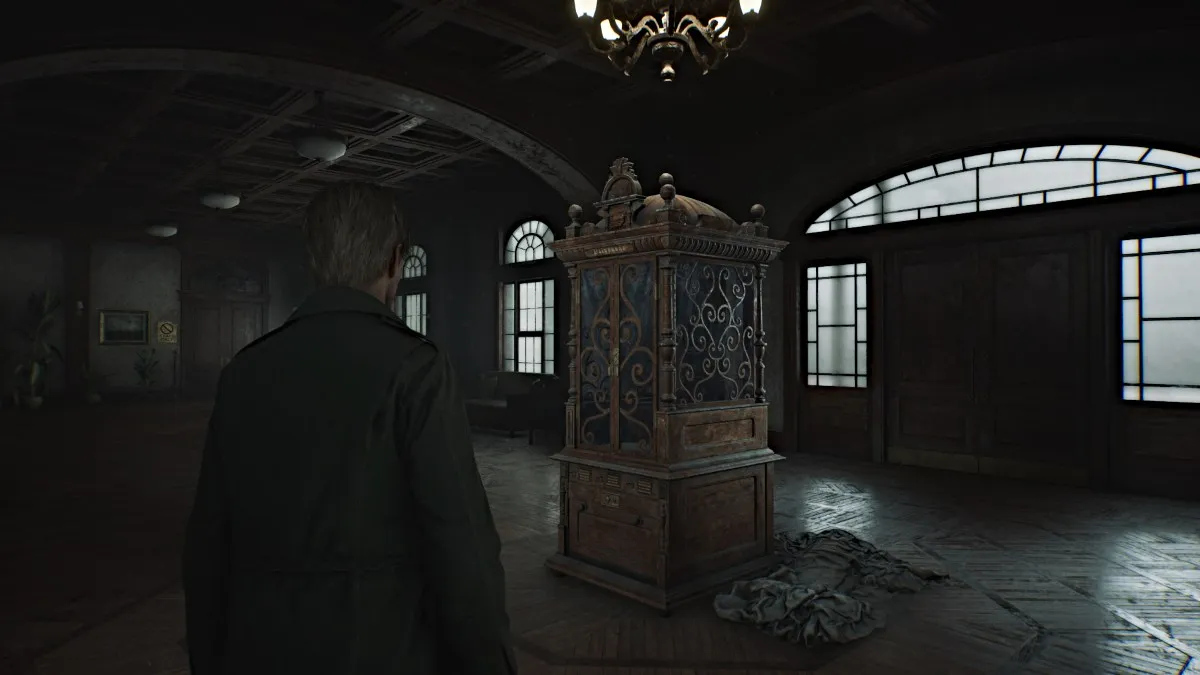
Go through the double doors and head right to collect the Lakeview Hotel 1F-3F Map , which also shows a map for the Venus Tears Bar in the Basement. Now, circle around to the front of the lobby, where you'll see a large and ornate Music Box (seen above) that requires a special key to open it.
Backtrack a bit and go inside the Check-In Room on the right to find a Red Save Point , a keyring that contains both the Room 312 Key and the Ornamental Key , and the Receptionist Memo that mentions the videotape James and Mary left now being kept in the Employee Section of the first floor .
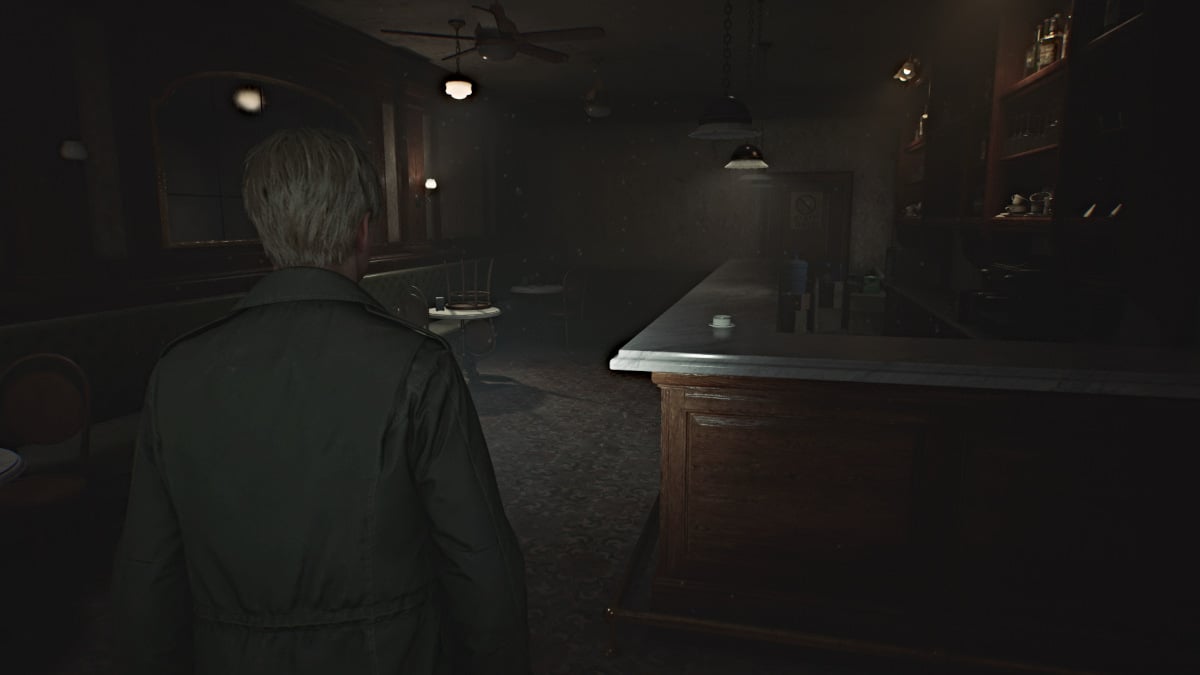
Go check out the far right side of the lobby for some Handgun Ammo and head into Cafe Toluca . Grab a Health Drink from one of the tables, then go behind the bar to find the Room 102 Key at the far end. Go around the corner to find a breakable spot in the wall, letting you through to the Lost and Found Room. There you'll find more Handgun Ammo and the Lost and Found Note .
Go back to the Music Box machine and use the Ornamental Key to open it. Inside you'll see that three figurines are required to play the music reels. For now, head down the left side of the lobby and through the open door on the left, where the piano tunes are coming from.
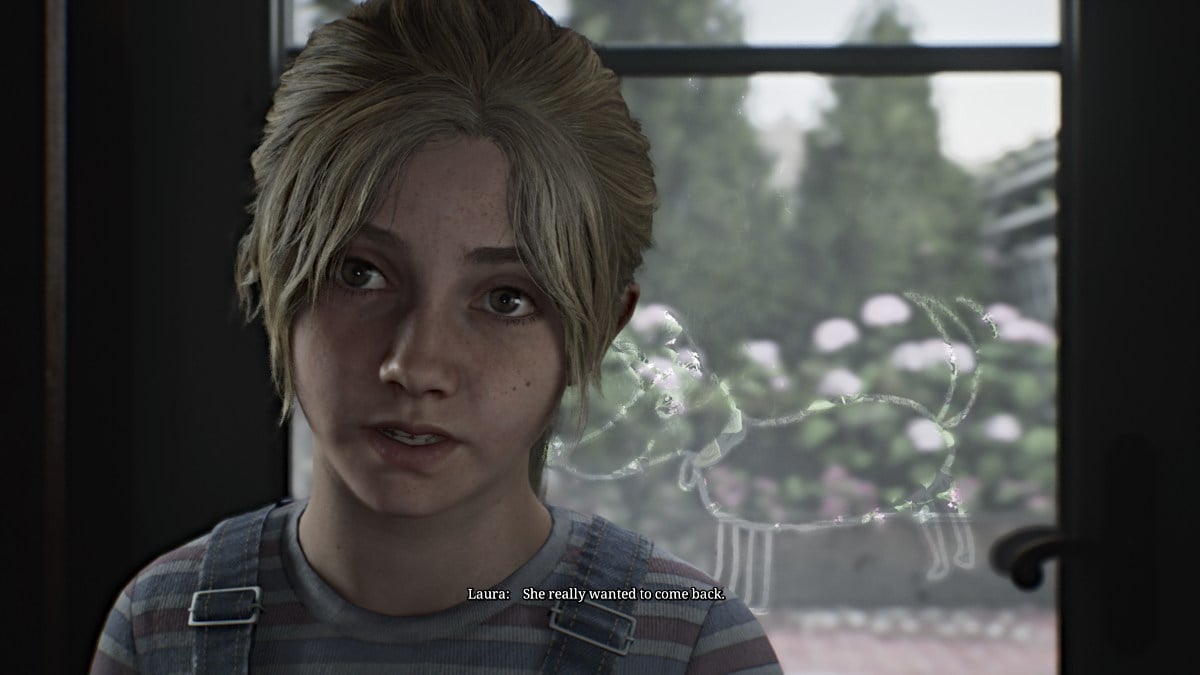
While looking around in the Lake Shore Restaurant , James gets startled by Laura hiding near the piano. The two of them talk about Mary and how they both want to find her for very similar reasons. In a letter from Mary addressed to Laura, it's revealed that Mary cared deeply for her and even hinted at adoption, if things had been different and she wasn't sick.
After James reads the letter which ends with Mary wishing Laura a happy eighth birthday, he asks her how old she is. Laura reveals that she turned eight "last week". That would mean that James' timeline of events has completely crumbled, as Mary didn't die three years ago after all, or even last year. If that letter is real, then Mary died only days ago.
Before James realizes that, however, Laura says that there was a second letter for James. She hands the envelope to him, but somehow it's empty. For now, she runs off to look for it.
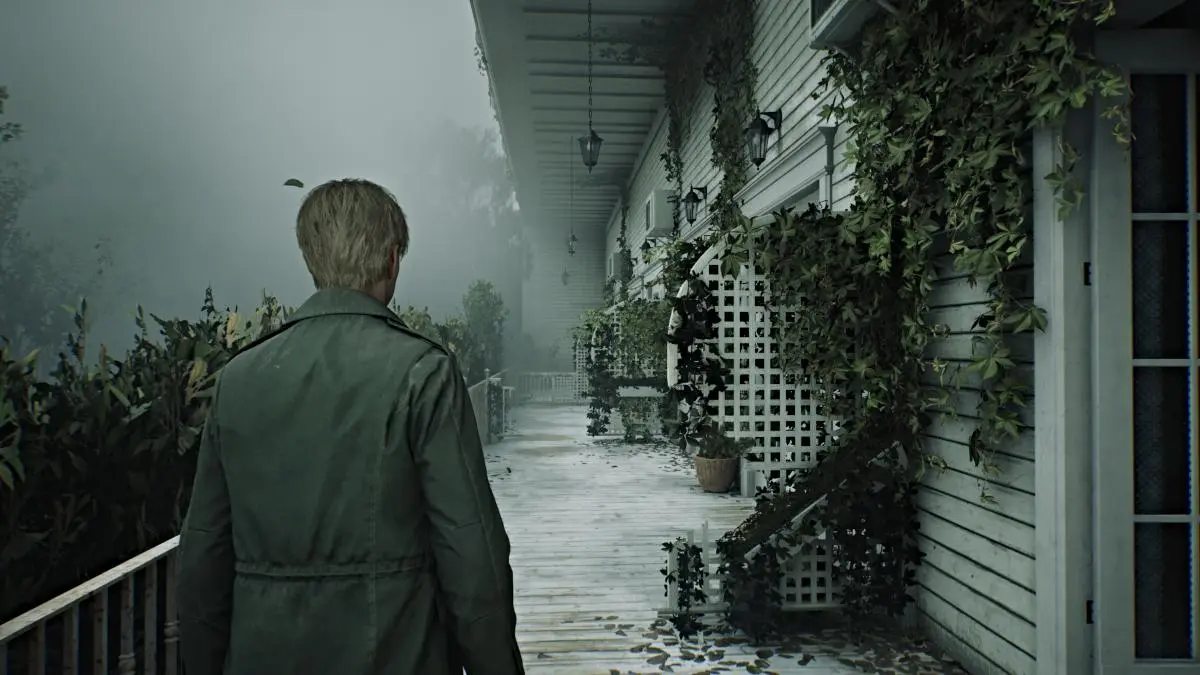
After leaving the Restaurant, follow Laura to the hotel rooms on the east side of the floor . As soon as you go through the parlor doors, however, you'll see that monsters are dwelling in the halls. Deal with the ones in your way and check the small cabinet outside Room 101 for some Handgun Ammo . There's nothing of note in that room, so go to Room 102 .
Use the key to get in, and inside you'll find a nice trove of useful items, including a Syringe , Health Drink , Shotgun Ammo , and Rifle Ammo .
Leave the room, and right across from the door, there's a crawlspace that leads into Room 103 . Slip through and grab the Health Drink from the bedside table before heading out to the patio. To the right, you'll notice that you can go all the way across to the other side. Every other room along the way is locked from the patio side, except for Room 106 at the very end.
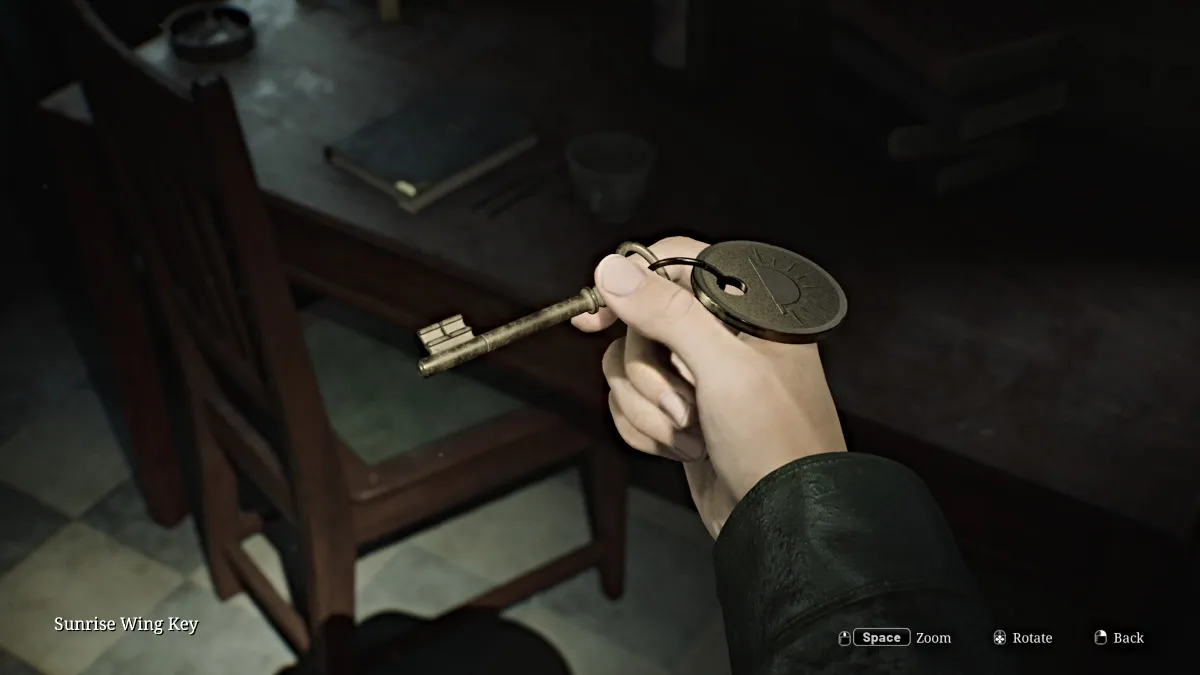
Go inside and check the bedside table for some Handgun Ammo , then go out into the hallway. A couple of Mannequins will ambush you in the dark, so take care of them first. Go check Room 104 , the only other accessible room on that side for the "aftermath..." Strange Photo and some Rifle Ammo .
Room 107 at the far south end requires a key to get in, so for now check the Utility Room nearby. Inside there's some Handgun Ammo and the Sunrise Wing Key , which unlocks an area of the second floor. Afterward, go unlock the door nearby that leads back to the front entrance area, if you want.
For now, make your way back to the lobby and up to the hotel's second floor.
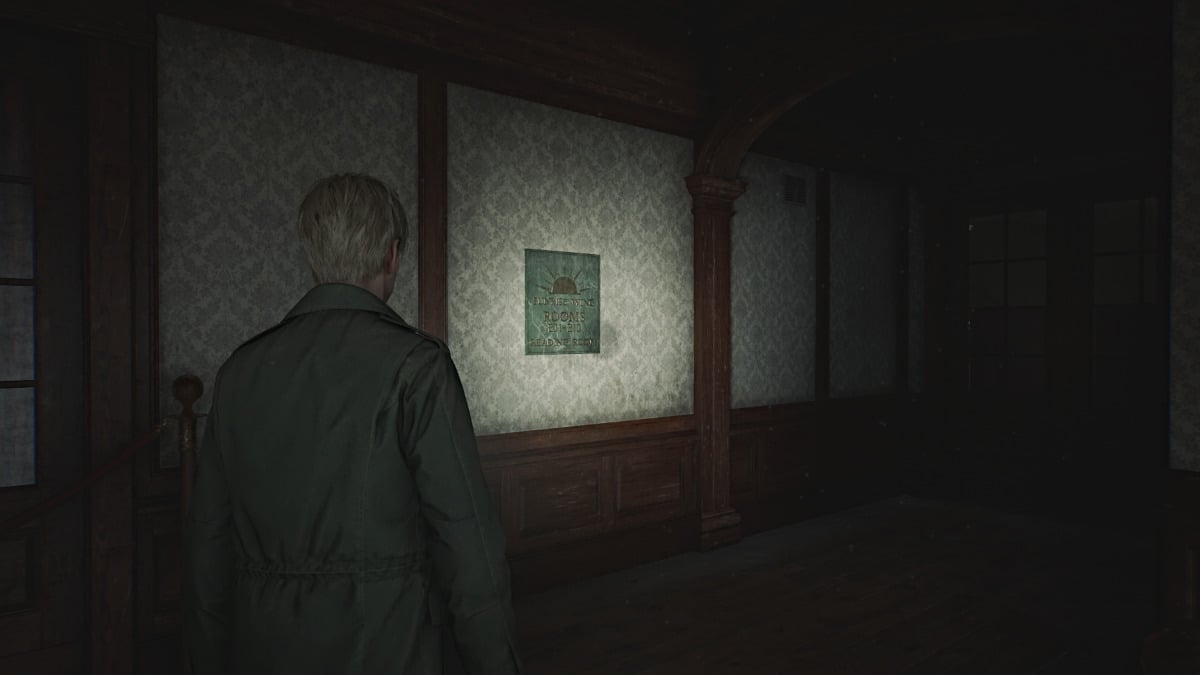
Upon reaching the second floor, you'll notice that the west half of the floor is locked off. So for now, go to the east side, which happens to be the Sunrise Wing where you can use the key you just got. Head inside and watch out for more lovely spider Mannequins crawling the walls and ceilings.
Before you investigate the Reading Room, duck into the Cloakroom on your left, which gives you access to the Hall room next door. Go in there and grab the Room 202 Key from a couch on the left side, then deal with a couple of Mannequins to get to the back of the room where you'll find the Ripe Apple (yum).
The patio is accessible and leads to the west side of the floor, but hold off on that for now.
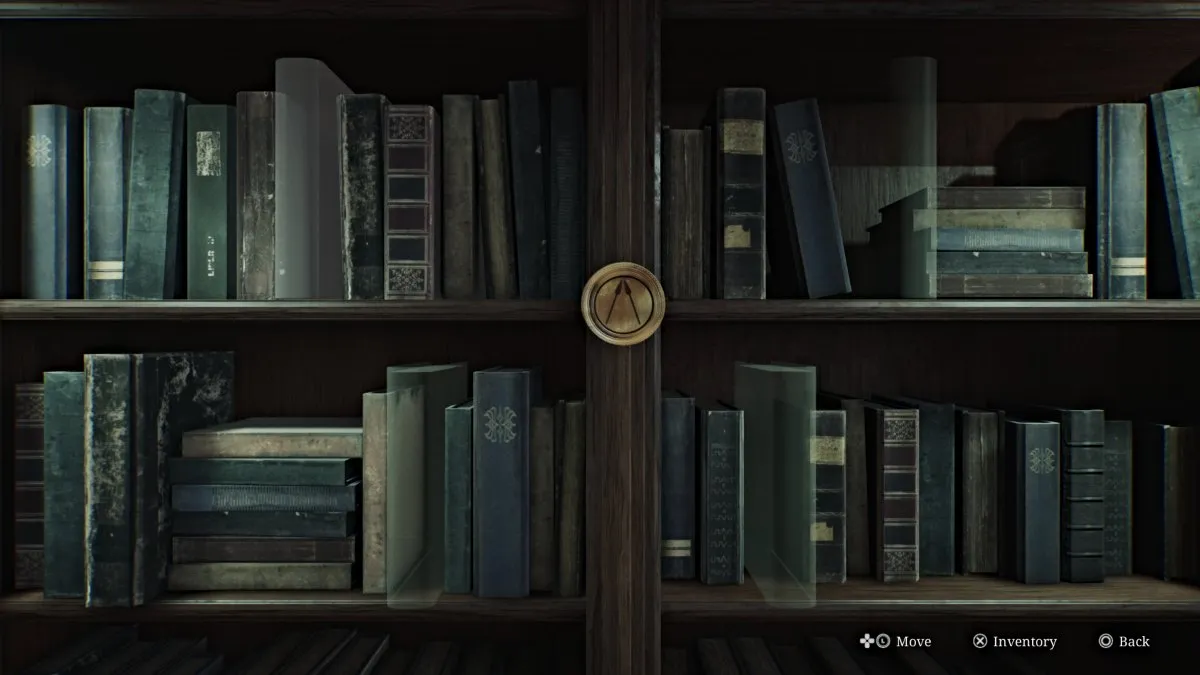
Now head into the Reading Room on your right, which James has marked on the map. Inside will be a Red Save Point along with four books you can pick up, including:
You'll need to place these books in the correct spots on the nearby bookshelf with a bronze emblem marked with two spears. Notice that the spine of each book has a different gold symbol, including an Eagle, Angel, Lion, and a Bull .
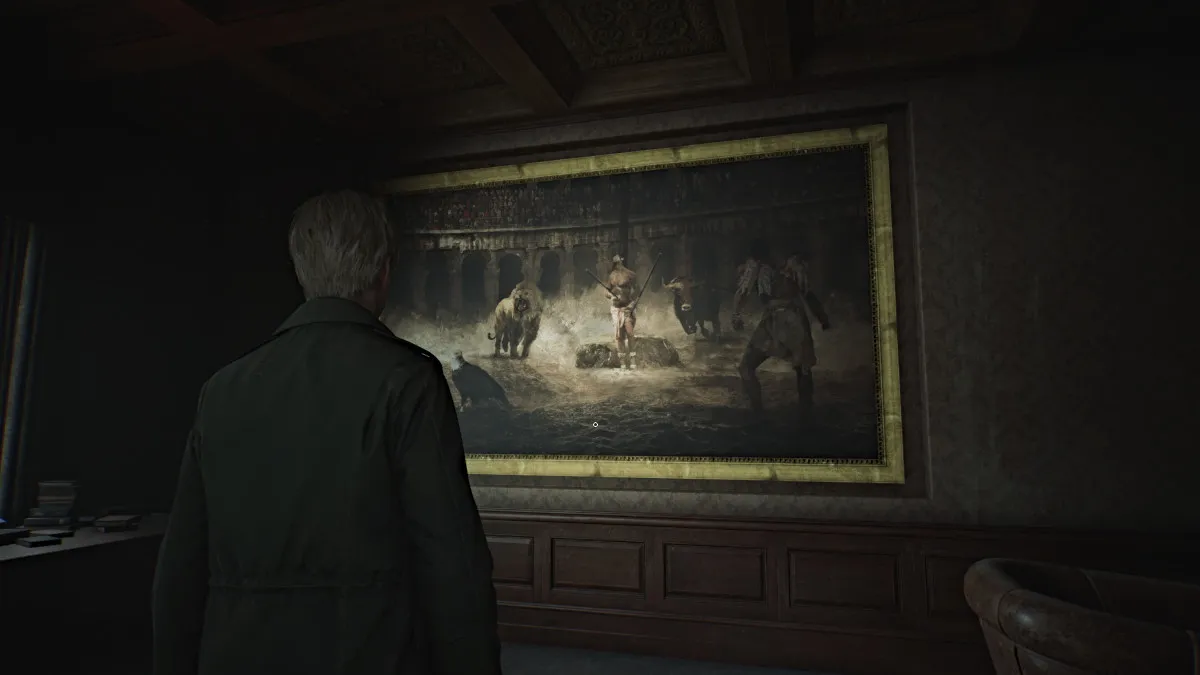
Next, look at the huge painting on the opposite wall, and you'll notice that it contains all of the aforementioned symbols as painted subjects. Two are in the background while the other two are in the foreground . Based on that, the books need to go on the shelf in the following order:
| 本 | 位置 |
|---|---|
| The One Who Soared (Eagle) | Top Right Slot |
| Revelations: A New Understanding (Angel) | Top Left Slot |
| Stalwart to the End (Bull) | Bottom Left Slot |
| Pride Before the Fall (Lion) | Bottom Right Slot |
Once done, the bookshelf will slide back to reveal a secret room that also connects to Room 205. Go inside where you'll find a series of Photos (#1-3) in the room along with a Briefcase that requires a letter-based combination to open.
Normally, to figure out the code you would need to replace the broken light bulb in the nearby Vanity Mirror with a new one. To do that you need to find the Paint Can (Room 318), the Can Opener (fallen book in Lake Shore Restaurant), and the new Lightbulb (locked left side of Garden area; use Boltcutters to access).
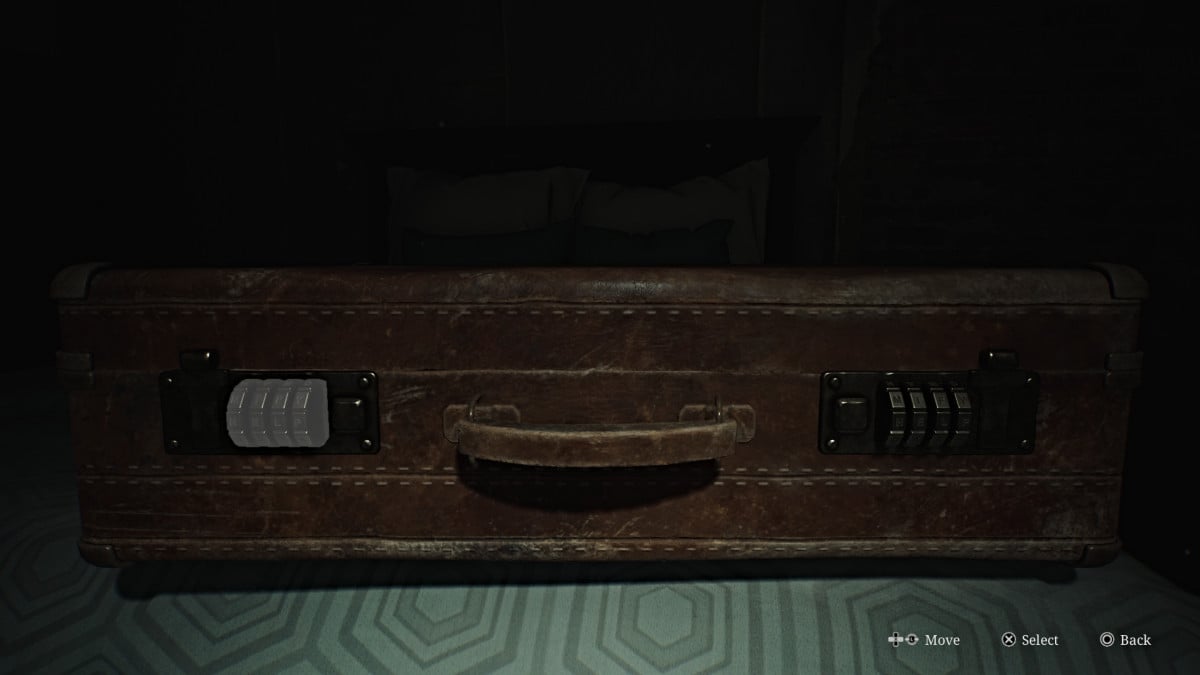
However, if you'd rather save time, the correct combination (Standard Difficulty) is "DEED DONE" . So input "DEED" on the left combination lock and "DONE" on the right one. Inside the Briefcase will be the Employee Elevator Key .
Up top, only Room 209 is accessible but has nothing valuable (only a Mannequin to jumpscare you). Head south and into Room 206 , where you can use a crawlspace to enter 207 and claim some Rifle Ammo . Double back out to the hall and Room 204 will have a Health Drink and Handgun Ammo for the taking.
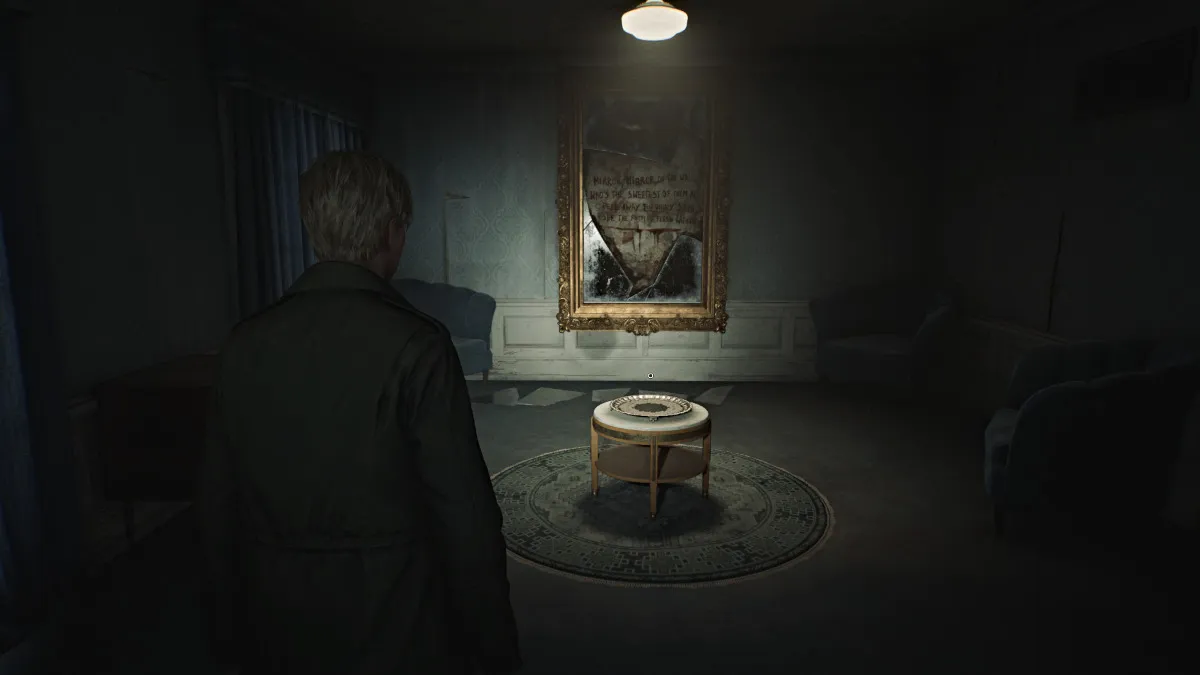
Finally, go to Room 202 and use the key you got to enter. Inside you'll find an ominous room with a small table and a platter on top of it. On the wall behind it is a broken mirror with words inside written in blood. "Mirror, Mirror, on the wall, Who's the sweetest of them all, Peel away the shiny skin, See the rotting flesh within."
On the floor beneath the mirror are five broken shards . A sixth one can be found in the bedroom on the opposite side; grab it before you start the puzzle. When ready, you first need to place either the Ripe Apple or Rotten Apple on the platter. For the sake of completing the puzzle, your choice doesn't matter.
Next, you'll be required to place each of the broken shards on the floor back into the mirror in the correct spots . The last one will be the one you took from the bedroom.
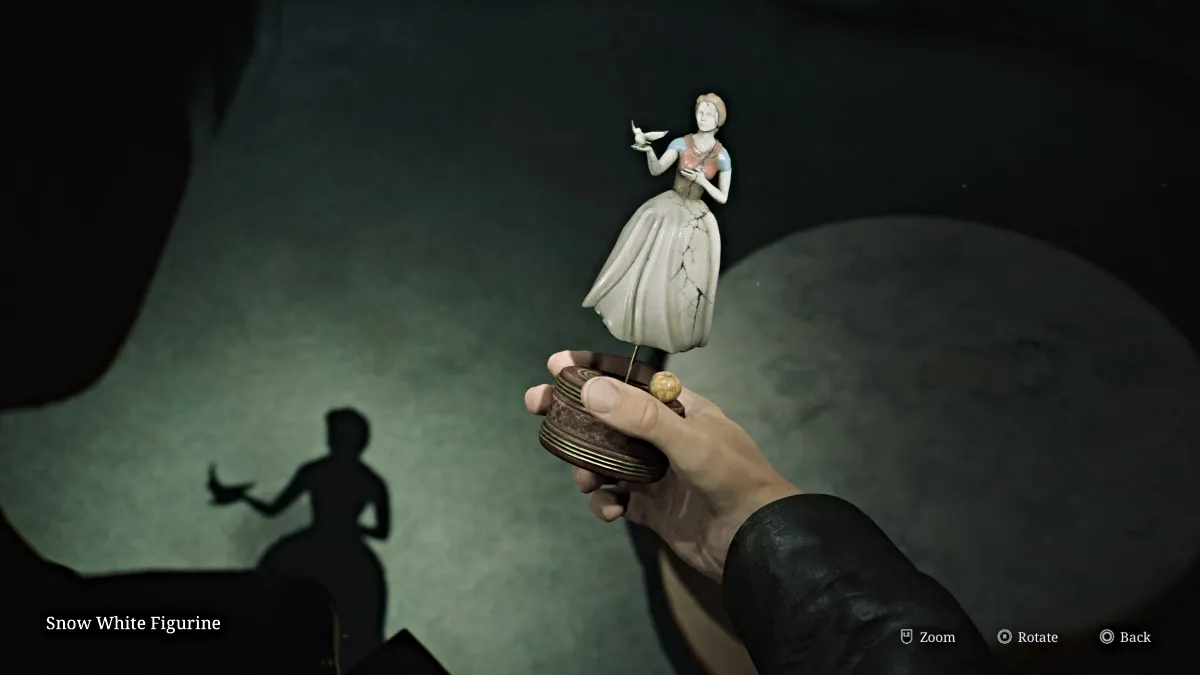
Once done, the mirror will reform and you'll then want to head to Room 201 next door to claim your reward, the Snow White Figurine .
Now make your way back through all of the spider Mannequins to the Cloakroom , and cut through the Hall room to the extended patio outside. Use it to reach the Nurse's Office on the left side of the floor, where you'll find a Bubble Nurse and a medical record sitting on a desk with the initials "MSS". Mary's perhaps?
Go out to the hallway and unlock the double doors to your left to make the Sunset Wing on the west side accessible. Go straight and around the corner to get some Shotgun Shells from a drawer. Bypass the Employee Elevator Room for now (for a specific reason) and explore the rest of the rooms on the floor first.
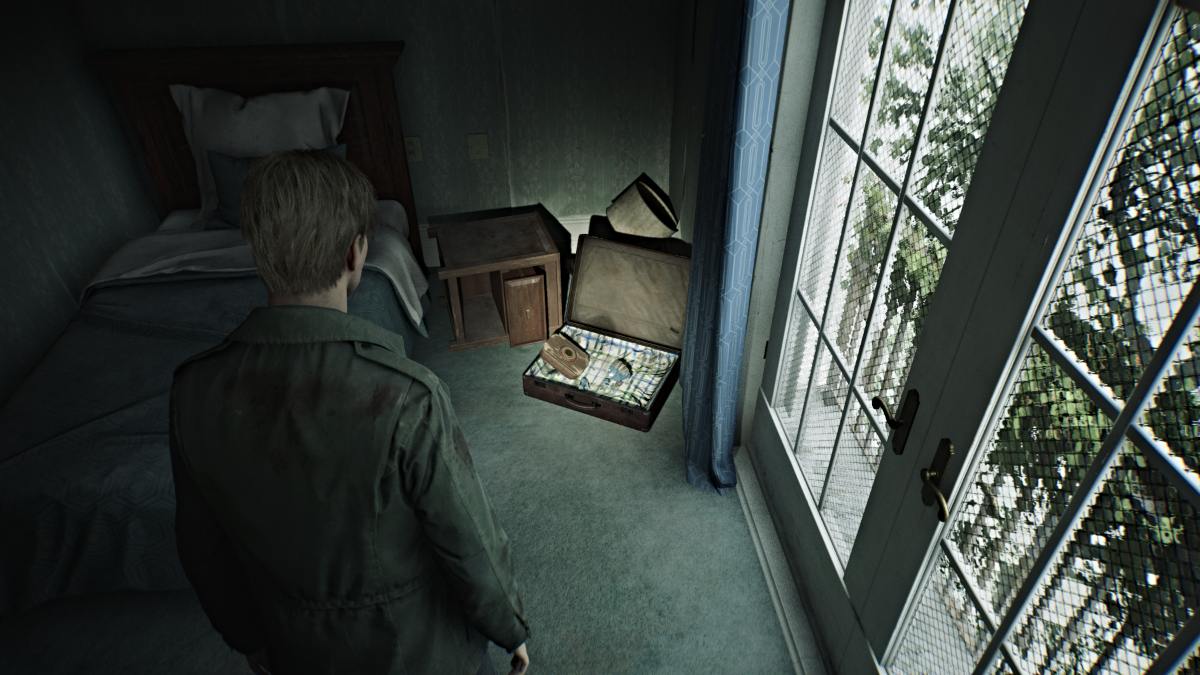
Note that the third floor is accessible from this side . Grab some Shotgun Shells from the drawer near Room 214. Go straight up the hall to the window at the far north end, where a Mannequin will be hiding and some Rifle Ammo on a table. Double back and turn right to find more Rifle Ammo at the end of that hall.
Inside Room 212 you'll find another Glimpse of the Past in an open briefcase. Leave and now head up to the third floor.
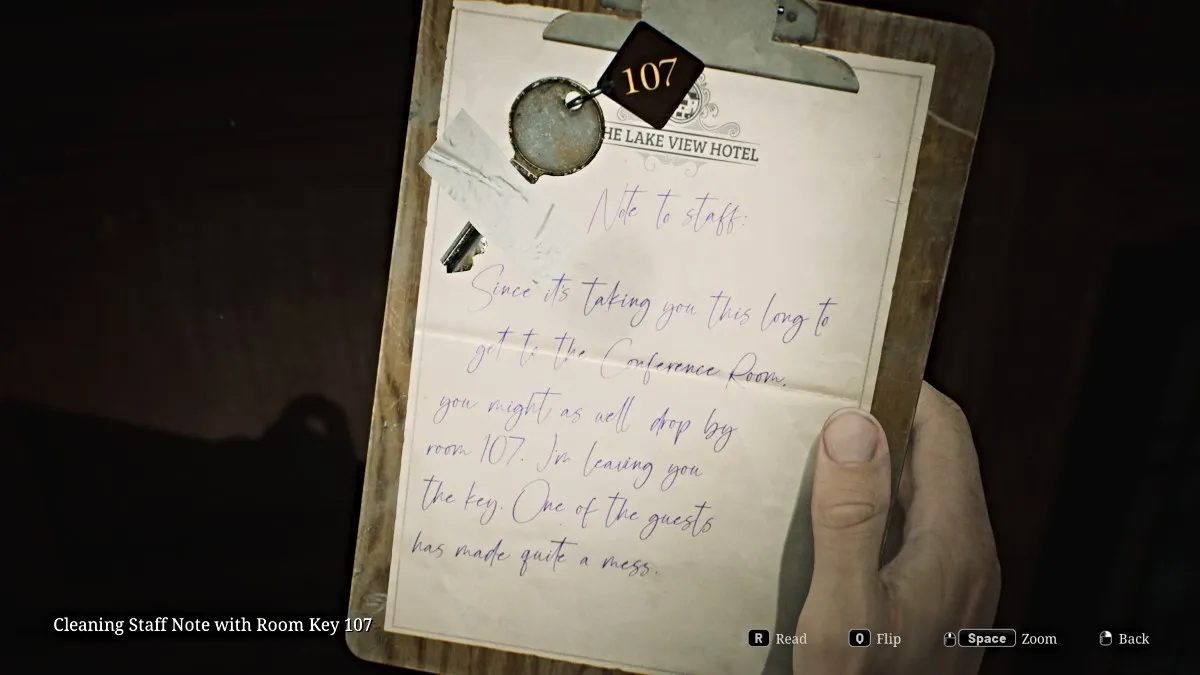
Go up the stairs to the third floor and first head into the Conference Room in front of you. Go across the room and pick up the Cleaning Staff Note With Room 107 Key off the fireplace. Now interact with the fireplace itself, and you'll notice one of the Music Box Figurines is stuck inside it . You'll need something to unlock the fireplace first.
For now, run back out into the hallway, and you'll notice double doors locked by an iron gate. If you approach it, Mary's voice will suddenly shout for James, surprising him. You'll need a key to access that part of the floor, however. For now, go check the Utility Room around the corner, where you'll find Handgun Ammo , Shotgun Ammo , and a set of Boltcutters (used to unlock the outside Garden's left side).
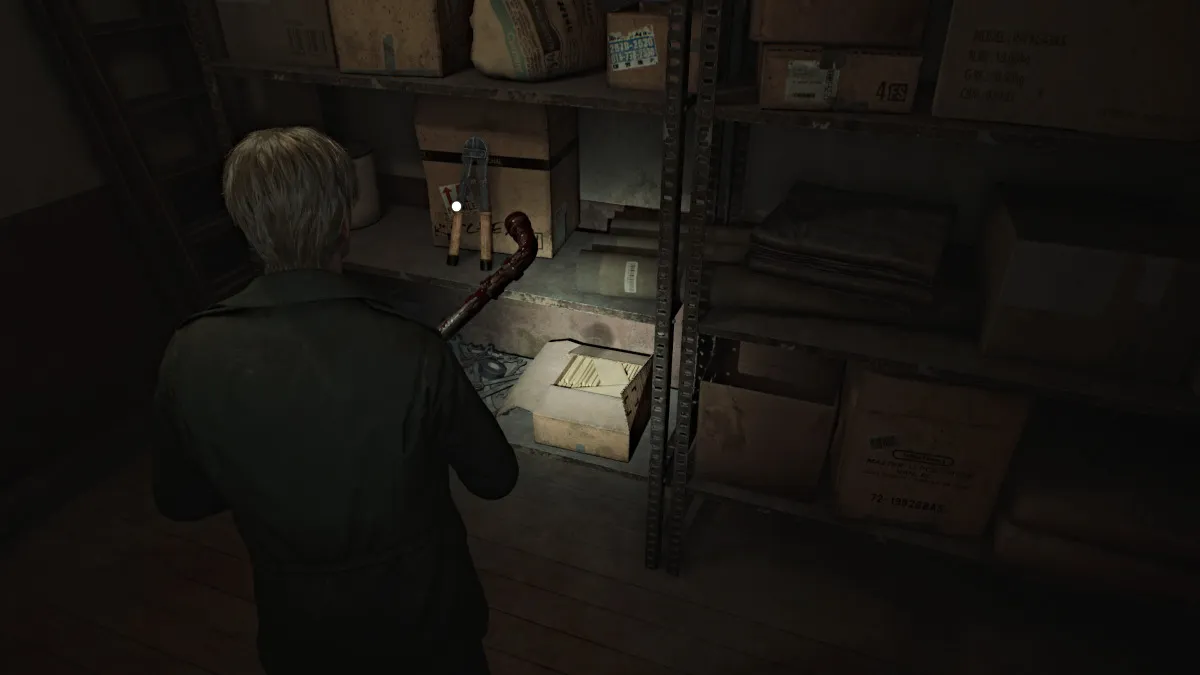
Double back around the hallway to where you see a bright red 'Exit' sign. This will take you outside and down a stairwell (grab the ammo from the table on the way down) to the second floor, into the southeast corner you couldn't access before.
First go into Room 215 , where you'll find a breakable wall that will take you to 214 . Unlock the door in there, and you now have a handy shortcut to the other side of the Sunset Wing.
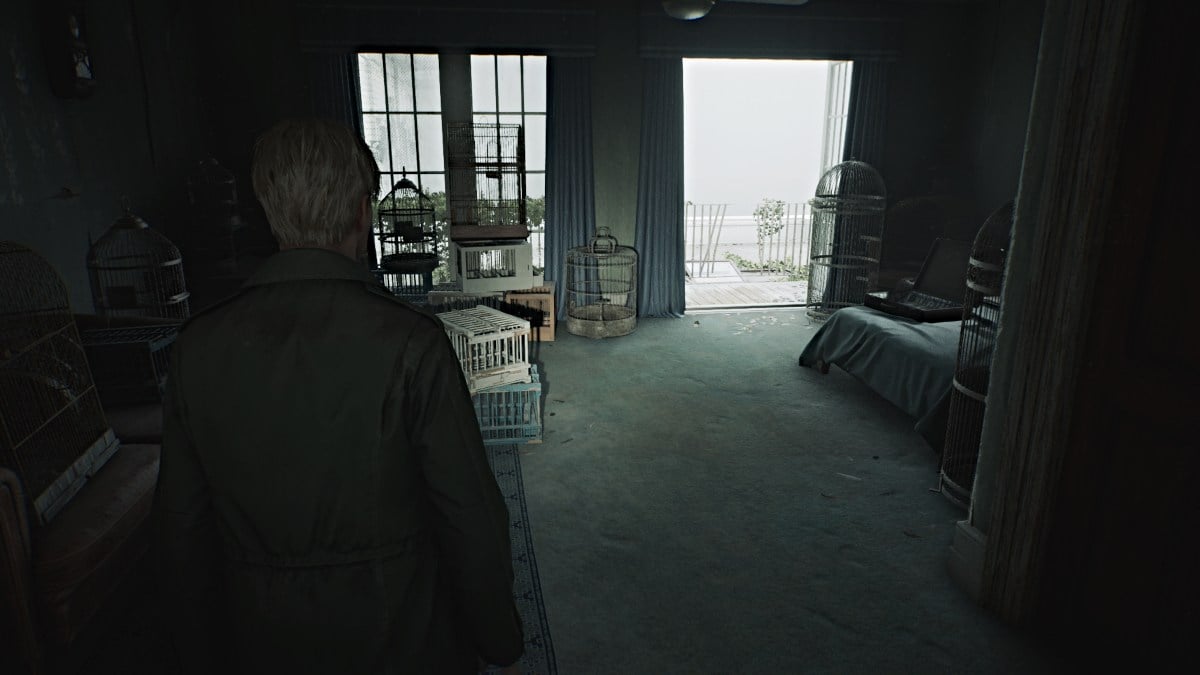
Now double back to Room 217 , a room full of bird cages where the patio doors will blow open, making another path for you. Grab the ammo from the suitcase on the bed and go look outside, where you'll see another red book lying on the glass ceiling across the way. Use your Handgun to shoot the cracked glass plate underneath it, so it falls into the Lake Shore Restaurant below.
Use your new shortcut and head all the way back down to the first floor and to the restaurant, where the book will be lying on top of a box. Interact with it, and it will open to reveal the Can Opener (for the Paint Can, if you're uncovering the briefcase code yourself). Take it and then head to Room 107 , now that you have the key for it.
Unlock it and go inside. First, pick up the Cleaning Staff Note #3 from the nearby table, then a Health Drink from the bathroom, and then head outside to the patio area.
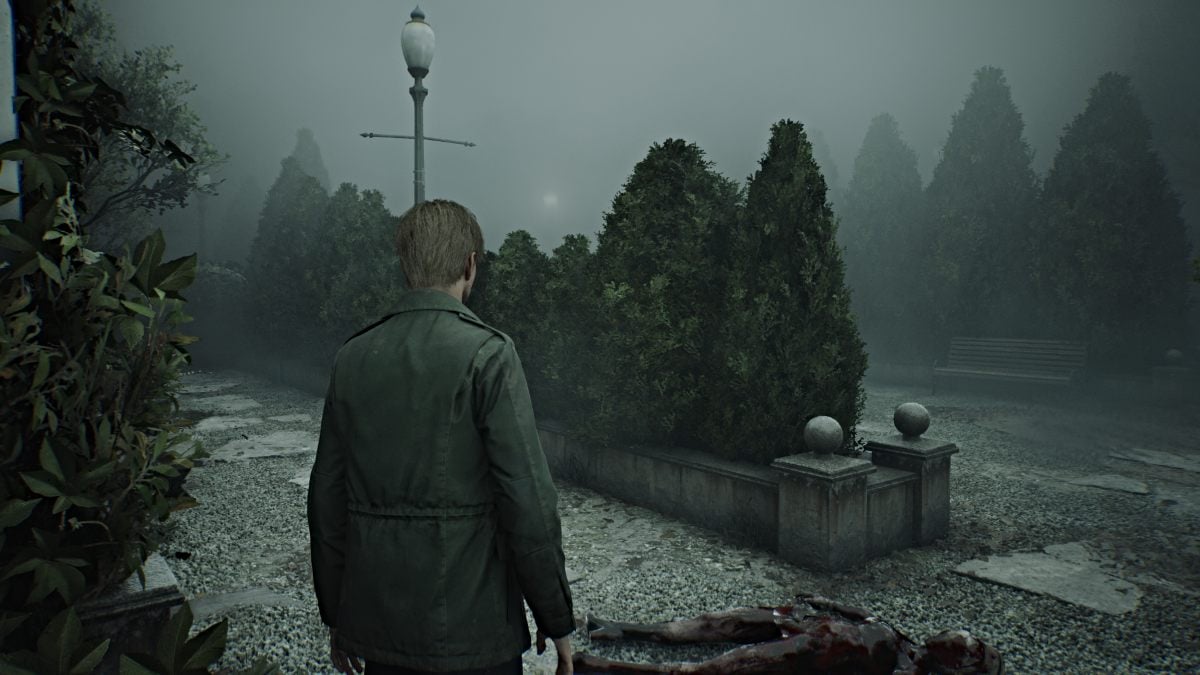
Turns out that this leads to the east side of the Garden area that you couldn't access initially. Grab Shotgun Shells from the table near the doors then start exploring the area. Deal with the monsters patrolling the grounds and make your way to the gazebo in the back corner. Inspect the overturned cleaning bucket and you'll get the Fireplace Key .
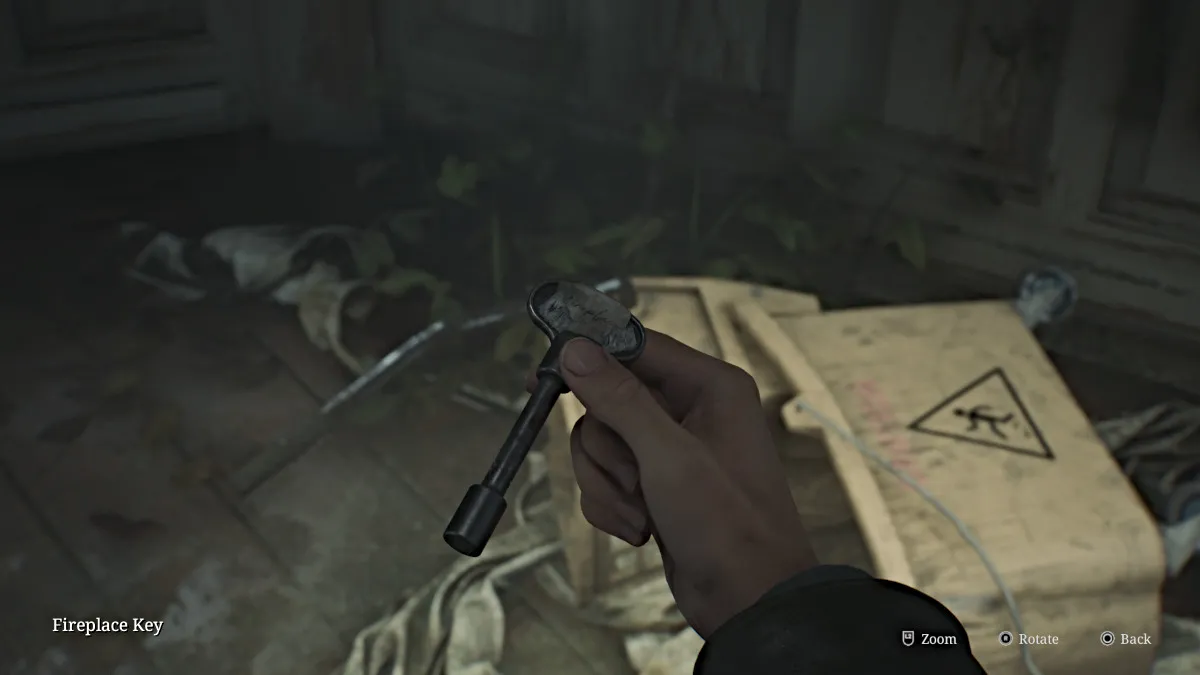
Now you can head back up to the third floor to put that key to good use.
Make your way back up to the third floor of the hotel (notice that some walls and windows are starting to wither) and go into the Conference Room . Run over to the fireplace and use the Fireplace Key to unlock it and retrieve the Cinderella Figurine .

A cutscene follows that shows a huge Mandarin enemy burst through the side of the room and attack James. While it may look like it at first, this isn't a boss fight. Just unload some Shotgun Shells (or whatever you have) into it until it dies.
Go into the side room the monster came from and grab a Health Drink and ammo from the phone table, then turn your attention to the shelf ahead. Push it out of the way to reveal a breakable wall. Bust through it to get into Room 317 . The wall behind you will collapse, so the only way forward is outside.
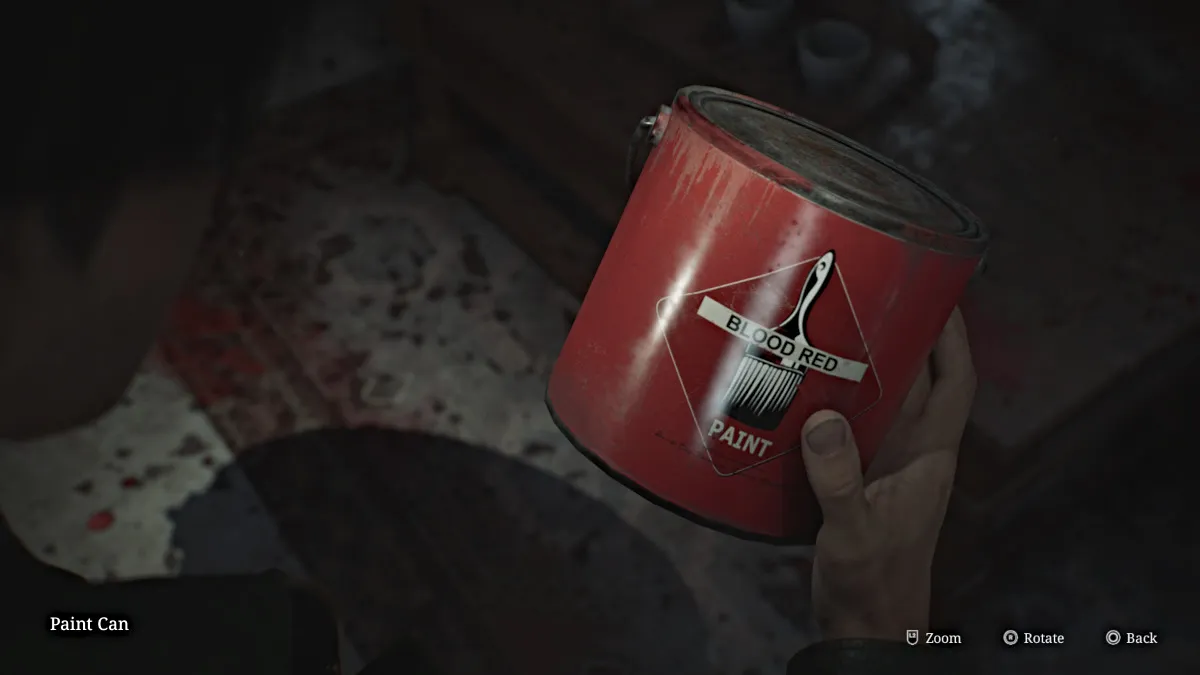
Hop across the low fence to the patio of Room 318 and go inside to see what looks like a catastrophic mess of blood on every surface, but it turns out to be red paint. There's an unopened Paint Can for you to claim, and you can combine it with the Can Opener to open it. You just need a Lightbulb to dip in the paint itself, which is at the fish statue in the Garden area.
You can take all those items back to Room 205 behind the Reading Room and use them on the Vanity Mirror to reveal the aforementioned code.
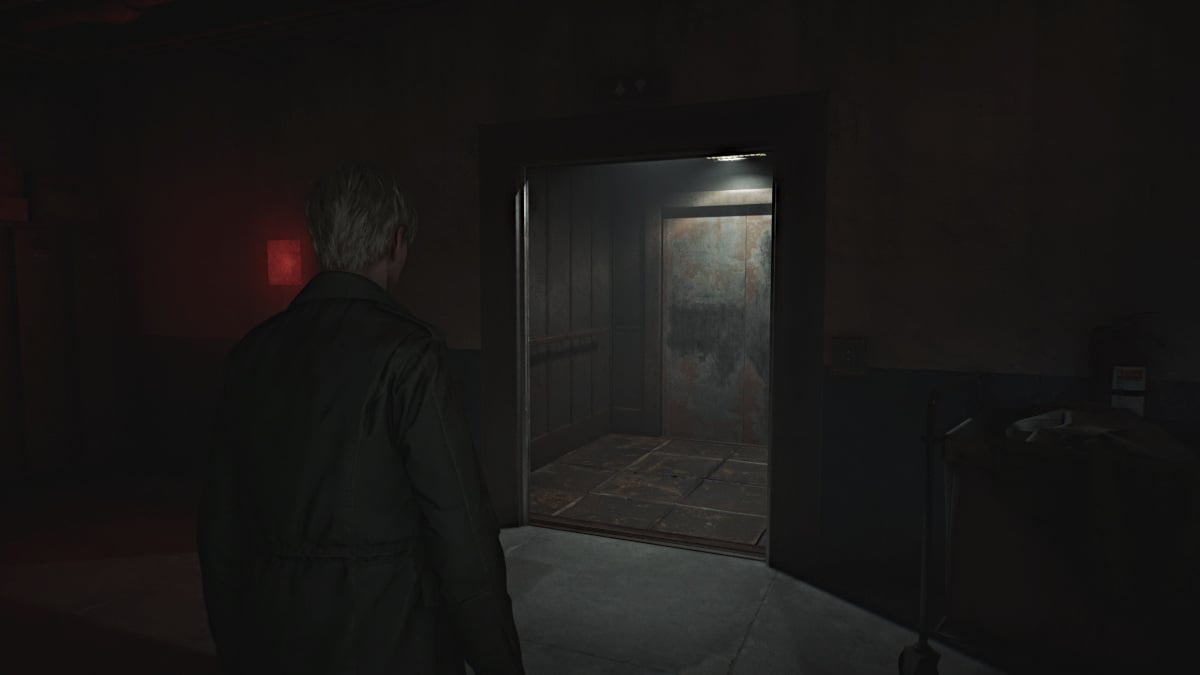
Once you've taken care of everything mentioned up to this point, it's now time to head back to the Employee Elevator Room on the second floor. If you attempt to go into the elevator immediately, you'll notice a loud alarm go off, meaning there's too much weight present.
In other words, you're going to need to offload everything you're carrying. Your weapons, your healing items, your flashlight, your key items, everything.
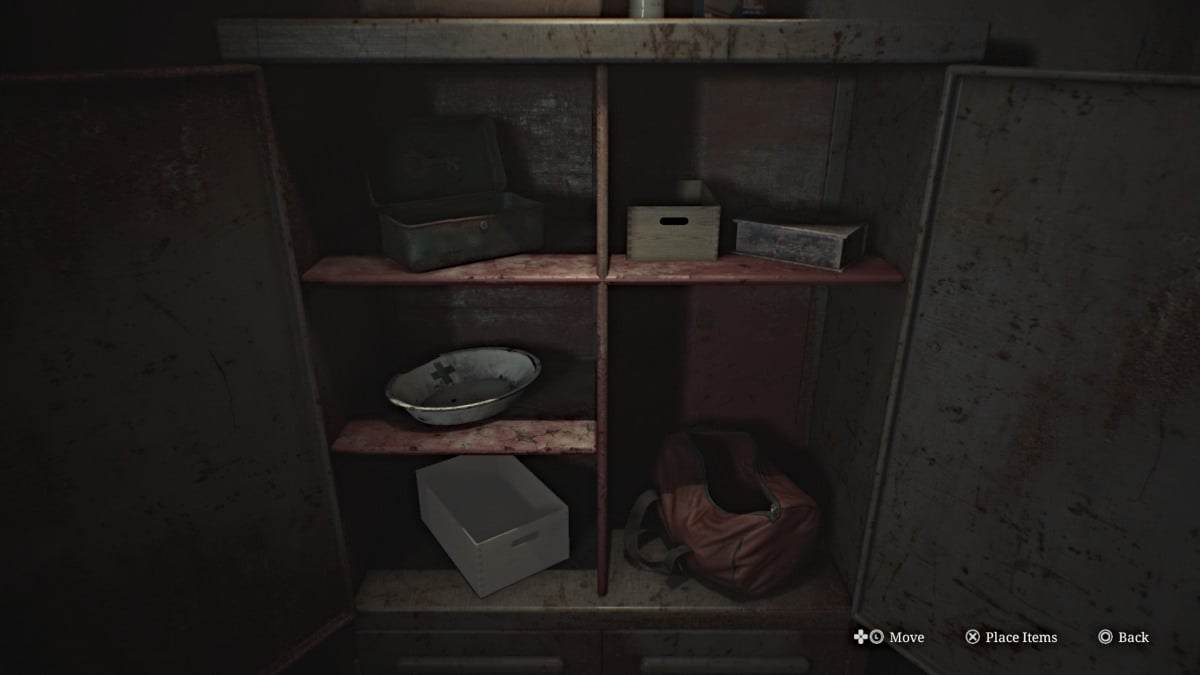
Use the Red Save Point inside, and then interact with the nearby cabinet. Inside, you'll see containers for each type of item you're carrying. Start dumping everything you have into them, however, you're oddly allowed to keep your photo of Mary , her letter (which if you look is now strangely blank), her handkerchief, and Angela's Knife .
Now you can enter the elevator and take it to the first floor , the only place you can go. Be forewarned, there are Mandarins patrolling these areas, and you will need to do your best to sneak around and avoid them since you have no means of killing them. If you walk quietly and keep your distance, they won't detect you.
Jump into the Break Room across the hall in front of you first, and grab the map for the Employee Section of the hotel(since you had to leave your other map behind). Now go to the Break Room Safe on the other side of the room.
The safe requires a keypad code to unlock it, and normally to figure it out you would need to solve the Gem Box Puzzle located in the Manager's Office and find all of the gems around the floor to do so.
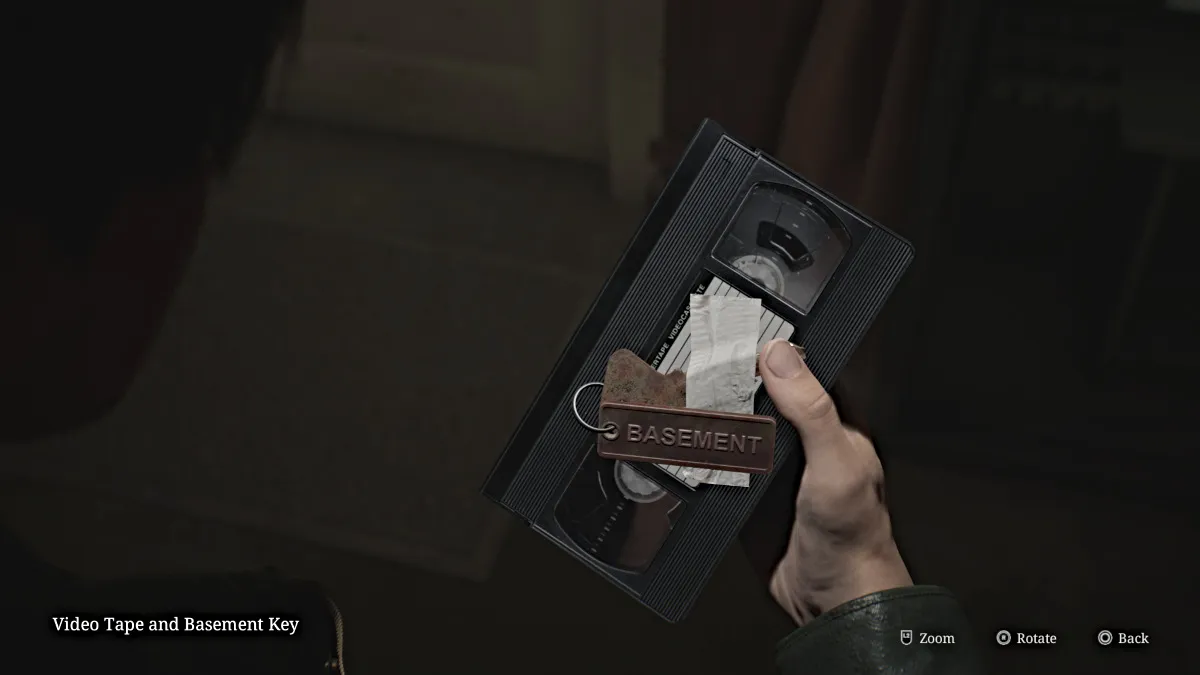
However, since this area is especially dangerous, we have the code for you to help save both time and your health. The correct code for the Break Room Safe is 7414. Inside you'll find the Video Tape and Basement Key , which will allow you to go to the Basement level of the Employee Section.
Tiptoe past the Mandarins and unlock the door to the stairwell that will take you down there.
Upon reaching the Basement level, check your map and carefully make your way south to the Maintenance Room first, avoiding the one patrolling Mandarin as you go. Once there, pick up the blue Pump Valve sitting on a table.
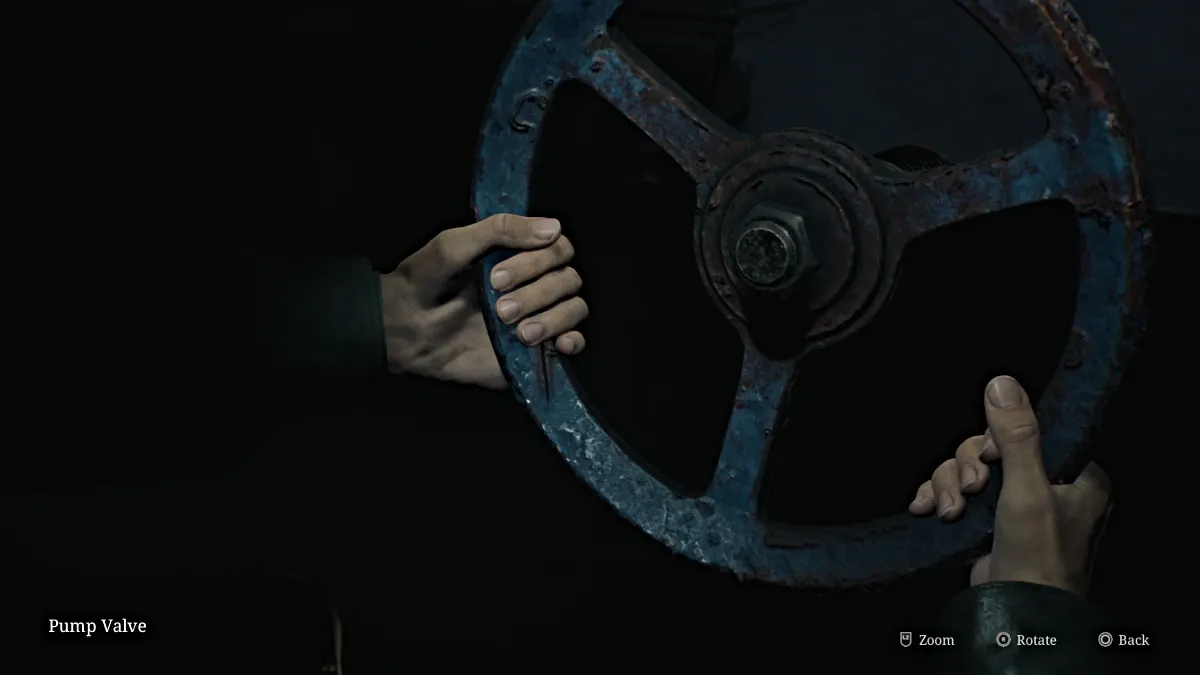
Exit the room via the gap in the wall to save yourself time on the Mandarin's patrol route (we recommend tailing it and then shortcutting up the middle once it's passed back around) and now head for the Liquor Storage Room .
Go inside, slide through another gap in the wall on the left side (wait for the Mandarin to pass before you do), and use the Pump Valve to cut off pressure from a nearby steam valve that's blocking access to the Boiler Room . Once done, go into the Boiler Room and grab the Venus Tears Bar Key hanging on a pipe by the boiler.
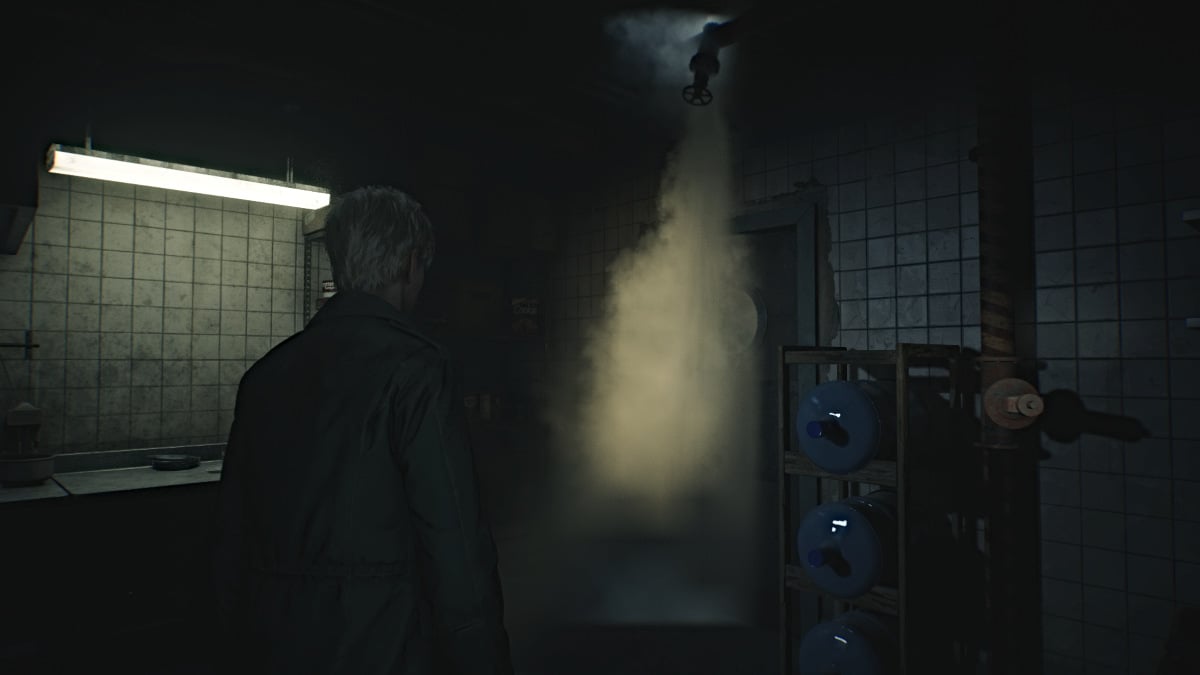
Leave the room and grab your Pump Valve because you'll need it one more time. Use the key to unlock the door to your left to the Venus Tears Bar Kitchen and go in. There will be one more spewing steam pipe that you need to depressurize, so use the Pump Valve nearby to do so.
Go through the next door to the bar itself, where you'll find a broken jukebox underneath a shattered aquarium that's flooded the room. Grab the "Better leave..." Strange Photo behind the bar, then go over and pick up the Little Mermaid Figurine off the floor, then use the Red Save Point nearby.
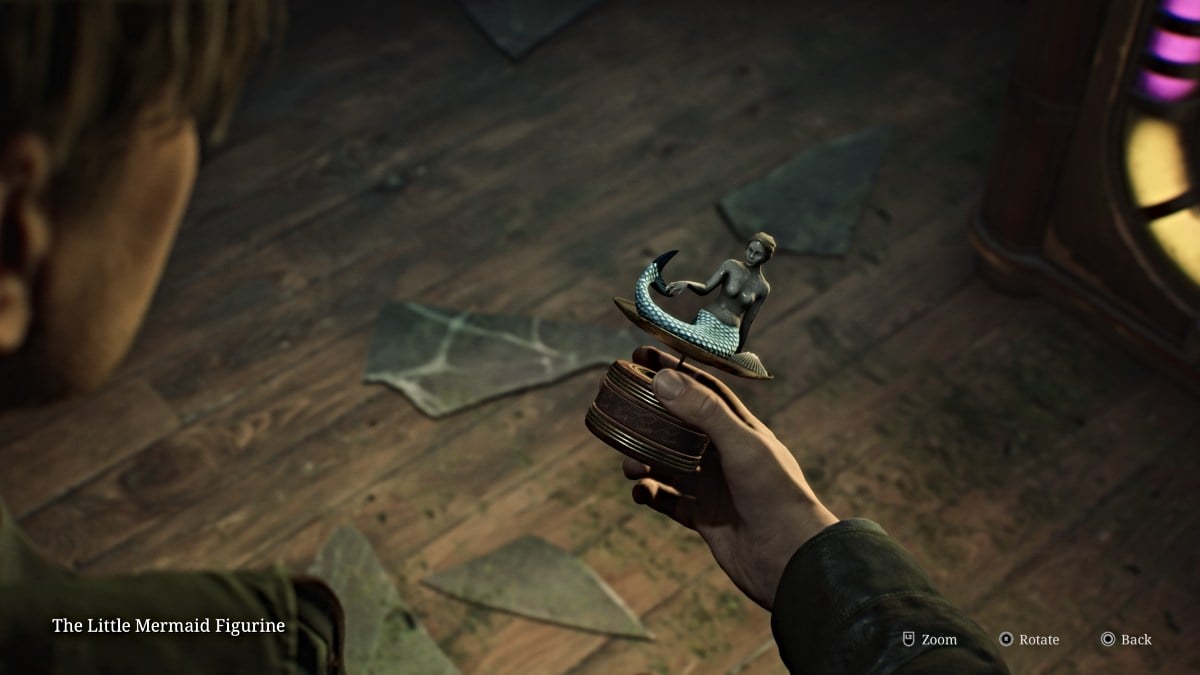
Leave the Venus Tears Bar through the front entrance and now make your way back up to the second floor to quickly reclaim your items from the Employee Elevator Room. Once that's done, head back down to the first floor where the Music Box is, now that you have everything you need.
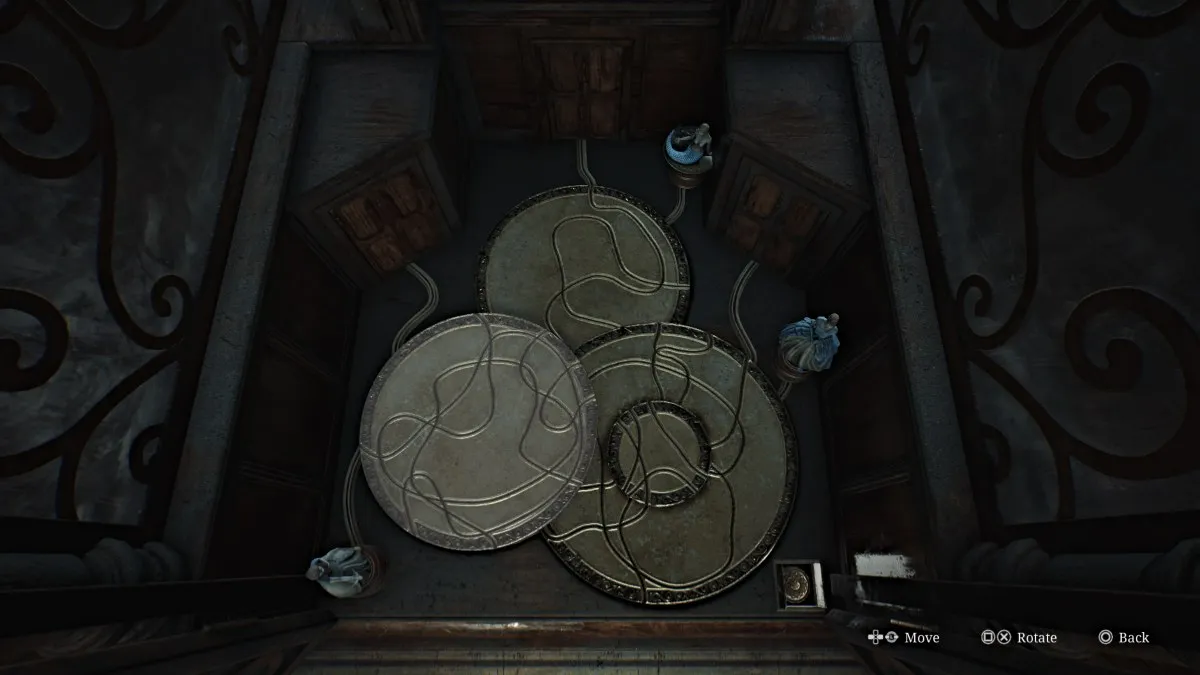
Approach the Music Box and look inside to place the three figurines you've collected in their respective spots. Your goal is to send those figurines along the correct track etched into the discs to their correct doors.
To do that, you need to rotate the discs inside the machine until they form the correct paths to the correct doors. The solution for all three figurines is:
Once you've aligned the tracks, press the button at the bottom right and the machine will prepare the sequence. However, there's one more step to complete.
You can now view the poems for the respective princesses on the facade of the machine, and there is a key above each passage (seen below). Your goal here is to turn each key the correct number of times, according to the numbers mentioned in each passage.
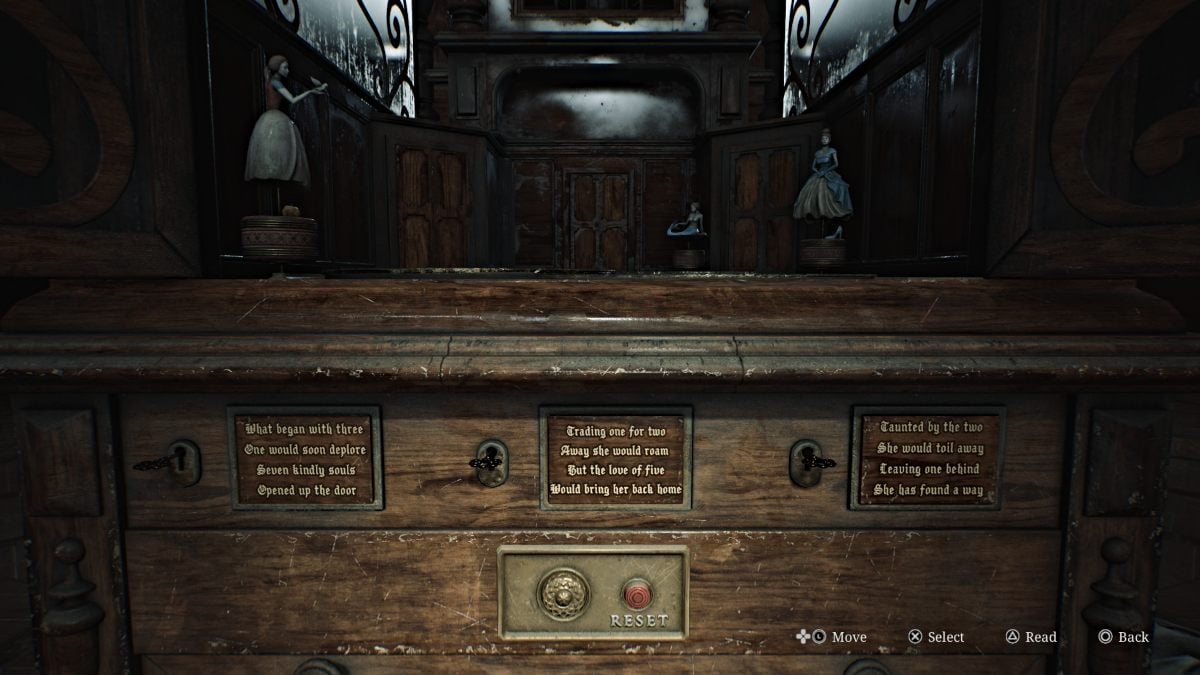
For Snow White, turn her key seven times. For Little Mermaid, turn her key five times. Finally, for Cinderella, turn her key one time.
Once you do, a familiar tune will play for James and he'll receive the 3F Corridor Key . This will unlock the gated hallway on the third floor, where you heard Mary's voice.
It's now time to face the music, literally?
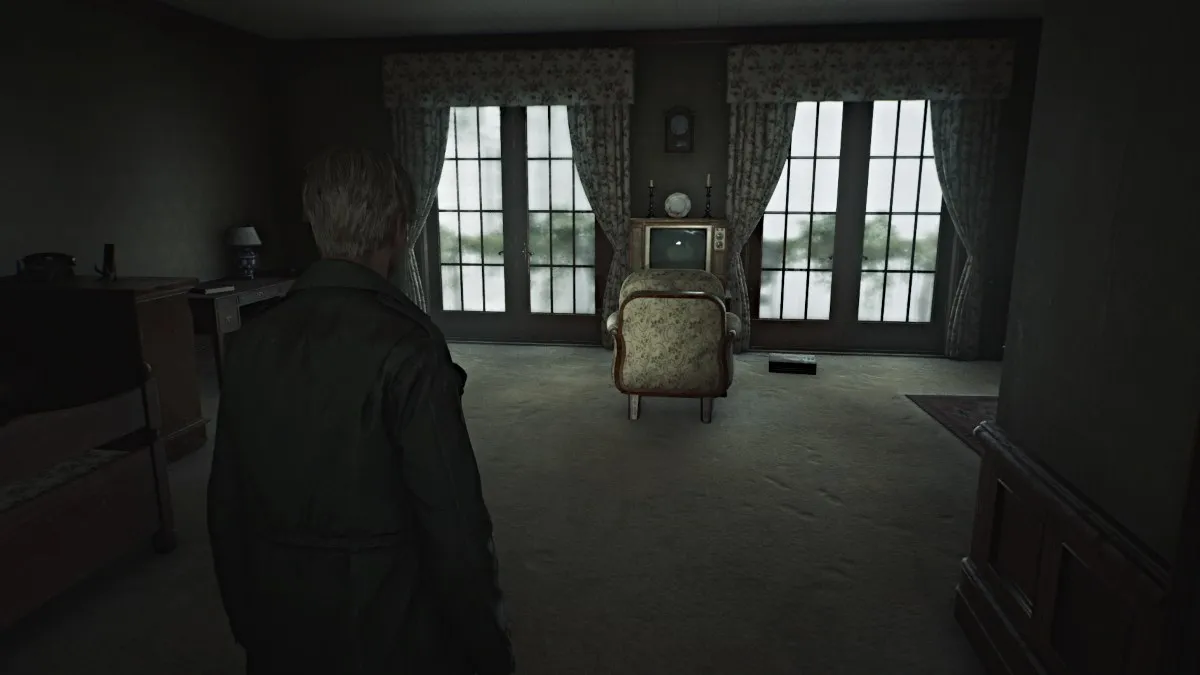
Go all the way up to the third floor and use the 3F Corridor Key on the gate. Go down the hall to the last room on the right and use the Room 312 Key to enter.
As you'll recall, this is the room where James and Mary stayed during their last visit to Silent Hill. Despite his assumption, Mary doesn't seem to be here either, but there's a TV with a VCR for your use. Go over and put the Video Tape you got from the Basement inside the VCR.
During the cutscene, the tape begins with the final moments of their visit to the town, and Mary asking James to bring them back one day. At one point she coughs, and the tape devolves into a mess of static and unstable images. However, among them a sequence plays of James approaching Mary in her bed and suddenly suffocating her with a pillow, revealing that he actually killed her.
James sits in silence, at last faced with the actual truth that he's subconsciously denied this entire time, to the point of believing Mary was dead for three years yet actually still alive (in fact it was only days, thanks to Laura's information).
After an emotional scene with Laura, the room transforms, though not into the usual version of the Otherworld. Instead, everything in the room is burnt and drenched in water, as if in the aftermath of a fire. Mary's voice suddenly calls out to James on his radio.
Once you have control, leave the room.
With the truth now known, the rest of the hotel appears to also be burnt, soaked, and falling apart. Go into Room 314 and grab Handgun Ammo from the bedside table, then go into the bathroom and through the wall gap to the hallway. There's more Handgun Ammo inside a table drawer to your right.
Also, be aware that there are NO monsters in Lakeview's Otherworld, so you can travel freely without having to worry.
The only way forward is south down the hall, so head that way and duck through the debris. You'll notice there's a high crawlspace to your left as you pass. Go down the hall and to the left where there's a pushcart for you to use. Crawl into the room ahead first where there's an ominous message scratched on the wall and a Syringe on a table.
Take the pushcart down the hall to the crawlspace, but it quickly collapses through the floor, ruining that plan. Instead, jump down the hole that's been made, bringing you to the second floor. Go down the hall and grab a Health Drink from Room 207 before going into the nearby Restroom .
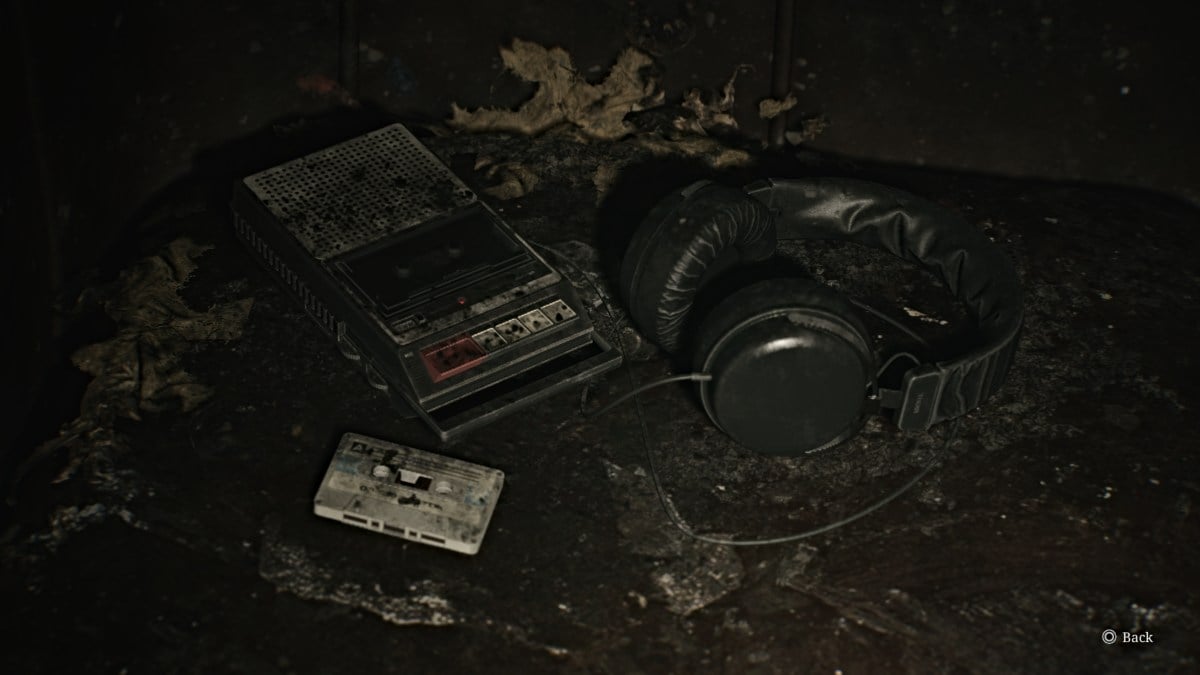
Use it to cross over into the Reading Room , and you'll find a Glimpse of the Past (seen above) sitting on a nearby couch. Use the Red Save Point then leave the room through the double doors. Go across to the Cloakroom and into the Hall. In the back left corner, you'll see the lit Elevator through a hole in the wall, which you need to get to.
To do that, go to the right side of the Hall and look up to spot a crawlspace. Use the shelf under it to climb through to the Nurse's Office . Make your way around through the office, listen to an ominous tape recording on the table if you wish, and then continue through the wall crack to the hallway. Follow it all the way to the Elevator and take it down to the Basement .
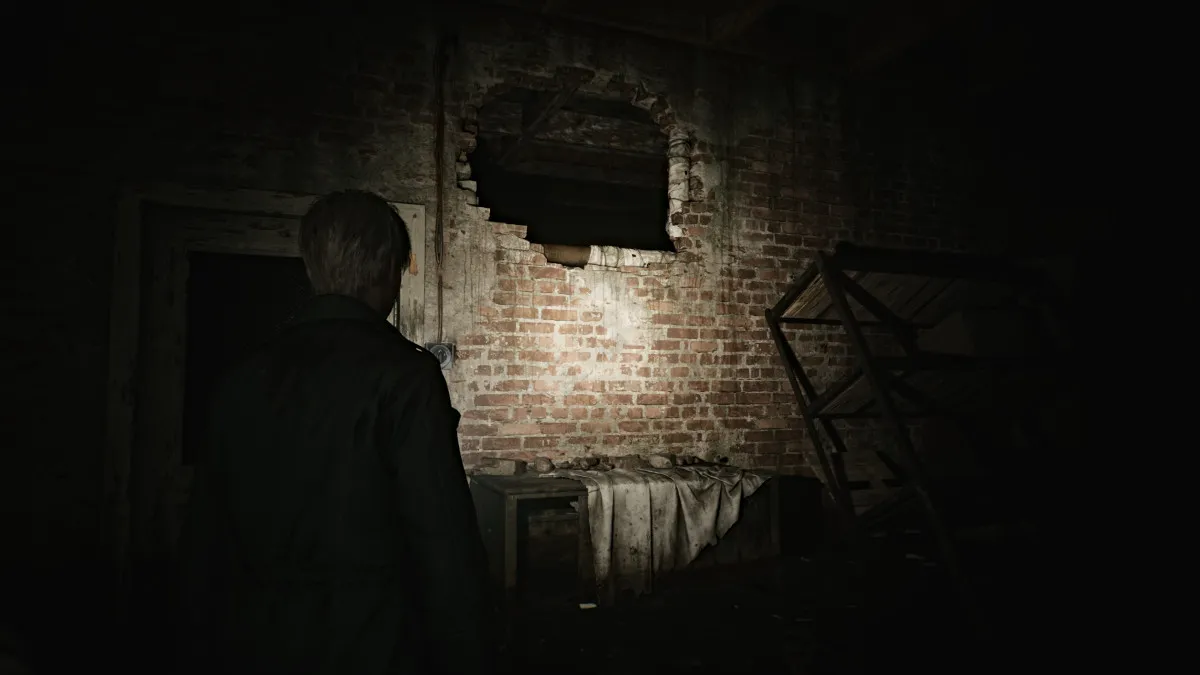
Once you exit the elevator, make your way through the flood to the Venus Tears Bar . Use the Red Save Point behind the bar and then head through the kitchen area and then to Liquor Storage . Grab the Rifle Ammo that's in there and then use the high crawlspace in the wall beside the locked door to get out.
Ahead of you will be a door that's glowing strangely bright from the other side. Head over and go inside, where a cutscene will play with Angela standing on a fiery stairwell.
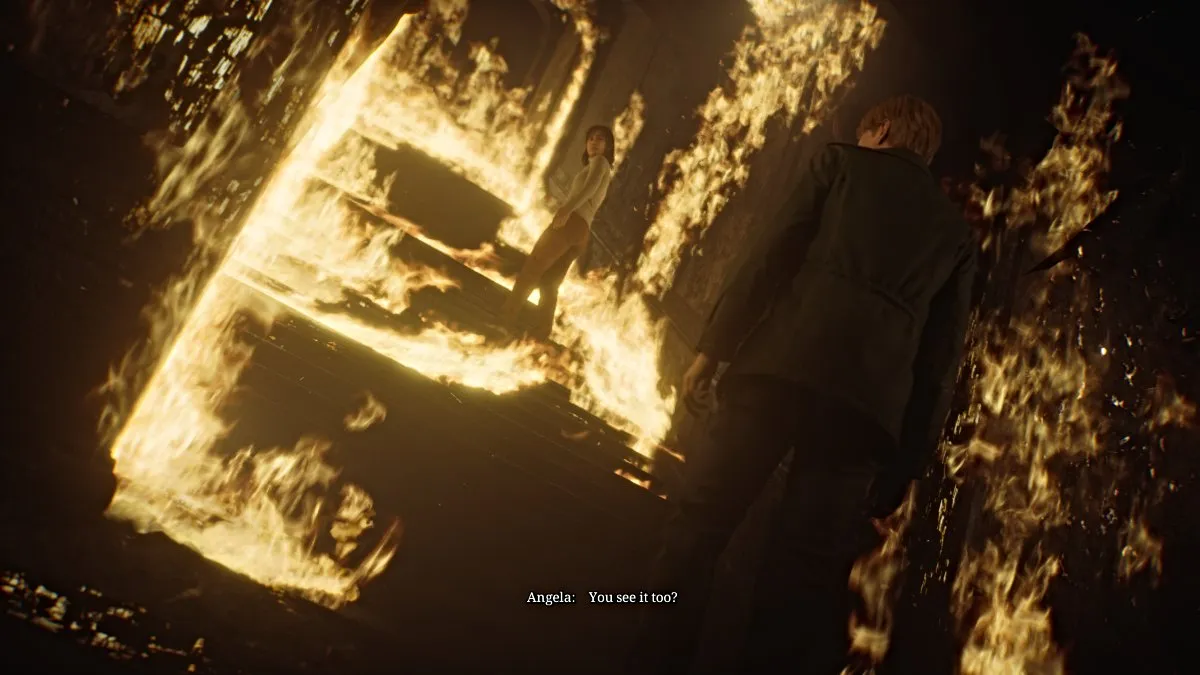
This serves as Angela's final farewell as she goes up the stairs, her fate unknown but hinted. James leaves to continue on.
Make your way through the rest of the Basement, where you'll notice there are now some monsters but they will not attack James . They're entirely passive, so just leave them be and save your ammo . Go into the Manager's Office, cross into the TV Room, and follow a hall that leads off the map.
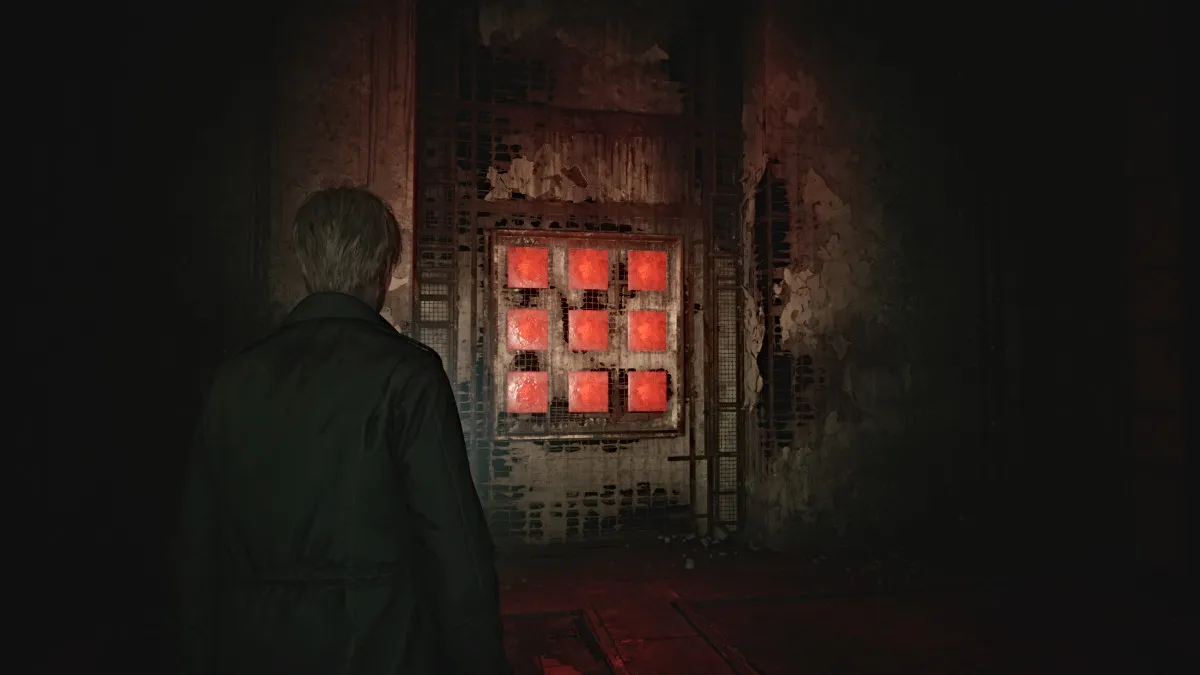
Continue until you come across a set of nine Red Save Points . The game obviously insists that you save here, so do so. With that, take a deep breath and go through the double doors ahead.
Inside is a seemingly dark and empty room, but suddenly Mary...or rather, Maria's voice yells for James. Once again she's "alive" but held captive now by two Pyramid Heads. Despite James' pleas, they proceed to stab Maria dead once again, and he yells in frustration.
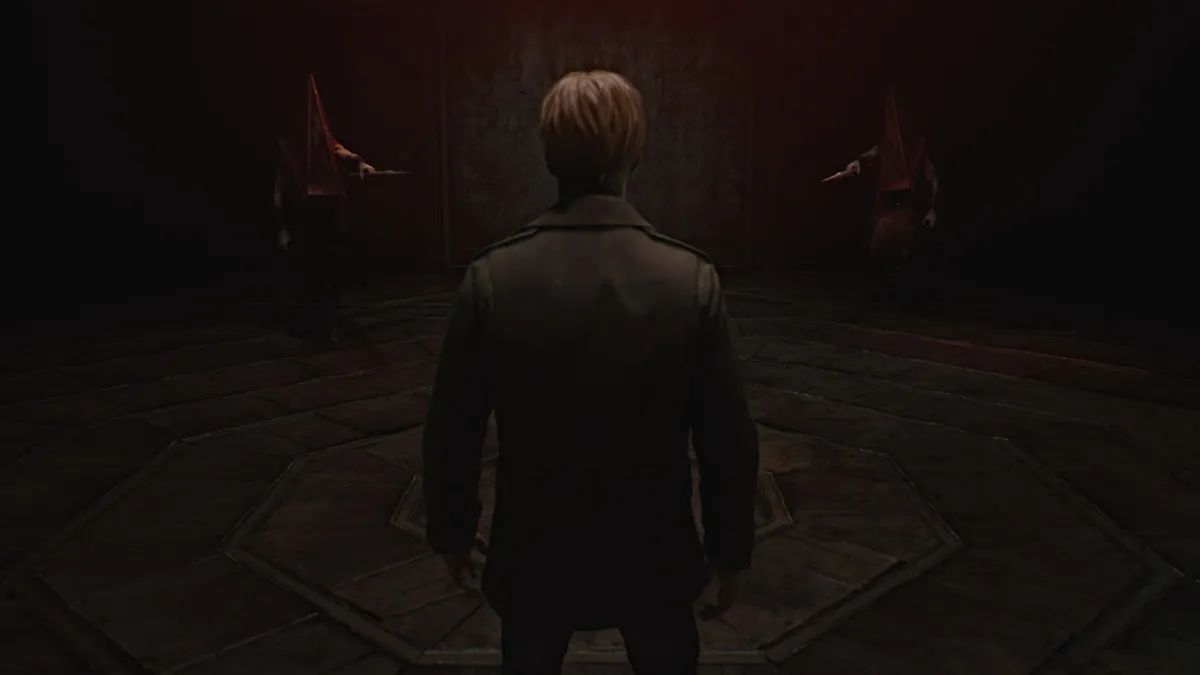
He finally makes his confession of needing Maria, an alluring shadow of his deceased wife, to soothe his pain and at the same time punish him for what he's done. That punishment has clearly been dealt, and James declares, "I don't need you anymore", likely referring to both Maria and Pyramid Head.
With that, they both approach James with spears in hand, ready to test that declaration.
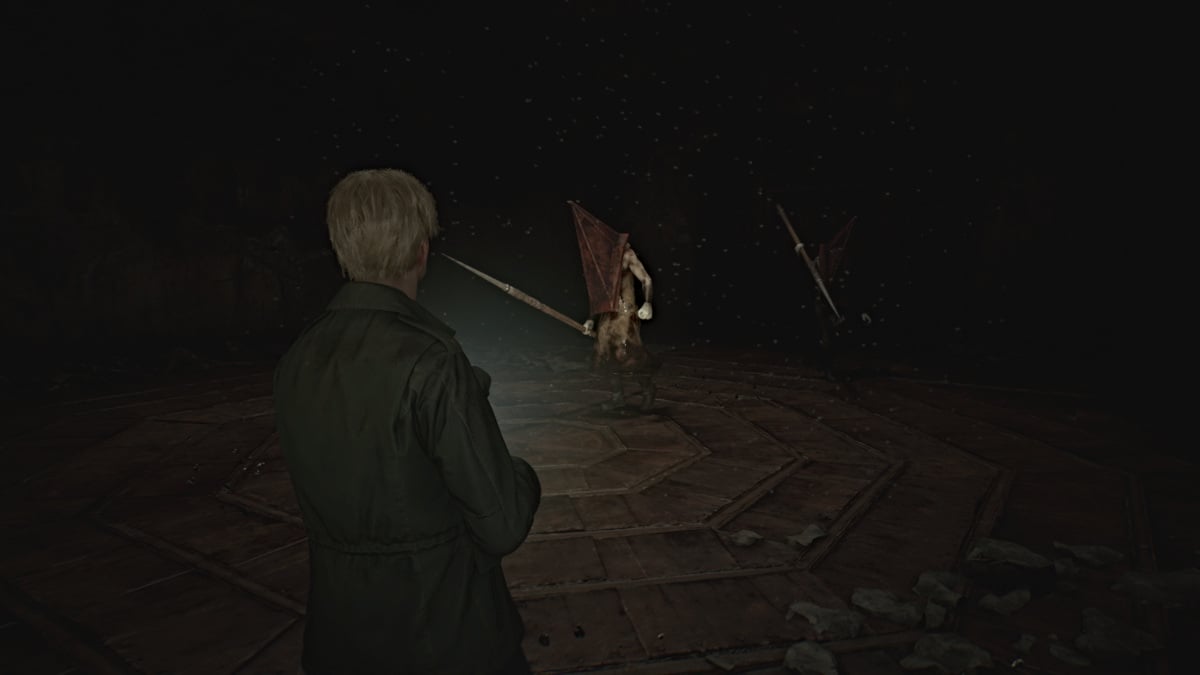
As soon as James says, "I'm ready", the battle begins. Both Pyramid Heads will quickly advance toward you with their spears, and your goal here is to deal as much damage as possible to both of them. You'll need every bullet you've got, and if you need more, there are plenty of ammo boxes and Health Drinks scattered around the room .
Starting with the Hunting Rifle is optimal, as it has the best range with the most damage dealt. After that, you can interchange between the Handgun and Shotgun as needed. Keep your distance as they'll both attempt various lunge and stabbing attacks with their spears. Kite them around the room while unloading as many shots as possible, and eventually, a cutscene will trigger.
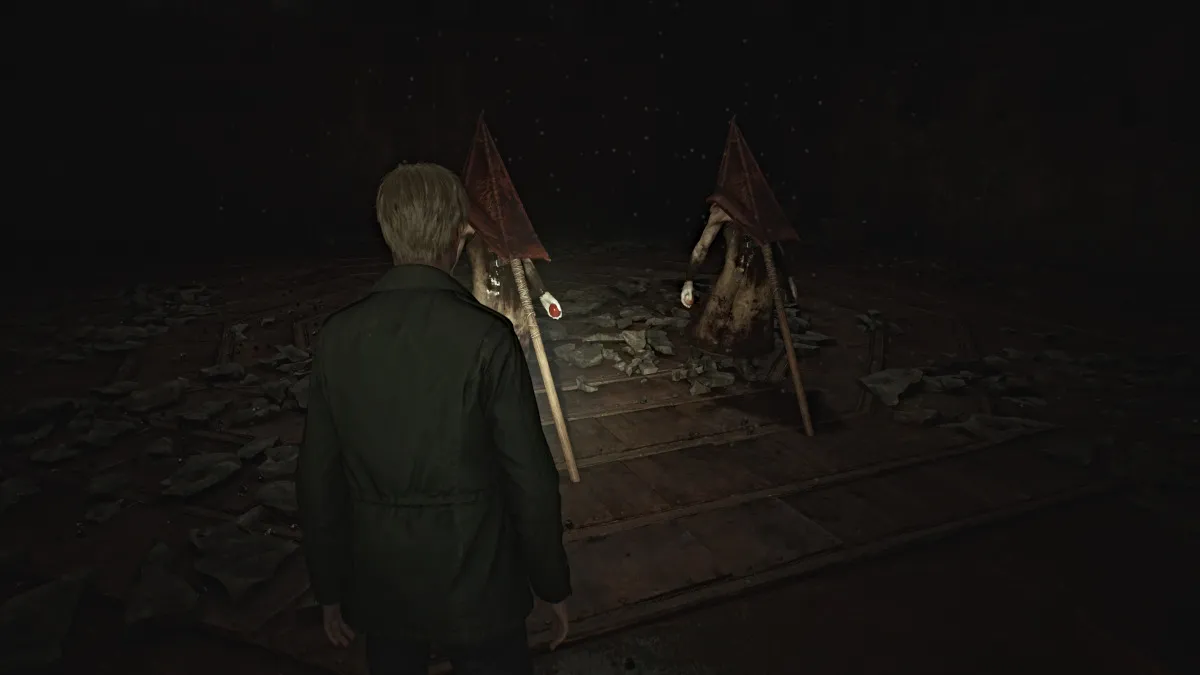
Both Pyramid Heads will go to the center of the room and ceremoniously impale themselves with their own spears. Their judgment has been made, so their presence is no longer needed.
Approach them and take the Scarlet Egg and Rust-colored Egg from their hands. Use these to unlock the doors that lead out.
You'll arrive back outside on a metal walkway, where there are several more ammo cartridges to pick up, along with a Syringe and the "SHAPE FORCES THE MIND" Strange Photo at the back right corner.
Reload all your weapons, top off your health, and head all the way up the stairs until you reach the top of the building. From here, a cutscene with Mary will play that's influenced by your decisions up to that point in the game. How you treated Maria, whether you looked at certain items often, whether you kept your health high or low, etc. They will all affect the subsequent ending as well.
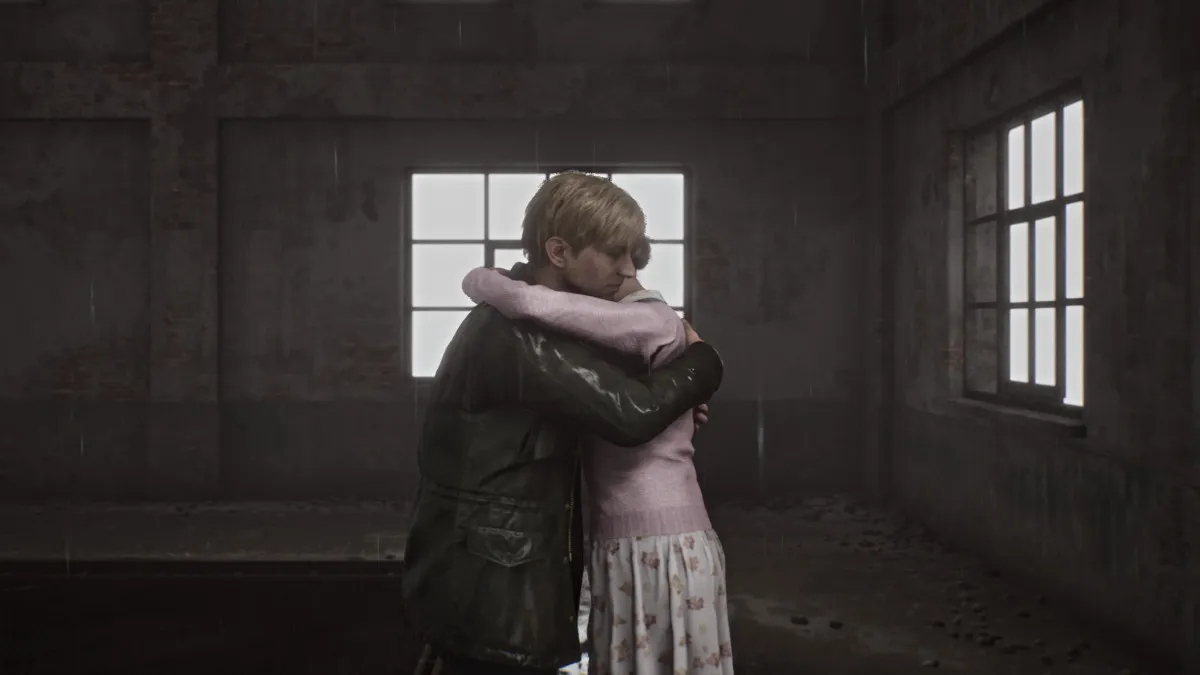
Once Mary (or Maria) succumbs to her turmoil and transforms into a monstrous version of herself, you'll be forced to fight her to ultimately bring peace or at least some sort of finality.
Like the Flesh Lips boss much earlier in the game, she'll be encased in a floating cage, and you'll need to keep your distance and deal damage, preferably with either your Hunting Rifle or Handgun . She also uses flocks of moths to chase and deal ranged damage to James, while also using a tentacle appendage to deal brutal stabbing attacks.
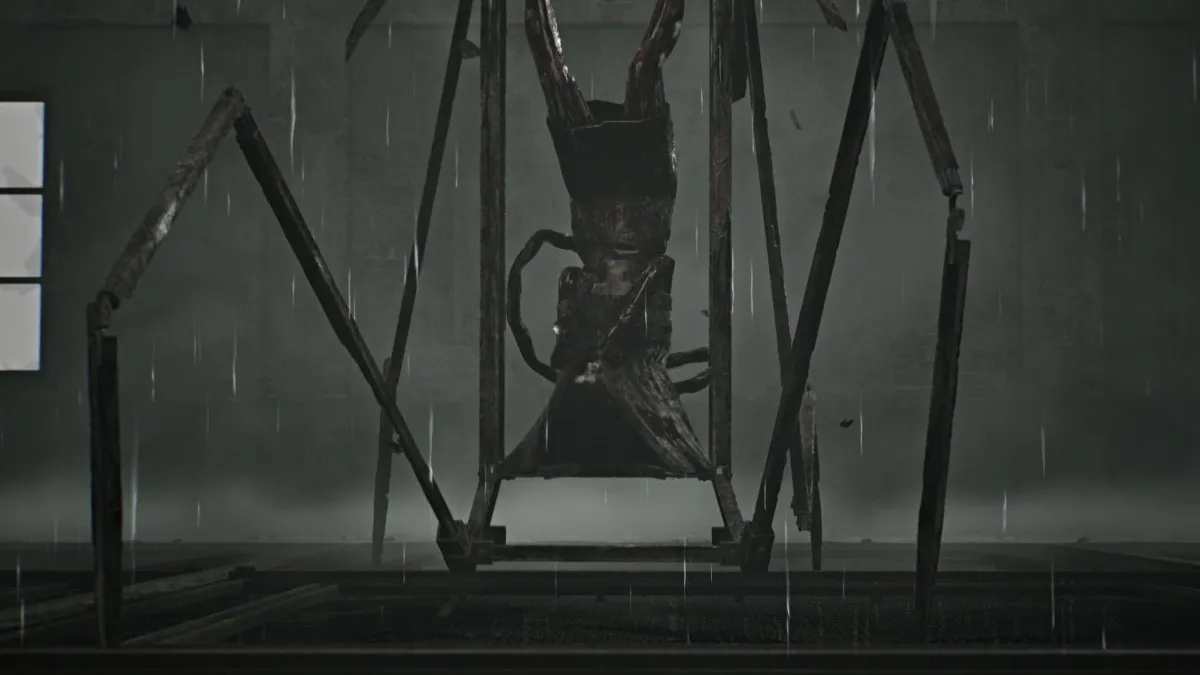
Once you deal enough damage, the cage surrounding Mary will morph into something akin to a spider, also similar to Flesh Lips' second form. She'll force James down into a dark passage area right underneath the metal platform, and you'll need to do damage whenever she appears from above.
The final phase of the fight will collapse the entire area, and you'll need to keep shooting while dodging her charge and swing attacks with her metal "legs". Her attacks hit hard, so be sure to stay topped off as much as possible. This is the final boss of the game, so make use of everything you have.
Eventually, her cage will collapse, leaving her unable to move and mumbling James' name. Go over and shoot one last time to end the fight.
Afterward, your designated ending will play out, again depending on your actions up to now.おめでとう!
Below we've listed all 43 unlockable achievements/trophies in Silent Hill 2 Remake, including 31 hidden ones. Unlocking all of them will require multiple playthroughs.
| Achievement/Trophy | ロックを解除する方法 |
|---|---|
| あなたは私を幸せにしてくれました | Collect all other trophies/achievements in the game. |
| もう後戻りはできない | Try to leave Silent Hill in the Observation area. (Walk down the opposite direction on the road at the start of the game until James turns back.) |
| ご滞在をお楽しみください | サイレントヒルに到着。 |
| 素敵で居心地の良い | ウッドサイドアパートメントに到着します。 |
| Let's NOT Party! | Shoot all the balloons in Wood Side Apartments. (Shoot all balloons in the "Welcome Home" apartment; recommend saving before doing so to recover the bullets used.) |
| Otherworldly | 初めて異世界に入ります。 |
| 合格した | Made your way out of Blue Creek Apartments. |
| 不気味な | マリアに会いましょう。 |
| すべてが順調に見える | 106号室の秘密を解き明かしましょう。 |
| 残り物 | Find the pizza in Pete's Bowl-O-Rama |
| 認められた | ブルックヘブン病院に到着します。 |
| 悪夢の燃料 | フレッシュリップを倒す。 |
| Alone Again. | Survive the Chase in Brookhaven Hospital. |
| イントゥ・ジ・アビス | 長い階段の終わりに到着します。 |
| 許せない | アブストラクトパパを倒す。 |
| インナーサンクタム | Find His Room. (When Pyramid Head first chases you in the Desolate Area of the Labyrinth, run left past a ladder and through double doors to find his lair. Quickly exit after to avoid getting caught by him.) |
| 人間 | エディを殺せ。 |
| 希望の輝き | レイクビューホテルに到着。 |
| トルーカ湖の惨劇 | トルーカ湖で 10 分間過ごしましょう。 |
| 本当に特別な | 廃止 |
| It's Bread. | パンと触れ合う。 |
| Obselete | Destroy what you don't need. |
| That Part of Me. | 彼女を倒してください。 |
| 木こり | チェーンソーを見つけてください。 |
| 無慈悲な | ストンプ攻撃で敵 50 人を仕留める。 |
| 大したことはない | 遠距離武器で 75 人の敵を倒す。 |
| ブラントフォース・トラウマ | 近接武器で 75 人の敵を倒す。 |
| You Never Know... | 鍵のかかったドアを50回開けてみてください。 |
| 粉々になった | 窓を50枚破壊する。 |
| 平和を作る | Reach the "Leave" ending |
| 悪循環 | Reach the "Maria" ending |
| 唯一の出口 | Reach the "In Water" ending |
| 死さえも拒む | Reach the "Rebirth" ending |
| ザ・グッド・ボーイ | Reach the "Dog" ending |
| アルミ箔の帽子 | Reach the "UFO" ending |
| あの街を見た | 任意の難易度でニュー ゲーム プラスを完了します。 |
| ラジオサイレンス | 無線を使用せずにゲームをクリアする。 |
| James of All Trades | Kill at least one enemy with Wooden Plank, Steel Pipe, Handgun, Shotgun and Rifle in a single playthrough. |
| 整理されていない作品 | 1 回のプレイスルーですべての奇妙な写真を収集します。 |
| アーキビスト | 1 回のプレイですべてのメモを収集します。 |
| 霧よりも速く | Complete the game in under 10 hours. |
| As Close as You Like | 遠距離武器を使用して敵を殺さずにゲームをクリアする。 |
| 2001 年のようなパーティー | すべての古典的なエンディング (Leave、Maria、In Water、Rebirth、Dog) をご覧ください。 |
| エコーズ | 1 回のプレイスルーで過去のすべてを垣間見ることができます。 |
There are a total of eight possible endings in Silent Hill 2 Remake, and each has its own requirements to be unlocked. Only three specific endings ("Leave", "Maria", and "In Water") can be obtained during your first playthrough, while the rest can be unlocked during New Game Plus.
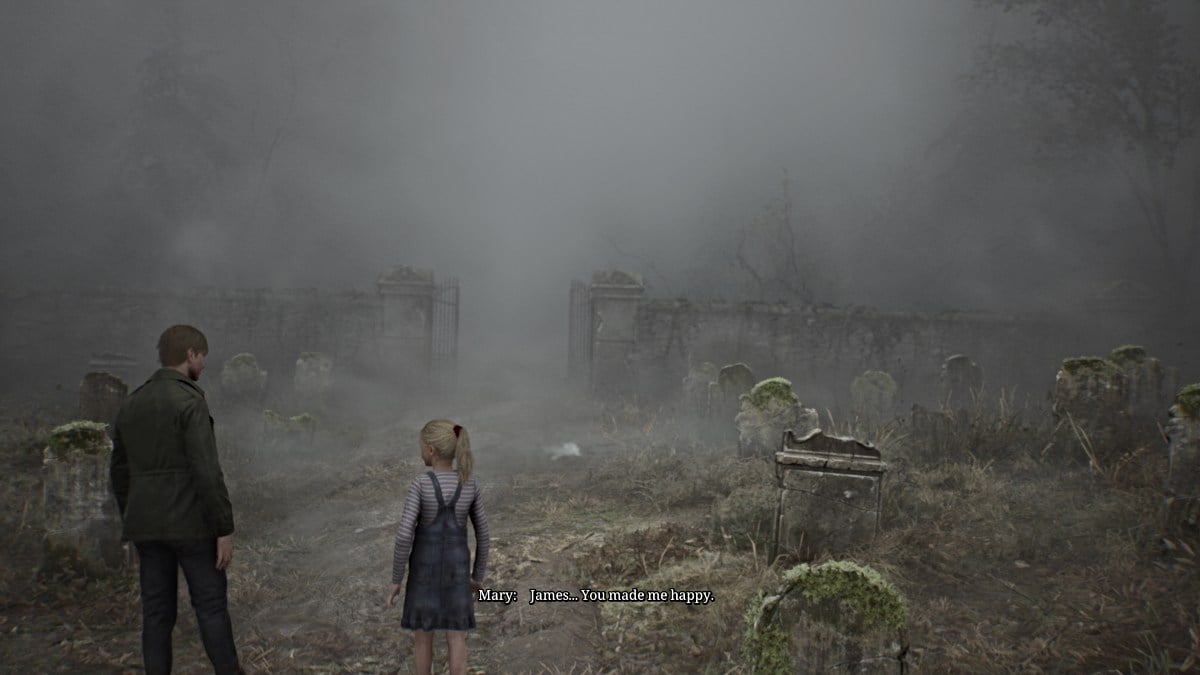
This is the "Best" ending for Silent Hill 2 Remake, as the story ends with James leaving Silent Hill with Laura in tow, having received forgiveness from Mary and realizing that he's allowed to move on. He and Laura leave Silent Hill together, and it's assumed that James adopts her as his daughter, since Mary wasn't able to.
Requirements for this ending:
Getting this ending also unlocks the 'Making Peace' achievement .
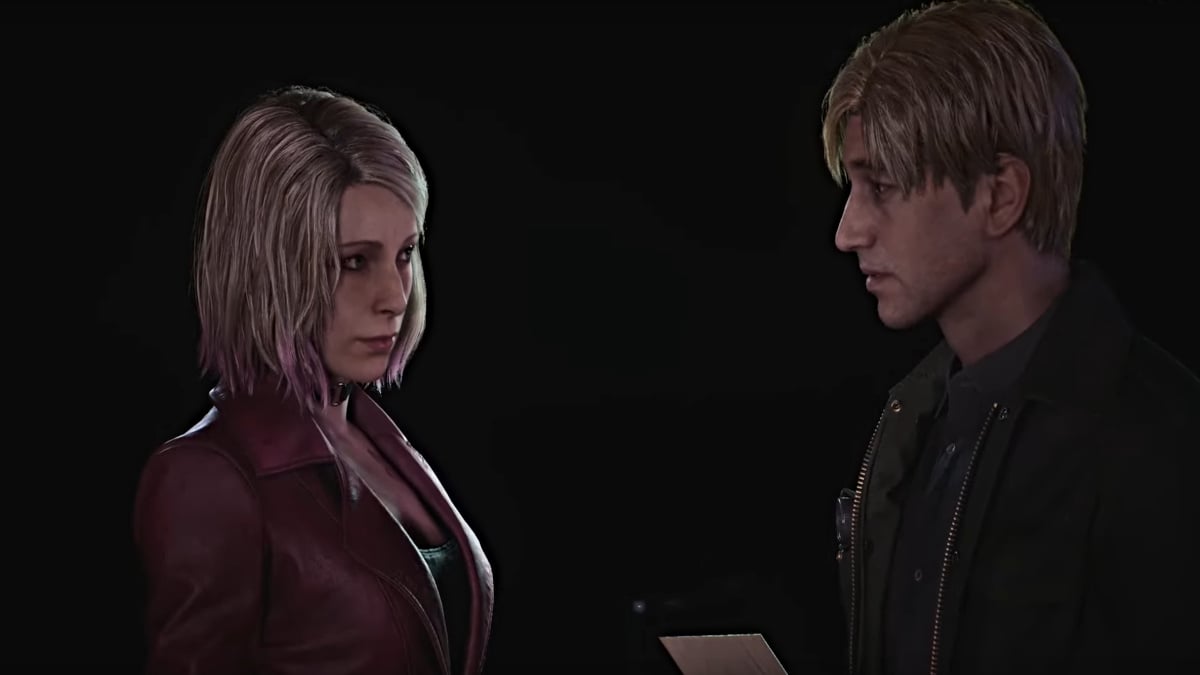
This is the designated "Bad" ending, as James instead leaves Silent Hill with Maria, having chosen her over Mary. At one point, Maria lets out a coughing fit and James acts annoyed, telling her to do something about it. He's learned nothing from his journey and Maria is likely doomed to succumb to the same illness that took Mary, the cycle beginning all over again.
Requirements for this ending:
Getting this ending also unlocks the 'Vicious Circle' achievement .
Debatably another "bad" ending, this is absolutely the most tragic ending in Silent Hill 2 Remake. After everything, James finds himself unable to move on from Mary's death and confesses that he simply can't live without her in his life. James drives his car into the depths of Toluca Lake in an attempt to reunite with Mary in death.
Requirements for this ending:
Getting this ending also unlocks the 'Only Way Out' achievement .
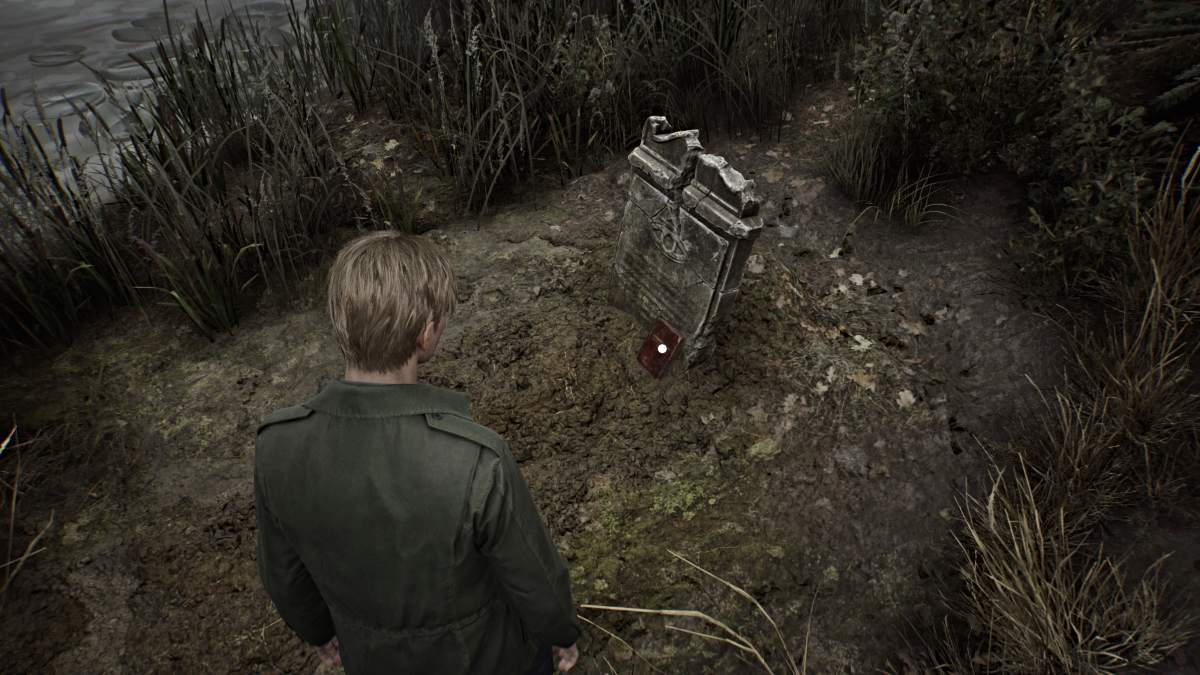
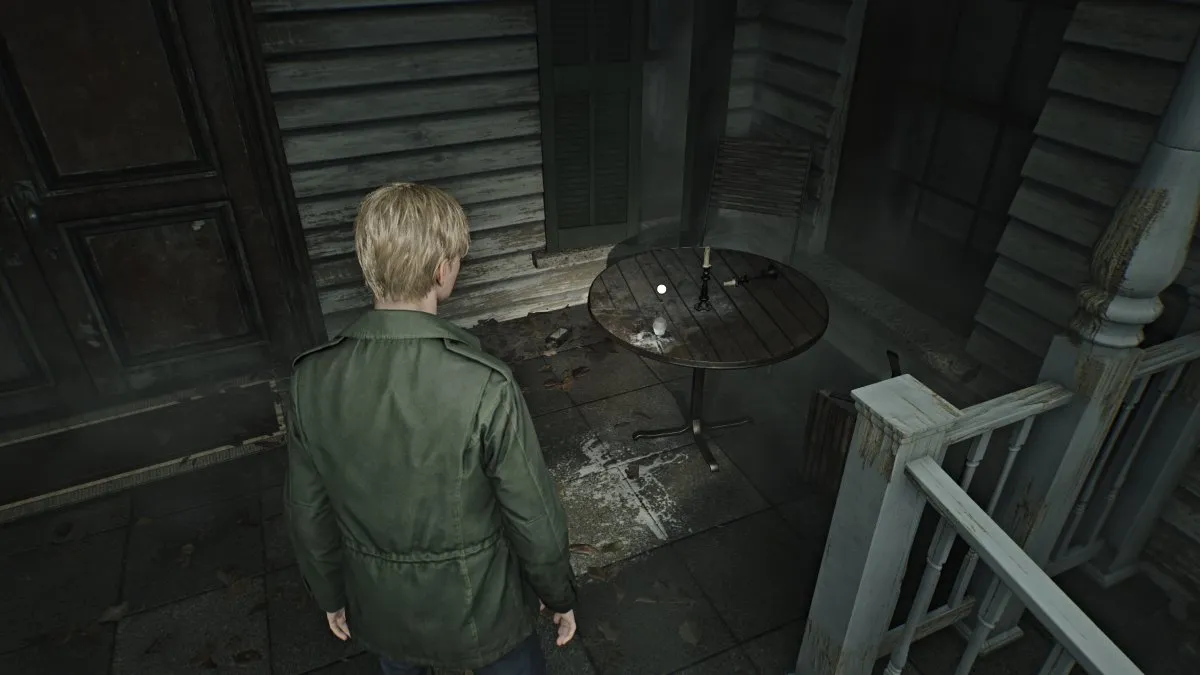
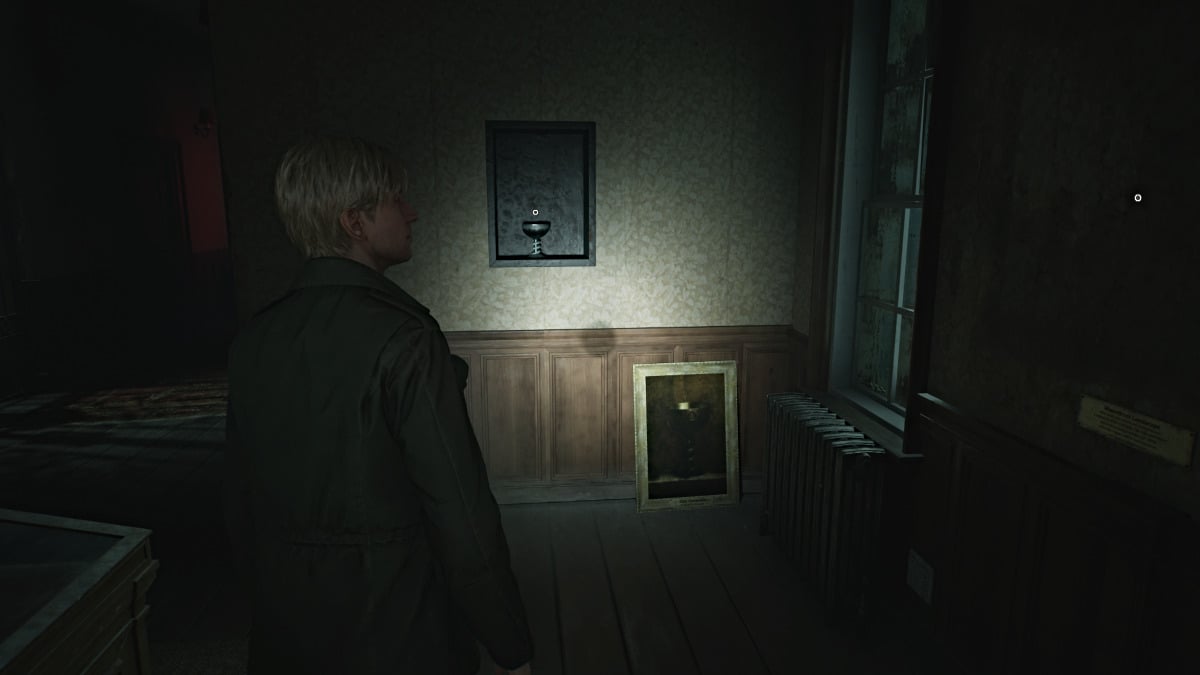
In this ending, after obtaining all the necessary ritual items James takes Mary's body and rows out to the island in the middle of Toluca Lake, where an old church is located. While its history is shrouded in mystery, James is determined to revive Mary using a strange ritual there, and we never know if it actually works.
Requirements for this ending:
Getting this ending also unlocks the 'Defy Even Death' achievement .
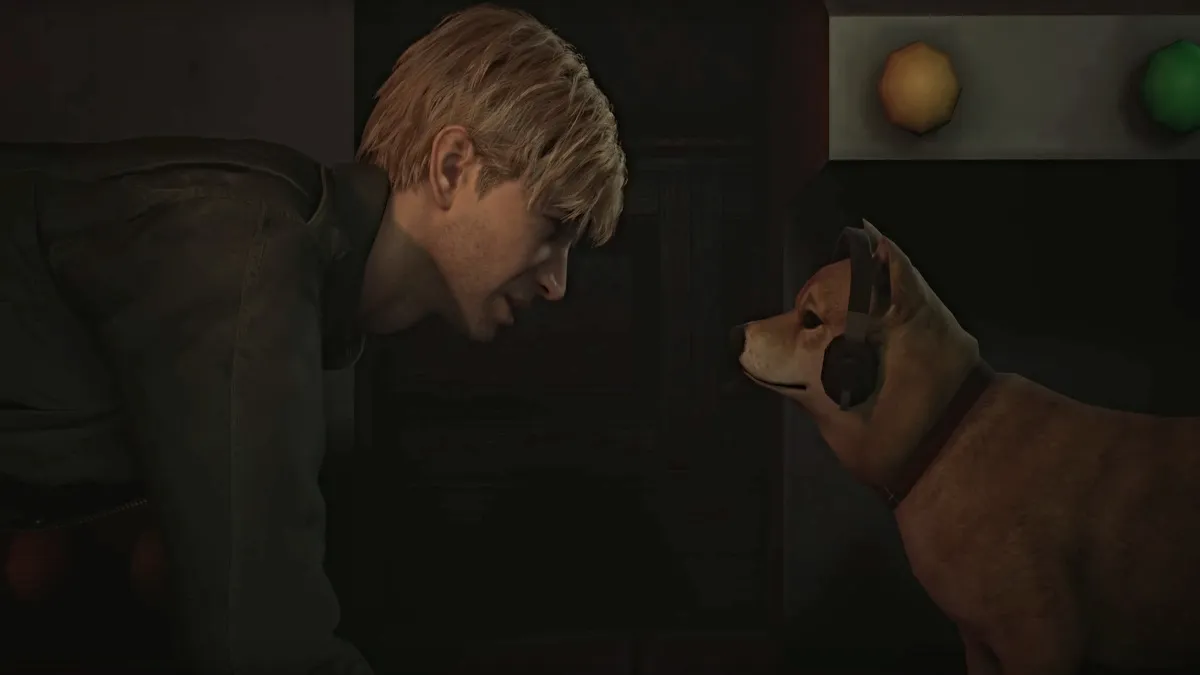
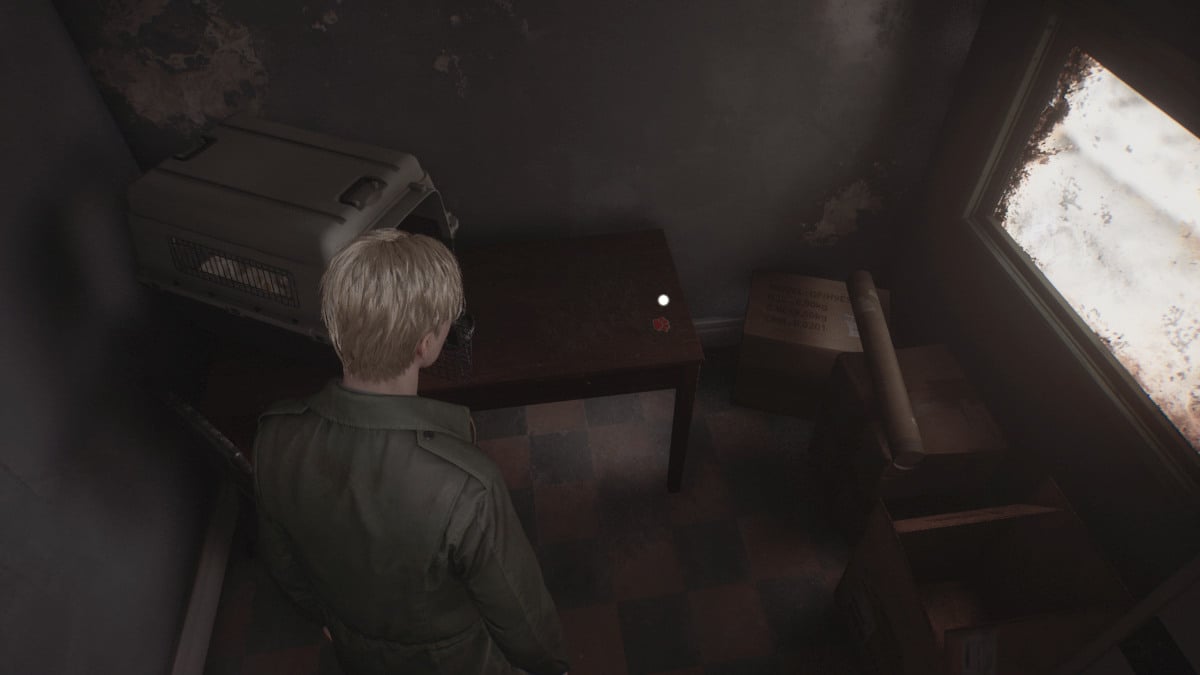
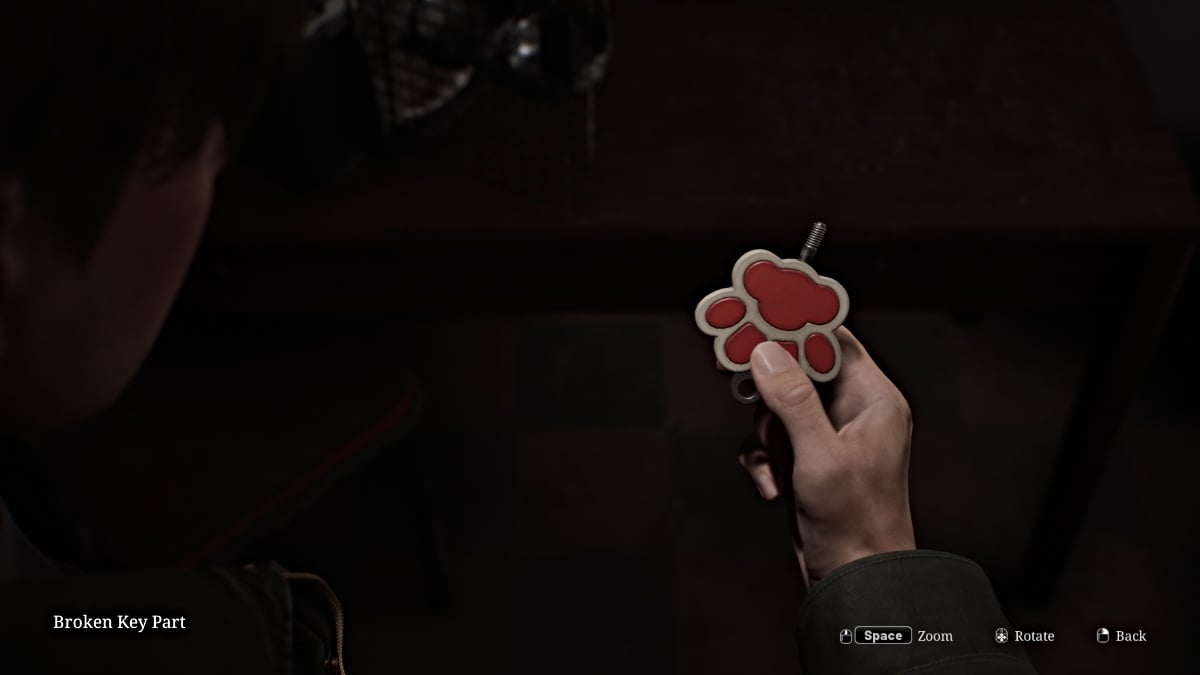
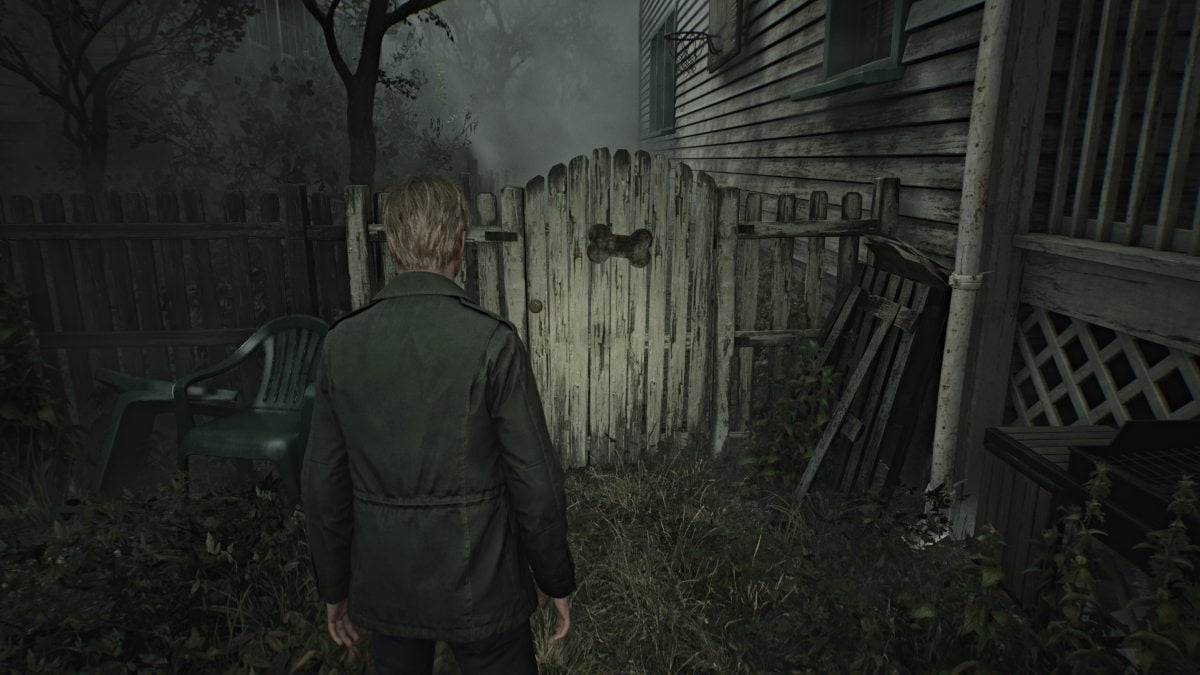
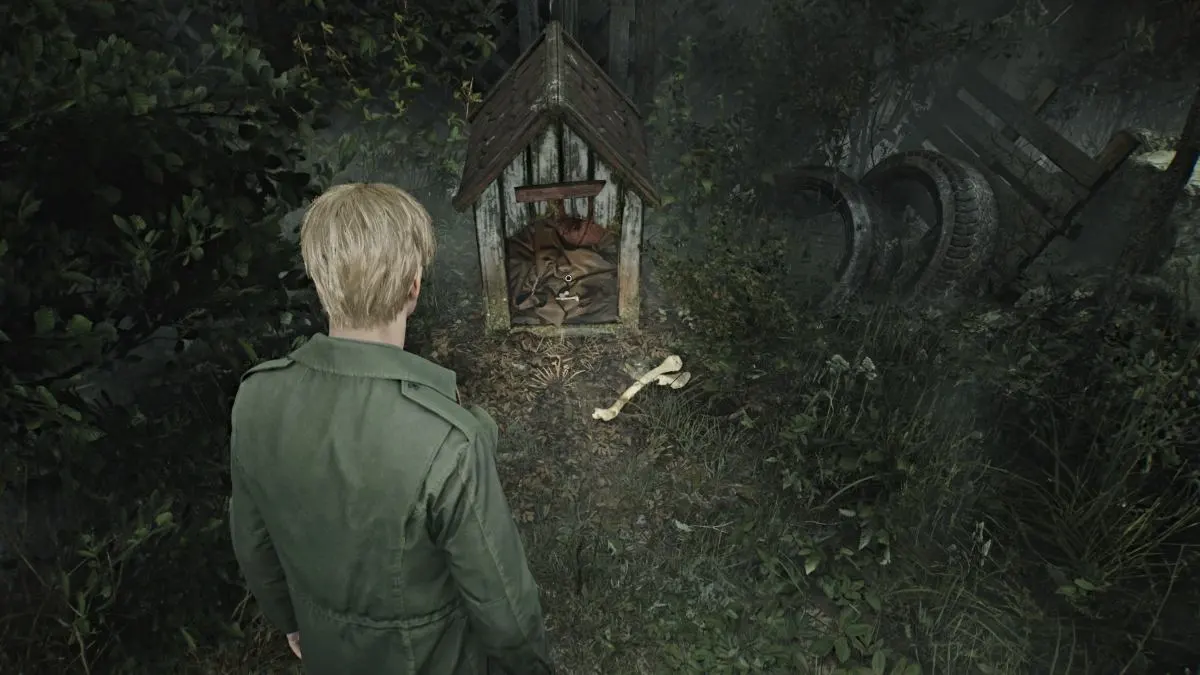
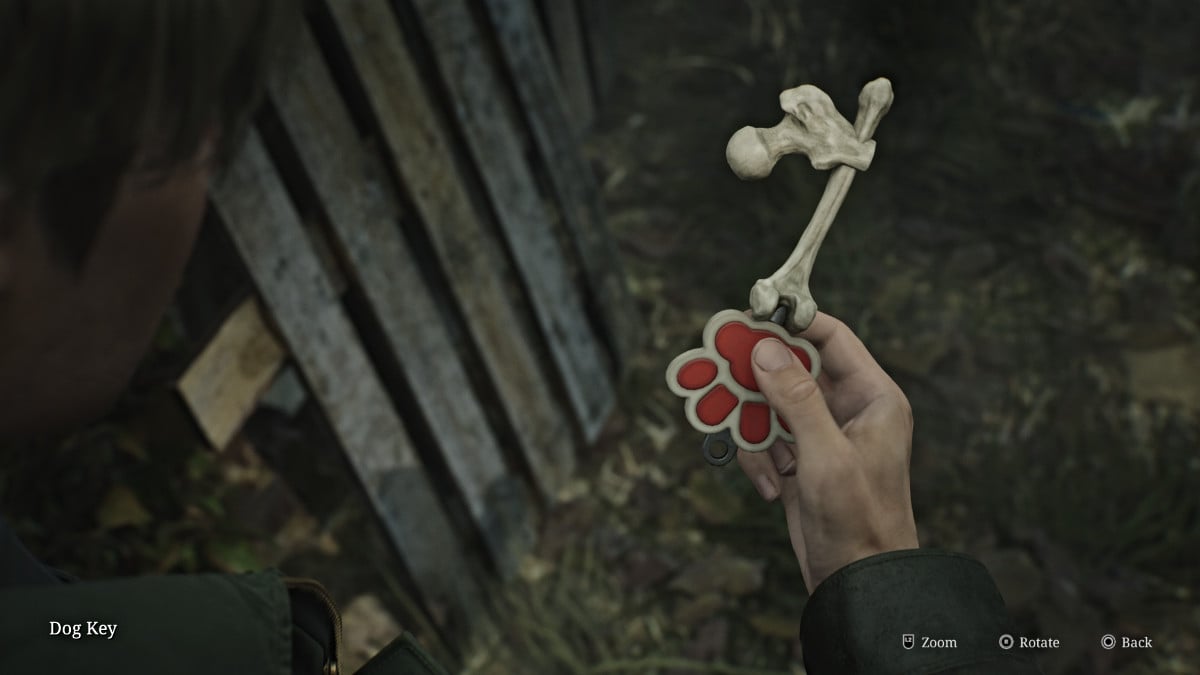
This is one of the game's two comical endings, and probably its most infamous. It has James open a door at the Lakeview Hotel to reveal a Shiba Inu dog named Mira sitting at a big computer console, controlling everything that's happened in Silent Hill up to that point.
Requirements for this ending:
Getting this ending also unlocks the 'The Goodest Boi' achievement .
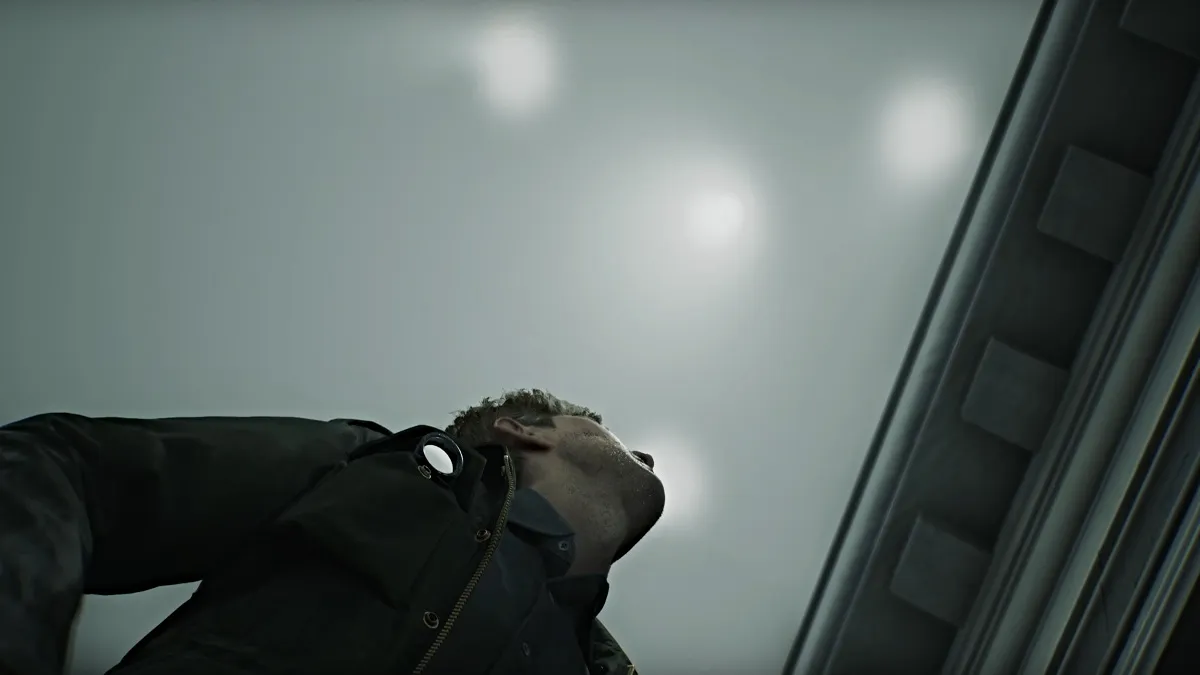
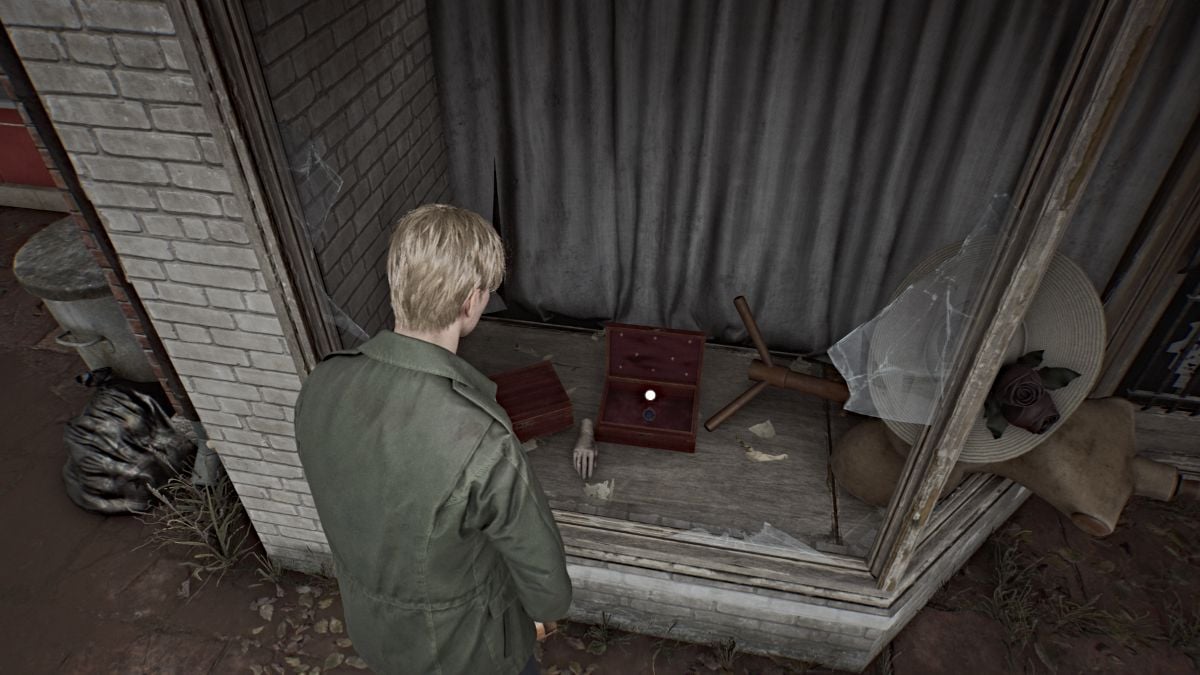
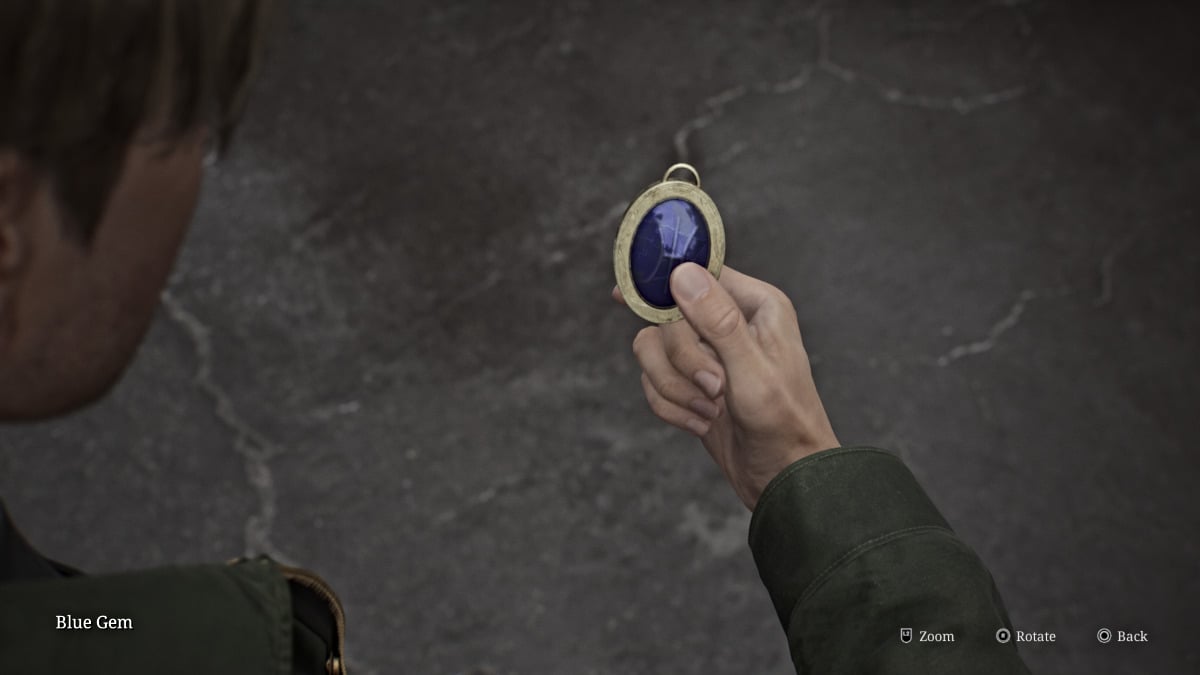
The second comical ending, presented as a silent film sequence, also takes place at the Lakeview Hotel and sees aliens actually visit James along with a hilarious cameo of a character from the original game.
Requirements for this ending:
Getting this ending also unlocks the 'Tinfoil Hat' achievement .
This is the first of two new endings added in Silent Hill 2 Remake, and it acts as a sort of expansion of the "In Water" ending. As James expresses that he simply can't live without Mary, in this version she appears next to him in the car, soothing him with her touch and voice.
James asks if she'll wait for him, and Mary insists that she's "always been waiting for him". The scene ends there, likely meaning that James chooses to live instead.
Requirements for this ending:
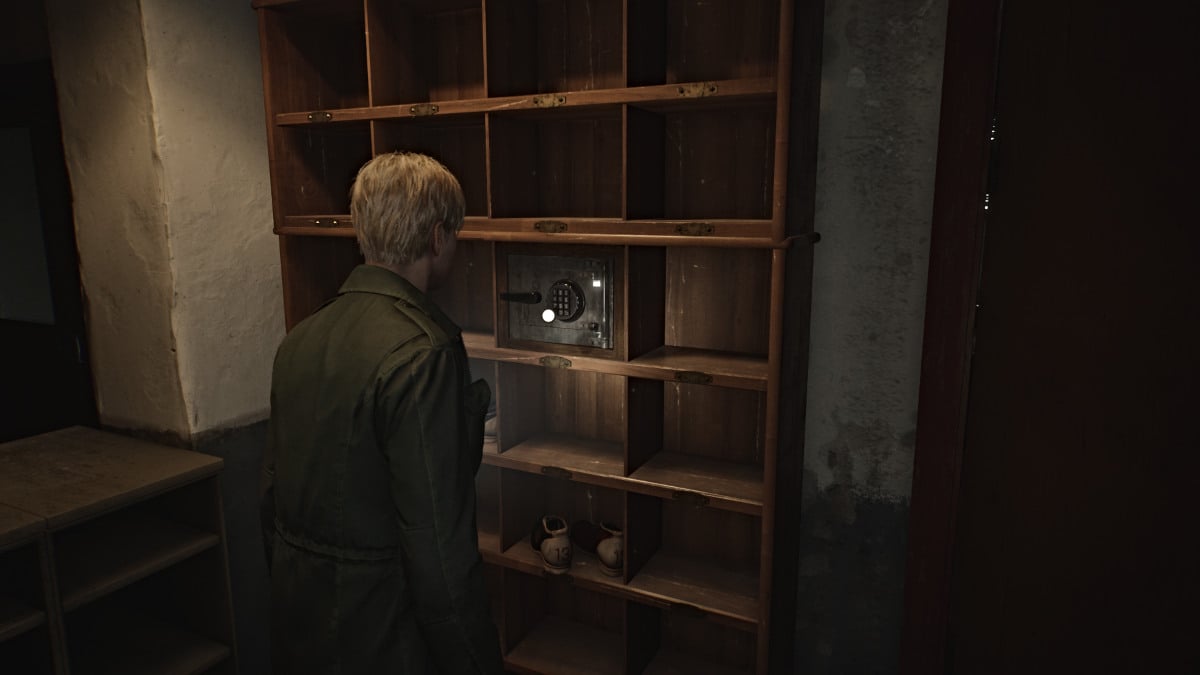
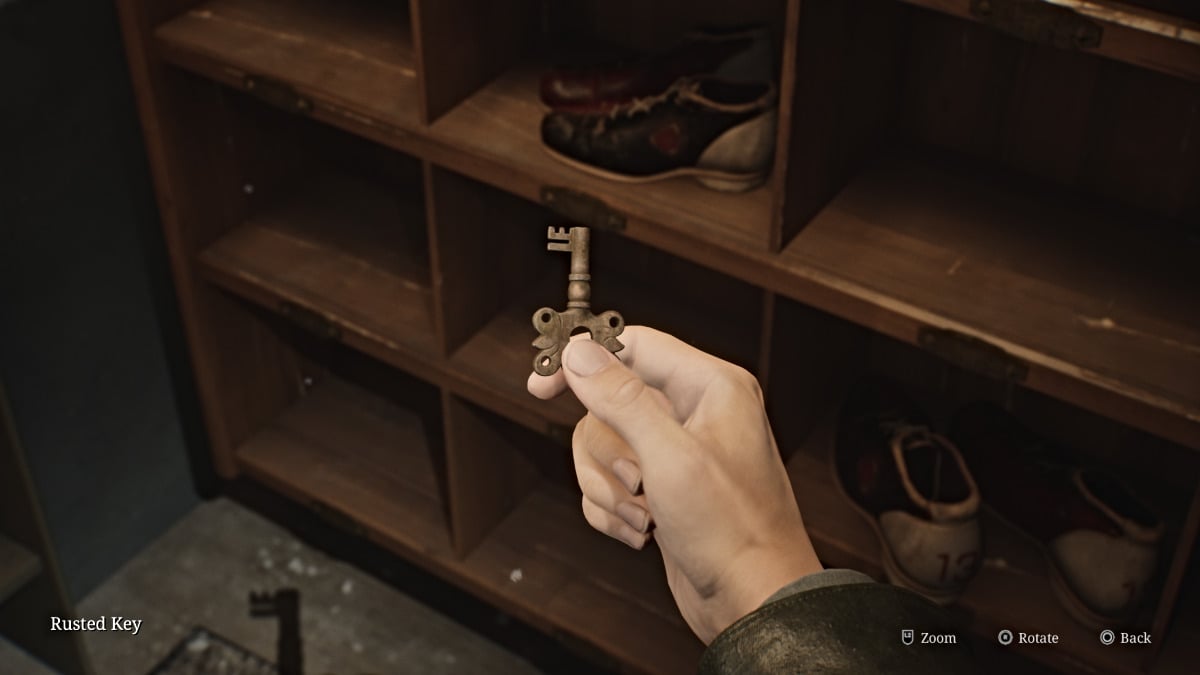
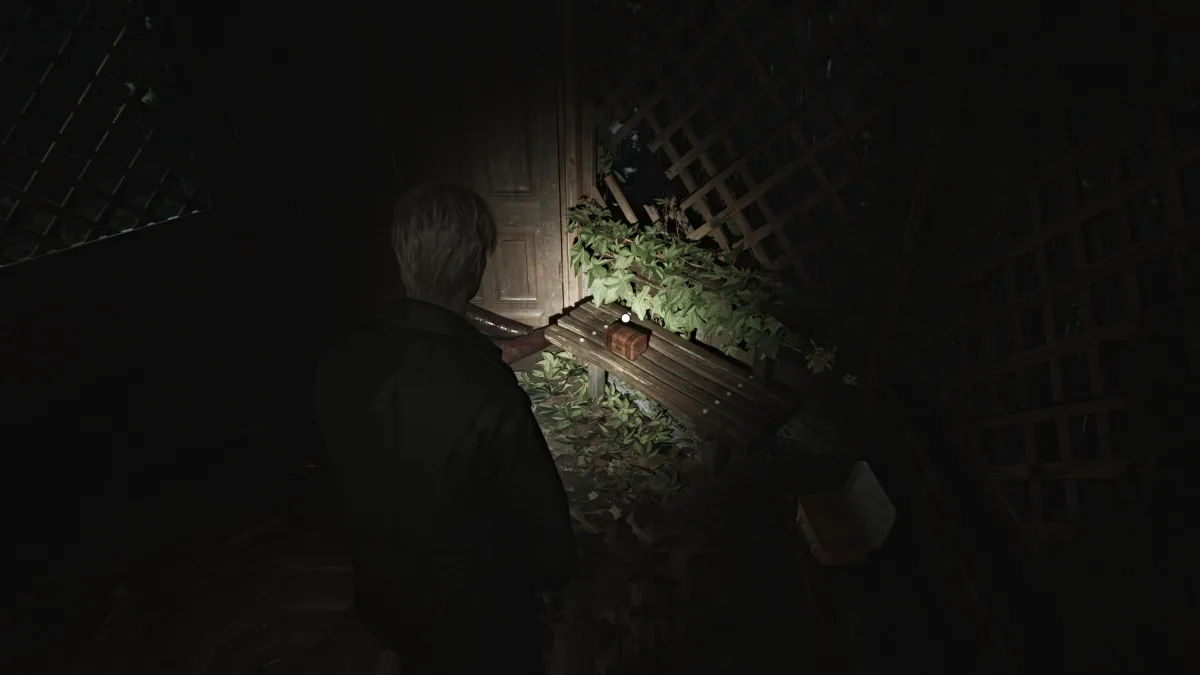
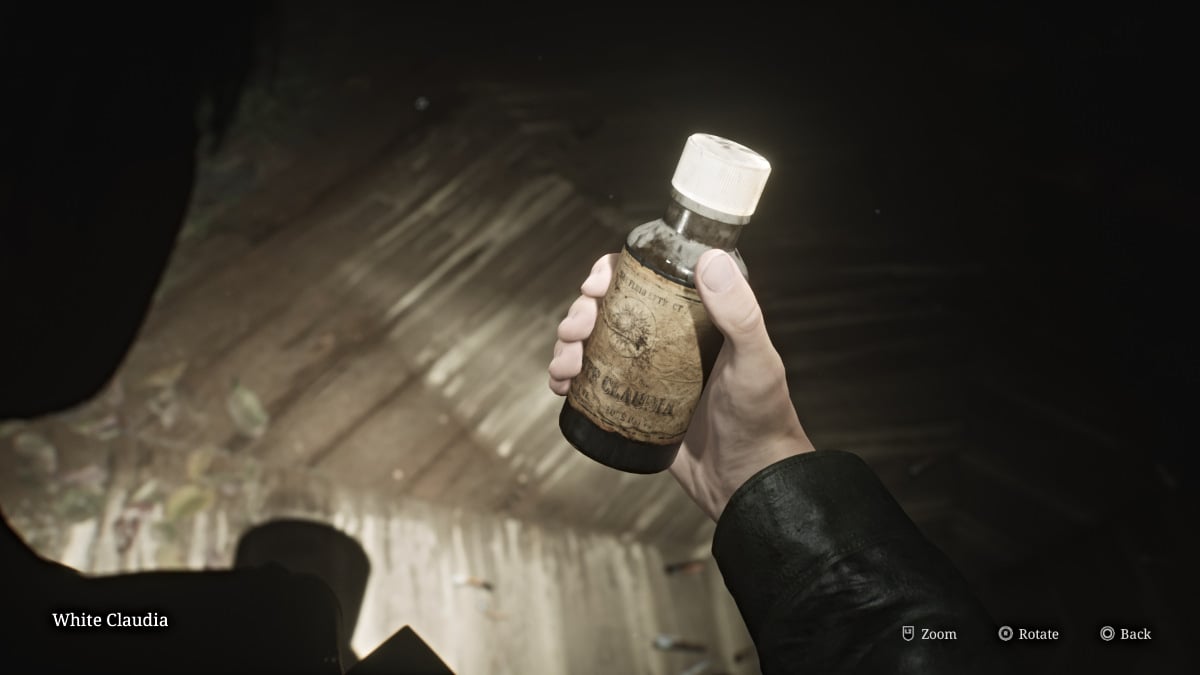
This is the second of two new endings added in Silent Hill 2 Remake, and it essentially presents the tape scene in the Lakeview Hotel much differently. Instead of the tape showing Mary's visible symptoms of illness and her death, James stays behind the camera in their hotel room and eventually puts it down as they continue packing. He promises to bring her back to Silent Hill, and the tape ends.
In the present, James is no longer sitting in the chair, seemingly gone. It alludes that because of the change in events on the tape, Mary was never sick and thus was never killed, meaning that the events of Silent Hill 2, at least for James, never happened.
Requirements for this ending:
Be sure to check out all of our latest gaming guides and news for the Silent Hill franchise here at Pro Game Guides, such as Silent Hill the Short Message walkthrough.