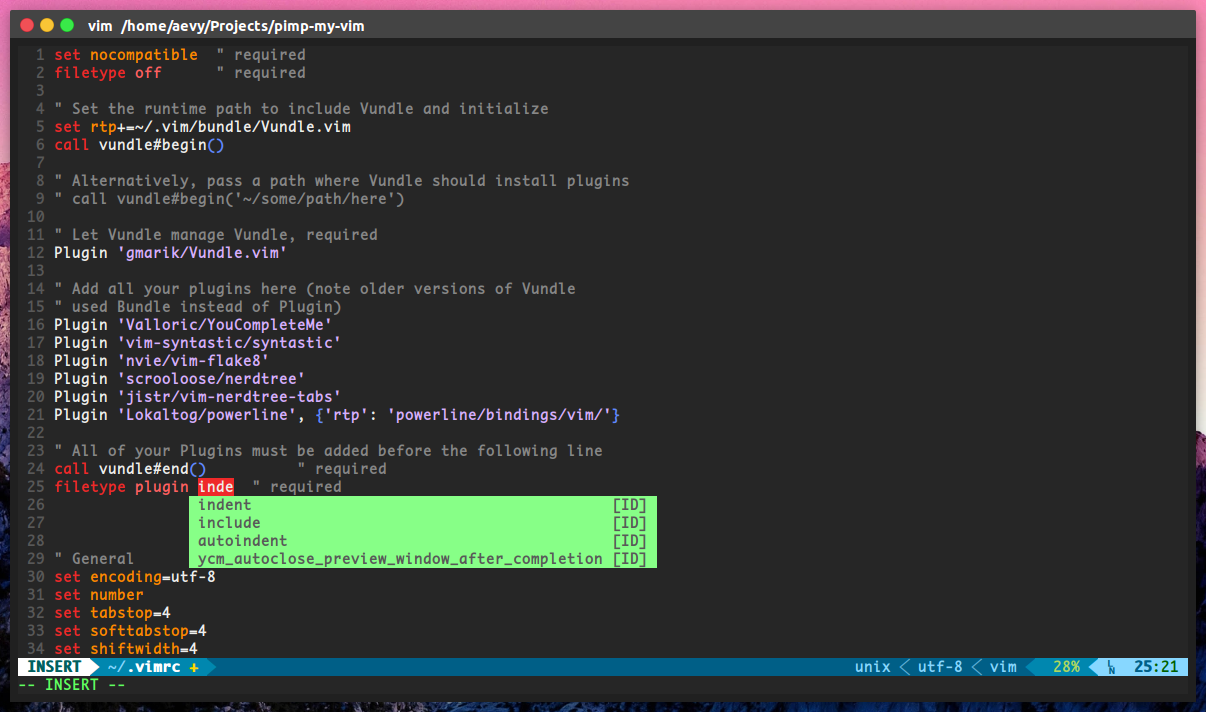
VIM 및 Python에서 많은 영감을 받은 사용자 정의 vim 구성 – 천국의 짝
setupVim.sh 실행하기 전에 시스템이 아래 요구 사항을 모두 충족하는지 확인하세요.
당신은 그들을 설치할 수 있습니다
sudo apt-get update
sudo apt-get install -y vim git build-essential cmake python python-pip
또는 CentOS/Fedora/RedHAt용
sudo dnf udpate
sudo dnf install -y vim git cmake gcc-c++ make python3-devel
sudo dnf groupinstall ' Development Tools '
bash setupVim.sh 실행 종료
이 스크립트는 Ubuntu > 16.04 및 Fedora > 30에서 테스트되었습니다.
| 통제 수단 | 방법 | 설명 |
|---|---|---|
Ctrl + hjkl | Normal | 창 전환 |
Ctrl + hjkl | Insert | 이동하다 |
Ctrl + Space | Normal | NERDTree 전환 |
F2 | - | 붙여넣기 토글 |
F3 | - | 숫자 줄 토글 표시 |
F4 | - | 루트로 저장하려면 비밀번호를 물어보세요 |
내 Tmux 구성
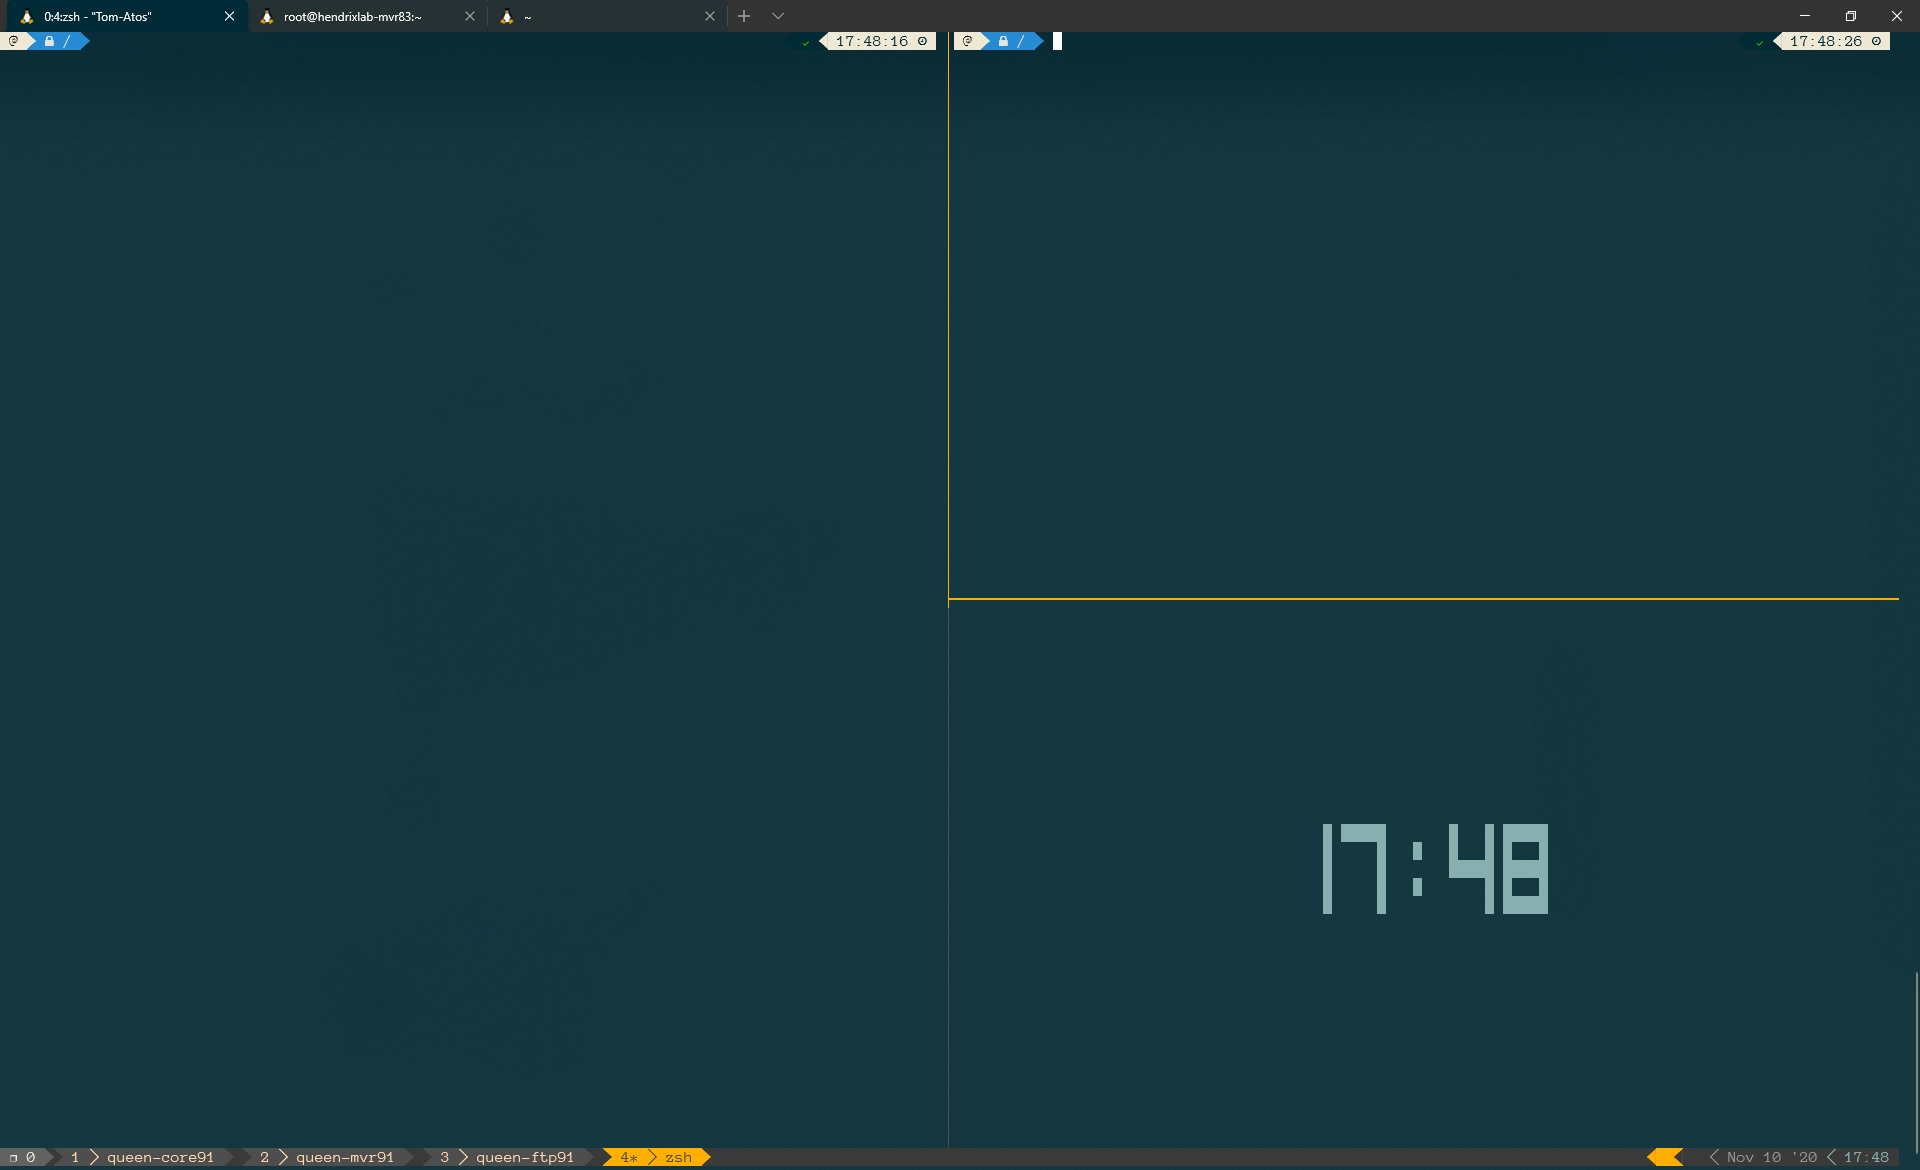
.tmux.conf 파일을 ~/.tmux.conf 로 복사합니다.
| 통제 수단 | 설명 |
|---|---|
Ctrl + q | Tmux를 입력하세요 |
- | 창을 가로로 나누기 |
+ | 창을 세로로 나누기 |
Ctrl + arrow | 창 간 전환 |
Shift + arrow | 창 사이를 이동하는 키 |
e | .tmux.conf 파일 편집 및 소싱 |
R | .tmux.conf 파일 소스 |
새로 시작하다:
tmux
세션 이름으로 새로 시작:
tmux new -s myname
붙이다:
tmux a # (or at, or attach)
다음 이름에 첨부:
tmux a -t myname
세션 나열:
tmux ls
세션 종료:
tmux kill-session -t myname
모든 tmux 세션을 종료합니다:
tmux ls | grep : | cut -d. -f1 | awk '{print substr($1, 0, length($1)-1)}' | xargs kill
tmux에서 접두사 ctrl+b 누르고(수정된 접두사는 ctrl+a입니다) 다음을 수행합니다.
tmux의 모든 단축키를 보려면 간단히 bind-key ? 내 경우에는 CTRL-B ?
 :new<CR>  new session
s  list sessions
$  name session
 c  create window
w  list windows
n  next window
p  previous window
f  find window
,  name window
&  kill window
 +  vertical split
-  horizontal split

o  swap panes
q  show pane numbers
x  kill pane
⍽  space - toggle between layouts
<prefix> q (Show pane numbers, when the numbers show up type the key to goto that pane)
<prefix> { (Move the current pane left)
<prefix> } (Move the current pane right)
<prefix> z toggle pane zoom
tmux 세션을 저장/복원하는 작은 스크립트를 찾았습니다. 출처는 여기
스크립트를 sudo vim /usr/local/bin/tmux-session 에 넣고 sudo chmod +x /usr/local/bin/tmux-session 추가하세요.
cron에서 수동으로 또는 주기적으로 호출하십시오(잊을 수도 있으므로).
tmux-session save ~/.tmux-session 에 기록됩니다. 다음과 같이 재부팅 후 복원하십시오.
tmux-session restore내 사용자 정의 ZSH
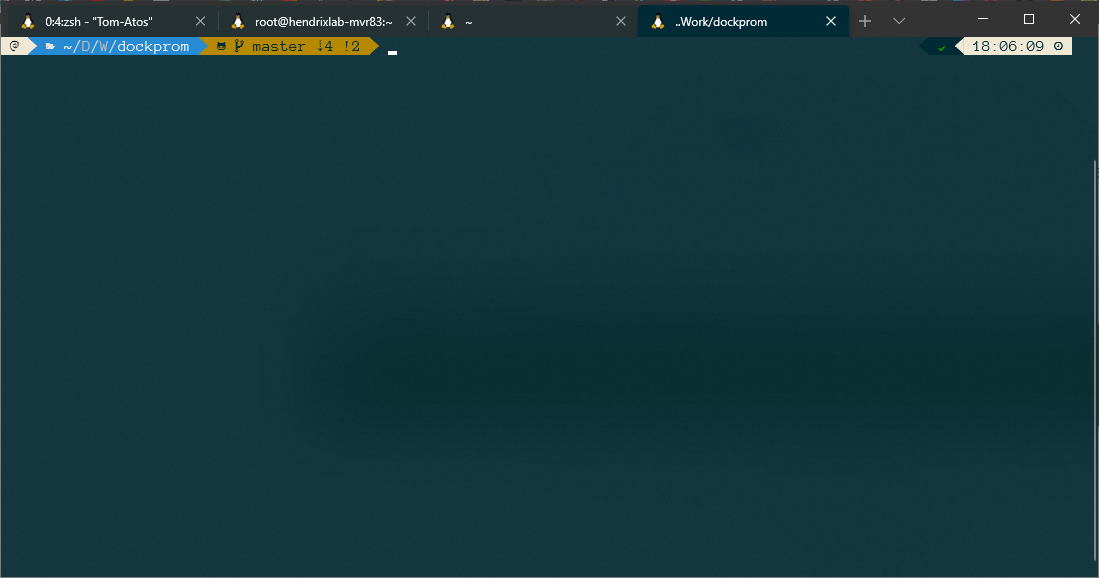
~/.zshrc 내 .zshrc 로 바꾸세요. mv ~/.zshrc .zshrc."$(date +%F)"
cp .zshrc ~/.zshrc
Oh My Zsh는 Zsh 구성을 관리하기 위한 오픈 소스 커뮤니티 기반 프레임워크입니다.
sh -c " $( curl -fsSL https://raw.github.com/ohmyzsh/ohmyzsh/master/tools/install.sh ) "Powerlevel10k는 Zsh의 테마입니다. 속도, 유연성 및 즉시 사용 가능한 경험을 강조합니다.
git clone --depth=1 https://github.com/romkatv/powerlevel10k.git ${ZSH_CUSTOM :- $HOME / .oh-my-zsh / custom} /themes/powerlevel10k
git clone --depth 1 https://github.com/junegunn/fzf.git ~ /.fzf
~ /.fzf/installhttps://github.com/athityakumar/colorls#installation
git clone https://github.com/zsh-users/zsh-autosuggestions ${ZSH_CUSTOM :- ~ / .oh-my-zsh / custom} /plugins/zsh-autosuggestionsgit clone https://github.com/zsh-users/zsh-syntax-highlighting.git ${ZSH_CUSTOM :- ~ / .oh-my-zsh / custom} /plugins/zsh-syntax-highlightinggit clone https://github.com/tautomer/update-ohmyzsh-custom-plugins.git $ZSH_CUSTOM /plugins/update-custom-plugins내 .zshrc에서는 이 플러그인을 사용합니다.
Windows 터미널은 Microsoft가 Windows 10용으로 개발한 다중 탭 명령줄 프런트 엔드입니다. 모든 Windows 터미널 에뮬레이터를 포함한 모든 명령줄 앱을 별도의 탭에서 실행할 수 있습니다. 명령 프롬프트, PowerShell, WSL, SSH 및 Azure Cloud Shell 커넥터를 실행하도록 미리 구성되어 있습니다.
저는 Anonymous Pro 글꼴을 좋아합니다. 다운로드

다른 글꼴은 여기에서 확인하세요: https://www.nerdfonts.com/
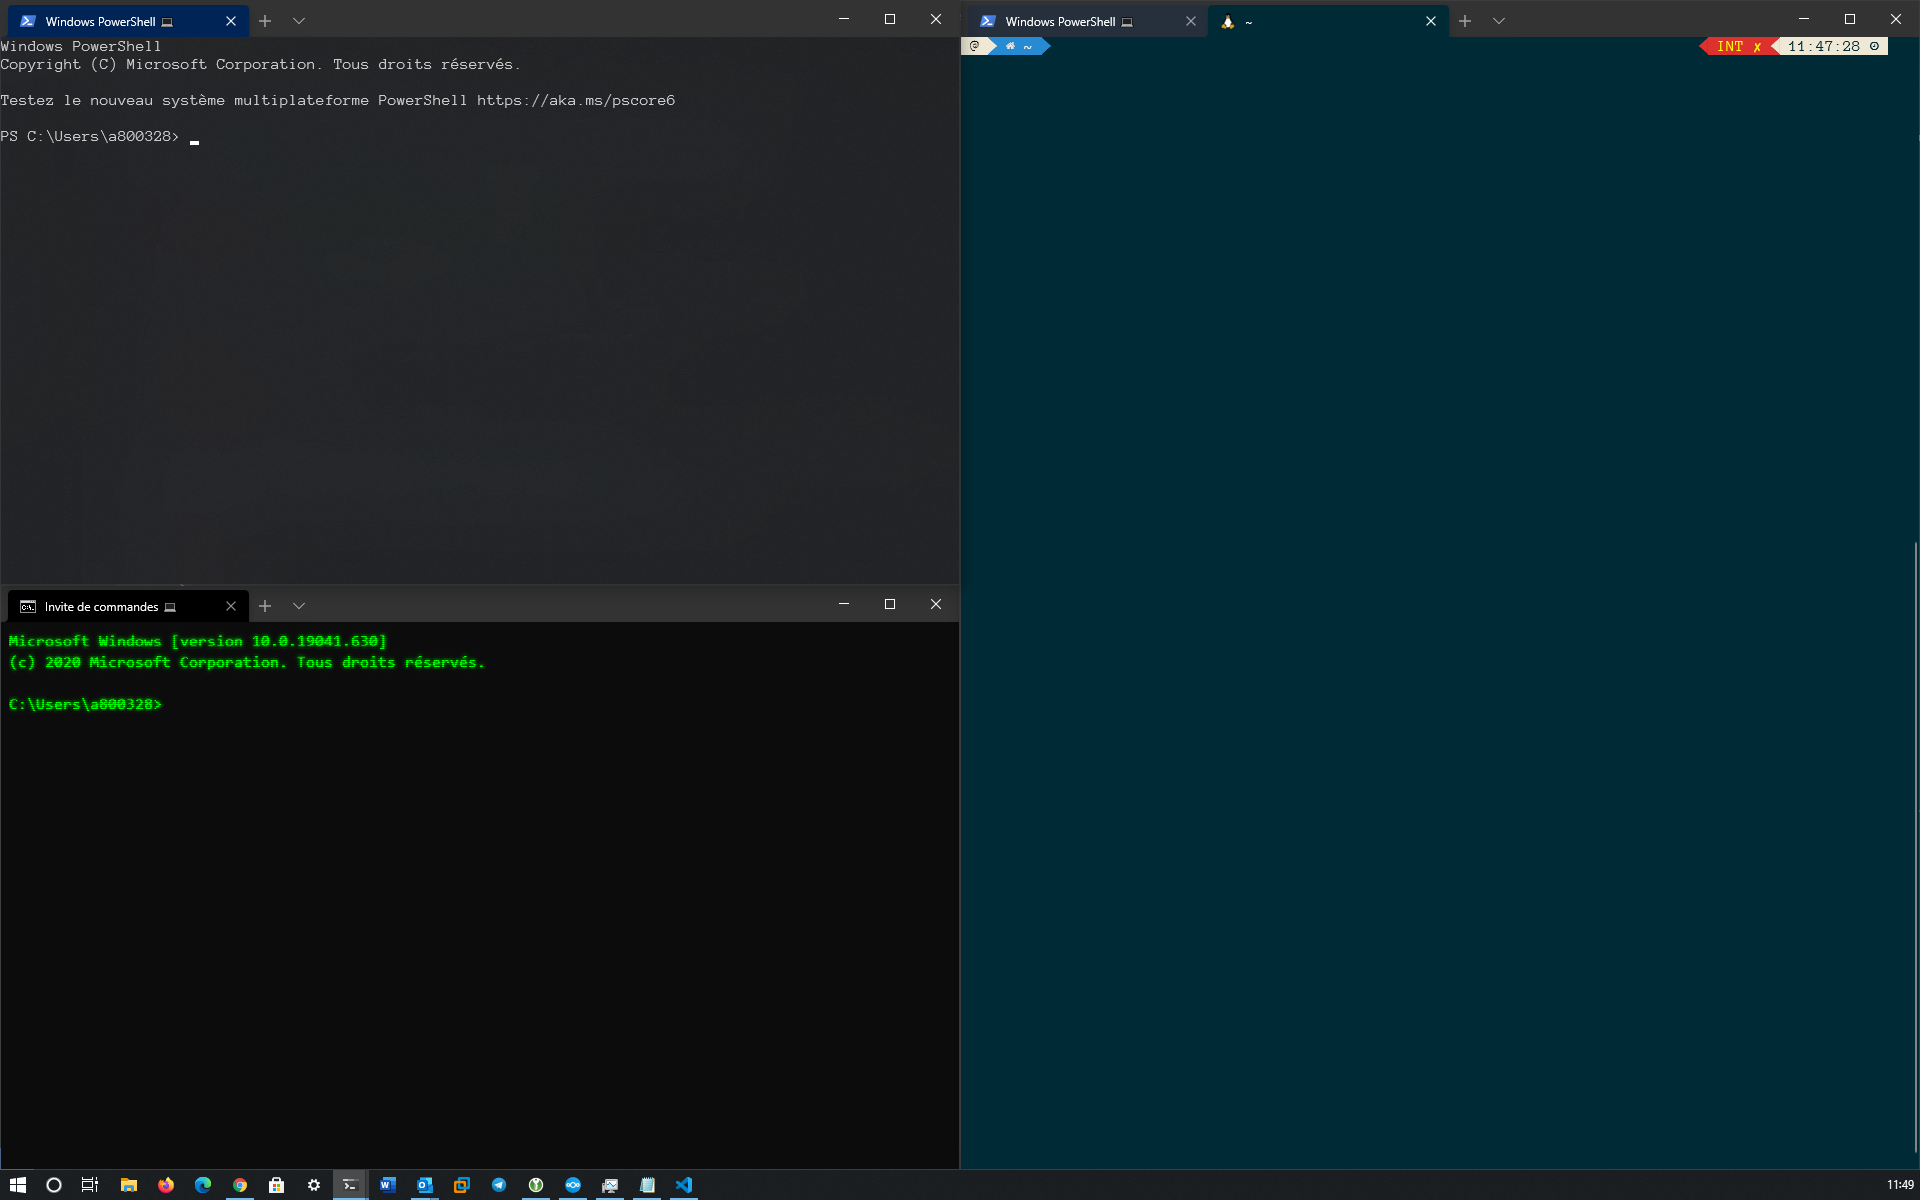
Windows 터미널에서 설정을 열고(Ctrl+,) 내 settings.json을 붙여넣습니다.
| 키바인딩 | 설명 |
|---|---|
| Ctrl+Shift+F | 검색창 열기 |
| Ctrl+Shift+P | 명령 팔레트 열기(기본값) |
| Alt+Shift+d | 복제 모드의 자동 분할 창 |
| Alt+Shift+- | 복제 모드의 수평 분할 창 |
| Alt+Shift+더하기 | 복제 모드의 수직 분할 창 |
| Alt+Shift+숫자 패드_minux | 복제 모드의 수평 분할 창 |
| Alt+Shift+숫자 패드_플러스 | 복제 모드의 수직 분할 창 |
 // selections are automatically copied to your clipboard.
"copyOnSelect" : true ,

// formatted data is also copied to your clipboard
"copyFormatting" : false ,

