keras에서 다양한 Deep Image Segmentation 모델을 구현합니다.
튜토리얼이 포함된 전체 블로그 게시물 링크: https://divamgupta.com/image-segmentation/2019/06/06/deep-learning-semantic-segmentation-keras.html
https://liner.ai를 사용하여 컴퓨터에서 분할 모델을 훈련할 수도 있습니다.
| 기차 | 추론/내보내기 |
|---|---|
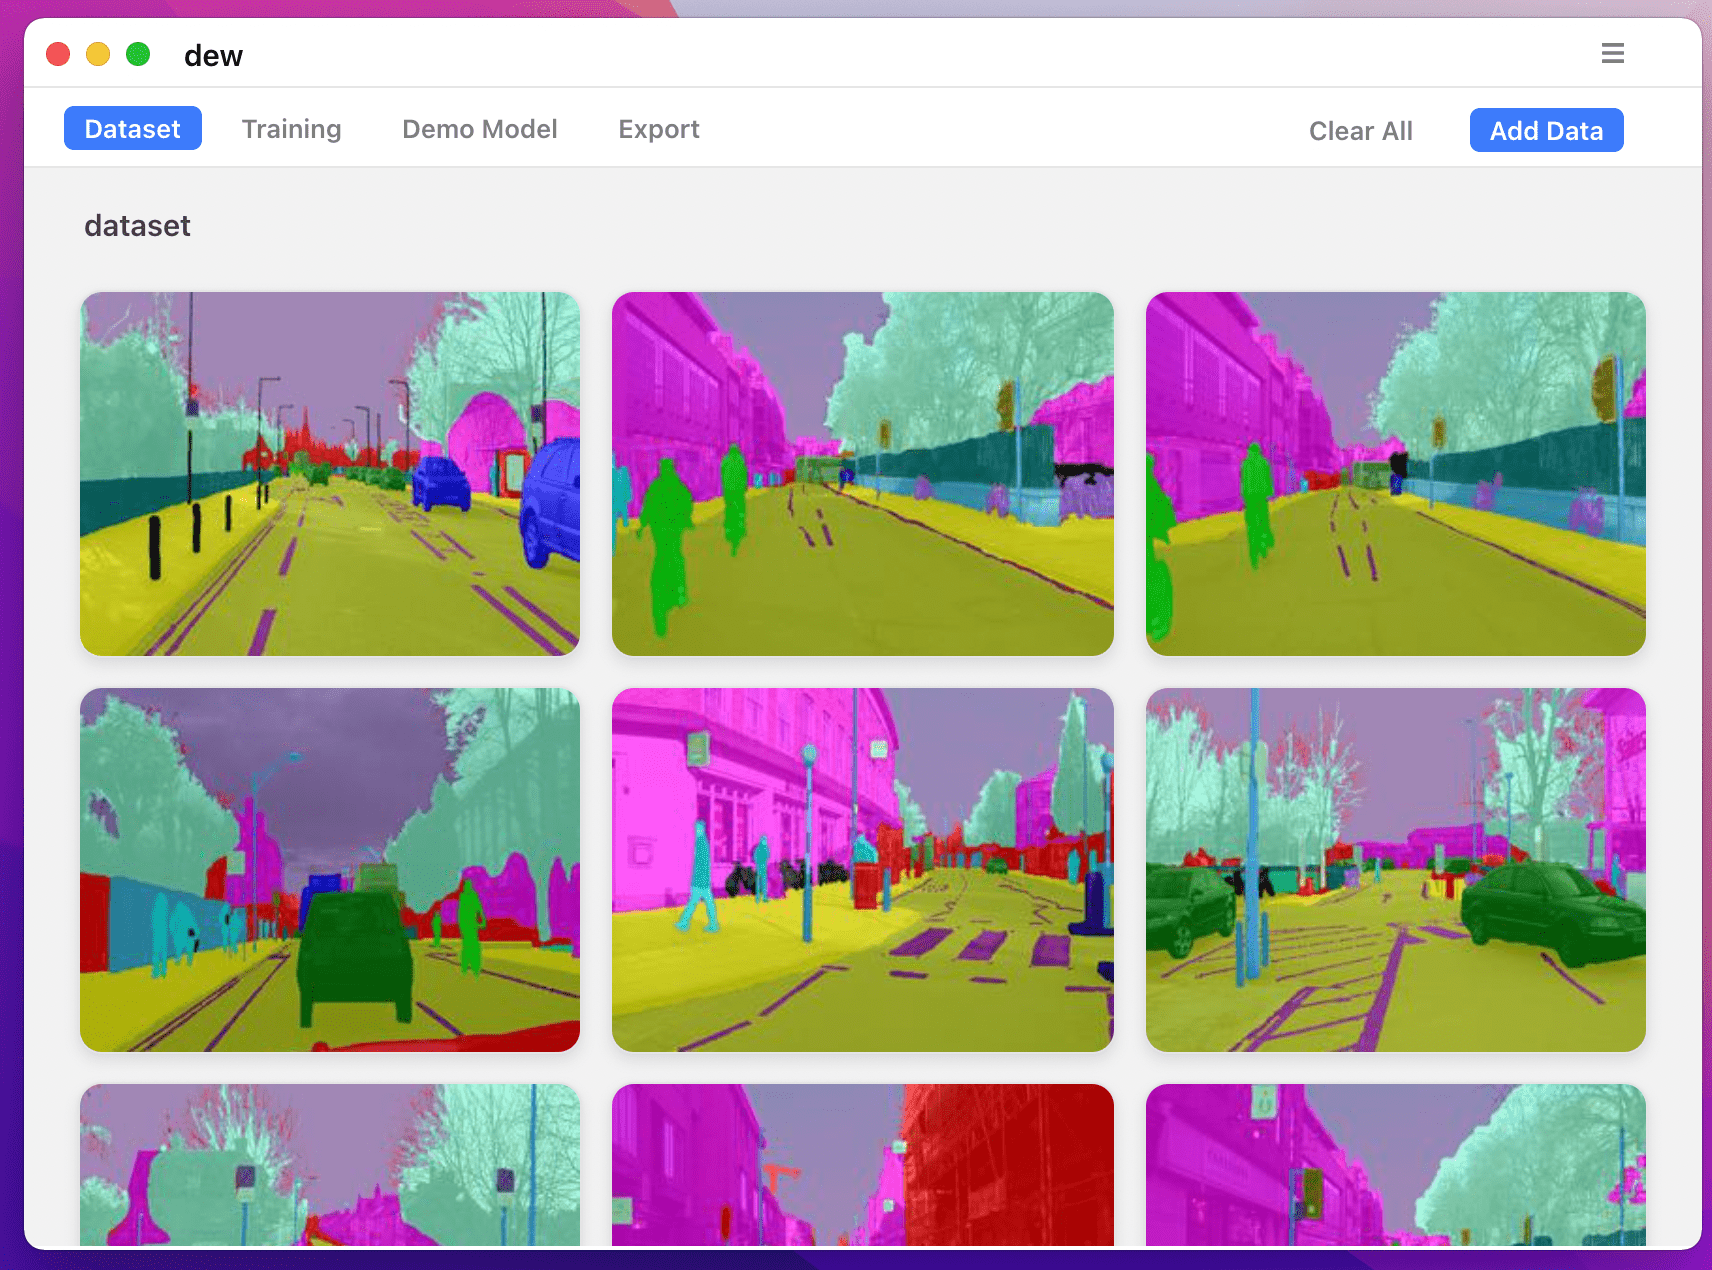 | 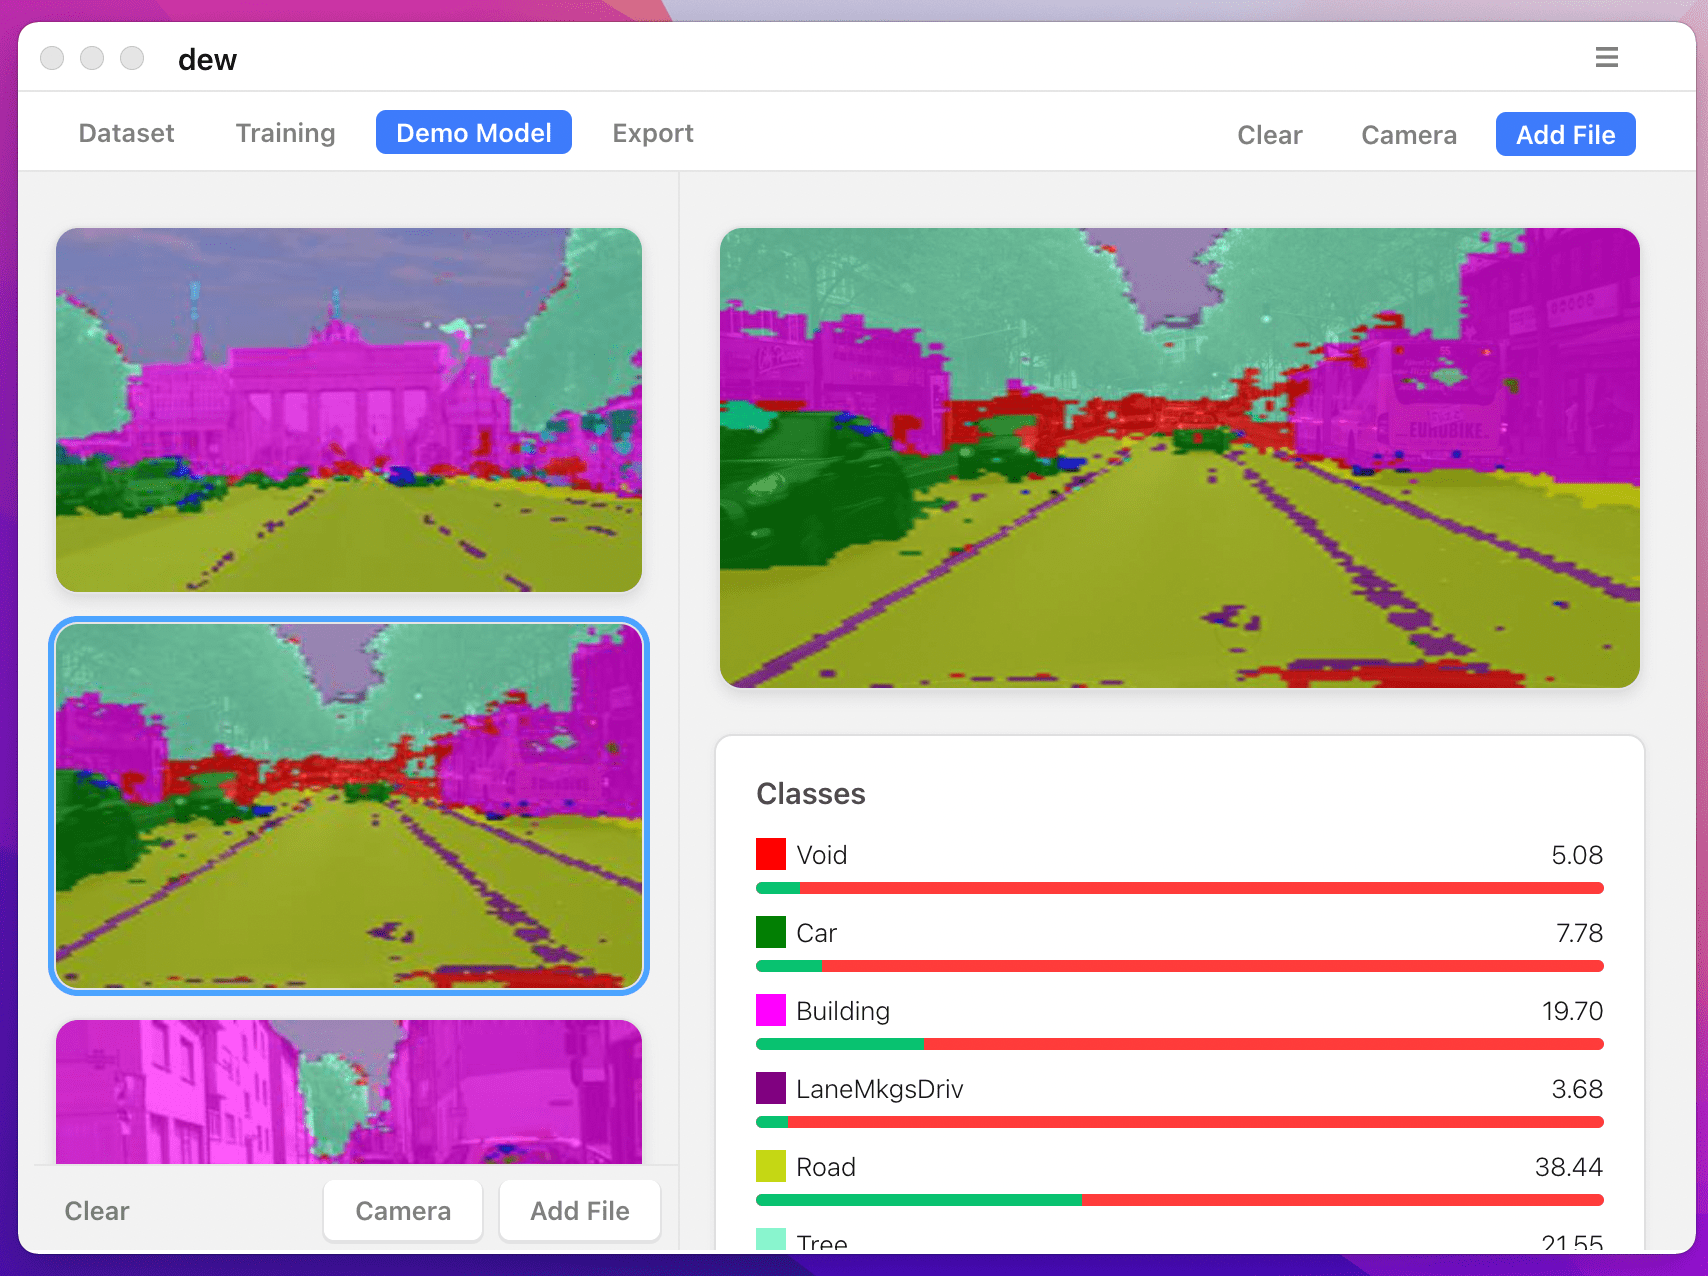 |
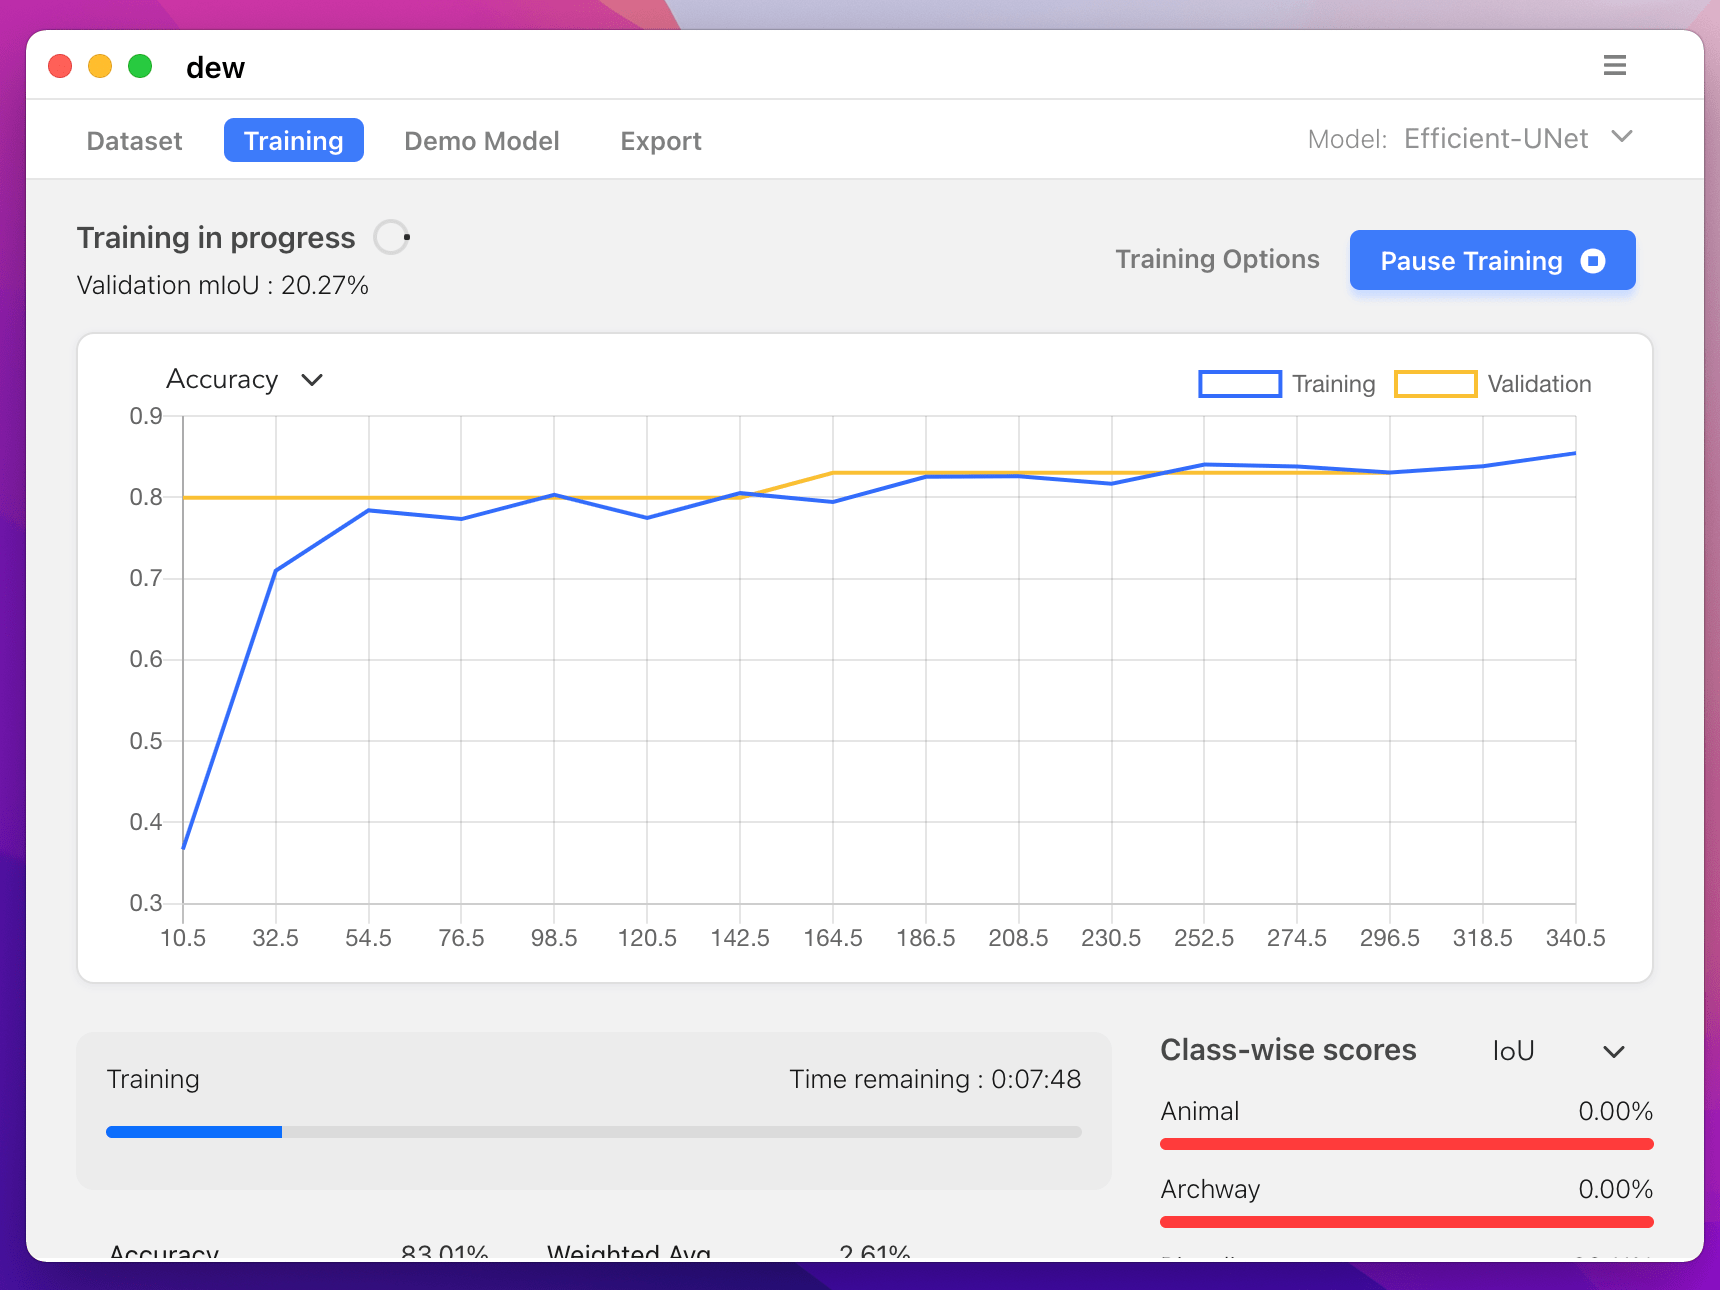 | 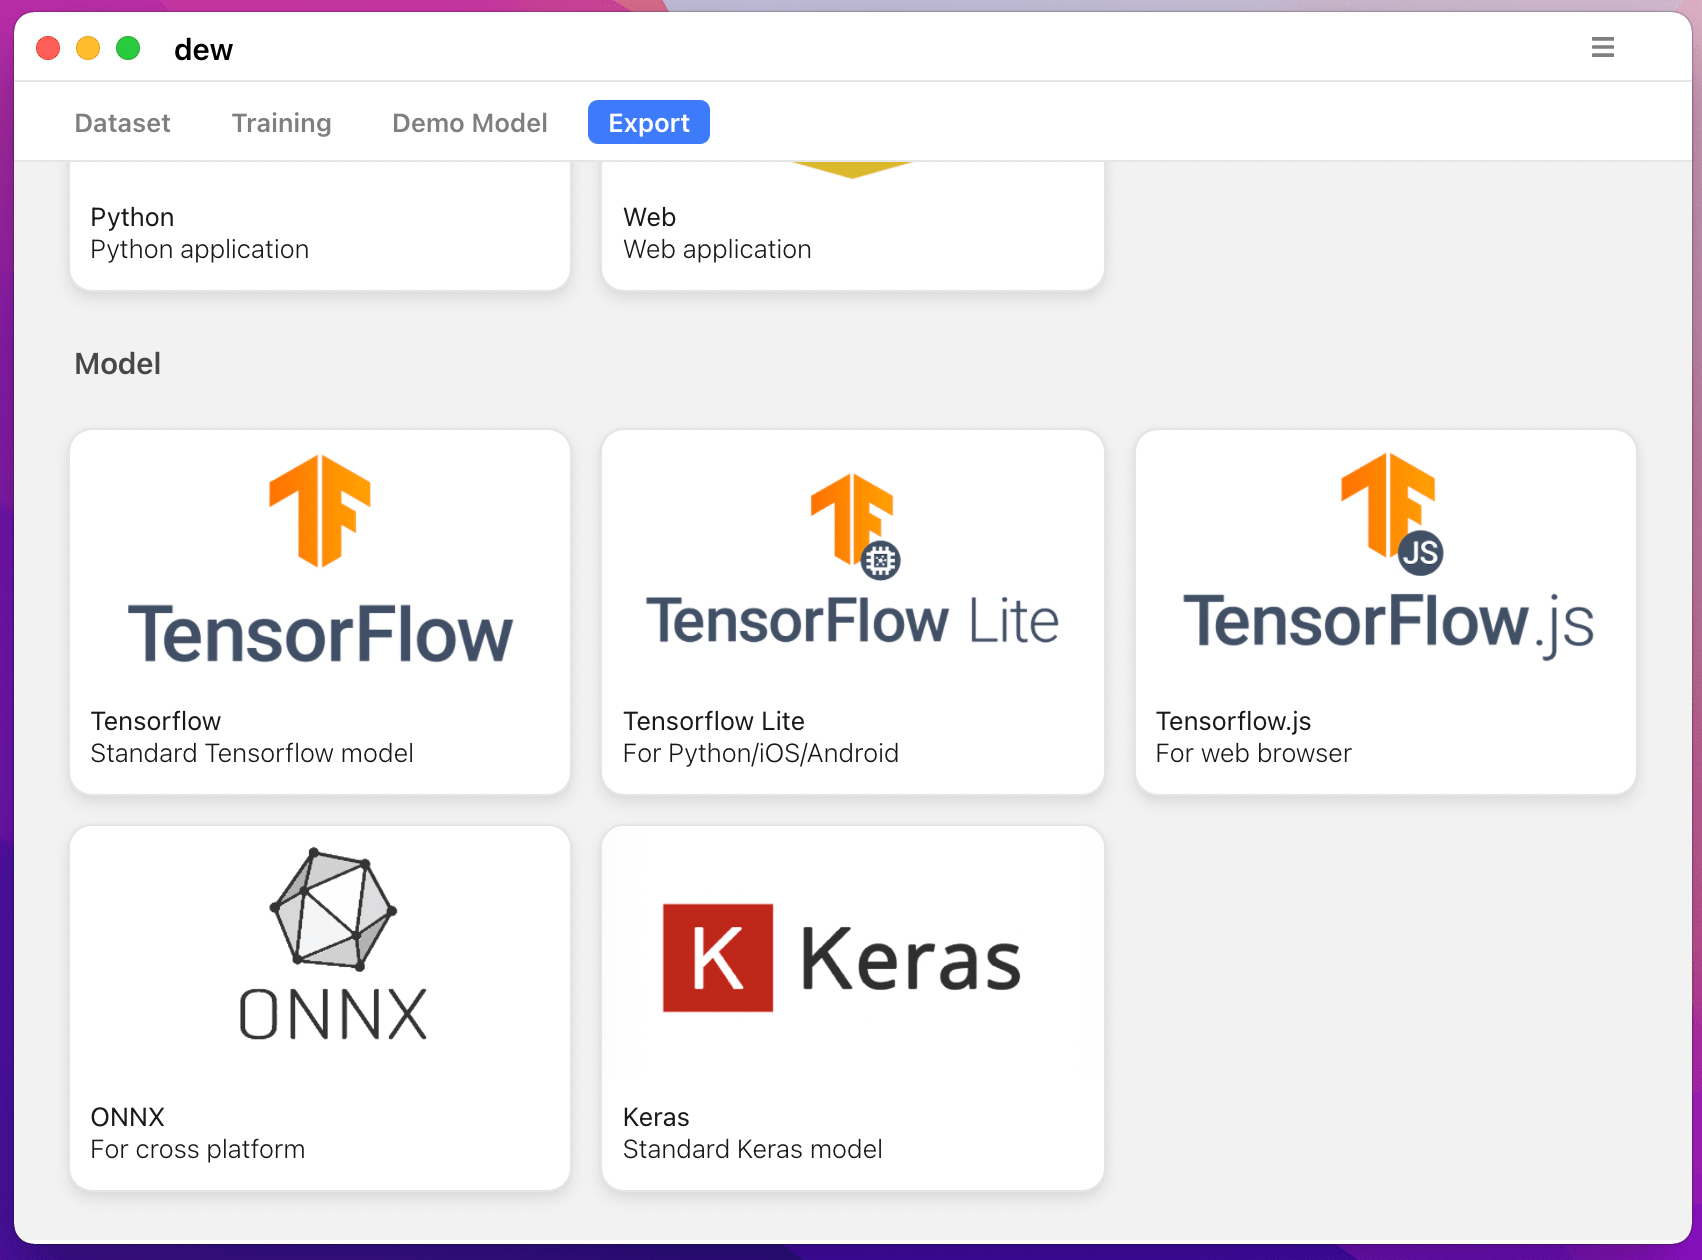 |
다음 모델이 지원됩니다:
| 모델_이름 | 기본 모델 | 분할 모델 |
|---|---|---|
| fcn_8 | 바닐라 CNN | FCN8 |
| fcn_32 | 바닐라 CNN | FCN8 |
| fcn_8_vgg | VGG 16 | FCN8 |
| fcn_32_vgg | VGG 16 | FCN32 |
| fcn_8_resnet50 | Resnet-50 | FCN32 |
| fcn_32_resnet50 | Resnet-50 | FCN32 |
| fcn_8_mobilenet | 모바일넷 | FCN32 |
| fcn_32_mobilenet | 모바일넷 | FCN32 |
| pspnet | 바닐라 CNN | PSPNet |
| pspnet_50 | 바닐라 CNN | PSPNet |
| pspnet_101 | 바닐라 CNN | PSPNet |
| vgg_pspnet | VGG 16 | PSPNet |
| resnet50_pspnet | Resnet-50 | PSPNet |
| unet_mini | 바닐라 미니 CNN | 유넷 |
| 유넷 | 바닐라 CNN | 유넷 |
| vgg_unet | VGG 16 | 유넷 |
| resnet50_unet | Resnet-50 | 유넷 |
| mobilenet_unet | 모바일넷 | 유넷 |
| 세그넷 | 바닐라 CNN | 세그넷 |
| vgg_segnet | VGG 16 | 세그넷 |
| resnet50_segnet | Resnet-50 | 세그넷 |
| mobilenet_segnet | 모바일넷 | 세그넷 |
제공된 사전 훈련된 모델의 결과 예는 다음과 같습니다.
| 입력 이미지 | 출력 분할 이미지 |
|---|---|
 | 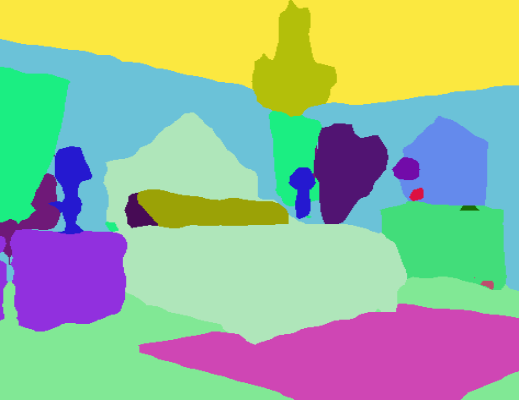 |
 | 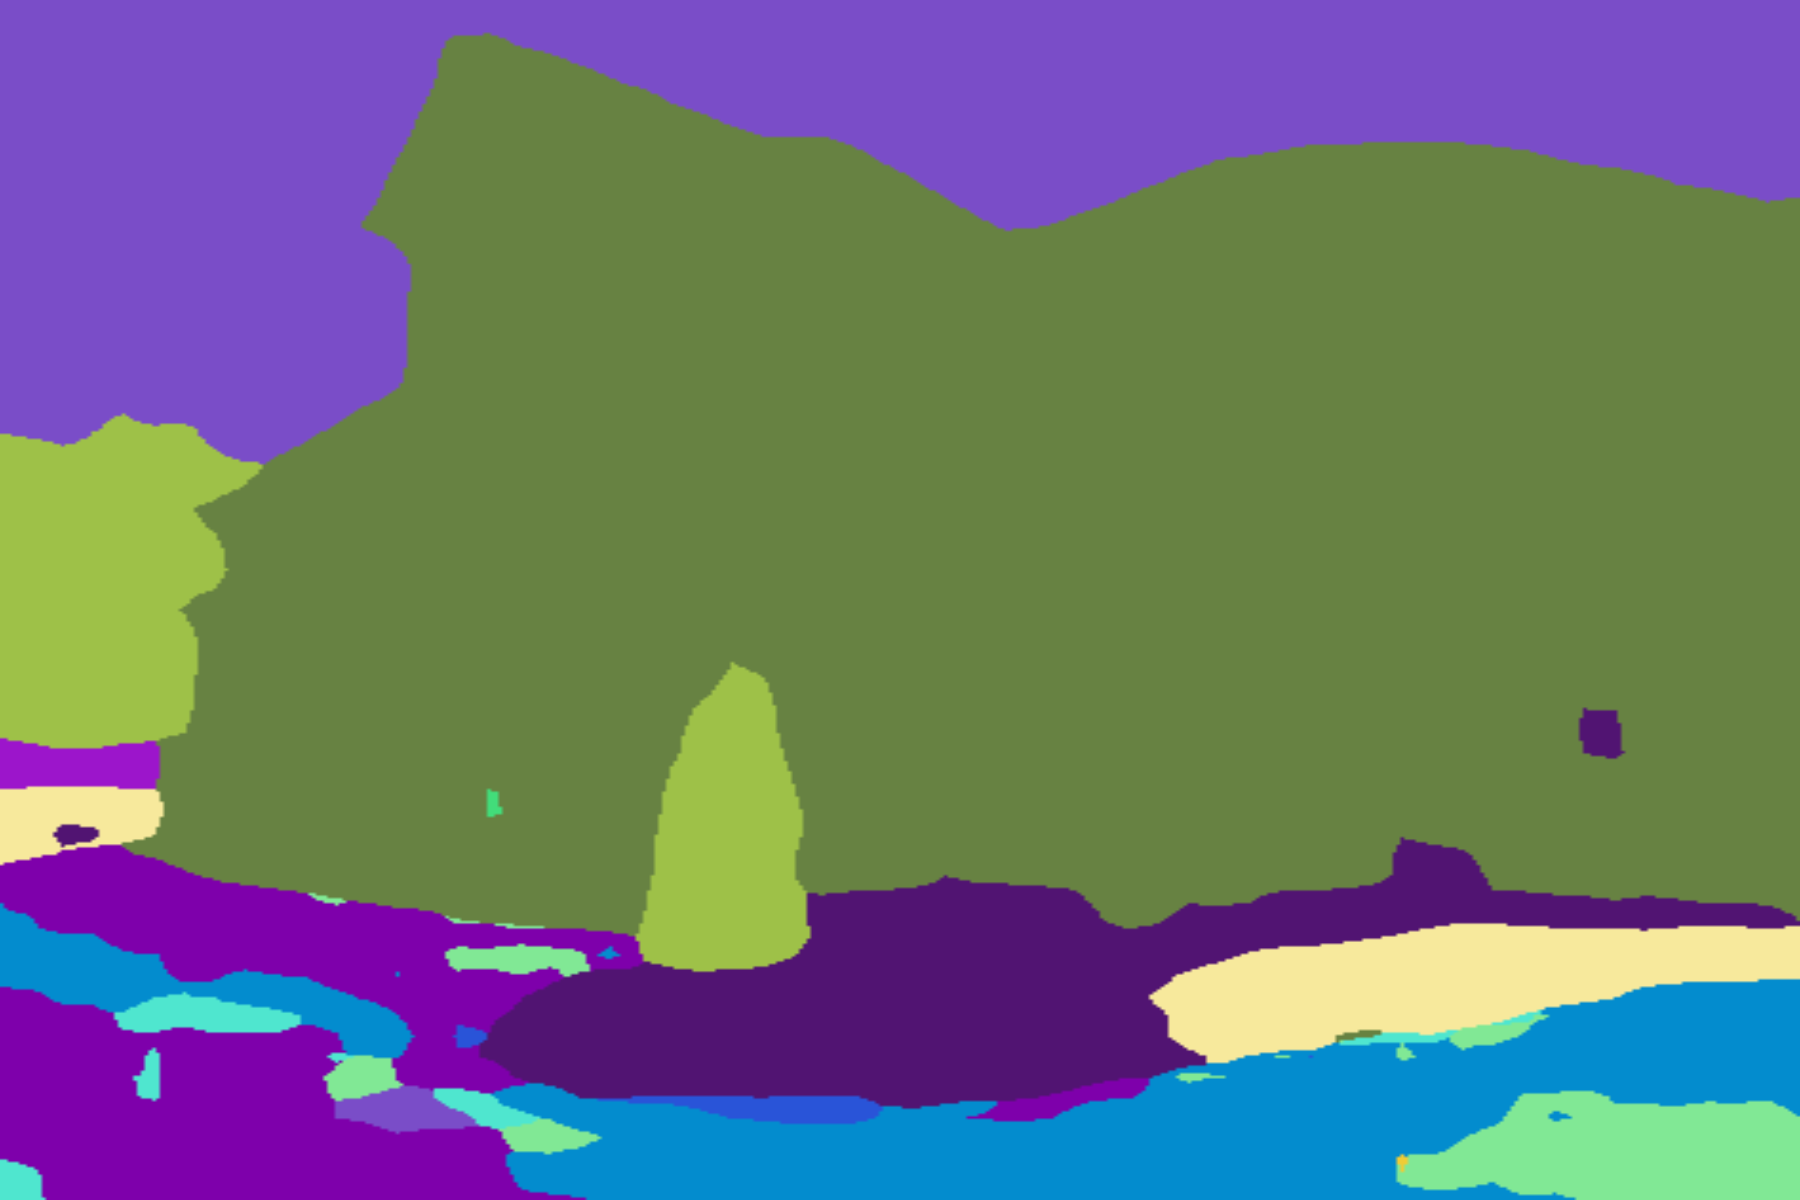 |
이 라이브러리를 사용하는 경우 다음을 사용하여 인용해 주세요.
 @article{gupta2023image,
  title={Image segmentation keras: Implementation of segnet, fcn, unet, pspnet and other models in keras},
  author={Gupta, Divam},
  journal={arXiv preprint arXiv:2307.13215},
  year={2023}
}
apt-get install -y libsm6 libxext6 libxrender-dev
pip install opencv-python모듈 설치
권장 방법:
pip install --upgrade git+https://github.com/divamgupta/image-segmentation-keraspip install keras-segmentationgit clone https://github.com/divamgupta/image-segmentation-keras
cd image-segmentation-keras
python setup.py install from keras_segmentation . pretrained import pspnet_50_ADE_20K , pspnet_101_cityscapes , pspnet_101_voc12
model = pspnet_50_ADE_20K () # load the pretrained model trained on ADE20k dataset
model = pspnet_101_cityscapes () # load the pretrained model trained on Cityscapes dataset
model = pspnet_101_voc12 () # load the pretrained model trained on Pascal VOC 2012 dataset
# load any of the 3 pretrained models
out = model . predict_segmentation (
inp = "input_image.jpg" ,
out_fname = "out.png"
)두 개의 폴더를 만들어야합니다
주석 이미지의 파일 이름은 RGB 이미지의 파일 이름과 동일해야 합니다.
해당 RGB 이미지에 대한 주석 이미지의 크기는 동일해야 합니다.
RGB 이미지의 각 픽셀에 대해 주석 이미지의 해당 픽셀의 클래스 레이블은 파란색 픽셀의 값이 됩니다.
주석 이미지를 생성하는 예제 코드:
 import cv2
import numpy as np

ann_img = np . zeros (( 30 , 30 , 3 )). astype ( 'uint8' )
ann_img [ 3 , 4 ] = 1 # this would set the label of pixel 3,4 as 1

cv2 . imwrite ( "ann_1.png" , ann_img )
주석 이미지에는 bmp 또는 png 형식만 사용하세요.
다음을 다운로드하고 추출합니다.
https://drive.google.com/file/d/0B0d9ZiqAgFkiOHR1NTJhWVJMNEU/view?usp=sharing
데이터세트1/이라는 폴더가 생성됩니다.
Python 스크립트에서 keras_segmentation을 가져오고 API를 사용할 수 있습니다.
 from keras_segmentation . models . unet import vgg_unet

model = vgg_unet ( n_classes = 51 ,  input_height = 416 , input_width = 608  )

model . train (
    train_images =  "dataset1/images_prepped_train/" ,
    train_annotations = "dataset1/annotations_prepped_train/" ,
    checkpoints_path = "/tmp/vgg_unet_1" , epochs = 5
)

out = model . predict_segmentation (
    inp = "dataset1/images_prepped_test/0016E5_07965.png" ,
    out_fname = "/tmp/out.png"
)

import matplotlib . pyplot as plt
plt . imshow ( out )

# evaluating the model
print ( model . evaluate_segmentation ( inp_images_dir = "dataset1/images_prepped_test/"  , annotations_dir = "dataset1/annotations_prepped_test/" ) )
명령줄을 사용하여 도구를 사용할 수도 있습니다.
준비된 데이터를 확인하기 위해 준비된 주석을 시각화할 수도 있습니다.
python -m keras_segmentation verify_dataset
 --images_path= " dataset1/images_prepped_train/ "
 --segs_path= " dataset1/annotations_prepped_train/ "
 --n_classes=50
python -m keras_segmentation visualize_dataset
--images_path= " dataset1/images_prepped_train/ "
--segs_path= " dataset1/annotations_prepped_train/ "
--n_classes=50모델을 학습하려면 다음 명령어를 실행하세요.
python -m keras_segmentation train
 --checkpoints_path= " path_to_checkpoints "
 --train_images= " dataset1/images_prepped_train/ "
 --train_annotations= " dataset1/annotations_prepped_train/ "
 --val_images= " dataset1/images_prepped_test/ "
 --val_annotations= " dataset1/annotations_prepped_test/ "
 --n_classes=50
 --input_height=320
 --input_width=640
 --model_name= " vgg_unet "
위 표에서 model_name을 선택하세요.
훈련된 모델의 예측을 얻으려면
python -m keras_segmentation predict
 --checkpoints_path= " path_to_checkpoints "
 --input_path= " dataset1/images_prepped_test/ "
 --output_path= " path_to_predictions "
비디오에 대한 예측을 얻으려면
python -m keras_segmentation predict_video
 --checkpoints_path= " path_to_checkpoints "
 --input= " path_to_video "
 --output_file= " path_for_save_inferenced_video "
 --display
웹캠에서 예측을 수행하려면 --input 사용하지 않거나 장치 번호를 전달하십시오: --input 0
--display 예측된 비디오가 포함된 창을 엽니다. 헤드리스 시스템을 사용할 때 이 인수를 제거하십시오.
IoU 점수를 얻으려면
python -m keras_segmentation evaluate_model
 --checkpoints_path= " path_to_checkpoints "
 --images_path= " dataset1/images_prepped_test/ "
--segs_path= " dataset1/annotations_prepped_test/ " 다음 예에서는 10개의 클래스가 있는 모델을 미세 조정하는 방법을 보여줍니다.
 from keras_segmentation . models . model_utils import transfer_weights
from keras_segmentation . pretrained import pspnet_50_ADE_20K
from keras_segmentation . models . pspnet import pspnet_50

pretrained_model = pspnet_50_ADE_20K ()

new_model = pspnet_50 ( n_classes = 51 )

transfer_weights ( pretrained_model , new_model  ) # transfer weights from pre-trained model to your model

new_model . train (
    train_images =  "dataset1/images_prepped_train/" ,
    train_annotations = "dataset1/annotations_prepped_train/" ,
    checkpoints_path = "/tmp/vgg_unet_1" , epochs = 5
)
다음 예에서는 더 크고 더 정확한 모델에서 더 작은 모델로 지식을 전송하는 방법을 보여줍니다. 대부분의 경우 지식 증류를 통해 훈련된 작은 모델은 바닐라 지도 학습을 사용하여 훈련된 동일한 모델에 비해 더 정확합니다.
 from keras_segmentation . predict import model_from_checkpoint_path
from keras_segmentation . models . unet import unet_mini
from keras_segmentation . model_compression import perform_distilation

model_large = model_from_checkpoint_path ( "/checkpoints/path/of/trained/model" )
model_small = unet_mini ( n_classes = 51 , input_height = 300 , input_width = 400  )

perform_distilation ( data_path = "/path/to/large_image_set/" , checkpoints_path = "path/to/save/checkpoints" ,
teacher_model = model_large , student_model = model_small , distilation_loss = 'kl' , feats_distilation_loss = 'pa' )다음 예에서는 훈련을 위한 사용자 정의 증대 함수를 정의하는 방법을 보여줍니다.
 from keras_segmentation . models . unet import vgg_unet
from imgaug import augmenters as iaa

def custom_augmentation ():
    return  iaa . Sequential (
        [
            # apply the following augmenters to most images
            iaa . Fliplr ( 0.5 ),  # horizontally flip 50% of all images
            iaa . Flipud ( 0.5 ), # horizontally flip 50% of all images
        ])

model = vgg_unet ( n_classes = 51 ,  input_height = 416 , input_width = 608 )

model . train (
    train_images =  "dataset1/images_prepped_train/" ,
    train_annotations = "dataset1/annotations_prepped_train/" ,
    checkpoints_path = "/tmp/vgg_unet_1" , epochs = 5 ,
    do_augment = True , # enable augmentation
    custom_augmentation = custom_augmentation # sets the augmention function to use
)다음 예에서는 입력 채널 수를 설정하는 방법을 보여줍니다.
 from keras_segmentation . models . unet import vgg_unet

model = vgg_unet ( n_classes = 51 ,  input_height = 416 , input_width = 608 ,
                 channels = 1 # Sets the number of input channels
                 )

model . train (
    train_images =  "dataset1/images_prepped_train/" ,
    train_annotations = "dataset1/annotations_prepped_train/" ,
    checkpoints_path = "/tmp/vgg_unet_1" , epochs = 5 ,
    read_image_type = 0  # Sets how opencv will read the images
                       # cv2.IMREAD_COLOR = 1 (rgb),
                       # cv2.IMREAD_GRAYSCALE = 0,
                       # cv2.IMREAD_UNCHANGED = -1 (4 channels like RGBA)
)다음 예에서는 사용자 정의 이미지 전처리 기능을 설정하는 방법을 보여줍니다.
 from keras_segmentation . models . unet import vgg_unet

def image_preprocessing ( image ):
    return image + 1

model = vgg_unet ( n_classes = 51 ,  input_height = 416 , input_width = 608 )

model . train (
    train_images =  "dataset1/images_prepped_train/" ,
    train_annotations = "dataset1/annotations_prepped_train/" ,
    checkpoints_path = "/tmp/vgg_unet_1" , epochs = 5 ,
    preprocessing = image_preprocessing # Sets the preprocessing function
)다음 예에서는 모델 훈련을 위한 사용자 정의 콜백을 설정하는 방법을 보여줍니다.
 from keras_segmentation . models . unet import vgg_unet
from keras . callbacks import ModelCheckpoint , EarlyStopping

model = vgg_unet ( n_classes = 51 ,  input_height = 416 , input_width = 608 )

# When using custom callbacks, the default checkpoint saver is removed
callbacks = [
    ModelCheckpoint (
                filepath = "checkpoints/" + model . name + ".{epoch:05d}" ,
                save_weights_only = True ,
                verbose = True
            ),
    EarlyStopping ()
]

model . train (
    train_images =  "dataset1/images_prepped_train/" ,
    train_annotations = "dataset1/annotations_prepped_train/" ,
    checkpoints_path = "/tmp/vgg_unet_1" , epochs = 5 ,
    callbacks = callbacks
)다음 예에서는 모델에 대한 추가 이미지 입력을 추가하는 방법을 보여줍니다.
 from keras_segmentation . models . unet import vgg_unet

model = vgg_unet ( n_classes = 51 ,  input_height = 416 , input_width = 608 )

model . train (
    train_images =  "dataset1/images_prepped_train/" ,
    train_annotations = "dataset1/annotations_prepped_train/" ,
    checkpoints_path = "/tmp/vgg_unet_1" , epochs = 5 ,
    other_inputs_paths = [
        "/path/to/other/directory"
    ],


#     Ability to add preprocessing
    preprocessing = [ lambda x : x + 1 , lambda x : x + 2 , lambda x : x + 3 ], # Different prepocessing for each input
#     OR
    preprocessing = lambda x : x + 1 , # Same preprocessing for each input
)다음은 우리 라이브러리를 사용하는 몇 가지 프로젝트입니다.
공개적으로 사용 가능한 프로젝트에서 우리 코드를 사용하는 경우 여기에 링크를 추가하십시오(이슈 게시 또는 PR 작성).