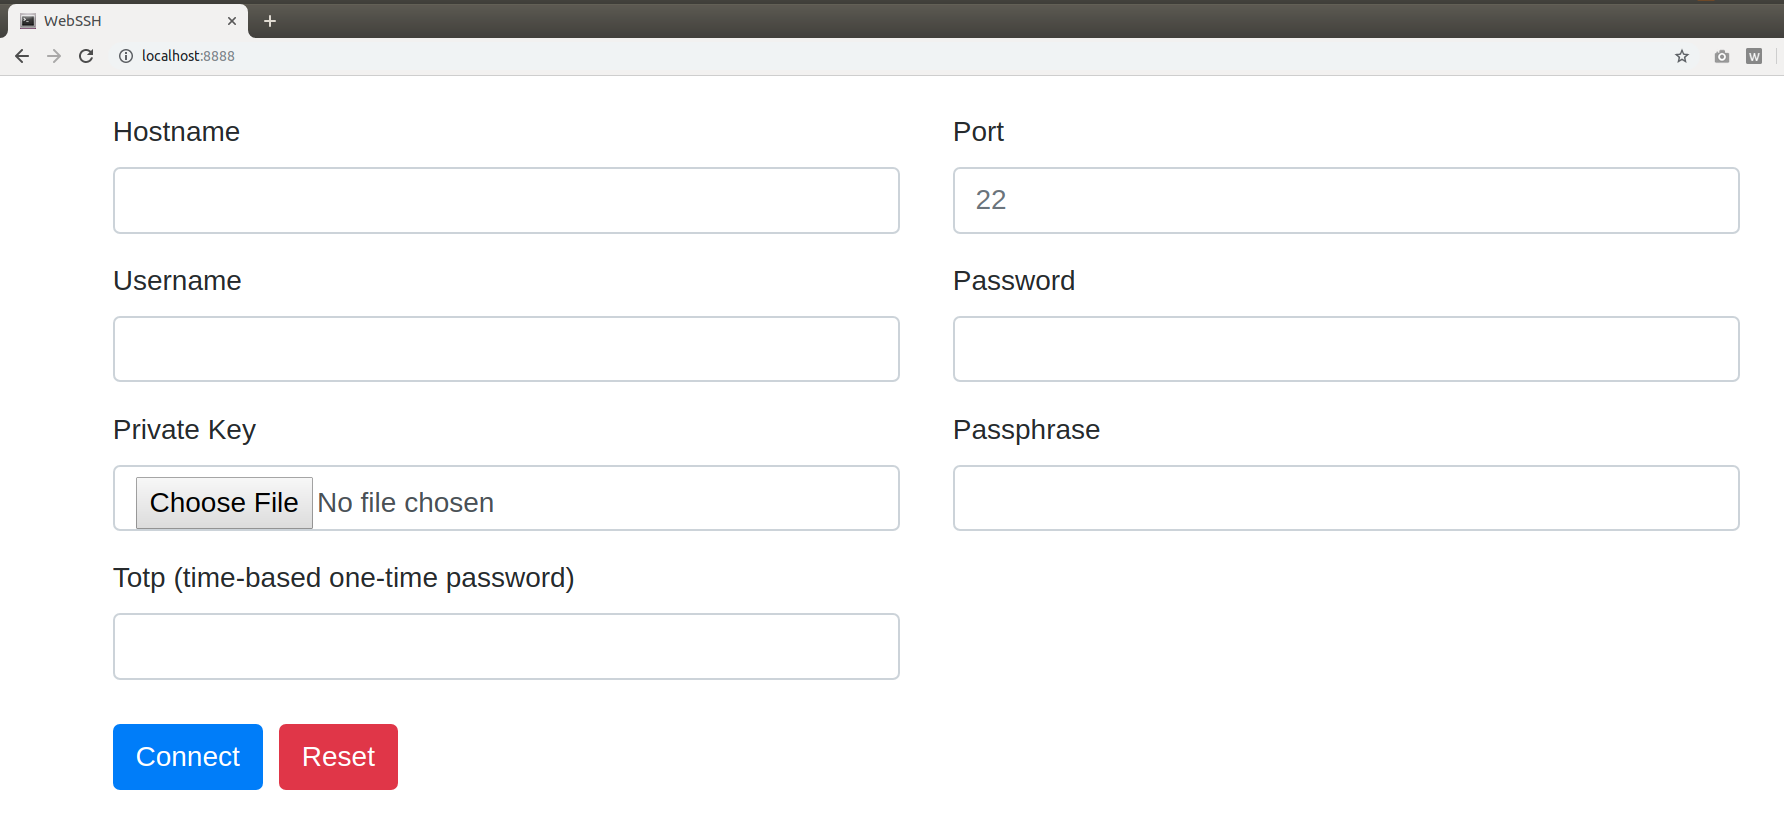
webssh
v1.6.2
SSH 서버에 연결하기 위해 SSH 클라이언트로 사용되는 간단한 웹 애플리케이션입니다. 이는 tornado, paramiko 및 xterm.js를 기반으로 Python으로 작성되었습니다.


 +---------+     http     +--------+    ssh    +-----------+
| browser | <==========> | webssh | <=======> | ssh server|
+---------+   websocket  +--------+    ssh    +-----------+
pip install webssh 명령을 실행하세요.wssh 명령을 실행하십시오.127.0.0.1:8888 로 이동하세요. # start a http server with specified listen address and listen port
wssh --address= ' 2.2.2.2 ' --port=8000
# start a https server, certfile and keyfile must be passed
wssh --certfile= ' /path/to/cert.crt ' --keyfile= ' /path/to/cert.key '
# missing host key policy
wssh --policy=reject
# logging level
wssh --logging=debug
# log to file
wssh --log-file-prefix=main.log
# more options
wssh --help // connect to your ssh server
wssh . connect ( hostname , port , username , password , privatekey , passphrase , totp ) ;
// pass an object to wssh.connect
var opts = {
hostname : 'hostname' ,
port : 'port' ,
username : 'username' ,
password : 'password' ,
privatekey : 'the private key text' ,
passphrase : 'passphrase' ,
totp : 'totp'
} ;
wssh . connect ( opts ) ;
// without an argument, wssh will use the form data to connect
wssh . connect ( ) ;
// set a new encoding for client to use
wssh . set_encoding ( encoding ) ;
// reset encoding to use the default one
wssh . reset_encoding ( ) ;
// send a command to the server
wssh . send ( 'ls -l' ) ; 사용자 정의 글꼴을 사용하려면 webssh/static/css/fonts/ 디렉터리에 글꼴 파일을 넣고 서버를 다시 시작하세요.
다음 예와 같이 URL(쿼리 또는 조각)로 인수 전달을 지원합니다.
양식 데이터 전달(비밀번호는 base64로 인코딩되어야 하며 개인 키는 지원되지 않음)
http://localhost:8888/ ? hostname=xx & username=yy & password=str_base64_encoded터미널 배경색 전달
http://localhost:8888/ # bgcolor=green터미널 글꼴 색상 전달
http://localhost:8888/ # fontcolor=red사용자 정의 제목 전달
http://localhost:8888/ ? title=my-ssh-server인코딩 전달
http://localhost:8888/ # encoding=gbk글꼴 크기 전달
http://localhost:8888/ # fontsize=24로그인 직후 실행되는 명령 전달
http://localhost:8888/ ? command=pwd터미널 유형 전달
http://localhost:8888/ ? term=xterm-256color앱 시작
docker-compose up
앱을 분해하세요
docker-compose down
요구사항
pip install pytest pytest-cov codecov flake8 mock
모든 테스트를 실행하려면 Unittest를 사용하세요.
python -m unittest discover tests
pytest를 사용하여 모든 테스트 실행
python -m pytest tests
Nginx 서버 뒤에서 실행
wssh --address= ' 127.0.0.1 ' --port=8888 --policy=reject # Nginx config example
location / {
proxy_pass http://127.0.0.1:8888;
proxy_http_version 1.1 ;
proxy_read_timeout 300 ;
proxy_set_header Upgrade $http_upgrade ;
proxy_set_header Connection "upgrade" ;
proxy_set_header Host $http_host ;
proxy_set_header X-Real-IP $remote_addr ;
proxy_set_header X-Real-PORT $remote_port ;
}독립형 서버로 실행
wssh --port=8080 --sslport=4433 --certfile= ' cert.crt ' --keyfile= ' cert.key ' --xheaders=False --policy=reject