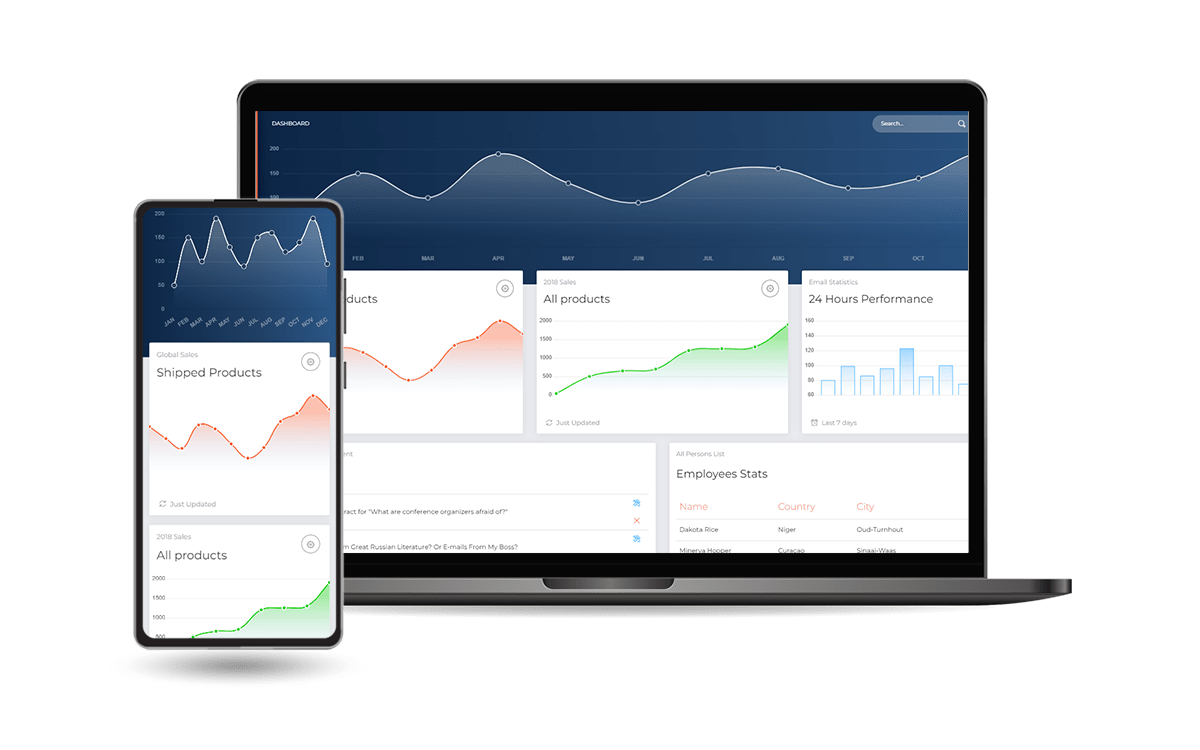
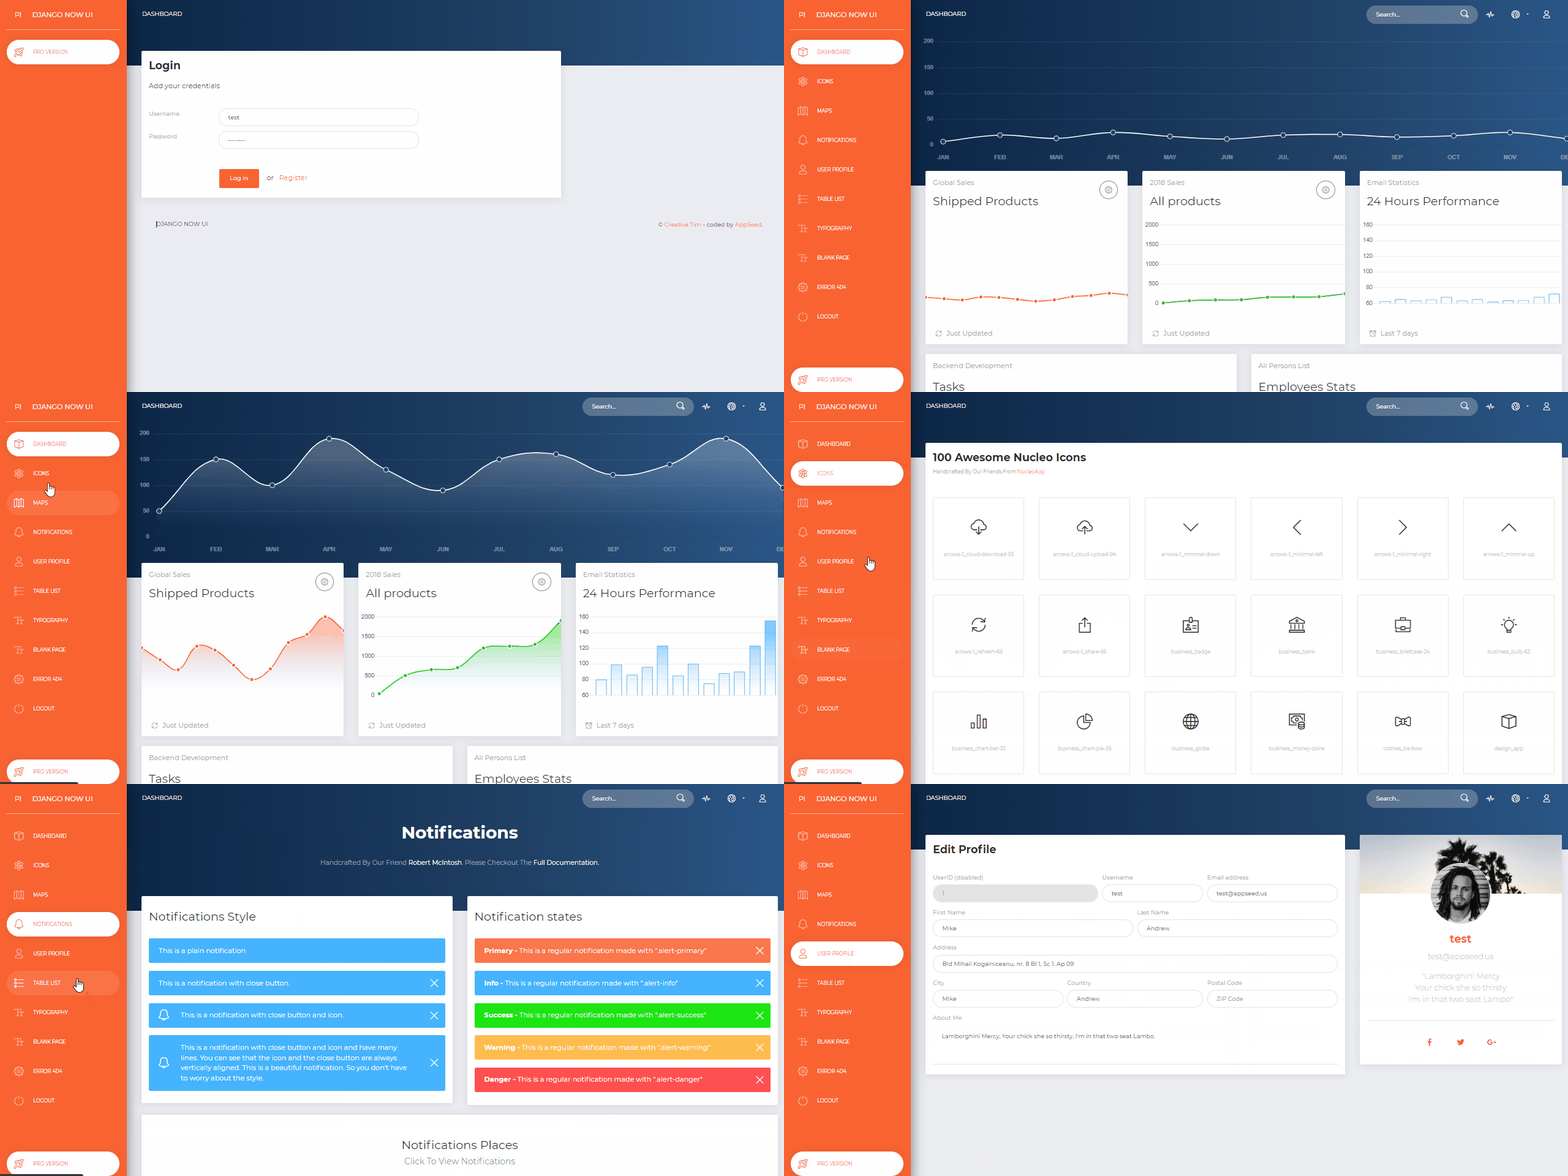
Django Framework의 AppSeed에 의해 생성된 관리 대시보드입니다. Now UI Dashboard는 Invision과 Creative Tim이 무료로 제공하는 반응형 Bootstrap 4 키트입니다. 이제 UI 대시보드에는 프로젝트 내에서 필요할 수 있는 모든 플러그인과 시작 방법에 대한 문서가 포함되어 있습니다. 가볍고 사용하기 쉬우며 매우 강력합니다.
특징
Up-to-date dependenciesSQLite Database , Django 기본 ORMSession-Based authentication , 양식 유효성 검사Deployment : Docker , Gunicorn / Nginx, HEROKU 
Docker 의 빠른 시작코드 받기
$ git clone https://github.com/app-generator/django-now-ui-dashboard.git
$ cd django-now-ui-dashboard
Docker에서 앱 시작
$ docker-compose up --build 브라우저에서 http://localhost:85 방문하세요. 앱이 실행 중이어야 합니다.

$ # Get the code
$ git clone https://github.com/app-generator/django-now-ui-dashboard.git
$ cd django-now-ui-dashboard
$
$ # Virtualenv modules installation (Unix based systems)
$ virtualenv env
$ source env/bin/activate
$
$ # Virtualenv modules installation (Windows based systems)
$ # virtualenv env
$ # .envScriptsactivate
$
$ # Install modules
$ # SQLIte version
$ pip3 install -r requirements.txt
$
$ # Create tables
$ python manage.py makemigrations
$ python manage.py migrate
$
$ # Start the application (development mode)
$ python manage.py runserver # default port 8000
$
$ # Start the app - custom port
$ # python manage.py runserver 0.0.0.0:<your_port>
$
$ # Access the web app in browser: http://127.0.0.1:8000/
참고: 앱을 사용하려면 등록 페이지에 접속하여 새 사용자를 생성 하세요. 인증 후 앱은 비공개 페이지의 잠금을 해제합니다.
프로젝트는 아래와 같이 간단하고 직관적인 구조를 사용하여 코딩되었습니다.
 < PROJECT ROOT >
   |
   | -- core/                               # Implements app configuration
   |    | -- settings.py                    # Defines Global Settings
   |    | -- wsgi.py                        # Start the app in production
   |    | -- urls.py                        # Define URLs served by all apps/nodes
   |
   | -- apps/
   |    |
   |    | -- home/                          # A simple app that serve HTML files
   |    |    | -- views.py                  # Serve HTML pages for authenticated users
   |    |    | -- urls.py                   # Define some super simple routes
   |    |
   |    | -- authentication/                # Handles auth routes (login and register)
   |    |    | -- urls.py                   # Define authentication routes
   |    |    | -- views.py                  # Handles login and registration
   |    |    | -- forms.py                  # Define auth forms (login and register)
   |    |
   |    | -- static/
   |    |    | -- < css, JS, images >         # CSS files, Javascripts files
   |    |
   |    | -- templates/                     # Templates used to render pages
   |         | -- includes/                 # HTML chunks and components
   |         |    | -- navigation.html      # Top menu component
   |         |    | -- sidebar.html         # Sidebar component
   |         |    | -- footer.html          # App Footer
   |         |    | -- scripts.html         # Scripts common to all pages
   |         |
   |         | -- layouts/                   # Master pages
   |         |    | -- base-fullscreen.html  # Used by Authentication pages
   |         |    | -- base.html             # Used by common pages
   |         |
   |         | -- accounts/                  # Authentication pages
   |         |    | -- login.html            # Login page
   |         |    | -- register.html         # Register page
   |         |
   |         | -- home/                      # UI Kit Pages
   |              | -- index.html            # Index page
   |              | -- 404-page.html         # 404 page
   |              | -- * .html                # All other pages
   |
   | -- requirements.txt                     # Development modules - SQLite storage
   |
   | -- .env                                 # Inject Configuration via Environment
   | -- manage.py                            # Start the app - Django default start script
   |
   | -- ************************************************************************
부트스트랩 흐름
manage.py core/settings.py 기본 구성 파일로 사용합니다.core/settings.py .env 파일에서 앱 매직을 로드합니다.SCSS 파일을 다시 컴파일하려면 다음 설정을 따르세요.
1단계 - 도구 설치
npm install -g gulp-cli 2단계 - 작업 디렉터리를 assets 폴더로 변경
$ cd apps/static/assets 3단계 - 모듈 설치(이렇게 하면 클래식 node_modules 디렉토리가 생성됩니다)
$ npm install
// OR
$ yarn
4단계 - SCSS 파일 편집 및 재컴파일
$ gulp scss 생성된 파일은 static/assets/css 디렉터리에 저장됩니다.
앱은 Docker, Gunicorn, Waitress에서 실행될 수 있도록 기본 구성을 제공합니다.
애플리케이션은 도커 컨테이너에서 쉽게 실행할 수 있습니다. 단계:
코드 받기
$ git clone https://github.com/app-generator/django-now-ui-dashboard.git
$ cd django-now-ui-dashboard
Docker에서 앱 시작
$ sudo docker-compose pull && sudo docker-compose build && sudo docker-compose up -d 브라우저에서 http://localhost:85 방문하세요. 앱이 실행 중이어야 합니다.
Gunicorn 'Green Unicorn'은 UNIX용 Python WSGI HTTP 서버입니다.
pip를 사용하여 설치
$ pip install gunicorngunicorn 바이너리를 사용하여 앱 시작
$ gunicorn --bind=0.0.0.0:8001 core.wsgi:application
Serving on http://localhost:8001
브라우저에서 http://localhost:8001 방문하세요. 앱이 실행 중이어야 합니다.
웨이트리스(Windows용 Gunicorn과 동일)는 매우 수용 가능한 성능을 갖춘 프로덕션 품질의 순수 Python WSGI 서버를 의미합니다. Python 표준 라이브러리에 있는 것 외에는 종속성이 없습니다.
pip를 사용하여 설치
$ pip install waitresswaitress-serve를 사용하여 앱 시작
$ waitress-serve --port=8001 core.wsgi:application
Serving on http://localhost:8001
브라우저에서 http://localhost:8001 방문하세요. 앱이 실행 중이어야 합니다.
Django Now UI 대시보드 - App Generator 에서 제공됩니다.