การใช้งานโมเดลการแบ่งส่วนภาพลึกต่างๆ ใน keras
ลิงก์ไปยังโพสต์บล็อกแบบเต็มพร้อมบทช่วยสอน: https://divamgupta.com/image-segmentation/2019/06/06/deep-learning-semantic-segmentation-keras.html
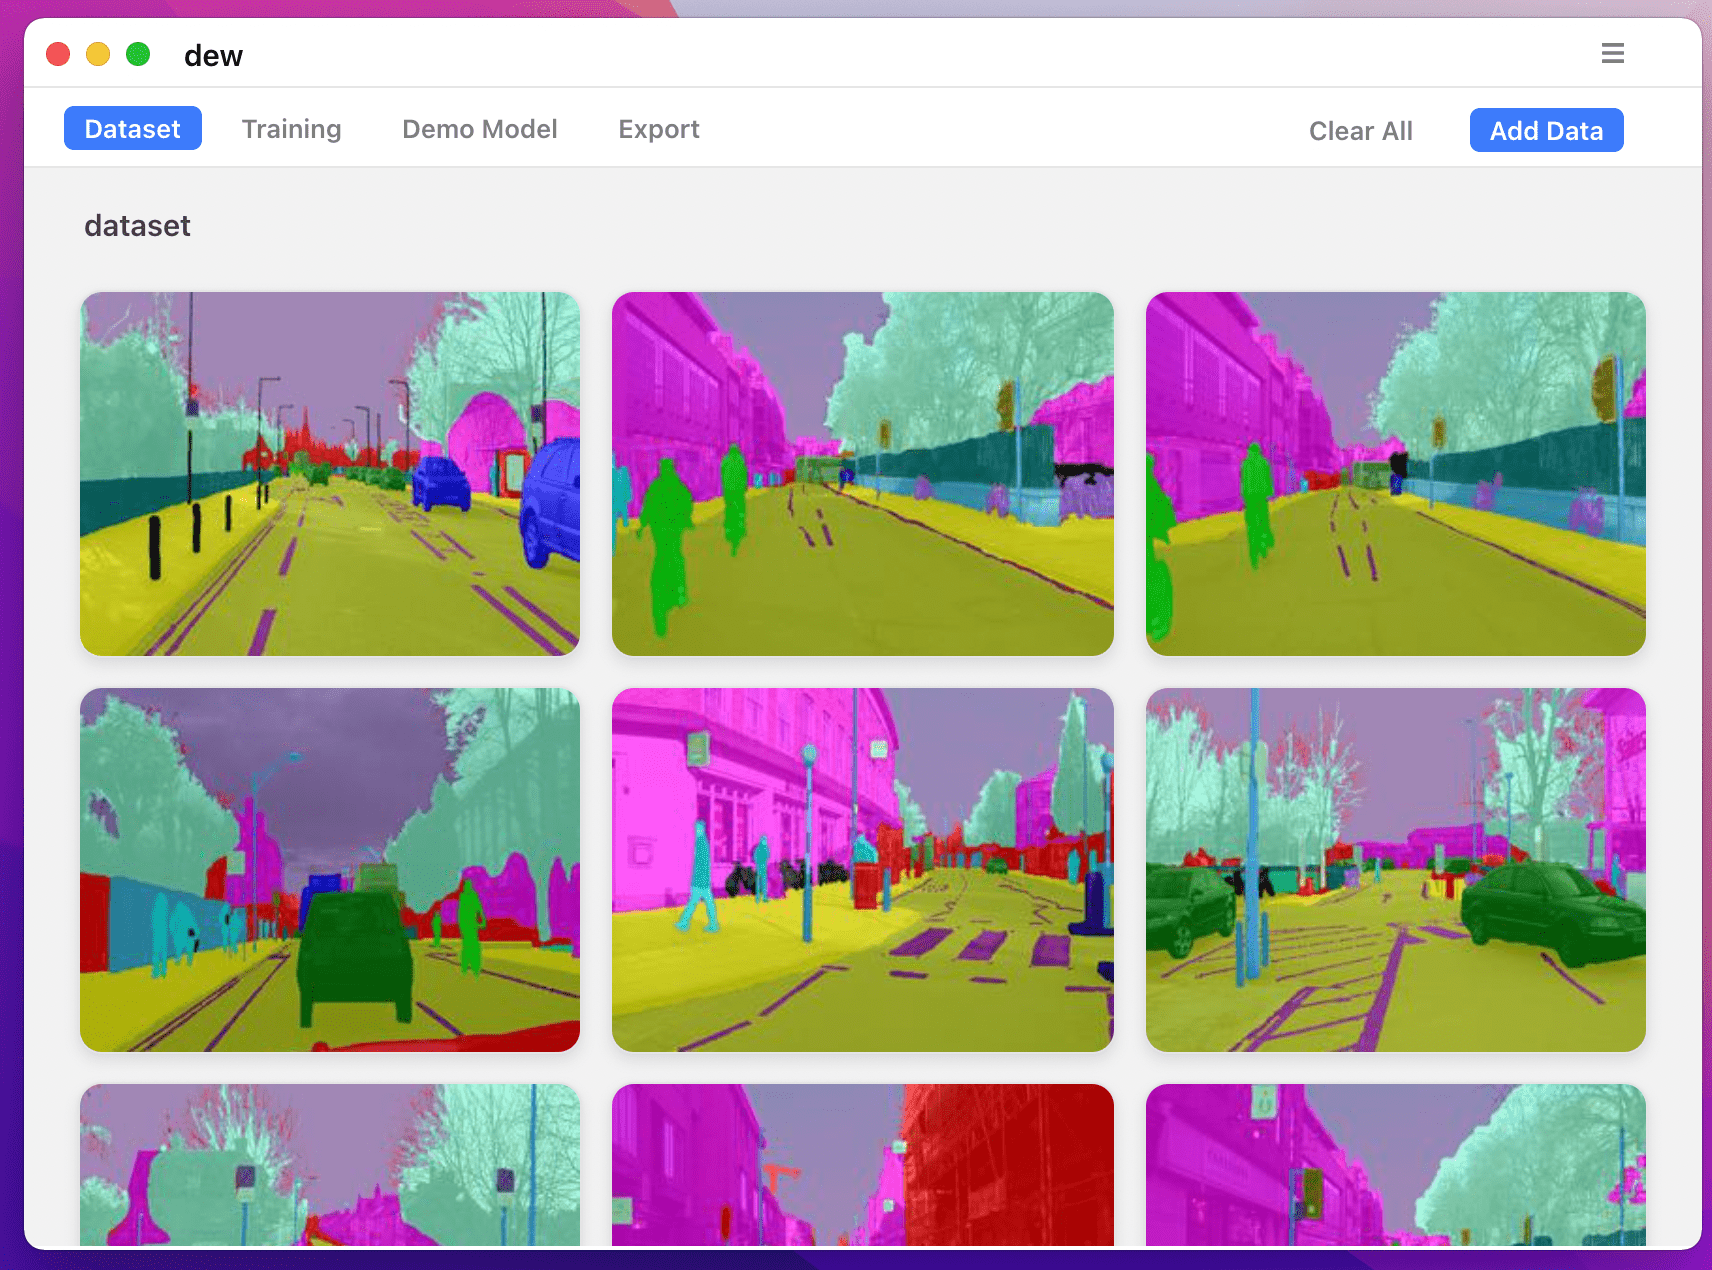
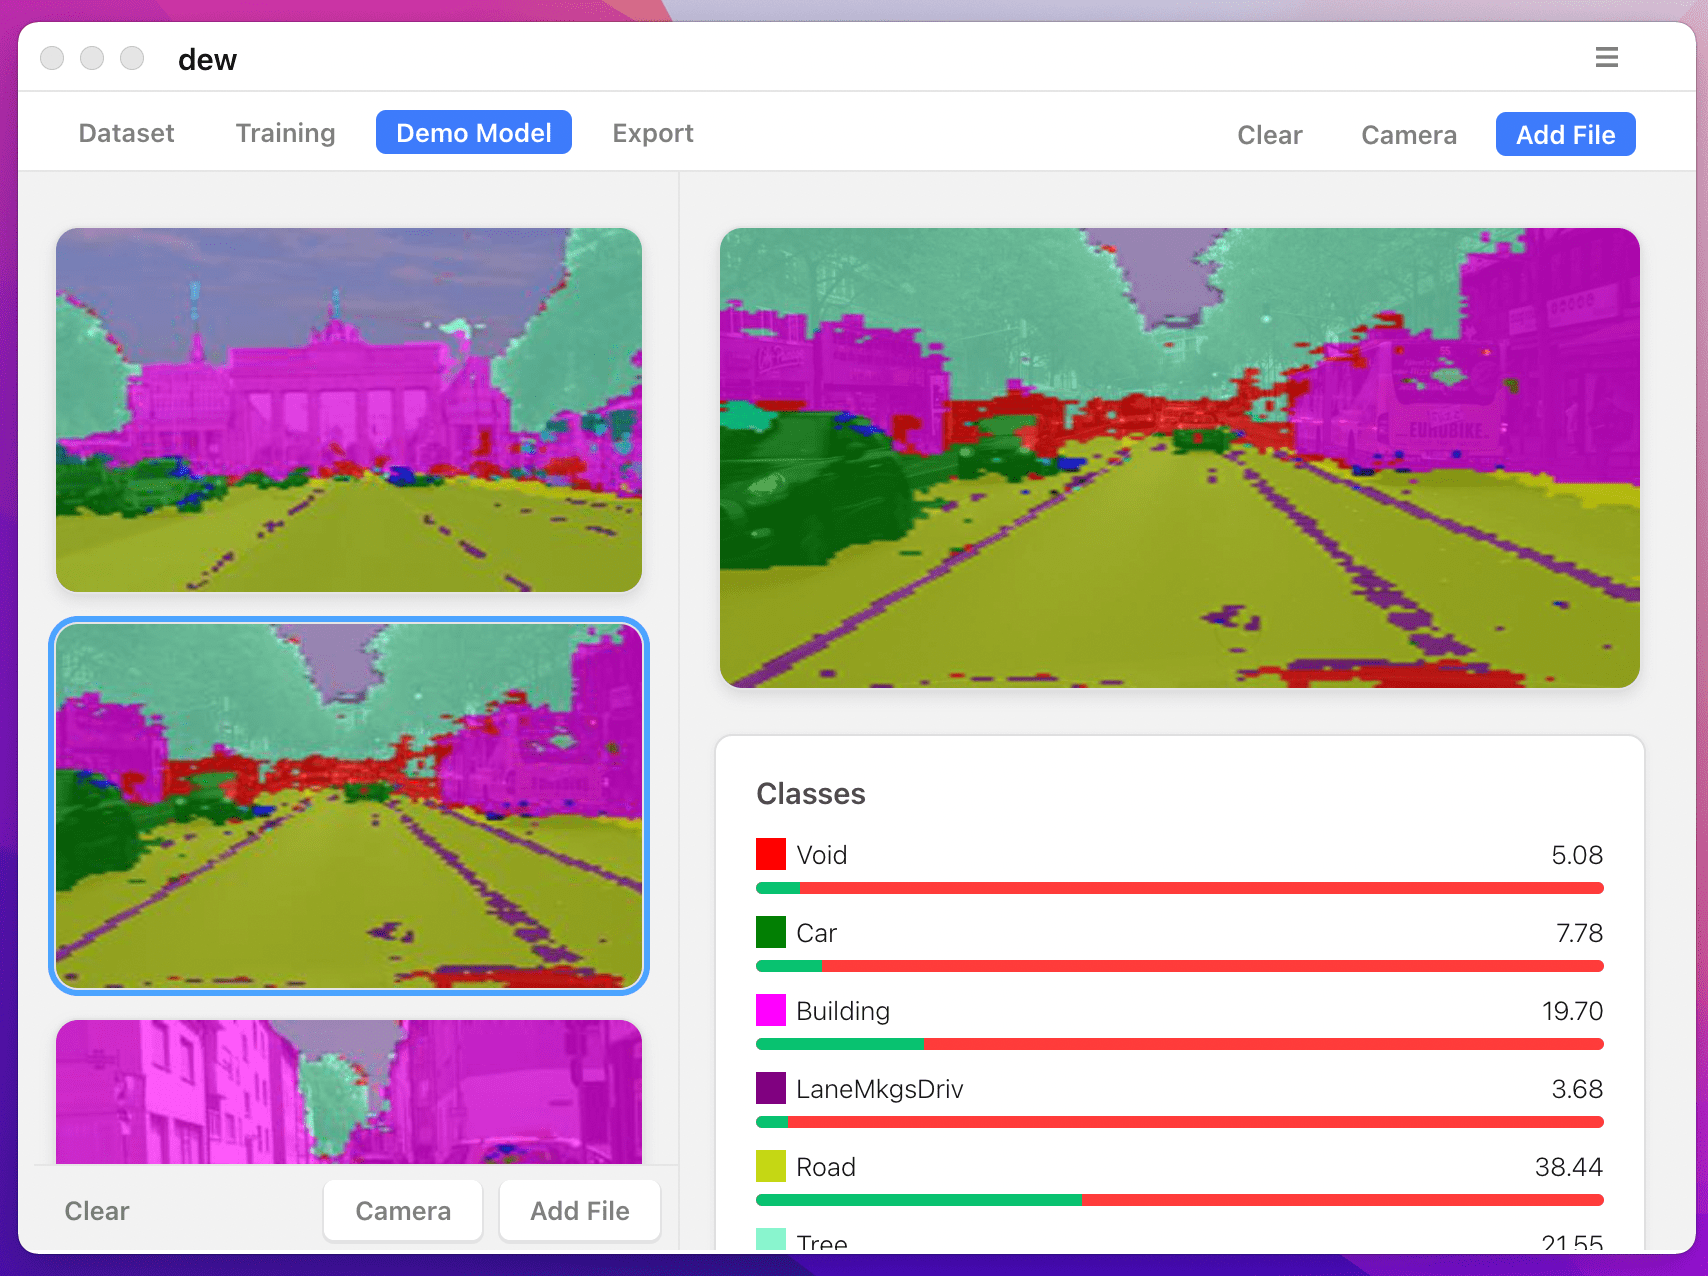
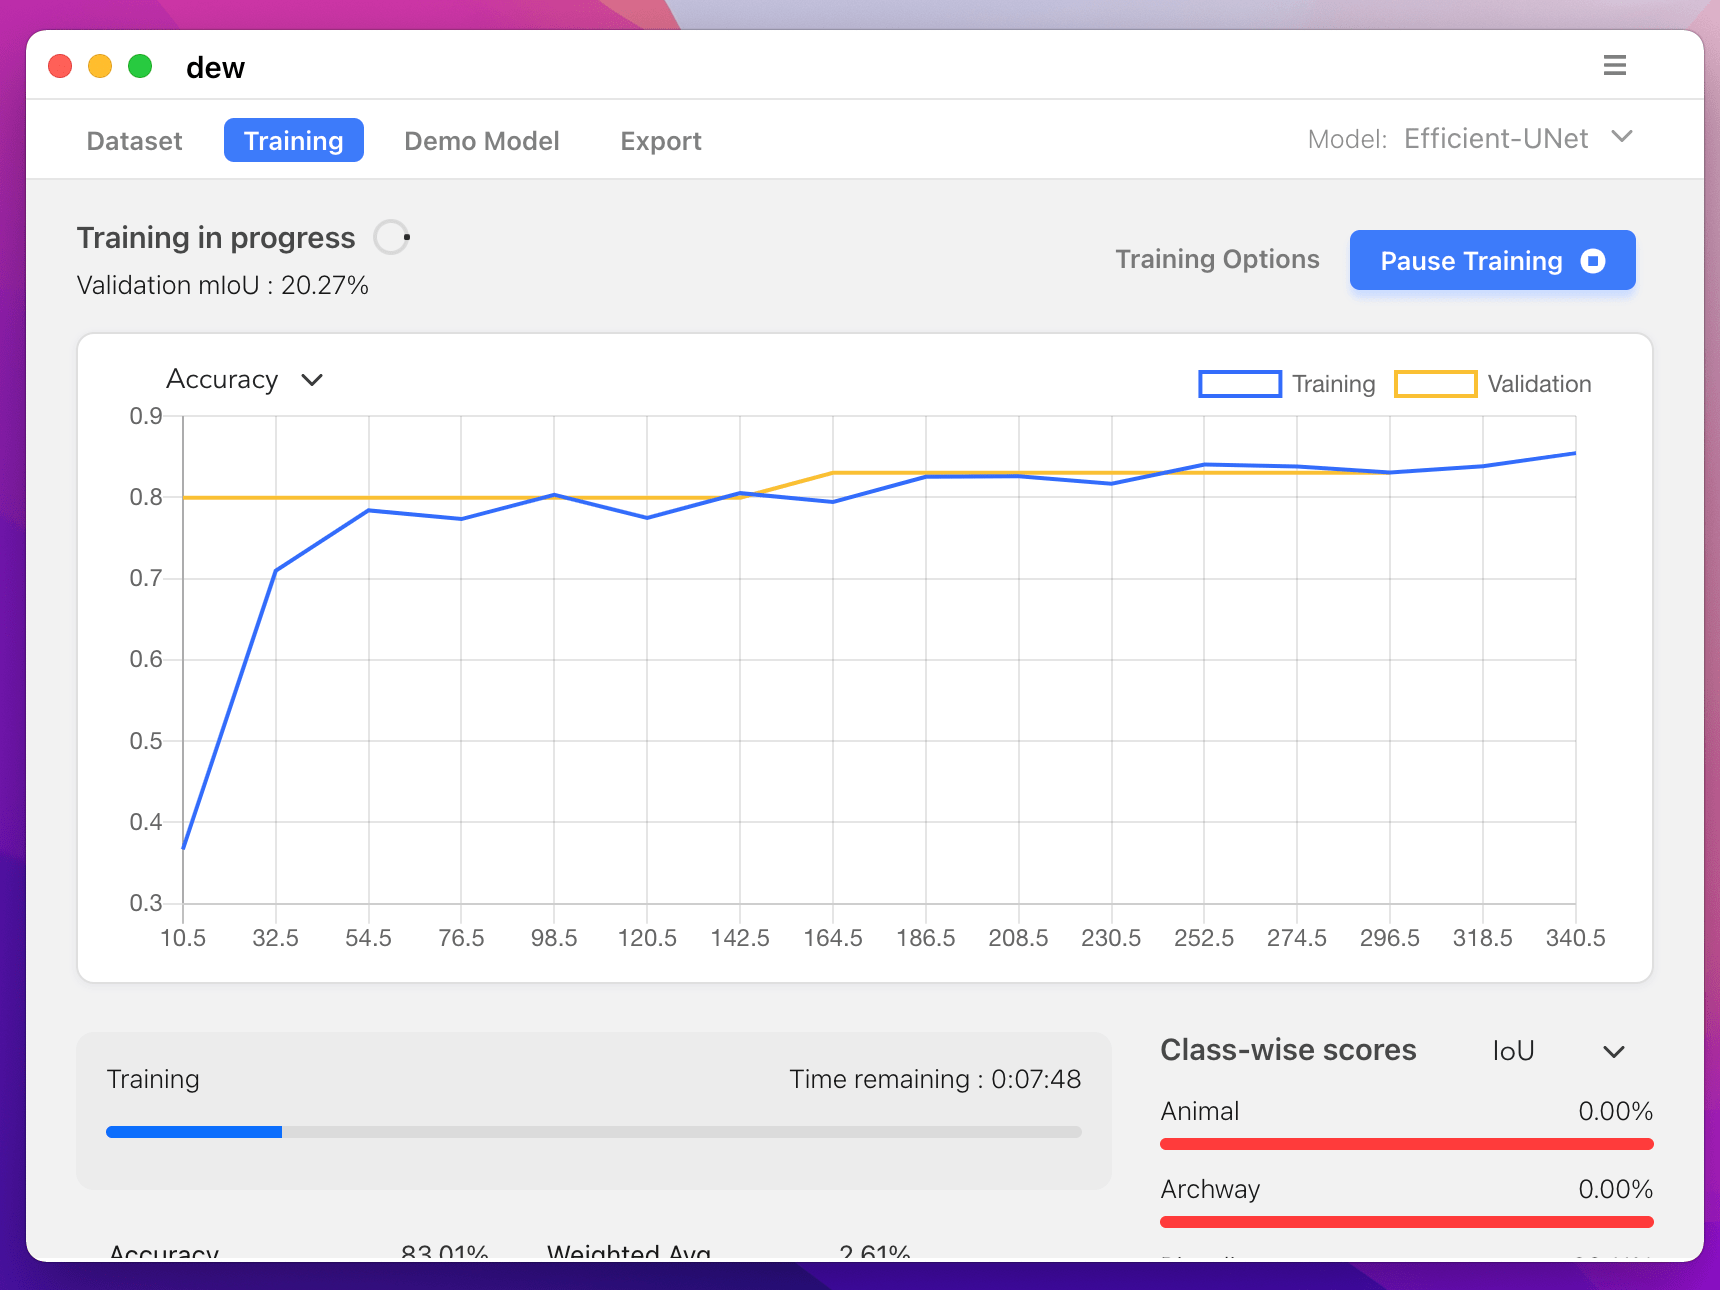
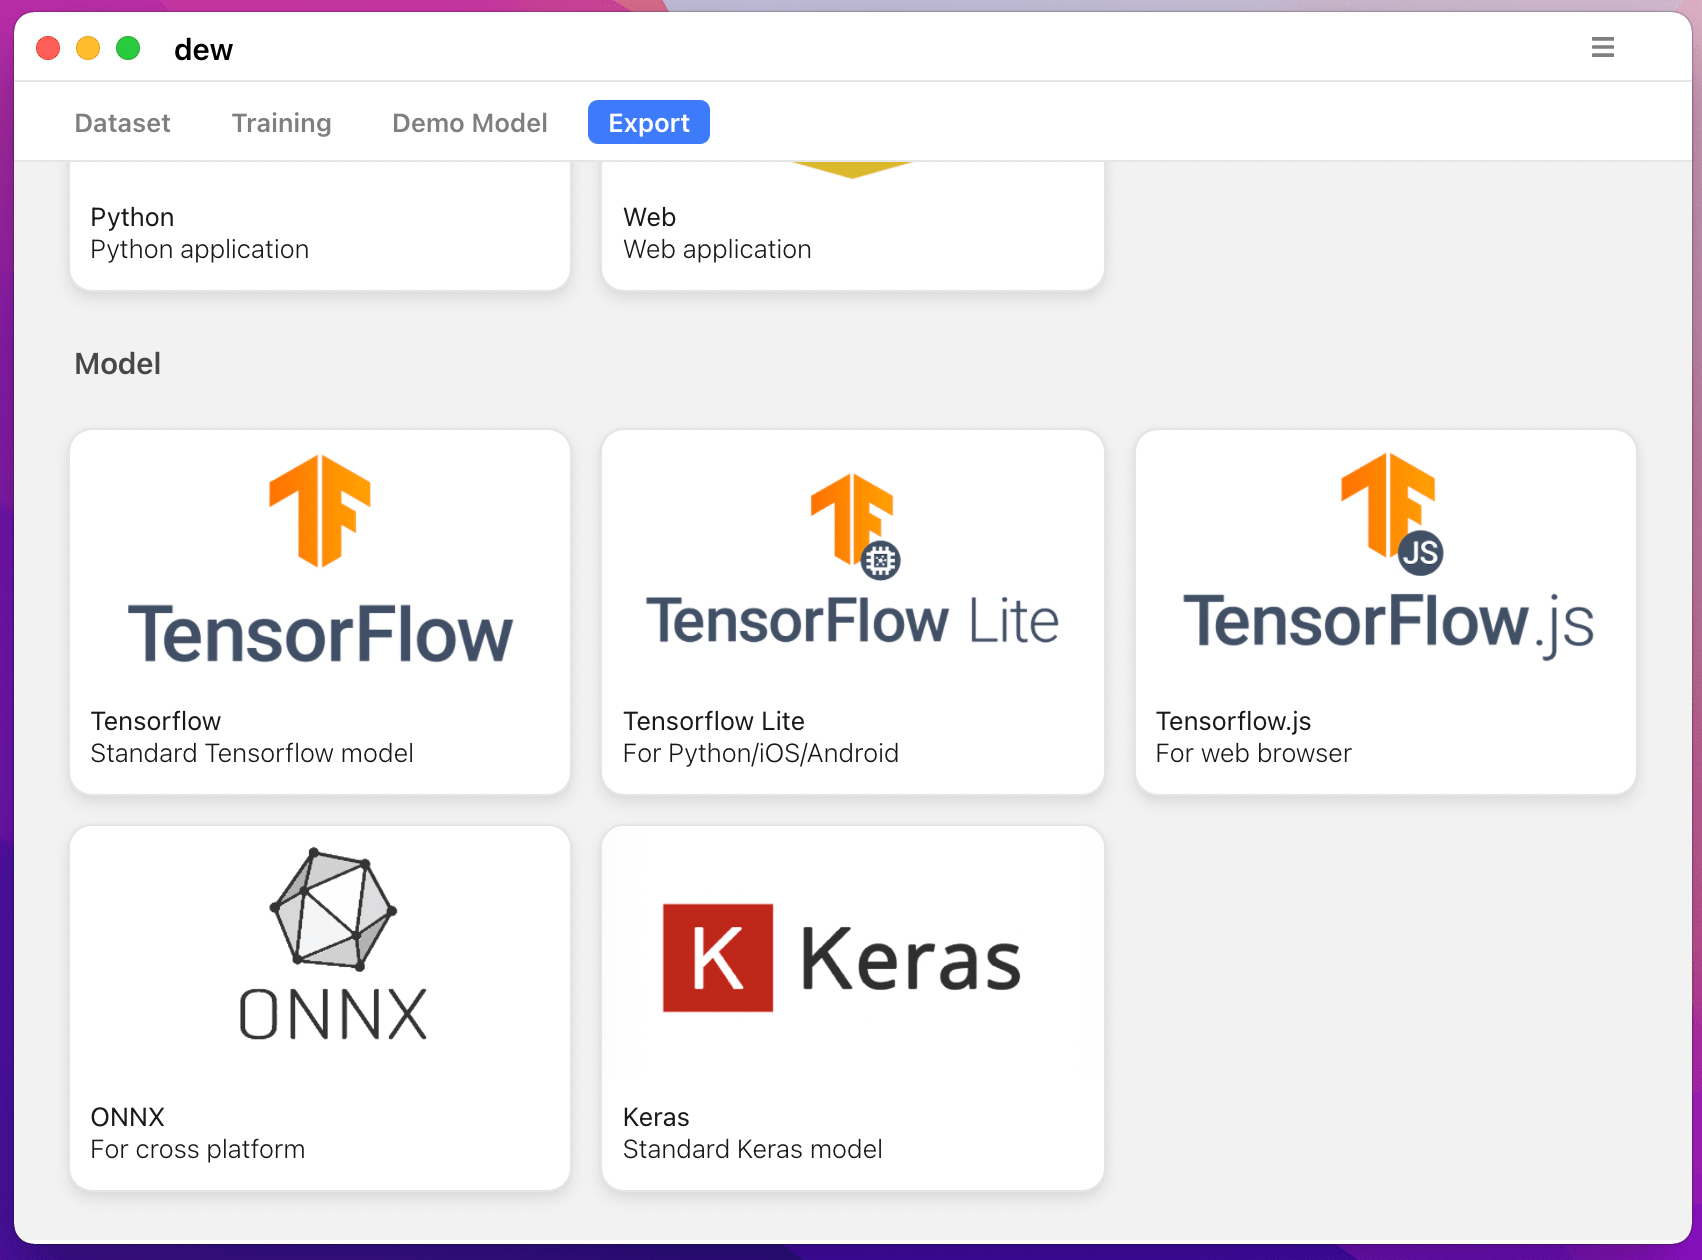
คุณยังสามารถฝึกโมเดลการแบ่งเซ็กเมนต์บนคอมพิวเตอร์ของคุณด้วย https://liner.ai
| รถไฟ | การอนุมาน / การส่งออก |
|---|---|
 |  |
 |  |
รองรับรุ่นต่อไปนี้:
| รุ่น_ชื่อ | โมเดลพื้นฐาน | โมเดลการแบ่งส่วน |
|---|---|---|
| fcn_8 | วานิลลา ซีเอ็นเอ็น | FCN8 |
| fcn_32 | วานิลลา ซีเอ็นเอ็น | FCN8 |
| fcn_8_vgg | วีจีจี 16 | FCN8 |
| fcn_32_vgg | วีจีจี 16 | FCN32 |
| fcn_8_resnet50 | เรสเน็ต-50 | FCN32 |
| fcn_32_resnet50 | เรสเน็ต-50 | FCN32 |
| fcn_8_mobilenet | โมบายเน็ต | FCN32 |
| fcn_32_mobilenet | โมบายเน็ต | FCN32 |
| พีเอสพีเน็ต | วานิลลา ซีเอ็นเอ็น | พีเอสพีเน็ต |
| pspnet_50 | วานิลลา ซีเอ็นเอ็น | พีเอสพีเน็ต |
| pspnet_101 | วานิลลา ซีเอ็นเอ็น | พีเอสพีเน็ต |
| vgg_pspnet | วีจีจี 16 | พีเอสพีเน็ต |
| resnet50_pspnet | เรสเน็ต-50 | พีเอสพีเน็ต |
| unet_mini | วานิลลา มินิ ซีเอ็นเอ็น | ยู-เน็ต |
| ยูเน็ต | วานิลลา ซีเอ็นเอ็น | ยู-เน็ต |
| vgg_unet | วีจีจี 16 | ยู-เน็ต |
| resnet50_unet | เรสเน็ต-50 | ยู-เน็ต |
| mobilenet_unet | โมบายเน็ต | ยู-เน็ต |
| ไซเน็ต | วานิลลา ซีเอ็นเอ็น | เซกเน็ต |
| vgg_segnet | วีจีจี 16 | เซกเน็ต |
| resnet50_segnet | เรสเน็ต-50 | เซกเน็ต |
| mobilenet_segnet | โมบายเน็ต | เซกเน็ต |
ตัวอย่างผลลัพธ์สำหรับโมเดลที่ได้รับการฝึกล่วงหน้าที่มีให้:
| ป้อนรูปภาพ | รูปภาพการแบ่งส่วนเอาท์พุต |
|---|---|
 |  |
 |  |
หากคุณกำลังใช้ห้องสมุดนี้ โปรดอ้างอิงโดยใช้:
 @article{gupta2023image,
  title={Image segmentation keras: Implementation of segnet, fcn, unet, pspnet and other models in keras},
  author={Gupta, Divam},
  journal={arXiv preprint arXiv:2307.13215},
  year={2023}
}
apt-get install -y libsm6 libxext6 libxrender-dev
pip install opencv-pythonติดตั้งโมดูล
วิธีที่แนะนำ:
pip install --upgrade git+https://github.com/divamgupta/image-segmentation-keraspip install keras-segmentationgit clone https://github.com/divamgupta/image-segmentation-keras
cd image-segmentation-keras
python setup.py install from keras_segmentation . pretrained import pspnet_50_ADE_20K , pspnet_101_cityscapes , pspnet_101_voc12
model = pspnet_50_ADE_20K () # load the pretrained model trained on ADE20k dataset
model = pspnet_101_cityscapes () # load the pretrained model trained on Cityscapes dataset
model = pspnet_101_voc12 () # load the pretrained model trained on Pascal VOC 2012 dataset
# load any of the 3 pretrained models
out = model . predict_segmentation (
inp = "input_image.jpg" ,
out_fname = "out.png"
)คุณต้องสร้างสองโฟลเดอร์
ชื่อไฟล์ของภาพคำอธิบายประกอบควรเหมือนกับชื่อไฟล์ของภาพ RGB
ขนาดของภาพคำอธิบายประกอบสำหรับภาพ RGB ที่เกี่ยวข้องควรเท่ากัน
สำหรับแต่ละพิกเซลในภาพ RGB ป้ายกำกับคลาสของพิกเซลนั้นในภาพคำอธิบายประกอบจะเป็นค่าของพิกเซลสีน้ำเงิน
โค้ดตัวอย่างในการสร้างภาพคำอธิบายประกอบ:
 import cv2
import numpy as np

ann_img = np . zeros (( 30 , 30 , 3 )). astype ( 'uint8' )
ann_img [ 3 , 4 ] = 1 # this would set the label of pixel 3,4 as 1

cv2 . imwrite ( "ann_1.png" , ann_img )
ใช้รูปแบบ bmp หรือ png สำหรับภาพคำอธิบายประกอบเท่านั้น
ดาวน์โหลดและแยกข้อมูลต่อไปนี้:
https://drive.google.com/file/d/0B0d9ZiqAgFkiOHR1NTJhWVJMNEU/view?usp=sharing
คุณจะได้โฟลเดอร์ชื่อ dataset1/
คุณสามารถนำเข้า keras_segmentation ในสคริปต์ python ของคุณและใช้ API ได้
 from keras_segmentation . models . unet import vgg_unet

model = vgg_unet ( n_classes = 51 ,  input_height = 416 , input_width = 608  )

model . train (
    train_images =  "dataset1/images_prepped_train/" ,
    train_annotations = "dataset1/annotations_prepped_train/" ,
    checkpoints_path = "/tmp/vgg_unet_1" , epochs = 5
)

out = model . predict_segmentation (
    inp = "dataset1/images_prepped_test/0016E5_07965.png" ,
    out_fname = "/tmp/out.png"
)

import matplotlib . pyplot as plt
plt . imshow ( out )

# evaluating the model
print ( model . evaluate_segmentation ( inp_images_dir = "dataset1/images_prepped_test/" , annotations_dir = "dataset1/annotations_prepped_test/" ) )คุณยังสามารถใช้เครื่องมือนี้เพียงแค่ใช้บรรทัดคำสั่ง
คุณยังสามารถแสดงภาพคำอธิบายประกอบที่คุณเตรียมไว้สำหรับการตรวจสอบข้อมูลที่เตรียมไว้
python -m keras_segmentation verify_dataset
 --images_path= " dataset1/images_prepped_train/ "
 --segs_path= " dataset1/annotations_prepped_train/ "
 --n_classes=50
python -m keras_segmentation visualize_dataset
--images_path= " dataset1/images_prepped_train/ "
--segs_path= " dataset1/annotations_prepped_train/ "
--n_classes=50หากต้องการฝึกโมเดลให้รันคำสั่งต่อไปนี้:
python -m keras_segmentation train
 --checkpoints_path= " path_to_checkpoints "
 --train_images= " dataset1/images_prepped_train/ "
 --train_annotations= " dataset1/annotations_prepped_train/ "
 --val_images= " dataset1/images_prepped_test/ "
 --val_annotations= " dataset1/annotations_prepped_test/ "
 --n_classes=50
 --input_height=320
 --input_width=640
 --model_name= " vgg_unet "
เลือก model_name จากตารางด้านบน
เพื่อรับคำทำนายของแบบจำลองที่ผ่านการฝึกอบรม
python -m keras_segmentation predict
 --checkpoints_path= " path_to_checkpoints "
 --input_path= " dataset1/images_prepped_test/ "
 --output_path= " path_to_predictions "
เพื่อรับคำทำนายของวิดีโอ
python -m keras_segmentation predict_video
 --checkpoints_path= " path_to_checkpoints "
 --input= " path_to_video "
 --output_file= " path_for_save_inferenced_video "
 --display
หากคุณต้องการคาดเดาบนเว็บแคมของคุณ อย่าใช้ --input หรือส่งหมายเลขอุปกรณ์ของคุณ: --input 0
--display จะเปิดหน้าต่างพร้อมวิดีโอที่คาดการณ์ไว้ ลบอาร์กิวเมนต์นี้เมื่อใช้ระบบที่ไม่มีหัว
เพื่อรับคะแนน IoU
python -m keras_segmentation evaluate_model
 --checkpoints_path= " path_to_checkpoints "
 --images_path= " dataset1/images_prepped_test/ "
--segs_path= " dataset1/annotations_prepped_test/ " ตัวอย่างต่อไปนี้แสดงวิธีปรับแต่งโมเดลด้วย 10 คลาส
 from keras_segmentation . models . model_utils import transfer_weights
from keras_segmentation . pretrained import pspnet_50_ADE_20K
from keras_segmentation . models . pspnet import pspnet_50

pretrained_model = pspnet_50_ADE_20K ()

new_model = pspnet_50 ( n_classes = 51 )

transfer_weights ( pretrained_model , new_model  ) # transfer weights from pre-trained model to your model

new_model . train (
    train_images =  "dataset1/images_prepped_train/" ,
    train_annotations = "dataset1/annotations_prepped_train/" ,
    checkpoints_path = "/tmp/vgg_unet_1" , epochs = 5
)
ตัวอย่างต่อไปนี้แสดงการถ่ายโอนความรู้จากแบบจำลองที่ใหญ่กว่า (และแม่นยำยิ่งขึ้น) ไปยังแบบจำลองที่เล็กกว่า ในกรณีส่วนใหญ่ โมเดลขนาดเล็กที่ได้รับการฝึกอบรมผ่านการกลั่นกรองความรู้จะมีความแม่นยำมากกว่าเมื่อเปรียบเทียบกับโมเดลเดียวกันที่ได้รับการฝึกอบรมโดยใช้การเรียนรู้แบบมีผู้สอนวานิลลา
 from keras_segmentation . predict import model_from_checkpoint_path
from keras_segmentation . models . unet import unet_mini
from keras_segmentation . model_compression import perform_distilation

model_large = model_from_checkpoint_path ( "/checkpoints/path/of/trained/model" )
model_small = unet_mini ( n_classes = 51 , input_height = 300 , input_width = 400  )

perform_distilation ( data_path = "/path/to/large_image_set/" , checkpoints_path = "path/to/save/checkpoints" ,
teacher_model = model_large , student_model = model_small , distilation_loss = 'kl' , feats_distilation_loss = 'pa' )ตัวอย่างต่อไปนี้แสดงวิธีกำหนดฟังก์ชันเสริมแบบกำหนดเองสำหรับการฝึก
 from keras_segmentation . models . unet import vgg_unet
from imgaug import augmenters as iaa

def custom_augmentation ():
    return  iaa . Sequential (
        [
            # apply the following augmenters to most images
            iaa . Fliplr ( 0.5 ),  # horizontally flip 50% of all images
            iaa . Flipud ( 0.5 ), # horizontally flip 50% of all images
        ])

model = vgg_unet ( n_classes = 51 ,  input_height = 416 , input_width = 608 )

model . train (
    train_images =  "dataset1/images_prepped_train/" ,
    train_annotations = "dataset1/annotations_prepped_train/" ,
    checkpoints_path = "/tmp/vgg_unet_1" , epochs = 5 ,
    do_augment = True , # enable augmentation
    custom_augmentation = custom_augmentation # sets the augmention function to use
)ตัวอย่างต่อไปนี้แสดงวิธีการตั้งค่าจำนวนช่องสัญญาณเข้า
 from keras_segmentation . models . unet import vgg_unet

model = vgg_unet ( n_classes = 51 ,  input_height = 416 , input_width = 608 ,
                 channels = 1 # Sets the number of input channels
                 )

model . train (
    train_images =  "dataset1/images_prepped_train/" ,
    train_annotations = "dataset1/annotations_prepped_train/" ,
    checkpoints_path = "/tmp/vgg_unet_1" , epochs = 5 ,
    read_image_type = 0  # Sets how opencv will read the images
                       # cv2.IMREAD_COLOR = 1 (rgb),
                       # cv2.IMREAD_GRAYSCALE = 0,
                       # cv2.IMREAD_UNCHANGED = -1 (4 channels like RGBA)
)ตัวอย่างต่อไปนี้แสดงวิธีการตั้งค่าฟังก์ชันการประมวลผลภาพล่วงหน้าแบบกำหนดเอง
 from keras_segmentation . models . unet import vgg_unet

def image_preprocessing ( image ):
    return image + 1

model = vgg_unet ( n_classes = 51 ,  input_height = 416 , input_width = 608 )

model . train (
    train_images =  "dataset1/images_prepped_train/" ,
    train_annotations = "dataset1/annotations_prepped_train/" ,
    checkpoints_path = "/tmp/vgg_unet_1" , epochs = 5 ,
    preprocessing = image_preprocessing # Sets the preprocessing function
)ตัวอย่างต่อไปนี้แสดงวิธีการตั้งค่าการเรียกกลับแบบกำหนดเองสำหรับการฝึกโมเดล
 from keras_segmentation . models . unet import vgg_unet
from keras . callbacks import ModelCheckpoint , EarlyStopping

model = vgg_unet ( n_classes = 51 ,  input_height = 416 , input_width = 608 )

# When using custom callbacks, the default checkpoint saver is removed
callbacks = [
    ModelCheckpoint (
                filepath = "checkpoints/" + model . name + ".{epoch:05d}" ,
                save_weights_only = True ,
                verbose = True
            ),
    EarlyStopping ()
]

model . train (
    train_images =  "dataset1/images_prepped_train/" ,
    train_annotations = "dataset1/annotations_prepped_train/" ,
    checkpoints_path = "/tmp/vgg_unet_1" , epochs = 5 ,
    callbacks = callbacks
)ตัวอย่างต่อไปนี้แสดงวิธีการเพิ่มอินพุตรูปภาพเพิ่มเติมสำหรับโมเดล
 from keras_segmentation . models . unet import vgg_unet

model = vgg_unet ( n_classes = 51 ,  input_height = 416 , input_width = 608 )

model . train (
    train_images =  "dataset1/images_prepped_train/" ,
    train_annotations = "dataset1/annotations_prepped_train/" ,
    checkpoints_path = "/tmp/vgg_unet_1" , epochs = 5 ,
    other_inputs_paths = [
        "/path/to/other/directory"
    ],


#     Ability to add preprocessing
    preprocessing = [ lambda x : x + 1 , lambda x : x + 2 , lambda x : x + 3 ], # Different prepocessing for each input
#     OR
    preprocessing = lambda x : x + 1 , # Same preprocessing for each input
)นี่คือโครงการบางส่วนที่ใช้ห้องสมุดของเรา:
หากคุณใช้โค้ดของเราในโครงการที่เปิดเผยต่อสาธารณะ โปรดเพิ่มลิงก์ที่นี่ (โดยการโพสต์ปัญหาหรือสร้าง PR)