??จีน | . อังกฤษ

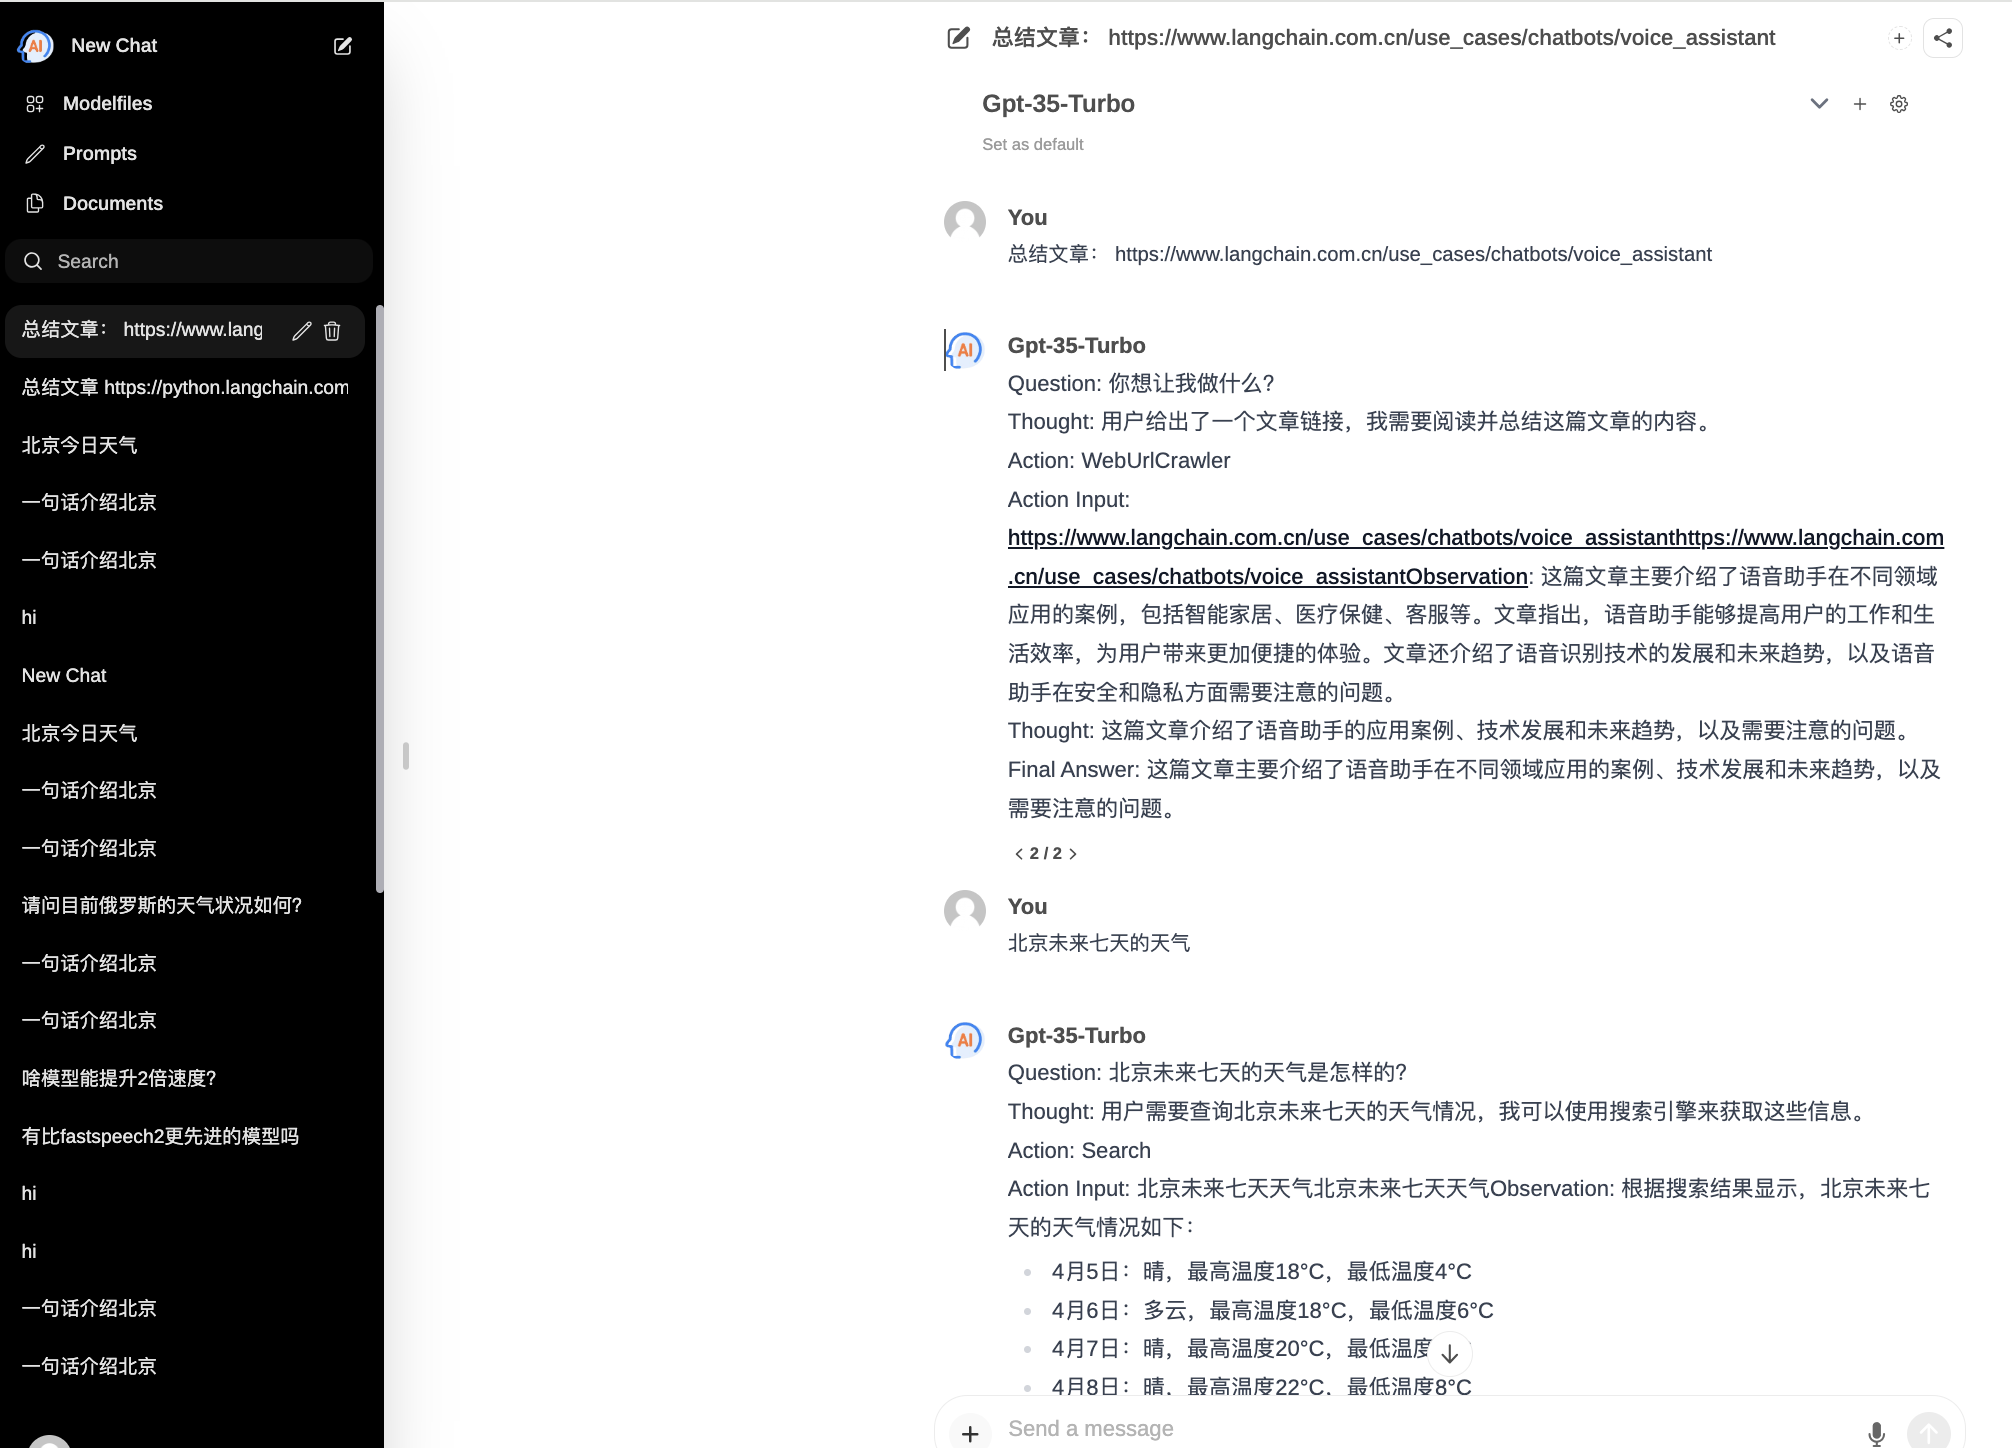
ChatPilot : Chat Agent WebUI, ใช้บทสนทนา AgentChat, รองรับการค้นหาโดย Google, กล่องโต้ตอบ URL ของไฟล์ (RAG), ฟังก์ชันล่ามโค้ด, สร้าง Kimi Chat ซ้ำ (ไฟล์, ลากเข้า, URL, ส่งออก) รองรับ OpenAI/Azure API
การสาธิตอย่างเป็นทางการ: https://chat.mulanai.com

 export OPENAI_API_KEY=sk-xxx
export OPENAI_BASE_URL=https://xxx/v1

docker run -it
 -e OPENAI_API_KEY= $WORKSPACE_BASE
 -e OPENAI_BASE_URL= $OPENAI_BASE_URL
 -e RAG_EMBEDDING_MODEL= " text-embedding-ada-002 "
 -p 8080:8080 --name chatpilot- $( date +%Y%m%d%H%M%S ) shibing624/chatpilot:0.0.1
คุณจะพบว่า ChatPilot ทำงานอยู่ที่ http://0.0.0.0:8080 สนุก!
git clone https://github.com/shibing624/ChatPilot.git
cd ChatPilot
pip install -r requirements.txt

# Copying required .env file, and fill in the LLM api key
cp .env.example .env

bash start.sh
เอาล่ะ ขณะนี้แอปพลิเคชันของคุณกำลังทำงานอยู่: http://0.0.0.0:8080 สนุก!
สองวิธีในการสร้างส่วนหน้า:
git clone https://github.com/shibing624/ChatPilot.git
cd ChatPilot/

# Building Frontend Using Node.js >= 20.10
cd web
npm install
npm run build
เอาต์พุต: web ไดเร็กทอรีของโปรเจ็กต์จะส่งออกโฟลเดอร์ build ซึ่งมีไฟล์เอาต์พุตการคอมไพล์ส่วนหน้า
 export OPENAI_API_KEY=xxx
export OPENAI_BASE_URL=https://api.openai.com/v1
export MODEL_TYPE= " openai " export AZURE_OPENAI_API_KEY=
export AZURE_OPENAI_API_VERSION=
export AZURE_OPENAI_ENDPOINT=
export MODEL_TYPE= " azure " เริ่มบริการ ollama ด้วย ollama serve จากนั้นกำหนดค่า OLLAMA_API_URL : export OLLAMA_API_URL=http://localhost:11413
litellm : pip install litellm -U ไฟล์กำหนดค่าเริ่มต้น litellm ของ chatpilot อยู่ใน ~/.cache/chatpilot/data/litellm/config.yaml
แก้ไขเนื้อหาดังต่อไปนี้:
 model_list :
#  - model_name: moonshot-v1-auto # show model name in the UI
#    litellm_params: # all params accepted by litellm.completion() - https://docs.litellm.ai/docs/completion/input
#      model: openai/moonshot-v1-auto # MODEL NAME sent to `litellm.completion()` #
#      api_base: https://api.moonshot.cn/v1
#      api_key: sk-xx
#      rpm: 500      # [OPTIONAL] Rate limit for this deployment: in requests per minute (rpm)

  - model_name : deepseek-ai/DeepSeek-Coder # show model name in the UI
    litellm_params : # all params accepted by litellm.completion() - https://docs.litellm.ai/docs/completion/input
      model : openai/deepseek-coder # MODEL NAME sent to `litellm.completion()` #
      api_base : https://api.deepseek.com/v1
      api_key : sk-xx
      rpm : 500
  - model_name : openai/o1-mini # show model name in the UI
    litellm_params : # all params accepted by litellm.completion() - https://docs.litellm.ai/docs/completion/input
      model : o1-mini # MODEL NAME sent to `litellm.completion()` #
      api_base : https://api.61798.cn/v1
      api_key : sk-xxx
      rpm : 500
litellm_settings : # module level litellm settings - https://github.com/BerriAI/litellm/blob/main/litellm/__init__.py
  drop_params : True
set_verbose : False 
หากคุณใช้ ChatPilot ในการวิจัย โปรดอ้างอิงในรูปแบบต่อไปนี้:
เอพีเอ:
Xu, M. ChatPilot: LLM agent toolkit (Version 0.0.2) [Computer software]. https://github.com/shibing624/ChatPilotบิบเท็กซ์:
@misc{ChatPilot,
  author = {Ming Xu},
  title = {ChatPilot: llm agent},
  year = {2024},
  publisher = {GitHub},
  journal = {GitHub repository},
  howpublished = { url {https://github.com/shibing624/ChatPilot}},
}ข้อตกลงใบอนุญาตคือ The Apache License 2.0 ซึ่งให้บริการฟรีสำหรับใช้ในเชิงพาณิชย์ โปรดแนบลิงก์ไปยัง ChatPilot และข้อตกลงใบอนุญาตในคำอธิบายผลิตภัณฑ์
รหัสโปรเจ็กต์ยังคงหยาบมาก หากคุณมีการปรับปรุงโค้ดใดๆ คุณสามารถส่งกลับมาที่โปรเจ็กต์นี้ได้ก่อนส่ง โปรดใส่ใจกับสองประเด็นต่อไปนี้:
testspython -m pytest -v เพื่อรันการทดสอบหน่วยทั้งหมดเพื่อให้แน่ใจว่าการทดสอบหน่วยทั้งหมดผ่านจากนั้นคุณสามารถส่ง PR