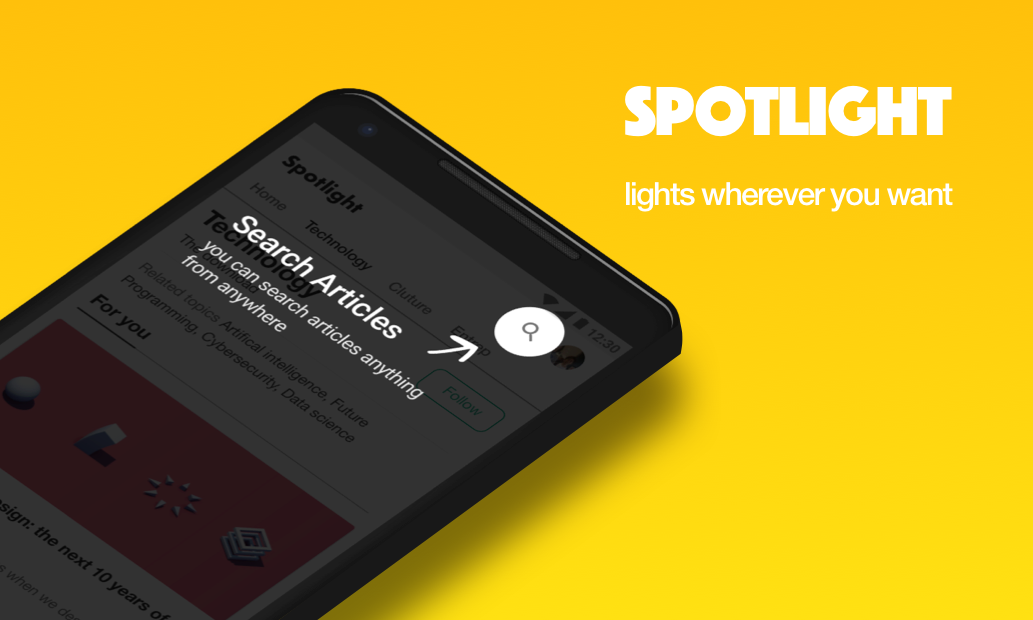
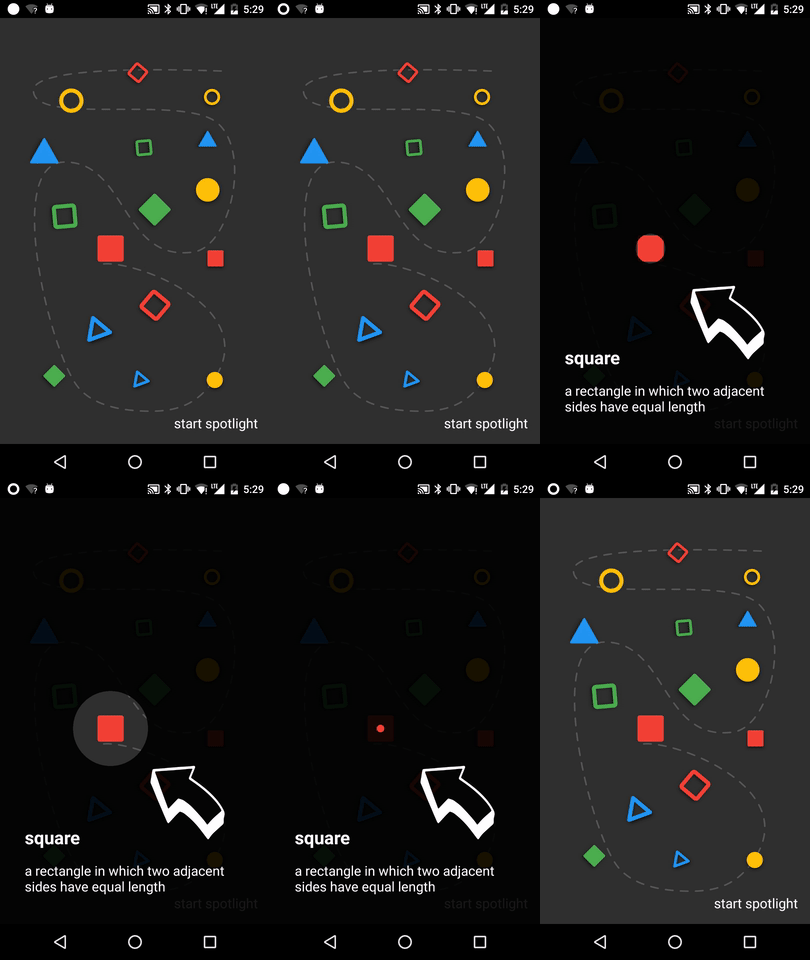
Spotlight
1.0.0

dependencies {
    implementation ' com.github.takusemba:spotlight:x.x.x '
} val spotlight = Spotlight . Builder ( this )
.setTargets(firstTarget, secondTarget, thirdTarget .. .)
.setBackgroundColor( R .color.spotlightBackground)
.setDuration( 1000L )
.setAnimation( DecelerateInterpolator ( 2f ))
.setContainer(viewGroup)
.setOnSpotlightListener( object : OnSpotlightListener {
override fun onStarted () {
Toast .makeText( this @MainActivity, " spotlight is started " , Toast . LENGTH_SHORT ).show()
}
override fun onEnded () {
Toast .makeText( this @MainActivity, " spotlight is ended " , Toast . LENGTH_SHORT ).show()
}
})
.build() หากคุณต้องการแสดง Spotlight ทันที คุณต้องรอจนกว่าจะมีการจัดวางมุมมอง
 // with core-ktx method.
view.doOnPreDraw { Spotlight . Builder ( this ) .. .start() }
สร้างเป้าหมายเพื่อเพิ่มสปอตไลท์
เป้าหมายคือจุดที่สปอตไลต์ร่าย คุณสามารถเพิ่มเป้าหมายหลายรายการลงใน Spotlight ได้
 val target = Target . Builder ()
    .setAnchor( 100f , 100f )
    .setShape( Circle ( 100f ))
    .setEffect( RippleEffect ( 100f , 200f , argb( 30 , 124 , 255 , 90 )))
    .setOverlay(layout)
    .setOnTargetListener( object : OnTargetListener {
      override fun onStarted () {
        makeText( this @MainActivity, " first target is started " , LENGTH_SHORT ).show()
      }
      override fun onEnded () {
        makeText( this @MainActivity, " first target is ended " , LENGTH_SHORT ).show()
      }
    })
.build() val spotlight = Spotlight . Builder ( this ) .. .start()
spotlight.finish() val spotlight = Spotlight . Builder ( this ) .. .start()
spotlight.next()
spotlight.previous()
spotlight.show( 2 ) Shape จะกำหนดลักษณะของเป้าหมายของคุณ มีการนำรูปร่างวงกลมและสี่เหลี่ยมผืนผ้าโค้งมนมาใช้แล้ว แต่ถ้าคุณต้องการรูปร่างที่กำหนดเอง ก็สามารถทำได้โดยใช้อินเทอร์เฟซ Shape
 class CustomShape (
    override val duration : Long ,
    override val interpolator : TimeInterpolator
) : Shape {

  override fun draw ( canvas : Canvas , point : PointF , value : Float , paint : Paint ) {
    // draw your shape here.
  }
} Effect ช่วยให้คุณตกแต่งเป้าหมายได้ รูปร่าง RippleEffect และ FlickerEffect ถูกนำมาใช้แล้ว แต่ถ้าคุณต้องการเอฟเฟกต์แบบกำหนดเอง ก็สามารถทำได้โดยการใช้อิน Effect เฟกต์
 class CustomEffect (
    override val duration : Long ,
    override val interpolator : TimeInterpolator ,
    override val repeatMode : Int
) : Effect {

  override fun draw ( canvas : Canvas , point : PointF , value : Float , paint : Paint ) {
    // draw your effect here.
  }
}โคลน repo นี้และตรวจสอบโมดูลแอป
 Copyright 2017 Taku Semba.

Licensed under the Apache License, Version 2.0 (the "License");
you may not use this file except in compliance with the License.
You may obtain a copy of the License at

   http://www.apache.org/licenses/LICENSE-2.0

Unless required by applicable law or agreed to in writing, software
distributed under the License is distributed on an "AS IS" BASIS,
WITHOUT WARRANTIES OR CONDITIONS OF ANY KIND, either express or implied.
See the License for the specific language governing permissions and
limitations under the License.