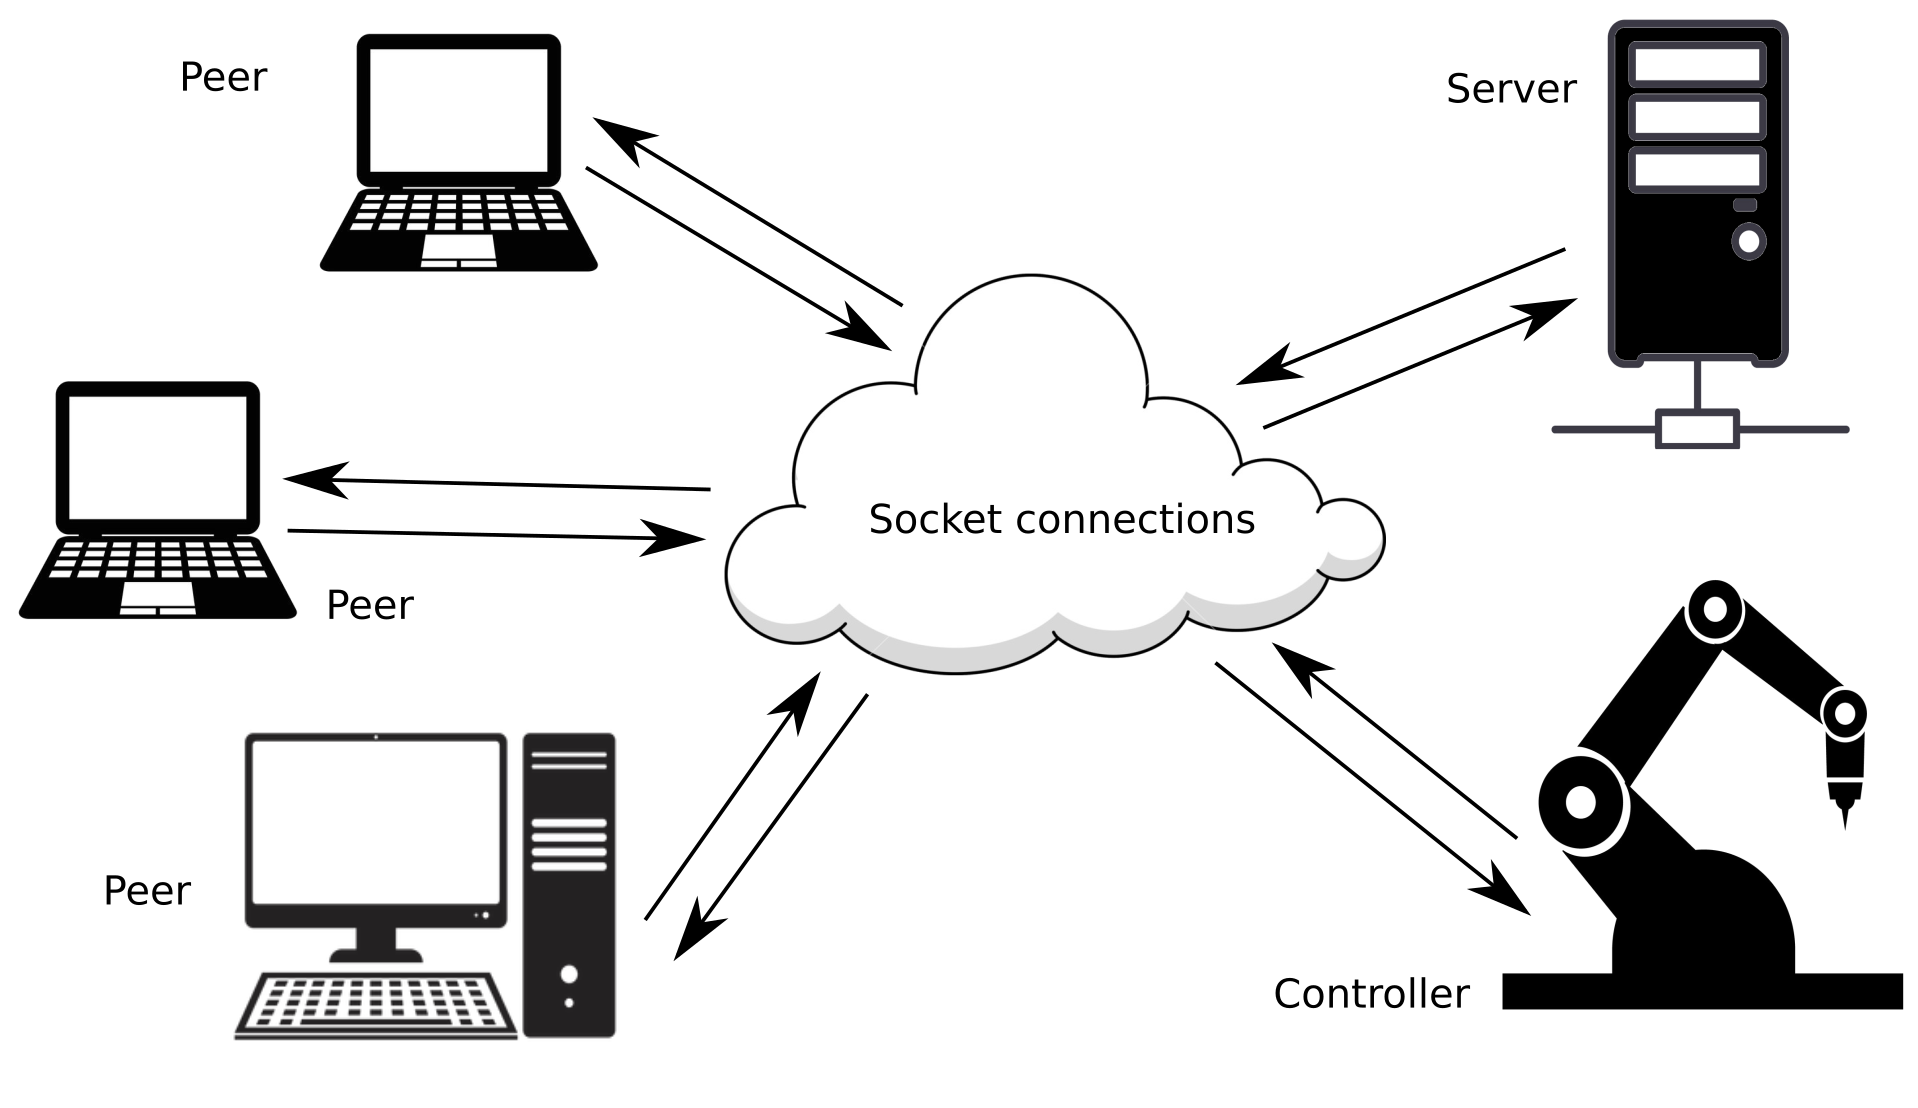
MinimalSocket มอบไลบรารี C++ ที่ทันสมัยให้คุณตั้งค่าและสร้างการเชื่อมต่อซ็อกเก็ต tcp และ udp ในลักษณะที่ไม่เชื่อเรื่องพระเจ้าบนแพลตฟอร์มโดยสมบูรณ์ ระบบที่รองรับคือ: Windows , Linux distro และ MacOS
ส่วนคุณสมบัติให้รายละเอียดคุณสมบัติต่างๆ ของ MinimalSocket อ่านการใช้งานและตัวอย่างเพื่อดูว่าการใช้ MinimalSocket นั้นง่ายเพียงใด
นี่คือโปรเจ็กต์ CMake โปรดตรวจสอบการสนับสนุน CMake เพื่อดูว่าสามารถรวมไลบรารีนี้ได้อย่างไร
อย่าลืมติด ดาว ไว้ในกรณีที่คุณพบว่าห้องสมุดนี้มีประโยชน์
ยังไม่ได้ทิ้ง ดาว ไว้เหรอ? ทำมันตอนนี้ ;)!
MinimalSocket ช่วยให้คุณสร้างและตั้งค่าการเชื่อมต่อ tcp และ udp สามารถส่งและรับข้อความได้ทั้งในรูปแบบบัฟเฟอร์ไบต์หรือสตริง แท้จริงแล้ว นี่เป็นความสามารถเพียงอย่างเดียวที่คุณต้องการสำหรับซ็อกเก็ต เนื่องจากข้อความที่ซับซ้อนมากขึ้นสามารถซีเรียลไลซ์เป็นหรือทำให้เป็นภายในจากบัฟเฟอร์ขนาดไบต์ได้ โดยใช้วิธีอื่นๆ เช่น Google Protocol Buffers หรือ NanoPb
นี่คือคุณสมบัติที่โดดเด่นที่สุดของ MinimalSocket :
ตารางนี้สรุปความแตกต่างระหว่างพฤติกรรมการบล็อกและการไม่บล็อกของซ็อกเก็ตที่สามารถสร้างได้โดยใช้ MinimalSocket :
| พฤติกรรมการบล็อก ผู้โทรจะถูกบล็อกจนกว่าจะเสร็จสิ้นหรือหมดเวลา (หากระบุไว้) | พฤติกรรมไม่ปิดกั้น ฟังก์ชันจะกลับมาทันที | |
|---|---|---|
| การยอมรับลูกค้าใหม่ (tcp เท่านั้น) | เธรดผู้โทรจะถูกดูดซับจนกว่าไคลเอนต์ใหม่จะขอให้เชื่อมต่อหรือหมดเวลา (หากมีการระบุ) | หากคำขอเชื่อมต่อจากไคลเอนต์อยู่ในคิวก่อนที่จะเรียกใช้ฟังก์ชันยอมรับ ตัวจัดการการเชื่อมต่อใหม่จะถูกส่งกลับ มิฉะนั้นจะถูกส่งกลับค่า nullopt |
| ได้รับข้อความใหม่ (tcp และ udp) | เธรดผู้โทรจะถูกดูดซับจนกว่าจะมีการส่งข้อความใหม่ไปยังซ็อกเก็ตหรือถึงการหมดเวลา (หากมีการระบุ) | ถ้าข้อความถูกส่งและเข้าคิวในบัฟเฟอร์ซ็อกเก็ตแล้วก่อนที่จะเรียกใช้ฟังก์ชันรับ ข้อความนั้นจะถูกส่งกลับ ไม่เช่นนั้นข้อความเปล่าจะถูกส่งกลับ |
| ส่งข้อความใหม่ (tcp และ udp) | ในกรณีที่บัฟเฟอร์ของซ็อกเก็ตไม่เต็มและสามารถโฮสต์ข้อความที่จะส่งได้ทั้งหมด ข้อความจะถูกเขียนลงในบัฟเฟอร์และฟังก์ชันจะส่งคืนเกือบจะในทันที ในทางตรงกันข้าม เธรดผู้เรียกจะถูกดูดซับจนกว่าพื้นที่จะเสร็จสิ้นในบัฟเฟอร์ (เนื่องจากข้อความถูกใช้จากอีกด้านหนึ่ง) และหลังจากนั้นข้อความจะถูกเขียนจริงและฟังก์ชันเสร็จสมบูรณ์ | หากมีเนื้อที่ว่างเพียงพอในบัฟเฟอร์ของซ็อกเก็ต ข้อความจะถูกเขียนและฟังก์ชันจะส่งกลับ ในทางกลับกัน ฟังก์ชันจะกลับมาทันทีโดยไม่ได้ส่งข้อความจริง (สามารถลองส่งใหม่ได้ในภายหลัง) |
ยังไม่ได้ทิ้ง ดาว ไว้เหรอ? ทำมันตอนนี้ ;)!
หากต้องการสร้างเซิร์ฟเวอร์ TCP การบล็อกแบบคลาสสิก คุณเพียงแค่ต้องสร้างวัตถุ tcp::TcpServer :
# include < MinimalSocket/tcp/TcpServer.h >

MinimalSocket::Port port = 15768 ; // the port to bind
MinimalSocket::tcp::TcpServer< true > tcp_server (
    port, MinimalSocket::AddressFamily::IP_V4);
เปิดมัน:
 // open the server: binds the port and start to listen on the port
bool success = tcp_server.open();
และตอนนี้คุณก็พร้อมที่จะรับลูกค้าใหม่แล้ว:
 // accepts the next client that will ask the connection
MinimalSocket::tcp::TcpConnectionBlocking accepted_connection =
    tcp_server.acceptNewClient(); // blocking till a client actually asks the
                                // connection
ตอนนี้คุณสามารถแลกเปลี่ยนข้อความกับลูกค้าที่ยอมรับได้โดยทำดังนี้:
 // receive a message
std:: size_t message_max_size = 1000 ;
std::string
    received_message // resized to the nunber of bytes actually received
    = accepted_connection.receive(message_max_size);
// send a message
accepted_connection.send( " a message to send " );
หากคุณต้องการเซิร์ฟเวอร์ที่ไม่บล็อกแทน คุณสามารถสร้างเซิร์ฟเวอร์ได้ด้วยวิธีที่คล้ายกัน:
MinimalSocket::Port port = 15768 ; // the port to bind
MinimalSocket::tcp::TcpServer< false > tcp_server (
    port, MinimalSocket::AddressFamily::IP_V4);
tcp_server.open();
เวอร์ชันเซิร์ฟเวอร์นี้จะไม่ถูกบล็อก ซึ่งหมายความว่าฟังก์ชันยอมรับจะกลับมาทันที:
 // check if a client asked for the connection. If no, the function immediately
// returns a nullopt. On the contrary, the returned optional contains the
// handler to the connected client
std::optional<MinimalSocket::tcp::TcpConnectionBlocking>
    maybe_accepted_connection = tcp_server.acceptNewClient();
โปรดสังเกตว่าแม้ว่าเซิร์ฟเวอร์จะไม่ถูกบล็อก แต่ตัวจัดการไคลเอนต์ที่ยอมรับในที่สุดก็กำลังบล็อกอยู่ คุณสามารถเปลี่ยนให้เป็นซ็อกเก็ตที่ไม่ปิดกั้นได้เช่นกัน โดยการโอนซ็อกเก็ตไปยังตัวจัดการที่ไม่ปิดกั้น:
MinimalSocket::tcp::TcpConnectionNonBlocking accepted_connection_nn_block =
maybe_accepted_connection-> turnToNonBlocking ();ในการสร้างไคลเอ็นต์ TCP คุณเพียงแค่ต้องสร้างวัตถุ tcp::TcpClient :
# include < MinimalSocket/tcp/TcpClient.h >

MinimalSocket::Port server_port = 15768 ;
std::string server_address = " 192.168.125.85 " ;
MinimalSocket::tcp::TcpClient< true > tcp_client (
    MinimalSocket::Address{server_address, server_port});
เปิดมัน:
 // Open the server. Here, the client will ask the connection to specified
// server. After that, the client will be actually connected.
bool success =
    tcp_client.open(); // blocking till the connection is actually established
ตอนนี้คุณสามารถรับและส่งข้อมูลด้วยเซิร์ฟเวอร์ระยะไกลได้โดยทำดังนี้:
 // send a message
tcp_client.send( " a message to send " );
// receive a message
std:: size_t message_max_size = 1000 ;
std::string
    received_message // resized to the nunber of bytes actually received
    = tcp_client.receive(message_max_size);
หากคุณต้องการไคลเอนต์ที่ไม่ปิดกั้นแทน คุณสามารถสร้างมันขึ้นมาและใช้ในลักษณะที่คล้ายกัน:
MinimalSocket::Port server_port = 15768 ;
std::string server_address = " 192.168.125.85 " ;
MinimalSocket::tcp::TcpClient< false > tcp_client (
    MinimalSocket::Address{server_address, server_port});
tcp_client.open();

std:: size_t message_max_size = 1000 ;
// non blocking receive: returns immediately with an empty message in case no
// new data were available, or with a non empty message in the contrary case
std::string received_message = tcp_client.receive(message_max_size);หากต้องการสร้างซ็อกเก็ต udp ปกติ คุณเพียงแค่ต้องสร้างวัตถุ udp::Udp :
# include < MinimalSocket/udp/UdpSocket.h >

MinimalSocket::Port this_socket_port = 15768 ;
MinimalSocket::udp::Udp< true > udp_socket (this_socket_port,
                                        MinimalSocket::AddressFamily::IP_V6);
เปิดมัน:
 // Open the server. This will bind the specified port.
bool success = udp_socket.open();
ตอนนี้คุณสามารถรับและส่งข้อมูลด้วยซ็อกเก็ต udp อื่น ๆ ได้แล้ว:
 // send a message to another udp
MinimalSocket::Address other_recipient_udp =
    MinimalSocket::Address{ " 192.168.125.85 " , 15768 };
udp_socket.sendTo( " a message to send " , other_recipient_udp);
// receive a message from another udp reaching this one
std:: size_t message_max_size = 1000 ;
auto received_message = udp_socket.receive(message_max_size);
// check the sender address
MinimalSocket::Address other_sender_udp = received_message->sender;
// access the received message
std::string received_message_content // resized to the nunber of bytes
                                    // actually received
    = received_message->received_message;
คุณยังสามารถตัดสินใจ "เชื่อมต่อ" ซ็อกเก็ต udp ที่เปิดอยู่ไปยังที่อยู่เฉพาะได้ ระวังว่านี่หมายความว่าข้อความที่เข้ามาจากเพื่อนคนอื่นจะถูกกรองออก เนื่องจากซ็อกเก็ต udp ไม่ได้เน้นการเชื่อมต่อ:
MinimalSocket::Address permanent_sender_udp =
    MinimalSocket::Address{ " 192.168.125.85 " , 15768 };
MinimalSocket::udp::UdpConnected< true > udp_connected_socket =
    udp_socket.connect(
        permanent_sender_udp); // ownership of the underlying socket is
                                // transfered from udp_socket to
                                // udp_connected_socket, meaning that you can't
                                // use anymore udp_socket (unless you re-open
                                // it)
ตอนนี้คุณสามารถส่งและรับข้อมูลโดยไม่ต้องระบุผู้รับ/ผู้ส่ง:
 // receive a message
std:: size_t message_max_size = 1000 ;
std::string
    received_message // resized to the nunber of bytes actually received
    = udp_connected_socket.receive(message_max_size);
// send a message
udp_connected_socket.send( " a message to send " );
คุณยังสามารถสร้างและใช้ซ็อกเก็ต udp ที่ไม่ปิดกั้นได้:
MinimalSocket::Port this_socket_port = 15768 ;
MinimalSocket::udp::Udp< false > udp_socket (
    this_socket_port, MinimalSocket::AddressFamily::IP_V6);
udp_socket.open();

std:: size_t message_max_size = 1000 ;
// non blocking receive: returns immediately with an empty message in case no
// new data were available, or with a non empty message in the contrary case
//
// struct ReceiveStringResult {
//   Address sender;
//   std::string received_message;
// };
std::optional<MinimalSocket::ReceiveStringResult> received_message =
udp_socket.receive(message_max_size);ยังไม่ได้ทิ้ง ดาว ไว้เหรอ? ทำมันตอนนี้ ;)!
คุณสามารถดูตัวอย่างการใช้งานเกี่ยวกับซ็อกเก็ต tcp ได้ที่นี่ ในขณะที่ตัวอย่าง udp จะถูกกล่าวถึงที่นี่
ความสนใจ!!! การดำเนินการตัวอย่างอาจถูกบล็อกในครั้งแรกโดยไฟร์วอลล์ของคุณ: ตั้งค่าไฟร์วอลล์ของคุณอย่างเหมาะสมหรือเรียกใช้ตัวอย่างด้วยสิทธิ์ของผู้ดูแลระบบ
ยังไม่ได้ทิ้ง ดาว ไว้เหรอ? ทำมันตอนนี้ ;)!
เพื่อใช้งานไลบรารี่นี้ คุณสามารถไว้วางใจ CMake ได้ แม่นยำยิ่งขึ้น คุณสามารถดึงแพ็คเกจนี้และลิงก์ไปยังไลบรารี MinimalSocket :
 include (FetchContent)
set (BUILD_MinimalCppSocket_SAMPLES OFF CACHE BOOL "" FORCE) # you don't want the samples in this case
FetchContent_Declare(
min_sock
GIT_REPOSITORY https://github.com/andreacasalino/Minimal-Socket
GIT_TAG        master
)
FetchContent_MakeAvailable(min_sock)
จากนั้นลิงก์ไปยังไลบรารี MinimalSocket :
 target_link_libraries ( ${TARGET_NAME}
    MinimalSocket
)
โมดูลเฉพาะระบบทั้งหมดถูกรวมไว้ภายในและไม่ได้ถูกเปิดเผย ยิ่งไปกว่านั้น ภายใต้ Windows wsock32 และ ws2_32 มีการเชื่อมโยงแบบส่วนตัว และคุณไม่จำเป็นต้องเชื่อมโยงอีกครั้งเมื่อใช้ MinimalSocket