It is very practical to use CorelDRAW to create graphic design software. It can be used to create various posters and promotional pages, and can also add various special effects. So, how to add text curling effect? Next, I will give you a tutorial on how to use CorelDRAW to create text curling effects!
1. Open the CorelDRAW software, enter the text and click to remove the fill.
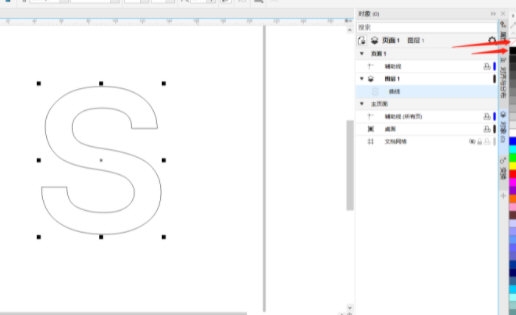
2. Use the [Carving Knife Tool] and click [Automatically Close When Cutting] to cut the location where you want to create special effects.
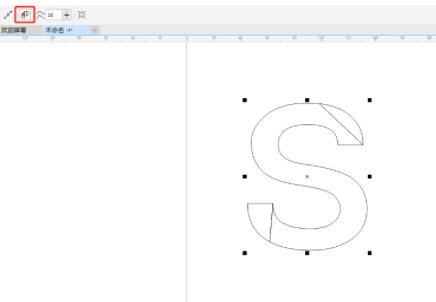
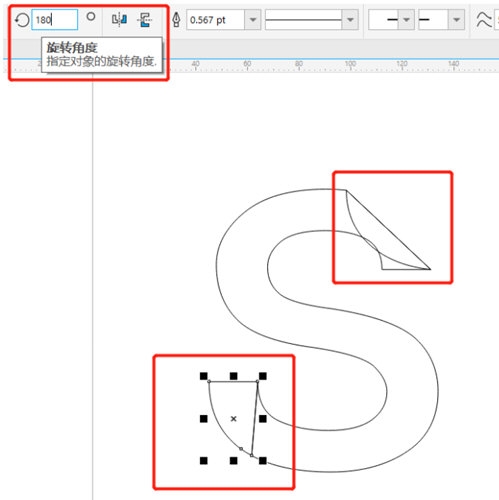
3. Select the cutting part and click [Rotation Angle] to rotate 180°
4. Click the [Interactive Fill Tool] to fill the original word with the gradient color. Pay attention to adjusting the cutting part layer above the original word layer.
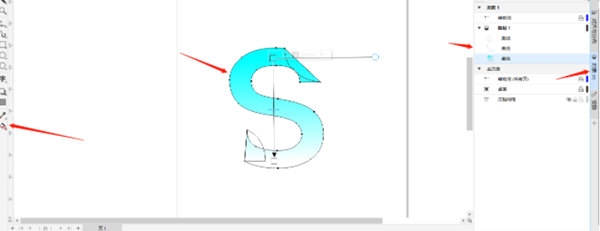
5. Select the cut part, double-click the color block below to open [Edit Fill], click [Fill Evenly] to fill the cut part with a color that is darker than the original color.
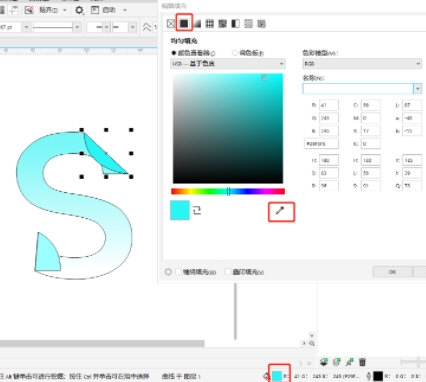
6. Frame the entire graphic, click to remove the fill, and then use the shadow props to add a shadow effect to the cut part.
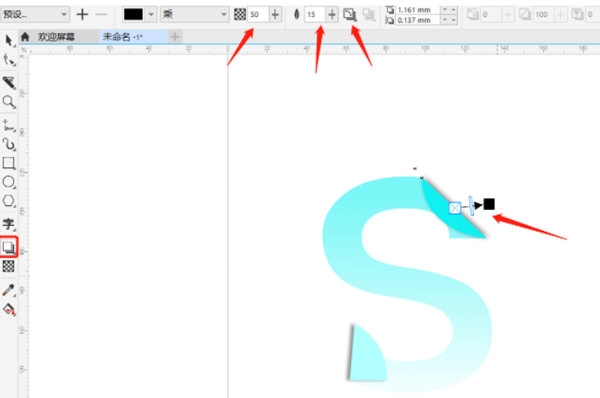
Through the above operations, you can create curling effects very well. In addition to text, pictures can also be created using this method. The above is the CorelDRAW related tutorial brought to you, I hope it can help you!