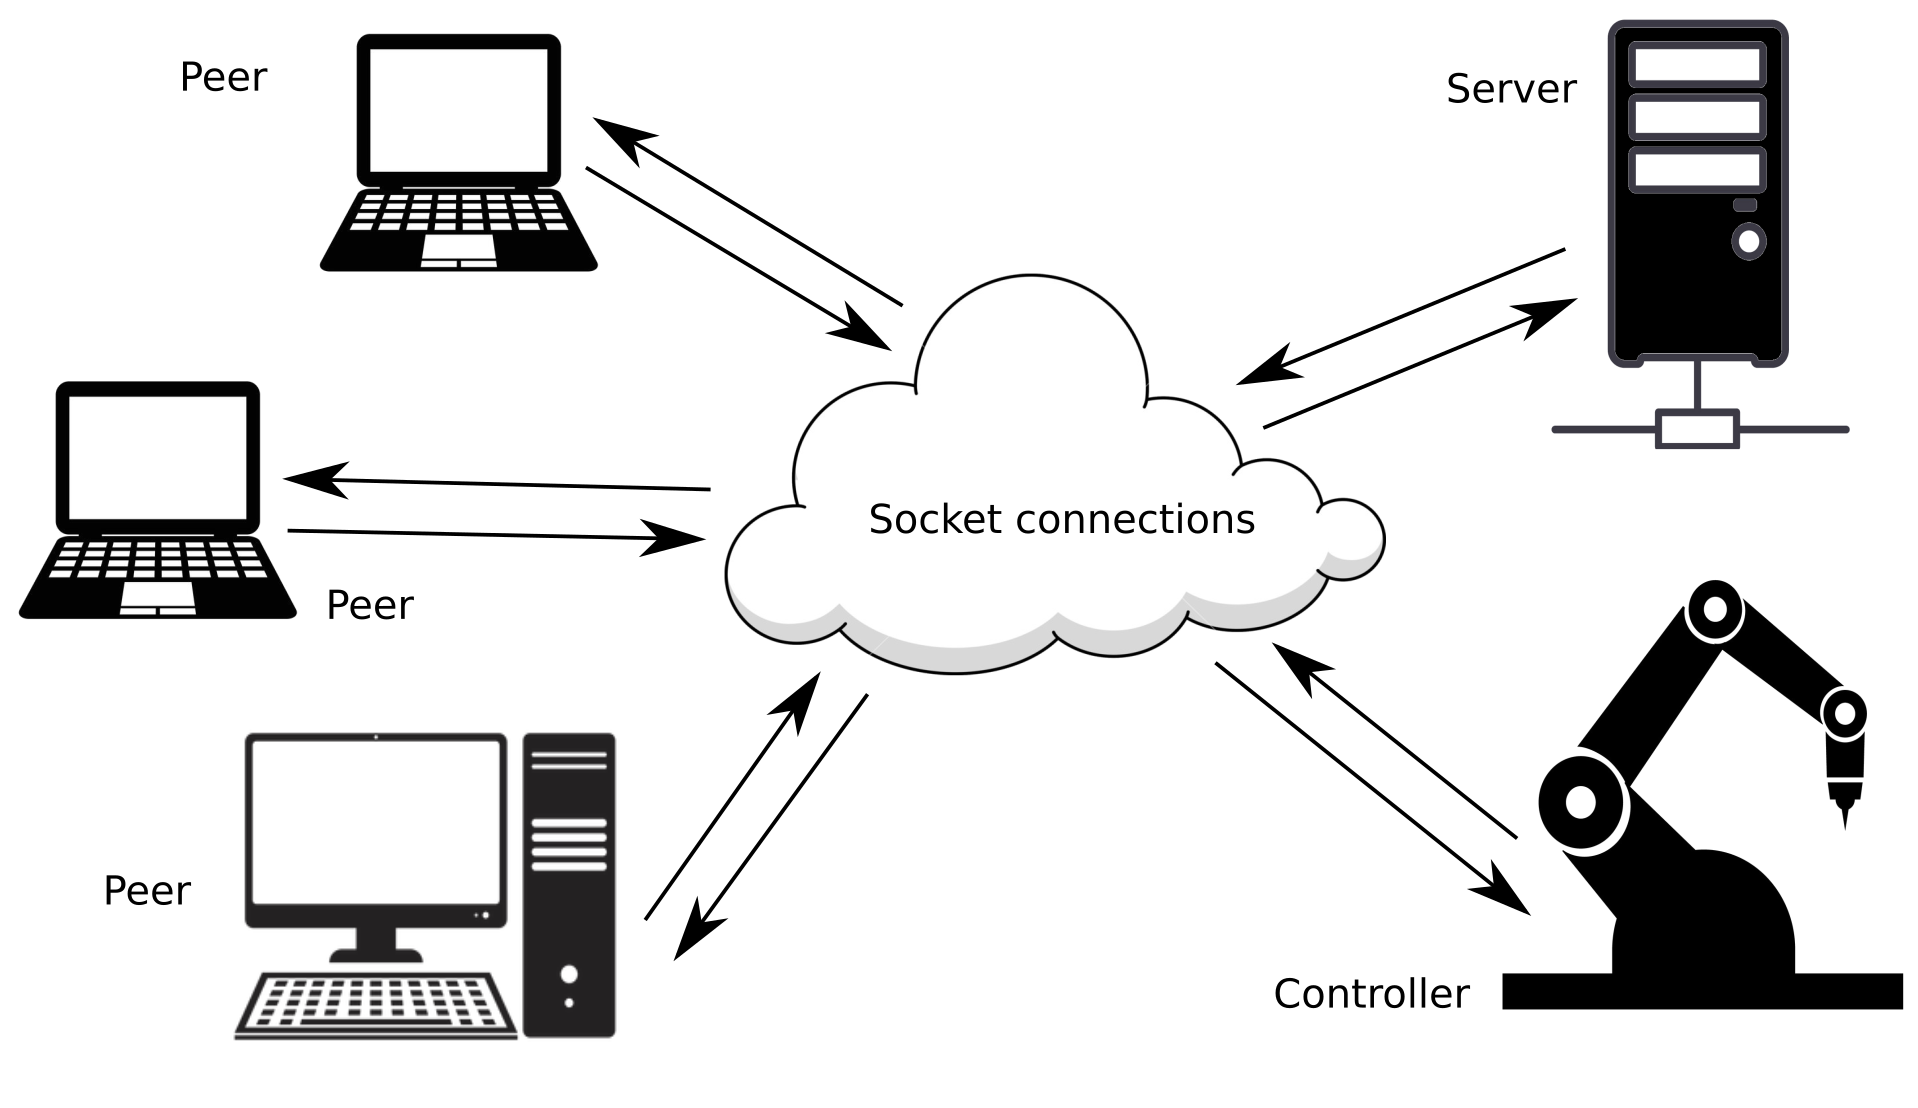
MinimalSocket為您提供了一個現代C++函式庫,以完全與平台無關的方式設定和建立tcp和udp套接字連接。支援的系統有: Windows 、任何Linux發行版和MacOS 。
功能部分詳細介紹了MinimalSocket的各種功能。閱讀用法和範例,了解使用MinimalSocket是多麼容易。
這是一個CMake項目,檢查 CMake 支援以了解如何整合該庫。
如果您發現這個庫有用,請記得留下一顆星。
還沒留下星星嗎?現在就做;)!
MinimalSocket可讓您建立和設定tcp和udp連接。訊息可以透過位元組緩衝區或字串緩衝區來傳送和接收。事實上,這實際上是套接字所需的唯一功能,因為可以使用 Google Protocol Buffers 或 NanoPb 等方法將更複雜的訊息序列化到位元組緩衝區或從位元組緩衝區內部化。
這些是MinimalSocket最顯著的特徵:
下表總結了可以使用MinimalSocket創建的套接字的阻塞和非阻塞行為之間的差異:
| 阻塞行為,呼叫者被阻塞,直到完成或達到逾時(如果指定了) | 非阻塞行為,函數立即傳回 | |
|---|---|---|
| 接受新客戶端(僅限 TCP) | 呼叫者執行緒被吸收,直到新客戶端實際請求連線或達到逾時(如果指定了) | 如果來自客戶端的連線請求在呼叫accept函數之前已經排隊,則傳回新的連線處理程序,否則傳回nullopt。 |
| 接收新訊息(tcp 和 udp) | 呼叫者線程被吸收,直到新訊息發送到套接字或達到超時(如果指定了) | 如果在呼叫接收函數之前訊息已傳送並已在套接字緩衝區中排隊,則傳回該訊息,否則傳回空訊息。 |
| 發送新訊息(tcp 和 udp) | 如果套接字的緩衝區未滿且可以完全容納要傳送的訊息,則該訊息實際上會寫入緩衝區,並且該函數幾乎立即傳回。相反的情況,呼叫者執行緒被吸收,直到緩衝區中的空間耗盡(因為訊息從另一側被消耗),之後訊息被實際寫入並且函數完成。 | 如果套接字緩衝區中有足夠的空間,則寫入訊息並且函數傳回。相反的情況下,函數立即返回,而不實際發送訊息(可以稍後重試發送) |
還沒留下星星嗎?現在就做;)!
要建立經典的阻塞tcp伺服器,您只需要建立一個tcp::TcpServer物件:
# include < MinimalSocket/tcp/TcpServer.h >

MinimalSocket::Port port = 15768 ; // the port to bind
MinimalSocket::tcp::TcpServer< true > tcp_server (
    port, MinimalSocket::AddressFamily::IP_V4);
打開它:
 // open the server: binds the port and start to listen on the port
bool success = tcp_server.open();
現在您已準備好接受新客戶:
 // accepts the next client that will ask the connection
MinimalSocket::tcp::TcpConnectionBlocking accepted_connection =
    tcp_server.acceptNewClient(); // blocking till a client actually asks the
                                // connection
現在您可以透過簡單地執行以下操作與接受的客戶端交換訊息:
 // receive a message
std:: size_t message_max_size = 1000 ;
std::string
    received_message // resized to the nunber of bytes actually received
    = accepted_connection.receive(message_max_size);
// send a message
accepted_connection.send( " a message to send " );
如果您需要一個非阻塞伺服器,您可以以類似的方式建立它:
MinimalSocket::Port port = 15768 ; // the port to bind
MinimalSocket::tcp::TcpServer< false > tcp_server (
    port, MinimalSocket::AddressFamily::IP_V4);
tcp_server.open();
此伺服器版本將是非阻塞的,這意味著接受函數將立即傳回:
 // check if a client asked for the connection. If no, the function immediately
// returns a nullopt. On the contrary, the returned optional contains the
// handler to the connected client
std::optional<MinimalSocket::tcp::TcpConnectionBlocking>
    maybe_accepted_connection = tcp_server.acceptNewClient();
請注意,即使伺服器本身是非阻塞的,但最終接受的客戶端處理程序是阻塞的。您也可以透過將套接字傳送到非阻塞處理程序來將其轉換為非阻塞套接字:
MinimalSocket::tcp::TcpConnectionNonBlocking accepted_connection_nn_block =
maybe_accepted_connection-> turnToNonBlocking ();要建立tcp客戶端,您只需要建立一個tcp::TcpClient物件:
# include < MinimalSocket/tcp/TcpClient.h >

MinimalSocket::Port server_port = 15768 ;
std::string server_address = " 192.168.125.85 " ;
MinimalSocket::tcp::TcpClient< true > tcp_client (
    MinimalSocket::Address{server_address, server_port});
打開它:
 // Open the server. Here, the client will ask the connection to specified
// server. After that, the client will be actually connected.
bool success =
    tcp_client.open(); // blocking till the connection is actually established
現在,您只需執行以下操作即可透過遠端伺服器接收和傳送訊息:
 // send a message
tcp_client.send( " a message to send " );
// receive a message
std:: size_t message_max_size = 1000 ;
std::string
    received_message // resized to the nunber of bytes actually received
    = tcp_client.receive(message_max_size);
如果您需要一個非阻塞客戶端,您可以建立它並以類似的方式使用它:
MinimalSocket::Port server_port = 15768 ;
std::string server_address = " 192.168.125.85 " ;
MinimalSocket::tcp::TcpClient< false > tcp_client (
    MinimalSocket::Address{server_address, server_port});
tcp_client.open();

std:: size_t message_max_size = 1000 ;
// non blocking receive: returns immediately with an empty message in case no
// new data were available, or with a non empty message in the contrary case
std::string received_message = tcp_client.receive(message_max_size);要建立普通的udp套接字,您只需要建立一個udp::Udp物件:
# include < MinimalSocket/udp/UdpSocket.h >

MinimalSocket::Port this_socket_port = 15768 ;
MinimalSocket::udp::Udp< true > udp_socket (this_socket_port,
                                        MinimalSocket::AddressFamily::IP_V6);
打開它:
 // Open the server. This will bind the specified port.
bool success = udp_socket.open();現在您可以使用其他udp套接字接收和發送訊息:
 // send a message to another udp
MinimalSocket::Address other_recipient_udp =
    MinimalSocket::Address{ " 192.168.125.85 " , 15768 };
udp_socket.sendTo( " a message to send " , other_recipient_udp);
// receive a message from another udp reaching this one
std:: size_t message_max_size = 1000 ;
auto received_message = udp_socket.receive(message_max_size);
// check the sender address
MinimalSocket::Address other_sender_udp = received_message->sender;
// access the received message
std::string received_message_content // resized to the nunber of bytes
                                    // actually received
= received_message->received_message;您也可以決定將開啟的udp套接字「連接」到特定位址。請注意,這僅僅意味著從其他對等點傳入的訊息將被過濾掉,因為udp套接字不是面向連接的:
MinimalSocket::Address permanent_sender_udp =
    MinimalSocket::Address{ " 192.168.125.85 " , 15768 };
MinimalSocket::udp::UdpConnected< true > udp_connected_socket =
    udp_socket.connect(
        permanent_sender_udp); // ownership of the underlying socket is
                                // transfered from udp_socket to
                                // udp_connected_socket, meaning that you can't
                                // use anymore udp_socket (unless you re-open
                                // it)
現在您可以發送和接收數據,而無需指定接收者/發送者:
 // receive a message
std:: size_t message_max_size = 1000 ;
std::string
    received_message // resized to the nunber of bytes actually received
    = udp_connected_socket.receive(message_max_size);
// send a message
udp_connected_socket.send( " a message to send " );您也可以建立和使用非阻塞udp套接字:
MinimalSocket::Port this_socket_port = 15768 ;
MinimalSocket::udp::Udp< false > udp_socket (
    this_socket_port, MinimalSocket::AddressFamily::IP_V6);
udp_socket.open();

std:: size_t message_max_size = 1000 ;
// non blocking receive: returns immediately with an empty message in case no
// new data were available, or with a non empty message in the contrary case
//
// struct ReceiveStringResult {
//   Address sender;
//   std::string received_message;
// };
std::optional<MinimalSocket::ReceiveStringResult> received_message =
udp_socket.receive(message_max_size);還沒留下星星嗎?現在就做;)!
有關tcp套接字的使用範例可以在此處找到,而udp範例則在此處討論。
注意力!範例執行可能會在第一次被防火牆阻止:正確設定防火牆或使用管理員權限運行範例
還沒留下星星嗎?現在就做;)!
為了使用這個函式庫,您可以依賴 CMake。更準確地說,您可以獲得此套件並連結到MinimalSocket庫:
 include (FetchContent)
set (BUILD_MinimalCppSocket_SAMPLES OFF CACHE BOOL "" FORCE) # you don't want the samples in this case
FetchContent_Declare(
min_sock
GIT_REPOSITORY https://github.com/andreacasalino/Minimal-Socket
GIT_TAG        master
)
FetchContent_MakeAvailable(min_sock)然後連結到MinimalSocket庫:
 target_link_libraries ( ${TARGET_NAME}
    MinimalSocket
)所有系統特定模組都包含在內部且不公開。此外,在Windows下, wsock32和ws2_32是私人連結的,您在使用MinimalSocket時不需要再次連結它們。