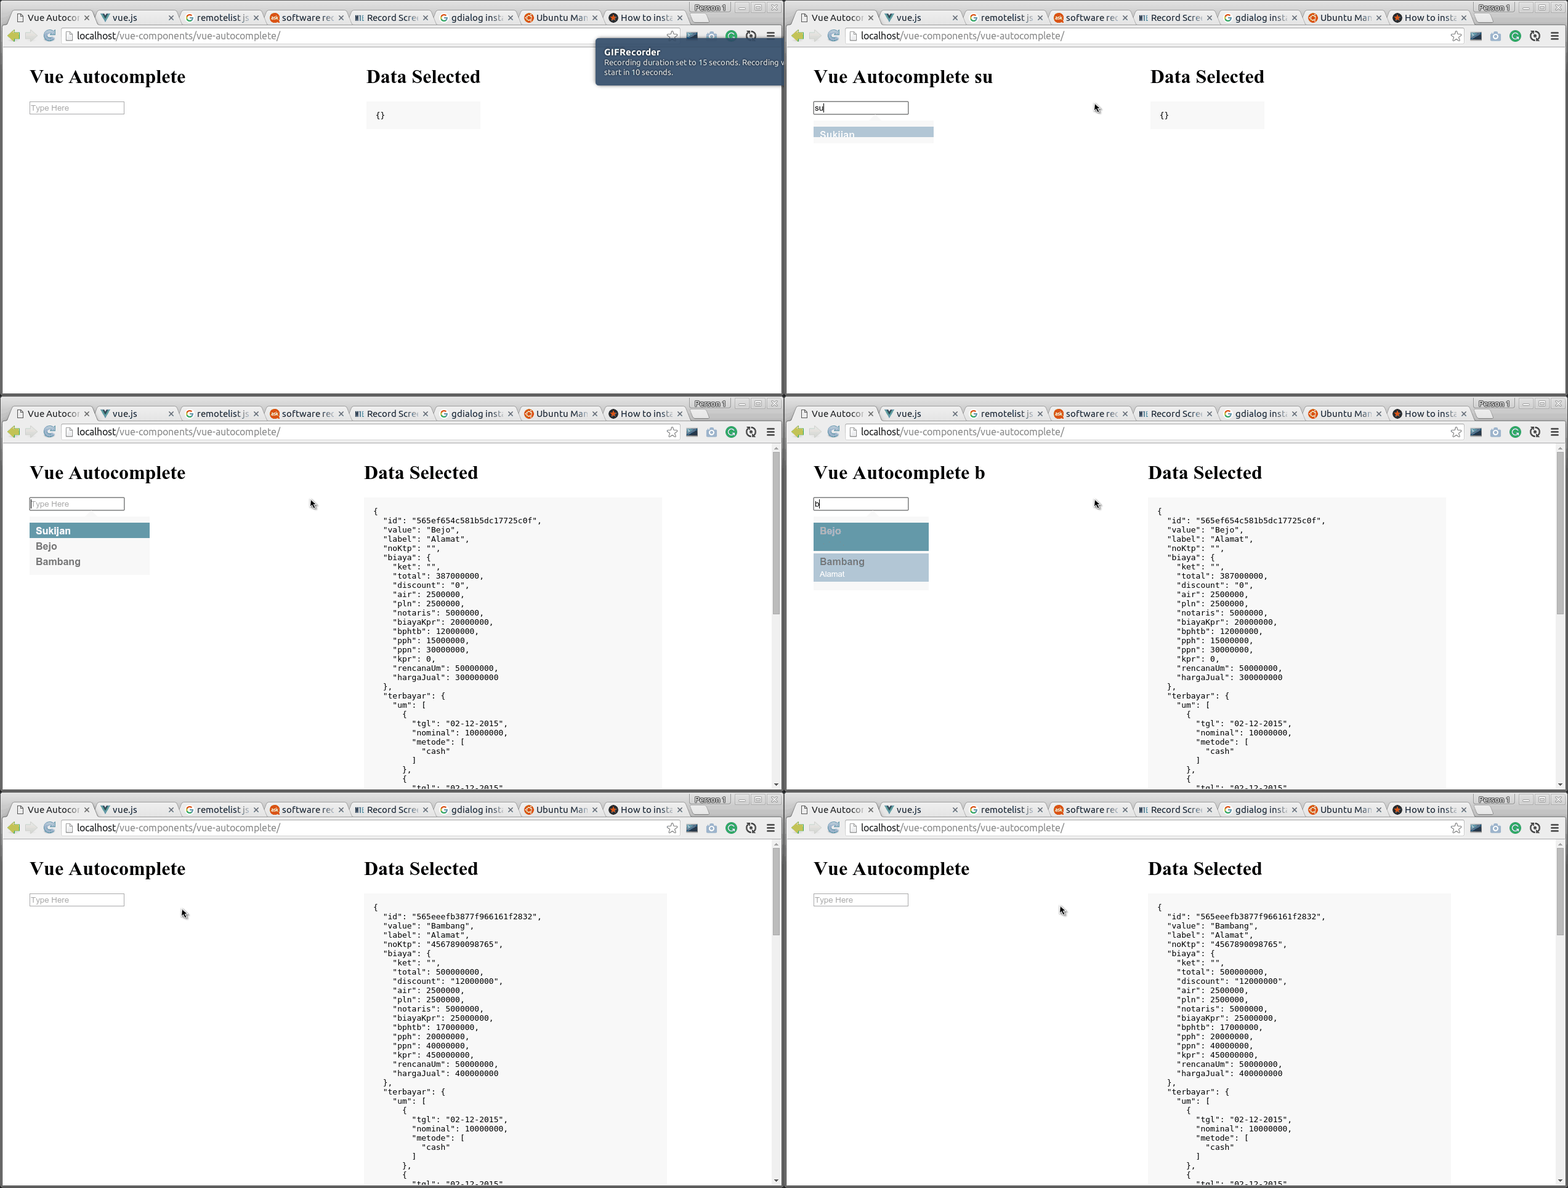
Vue 2 的自動完成元件。現場演示!

您可以像這樣將 vue2-autocomplete.vue 匯入到您的 vue 元件檔案中,並使用預處理器對其進行處理。
您可以透過 NPM 安裝它
npm install vue2-autocomplete-js或直接放在Vue JS後面即可~
 < script src =" https://vuejs.org/js/vue.min.js " > </ script >
< script src =" ./dist/vue2-autocomplete.js " > </ script >
< script >
  // Don't Forget to register it
  new Vue ( {
    components : {
      autocomplete : Vue2Autocomplete
    }
  } ) ;
</ script > 不要忘記導入 vue 2 css。您可以透過 html 連結它
< link rel =" stylesheet " href =" vue2-autocomplete-js/dist/style/vue2-autocomplete.css " >或者您可以使用 commonJS 導入它
require ( 'vue2-autocomplete-js/dist/style/vue2-autocomplete.css' )它的風格非常可自訂。您可以在其上放置任何 CSS。您可以透過其屬性新增自訂類別。
 import Autocomplete from 'vue2-autocomplete-js'
// Or
var Autocomplete = require ( 'vue2-autocomplete-js' ) ; < template >
< autocomplete
url =" http://localhost/proyek/goodmovie/api/api/v1/search "
anchor =" title "
label =" writer "
:on-select =" getData " >
</ autocomplete >
</ template >
< script >
import Autocomplete from 'vue2-autocomplete-js' ;
export default {
components : { Autocomplete } ,
methods : {
getData ( obj ) {
console . log ( obj ) ;
}
}
} ;
</ script >可用道具
 < template >

  < autocomplete
    url =" http://localhost/proyek/goodmovie/api/api/v1/search "
    anchor =" title "
    label =" writer "
    :onSelect =" getData "
    :customParams =" { token: 'dev' } "
    :customHeaders =" { Authorization: 'bearer abc123' } "


    :required =" true "
    id =" custom id "
    className =" custom class name "
    :classes =" { wrapper: 'form-wrapper', input: 'form-control', list: 'data-list', item: 'data-list-item' } "
    placeholder =" placeholder "
    :initValue =" initial value "


    :options =" [] "
    :min =" 3 "
    :debounce =" 2000 "
    :filterByAnchor =" true "
    :encodeParams =" true "

    :onShouldGetData =" getData "
    :onInput =" callbackEvent "
    :onShow =" callbackEvent "
    :onBlur =" callbackEvent "
    :onHide =" callbackEvent "
    :onFocus =" callbackEvent "
    :onSelect =" callbackEvent "
    :onBeforeAjax =" callbackEvent "
    :onAjaxProgress =" callbackEvent "
    :onAjaxLoaded =" callbackEvent "
    :onShouldRenderChild =" renderChild "
  >
  </ autocomplete >

</ template > URL 必須是活動的(不是來自文件)。該元件將從該 URL 取得 JSON 並傳遞一個參數(預設值: q )查詢。喜歡:
http://some-url.com/API/list?q=
組件內部沒有過濾和限制動作。因此,請在您的 API 邏輯中執行此操作。
在 Ajax 呼叫中查詢的搜尋參數的名稱。預設為q
執行搜尋查詢之前輸入的最少輸入字元數。預設為0
它是用於建議清單中的錨點的物件屬性路徑。範例anchor="name"將取得JSON物件的name屬性。就像上面示範中的 (“Bambang”、“Sukijan”、“Bejo”) 一樣。或者你可以達到你的物件的深層價值。就像anchor="geometry.location.lat"
與錨點相同,但用於清單的副標題或描述
手動將清單選項陣列傳遞給自動完成功能。
當您使用 options 屬性時,您可以使用自動完成功能來過濾資料。或者您可以直接顯示數據,無需任何自動完成過濾器。選項將根據錨點進行過濾,並根據使用者輸入進行過濾。
當此 props 設定為true時,自動完成功能將在 ajax 發送之前對所有參數encodeURIComponent 。預設值為true #35
對資料執行 ajax 之前的延遲時間
輸入所需的屬性
輸入佔位符
自動完成元件的自訂類別名
每個部分的特定自訂類別。可用:包裝器、輸入、清單和項目
自動完成元件的自訂 ID 名稱
在發送請求之前使用者應停止鍵入的毫秒數。預設值為 0,表示所有請求都會立即發送。
用於處理 API 結果的函數。應該傳回一個條目數組或一個可以列舉屬性的物件。
用於處理每個結果的函數。採用 API 回應元素的類型並應傳回 HTML 資料。
您可以透過 props 來建立回呼事件。
自動完成中的輸入事件
在自動完成清單中顯示事件
當自動完成變得模糊時
當自動完成清單隱藏時
在焦點模式下自動完成輸入時
當使用者選擇清單中的一項時
在ajax發送之前
當ajax獲取數據時
當ajax進程完全載入時
手動處理整個ajax過程。如果它是一個 Promise,它應該解析自動完成清單的選項。如果不是 Promise,您可以手動將選項傳遞給 autocomplete 的 props
 < autocomplete
  anchor =" formatted_address "
  label =" formatted_address "
  :onShouldGetData =" getData "
>
</ autocomplete >
methods: {
promise ( value ) {
return new Promise ( ( resolve , reject ) => {
let ajax = new XMLHttpRequest ( ) ;
ajax . open ( 'GET' , `https://maps.googleapis.com/maps/api/geocode/json?address= ${ value } ` , true ) ;
// On Done
ajax . addEventListener ( 'loadend' , ( e ) => {
const { responseText } = e . target
let response = JSON . parse ( responseText ) ;
// The options to pass in the autocomplete
resolve ( response . results )
} ) ;
ajax . send ( ) ;
} )
} ,
nonPromise ( ) {
getData ( value ) {
let ajax = new XMLHttpRequest ( ) ;
ajax . open ( 'GET' , `https://maps.googleapis.com/maps/api/geocode/json?address= ${ value } ` , true ) ;
// On Done
ajax . addEventListener ( 'loadend' , ( e ) => {
const { responseText } = e . target
let response = JSON . parse ( responseText ) ;
// The options to pass in the autocomplete props
this . options = response . results ;
} ) ;
ajax . send ( ) ;
} ,
}
} 在檢索結果陣列之前處理結果。您可以在將數據傳遞到自動完成之前在此處調整數據
想要對清單使用自訂範本嗎?現在,你可以做到!
 < autocomplete
  anchor =" formatted_address "
  label =" formatted_address "
  :onShouldRenderChild =" renderChild "
>
</ autocomplete >
methods: {
renderChild ( data ) {
return `
<img src=" ${ data . src } " />
<span> ${ data . something } </span>
`
} ,
} 您可以透過 javascript 存取元件來執行一些方法。
this . $refs . autocomplete . someMethod ( ) 設定自動完成輸入的值
請聯絡我:
麻省理工學院版權所有 (c) 2016 - 永遠 Naufal Rabbani