佇列什麼是訊息佇列
訊息佇列就是訊息的傳送過程中保存訊息的容器,本質是一個佇列(先進先出)

消息指的是需要傳輸的數據,可以是一些文本,字串,或是物件等資訊。
消息队列則是兩個應用間的通訊服務,訊息的产生者將資料存放到訊息佇列就可以立即返回,不需要等待訊息的接收者應答。即:生产者保證資料插入佇列,誰來取這則訊息不需要管。訊息的接收者只專注於接受訊息並處理。

訊息佇列能做什麼
解耦上面介紹了,訊息佇列將訊息的生產者和訊息的接收者分開,彼此都不受影響。
非同步非同步就是為了減少請求的回應時間,訊息的生產者只需要處理簡單的邏輯,並將資料放到訊息佇列中即可返回,複雜的邏輯,例如:資料庫操作,IO操作由訊息的接收者處理。
削峰訊息佇列應用在服務時,能將瞬時大量湧入的請求資訊儲存到訊息佇列中,並立即回傳。再由訊息的接收者根據資料處理請求。
應用場景遊戲活動,秒殺活動,下單等會造成瞬時流量暴增的應用。
介紹完訊息佇列的基本訊息,在開發訊息佇列之前先介紹一下訊息佇列的一些基本概念~
訊息的生產者(producer)與消費者(customer)
上文提到的生产者與消费者,提供的是
鏈接,通道與隊列
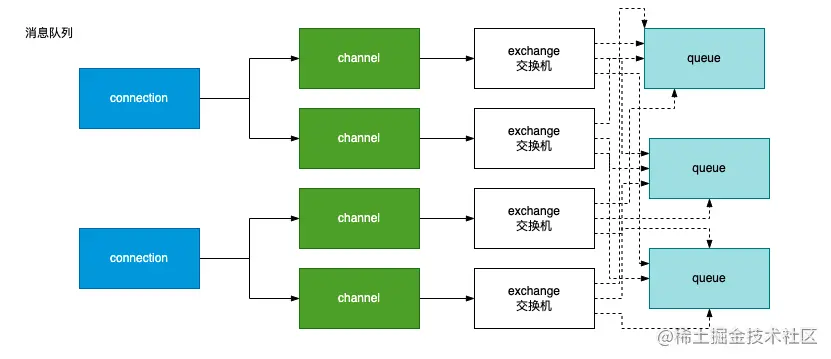
鏈接(connection):表示服務程序與訊息隊列之間的一條鏈接。一個服務程式可以建立多個連結。
通道(channel):訊息佇列連結之間的一個通,一個連結可以有多個通道。
隊列(queue):訊息佇列中存放資料的佇列,一個訊息佇列服務可以有多個佇列。
總結一下,鏈接,通道隊列之間的關係是這樣的

交換器(exchange)
訊息佇列傳送訊息時必須要有一個交換機,如果沒有指定則用的是預設的交換器。交換器的作用就是將訊息才推到對應的佇列中。訊息佇列中一共有4種交換器
Direct: 指定佇列模式,訊息來了,只發給指定的Queue,其他Queue都收不到。
fanout: 廣播模式,訊息來了,就會傳送給所有的佇列。
topic: 模糊匹配模式,透過模糊匹配的方式進行相應轉送。
header: 與Direct模式類似。
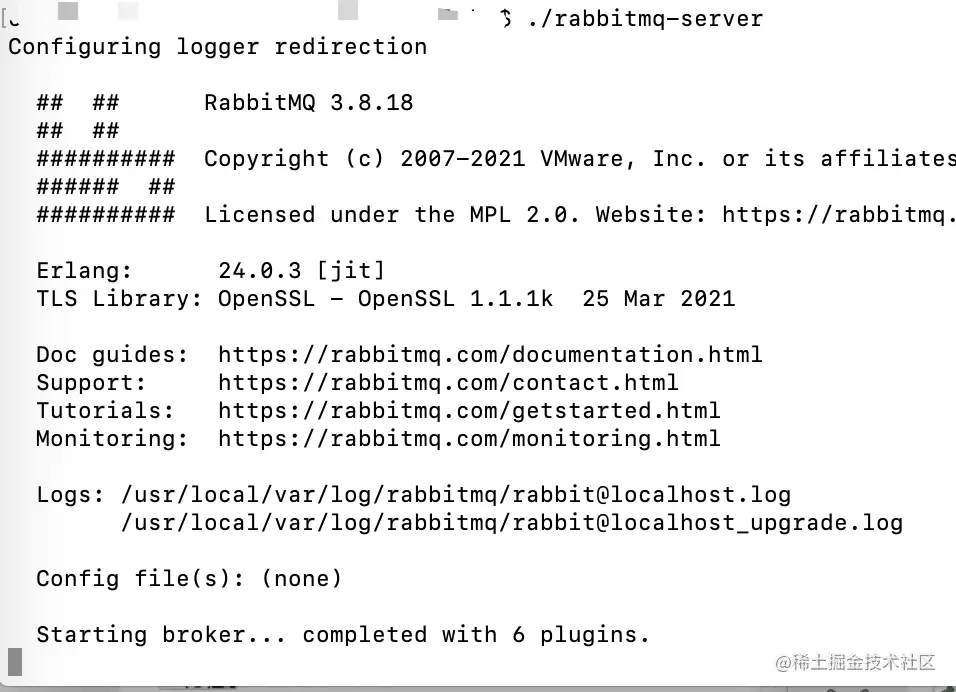
brew install rabbitmq

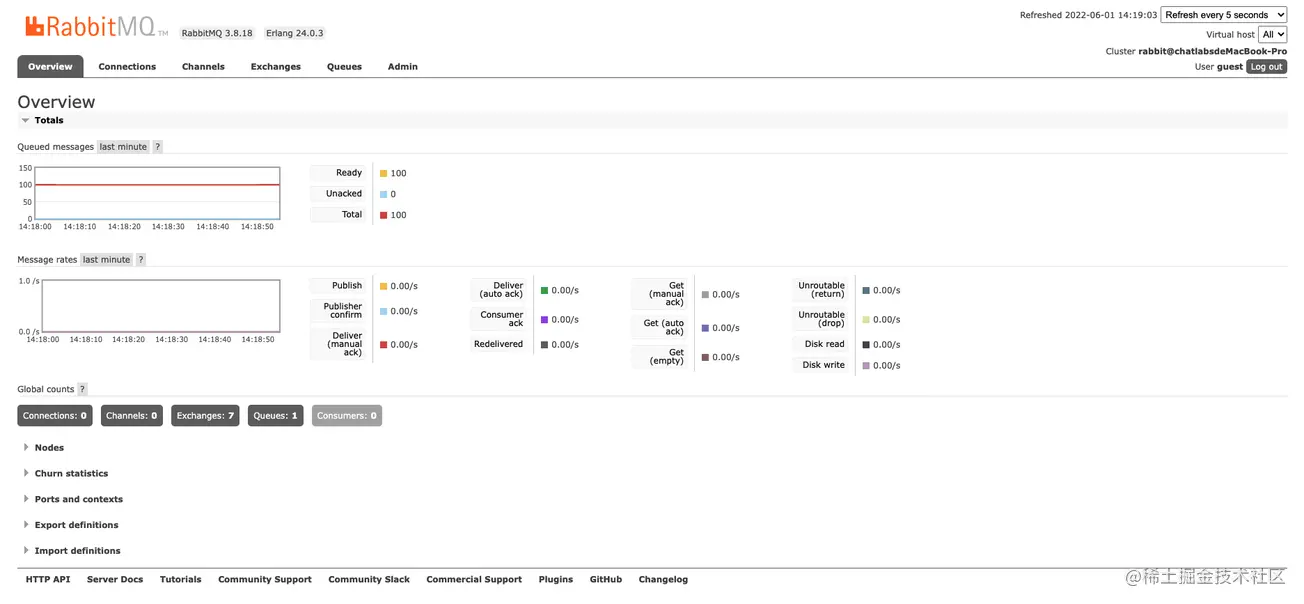
然後再本地訪問http://localhost:15672/ 就可以看到rabbitmq服務的後台。初始的帳號密碼均為guest

amqplib是node中使用訊息佇列的一套工具,可以讓我們快速地使用訊息佇列
創建生產者網址:https://www.npmjs.com/package/amqplib
/** product.js 消費者*/


const amqplib = require('amqplib');
const config = require('./config');

const { connectUrl } = config;

(async () => {
  const connection = await amqplib.connect(connectUrl);

  const channel = await connection.createChannel();
  const exchangeName = 'testExchange';
  const key = 'testQueue';
  const sendMsg = 'hello rabbitmq';

  // 知道交換器型別await channel.assertExchange(exchangeName, 'fanout', {
    durable: true,
  });

  // 指定一個佇列await channel.assertQueue(key);

  for (let i = 0; i < 100; i++) {
    channel.publish(exchangeName, key, Buffer.from(`${sendMsg} ${i}`));
  }

  await channel.close();
  await connection.close();
})();
運行後在後台可以看到新增了一個有100個訊息的佇列

/** customer.js 消費者*/

const amqplib = require('amqplib');
const config = require('./config');

const { connectUrl } = config;

(async () => {
  let connection = await amqplib.connect(connectUrl);
  const exchangeName = 'testExchange';
  const key = 'testQueue';
  // 建立兩個通道const channel1 = await connection.createChannel();
  const channel2 = await connection.createChannel();
  // 指定一個交換器await channel1.assertExchange(exchangeName, 'fanout', {
    durable: true,
  });
  // 指定一個佇列await channel1.assertQueue(key);
  await channel1.bindQueue(key, exchangeName, key);
  channel1.consume(key, (msg) => {
    console.log('channel 1', msg.content.toString());
  });

  await channel2.assertExchange(exchangeName, 'fanout', {
    durable: true,
  });
  await channel2.assertQueue(key);
  await channel2.bindQueue(key, exchangeName, key);
  channel2.consume(key, (msg) => {
    console.log('channel 2', msg.content.toString());
  });
})();
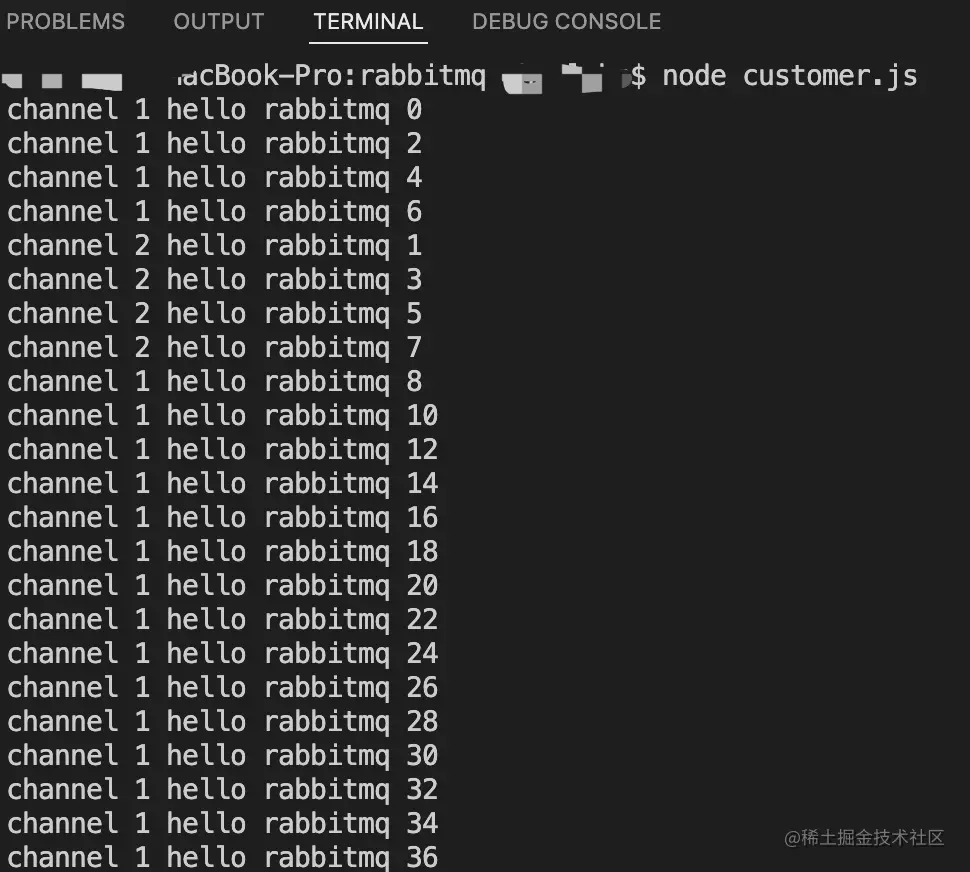
執行後可以看到,兩個通道可以同時工作接收訊息
