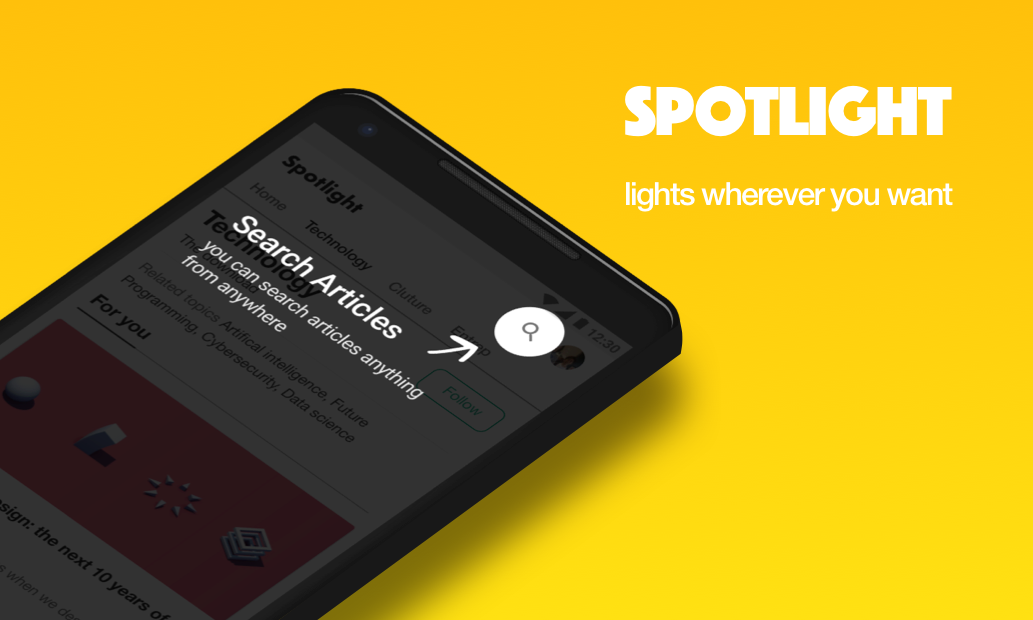
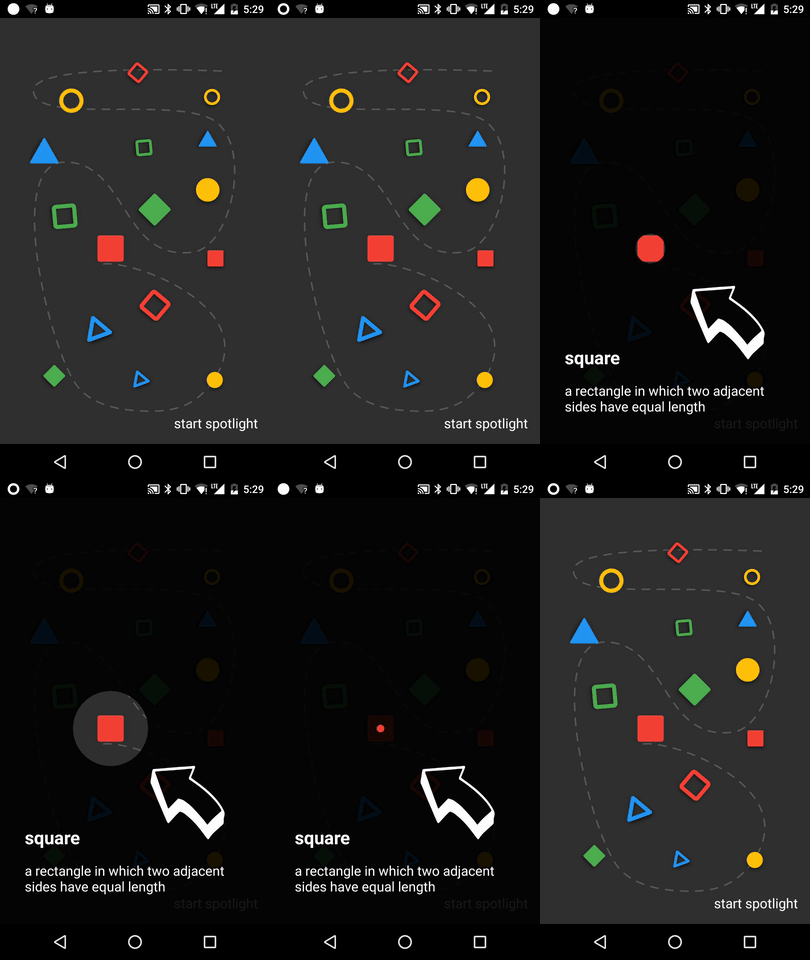
Spotlight
1.0.0

dependencies {
    implementation ' com.github.takusemba:spotlight:x.x.x '
} val spotlight = Spotlight . Builder ( this )
.setTargets(firstTarget, secondTarget, thirdTarget .. .)
.setBackgroundColor( R .color.spotlightBackground)
.setDuration( 1000L )
.setAnimation( DecelerateInterpolator ( 2f ))
.setContainer(viewGroup)
.setOnSpotlightListener( object : OnSpotlightListener {
override fun onStarted () {
Toast .makeText( this @MainActivity, " spotlight is started " , Toast . LENGTH_SHORT ).show()
}
override fun onEnded () {
Toast .makeText( this @MainActivity, " spotlight is ended " , Toast . LENGTH_SHORT ).show()
}
})
.build() إذا كنت تريد إظهار Spotlight على الفور، فيجب عليك الانتظار حتى يتم تحديد طرق العرض.
 // with core-ktx method.
view.doOnPreDraw { Spotlight . Builder ( this ) .. .start() }
قم بإنشاء هدف لإضافة أضواء كاشفة.
الهدف هو المكان الذي سيتم إلقاء الضوء عليه بواسطة Spotlight. يمكنك إضافة أهداف متعددة إلى Spotlight.
 val target = Target . Builder ()
    .setAnchor( 100f , 100f )
    .setShape( Circle ( 100f ))
    .setEffect( RippleEffect ( 100f , 200f , argb( 30 , 124 , 255 , 90 )))
    .setOverlay(layout)
    .setOnTargetListener( object : OnTargetListener {
      override fun onStarted () {
        makeText( this @MainActivity, " first target is started " , LENGTH_SHORT ).show()
      }
      override fun onEnded () {
        makeText( this @MainActivity, " first target is ended " , LENGTH_SHORT ).show()
      }
    })
.build() val spotlight = Spotlight . Builder ( this ) .. .start()
spotlight.finish() val spotlight = Spotlight . Builder ( this ) .. .start()
spotlight.next()
spotlight.previous()
spotlight.show( 2 ) يحدد Shape كيف سيبدو هدفك. لقد تم بالفعل تنفيذ الأشكال الدائرية والمستطيلة المستديرة، ولكن إذا كنت تريد الشكل المخصص الخاص بك، فيمكن تحقيقه من خلال تنفيذ واجهة Shape .
 class CustomShape (
    override val duration : Long ,
    override val interpolator : TimeInterpolator
) : Shape {

  override fun draw ( canvas : Canvas , point : PointF , value : Float , paint : Paint ) {
    // draw your shape here.
  }
} Effect يسمح لك بتزيين هدفك. لقد تم بالفعل تنفيذ أشكال RippleEffect وFlickerEffect، ولكن إذا كنت تريد التأثير المخصص الخاص بك، فيمكن تحقيقه من خلال تطبيق واجهة Effect .
 class CustomEffect (
    override val duration : Long ,
    override val interpolator : TimeInterpolator ,
    override val repeatMode : Int
) : Effect {

  override fun draw ( canvas : Canvas , point : PointF , value : Float , paint : Paint ) {
    // draw your effect here.
  }
}انسخ هذا الريبو وتحقق من وحدة التطبيق.
 Copyright 2017 Taku Semba.

Licensed under the Apache License, Version 2.0 (the "License");
you may not use this file except in compliance with the License.
You may obtain a copy of the License at

   http://www.apache.org/licenses/LICENSE-2.0

Unless required by applicable law or agreed to in writing, software
distributed under the License is distributed on an "AS IS" BASIS,
WITHOUT WARRANTIES OR CONDITIONS OF ANY KIND, either express or implied.
See the License for the specific language governing permissions and
limitations under the License.