Silent Hill 2 Remake es la reinvención completa de Bloober Team de la obra maestra de terror original, y hay muchos misterios y terrores nuevos y familiares por descubrir durante el viaje de James a través del abismo de Silent Hill. Aquí tienes nuestro tutorial detallado para ayudarte con los numerosos objetivos, acertijos y otros secretos crípticos del juego.
El siguiente tutorial se realiza con ambos tipos de dificultad (es decir, Combate y Rompecabezas) configurados en Estándar , por lo que si juegas en una dificultad diferente puede haber una diferencia en la ubicación y/o disponibilidad de ciertos elementos, como bebidas saludables y munición. Las soluciones a los acertijos también pueden variar.
Después de la icónica escena inicial, oriéntate con los movimientos y las interacciones de James y toma tu primer mapa desde el asiento del conductor de su auto.
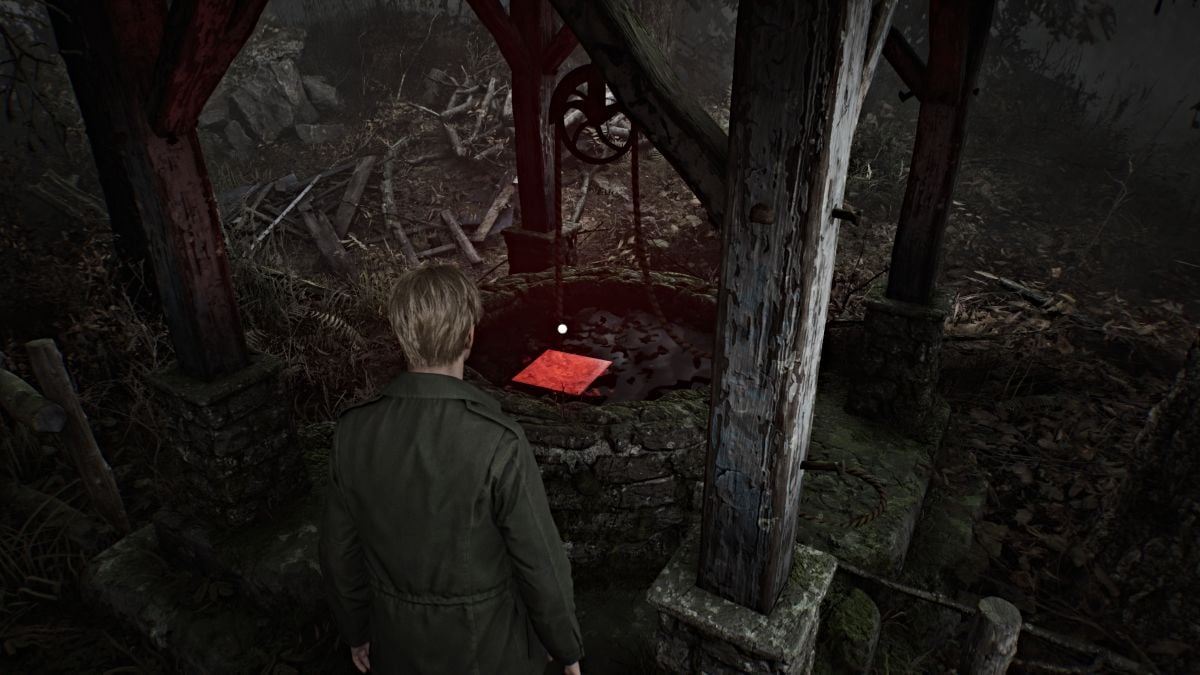
Baja las escaleras al final del área de observación y comienza tu larga caminata llena de niebla hacia Silent Hill. En un momento te encontrarás con un pozo del que emite una luz roja. Acércate a él; En el interior hay un cuadrado rojo brillante que indica su primer punto de guardado manual (a partir de ahora nos referiremos a ellos como "Puntos de guardado rojos" ). Encuentra y usa tantos de estos como sea posible durante tu partida.
Continúa por el camino principal hasta llegar a una iglesia con cementerio, donde te encuentras por primera vez con Ángela Orosco . Afirma estar buscando a su madre junto con su padre y su hermano, pero revela poco más. Después de la escena, siéntete libre de explorar el área, pero debes saber que no hay elementos para recoger aquí. También puedes hablar con Ángela unas cuantas veces más para tener un diálogo más exclusivo si lo deseas.
Sal del cementerio y sigue caminando por el mismo camino principal, que te llevará por la zona de Silent Hill Ranch.
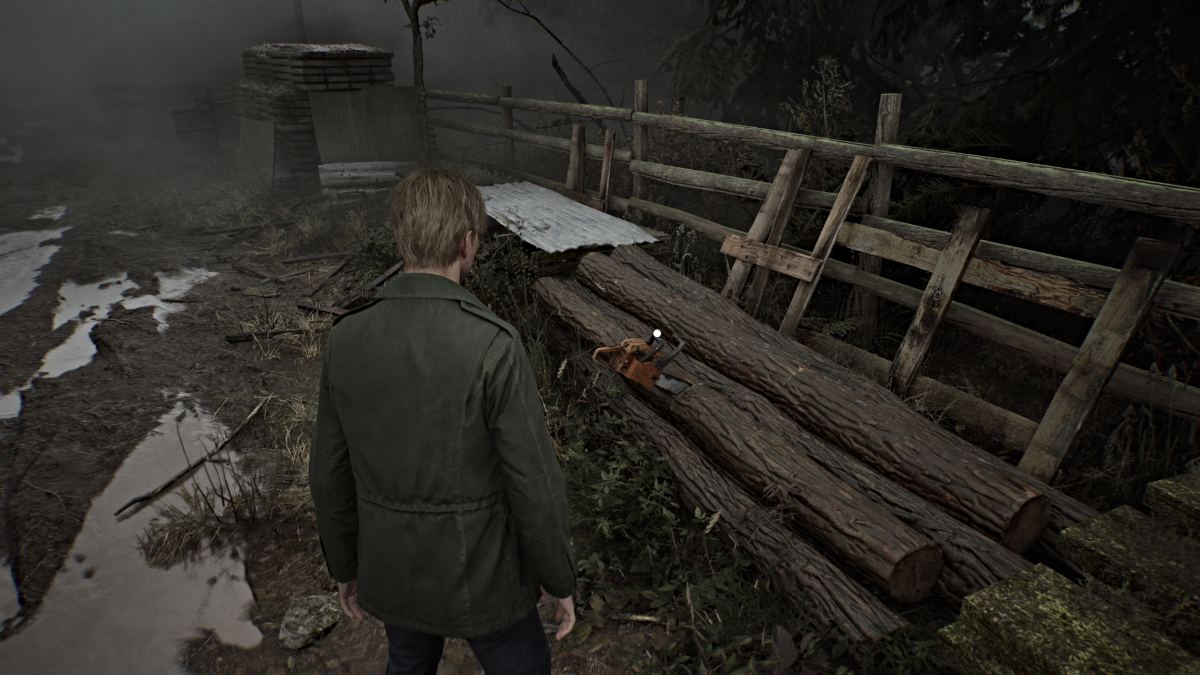
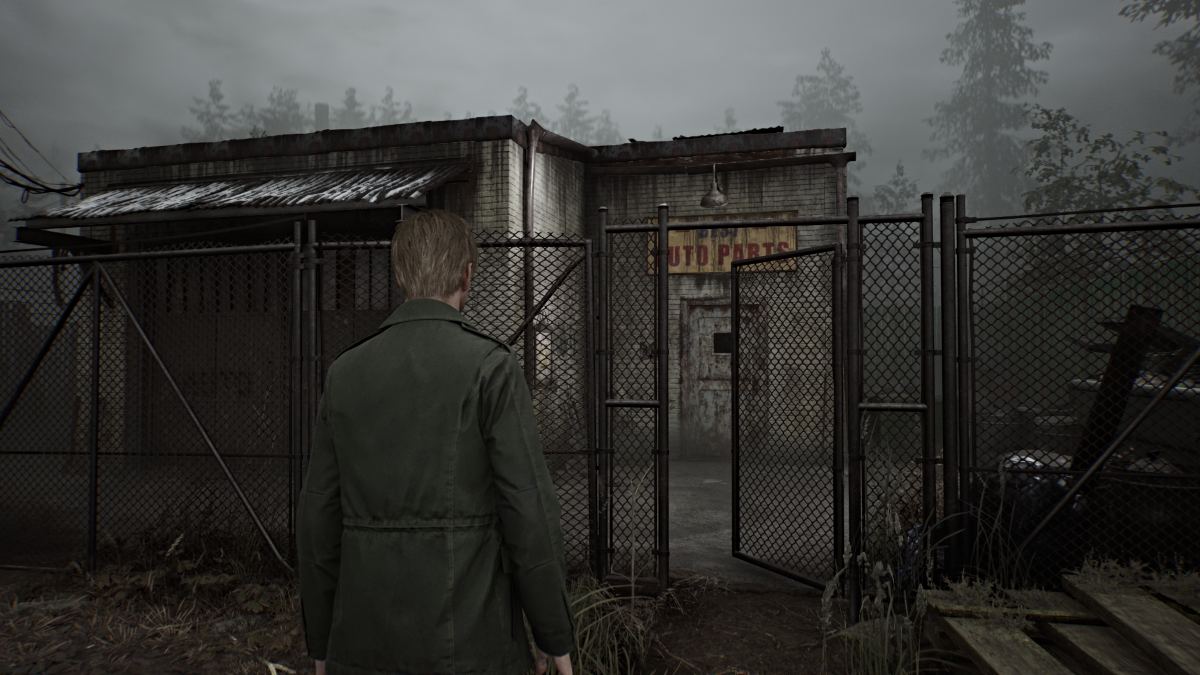
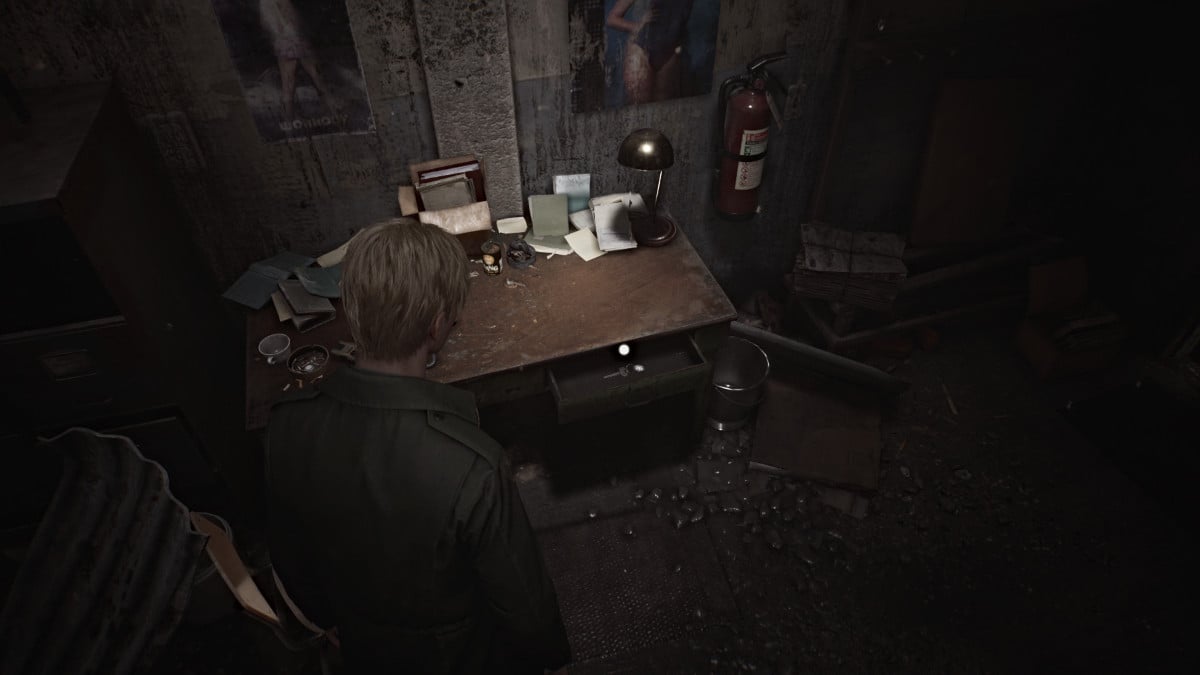
Continúe hasta llegar a una gran barricada en el camino con una pequeña puerta que está cerrada con llave. Busque una pequeña tienda de repuestos para automóviles cercana a su izquierda con la puerta abierta. Ingrese al local y gire a la izquierda alrededor del edificio donde podrá saltar por una ventana abierta. Busque un escritorio iluminado en el interior, y dentro del cajón estará la llave de piezas de automóvil que abre la puerta exterior que bloquea su camino.
Sigue recto por el camino hasta llegar a un lugar familiar (si jugaste el original) debajo de un paso elevado que está lleno de vallas y tablas rotas. Si bien no puedes ingresar, puedes interactuar con el lugar, ya que es un huevo de Pascua de Glimpse of the Past .
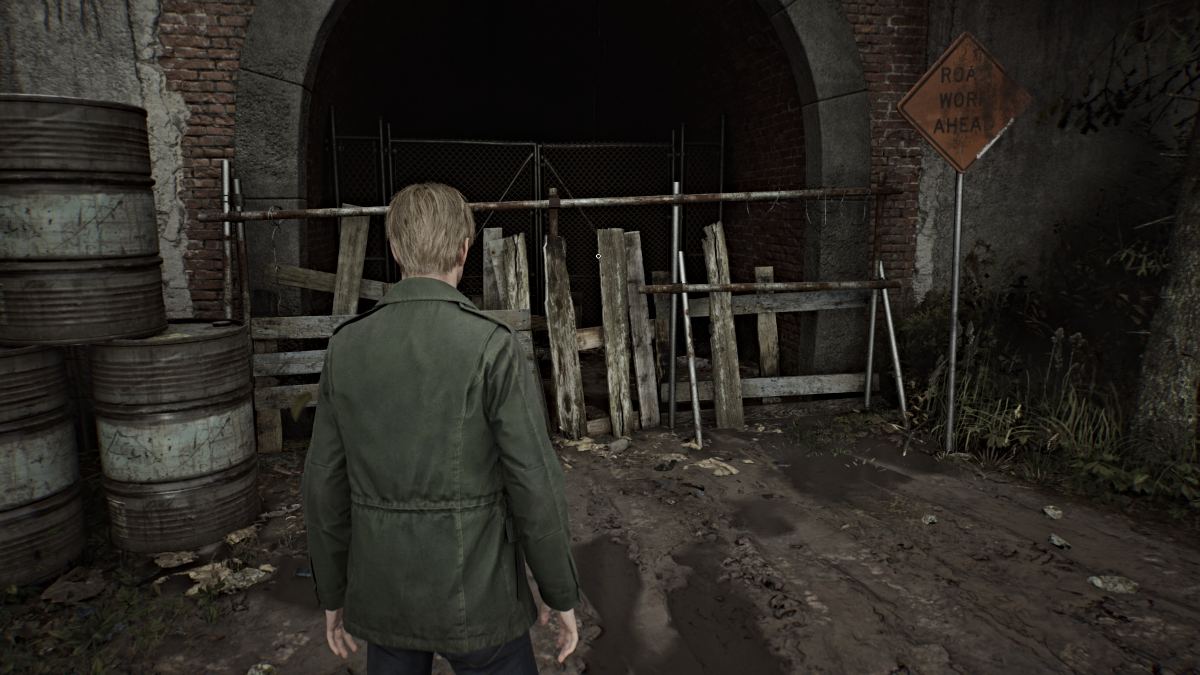
Gire a la izquierda debajo de un área abierta del paso elevado y cruce la puerta de adelante, que lo llevará a Witse Road (según su mapa) y a la ciudad de Silent Hill.
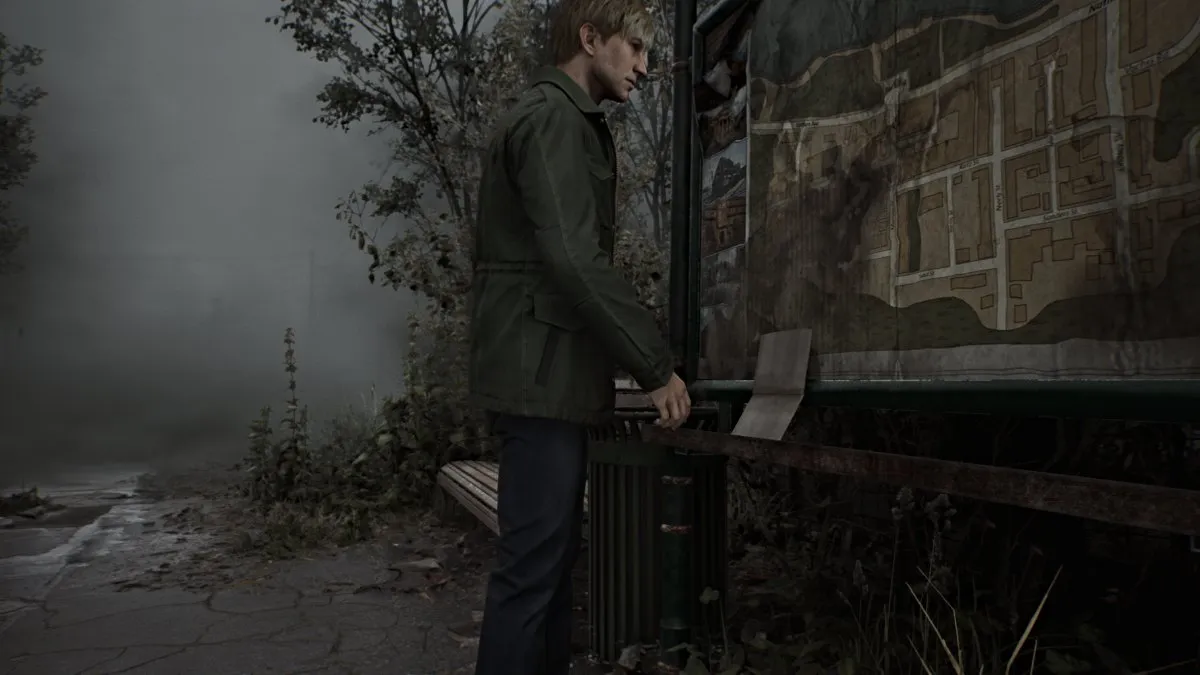
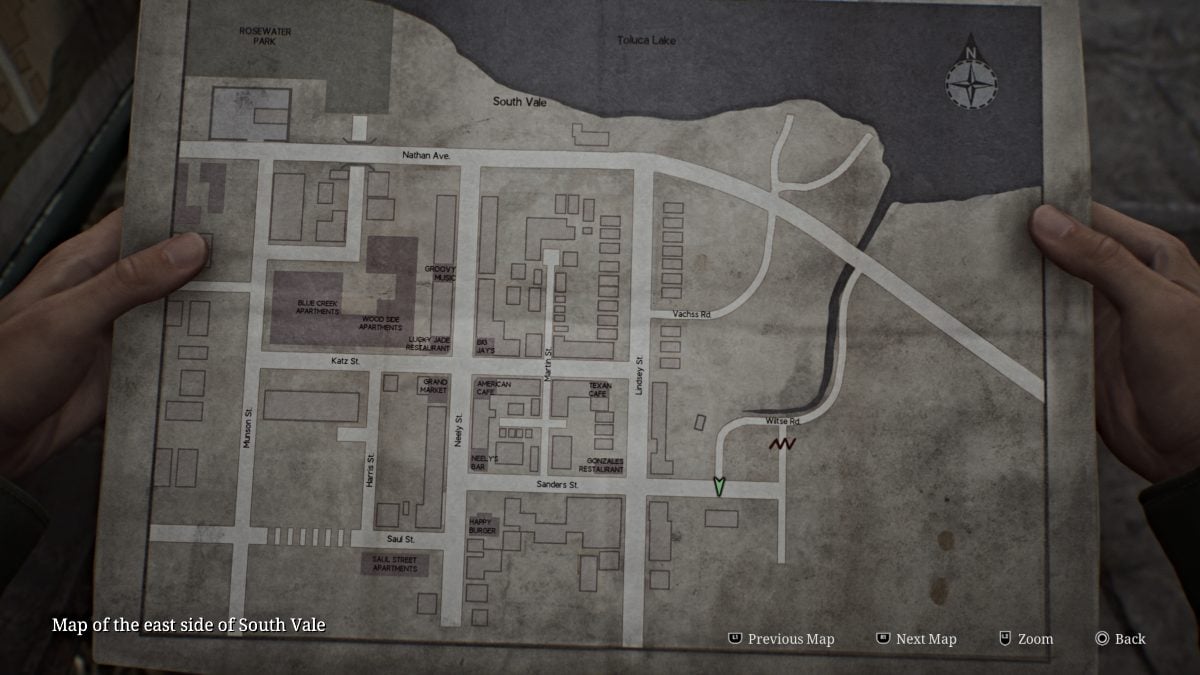
Al llegar a Sanders Street, se reproducirá una escena en la que James encuentra otro mapa más ampliado de la ciudad debajo de un letrero. Esto le permite ver los lados oeste y este del mapa de la ciudad y todos los puntos de referencia principales desde arriba.
En primer lugar, vaya a la floristería cercana y recoja el mensaje de la floristería (nota) en el mostrador.
Aparte de una mancha de sangre en el suelo cercano que James puede ver, no hay nada más que encontrar dentro, así que regresa y baja por Sanders Street hasta que veas un rastro de sangre mucho más grande que conduce hacia el norte por Lindsey Street. Todos los demás caminos están bloqueados por enormes barricadas por ahora, así que sigue el rastro.
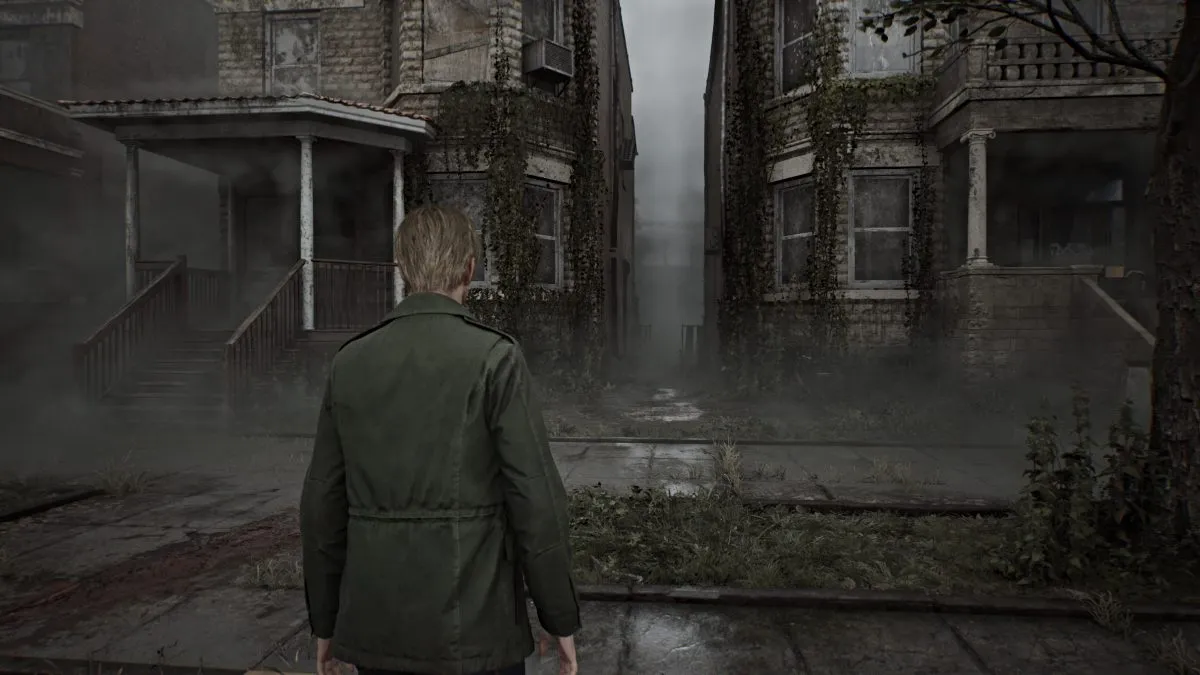
Otra escena revela una figura extraña caminando a lo lejos delante de James, y querrás seguirla. Sigue recto y las salpicaduras de sangre te llevarán a un desvío inquietante en el lado izquierdo de la carretera entre dos edificios (visto arriba).
Antes de atravesar el callejón, gira y corre por Vachss Road hasta llegar a una puerta de "No entrar". Interactúa con él para echar otro vistazo al pasado .
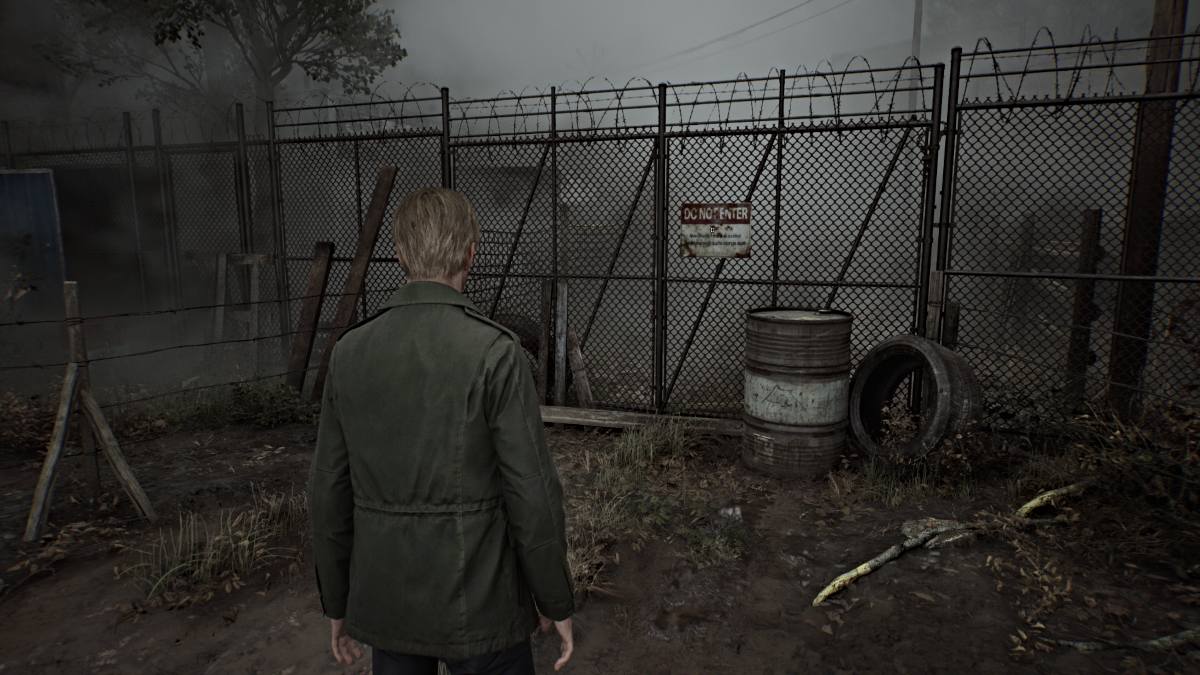
Ahora, atraviesa el callejón y sigue los ruidos extraños a través del área del callejón trasero hasta llegar a un garaje con un agujero roto en la parte inferior de la puerta. Arrástrate para entrar a la casa.
Utilice el punto de guardado rojo en la pared cercana y luego vaya directamente a la cocina. Toma una bebida saludable de uno de los cajones y continúa hasta la puerta a tu izquierda. Siga lo que suena como estática de radio por el pasillo hasta que pueda entrar por una puerta a su derecha. Dentro de la sala, habrá una Radio sentada en un sillón.
Cógelo y aparecerá una escena en la que James se enfrenta a la misma figura de antes, que resulta ser un monstruo (conocido como Figura Mentirosa ).
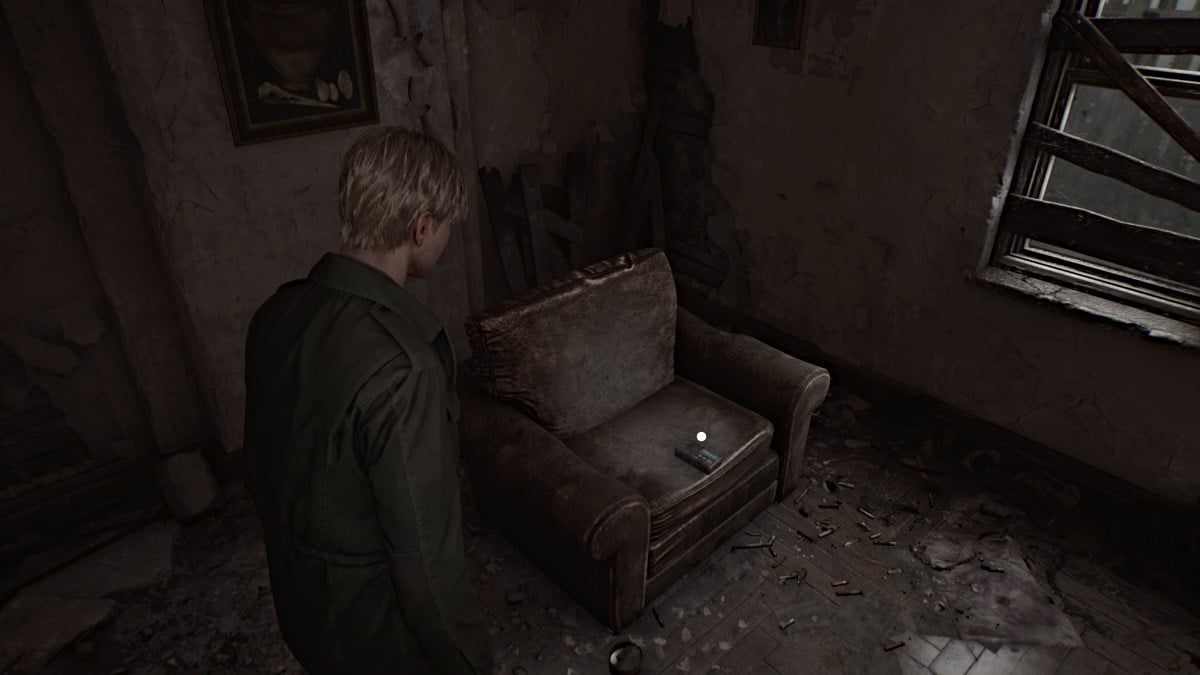
Esta es tu primera introducción al sistema de combate del juego, que te permite atacar y esquivar (usando los botones apropiados). Usa la tabla de madera que James agarra desde la ventana para asestar golpes a la figura tumbada mientras observas sus ataques físicos y con ácido. Mantén presión sobre él hasta que caiga al suelo y usa el mismo botón de Ataque para pisotearlo hasta que muera.
Continúa por la casa hasta que encuentres un hueco roto en una pared por el que deslizarte. Abra el botiquín de primeros auxilios en el escritorio a su derecha para obtener una jeringa (artículo de salud fuerte) y luego abra la ventana con su tabla para escapar de la casa. Después de una escena, puedes continuar desde Martin Street.
En el punto más al norte de Martin Street encontrará otro Vistazo al pasado cerca de una valla blanca (que se ve a continuación).
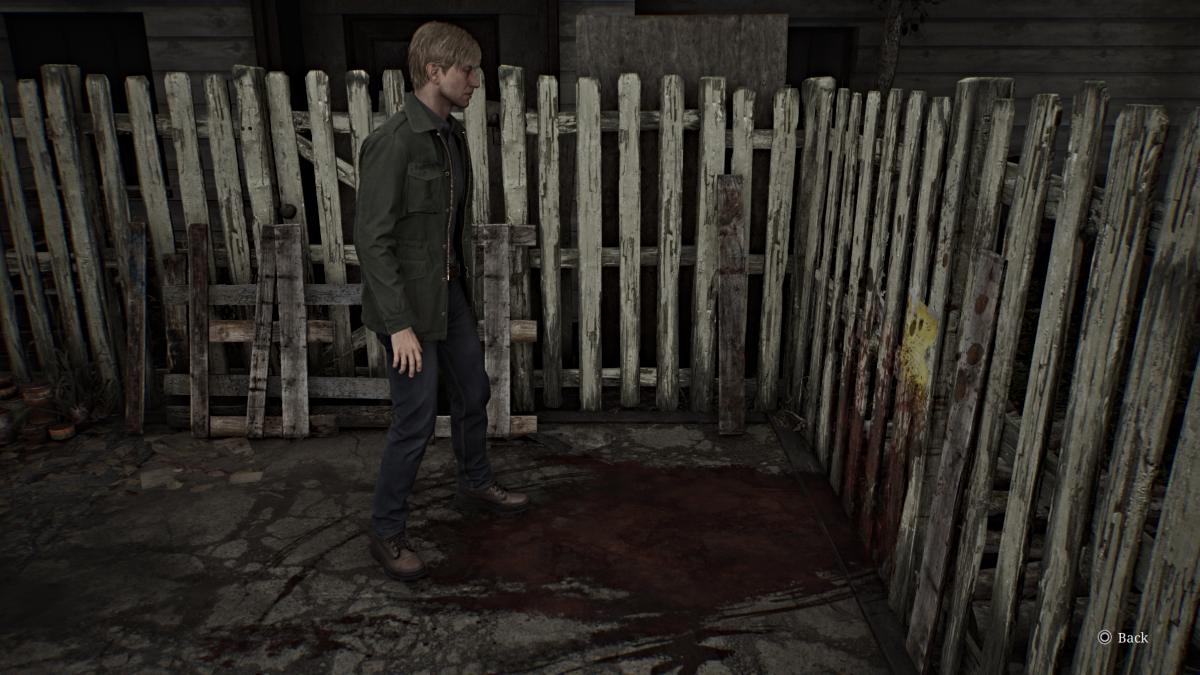
Ahora corre hacia el sur e interactúa con el cadáver ensangrentado en el pavimento más adelante para recoger una caja de cerillas en Neely's Bar , uno de tus próximos destinos. Además, recoja el Martin Street Note unos metros delante del cadáver.
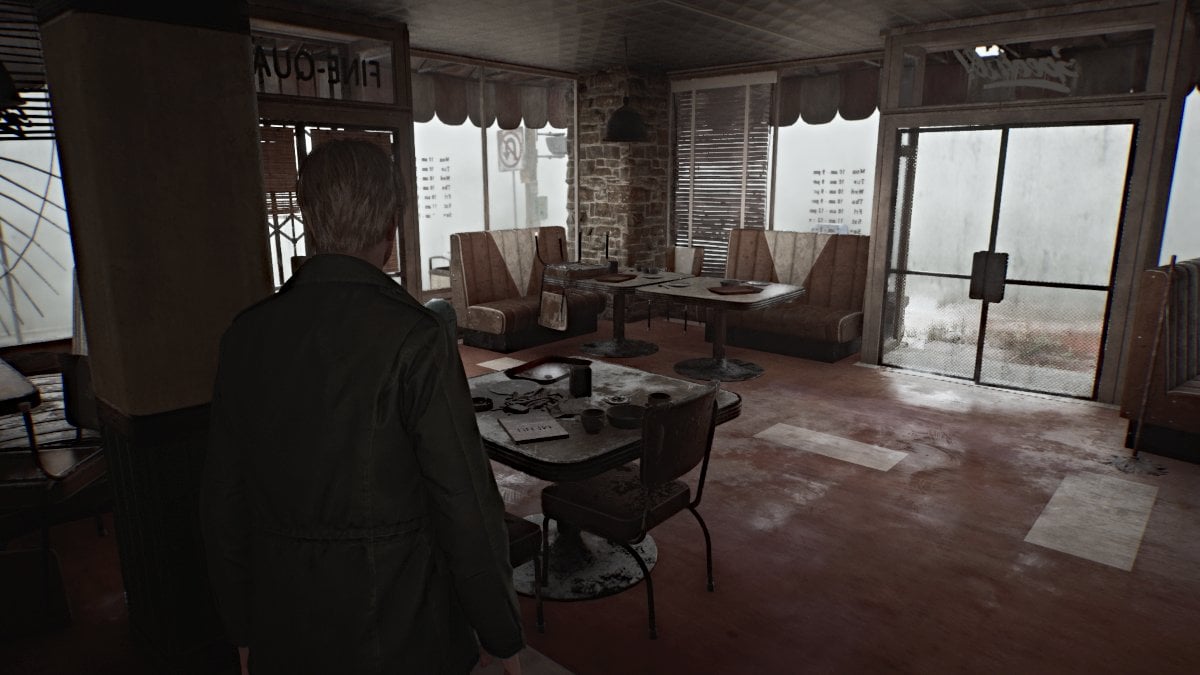
Varios monstruos ahora estarán activos en varios lugares alrededor de Silent Hill, así que asegúrate de cuidarte las espaldas, elegir tus batallas y usar tus elementos de salud con prudencia.
Continúe por Katz St hasta encontrar la puerta trasera del café Big Jay . Entra y ten cuidado con la figura tumbada que acecha en el interior. Ocúpate de ello y dirígete al frente del café para encontrar Big Jay's Note en una de las mesas. Habrá una bebida saludable en otra mesa en el área del stand. Salga por la entrada principal de la cafetería hacia Neely Street.
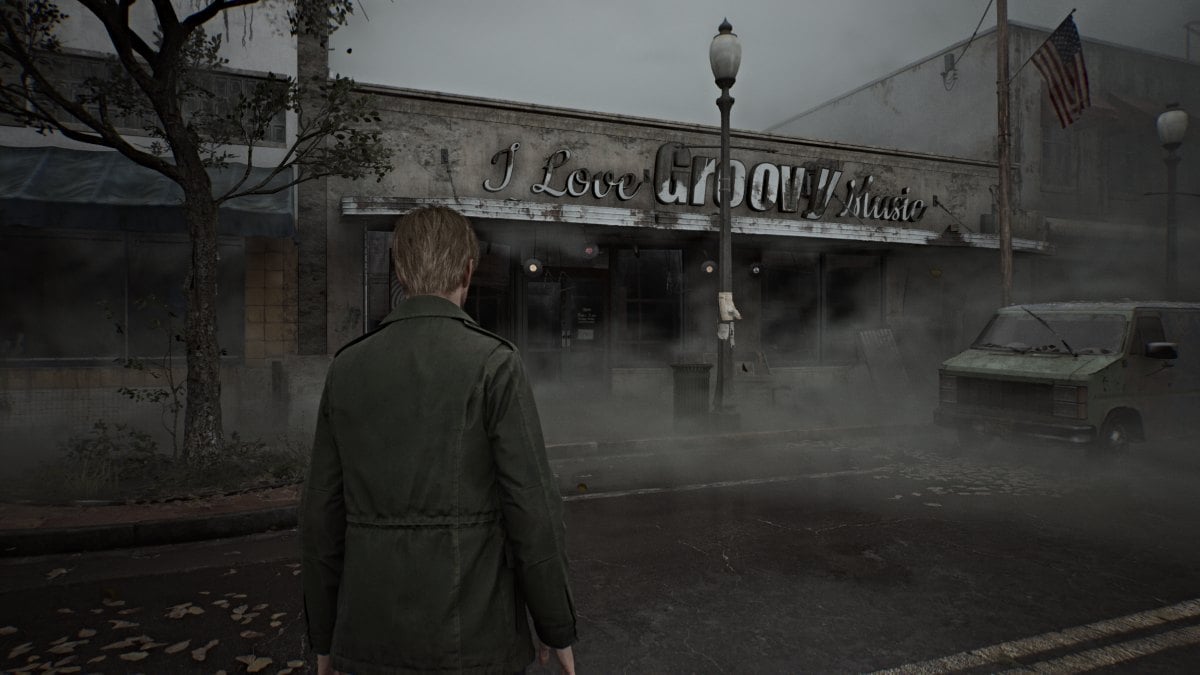
Primero, dirígete hacia el norte por Neely y rompe las ventanas del coche de policía cercano para conseguir tu primer lote de balas de pistola , que te serán útiles más adelante. Cuando llegue a I Love Groovy Music Shop (fácil de detectar por las campanas de viento), primero desvíese hacia el callejón opuesto para tomar una bebida saludable en una mesa.
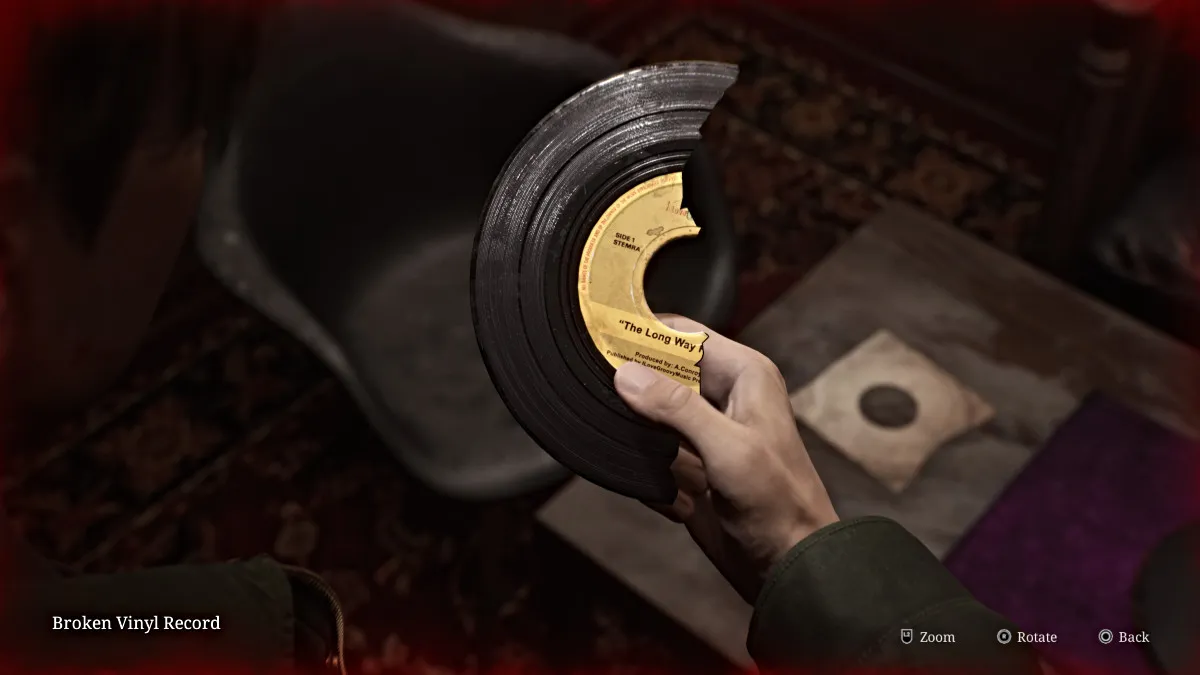
Vuelve a la tienda de música y entra, donde te estarán esperando dos figuras mentirosas. Haz tu mejor esfuerzo para lidiar con ellos uno a la vez, ya que ahora solo tienes una tabla para defenderte. Una vez hecho esto, recoge la nota de la tienda de discos del mostrador y luego dirígete hacia atrás y rompe una de las grandes ventanas para entrar a la sala de discos. En la mesa baja del centro habrá pegamento de vinilo y un disco de vinilo roto .
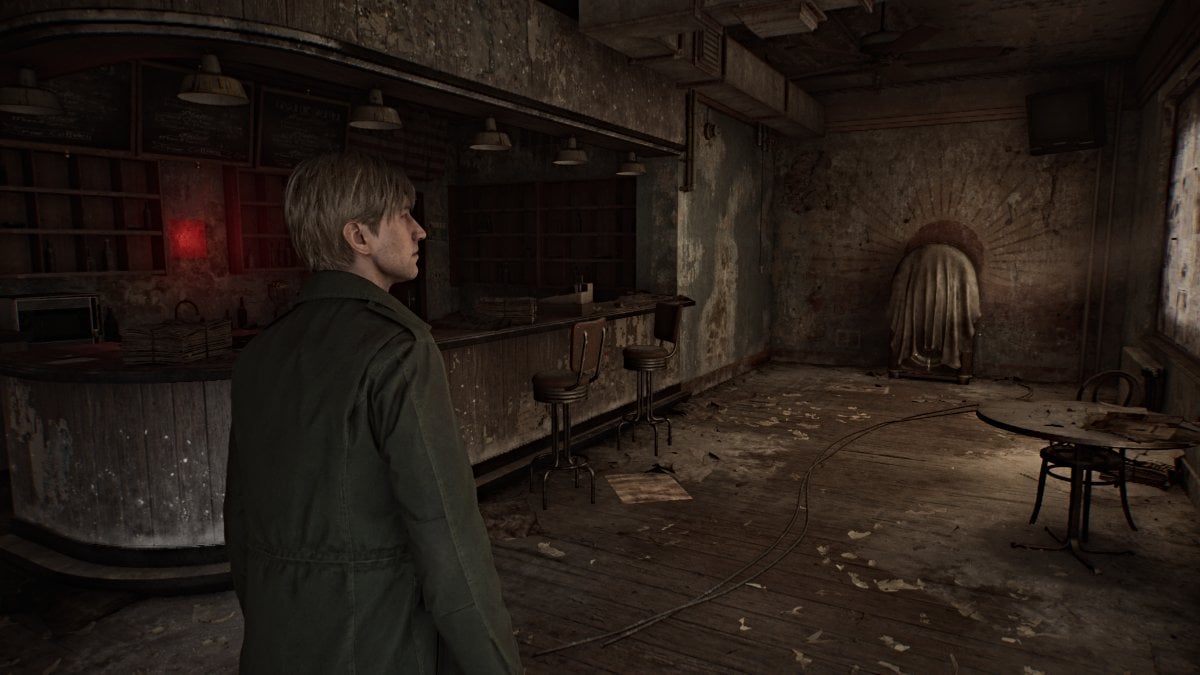
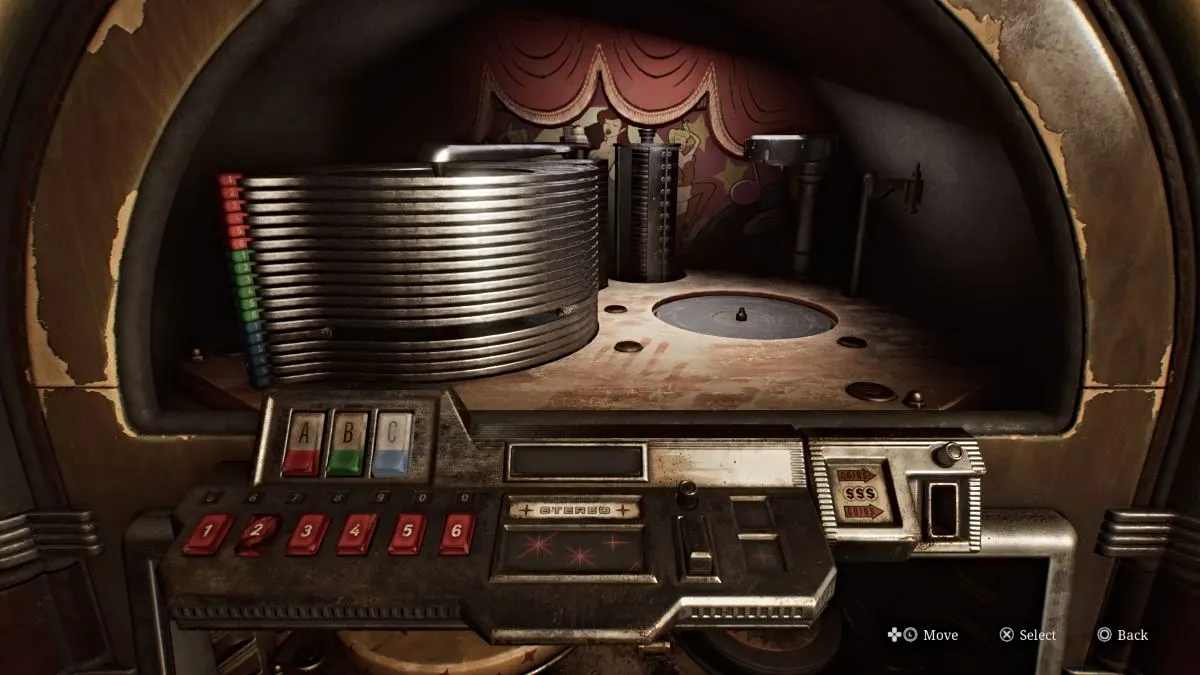
Sal de la tienda y finalmente dirígete hacia Neely's Bar . En el interior habrá otro punto de guardado rojo en la pared a tu izquierda, la nota de barra de Neely en el mostrador y una puerta cerrada que requiere una clave especial. En una de las ventanas hay un mensaje inquietante que dice : "Había un AGUJERO aquí. Ya no está". . Junto a la pared del fondo hay una máquina de discos rota que sirve como primer rompecabezas del juego.
En su interior hay la mitad de un disco de vinilo roto sobre una pista esperando a ser reproducido. Interactúa con él para eliminarlo de la máquina y agregarlo a tu inventario. Ahora, usa el pegamento de vinilo y la otra mitad del disco de vinilo roto para combinar ambas piezas. Esto le dará el disco de vinilo pegado , titulado "The Long Way Home" .
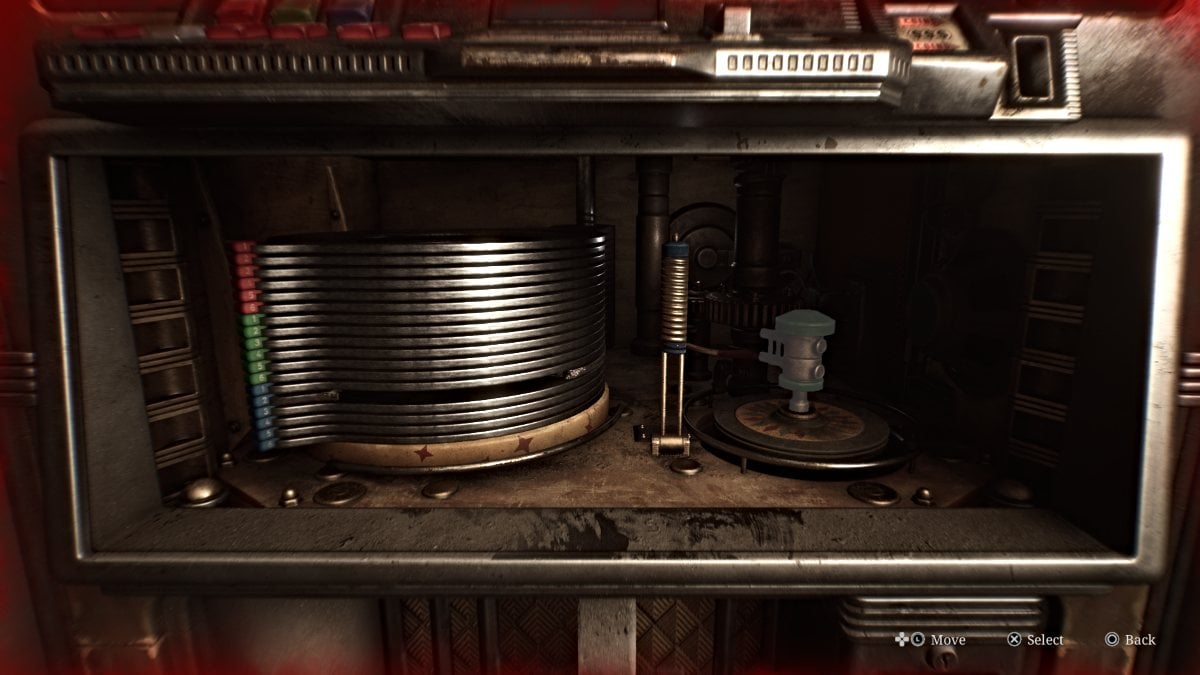
A continuación, debes preparar la máquina para reproducir el disco, y en su interior hay tres partes que puedes mover y que son de color azul, rojo y verde . Tu primer objetivo es conectar la parte roja con la parte verde para que pueda moverse hacia atrás y apartarse de la parte azul, que debes empujar hacia abajo.
Una vez que hayas hecho eso, presiona la parte verde hasta que saque la pista para que coloques el disco de vinilo pegado. Luego se levantará el mecanismo de pista, donde deberá presionar los botones correctos para reproducir el disco. Sin embargo, falta el botón '2' que necesitas y también necesitas una moneda . Así que deja la máquina de discos por ahora.
La nota del Colegio de Abogados de Neely indica que un hombre se escapó con el botón y la mitad del disco (que usted ya arregló) y que vive en el apartamento 9 de Saul Street, junto a la farmacia. Los Saul Street Apartments estarán rodeados por un círculo en su mapa.
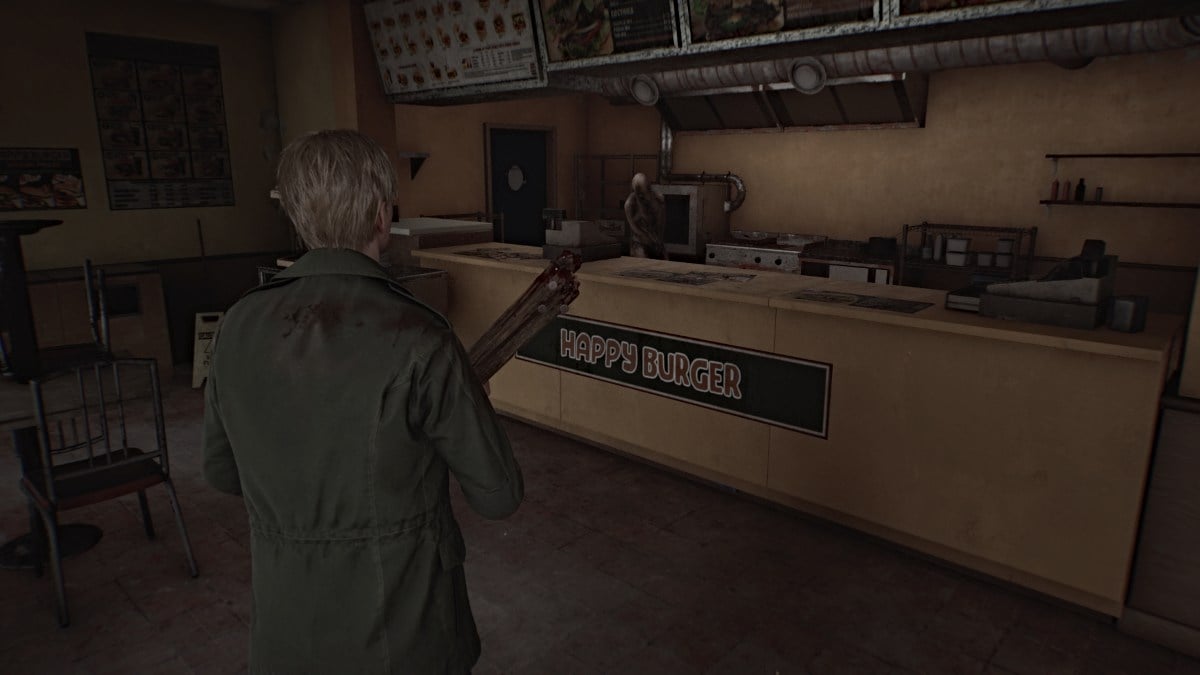
Dirígete hacia Saul Street Apartments . Puedes ver Happy Burger en el camino si quieres, pero tiene tres figuras mentirosas acechando dentro y alrededor. Todo lo que hay dentro es una bebida saludable (en la mesa justo al lado de la ventana por la que saltas) y una jeringa (área de cocina) que está custodiada por uno de los monstruos.
A menos que te sientas lo suficientemente seguro como para luchar o pasarlo corriendo, te recomendamos simplemente tomar la bebida saludable por ahora y continuar.
Ingrese a Saul Street Apartments y tome nota de la oficina inmediatamente a su derecha. La puerta está cerrada con llave, pero aún puedes entrar avanzando por el pasillo hasta la siguiente puerta a la derecha (Apartamento 1), donde puedes empujar una cómoda para apartarla. Dentro de la oficina, también encontrará la llave del apartamento 5 y una pequeña nota sobre una fuga. Además, tome nota del mapa del edificio en la pared del pasillo (que se ve a continuación) para encontrar el camino hacia el apartamento correcto.
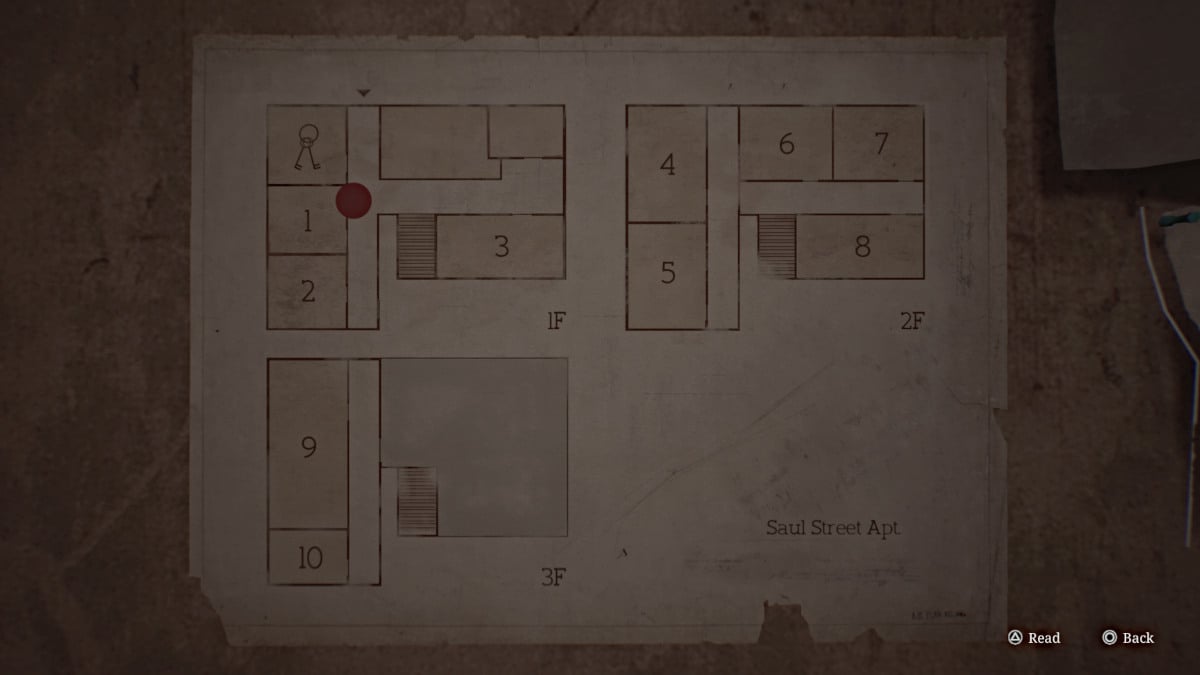
Sin embargo, antes de dirigirse allí, gire a la izquierda, pase las escaleras y atraviese la puerta rota a su izquierda, frente al Apartamento 3, que conduce a Green Pharmacy . Habrá una jeringa en un botiquín de primeros auxilios en una mesa a su derecha al entrar.
Ahora retroceda hasta la escalera que conduce al segundo piso de apartamentos y vaya a la derecha hasta que vea un espacio de acceso al lado del Apartamento 7 . Revíselo y dentro encontrará la Nota del inquilino . Vuelve por el espacio de acceso o la puerta que puedes desbloquear y ahora dirígete al Apartamento 5. Usa la llave para entrar y busca un hueco en una pared que te lleve al Apartamento 4 . Durante una escena, el ruido que causa James causará disturbios en el tercer piso de arriba, en el Apartamento 9, al que debes llegar. Divertido.
No hay artículos para recoger aquí, así que pasa por el siguiente hueco en la pared que conduce al otro lado del pasillo bloqueado por escombros. Pasa por la ventana abierta al balcón y sube las escaleras de emergencia hasta encontrar otra ventana abierta en el extremo derecho de la parte superior. Tan pronto como saltes por las escaleras de incendios, no volverás atrás.
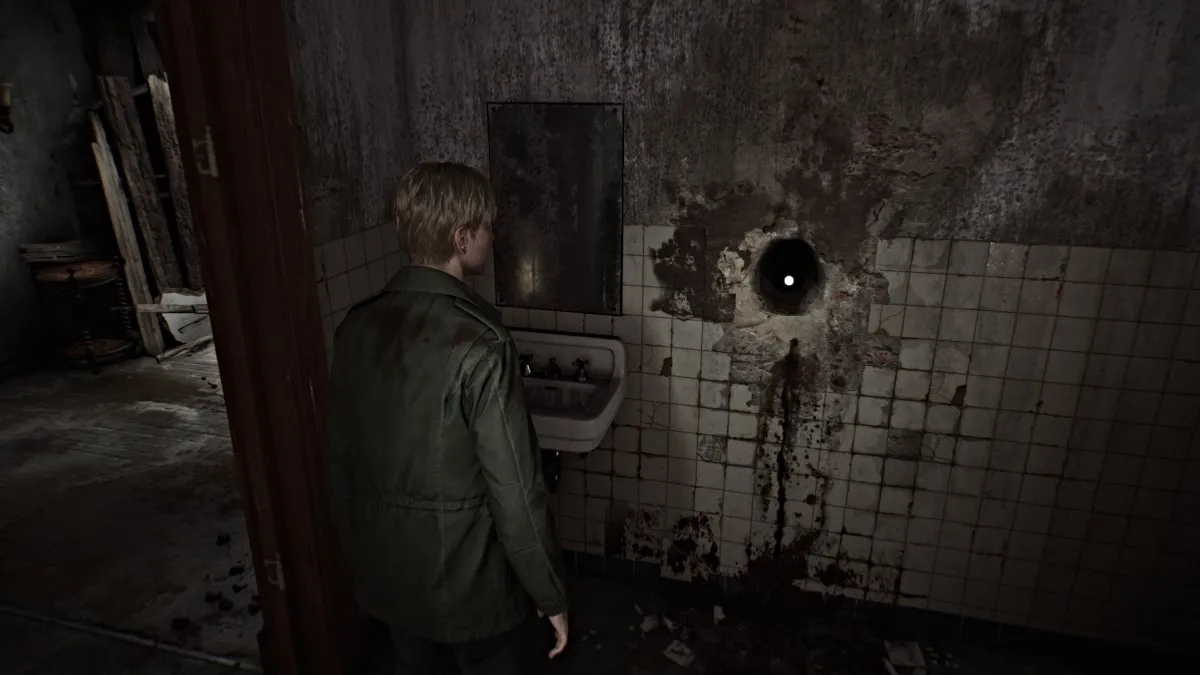
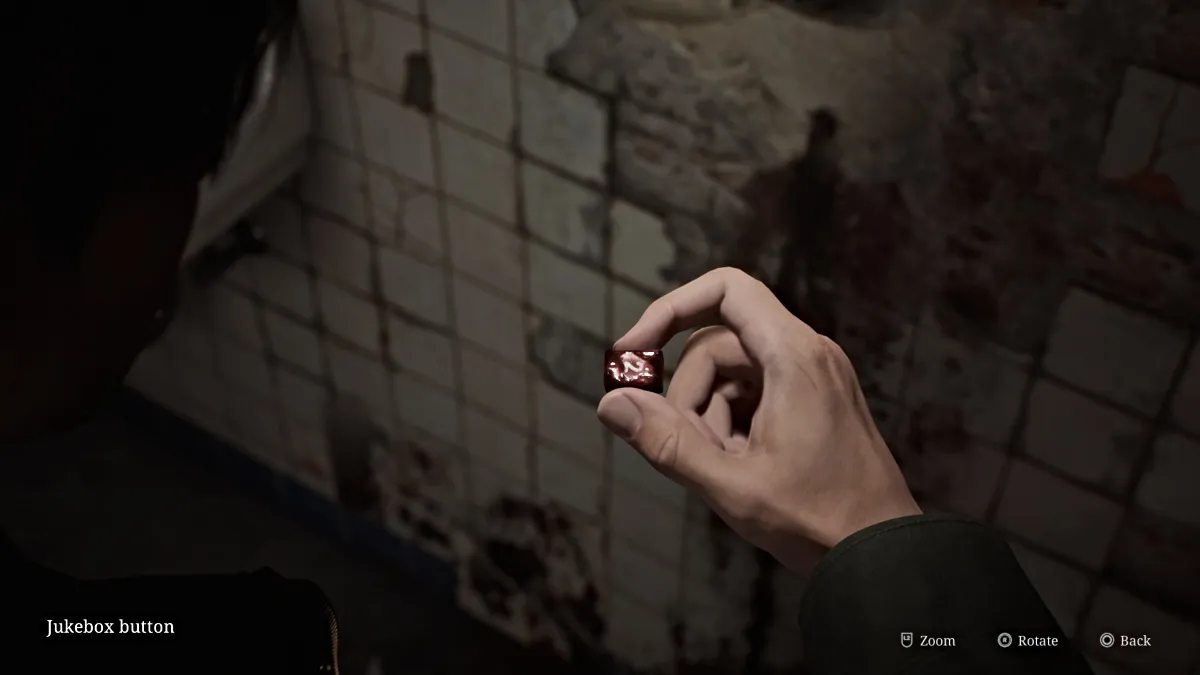
Vaya a la puerta al lado del baño y se reproducirá una escena en la que James intenta abrir la puerta solo para encontrarla cerrada con cadenas, un olor horrible desde adentro y su mano del pomo manchada con una sustancia negra. Ahora, ve al baño al lado donde habrá un gran agujero en la pared (visto arriba). Interactúa con él para "buscarlo" (sonidos encantadores incluidos) hasta que James saque el botón "2" que falta para la máquina de discos .
Ahora dirígete al techo por la puerta cercana y verás una escalera delante de ti.
La puerta a tu derecha conduce a otra escalera interior, pero está completamente destruida, por lo que no es una opción. Baja la escalera y terminarás en el área de basura del edificio. Sal por la puerta que estaba cerrada por el otro lado.
Puede continuar por Saul Street y, a la izquierda, verá una casa rodante detrás de una puerta abierta. Una figura acostada cerca de ella se acercará a ti, así que ocúpate de ella y luego entra. Coge la nota sobre la casa rodante y una bebida saludable , luego, cuando salgas, la nota de Saul Street en el suelo que te dice: "Pueden matarlos. Solo asegúrate de que permanezcan abajo" .
Además, asegúrese de tomar el mapa antiguo (otra nota) que se encuentra en la calle cerca de la casa rodante.
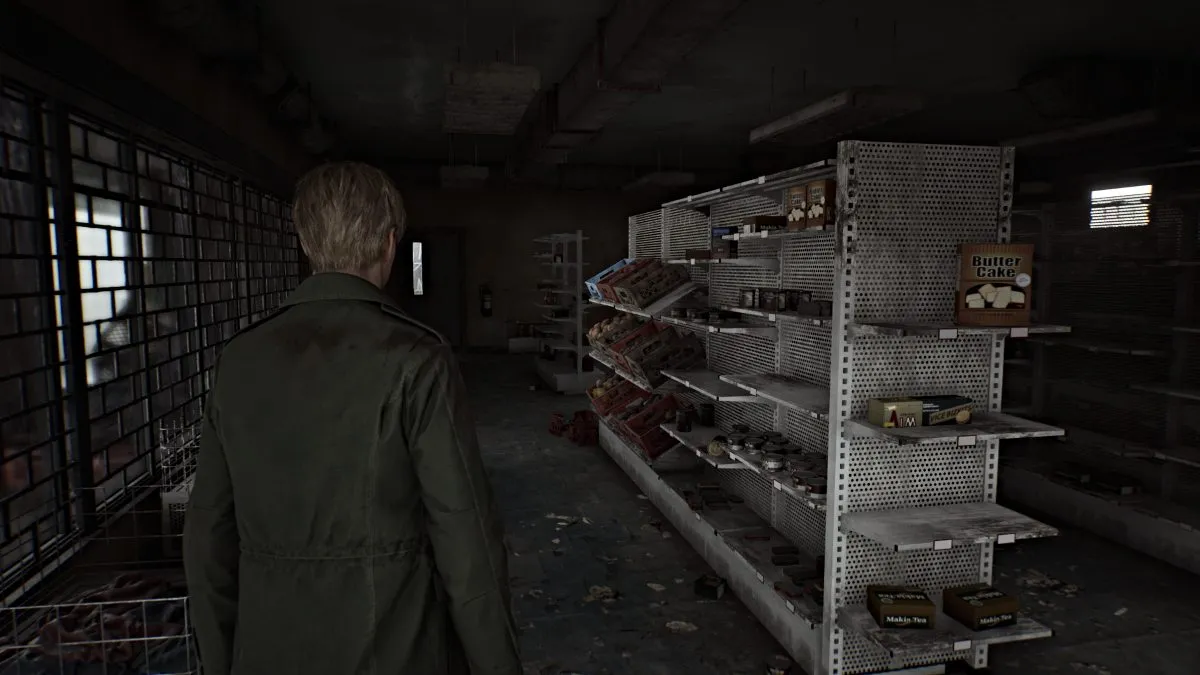
Aún necesitas la moneda para reproducir el disco en la máquina de discos, así que no regreses todavía al Neely's Bar. Primero, pasa por Neely Street hasta encontrar un callejón abierto con una puerta trasera al Grand Market . Necesita un código para desbloquear la puerta, y la nota de código que se encuentra cerca de un camión en Sanders Street le dará una pista.
Esencialmente, la persona que lo intentó por última vez llegó al número '4439' y sintió que estaba "muy cerca ahora". Eso significa que puedes ingresar los números siguientes hasta que lo hagas bien, pero para ahorrar tiempo, el código es '4444' (dificultad de rompecabezas estándar). En el interior, encontrarás la friolera de cuatro bebidas saludables y dos cajas de munición para pistolas , por lo que la parada en boxes bien vale la pena.
Gira a la derecha en Calle Katz y corre hasta el Texan Café en el otro extremo, junto a la gran barricada. Pase por la puerta lateral desbloqueada hasta la caja registradora detrás del mostrador. Utilice la llave que se encuentra dentro de la caja registradora y el botón en la parte inferior para abrir el cajón y recuperar una moneda de barra de Neely . Cuidado con la figura mentirosa que te tiende una emboscada después.
Ahora es el momento de regresar al Neely's Bar, pero antes de hacerlo, asegúrate de haber agarrado el Sanders Street Note del cadáver que yace cerca de un gran camión a medio camino de Sanders Street.
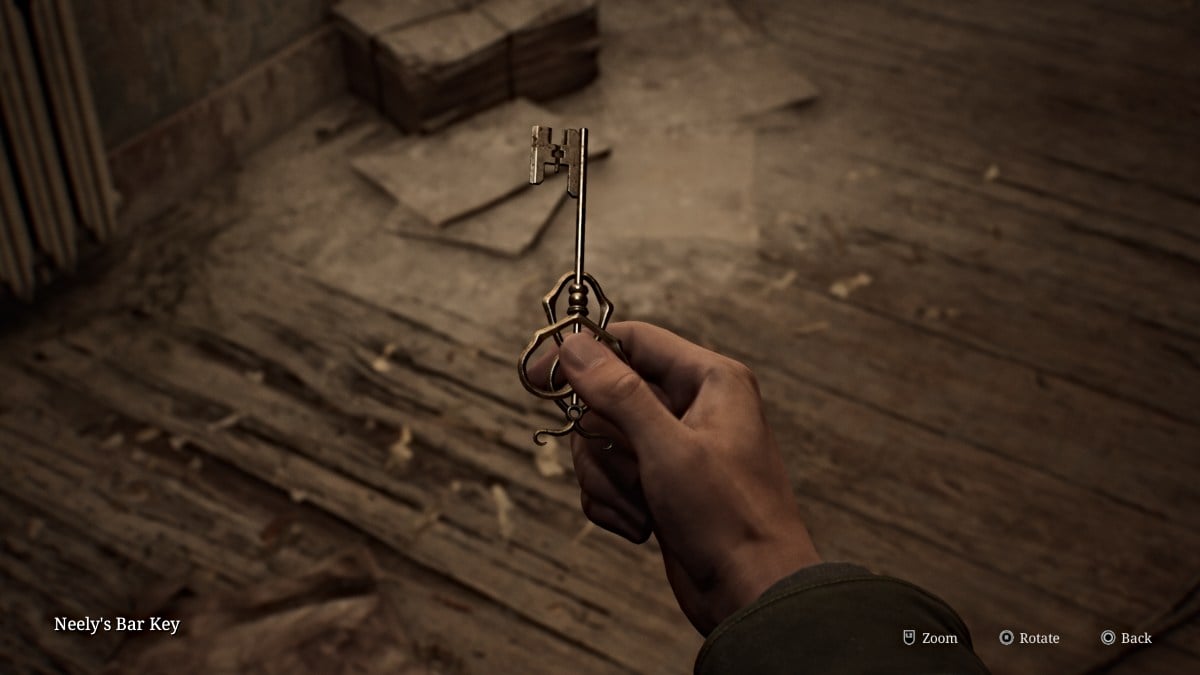
Inserte la moneda de barra de Neely en la máquina de discos y presione los botones 'C' y '2' para finalmente reproducir el disco. Suena una melodía familiar mientras James experimenta un flashback inconexo. Después de terminar (o más bien romperse), la máquina de discos escupe la llave de la barra de Neely , que puedes usar en la puerta cerrada cercana.
Cruza la puerta e inmediatamente mira a tu derecha. Se puede ver un espacio de acceso en lo alto de la pared y tendrás que usar el carrito que bloquea el camino para llegar a él. Empújalo hacia la pared, luego sube y atraviesa.
Toma la bebida saludable del botiquín de primeros auxilios en la pared y luego ve a la siguiente habitación y recoge la carta de la trastienda del escritorio, que indica que necesitas encontrar un auto verde y azul con una placa que termina en '06' cerca. por. Sal por la puerta trasera que conduce a otro callejón lleno de coches.
El único auto en el área que tiene algo es el auto verde brillante a su derecha en la intersección con Martin Street. En el asiento del conductor habrá una bebida saludable . Retrocede y continúa recto hacia el signo de interrogación en tu mapa que dibujó James. Pasa por la puerta de la barricada y el coche verde azulado abandonado estará a tu derecha, con un montón de ropa ensangrentada al lado.
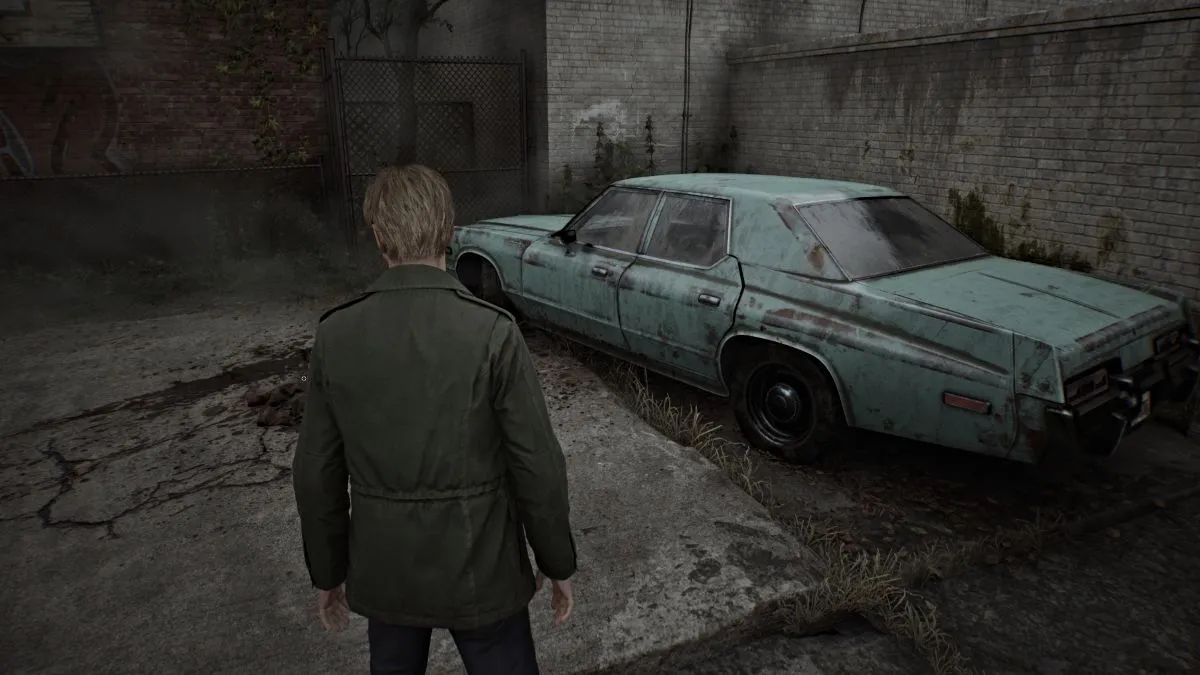
Interactúa con él y James sacará la llave de Wood Side Apartments antes de ser emboscado por múltiples figuras mentirosas. No puedes luchar contra todos ellos, así que busca una salida a través de un callejón cercano (la puerta por la que entraste estará cerrada, así que no lo intentes). El callejón te llevará de regreso a Katz Street, que también está llena de figuras mentirosas ahora que debes evitar para preservar tu salud.
Primero, corre hacia el oeste por Katz Street hasta llegar a la enorme barrera. Toma la nota de barrera que está en el suelo y busca un espacio en la barrera donde puedas ver una frase escrita con sangre (que se ve a continuación) para otro vistazo al pasado .
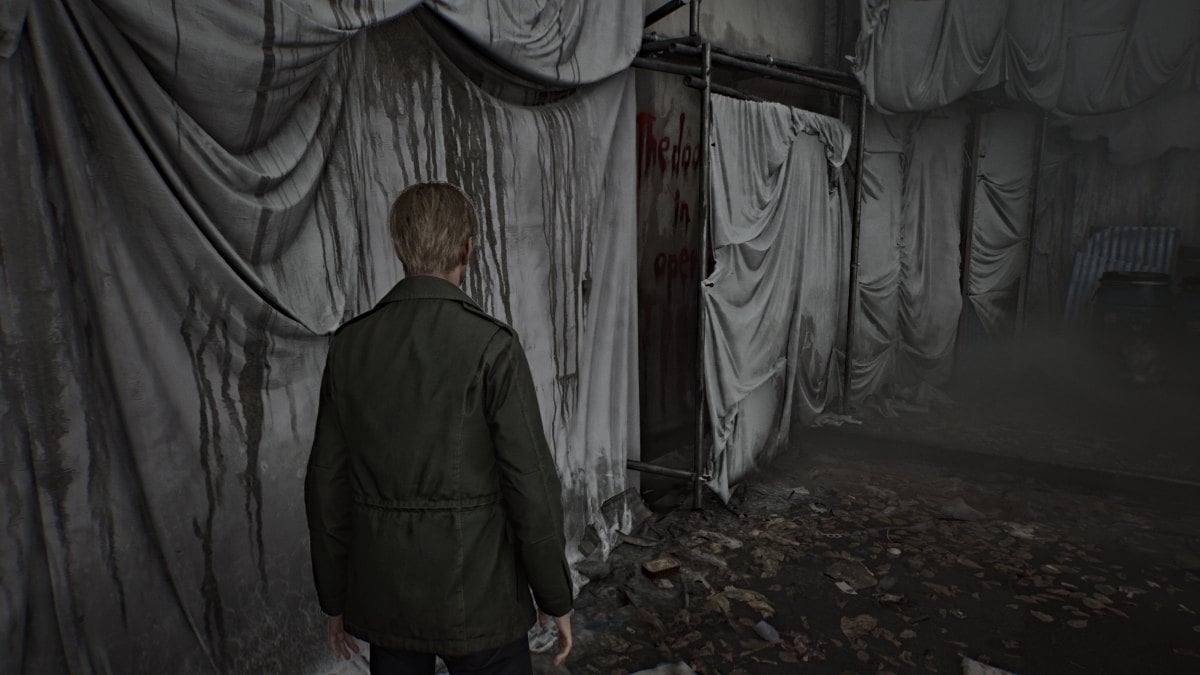
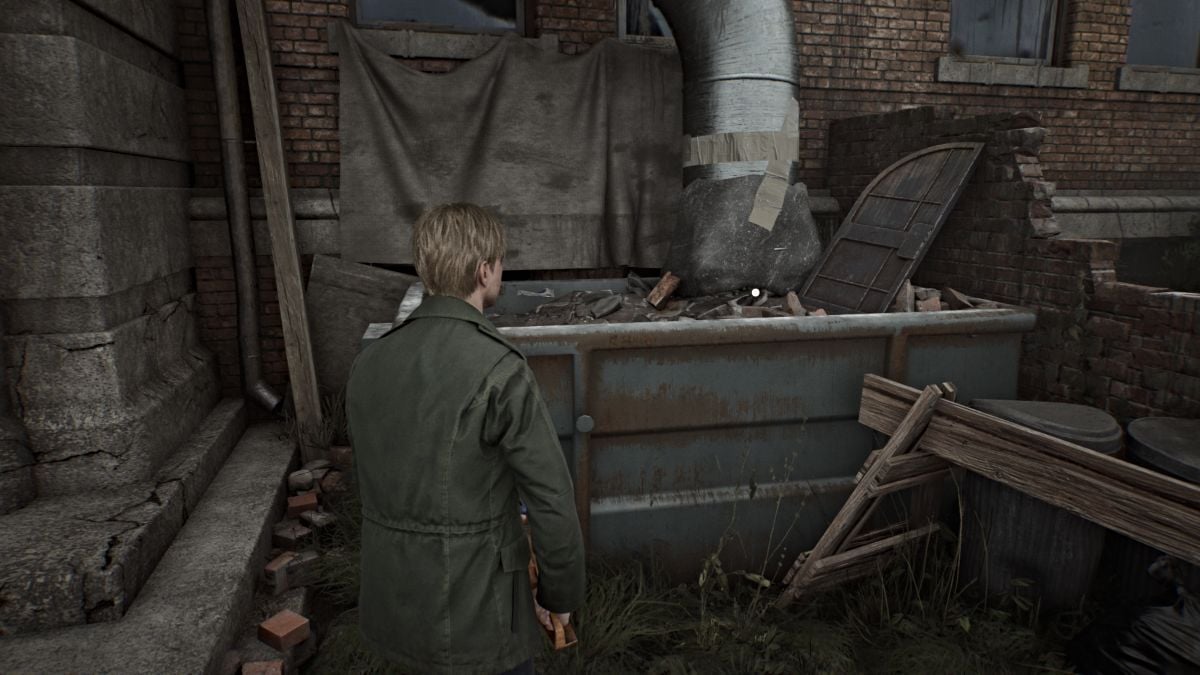
Ahora retroceda hasta que vea la entrada a Wood Side Apartments a su izquierda. Antes de entrar, corre hacia el contenedor de basura a la derecha de la entrada (visto arriba) e interactúa con él para echar un vistazo más al pasado . Toma el memorando del Texan Cafe Flyer del tablero cercano y luego usa la llave para entrar.
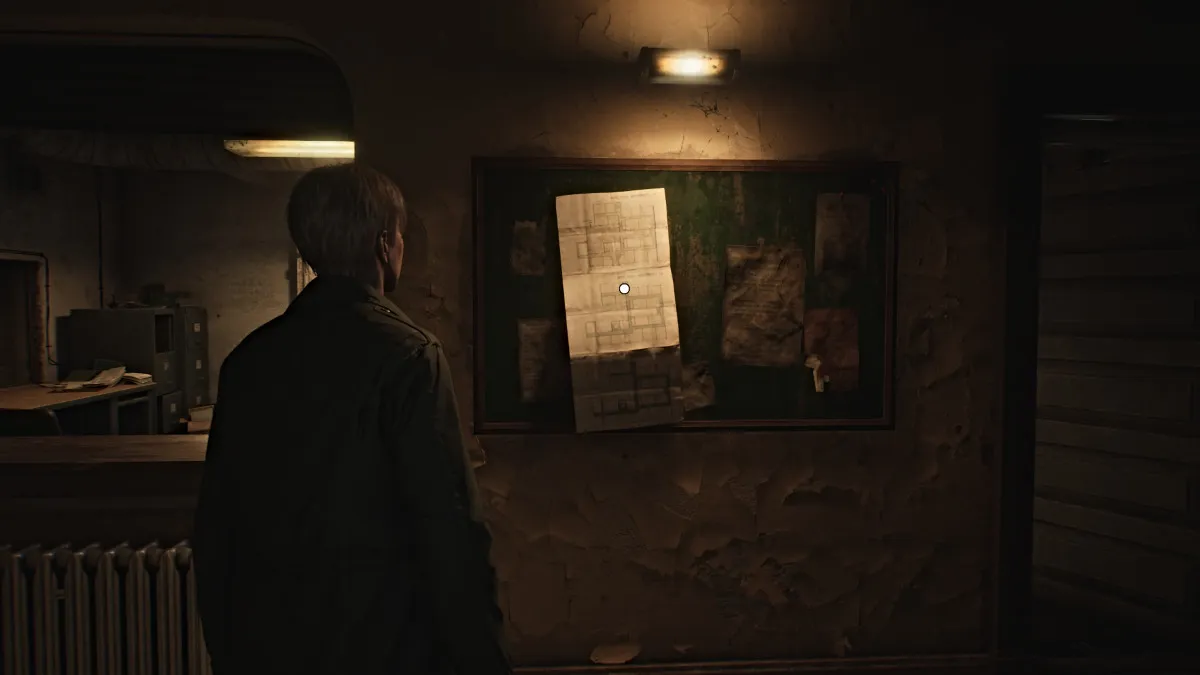
Dirígete al vestíbulo y toma el mapa del edificio de apartamentos del tablón de anuncios en la pared. Le mostrará el diseño de Wood Side Apartments 1F-3F y podrá recorrer cada piso usando el botón correspondiente. Luego, ingrese a la oficina del lobby y use el punto rojo de guardado a su izquierda. Vaya a la habitación más allá y abra el gabinete a su derecha inmediata para munición para pistola .
Debajo de una sábana al otro lado de la habitación, James descubrirá un extraño gabinete que sirve como el siguiente rompecabezas que debes resolver. Necesitarás encontrar monedas especiales para colocar en las muescas, así que volveremos a ello más adelante.
Revisa el baño de limpieza a la derecha de la oficina para ver más munición para pistola . Las otras puertas de ese lado están cerradas por ahora, así que regresa al lado izquierdo del piso. Vaya hacia la parte trasera izquierda, donde hay un estante lleno de carpetas de documentos y tome la nota administrativa , que habla sobre disparos provenientes del Apartamento 217 . Además, tome otra bebida saludable sentada debajo de las escaleras.
Todas las demás puertas del primer piso están cerradas, así que por ahora sube al segundo piso.
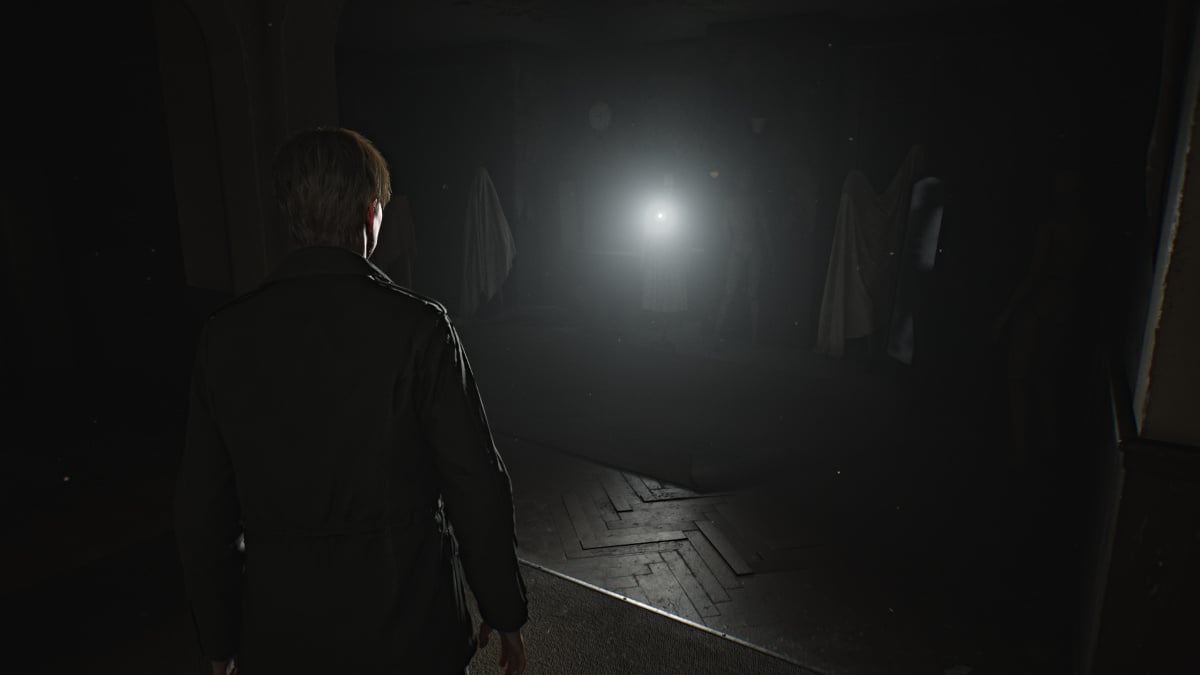
Gran parte del segundo piso es actualmente inaccesible, excepto los apartamentos a su derecha. La puerta del Apartamento 202 está abierta de par en par, así que entra. Se puede ver una luz inusualmente brillante en la sala de estar y resulta ser un maniquí vestido con el traje de Mary y con una linterna metida en él. Antes de tomarlo, primero ve al área de la cocina y toma una bebida saludable de uno de los gabinetes.
Ahora ve y reclama la linterna, lo cual será muy beneficioso en el futuro. Un nuevo tipo de monstruo escondido detrás de él, llamado Maniquí, te tenderá una emboscada, así que después del breve QTE usa tu tabla para derribarlo. Si bien no escupe ácido como lo hacen las Lying Figures, sus golpes físicos son brutales, así que ten cuidado. También prefieren ataques furtivos y, a veces, incluso pueden engañar a su radio quedándose quietos .
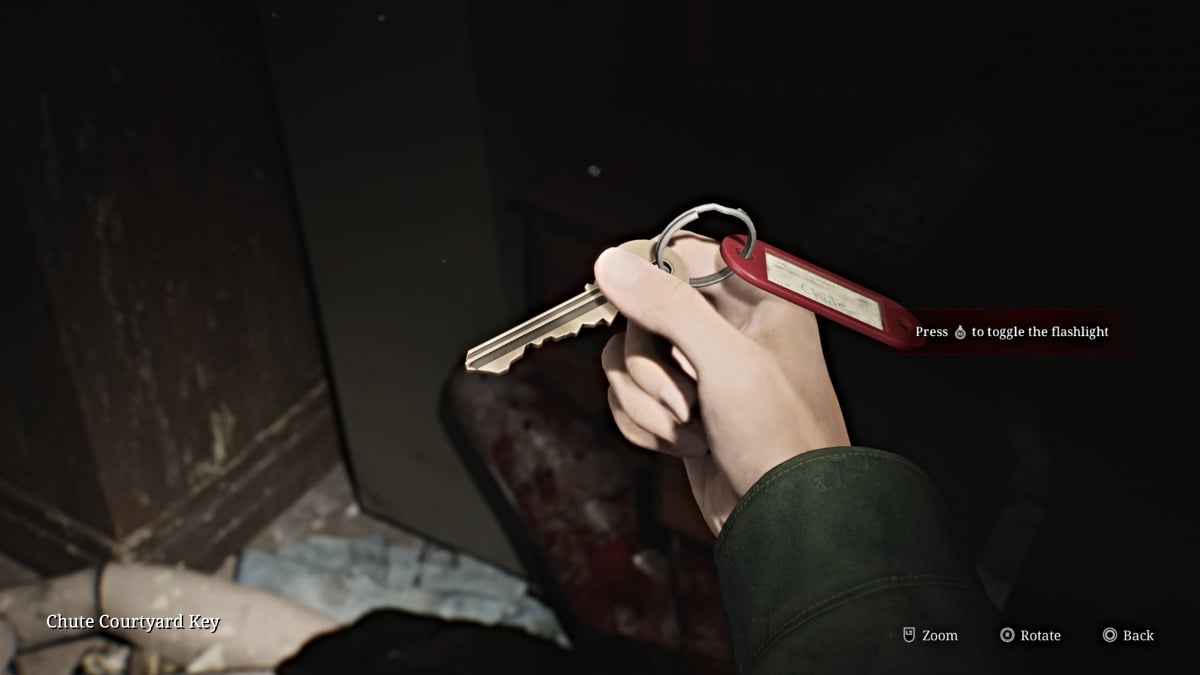
Luego, toma la llave del patio Chute de la cómoda cercana y luego sal del apartamento.
Sube corriendo las escaleras hasta pasar el tercer piso (actualmente cerrado) hasta llegar a un callejón sin salida. Habrá más munición para pistolas en una mesa pequeña aquí. Corre todo el camino de regreso al primer piso.
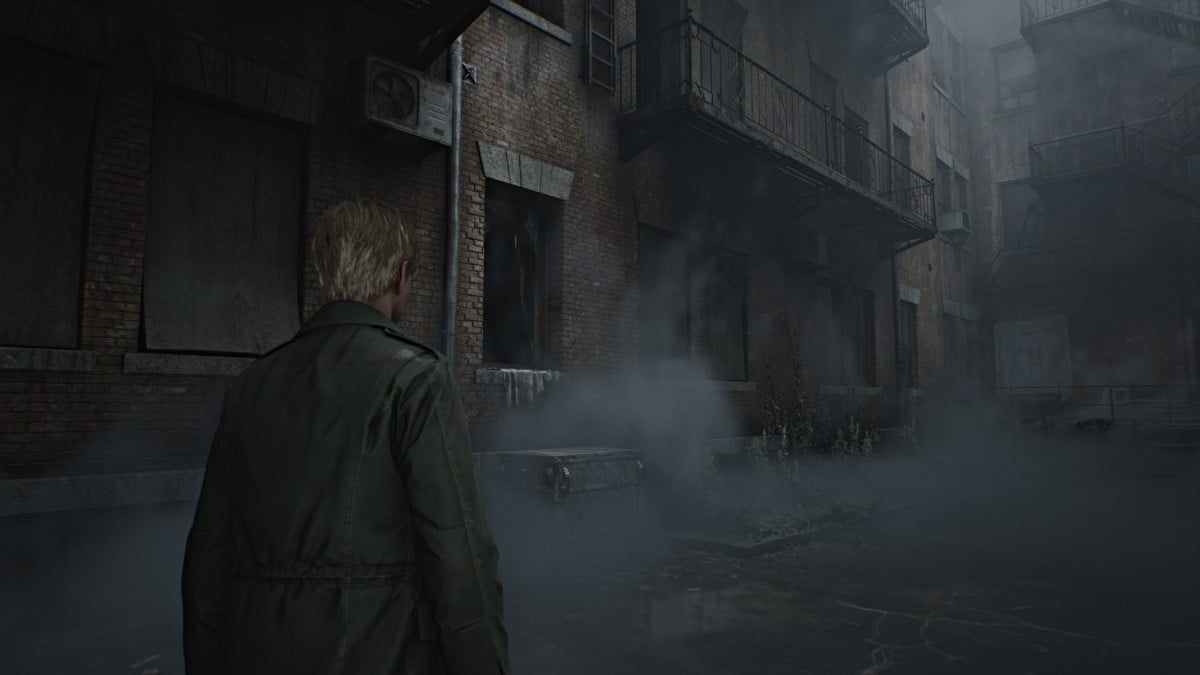
Utilice la llave del patio del conducto en la puerta a la izquierda del baño de limpieza, que lo llevará afuera a un patio interior donde se encuentra el vertedero de basura principal del edificio. Observe una ventana abierta a la derecha del tobogán y tire del carrito cercano hacia ella para subir al Apartamento 112 .
En la habitación inmediatamente a la izquierda, encuentra munición para pistola en un cajón de la cómoda. En una mesa de la cocina, a la derecha, hay un artículo de noticias local sobre el asesino convicto Walter Sullivan. Salga del apartamento y siga por el pasillo hasta el Apartamento 109 .
Un maniquí se esconderá debajo de la mesa de la sala de estar, así que prepárate para luchar contra él. Luego, toma munición para pistola del dormitorio cercano y luego sal del apartamento. Continúe por el pasillo para desbloquear una puerta a su derecha que conduce al lado opuesto del Chute Courtyard. Luego continúa adelante para ver una llave en el suelo bloqueada por unas rejas. Interactúa con él para iniciar una escena.
Después de que la joven patee la llave y salga corriendo, toma el atajo a través del patio de regreso al área del vestíbulo. Notarás que ahora ambos lados del primer piso son completamente accesibles y están llenos de monstruos, así que anda con cuidado. Dirígete primero hacia el lado derecho, ya que de ahí es de donde necesitas obtener la llave.
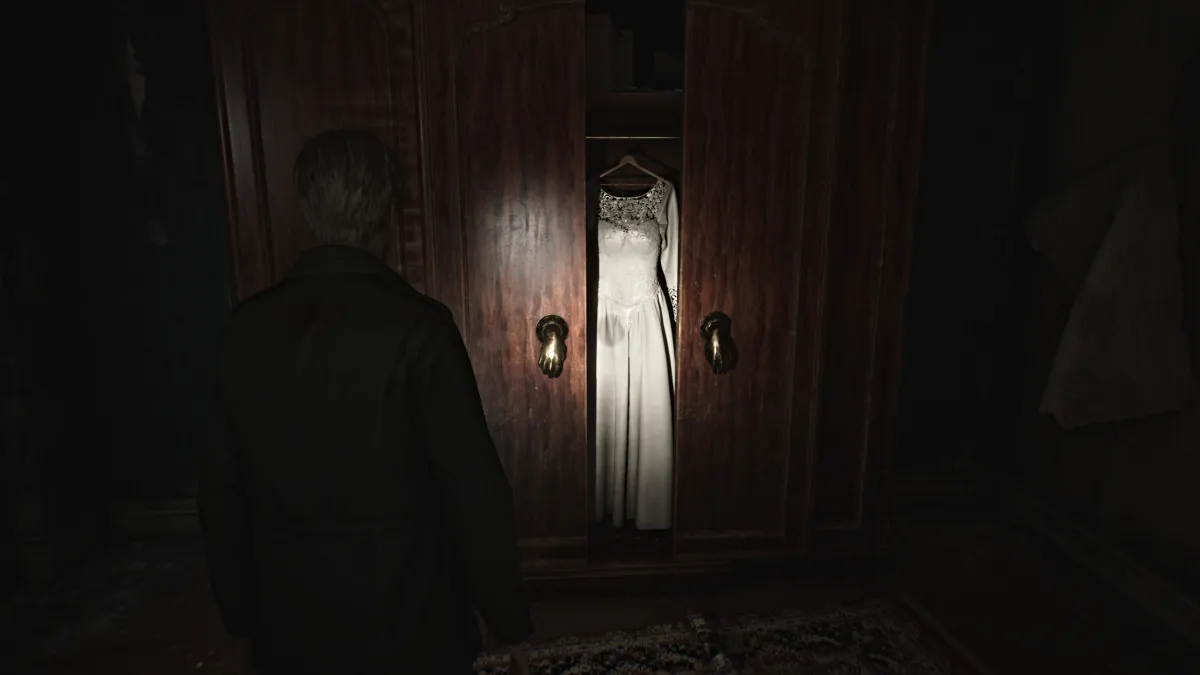
Pase por el Apartamento 108 y diríjase al gran armario del dormitorio equipado con extraños tiradores con forma de mano (visto arriba). Interactúa con la mano izquierda para que gire hacia abajo y derribe el mango de la manzana dorada . Tómalo y sal del apartamento. Continúe por el pasillo para reclamar la llave del pasillo 2F junto a las barras. Corre rápidamente al Apartamento 107 , enfrente, toma una bebida saludable del tocador del dormitorio y luego vete.
La puerta del Apartamento 106 ahora está abierta con una figura acostada bloqueando su camino. Derrótalo y corre hacia el apartamento para coger munición para pistola de un armario en la sala de estar. Continúe de regreso hacia el lado izquierdo del edificio.
Después de lidiar con más figuras mentirosas, ingrese al apartamento 102 y recoja una foto extraña que se encuentra cerca de un televisor con la etiqueta "Día de San Valentín" .
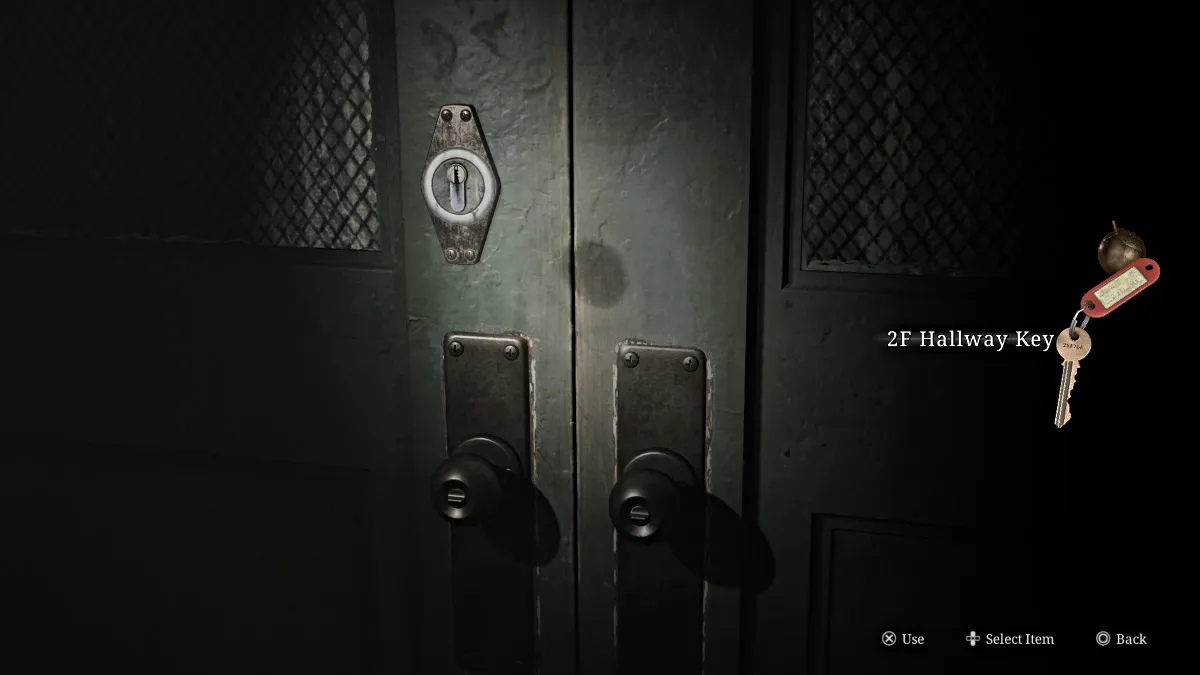
Regresa al segundo piso con tu nueva llave y abre las puertas dobles verdes a tu izquierda, haciendo accesible el resto del piso. A medida que avanzas por el pasillo, un hueco en una ventana a tu izquierda revela un cochecito de bebé sentado en una piscina vacía fuera del edificio. Querrás recordar eso.
Continúa por el pasillo y gira a la derecha hasta que veas algo rojo brillando en la distancia. Acércate y resulta que no es otro que Pyramid Head , mirando a James desde detrás de otro conjunto de rejas. Por muy inquietante que sea, no hace nada (por ahora), así que retrocede un poco hasta el Apartamento 213 .
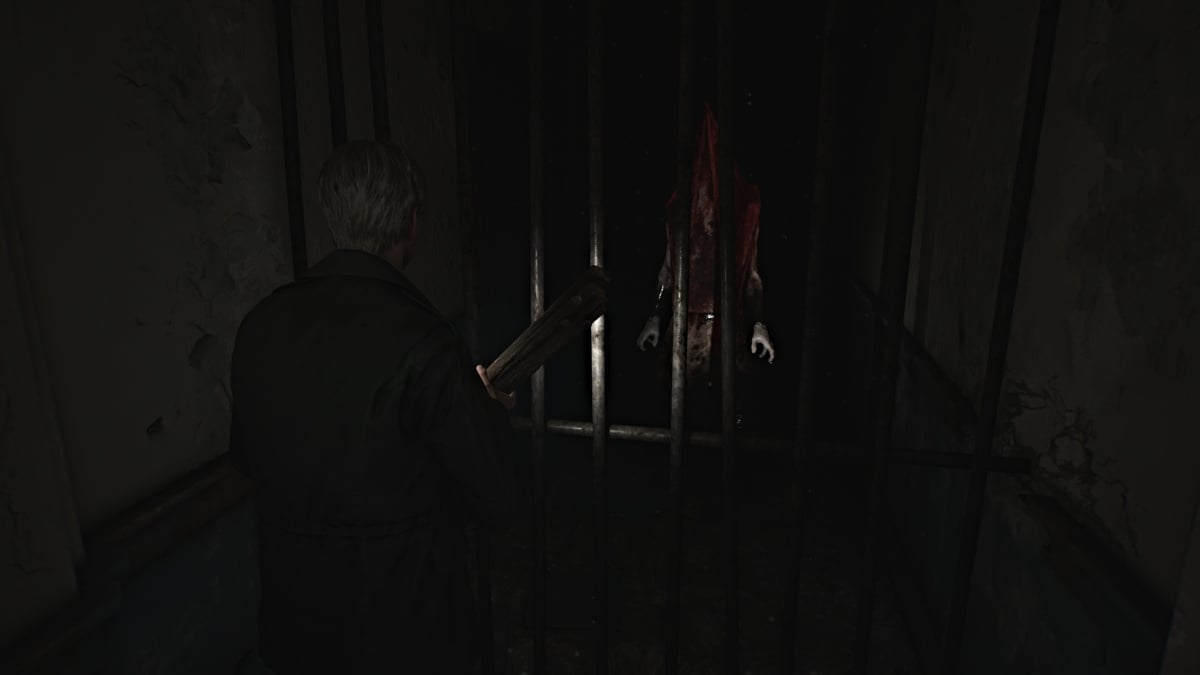
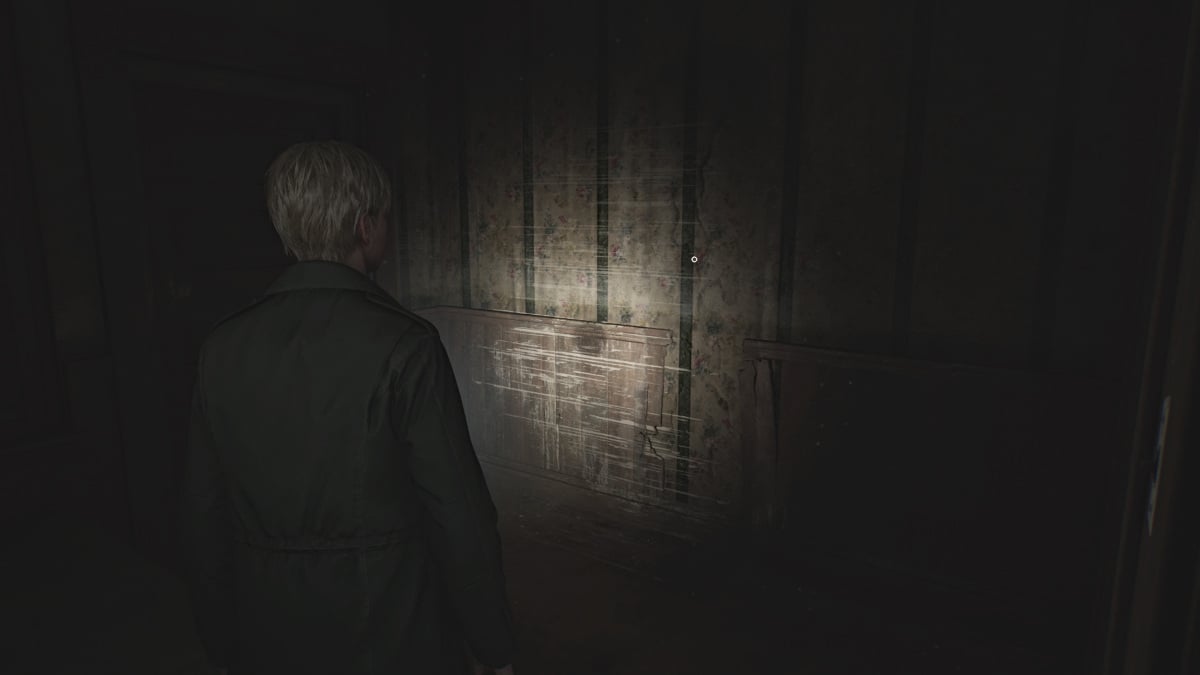
Allí dentro, busca otro lugar de Vistazo al Pasado en la pared del dormitorio (visto arriba), luego ve a un hueco en la pared cerca de la cocina que conduce al otro lado del pasillo bloqueado por una puerta rota. Dirígete al Apartamento 217 al final.
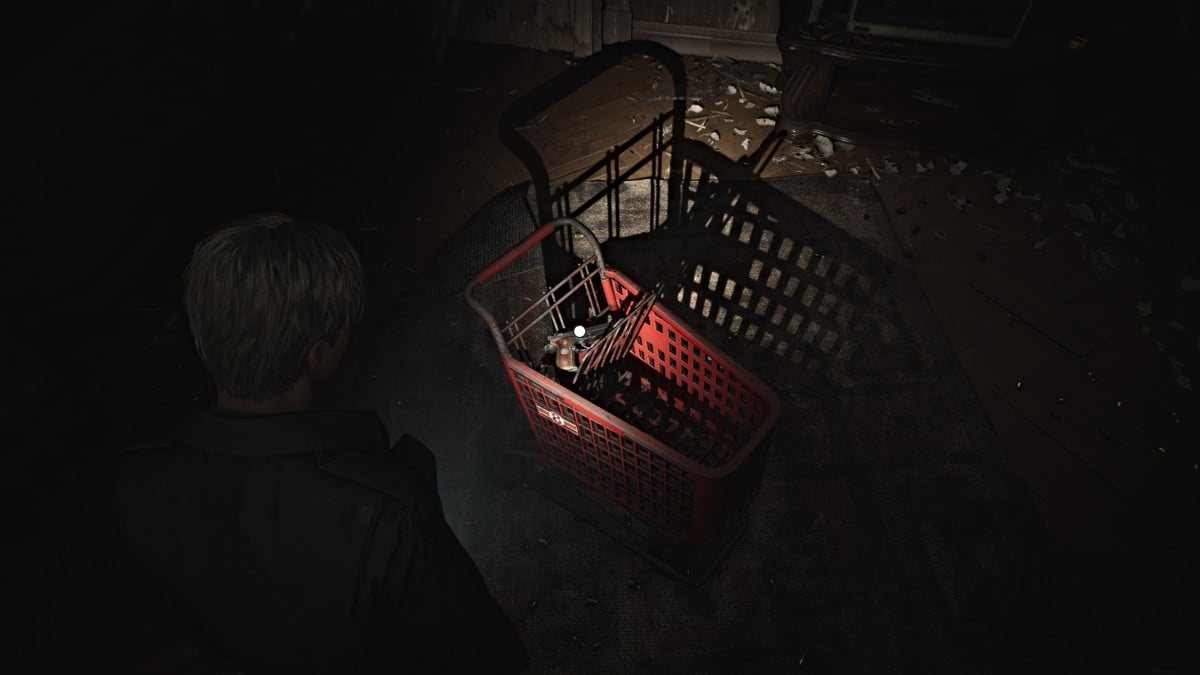
Entra y verás una sala llena de agujeros de bala y casquillos de bala, con un carrito de compras rojo en el medio. Mira dentro y serás recompensado con una pistola , tu segunda arma hasta ahora. Además, como era de esperar, el apartamento está lleno de munición para pistolas que puedes reclamar, así que revisa en todas partes. Si has sido diligente en recolectar munición hasta ahora, deberías tener al menos 20 rondas aproximadamente.
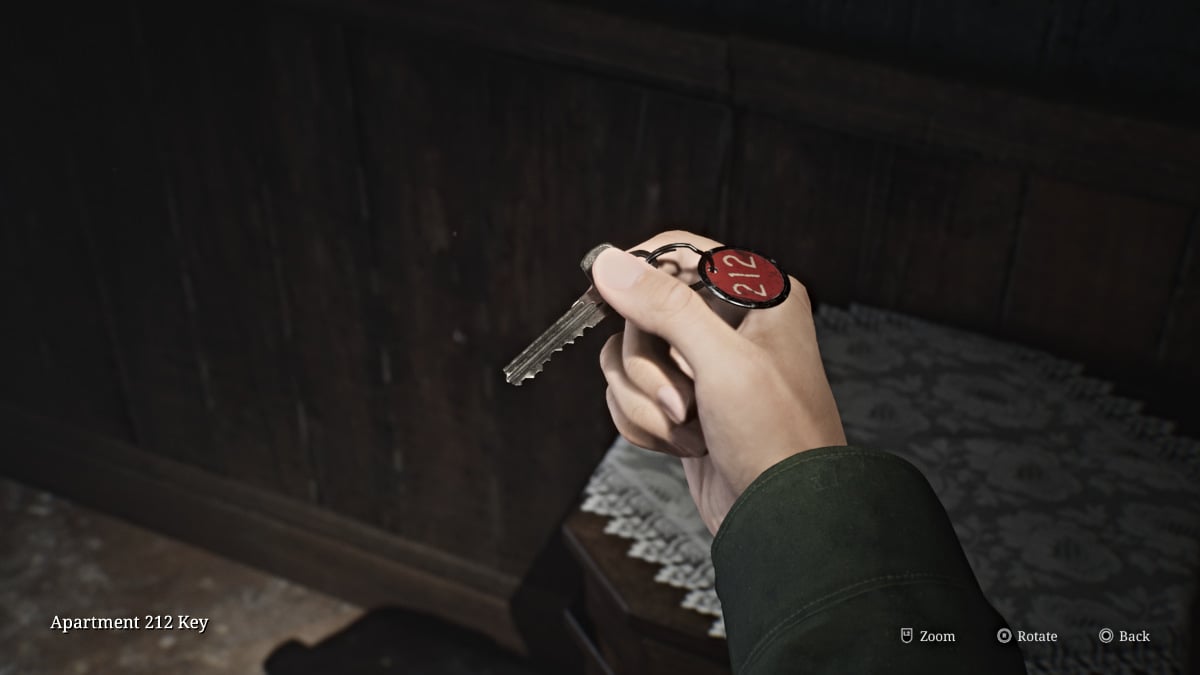
Sal del apartamento y regresa a través del hueco de la pared hacia el 213, donde una figura misteriosa cubierta y empapada de sangre está sentada frente a un televisor estático. Interactúa con él para ver una breve escena y luego toma la llave del apartamento 212 de la cómoda cercana. Sal del apartamento y notarás que Pyramid Head ya no está. Utilice la llave para entrar al otro apartamento.
Toma una bebida saludable del interior de la cocina y luego cruza la puerta abierta hacia el balcón. Cruza hasta el apartamento del otro lado, donde encontrarás un maniquí junto con munición para pistola en el refrigerador abierto. Sal del apartamento y dirígete por el pasillo hacia el lado sureste del piso. En el camino, sal a otro balcón y tira de la palanca cercana para bajar la escalera de incendios al nivel del suelo para tomar otro atajo.
Entra en el Apartamento 207 , donde encontrarás una figura tumbada, un maniquí escondido en el baño y munición para pistola .
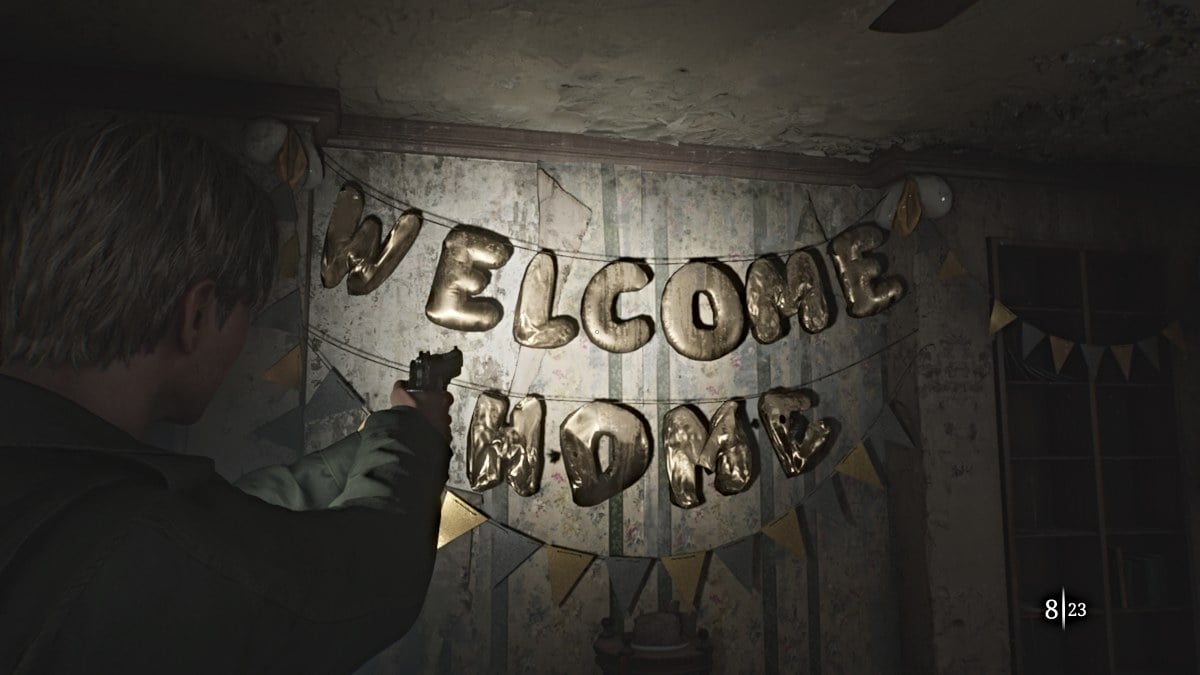
205 está bloqueado desde el balcón, así que regresa al pasillo y al Apartamento 208 .
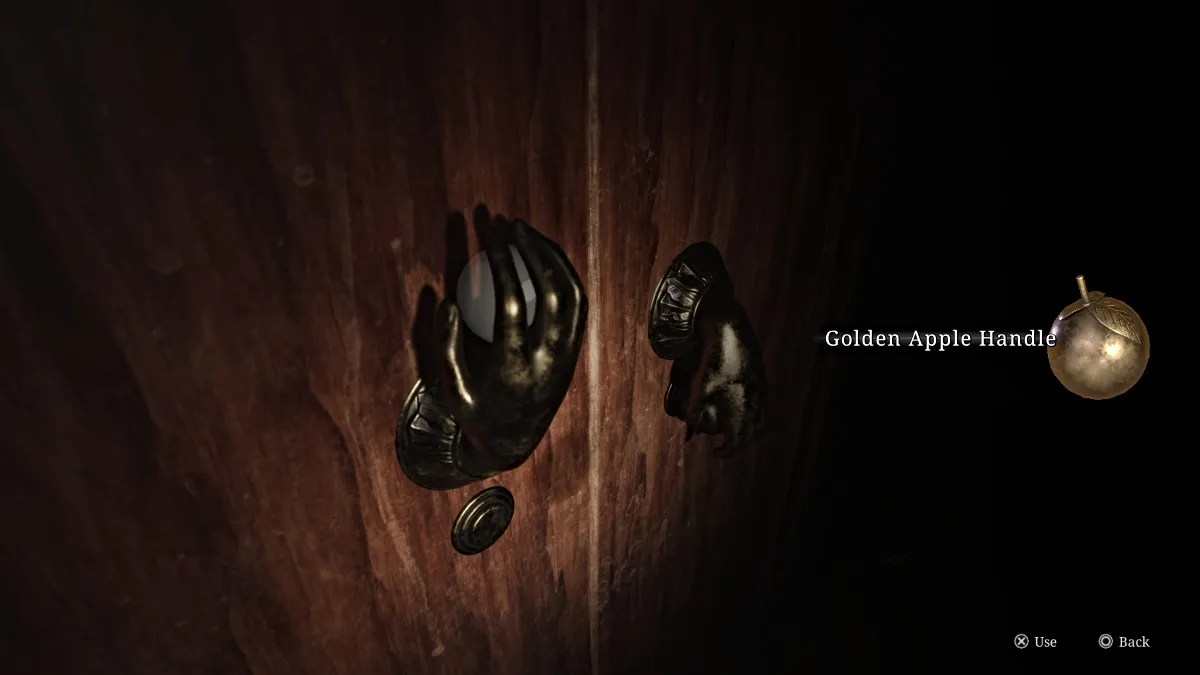
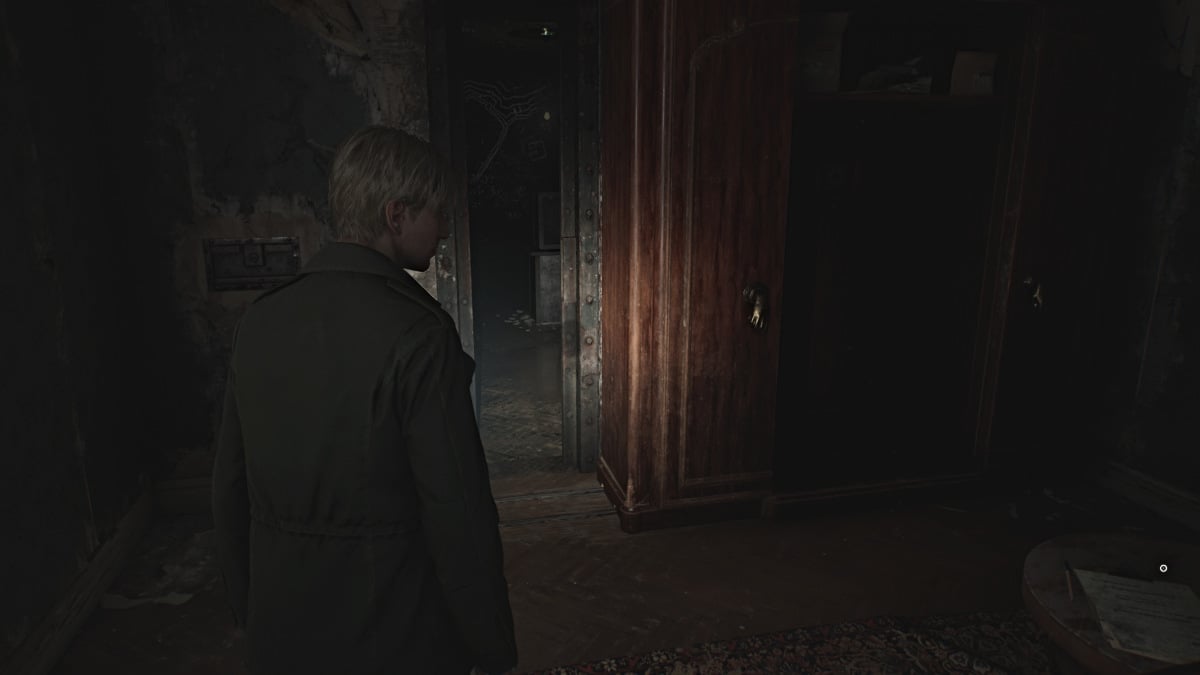
En el interior encontrarás otro gran armario con manecillas doradas. Acércate y usa el mango dorado de la manzana que obtuviste antes para desbloquear el armario. Ve a su izquierda e interactúa para empujarlo y revelar una habitación secreta con escritura en las paredes y una caja fuerte cerrada en el centro. Tan pronto como entres, la puerta se cerrará detrás de ti.
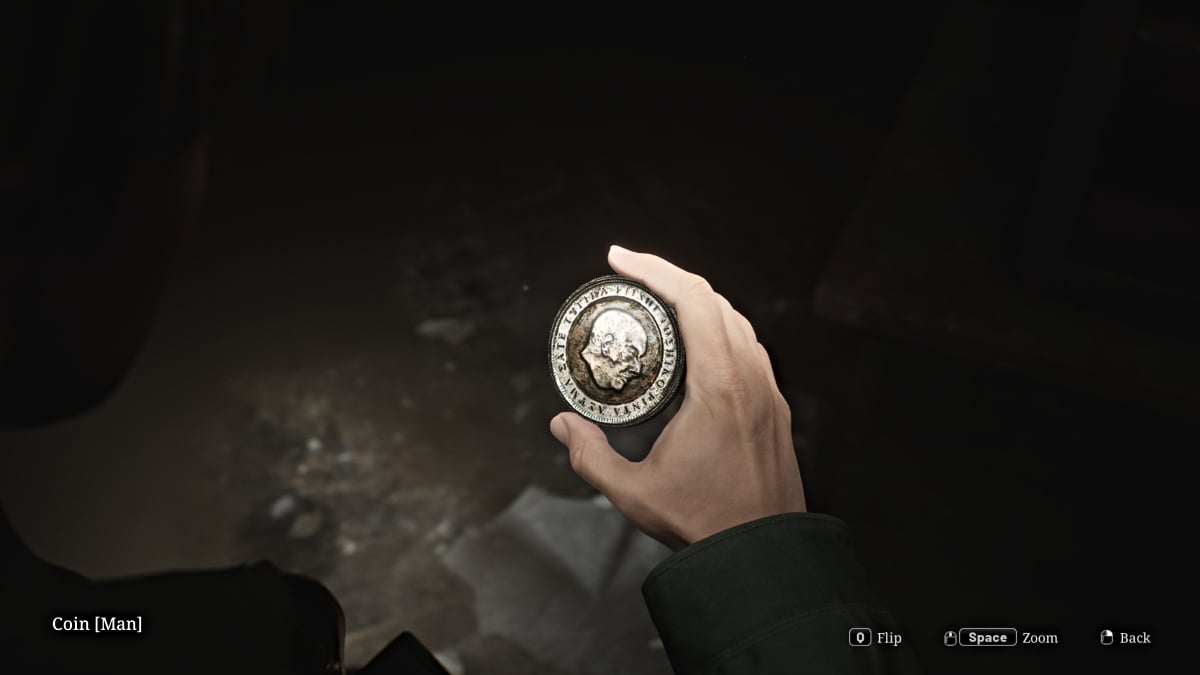
Para abrir la caja fuerte, debes ingresar la combinación correcta, y la única pista que obtienes es el pasaje escrito en la pared cerca de donde entraste. La combinación correcta (dificultad de rompecabezas estándar) es 'derecha 13', 'izquierda 7, luego 'derecha 11' . La caja fuerte se abrirá, revelando la Moneda del Hombre (para el rompecabezas de monedas de abajo) y una Llave de Acero para usar en la puerta al otro lado de la habitación (con cuadrados blancos dibujados en ella).
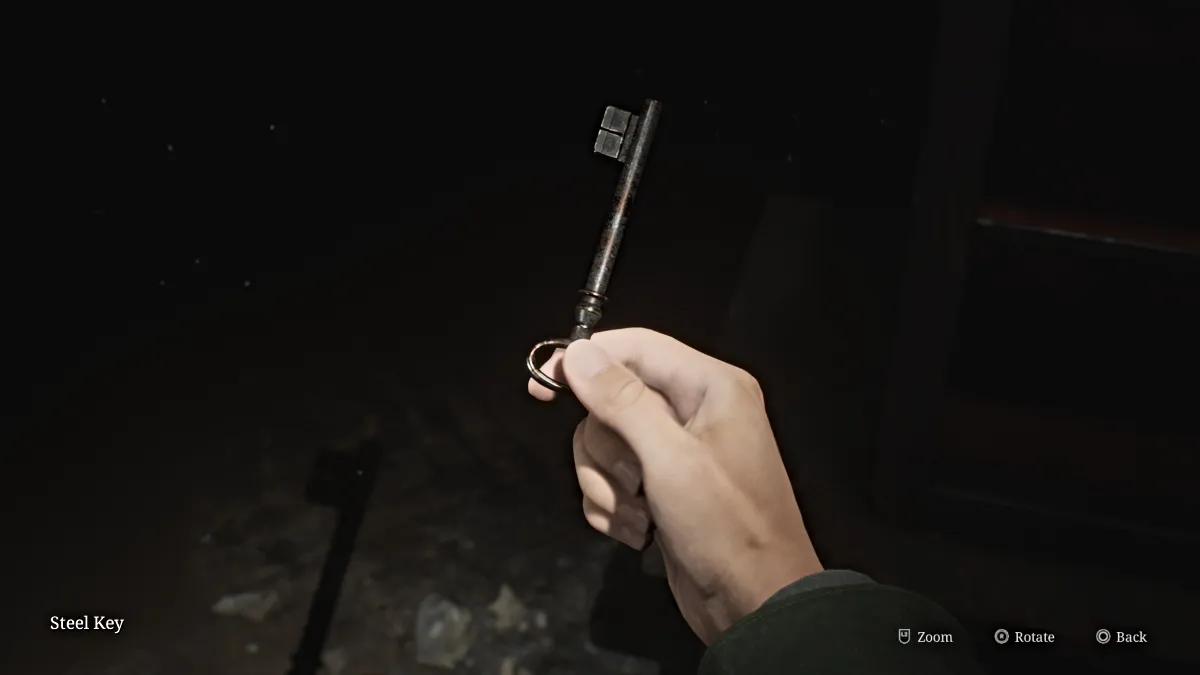
Escapa de la habitación y volverás al pasillo donde la puerta del Apartamento 205 ahora está abierta de par en par. Entra donde encontrarás algunos monstruos Insecto junto con una bebida saludable en una lata de medicina, munición para pistola en la cocina y la llave de la escalera pequeña del segundo piso en la silla en el medio de la habitación.
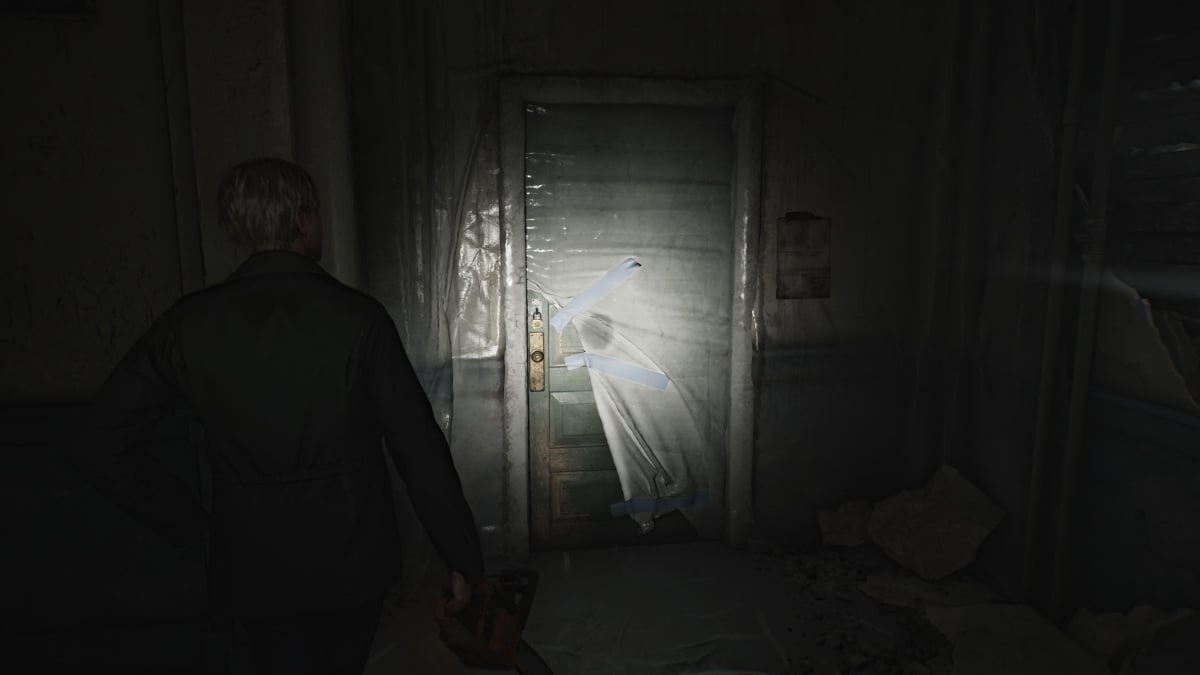
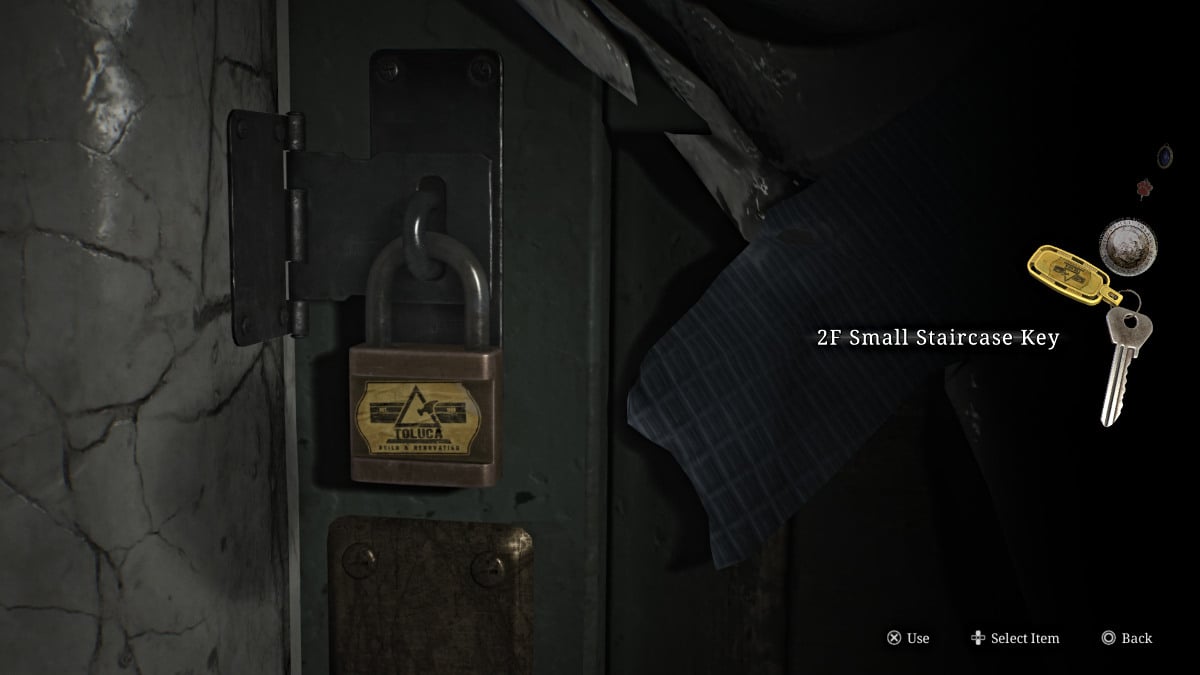
Con eso en la mano, regresa hasta la escalera en el lado norte del piso que está cubierto de plástico. Utilice la llave de escalera pequeña 2F para finalmente acceder a ella. Utilice el punto de guardado rojo en el interior y luego diríjase al tercer piso.
Una vez en el tercer piso, primero sigue recto por el pasillo para reclamar munición para pistola sentada en un sillón en el callejón sin salida. Luego retroceda y diríjase a la derecha hasta llegar a otro callejón sin salida y un hueco en la pared que lo llevará al Apartamento 311 (que se ve a continuación). Tenga cuidado con los dos maniquíes que esperan para tenderle una emboscada cerca.
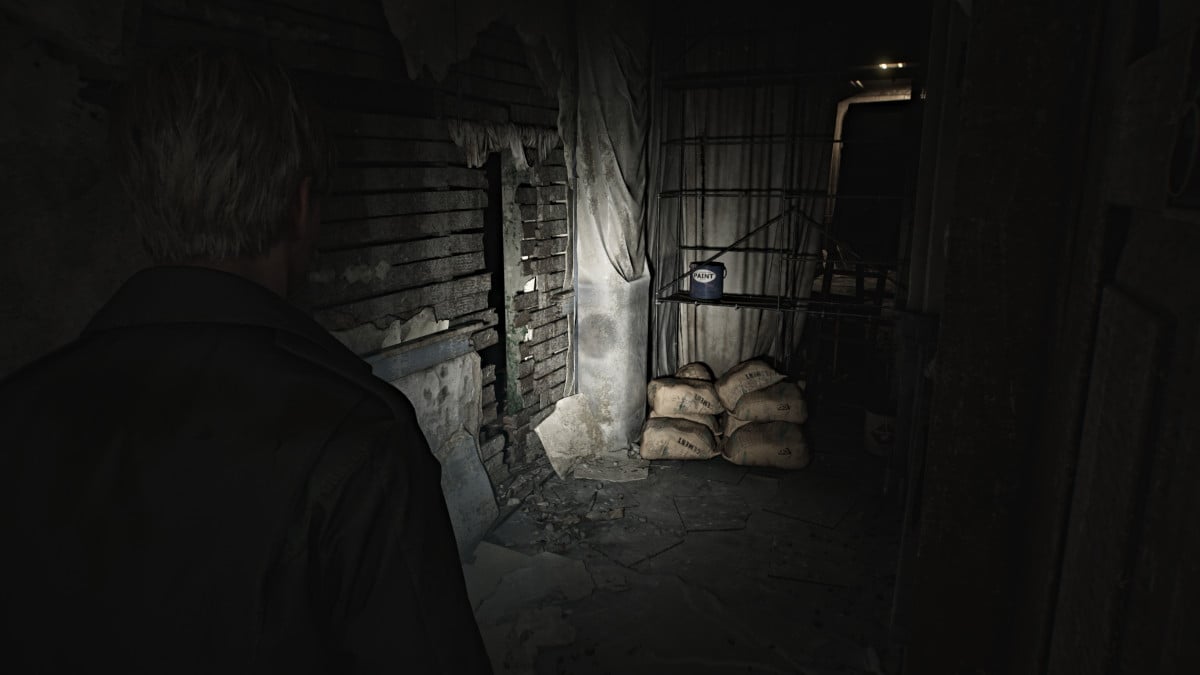
Avanza y cruza hacia el Apartamento 309 , luego regresa brevemente al pasillo y atraviesa otro espacio hasta el Apartamento 310 . Este apartamento está dividido por la mitad, así que asegúrese de revisar ambos lados. El lado al final del pasillo tendrá la Nota extraña para que la recojas de un escritorio y algo de munición para pistola en un contenedor de primeros auxilios.
Esté atento a más maniquíes que emboscan y use el balcón para cruzar al Apartamento 312 , donde encontrará una jeringa en un botiquín de primeros auxilios, una bebida saludable y el memorándum Sinister Note colgado en una pared.
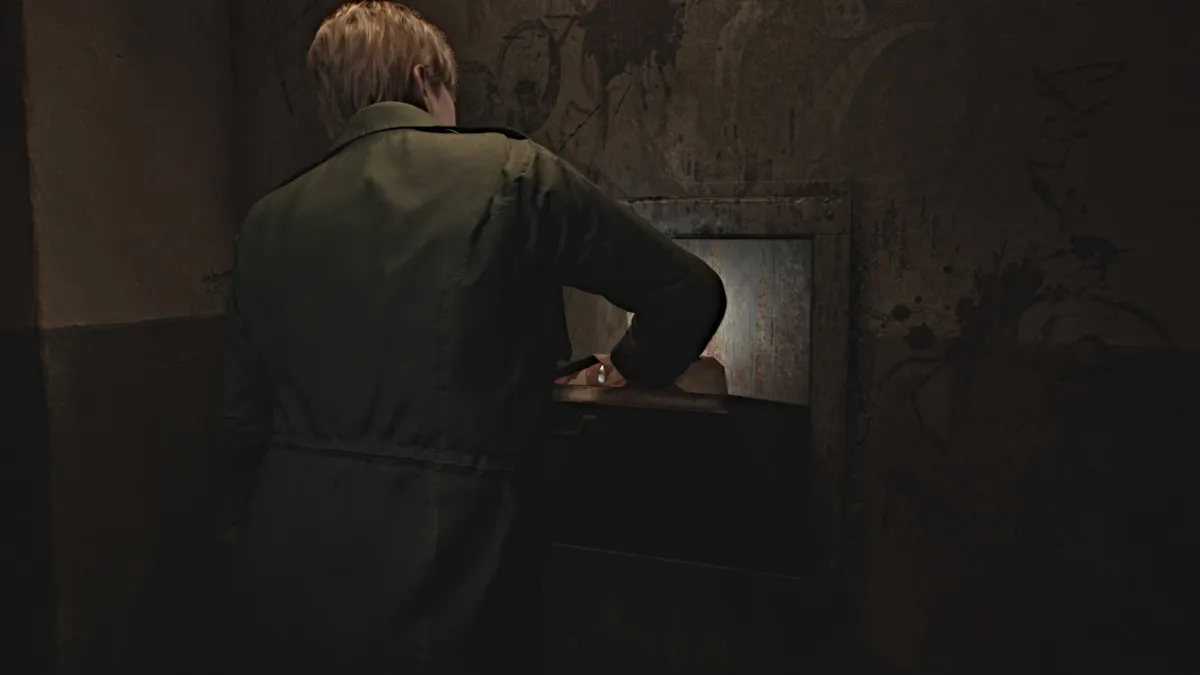
En el lado izquierdo del apartamento hay un espacio de acceso con residuos negros. Arrástrate a través de él y emergerás en la lavandería . Toma el paquete de jugo enlatado de la mesa y llévalo al vertedero cercano para dejarlo caer. El peso hará que un montón de basura caiga al patio del vertedero , incluida otra moneda . Coge más munición para pistolas que se encuentra en una lavadora al salir.
Tome la escalera norte hasta el primer piso y tome más munición para pistola que se encuentra en una caja en la parte inferior. Sal al pasillo y escucharás lo que parecen arcadas provenientes de la derecha. Síguelos hasta el Apartamento 116 al final, donde hay un cadáver en un refrigerador abierto y alguien está vomitando en el baño cercano.
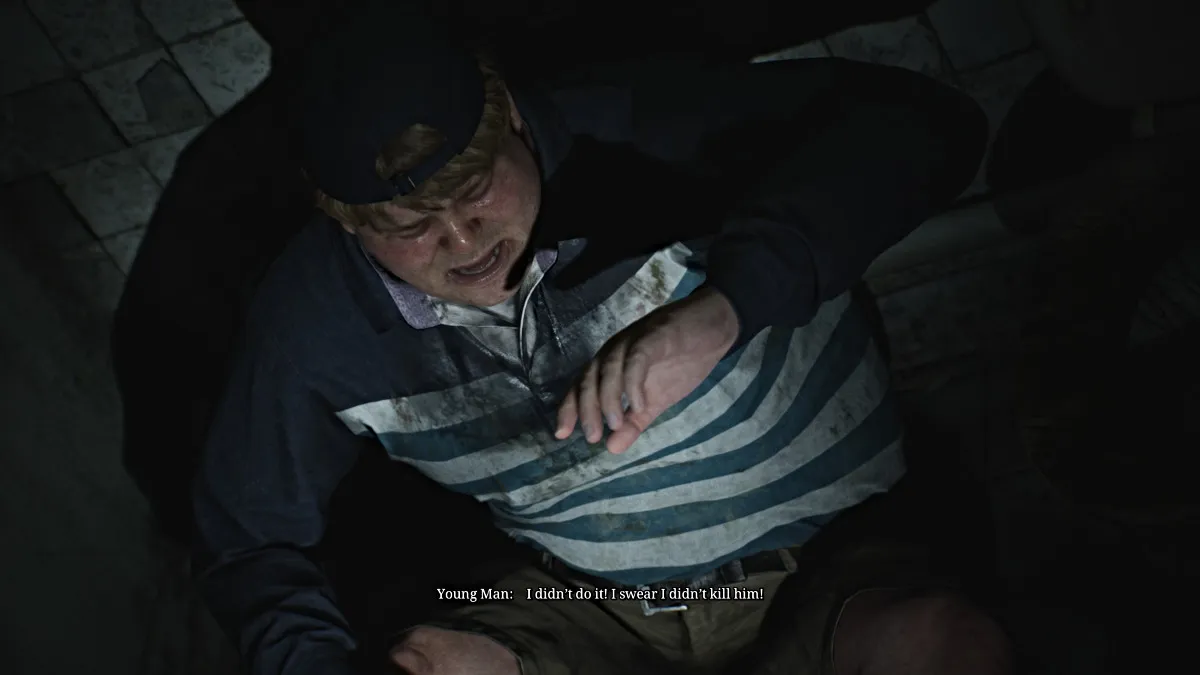
Acércate y se reproduce una escena que presenta a James a Eddie Dombrowski , quien parece extrañamente asustadizo y claramente enfermo. Parece ansioso por abandonar la ciudad y le pide a James que lo acompañe, quien cortésmente se niega. Después de la escena, busca artículos en el apartamento y antes de ir al área de la piscina, que está repleta de figuras mentirosas, por lo que tendrás que navegar con cuidado.
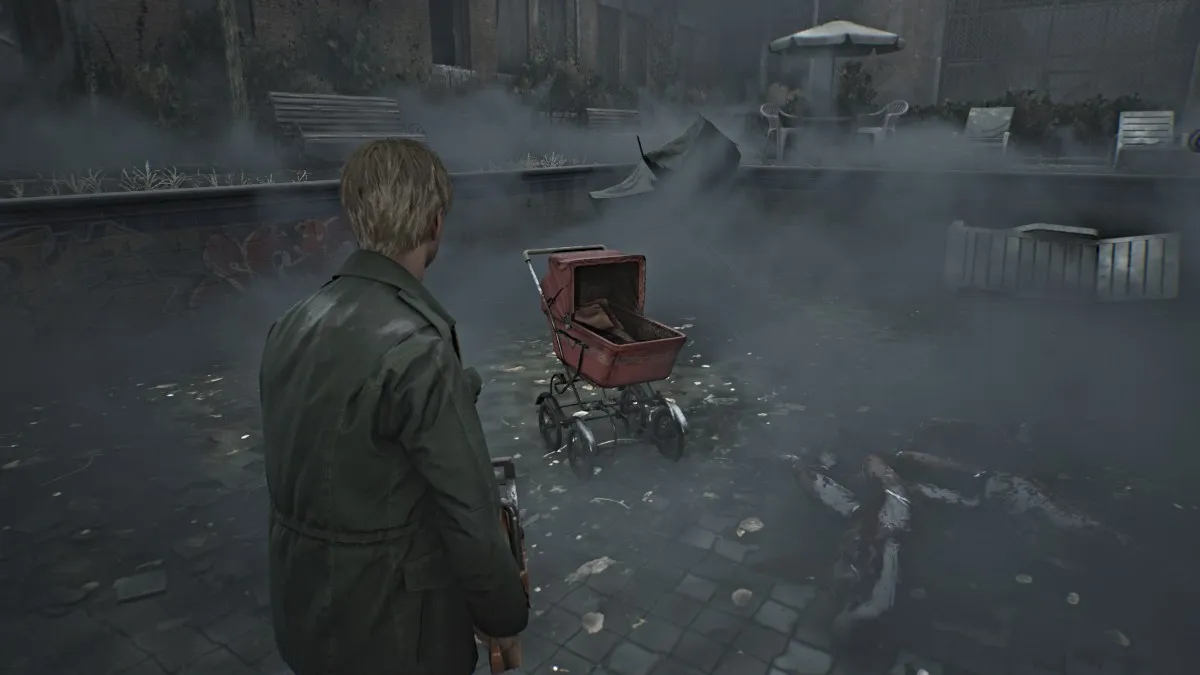
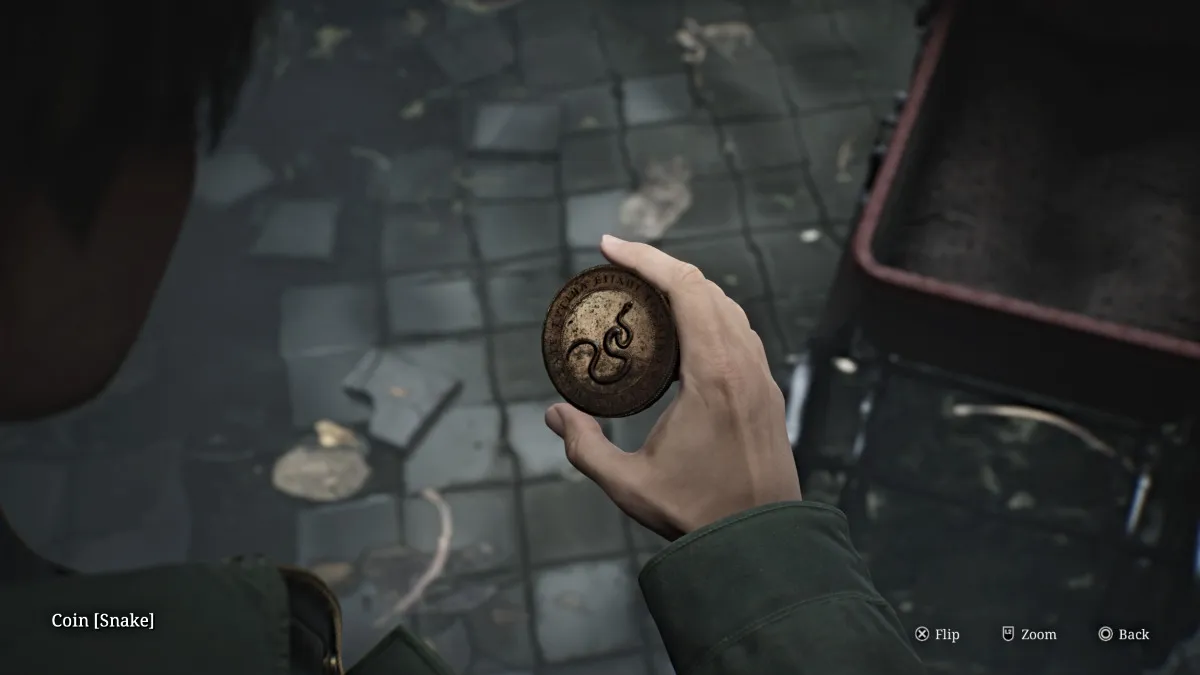
Mata sólo lo que debas y dirígete al cochecito de bebé en la piscina que contiene la Snake Coin .
Escapa del área por donde viniste y sal del apartamento, luego dirígete a las puertas dobles que conducen de regreso al Chute Courtyard.
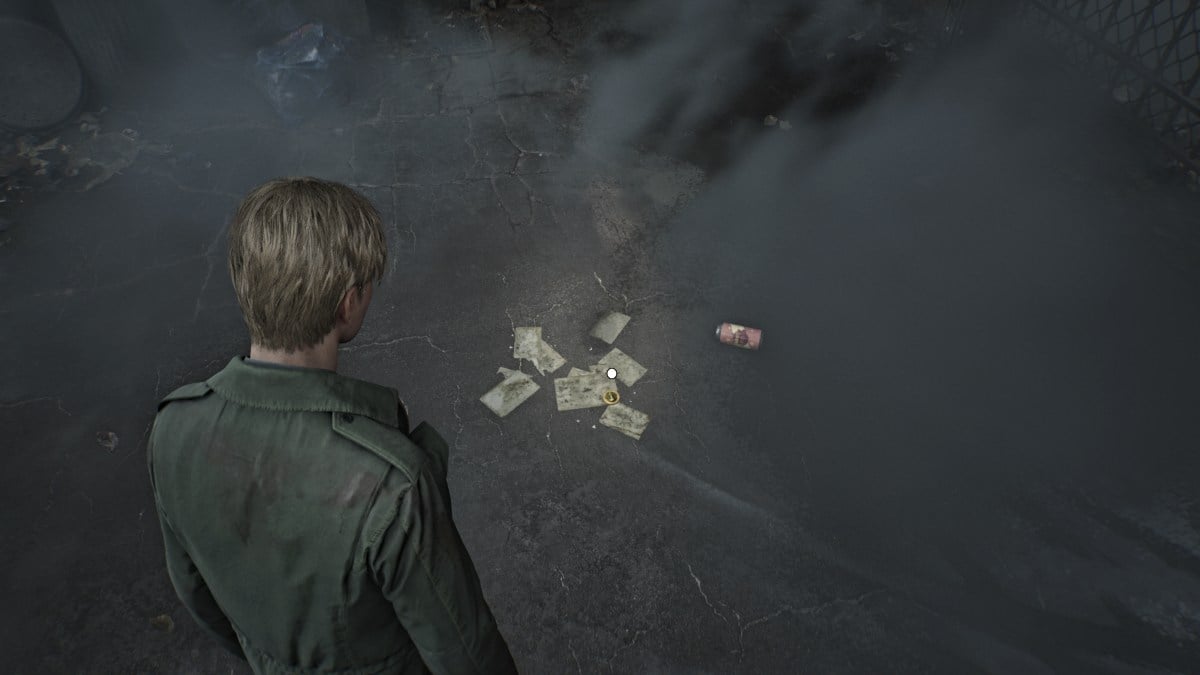
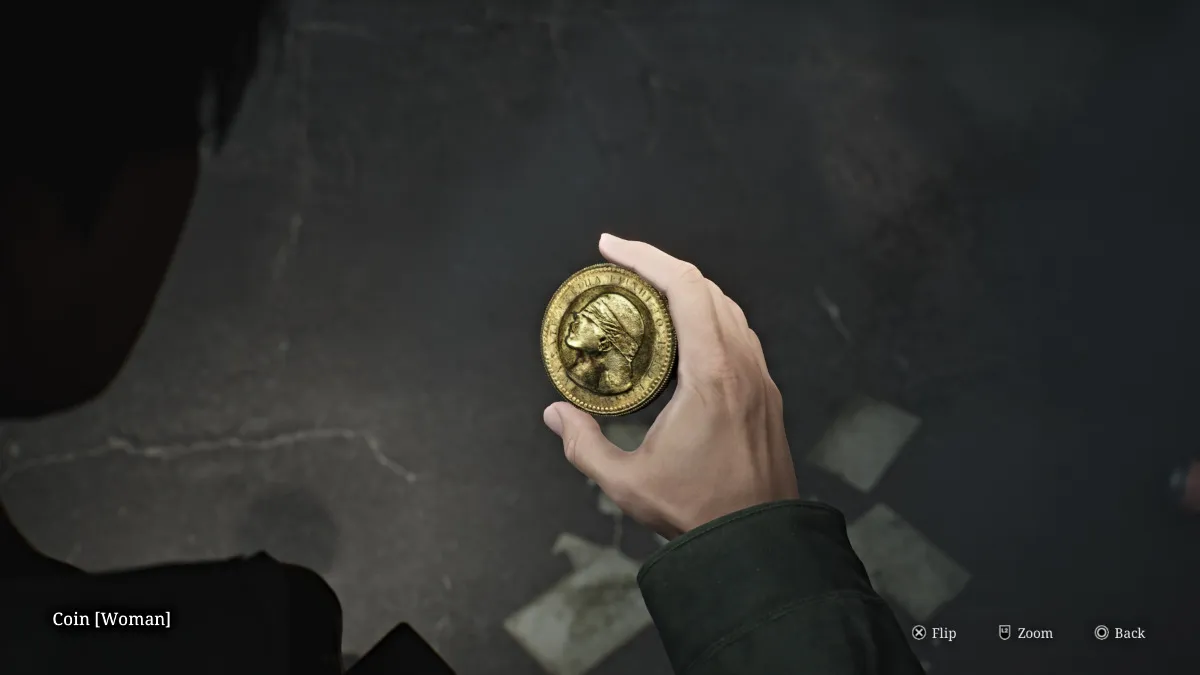
Busque con cuidado en el suelo la moneda de mujer , que estará cerca de una de las latas de jugo (que se ve arriba). Ahora tienes todas las monedas necesarias, así que regresa a la oficina del lobby para finalmente completar el rompecabezas.
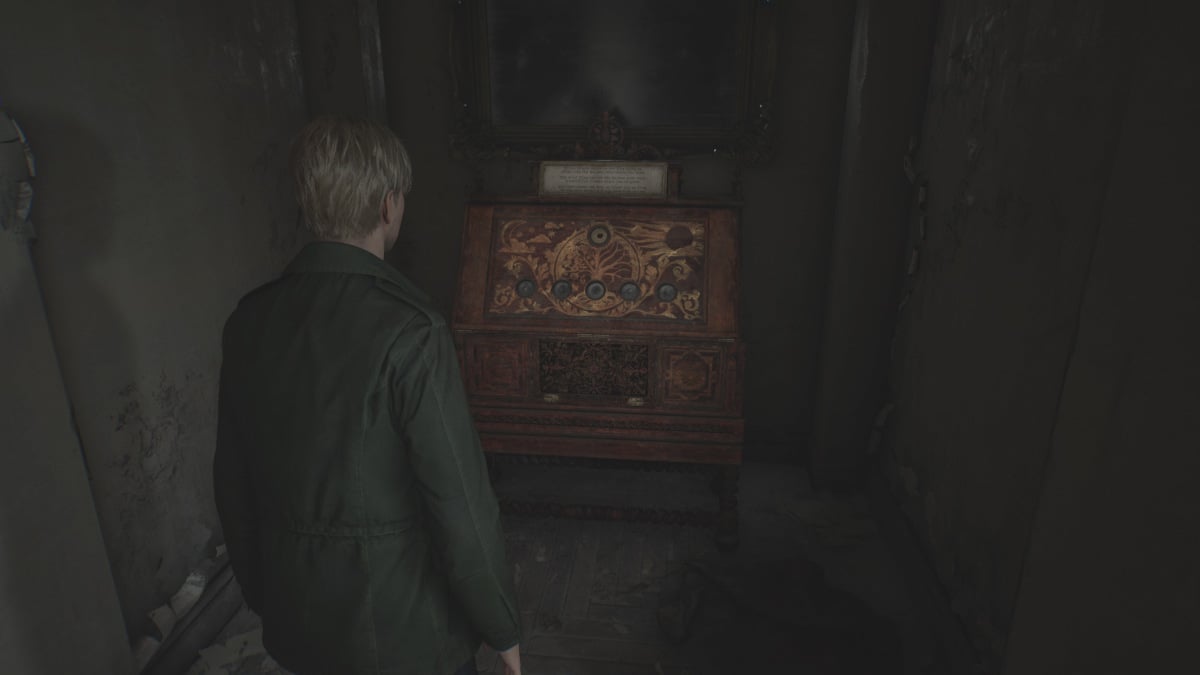
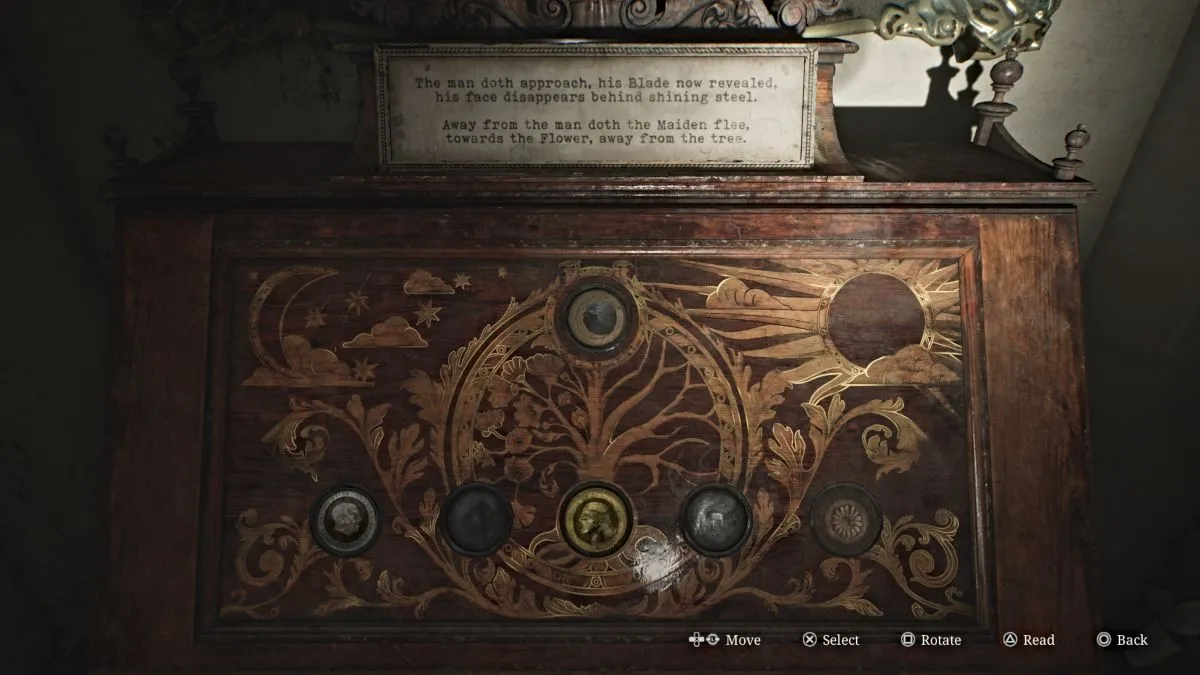
Para abrir el gabinete adornado en la oficina del vestíbulo, debes colocar tres monedas (y sus variantes) en las ranuras correctas de acuerdo con el poema indicado anteriormente, que cambiará a medida que completes cada paso. Aquí está la solución completa al rompecabezas (dificultad estándar), con los pasos enumerados en orden:
Con eso, el rompecabezas tiene un último paso, que requiere que elijas a qué moneda "culpar" (Hombre, Mujer o Serpiente). Si bien no hay una respuesta incorrecta, tu elección afectará el final que obtengas . También recibirás la llave del Apartamento 201 por tus esfuerzos.
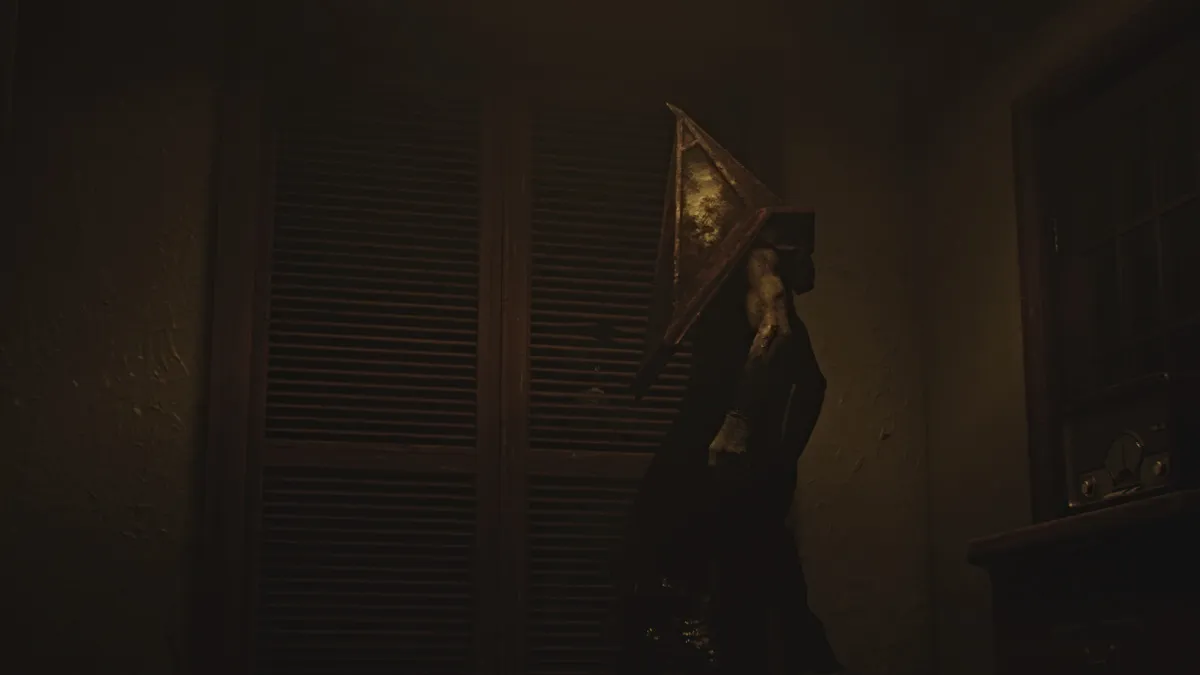
Utilice la escalera del vestíbulo principal para regresar al segundo piso y gire a la derecha para dirigirse al Apartamento 201 . Explora hasta que encuentres un pañuelo en un escritorio, lo que iniciará una escena infame con Pyramid Head y algunos maniquíes.
Después de que se vaya, regresa al escritorio y recoge el pañuelo , luego acércate a la puerta roja brillante al otro lado para ver otra escena en la que James debe literalmente cruzar de un edificio a otro. Si bien técnicamente son los Blue Creek Apartments , es una versión que está atrapada en el Otro Mundo .
En el Otro Mundo, un entorno normal parece significativamente diferente; más ruinoso, oxidado y, a menudo, reducido a un esqueleto industrial sucio. Oriéntate ya que todavía no tienes acceso a un mapa y atraviesa la puerta azul cercana. Toma munición para pistola del sillón a tu derecha, luego dirígete a la izquierda y sigue el pasillo hasta que obtengas un mapa de Blue Creek Apts 2F-3F .
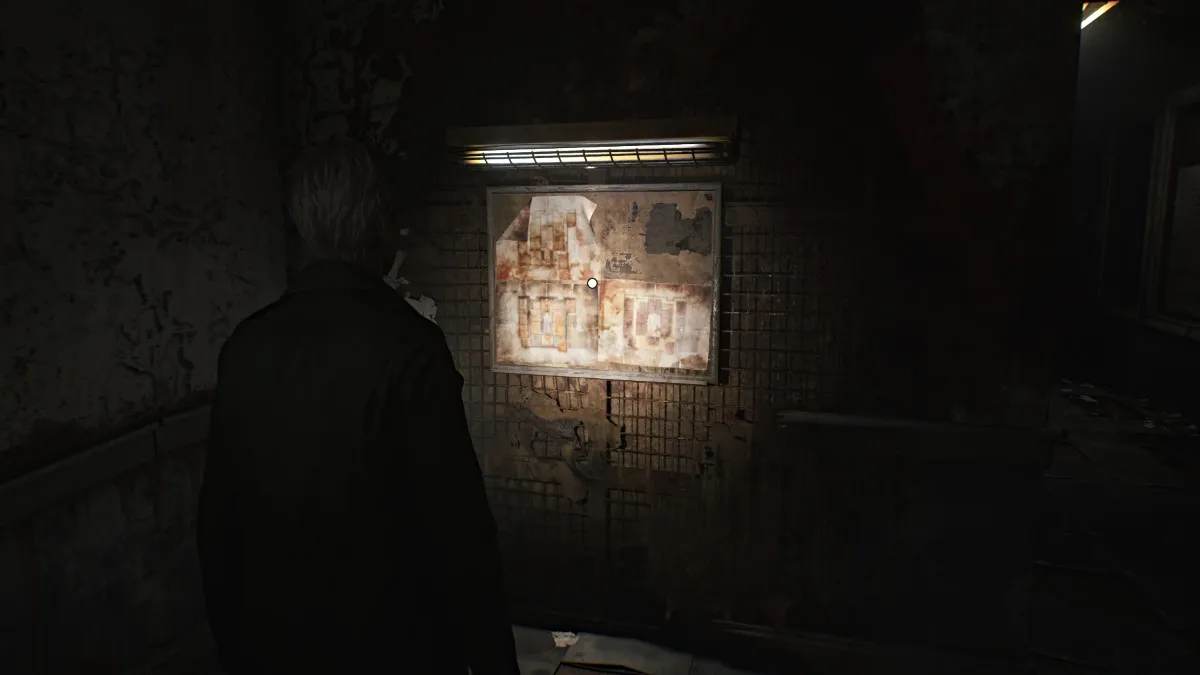
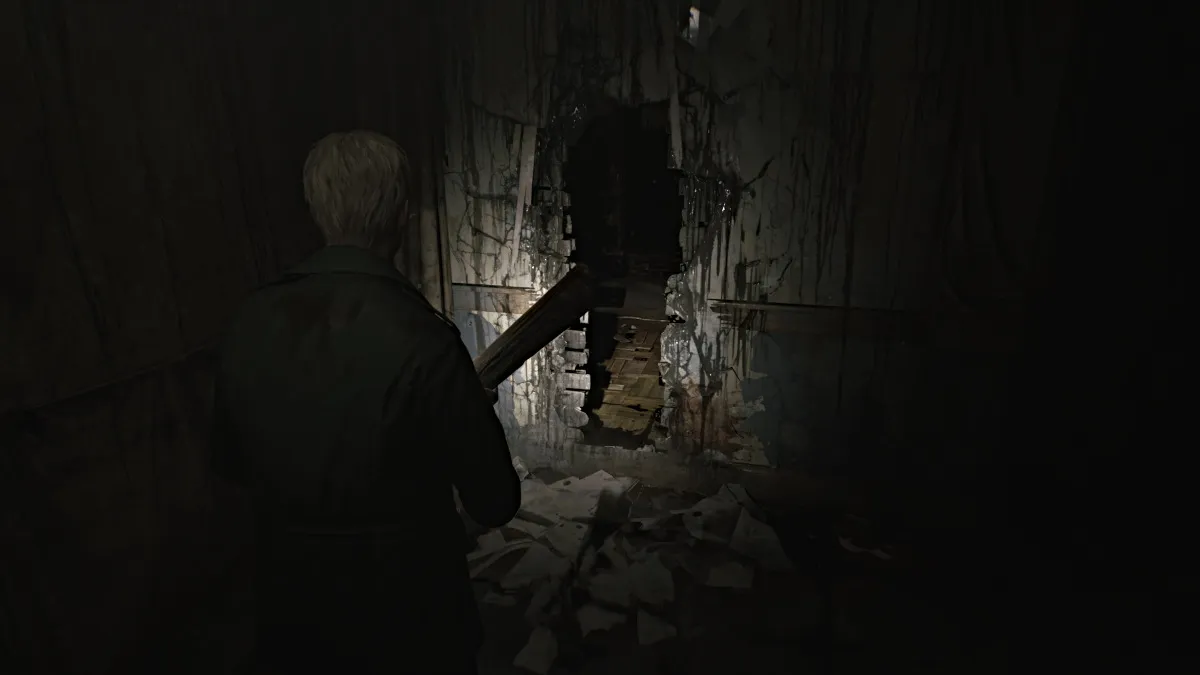
Continúe por el pasillo hasta llegar a lo que parece una pared rompible . Utilice su tabla de madera para romperla y deslizarse. Recoge munición para pistolas de un cajón cercano y camina con cuidado hasta el otro lado del apartamento. Cuida de los monstruos y consigue más munición para pistolas del área de la cocina antes de salir al pasillo.
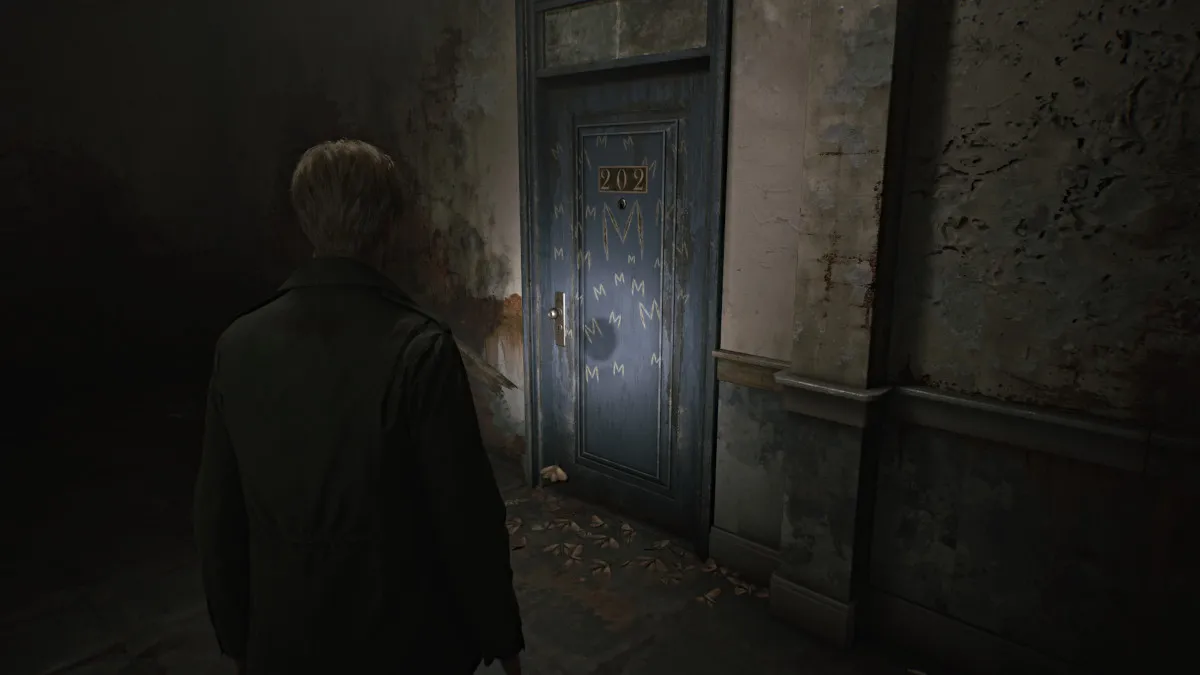
En un momento, pasarás la puerta azul del Apartamento 202 , que tiene una 'M' grabada repetidamente y varias polillas muertas frente a ella. Volverás a ello más tarde.
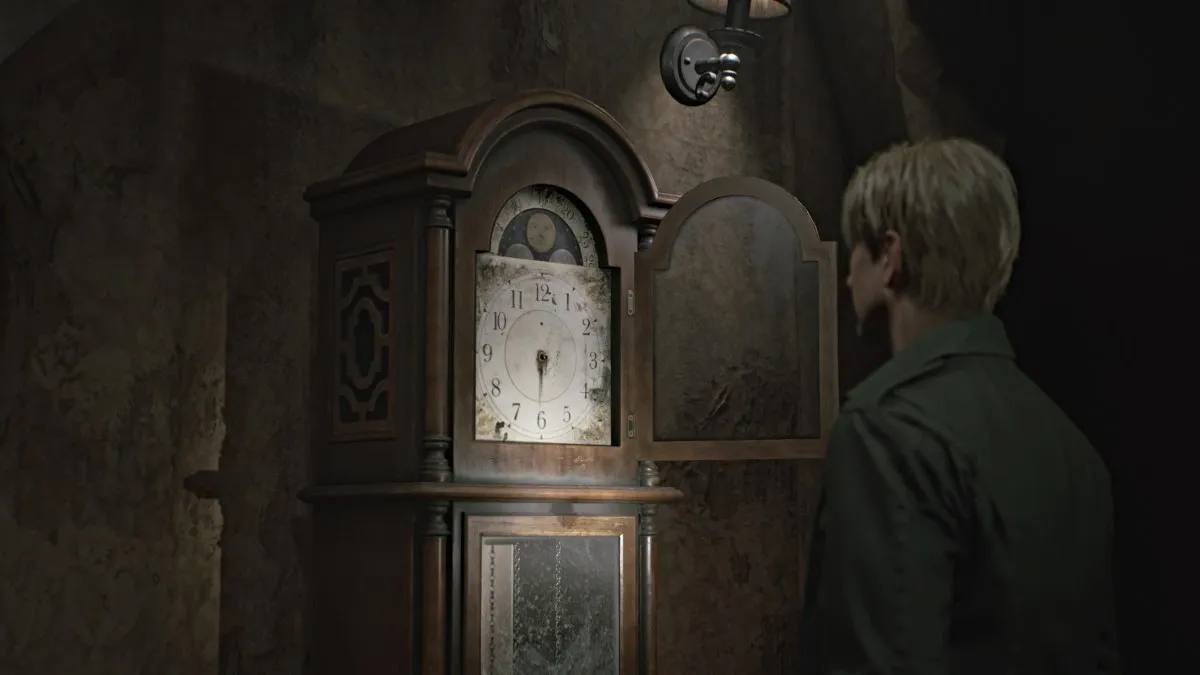
Por ahora, ve al Apartamento 212 , donde encontrarás un punto de guardado rojo y un reloj de pie que en realidad es un rompecabezas. Sin embargo, para completarlo, primero deberá encontrar las manecillas de hora, minutos y segundos que faltan .
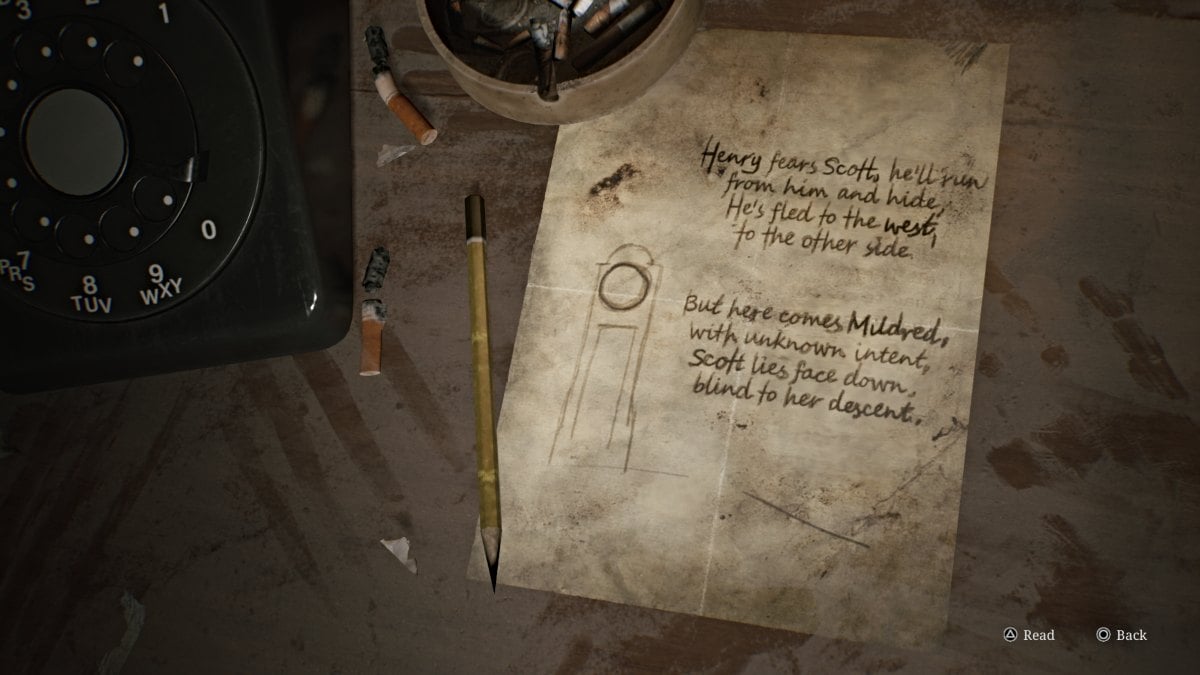
También hay una nota escrita a mano en la mesa frente al reloj que proporciona algunas pistas sobre en qué direcciones deben colocarse esas manecillas.
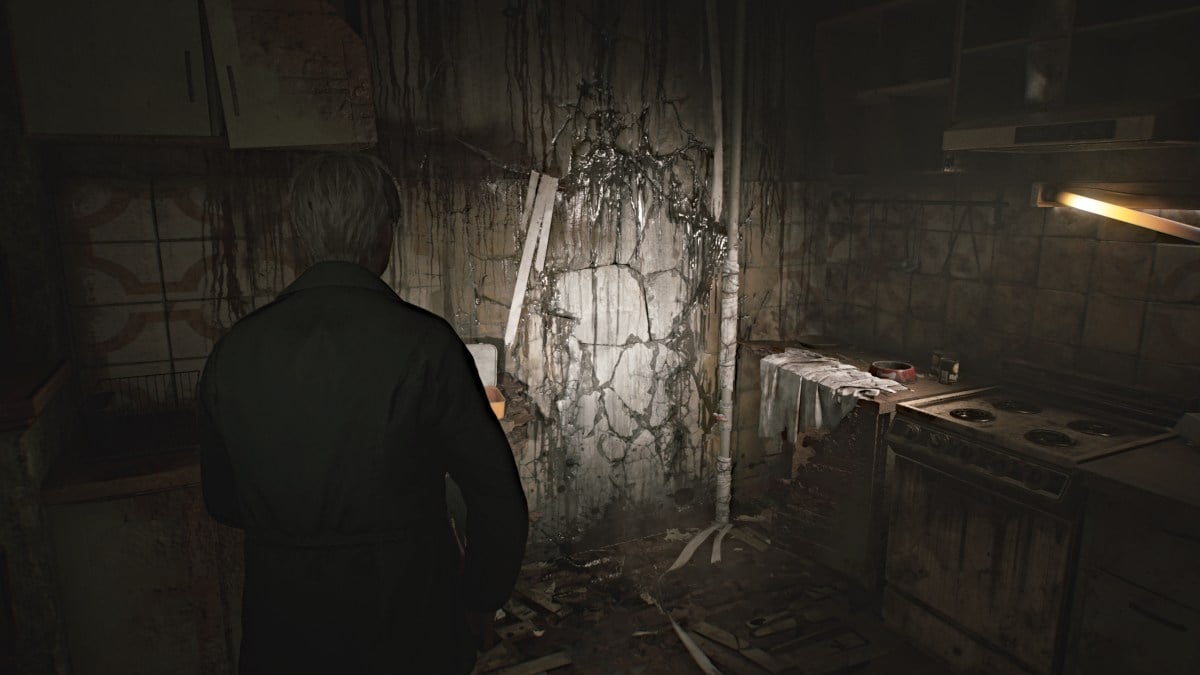
Sal al balcón, donde hay una proverbial bifurcación en el camino. A la derecha hay una puerta naranja con una gran "H" rayada , pero aún no puedes abrirla. En su lugar, vaya a la izquierda y entre al Apartamento 203 . Coge la jeringa dentro de la cocina y derriba la pared para llegar al 205 .
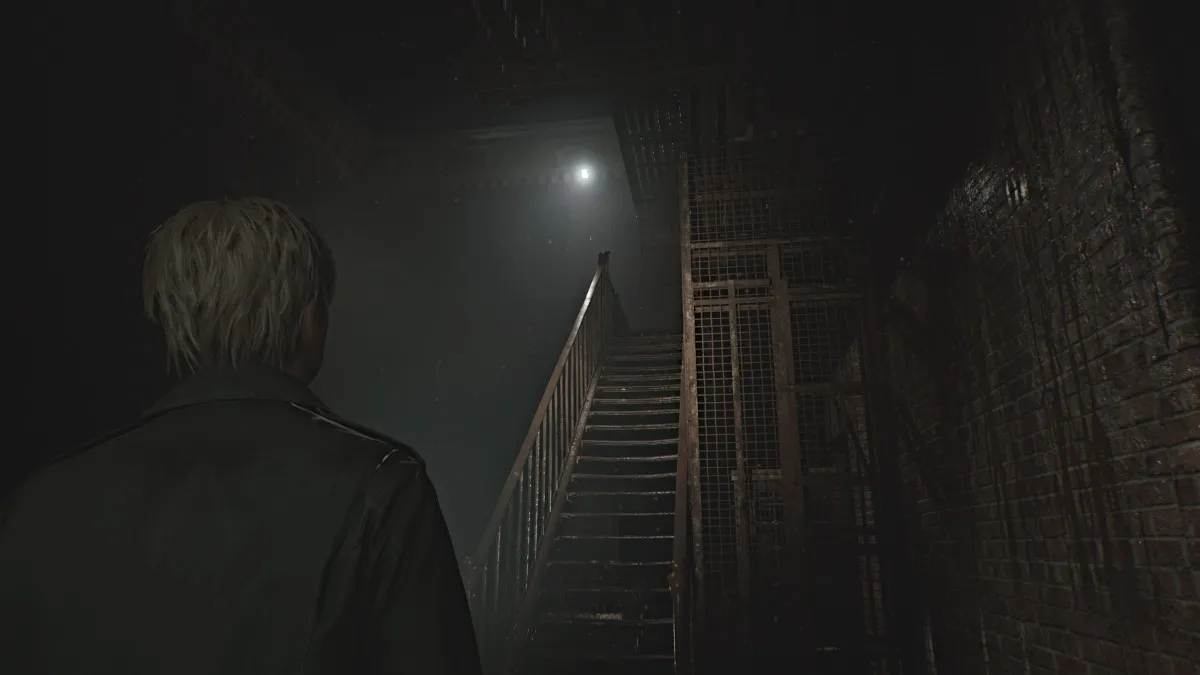
Recoge la munición de la pistola de la cuna del otro lado y avanza hasta llegar a otra ventana abierta que da a otro balcón. Coge más munición para pistola del baño cercano antes de irte. Sube por las escaleras hasta el tercer piso y sube por el espacio de acceso para aterrizar en el Apartamento 303 .
Primero, ve al área de la cocina, donde hay otra pared rompible. Pasado eso, llegarás al lavadero donde encontrarás munición para pistola y una bebida saludable .
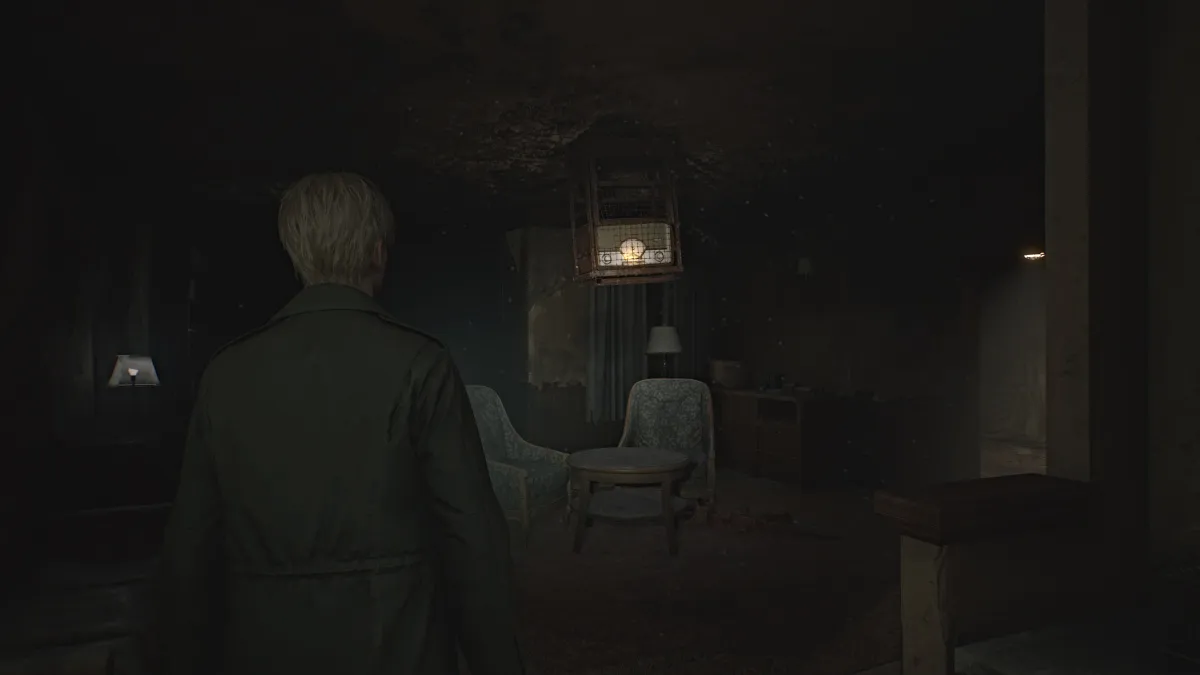
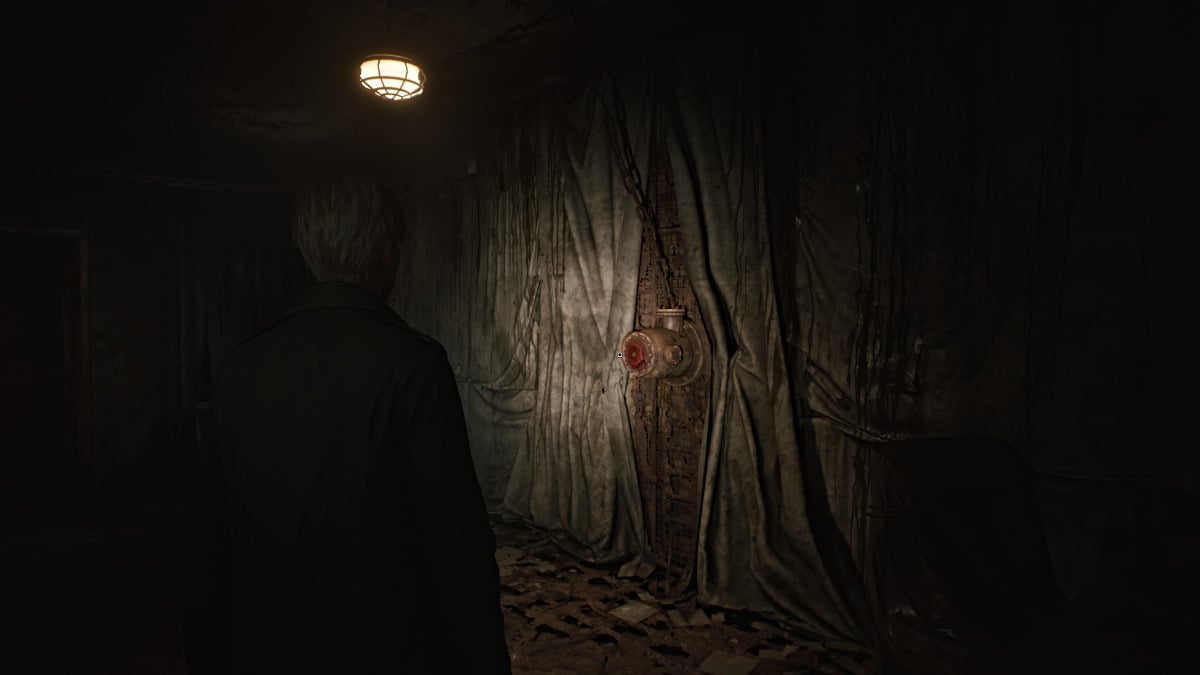
Sal al pasillo y al Apartamento 307 , donde verás una gran radio colgada del techo reproduciendo música. Después de reunir más munición para pistola, ve a la habitación de la derecha con una manivela roja en la pared a la que le falta una válvula .
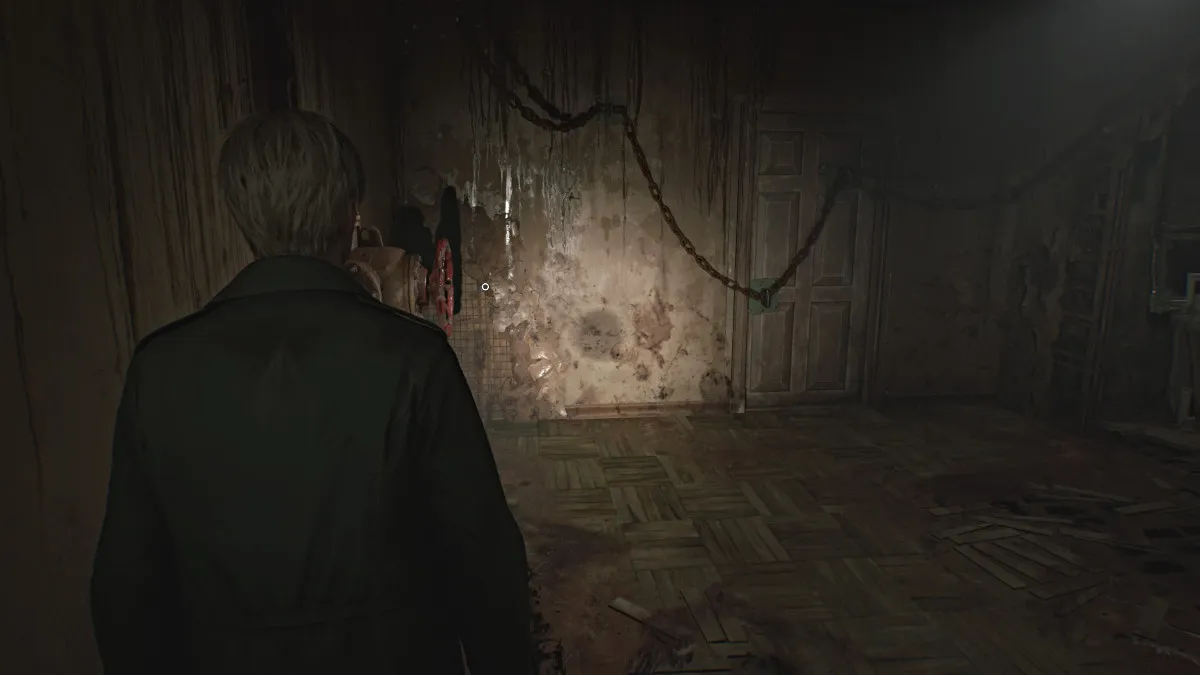
Primero, pasa por la otra puerta de la habitación que te llevará a otro balcón y de regreso al Apartamento 305. La ventana se sellará detrás de ti y tendrás que romper la puerta encadenada cercana usando la otra manivela roja en la pared (que se ve arriba). Dos figuras mentirosas atacarán rápidamente, así que deshazte de ellas. Asegúrate de tomar la llave del Apartamento 306 de la mesa antes de irte.
Dirígete al Apartamento 306 y explora y recolecta toda la munición para pistolas y bebidas saludables que puedas. En la sala de estar, verás otro Red Crank .
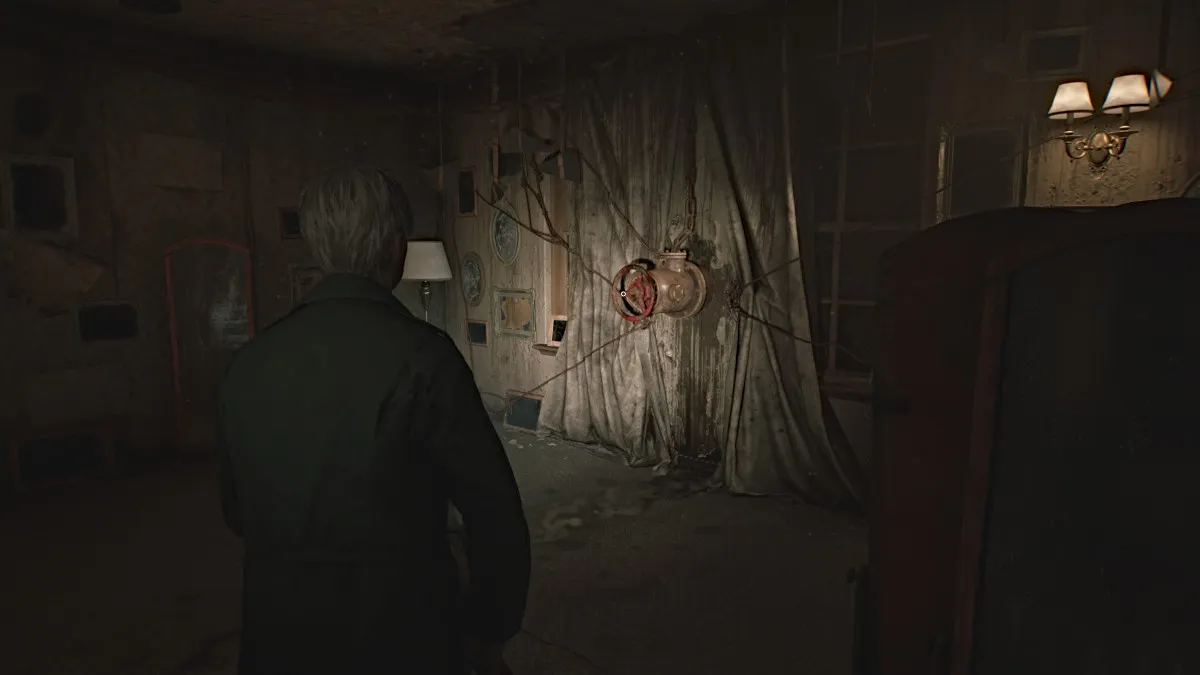
Gírelo para abrir la puerta al otro lado de la habitación y recupere la válvula que se rompe después. Ahora regresa al Apartamento 307 y usa la válvula en la manivela de la pared para derribar la radio enjaulada.
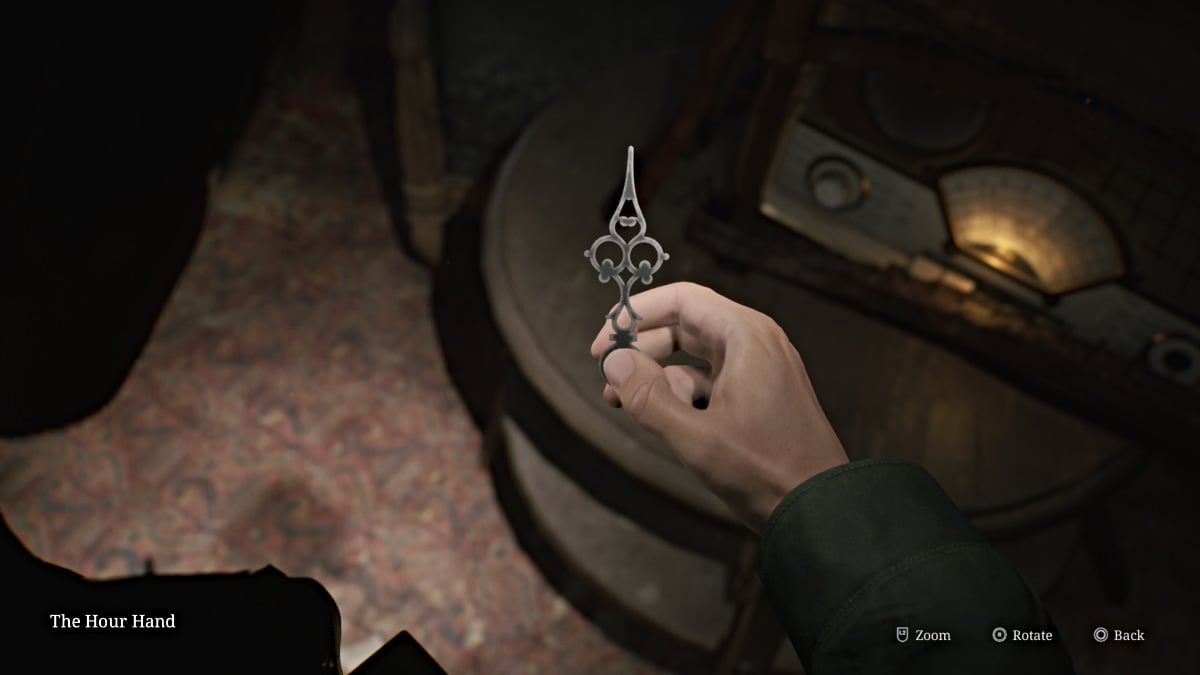
Acércate después para obtener la manecilla de hora del reloj de pie. Con eso, regresa por la escalera de incendios (usa la palanca en la pared para bajar las escaleras al segundo piso) hasta el Apartamento 212 y coloca la manecilla de la hora en el reloj para comenzar el primer rompecabezas del reloj.
En este caso, gire la manecilla de las horas al '9' en el reloj y la puerta naranja 'H' cercana finalmente se desbloqueará. Dirígete a la puerta 'H' a través del balcón y te llevará al Apartamento 210. En el interior, notarás que hay un tema de pájaros en todo. Una pequeña "balancín" (como lo llama James) en la sala de estar necesita un objeto en forma de pájaro para pesarlo, y una puerta cerrada cerca requiere una llave para su cerradura en forma de pájaro.
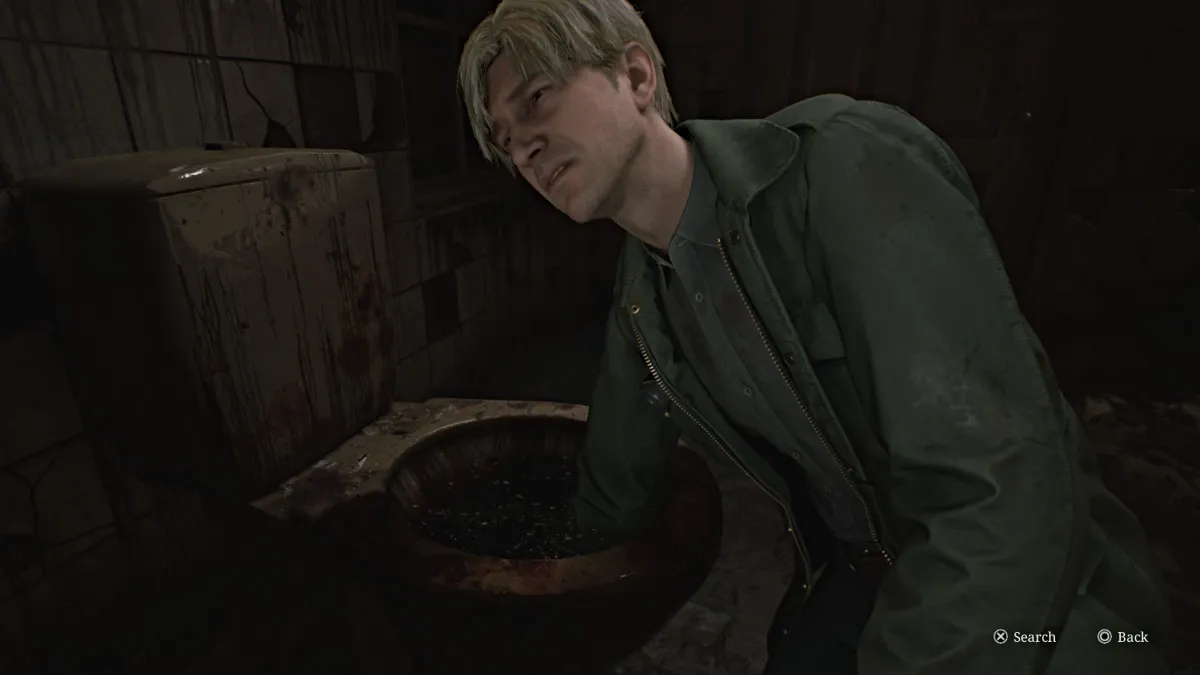
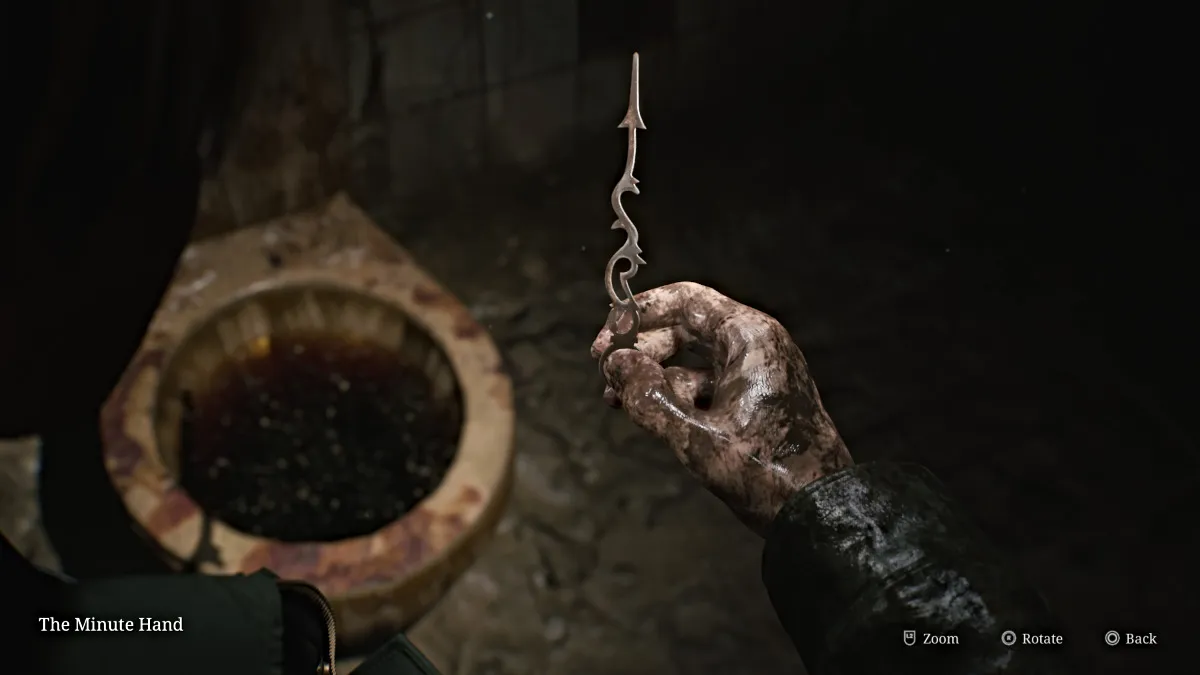
Vaya a la cocina, tome la munición de la pistola del mostrador y rompa la pared cercana para acceder al baño. Entra y el único área de búsqueda es (por supuesto) el inodoro lleno de ... bueno, "Goop". 'Búscalo' hasta que James saca la mano del minuto para el reloj.
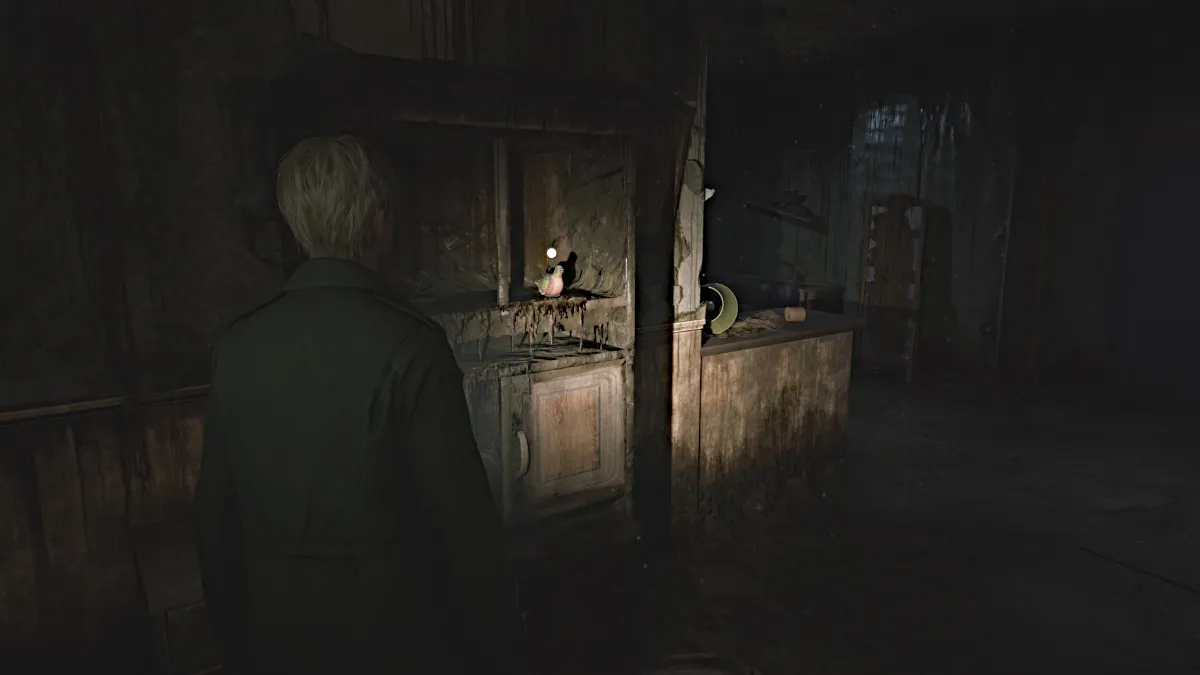
Sin embargo, al hacerlo, el entorno alrededor de James cambia repentinamente y necesitará encontrar una salida diferente. Deja el baño y agarra la figura de paloma del estante cercano (visto a continuación). Después de lidiar con la figura mentirosa que carga (recuerde que explotan después de morir en el otro mundo), coloque la figura de paloma en el lado izquierdo de la balancín . Ahora necesita encontrar la otra figura para equilibrarla.
Vete y ve por el pasillo al apartamento 209 , donde de repente escucharás algunos susurros extraños (retroceso al original). Pase por el dormitorio para llegar al baño y romper la puerta de la ducha adentro para obtener la parte de la figura malformada (que se ve a continuación).
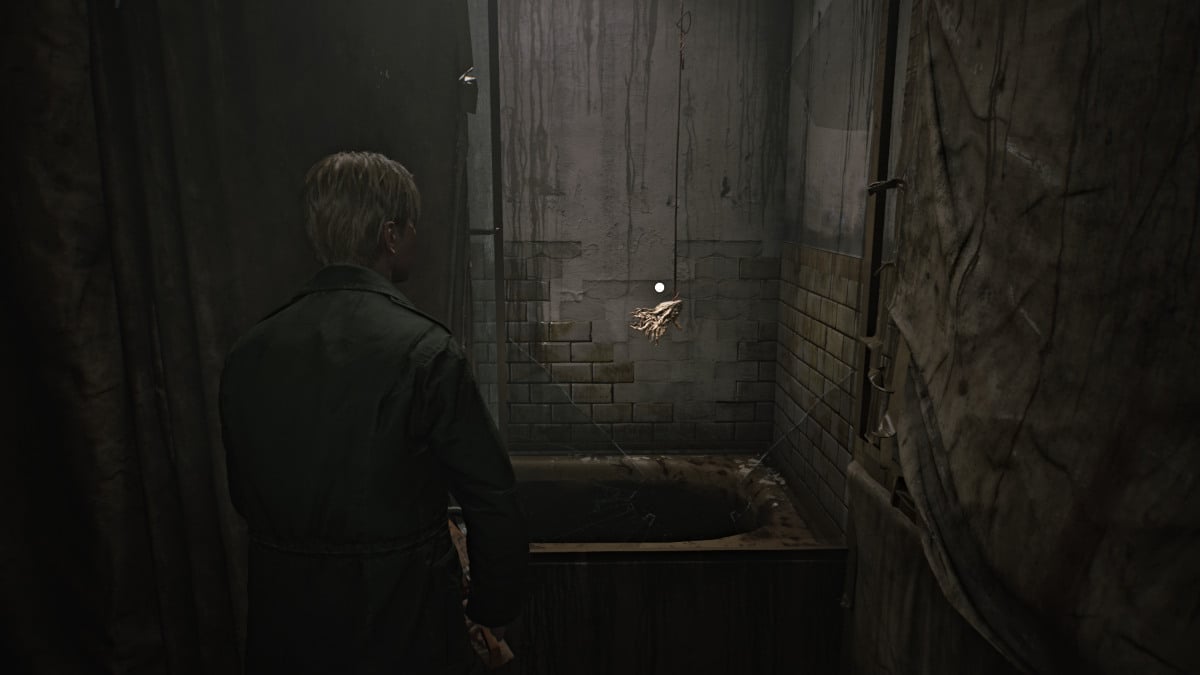
Tenga cuidado con una figura mentirosa al salir, agarre la munición de pistolas desde el extremo muerto hasta su izquierda y ahora diríjase al apartamento 211 . Puede ingresar por la pared rota o la puerta real, y una bebida saludable estará sentada cerca de la puerta.
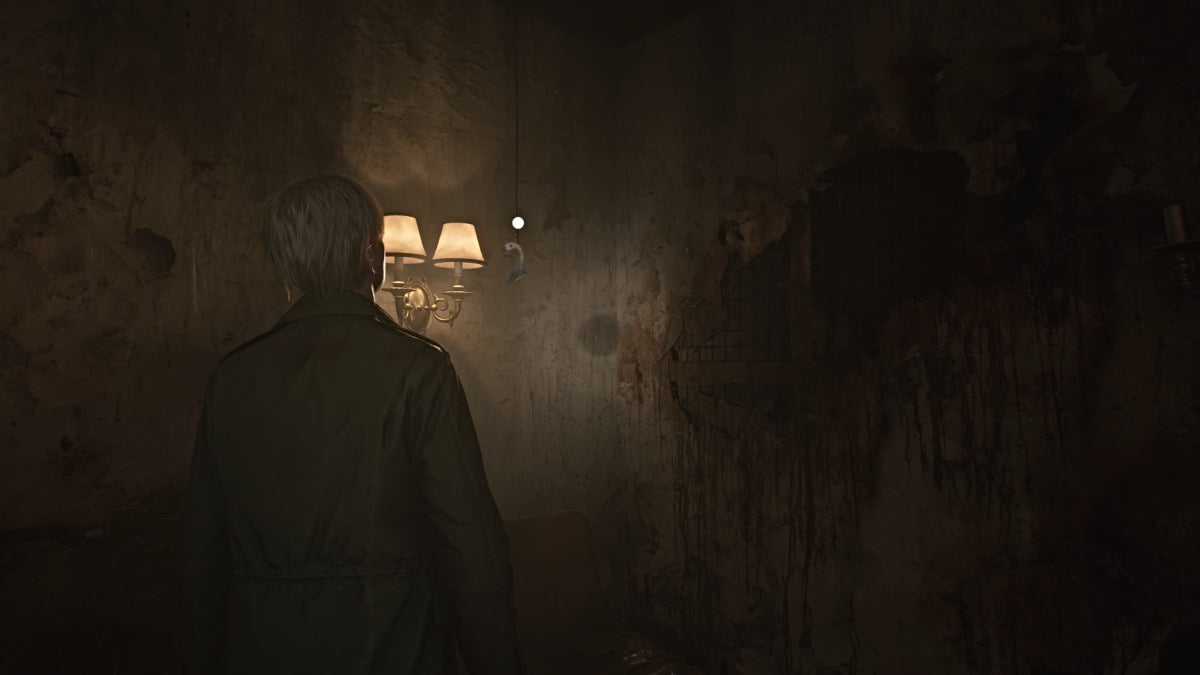
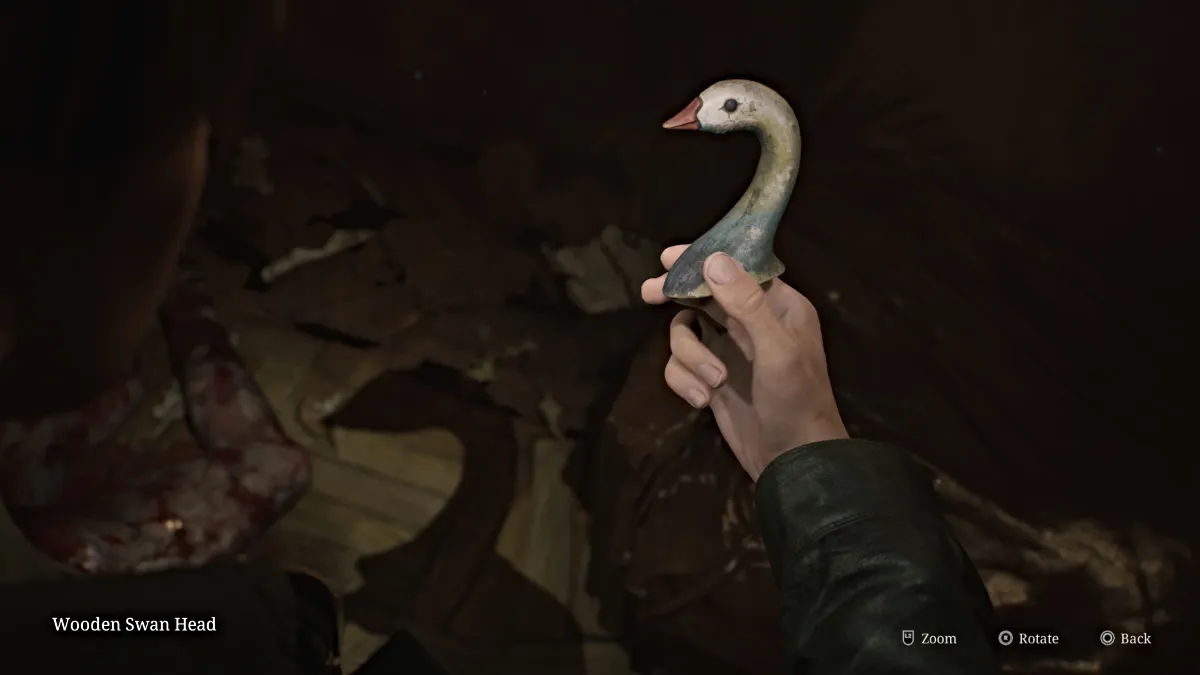
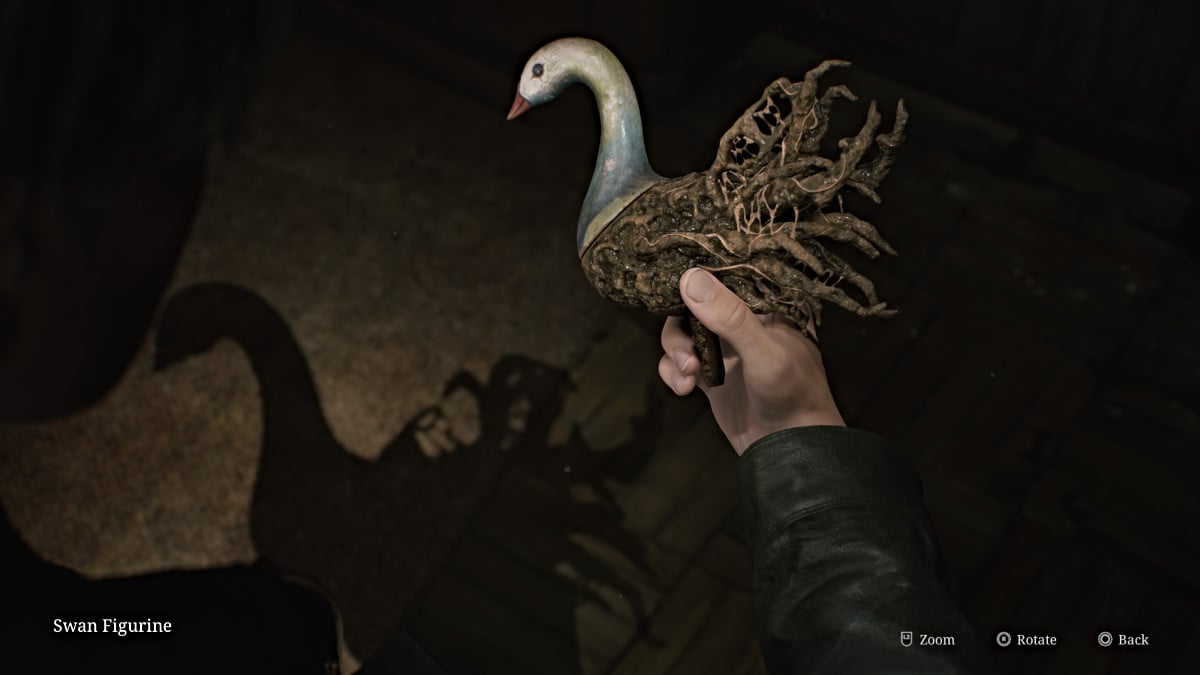
Entra y trata con los dos maniquíes tratando de darte la caída. En esa misma habitación a la derecha, notarás una extraña sombra en la pared posterior. Mire a su alrededor y la cabeza de cisne de madera (vista arriba) colgará de una cuerda cerca de una luz. Tómelo y luego combínelo en su inventario con la parte de la figura malformada para hacer la figura de cisne. Tome más munición de pistola de la cocina al salir y regrese al apartamento 210.
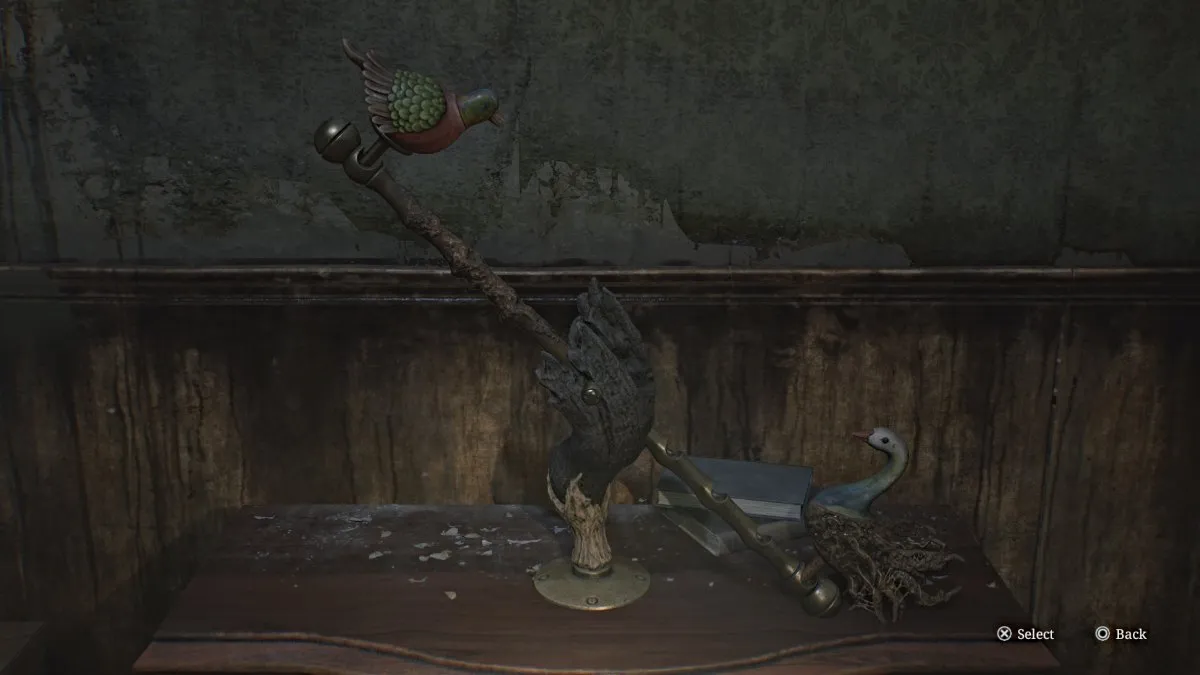
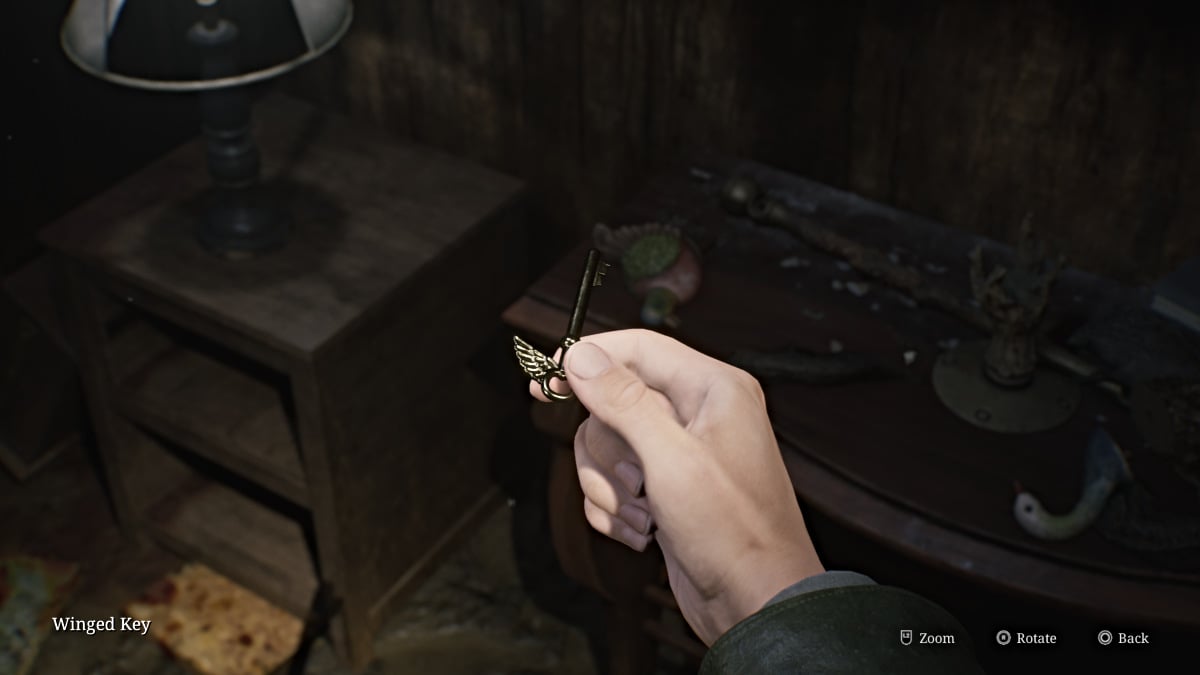
Coloque la figura de cisne en el balancín y ajústelo a la segunda ranura desde el centro para equilibrar el balancín. El punto de apoyo de madera se romperá, revelando la llave alada . Tómelo y úsalo en la puerta cerrada cercana. Entra y verás un agujero en el piso que necesitarás para saltar. Esto te lleva al primer piso de Blue Creek Apartments.
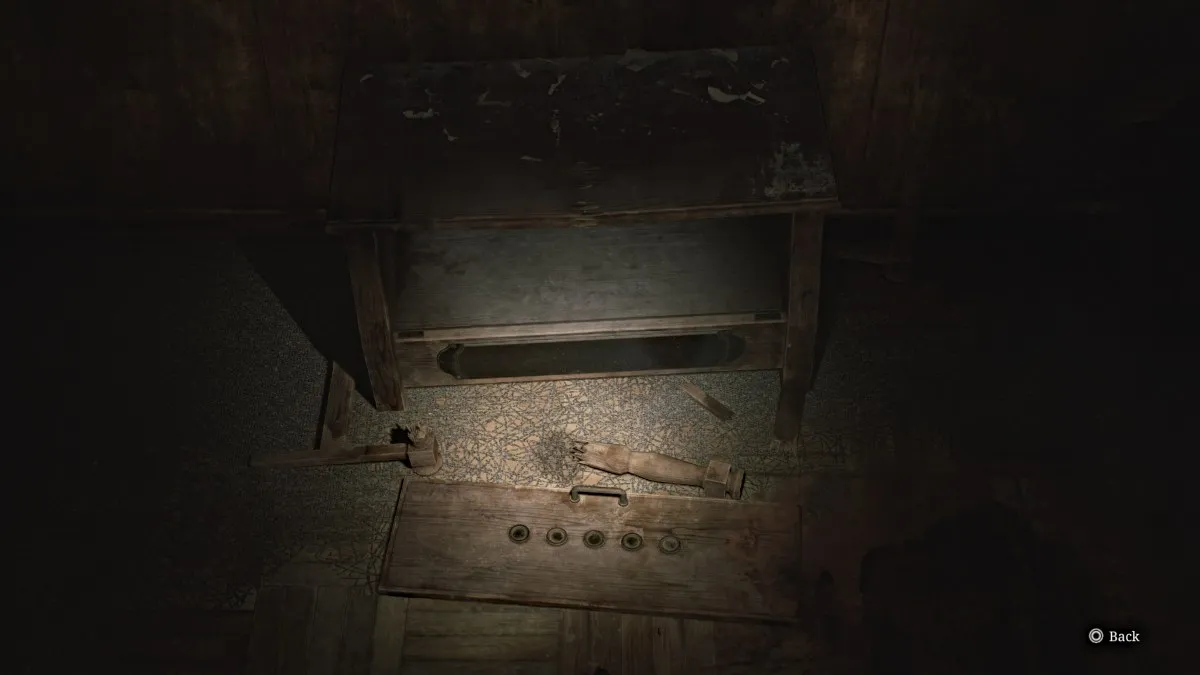
Abra el mapa y se encontrará en el apartamento 110 en el primer piso. Apriete y te encontrarás con otro vistazo del pasado (visto arriba), que es el gabinete de rompecabezas de monedas del juego original. Continúe y salga a través de la brecha en la pared mientras la puerta de entrada está cerrada. Dirígete hacia el norte por el pasillo y notarás que el entorno se ve diferente en ese lado, menos desglosado.
Entra en el apartamento 109 de aspecto mucho más limpio y a través de la puerta blanca por delante. Una escena jugará con Angela, que parece más perdida que antes.
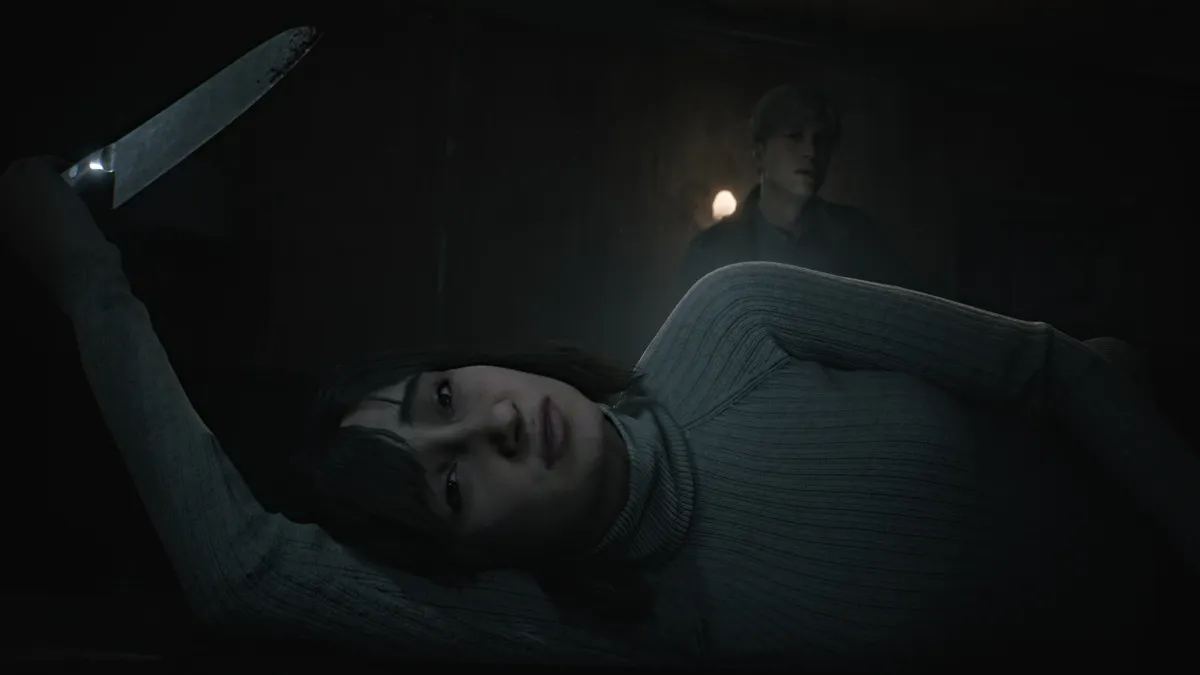
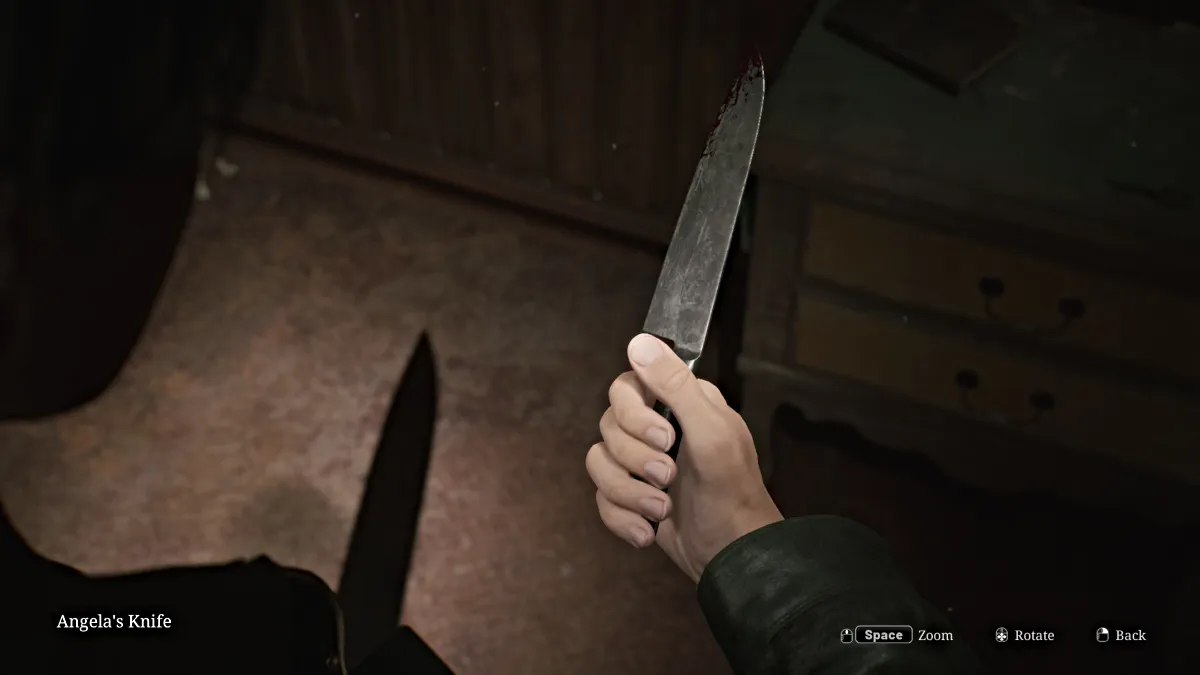
Cuando termina la escena y ella deja el cuchillo, James lo tomará para su inventario (visto arriba).
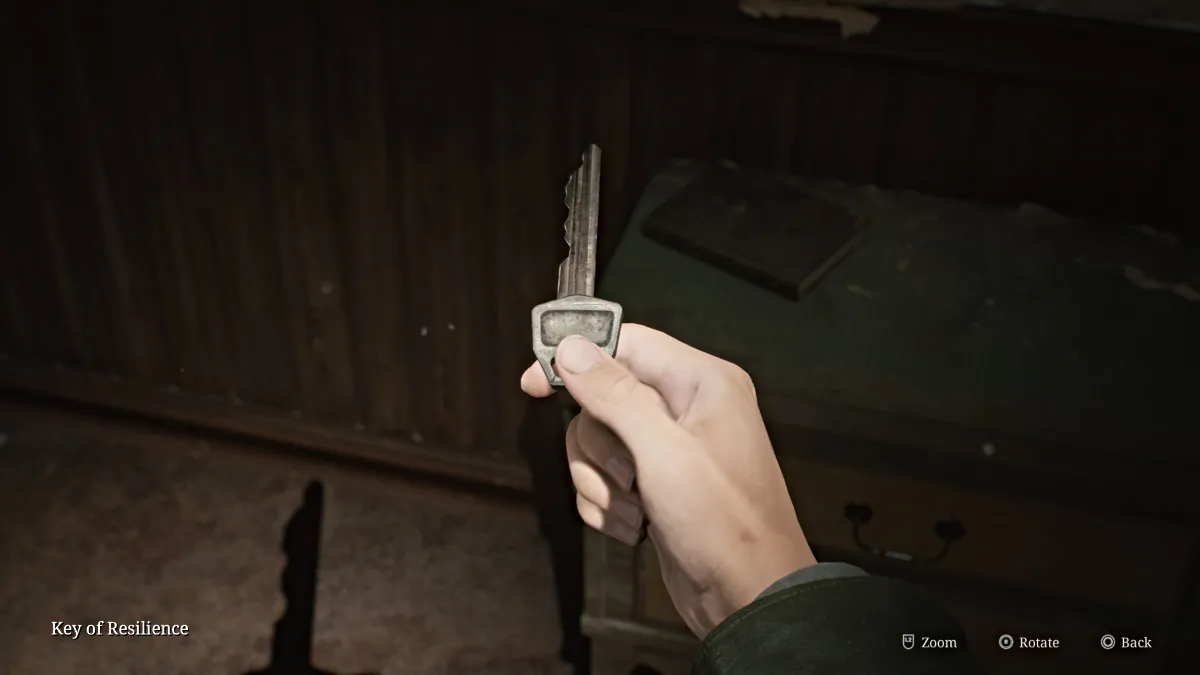
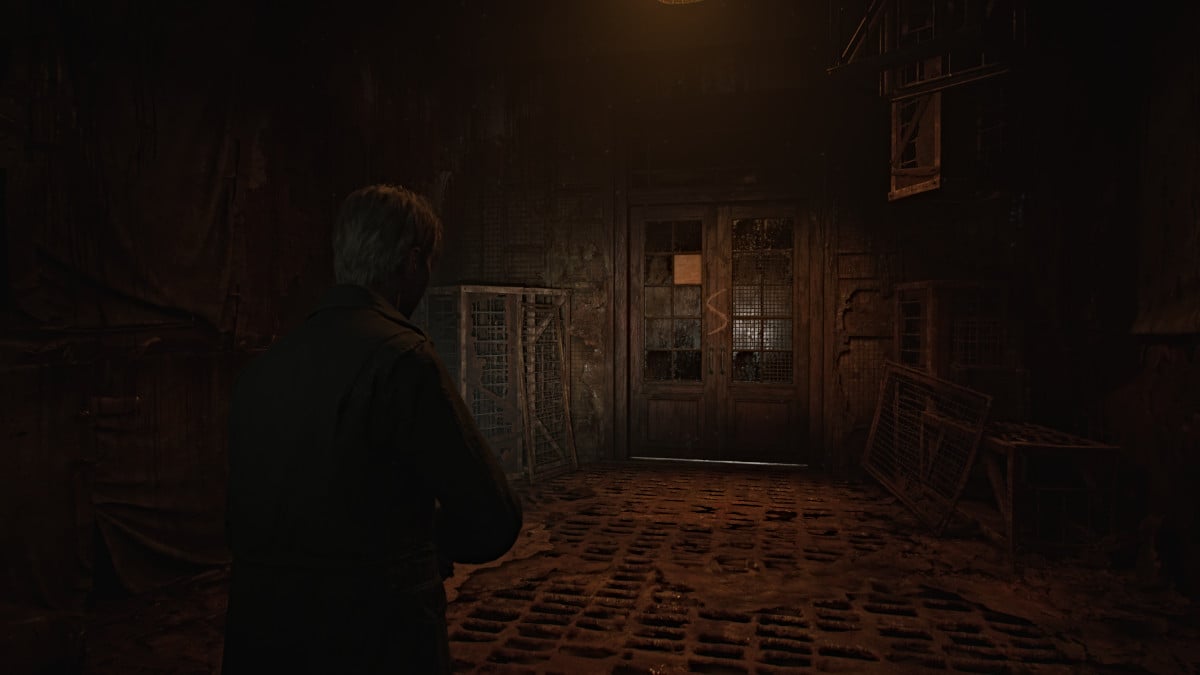
Tome la clave de la resiliencia que también está sobre la mesa y luego salga del apartamento. Use la clave de resiliencia en la puerta más sureña que conduce a un área de vestíbulo y puertas dobles grabadas con la letra 's' (que se ve a continuación). Sin embargo, está bloqueado, por lo que necesitará encontrar otra manera.
Pasa el vestíbulo al apartamento 101 , recoge la munición y la jeringa de la pistola desde allí, y úsala para pasar por alto una barrera en el pasillo, y conduce a la habitación de la escalera . Entra, donde un maniquí te emboscará. Mátalo, para que puedan obtener la imagen "juntos para siempre" (foto extraña) de ella.
Sube las escaleras (no, no te está esperando allí) y por la puerta de regreso al segundo piso. Regrese a la sala del reloj (212) ya que tiene la mano del minuto y colóquelo en el reloj. Gírelo a '2' y presione 'Aceptar' para resolver la siguiente parte del rompecabezas. Esto desbloqueará la sala 'M' en el segundo piso que encontraste hace un tiempo.
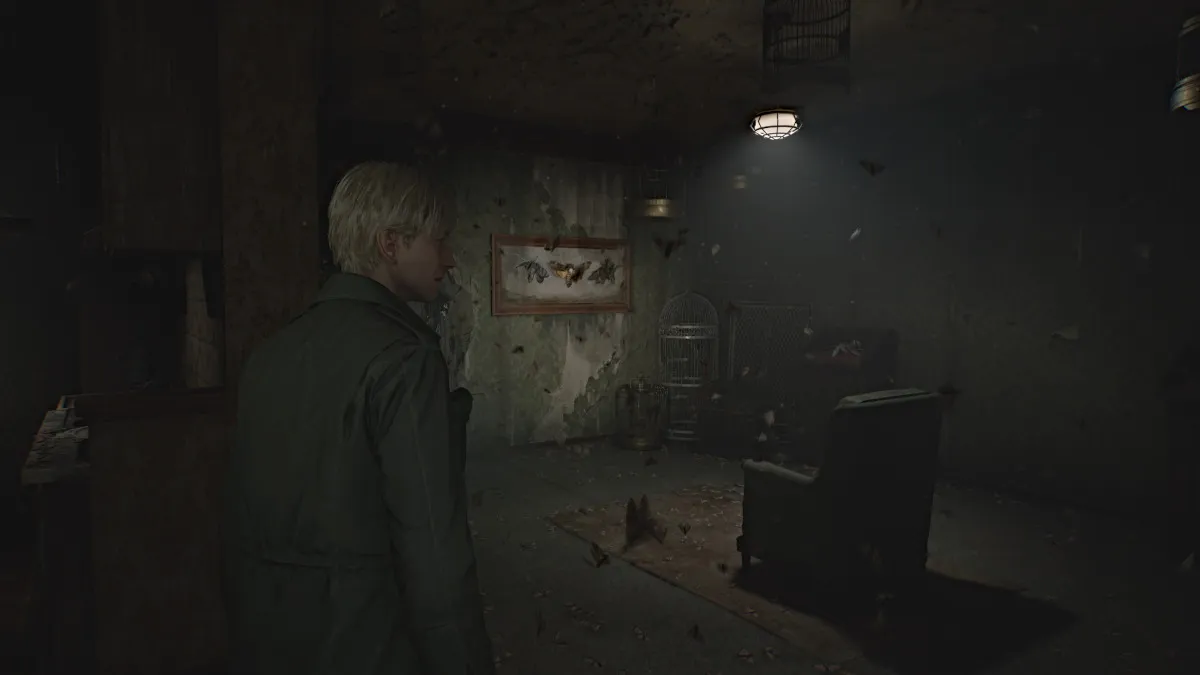
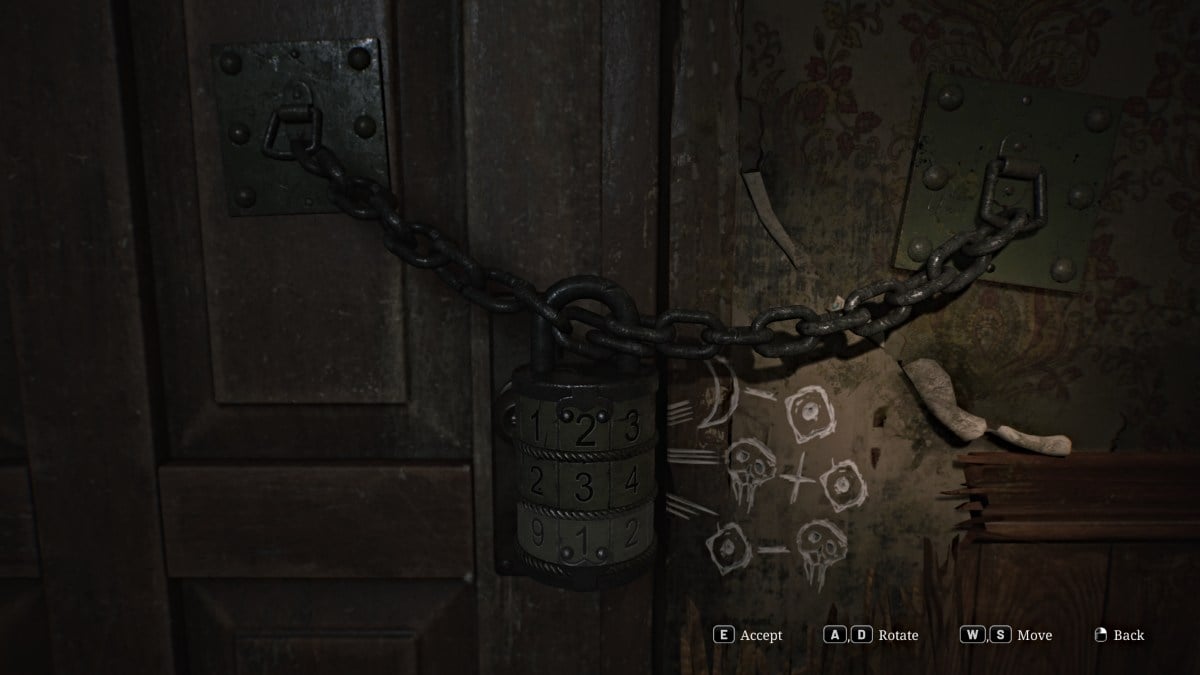
Dirígete por el pasillo hasta la sala M (o el apartamento 202 ) y entra por otro rompecabezas. Todo el lugar está lleno de polillas y notará varias exhibiciones de taxidermia de polilla alrededor de la habitación principal. Detrás del sillón hay otra puerta encadenada con una gran cerradura de combinación que debe resolver para romperla.
Esencialmente, para obtener la combinación correcta, debe tener en cuenta todas las polillas que se muestran en todo el apartamento (incluidos los ocultos detrás de la pared rompible) y los símbolos en sus alas. Los factores en los problemas de matemáticas simbólicas junto al bloqueo, y una vez resuelto tendrás los números.
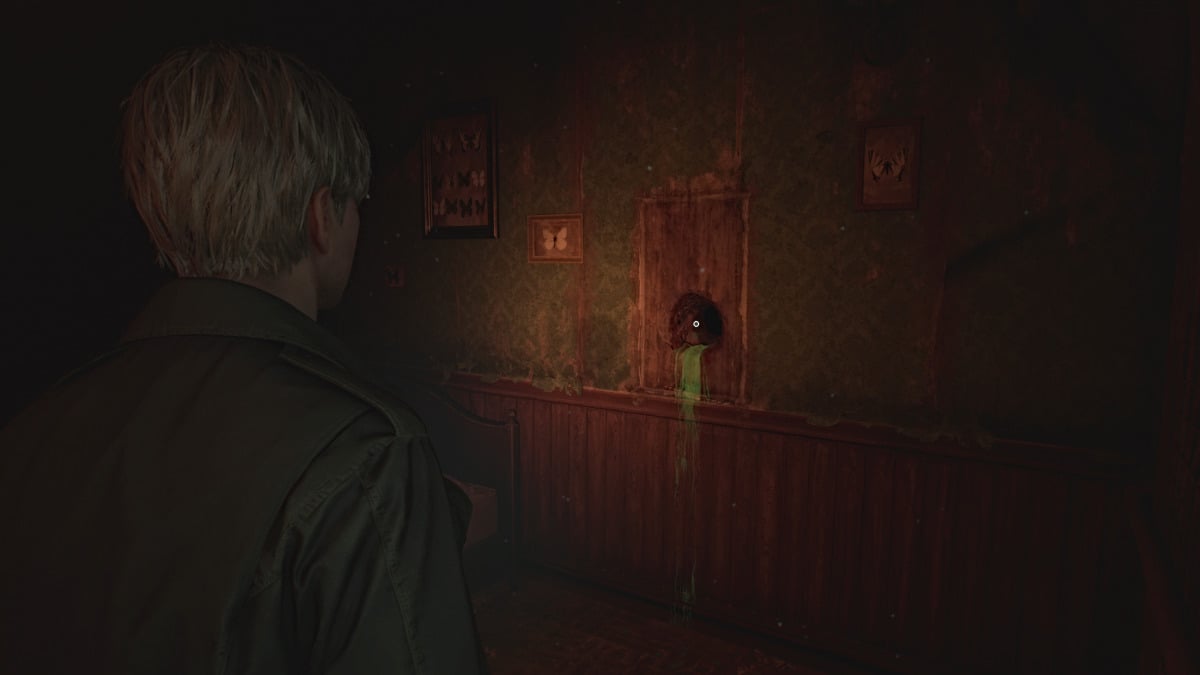
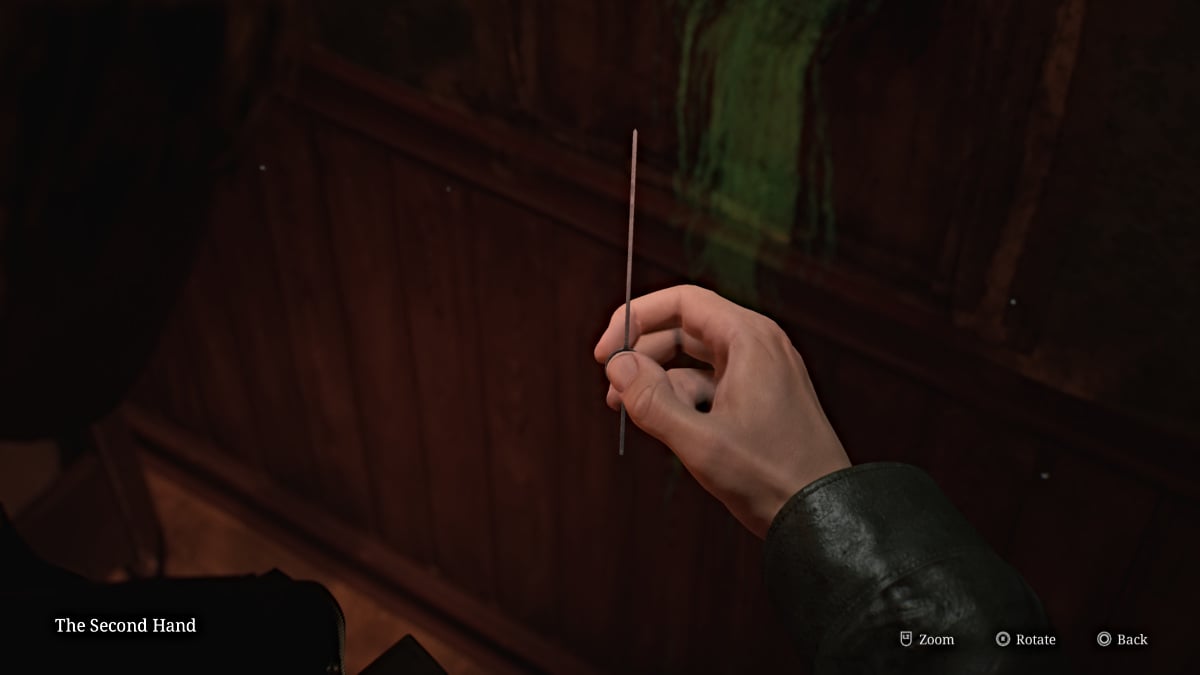
Para ahorrarle tiempo, sin embargo, el código correcto para el bloqueo (dificultad estándar) es 373 . Una vez hecho, entra donde verás otro agujero increíblemente acogedor en una pared para que James metiera la mano. 'Busque' suficientes veces y recuperarás la segunda mano para el reloj. Deja el apartamento después.
Regrese a la sala del reloj y coloque la segunda mano dentro del reloj. Para completar la tercera y última parte del rompecabezas, gírelo a '3' y esto desbloqueará la ominosa 's Room' en el primer piso. Antes de salir de la habitación del reloj, asegúrese de agarrar la munición de la pistola de la habitación vecina y la foto extraña "cómo el tiempo vuela".
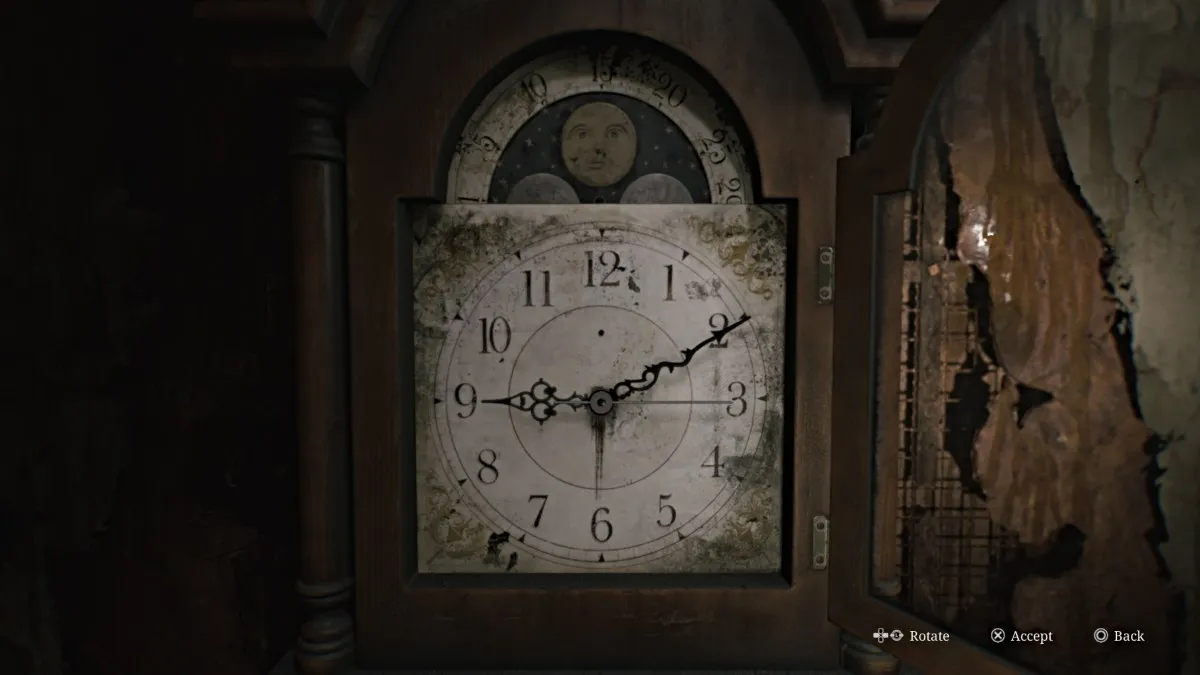
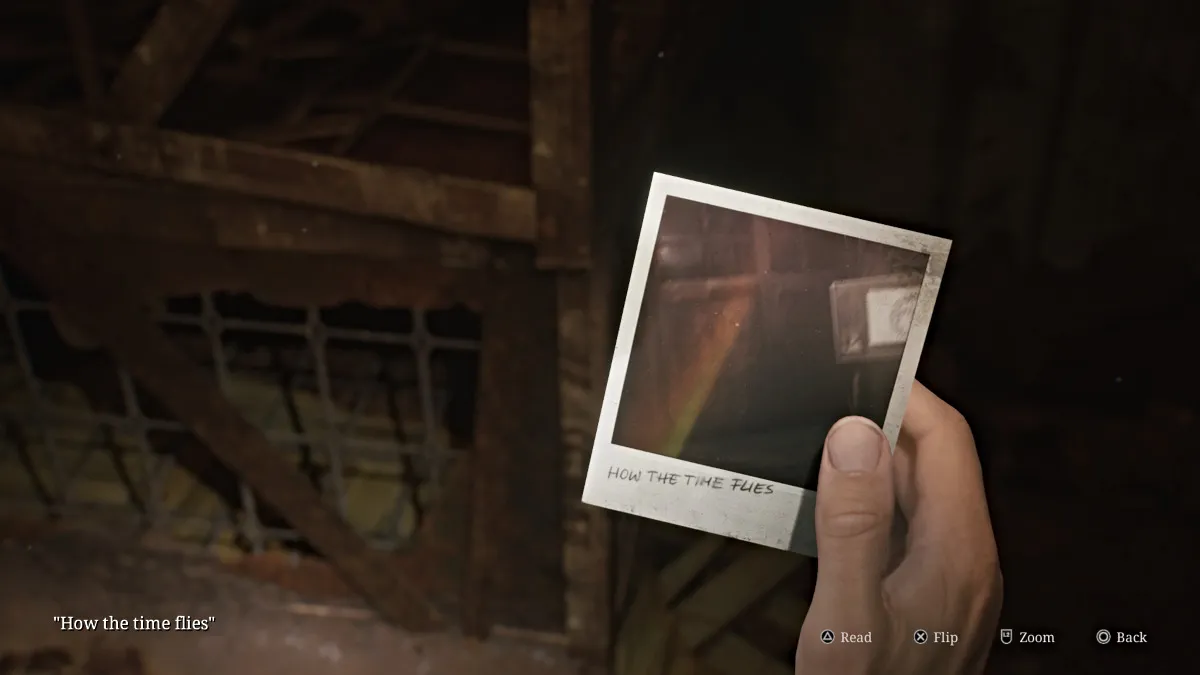
También asegúrese de explorar en cualquier otro lugar que desee en los apartamentos de Blue Creek antes de progresar, ya que la habitación S es el punto de no retorno para esta área .
Si está listo, tome la escalera del lado oeste del segundo piso hasta el primer piso. En el camino, puede notar gashes frescos en los pisos y las paredes, lo que indica que alguien con una gran cuchilla ha estado acechando el área. Regrese al área del vestíbulo donde está la habitación S, respira profundamente y entra.
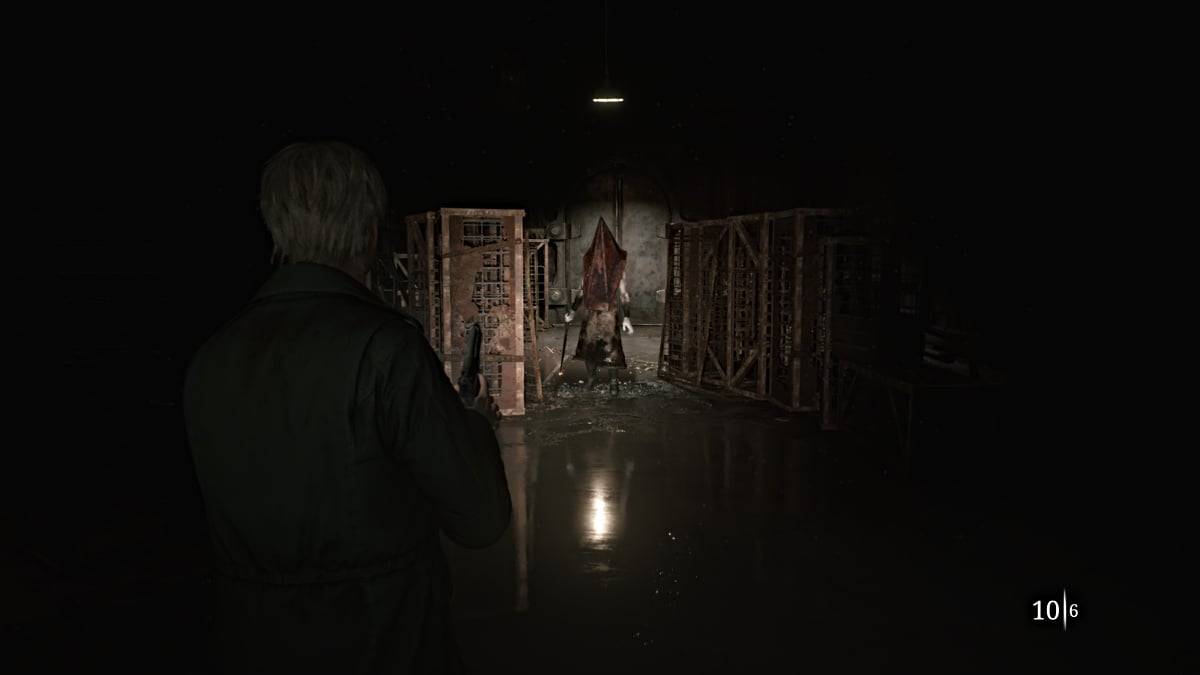
La sala S es el hogar de nada menos que la cabeza de la pirámide , que ha estado al acecho y esperando su llegada. Tan pronto como se vuelve para mirarte, comienza la pelea.
Más bien, es tu lucha mantenerse con vida el tiempo suficiente porque, a medida que te darás cuenta rápidamente, la cabeza de la pirámide toma poco para dañar en absoluto . La única arma que quieres usar aquí es tu pistola porque mantener la distancia de él es la principal prioridad. Si intentas un ataque cuerpo a cuerpo, un golpe de su gran cuchillo dañará severamente o te matará directamente.
Afortunadamente, la habitación está llena de cajas de munición de pistolas, así que utilice ellas mientras realiza continuamente círculos alrededor de la habitación. Sigue disparando balas en él (evite su casco) y en un momento se volverá más agresivo mientras la habitación comienza a inundarse.
Continúe la misma estrategia hasta que finalmente, las sirenas comienzan a sonar y la cabeza piramidal detiene inmediatamente su ataque. Una escena le mostrará que se va, terminando la pelea por completo. Una vez que tenga el control, verifique la habitación para cualquier munición de pistolas que haya perdido y luego salga por las mismas puertas, lo que lo llevará directamente afuera, de regreso a las calles de la ciudad, el otro mundo ahora se fue.
Golpea el punto de guardado rojo justo afuera después de la pelea para ahorrar tu progreso, luego revise el auto al lado para una bebida saludable . Revise su mapa y ahora se encontrará en el área de West South Vale de Silent Hill. Verá que Rosewater Park en el norte está en círculo, lo que significa que ese es su próximo objetivo principal.
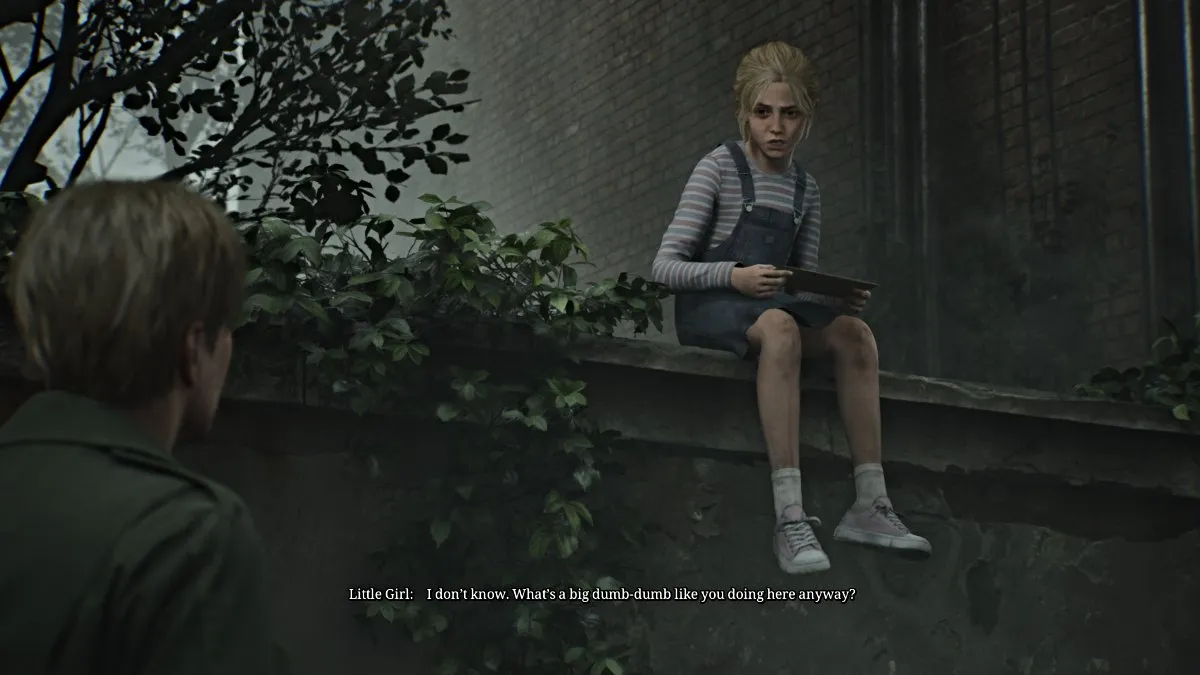
Gire la esquina y revise el automóvil verde a su derecha para la munición de pistolas en el asiento del conductor. Sigue adelante y otra escena jugará donde James se encuentra con la joven de antes (llamada Laura pero no lo revela hasta más tarde). Parece estar sosteniendo una carta, pero se niega a decirle a James qué es, diciendo que "no amaba a Mary de todos modos" y despegando de nuevo. La escena termina con James desconcertada de que alguien más también está aquí para Mary.
Continúe a través del túnel que lo lleva directamente al parque de aguas de Rose. Tome la primera izquierda hacia el área del banco , donde puede encontrar una jeringa al lado de una chaqueta. Luego, tome el pequeño puente sobre el cual luego diverge. Tome el camino correcto y síguelo, ya que habrá una munición de pistolas para salvar en ese lado.
Sigue recto y debajo del letrero 'Rosewater Park', lo que te lleva a un área de muelle del lago Toluca.
Tome el largo camino central hacia una glorieta, donde verá una figura femenina en la niebla.
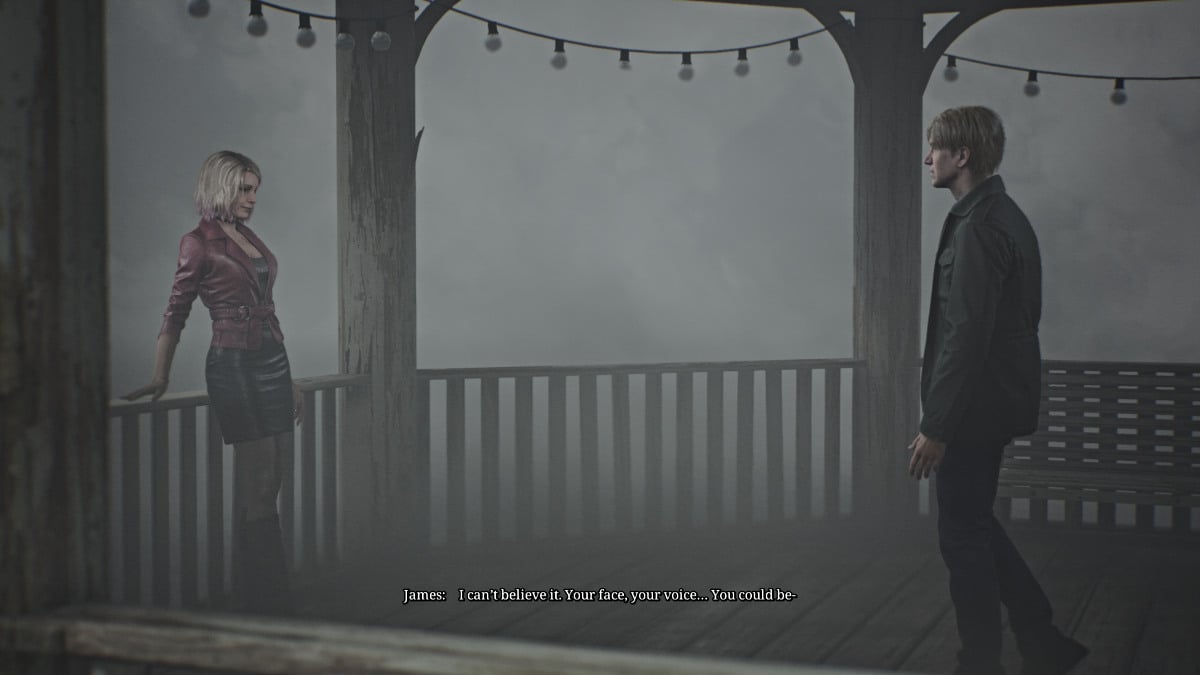
Una escena revela que es una mujer que se parece misteriosamente a Mary, pero con una mirada notablemente más viene aquí. Ella se revela como María .
A medida que James se decepciona y confunde visiblemente, María ofrece llevarlo a otro posible "lugar especial" en el que Mary podría estar. A pesar de su preferencia por ir sola, María insiste en venir con él con "todos los monstruos". Él está de mala gana y ahora su viaje incluye a María como su compañera.
Círculo hacia abajo y alrededor del lado izquierdo del parque, donde encontrará la foto extraña "tan lejos de casa" en una sala de estar, un poco más de munición de pistolas en una mesa de ajedrez y una bebida saludable en un área de baño público . Deje Rosewater Park en la salida oeste y hacia la avenida Nathan.
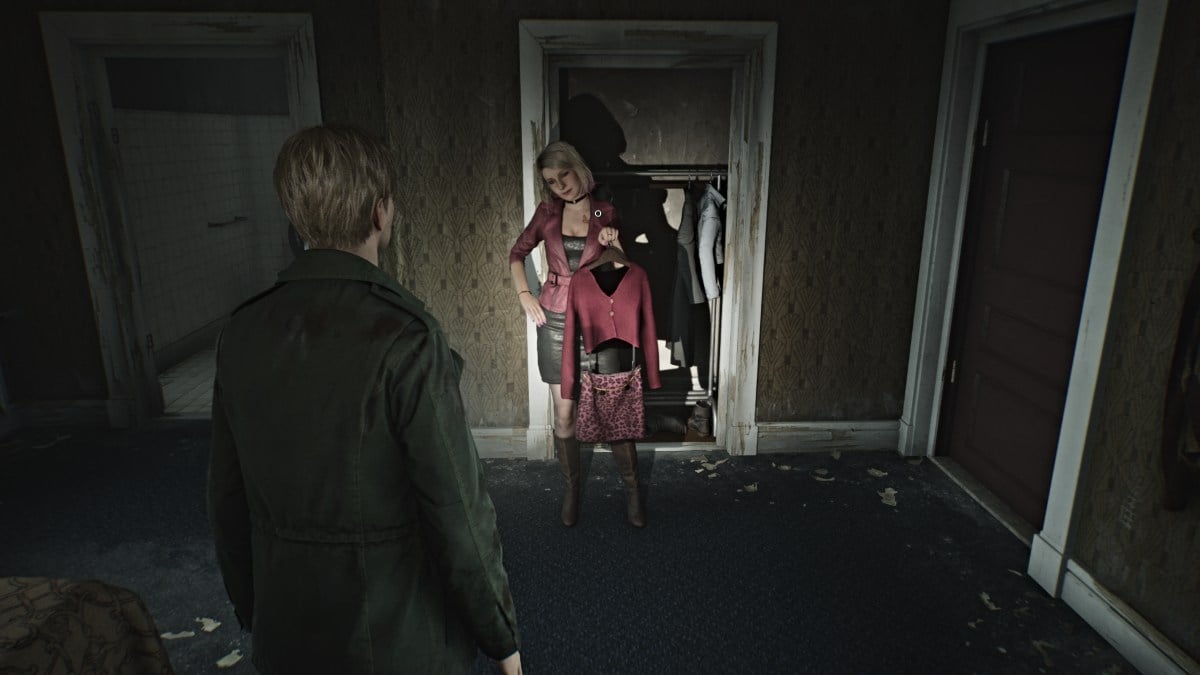
María le dice a James que atraviese Jack's Inn para llegar a su destino, así que dirígete allí al otro lado de la calle. Primero dirígete a la oficina del motel, a la que se puede acceder desde la puerta en la parte posterior. Hay una pequeña caja fuerte debajo del mostrador que requiere que se abra un código. Tome la nota del mostrador de recepción del tablón de anuncios, que sugiere la habitación 107 . Lo encontrará en el edificio elevado hacia la parte posterior del motel, pero necesitará romper la ventana en la habitación 108 para llegar allí.
Una vez adentro, rompa la pared conectada a la habitación 107, y en el dormitorio encontrará la nota de la caja de herramientas , lo que le brinda el siguiente acertijo:
Al hacer las matemáticas apropiadas, obtendrá el código 0451 . Mientras estás listo para salir de la habitación, María te burlará de ti con un atuendo que encontró en el armario, preguntando si le vería bien.
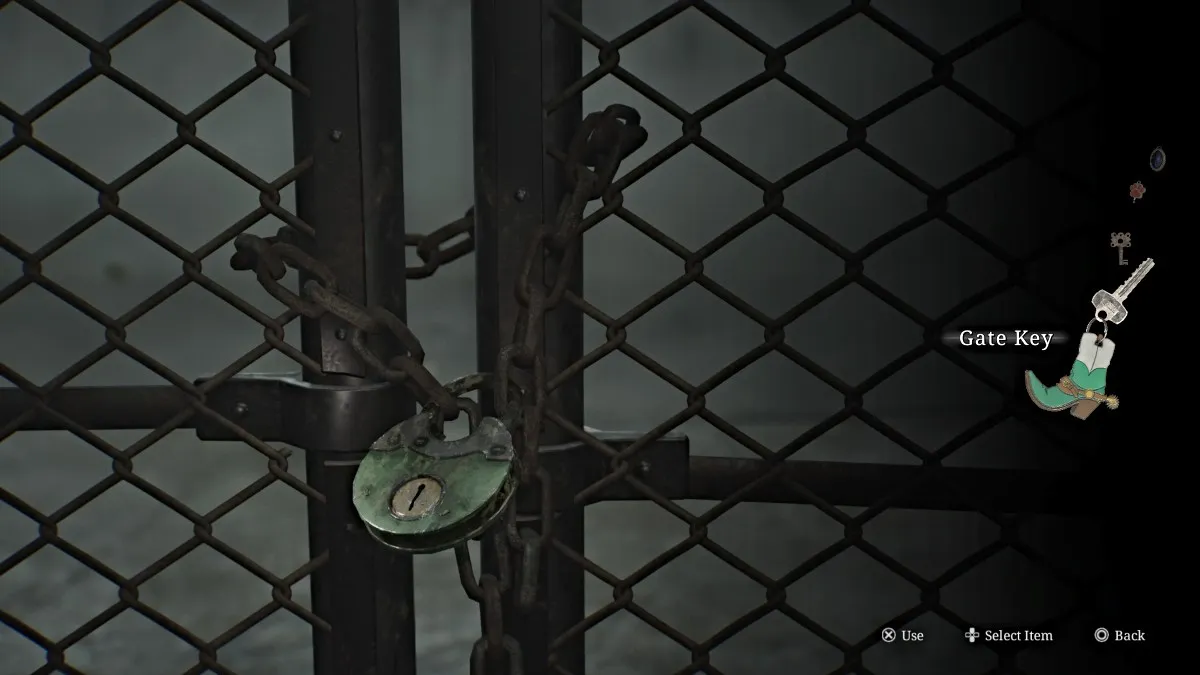
Regrese a la oficina del motel, use el código y dentro de la caja fuerte encontrará la tecla Gate . Sin embargo, no tienes mucho tiempo para mirarlo, ya que un maniquí de repente emboscan a María. Un disparo lo derribará.
Después de usar el punto de guardado rojo sentado en la cajuela de un automóvil, ahora es el momento de explorar otros lugares en el área antes de continuar la historia, ya que no podrá regresar por un tiempo y será nocturno (y más peligroso) cuando lo haces .
Desde donde ingresaste a Jack's Inn, dirígete a la izquierda por la avenida Nathan hasta llegar a los combustibles de octanis . Al llegar, María dirá que vas por el camino equivocado y sabrá que ignorar su consejo y dejar que los monstruos la atacen a lo largo del juego influirá en tu final.
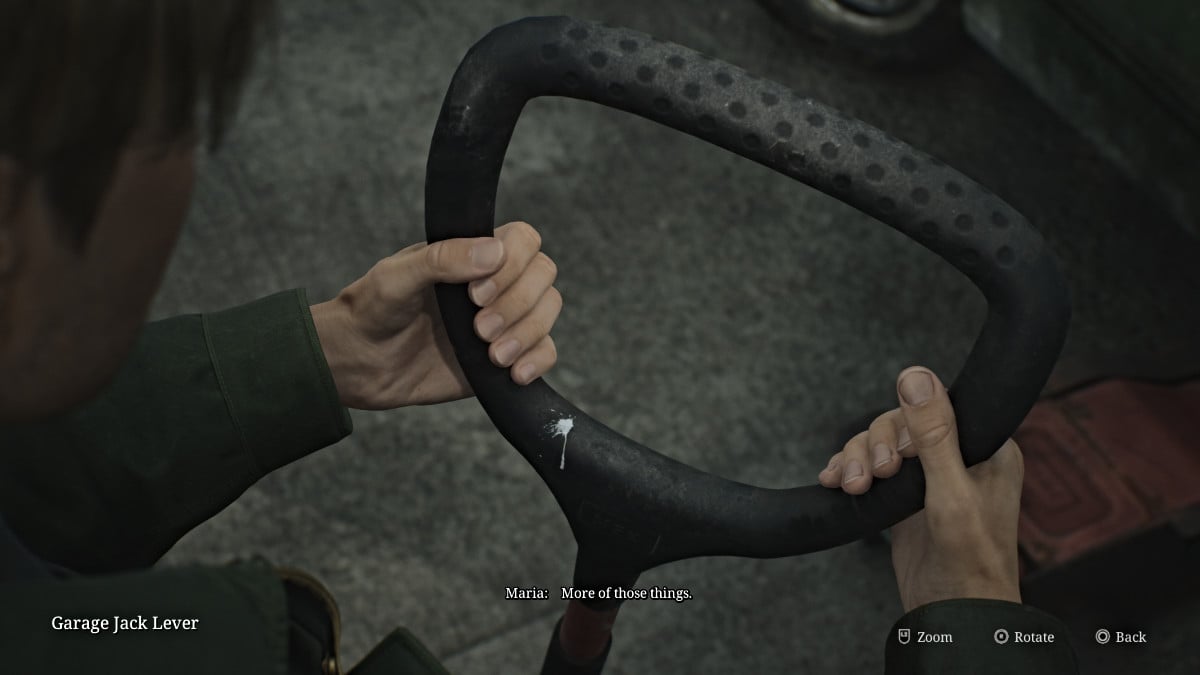
Vaya a la parte trasera de los combustibles de Octanis, donde encontrará un automóvil levantado por un gato de garaje . Camina y toma la palanca del gato de garaje , pero el ruido despertará a varios monstruos en el proceso. Cuida las figuras y errores mentirosos que vienen en funcionamiento.
Además, mientras estás allí, dirígete a Carroll Street hasta el Bowl-O-Rama de Pete y ve a explorar el interior. Mientras que en el juego original tropezarías con Eddie y Laura aquí, ese no es el caso en el remake. El lugar está completamente vacío, pero puede encontrar un punto de guardado rojo , un poco de munición de pistolas de repuesto y bebidas saludables , junto con una pizza casi comiendo cerca de los bolos.
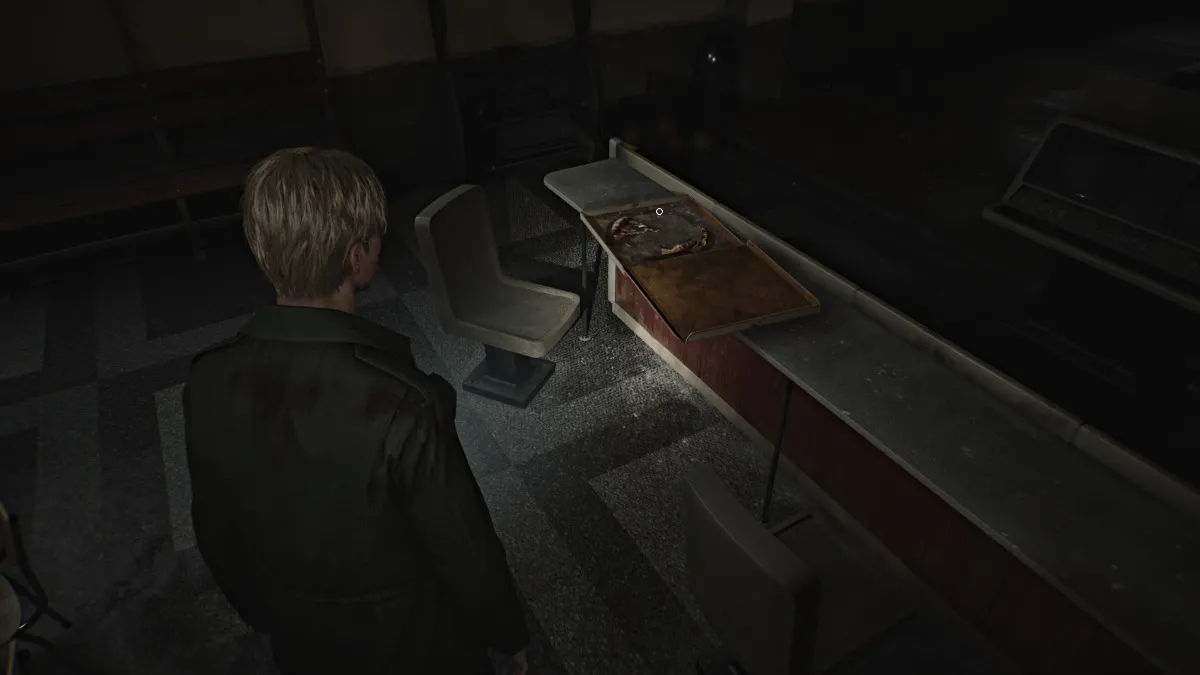
Interactuar con él para ver otro pasado , y James comentará "Este lugar está lleno de monstruos, ¿cómo puede alguien sentarse aquí y comer pizza?". Es un guiño divertido a una de las escenas más icónicas del juego original, y Eddie aún podría haber estado aquí.
Deja a Pete's cuando estés listo y regrese por la avenida Nathan hacia Rosewater Park. Tenga en cuenta los monstruos ahora dispersos por la calle. Una vez que hayas vuelto, ve específicamente al estacionamiento a las afueras de Rosewater Park . Uno de los autos estacionados en su interior tendrá una munición de pistolas , así que aplasta y agarra.
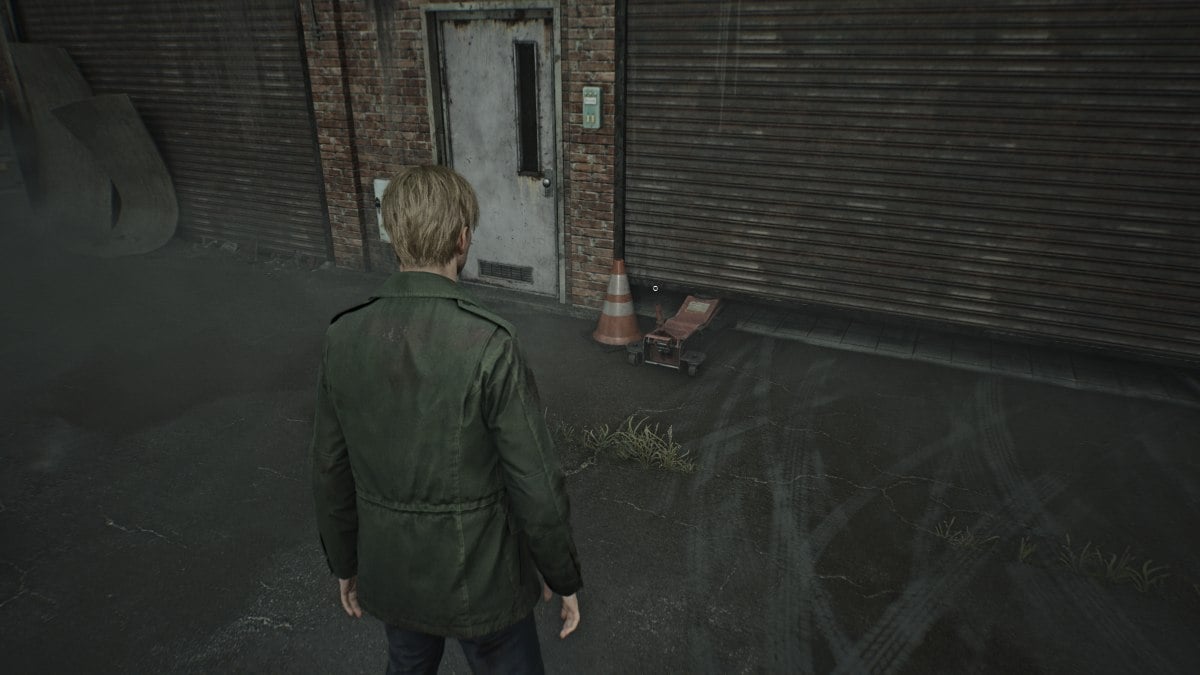
Corre hacia la parte posterior del garaje en el estacionamiento, donde verá una puerta abierta por un gato de garaje , aunque perdida su palanca. Use el que rescató y podrá abrir la puerta por completo. En el interior encontrarás un tesoro de artículos útiles, que incluyen:
Con eso, habrá cubierto gran parte de todo lo que necesitará explorar en el área por ahora. Así que regresa por el estacionamiento de Jack's Inn, usa el punto de salvado rojo allí nuevamente y usa la llave de puerta que adquirió antes para desbloquear la puerta del lado oeste y obtener acceso al resto de West South Vale.
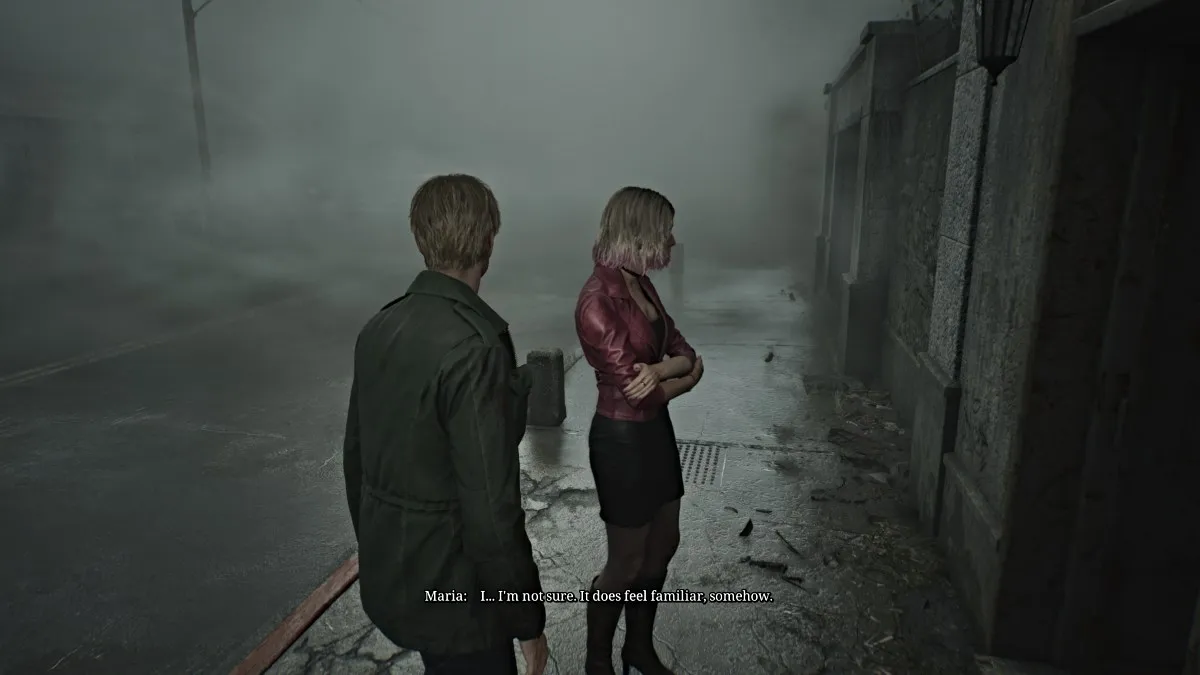
Si te desvías a la izquierda primero, te encontrarás con la mansión Baldwin , una ubicación prominente de la historia secundaria del juego original nacido de un deseo . Desafortunadamente, sus puertas están cerradas y María se negará a ir al patio, diciendo que si bien siente que ha estado allí antes, parece ser un "mal recuerdo".
Con eso, diríjase al sur por Munson Street, luego cuelgue una derecha en la calle Katz, ya que otra barricada alta está en su camino. Finalmente, una escena revelará que el camino termina con otra gran brecha en el suelo, y María insiste en encontrar otra forma. James siente algo y encuentra un atajo de callejón cerca justo cuando los monstruos comienzan a enjambrar y la niebla vuelve a surgir, similar a antes.
Después de atravesar la puerta del callejón, James lo barrica con su tabla de madera para mantener a los monstruos fuera, su único arma cuerpo a cuerpo aparentemente perdida. Sin embargo, se da vuelta y encuentra una tubería de acero que sobresale de un automóvil humeante para utilizar en su lugar, dándole una actualización en el proceso.
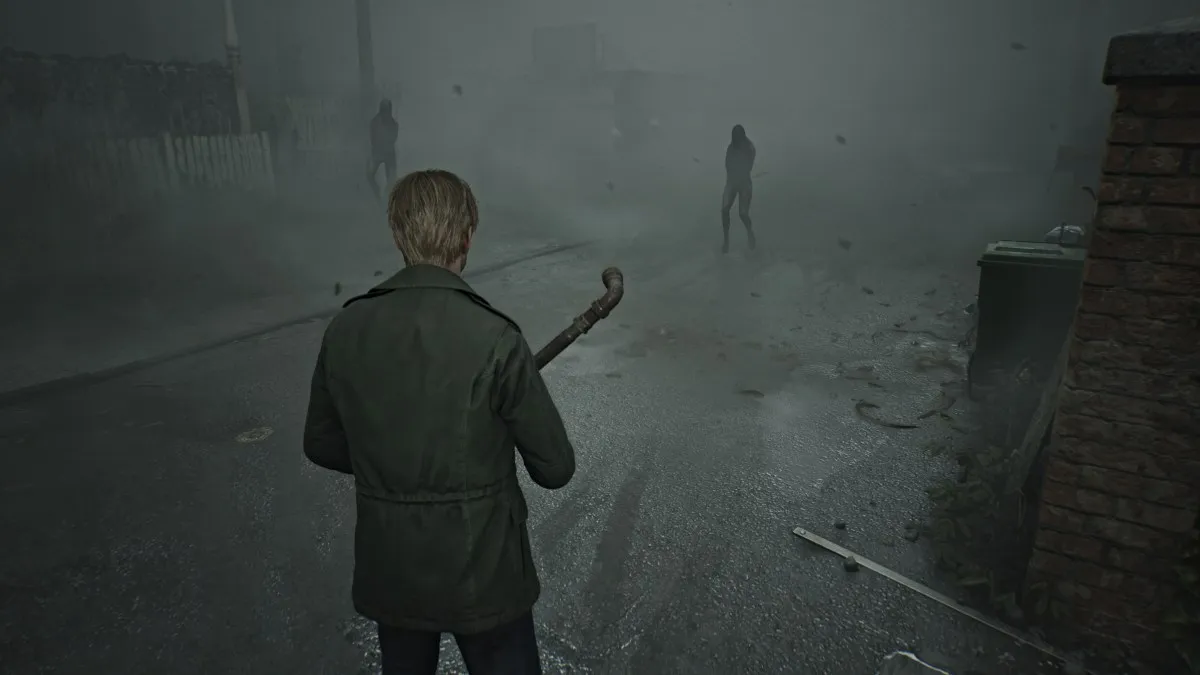
Usa tu nuevo arma cuerpo a cuerpo para defenderse de los monstruos delante de ti y hacer un camino a través de los callejones y los patios hacia la noche del cielo . Recoge toda la munición de pistolas que puedas en el camino.
Eventualmente, María te dirigirá a una brecha en una cerca para escapar. Tómelo, y después de una breve escena, te encontrarás justo detrás de la noche del cielo . Dirígete a la puerta trasera del edificio, y a pesar de que está cerrado, María la abrirá para ti. Explore las áreas de cocina y vestidor para artículos, incluido el "listo para matarlo!" Foto extraña .
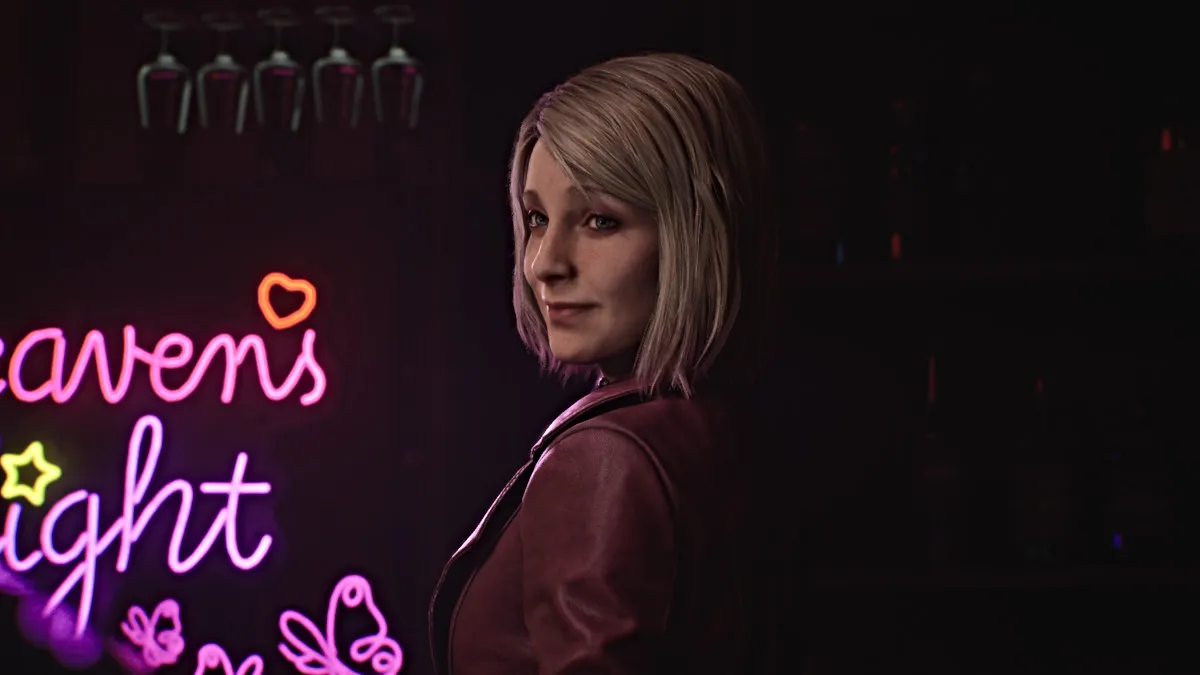
Luego, pase por la puerta abierta y alrededor del área del backstage (más artículos aquí) hasta llegar al comedor delantero y bar. Una larga escena se desarrollará con María tratando de atraer a James a relajarse y para que pasen un tiempo allí, por una razón u otra. Ella insiste en que este no era el "lugar especial" al que se refería, que era simplemente un atajo.
En última instancia, decide que es mejor seguir moviéndose y María lo lleva por la puerta principal y al "lugar especial" real, ella quiso decir.
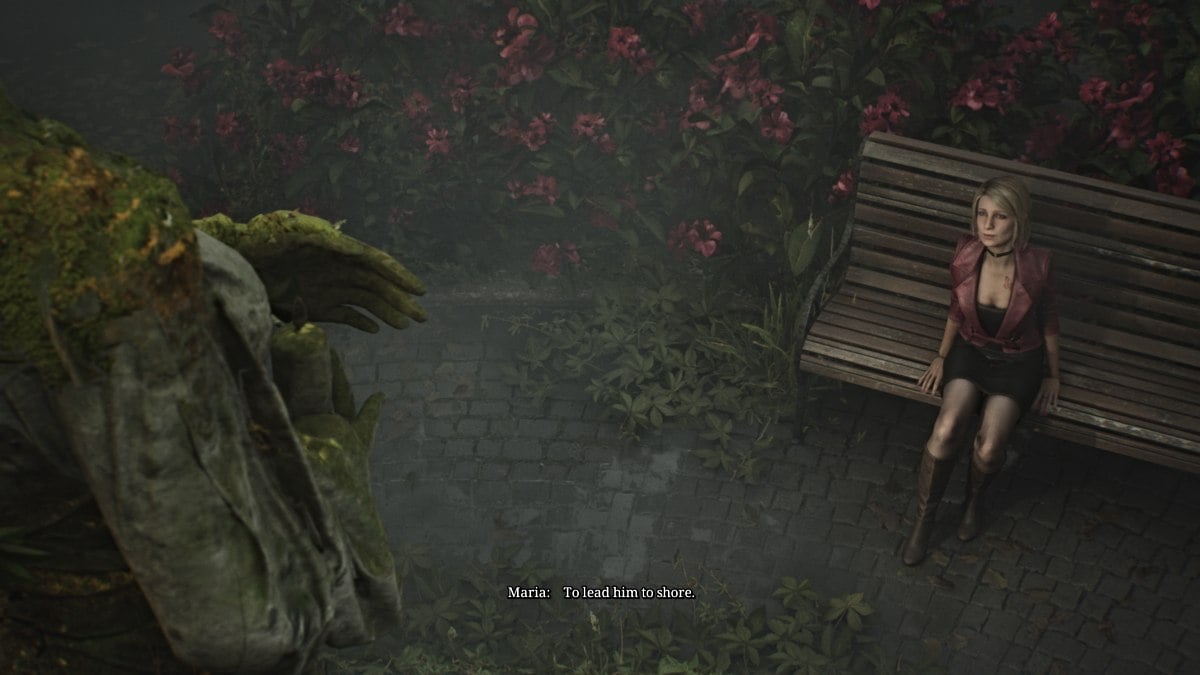
María guía a James a un lugar en el que nunca ha estado en Silent Hill (y nuevo en el remake) llamado Moonlight Park . Llegan a un pequeño patio donde se encuentra una estatua de una mujer, y durante una escena de longitud, María le cuenta a James sobre la historia enamorada pero trágica detrás de ella.
Mientras tanto, la historia afecta claramente a James, quien comienza a perder la esperanza de encontrar a Mary dadas las circunstancias. María lo consiste e insiste en que seguirán buscando, y de repente un grito cercano les alerta.
Sigue a María hacia la parte trasera del Teatro Reverie de al lado, donde habrá un espacio de arrastre para que James encienda e investigue. María insiste en quedarse atrás ya que odia las películas (¿geez, pero no bolos?).
Una vez dentro, pronto escucharás las voces de nada menos que Eddie y Laura , que aparentemente están viendo una película juntos y Eddie se burla de Laura por gritar (la que escuchaste anteriormente).
Mire a su alrededor e interactúe con el gabinete cercano para moverlo fuera del camino de una puerta, lo que causa un alboroto. Laura se asusta y se escapa mientras Eddie se queda. Pase por la puerta y a la vuelta de la esquina a su izquierda para ir al teatro, donde se desarrollará otra escena con Eddie.
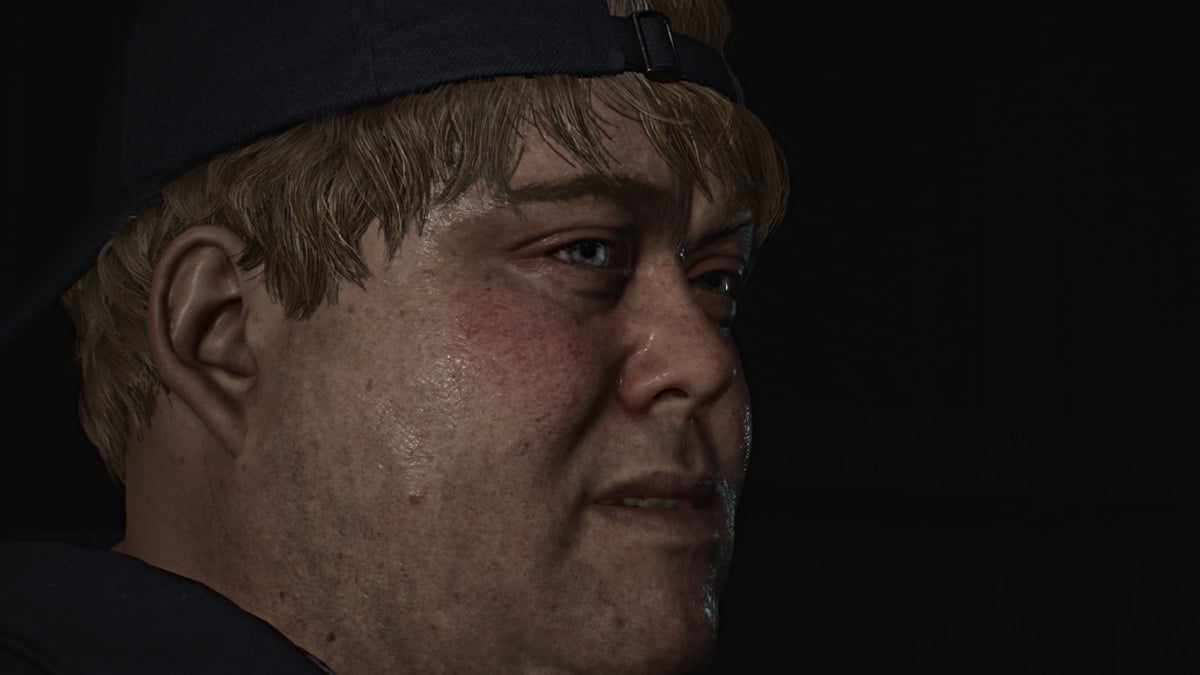
Después de que termine, atraviese las puertas del extremo izquierdo hasta la próxima sala de teatro, donde Laura bromeará a James al encender el proyector. Dirígete por las puertas traseras hasta el pasillo y luego sube una escalera cercana. Atraviesa la sala de proyección y regresa a través de la habitación llena de carretes de películas. Exprima una brecha entre dos estantes y James verá a Laura en la próxima sala de proyección que se escape nuevamente.
Pase por la segunda sala de proyección y salga por las puertas traseras, y continúe persiguiéndola todo el camino por las puertas delanteras del teatro. Pit Seten ambos baños de vestíbulo para obtener más munición de pistolas antes de ir.
Corre afuera y María dirá que todavía pueden atraparla. Vaya a la izquierda por la calle y a la vuelta de la esquina, y otra escena revelará a Laura corriendo al Hospital Brookhaven , el próximo lugar principal en el juego.
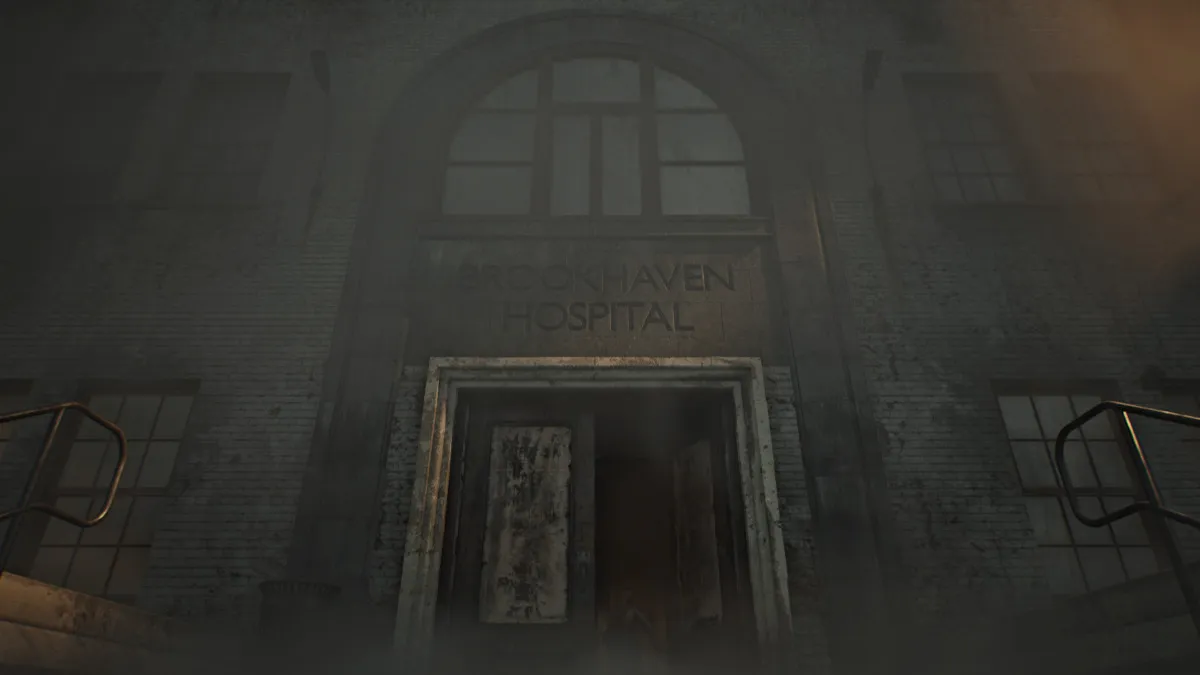
Ingrese al Hospital Brookhaven e inmediatamente gire a la derecha en la oficina de entrada . Notará un gabinete de armas abierto donde solía estar una escopeta, insinuando que probablemente todavía esté en el hospital en algún lugar. Agarra tu primer lote de conchas de escopeta del escritorio cercano.
Visite el siguiente conjunto de puertas y corre para tomar el mapa del Hospital Brookhaven 1F-3F del estante de la revista debajo del tablón de anuncios. Vaya a la izquierda a la oficina de recepción y tome la nota del casillero clave que menciona una combinación de candado y una sala de examen 3 . También hay munición de pistolas en un escritorio.
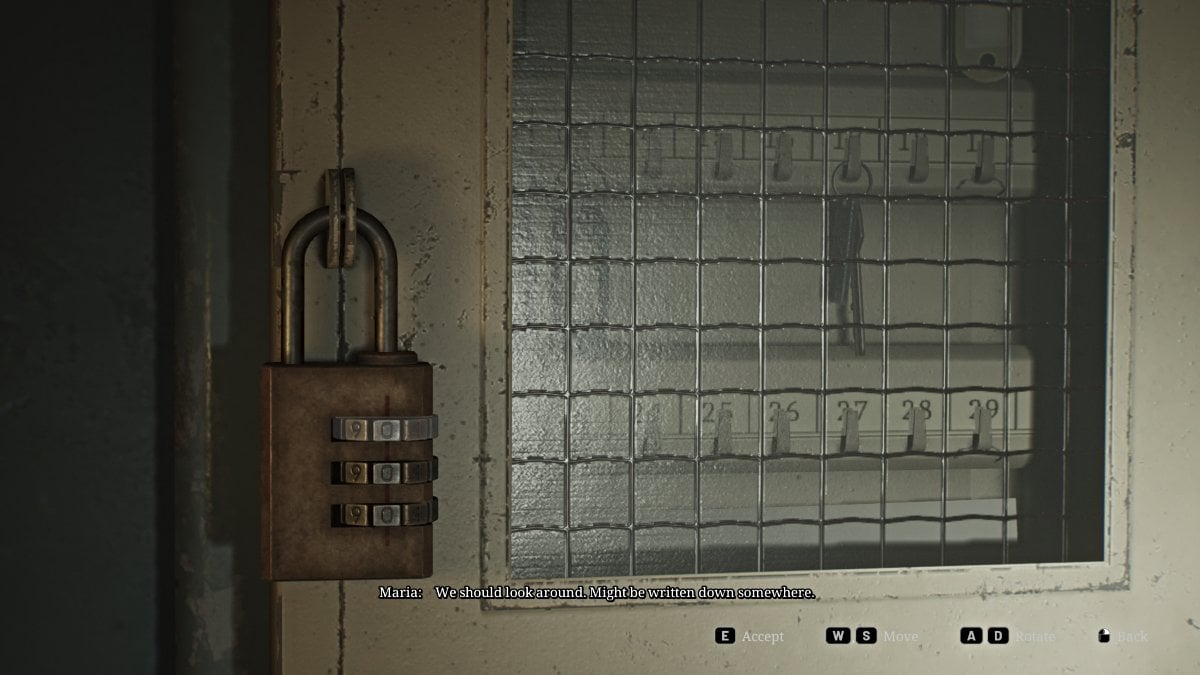
Gire y vaya a la habitación detrás de donde el viento a través de una ventana abierta sopla algunos documentos. Use el punto de guardado rojo y luego tome nota de la llave segura en la pared (vista arriba) con el candado mencionado anteriormente. La combinación correcta (dificultad estándar) es 724 , pero aún puede dirigirse a la Sala de Examen 3 para obtener la nota de la enfermera para completar el bien, junto con una jeringa y conchas de escopeta . Con la caja abierta, recupere la llave del sótano .
La mayoría de las otras rutas en el primer piso están cerradas por ahora, así que dirígete a las escaleras en el lado este . Una escena mostrará a Laura dibujando en las paredes antes de ver a James y volver a huir, nuevamente. Si la sigue hasta el segundo piso, encontrará las puertas bloqueadas por ahora, así que regresa hacia abajo al nivel del sótano , ya que tiene la llave. Agarra la munición de la pistola de un cajón debajo de las escaleras en el fondo, luego dirígete por las puertas.
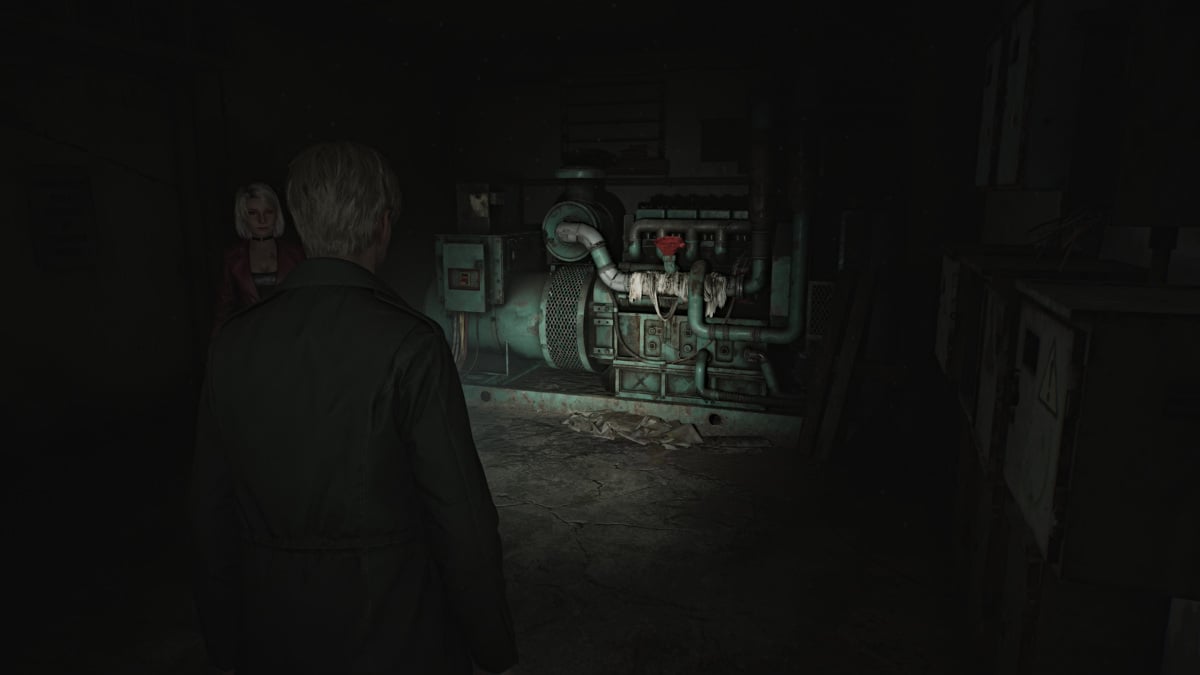
Rectado, encontrarás un mapa para el sótano del Hospital Brookhaven . Obtenga su rodamiento, luego diríjase al norte a la sala de bombas , donde encontrará munición de pistolas en un recipiente a su derecha. Continúe hasta la sala del generador, donde verá un gran generador que actualmente no tiene energía. Un embudo rojo sobre el tanque indica que necesita combustible .
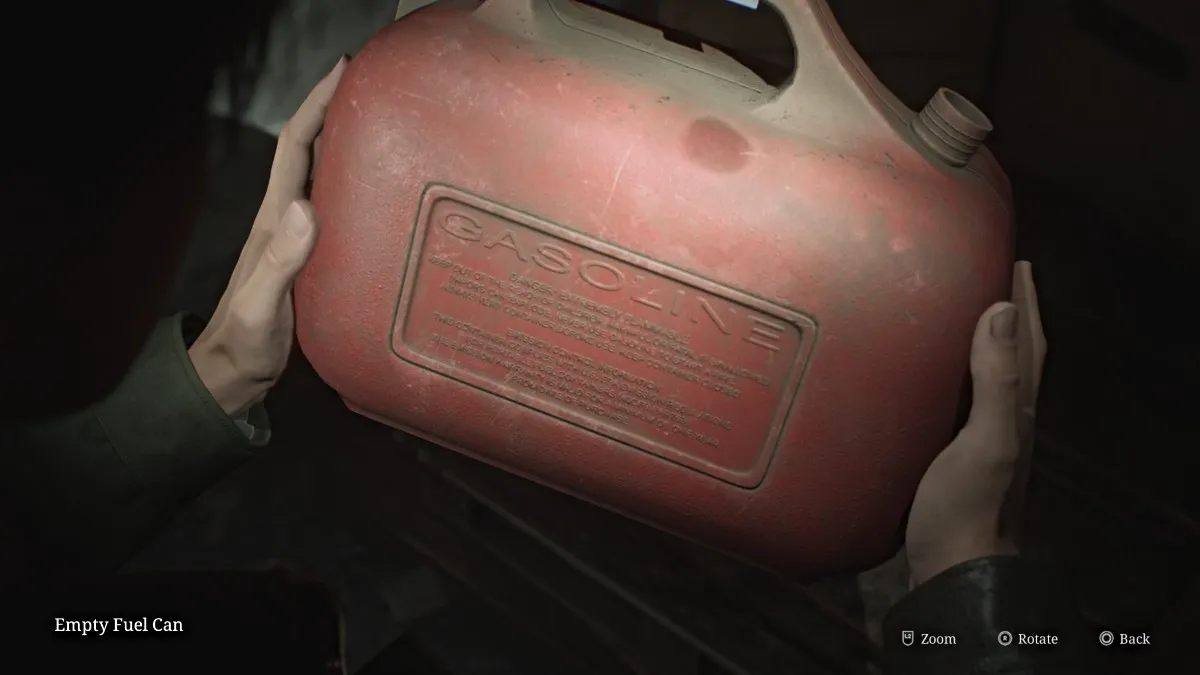
Vaya al área de la sala de calderas (consta de dos habitaciones) y tenga cuidado con los maniquíes emboscados. Tome un poco de munición de pistola junto a la pared posterior y luego vaya a la segunda sala de calderas donde encontrará una lata de combustible vacía en la esquina trasera.
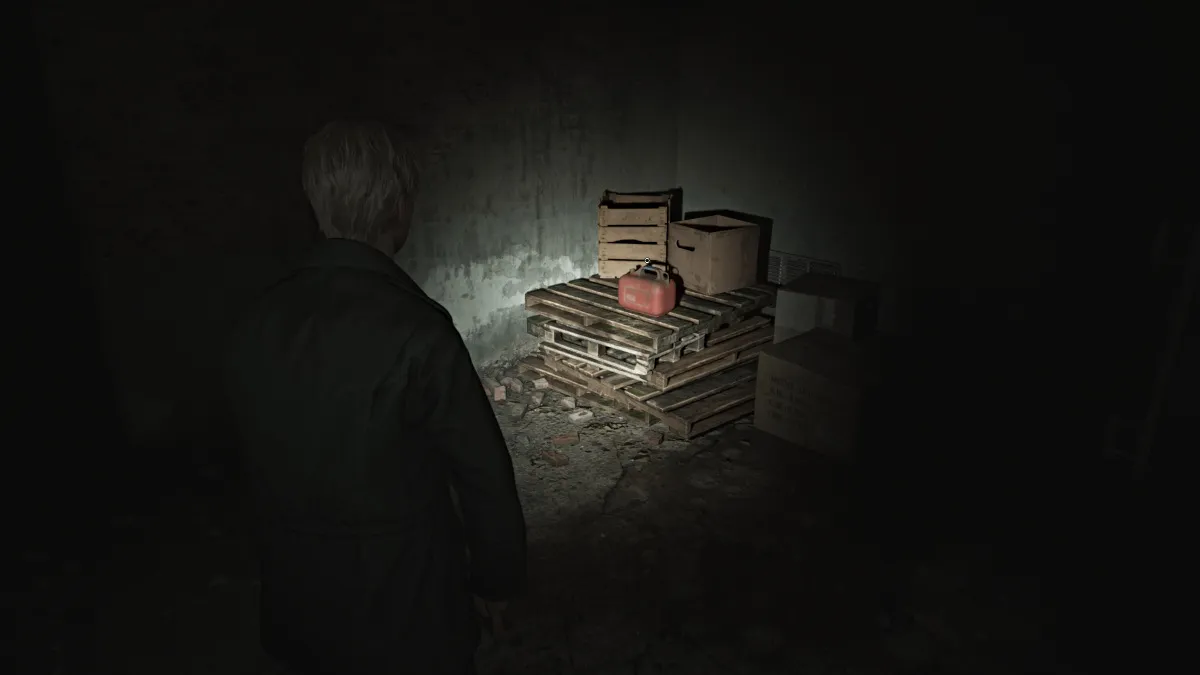
Deje la habitación de la caldera y vaya al almacenamiento de lavandería , donde hay una carretilla que necesita empujar. Su destino es el alto espacio de rastreo en la habitación de al lado (sala de lavandería). Otro maniquí lo emboscará en el camino, por lo que es posible que desee cuidar eso primero. Tome más munición de pistolas del área también.
Sube a la sala de almacenamiento , donde encontrarás más munición de pistolas , una jeringa y un gran tanque de combustible donde puedes llenar tu combustible vacío . Una vez hecho, regrese a la sala del generador . Llene el generador con el combustible que recolectó y luego enciéndelo, lo que restaurará la energía al elevador .
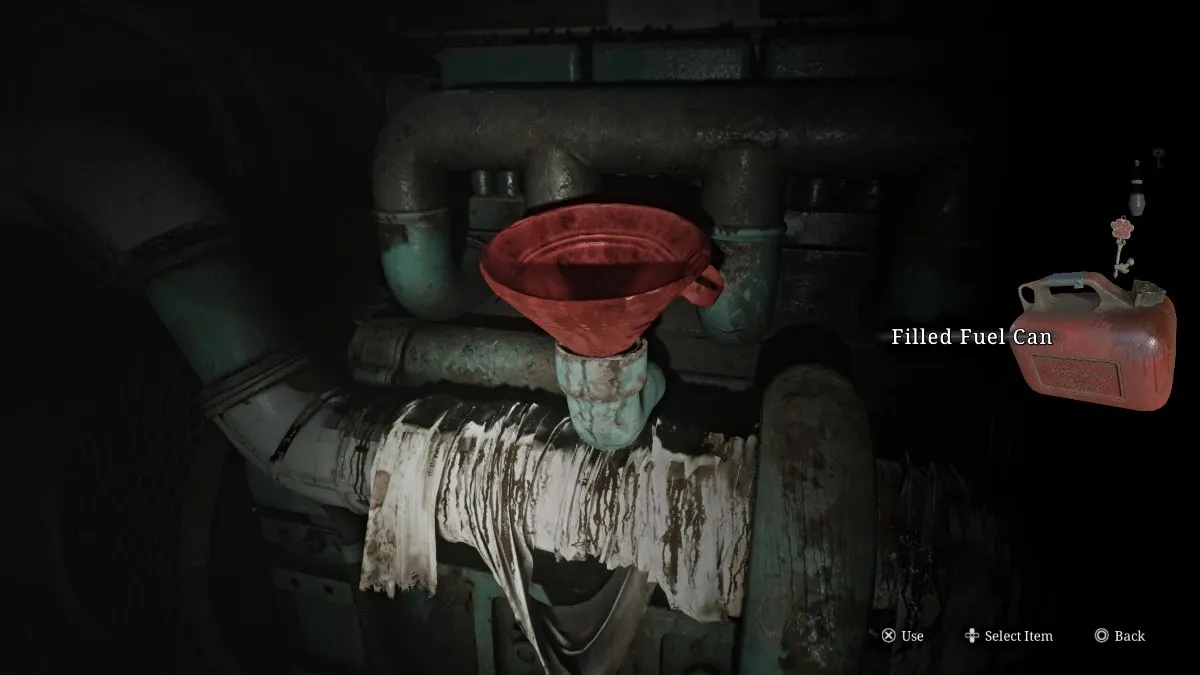
En su camino, deténgase en la sala de tecnología para obtener una munición de pistolas y conchas de escopeta . Tome el ascensor hasta el segundo piso, y jugará una escena una vez que llegue allí.
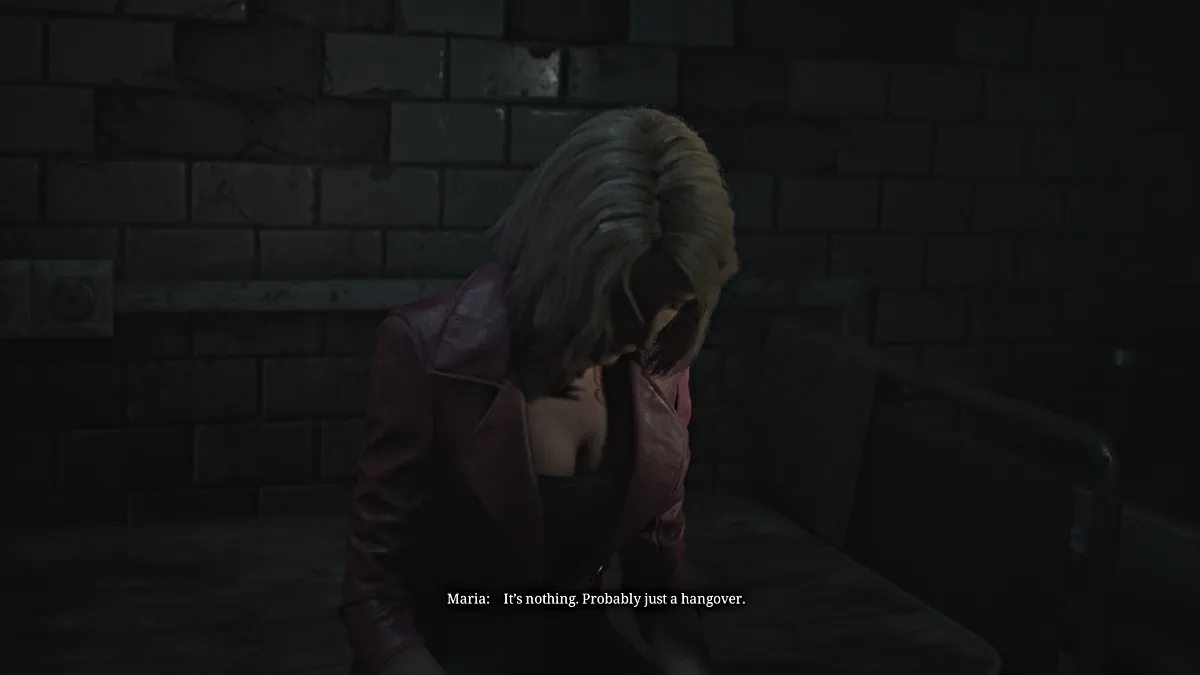
Mientras James se da cuenta de que ahora está oscuro y lloviendo afuera, María extrañamente se engaño a una sala de atención cercana. James le pregunta qué pasa e insiste en que está cansada y decide detenerse y descansar, tomando un poco de medicina y acostado. James opta por continuar buscando a Laura y dice que volverá.
Salga de la habitación y ve a la habitación C3 , donde hay un punto de guardado rojo y una bebida saludable . El baño al lado tiene una munición de pistolas , así como la habitación C2 en el camino. Las puertas dobles cerca de la oficina del director están encerradas por ahora, así que corre de regreso al pasillo norte y a través de esas puertas, donde estará su primer encuentro con las enfermeras de Bubble Head .
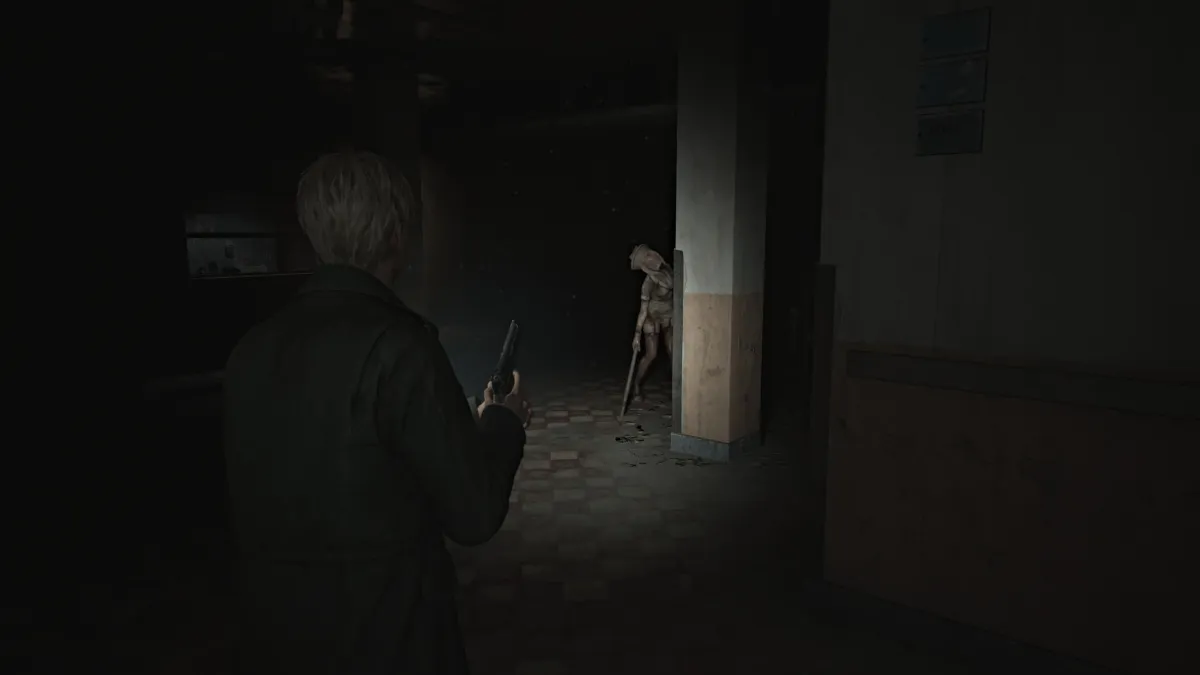
Al igual que los maniquíes, las enfermeras de cabeza de burbujas son ágiles y pueden esquivar sus ataques, así que tenga cuidado. Además de eso, ejercen armas propias, como tuberías y cuchillos, pueden atacar repetidamente y pueden cubrir el suelo muy rápido, por lo que definitivamente son uno de los monstruos más formidables del juego. Y están en todo el hospital, así que usa tu munición sabiamente.
Continúe por el pasillo hasta llegar al área abierta entre la estación de enfermeras y la habitación L3. Use el espacio de rastreo para ingresar a la habitación L3 , donde encontrará munición de pistolas, conchas de escopeta, una bebida saludable y la foto extraña "sus dibujos" en la sala de observación .
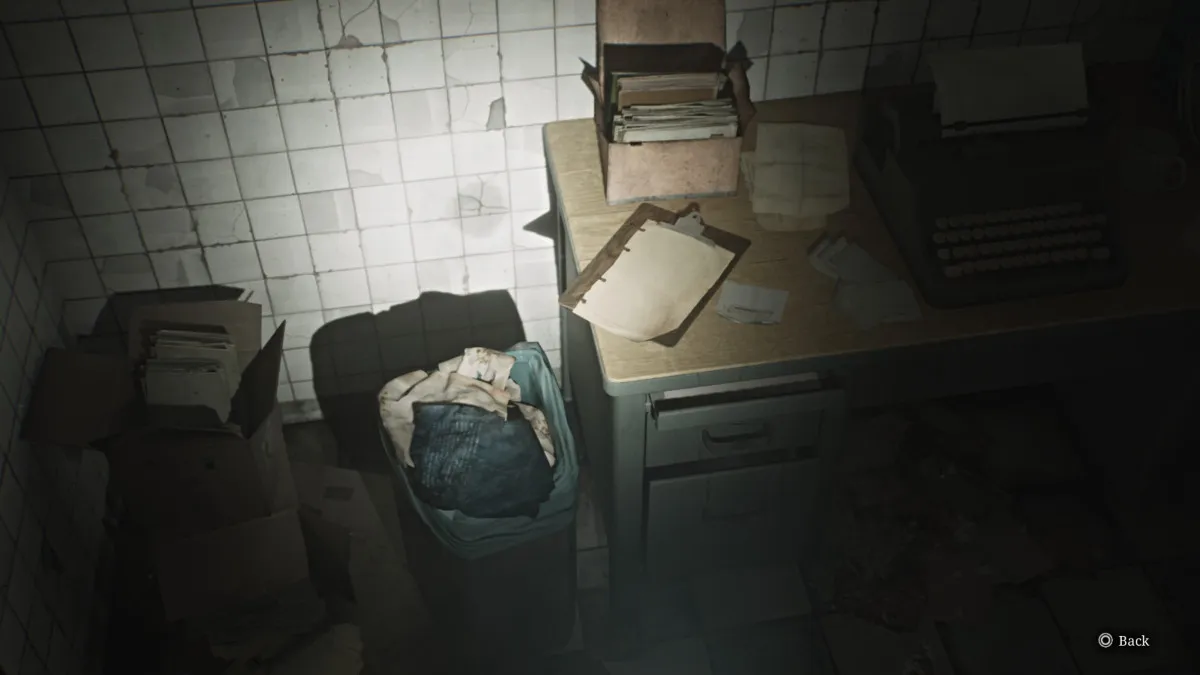
Retrocede hasta que pueda girar a la izquierda y tomar un atajo por el pasillo central hacia la oficina del director . En el camino, deténgase en la lavandería para ver otro vistazo del pasado en un basurero (visto arriba) y algunas conchas de escopeta .
Tome otra izquierda para entrar primero en la habitación C1 , donde puede tomar un cartel de bote de la pared para revelar un ojo rojo dibujado en la sangre y la transcripción de la entrevista . Desbloquee las puertas dobles que no podía abrir antes, luego cruza el pasillo hasta el cuarto de baño , que tiene munición de pistola y un maniquí esperando saltar. Úselo para llegar a la habitación L2 , donde puede encontrar conchas de escopeta , munición de pistola , una bebida saludable y dos monstruos más.
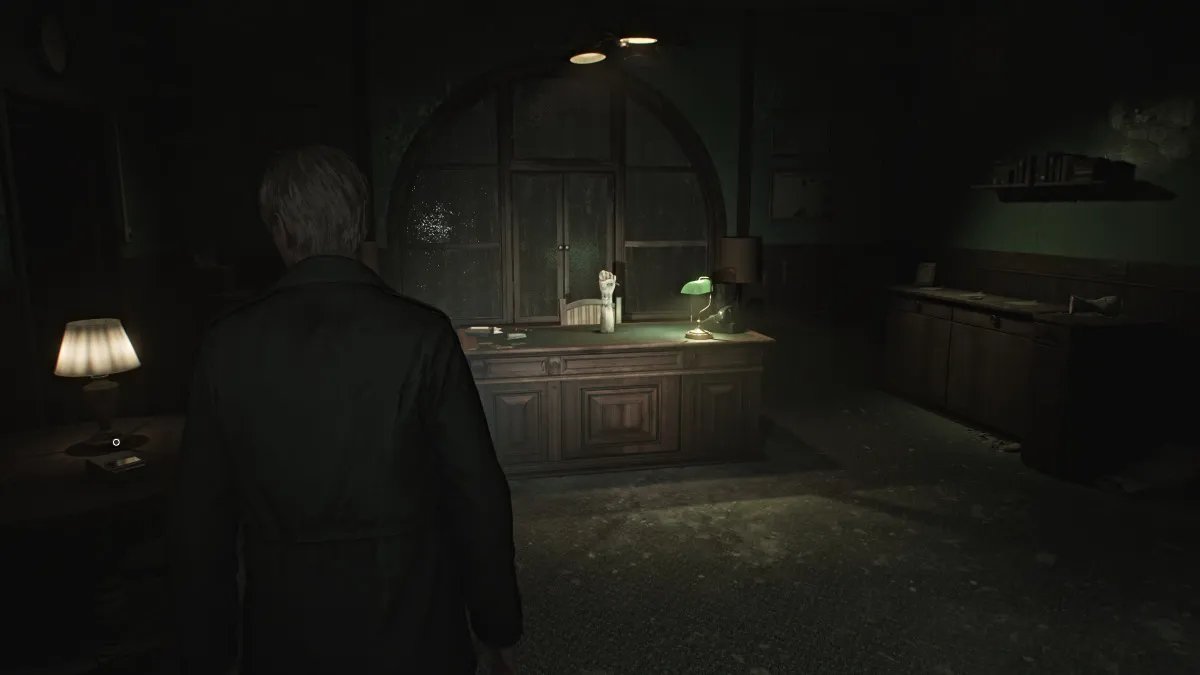
Finalmente, vaya a la oficina del director donde encontrará un punto de guardado rojo , una puerta cerrada, una grabación de audio y tarjetas de evaluación para los pacientes #50, #90 y #130 . Además, detrás de una cortina roja encontrarás una caja fuerte con símbolos extraños, aunque falta uno de ellos.
Además de todo eso, hay un brazo de maniquí apoyado en el escritorio que agarra la llave para la puerta cerrada antes mencionada. Para obtenerlo, el brazo necesita tres pulseras de pacientes colocadas sobre él.
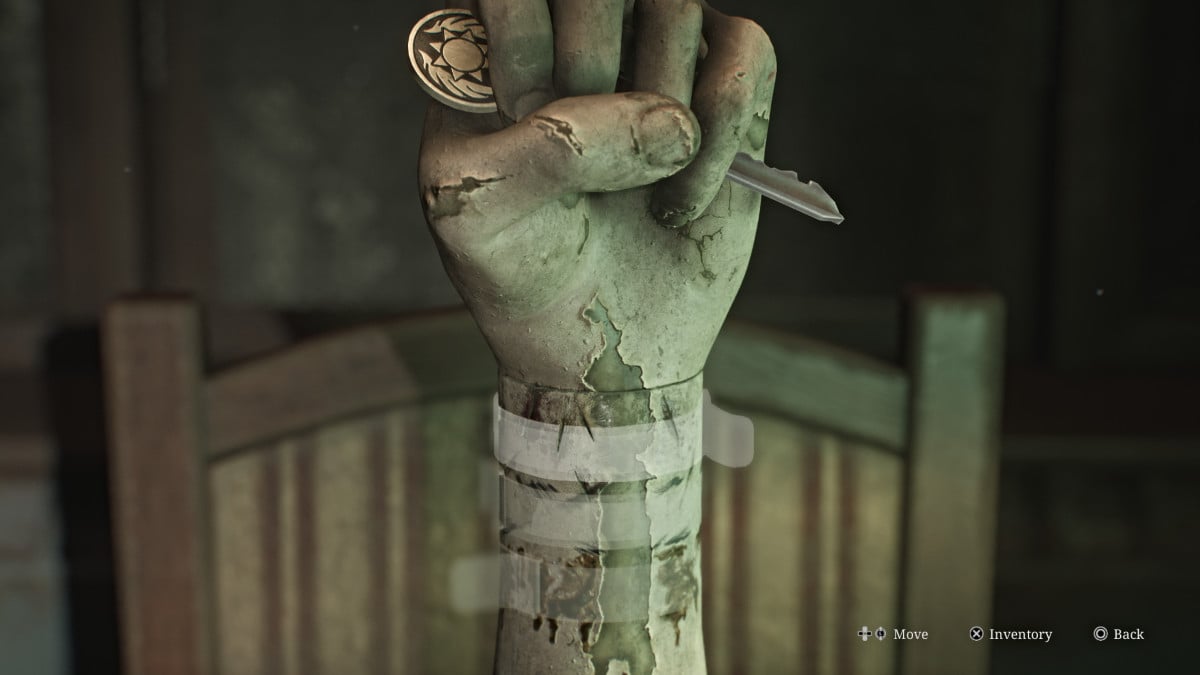
Afortunadamente, las tarjetas de evaluación que recogió le dan algunas pistas sobre dónde encontrarlas junto con la placa del símbolo que falta para la caja fuerte. Consulte su mapa y luego salga de la oficina.
Después de lidiar con otra enfermera de burbujas, recoge una munición de pistola tanto del baño al otro lado del pasillo como de la habitación M5 . Más abajo en el pasillo, la sala M1 tendrá conchas de escopeta y otra visión del pasado para desbloquear.
Sube por el pasillo del oeste y notarás que la puerta de la habitación L1 , donde se movió a uno de los pacientes anotados, está cerrado de ese lado. Entra en el vestuario de mujeres donde encontrarás la escopeta que falta (yoink), junto con más conchas de escopeta , munición de pistola , una bebida saludable y una aguja doblada del oso relleno en la silla.
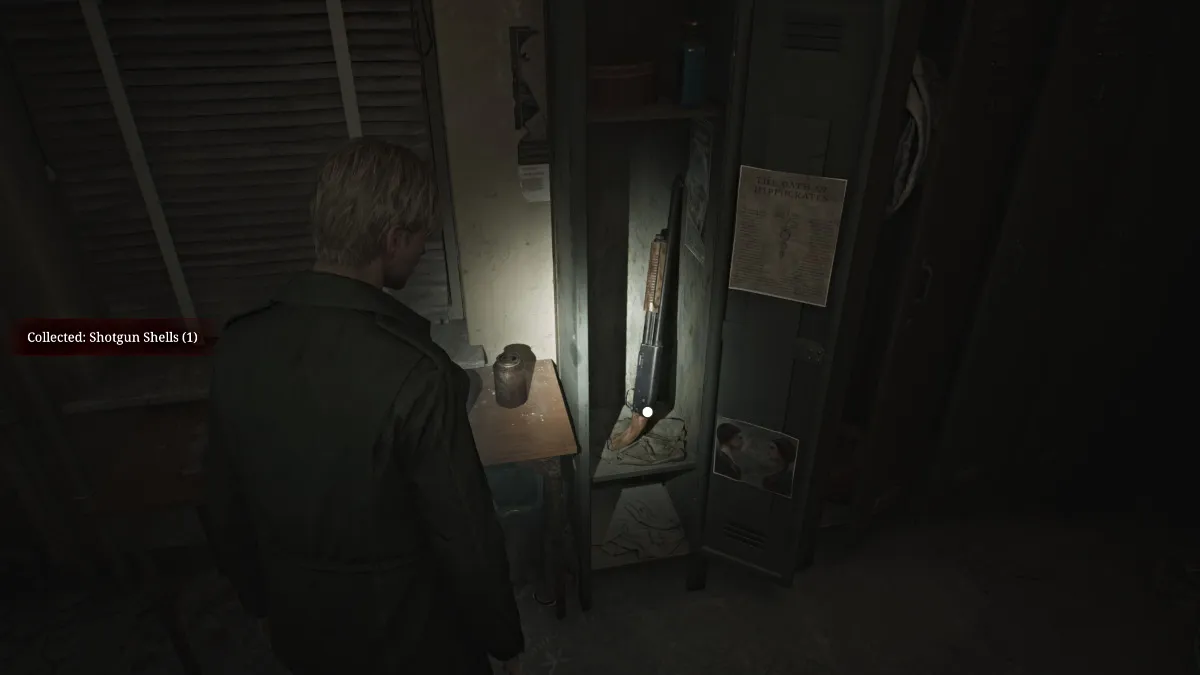
Asegúrese de usar su escopeta sabiamente, ya que las conchas son más difíciles de encontrar. Con eso, sal y continúa por el pasillo hasta la sala de enfermería . En el interior, encontrarás la llave de la sala L1 y una enfermera de burbujas que la protege. Después de reclamarlo, regrese a la habitación L1 y aventúrate por dentro. La habitación es grande con una cantidad incómoda de desorden, y algunos ruidos extraños que vienen de la habitación pequeña.
Hay un espacio de alto rastreo que puede usar para meterse en él, y un carrito de empuje en la vista correcta de la habitación para alcanzarlo. Agarra el carro, enróllelo debajo del espacio de rastreo y salta adentro. A pesar de los ruidos, la habitación está vacía, salvo por una nota sobre la joven admitida.
Deje la habitación y revise la sala de servicios en el pasillo, donde "algo" escapa a través del agujero en la pared. No hay otra opción que seguirlo, por supuesto. Después de deslizarse por las paredes, pronto te encontrarás de vuelta en el primer piso, en una habitación sin marcar. La única puerta delante de usted está cerrada, así que pasa por el espacio de rastreo al lado, lo que lo lleva a la sala de registros médicos .
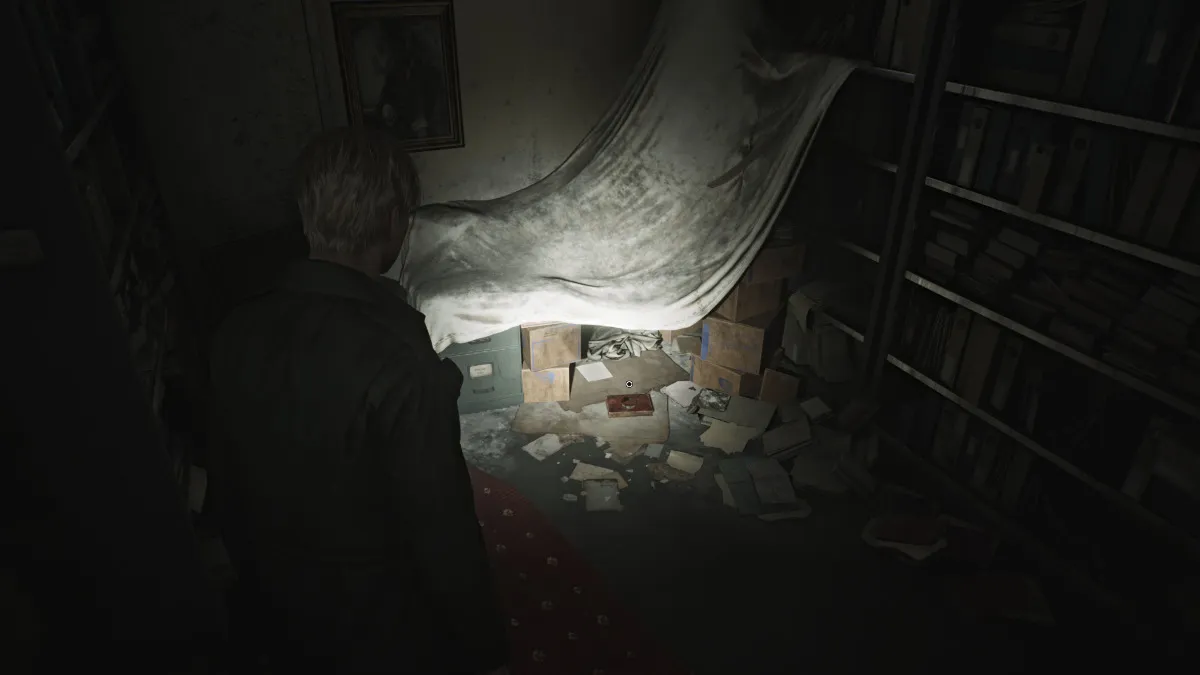
Recoge la nota garabateada del piso frente a ti, y en el lado izquierdo lejano encontrarás otro vistazo del pasado (visto a continuación).
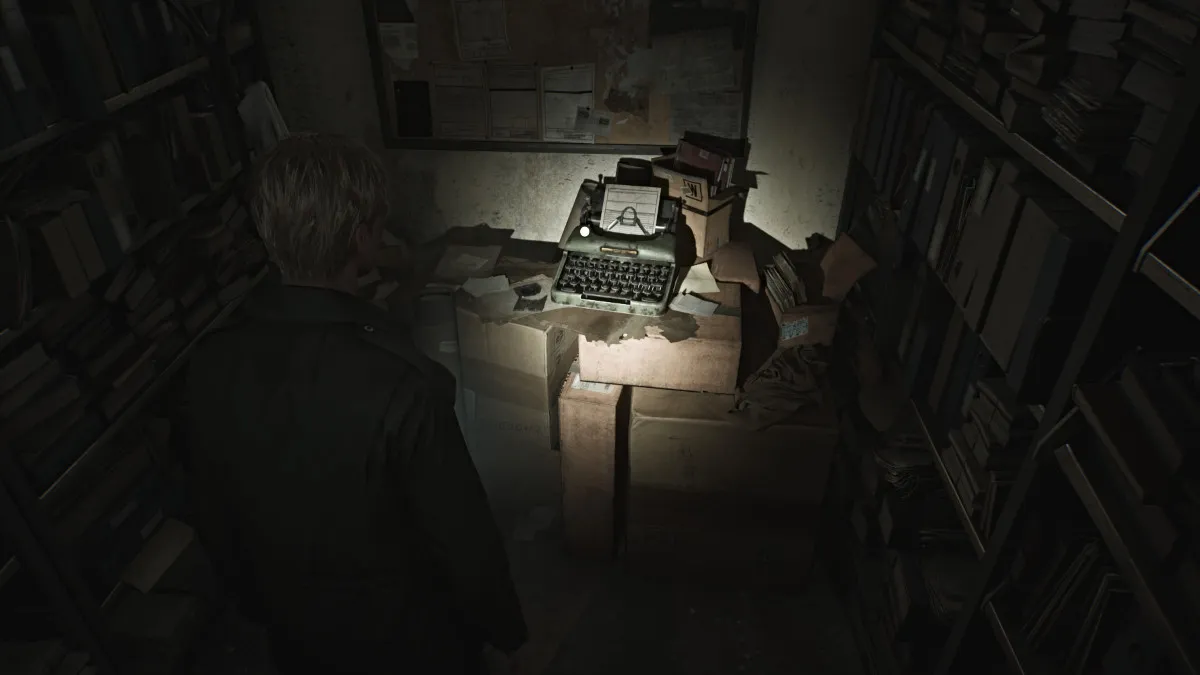
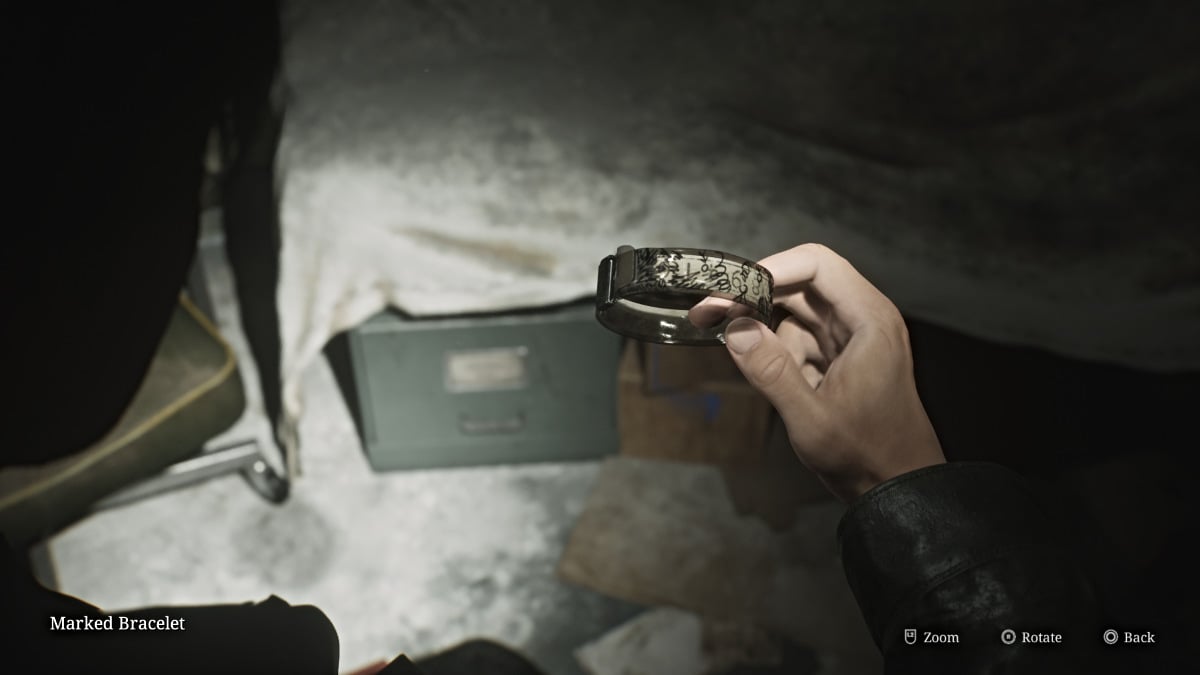
Ahora dirígete justo donde verás algo sentado debajo de una sábana (visto arriba), y resulta ser un brazalete marcado , el primero de los tres que necesitas. Esto llama la atención de un maniquí, así que lidia con él después.
Regrese al segundo piso, ya sea a través del ascensor restaurado o las escaleras este. Puede elegir dejar su pulsera marcada en la oficina del director o conservarlo por ahora.
De cualquier manera, a continuación, querrás dirigirte a la oficina de la enfermera , que tiene un bloqueo de teclado . Para ahorrarle tiempo, el código correcto (dificultad estándar) es 3578 . Antes de entrar, revise rápidamente la sala de almacenamiento al lado para obtener algunas conchas de escopeta .
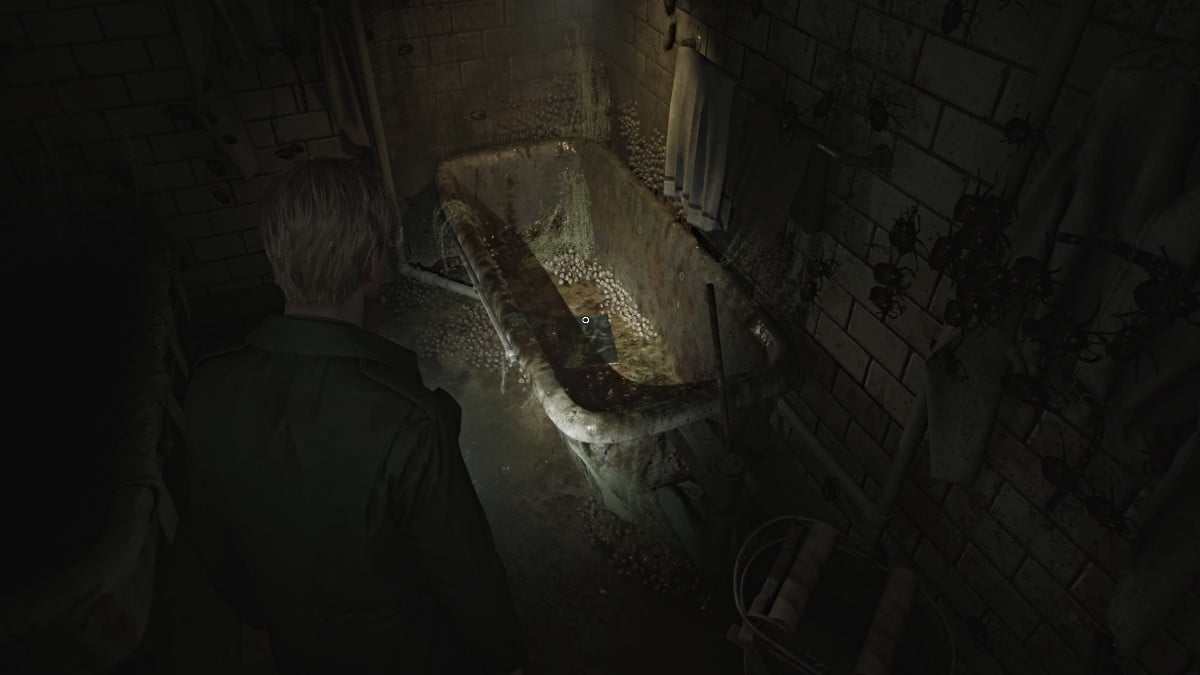
Tome el memorando del personal desde la ventana de la oficina de la enfermera , luego en el interior encontrará munición de pistola en la primera habitación y en la sala de tratamiento más allá de ella ... insectos, en todas partes. Afortunadamente son del tipo que no puede lastimarte. Mire en la tercera bañera a la derecha y recoja la litografía mohosa de ella. Antes de irse, tome la nota de la sala de tratamiento también.
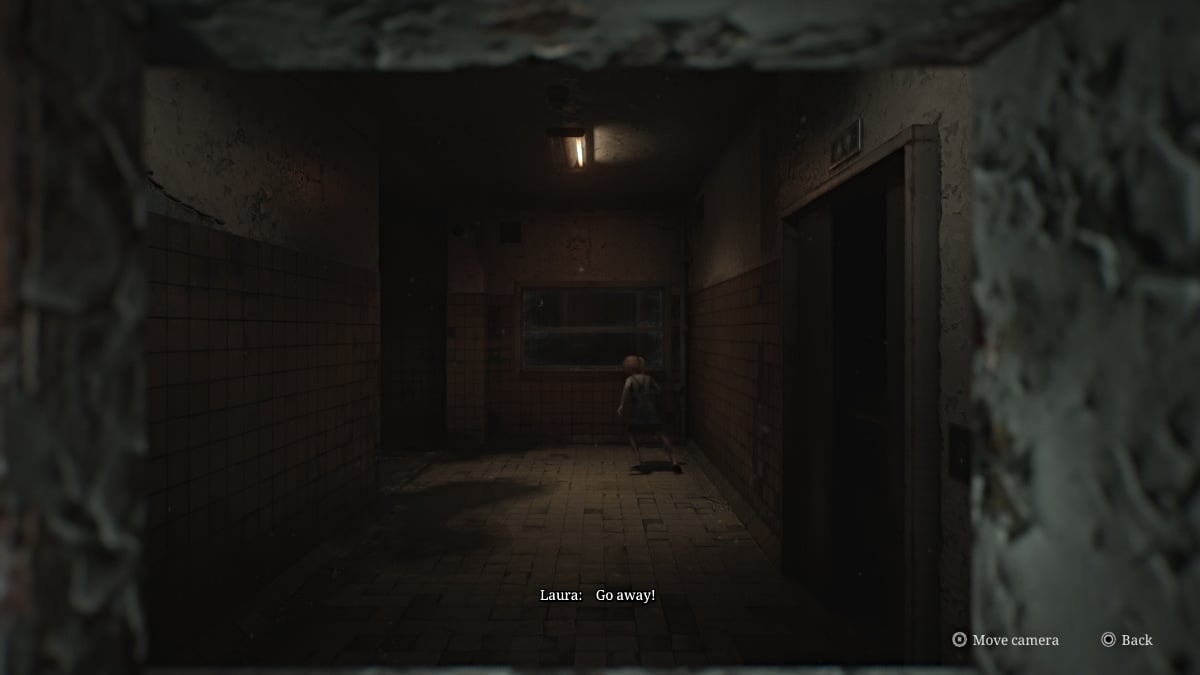
Sal por la puerta de al lado, lo que te lleva a la escalera del oeste. Sube al tercer piso y escucharás lo que suena como una niña tarareando y más dibujos en las paredes. Laura está claramente cerca, y resulta que está en el área restringida del piso bloqueada por una enorme puerta de metal. Abra la ventana de vista para ver a Laura al otro lado. Una vez más, ella se escapa antes de que James pueda obtener una palabra.
Por ahora, diríjase a la habitación D1 , que tiene una cerradura de combinación. Normalmente debe descubrir el código utilizando las dos radiografías que encuentre en la pantalla en la sala de rayos X.
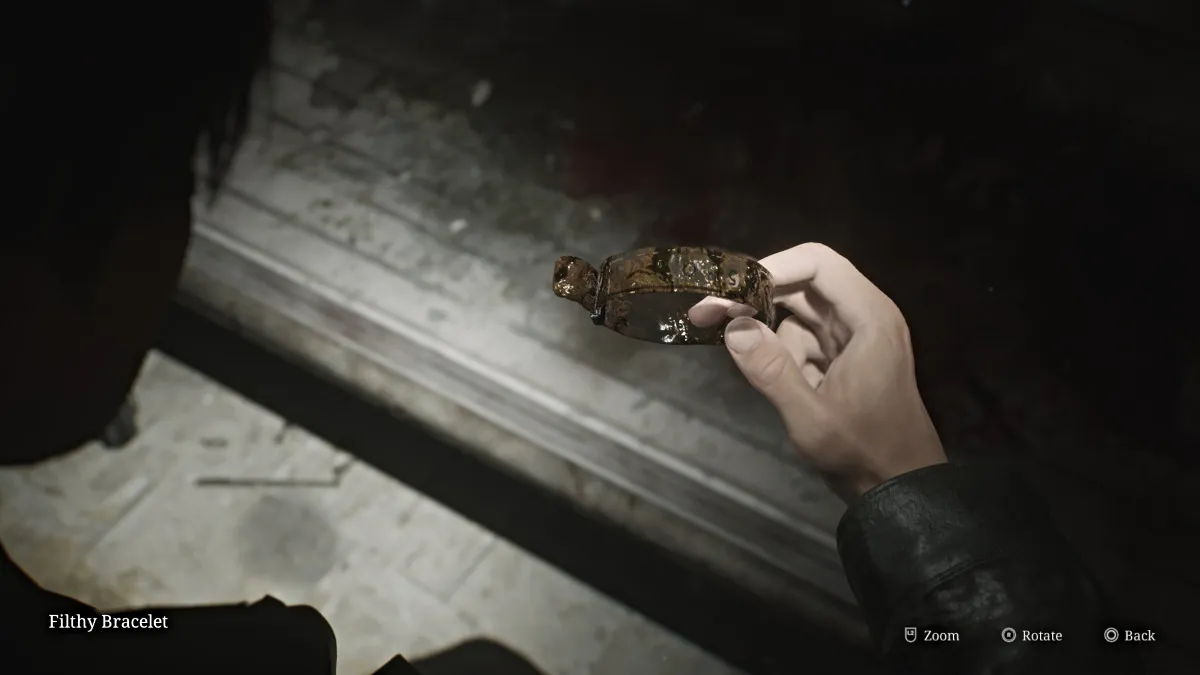
Sin embargo, para ayudarlo a ahorrar tiempo, el código correcto (dificultad estándar) es 04 (derecha), 37 (izquierda), 12 (derecha) . Una vez dentro, interactuar con la cama del paciente y James retrocedirá la manta para descubrir los restos sangrientos del segundo paciente y el pulsador sucio .
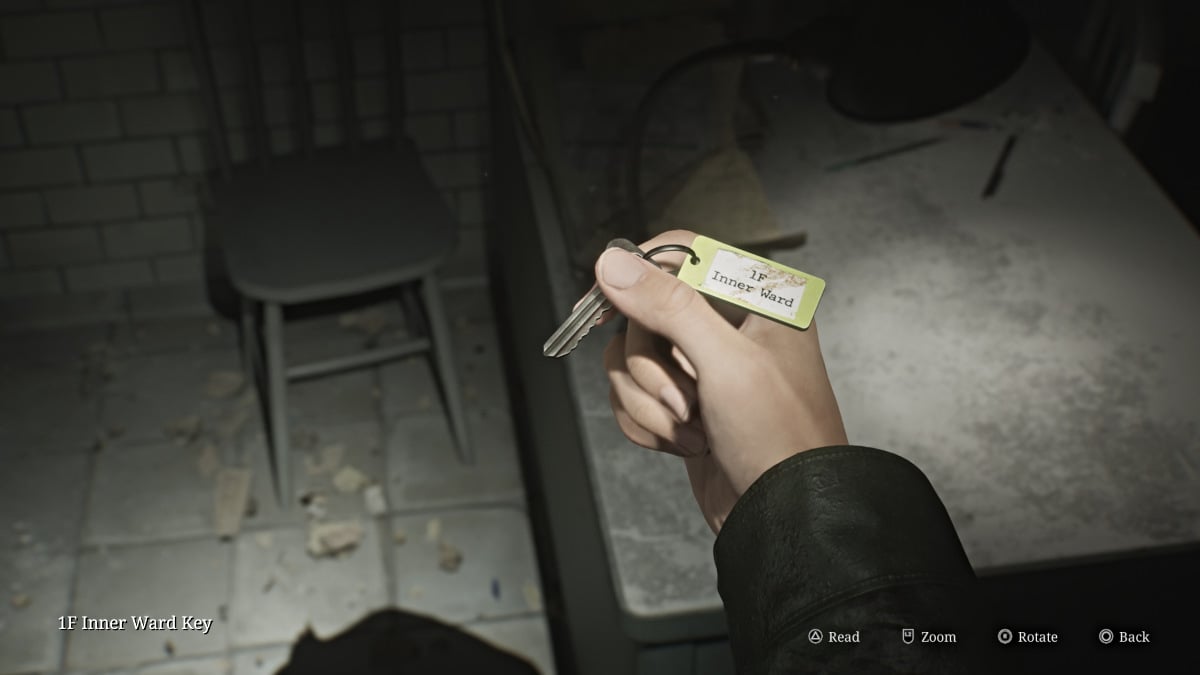
Después de eso, explore las otras habitaciones cercanas para obtener más munición de pistolas una bebida saludable . Aplasta la ventana para entrar en la sala de examen 5 y reclamar la llave de la sala interior 1F del escritorio.
Sin ningún otro lugar para ir al piso 3 o superior por ahora, regresa al primer piso con su nueva llave de barrio interior . Tome las escaleras del este y notará que la puerta de la sala de examen 1 ya está abierta. Entra y trata con el maniquí para que puedas reclamar una munición de pistolas y la foto extraña "al menos ella estaba allí".
Continúe por el pasillo mientras cuida a las enfermeras de burbujas decididas a bloquear su camino. Sube por el pasillo central y usa la llave de la sala interior para finalmente obtener acceso al resto del piso. Primero consulte el consultorio del médico a su derecha para la munición de pistolas y la nota de combinación del teclado .
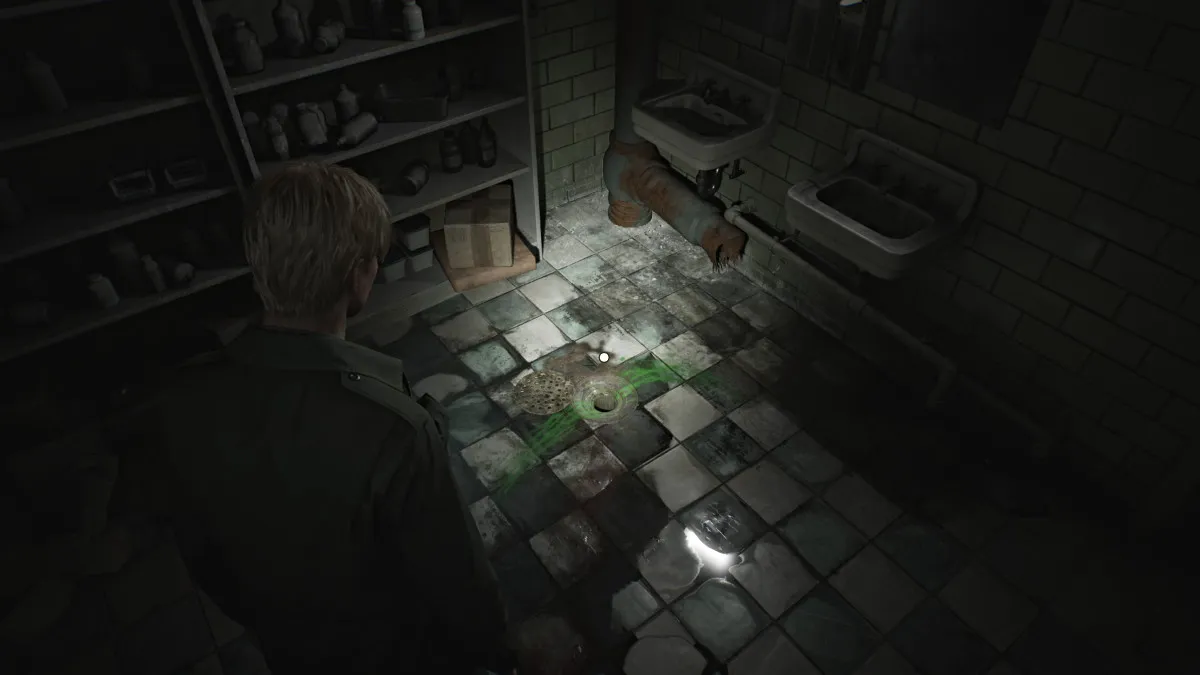
A continuación, ve a ver la sala de día donde encontrarás más munición de pistolas y una enfermera de burbujas que acecha. Después de que esté muerto, use la brecha en la pared izquierda para cruzar a la farmacia . En el interior encontrarás más munición de pistolas y una extraña tubería abierta en el piso cerca de los lavabos, con residuos verdes brillantes que se filtran. Hay algo atascado dentro de él, y necesitarás la herramienta adecuada para sacarla. Afortunadamente ya tienes la mitad (la aguja doblada).
Por ahora, gire y observe la ventana abierta que conduce al área del jardín . Salta a través de él y comienza a explorar, pero ten cuidado ya que se arrastra con monstruos (principalmente figuras mentirosas). Vaya al cenador en el lado izquierdo y use el espacio de rastreo en la parte posterior para entrar en él. Trata con el maniquí adentro, luego toma la munición y la jeringa de la pistola.
Dirígete al lado derecho del jardín, toma las conchas de escopeta en una mesa de madera, luego entra en el invernadero . Tome más munición de pistola de un cajón, luego use la ventana abierta para cruzar el área de la piscina .
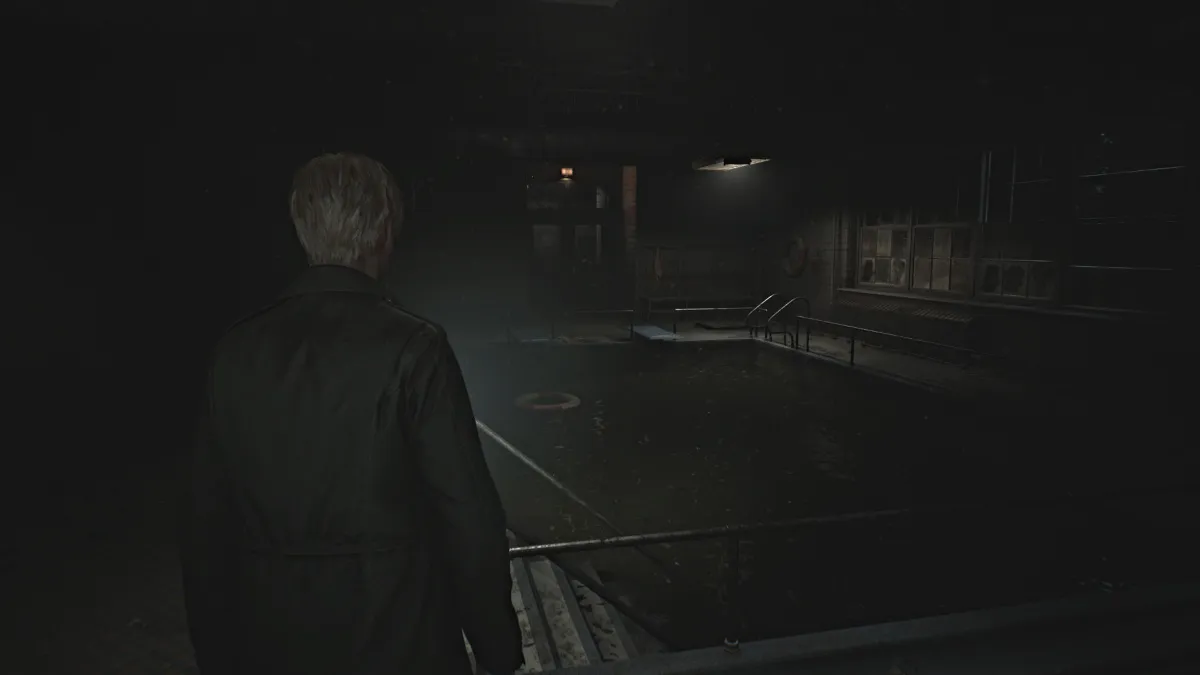
Lo que necesita obtener es dentro de la piscina, pero desafortunadamente, está lleno de agua muy desagradable e incluso James tiene límites y no entrará. Al otro lado de la piscina, verá una puerta de pestillo en el piso Eso requiere una clave para abrir. Esto le da acceso al sistema de bomba de la piscina, que le permitirá drenarlo, por lo que debe encontrar esa clave.
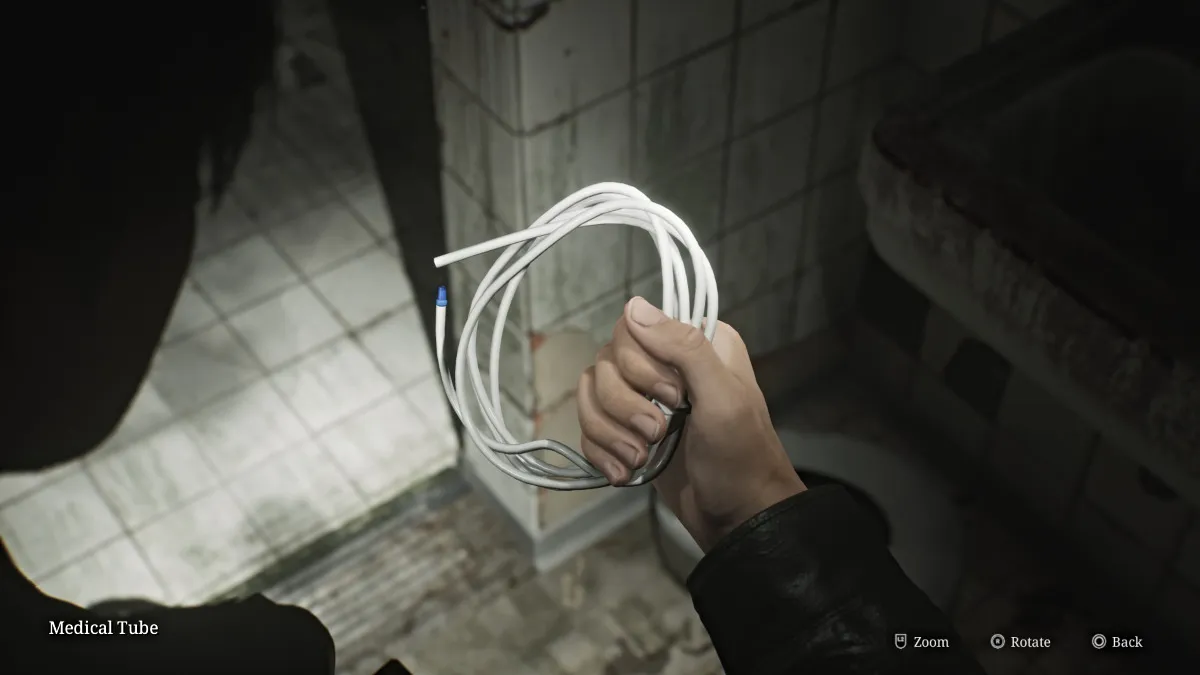
Ve al cuarto de baño , lidia con otro maniquí en uno de los puestos, luego ve a recoger la munición de la pistola , las conchas de escopeta y un carrete de tubo médico (visto arriba) sentado en uno de los lavabos. Retrocede a través del área del jardín hasta la farmacia.
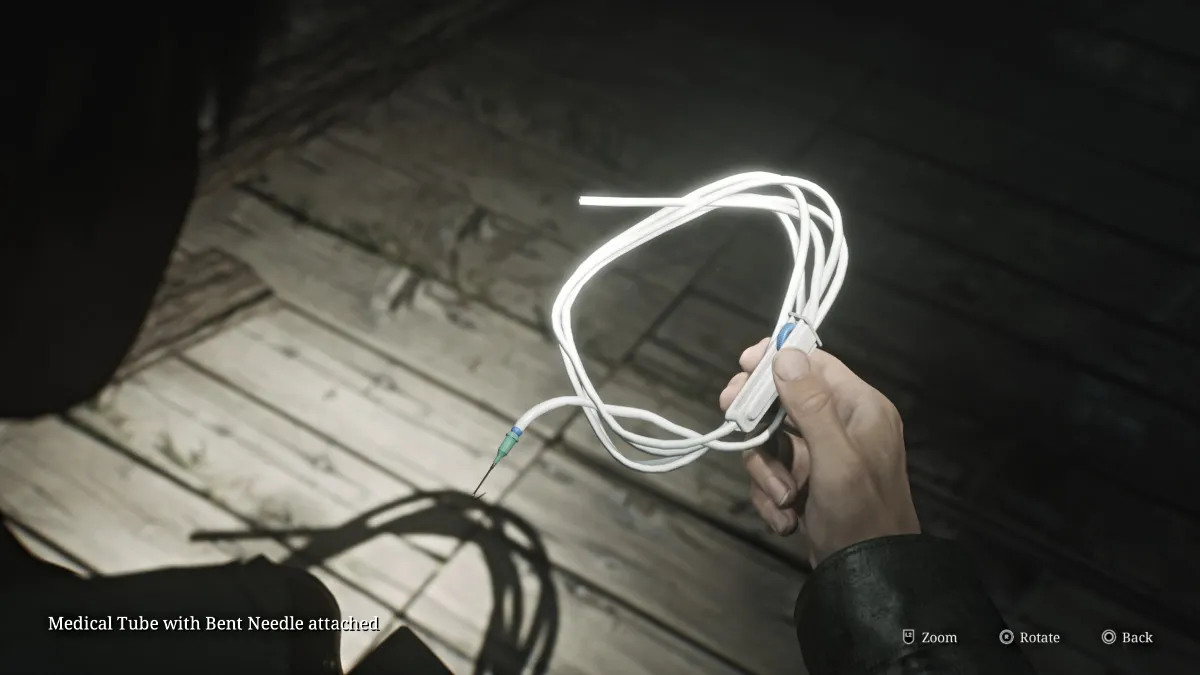
Una vez allí, entra en tu inventario y combina la aguja doblada con el tubo médico . Vaya al drenaje de la tubería y use su nueva herramienta para pescar el objeto atascado, que resulta ser la clave de mantenimiento para la piscina.
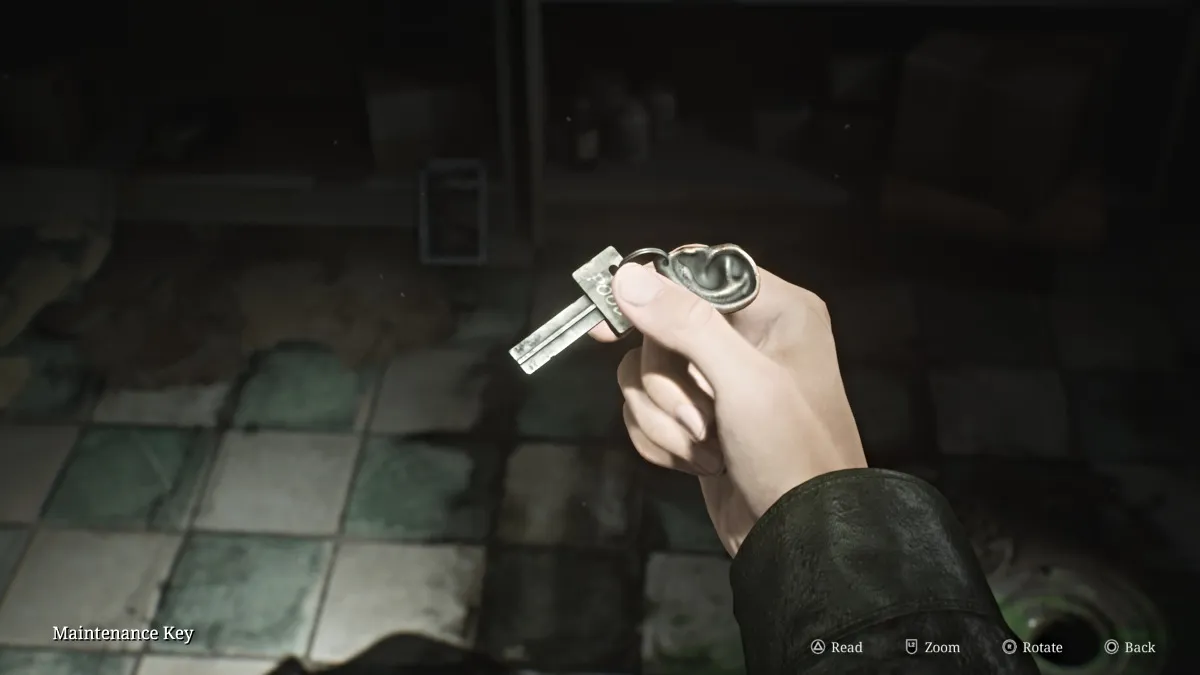
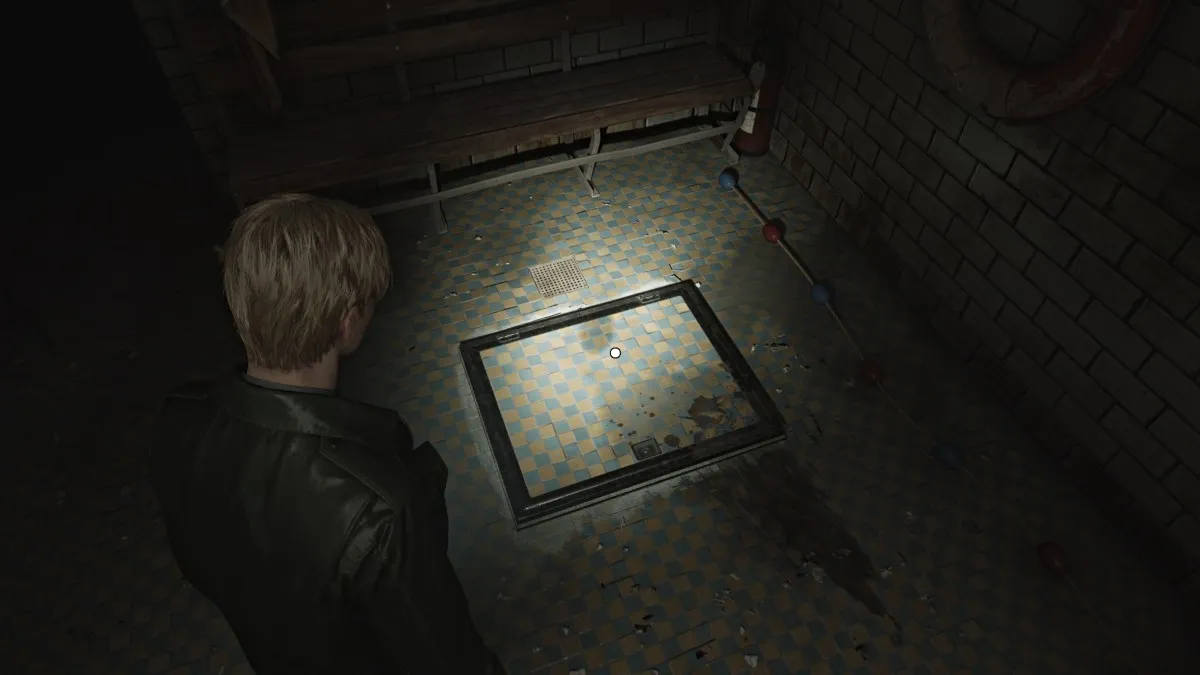
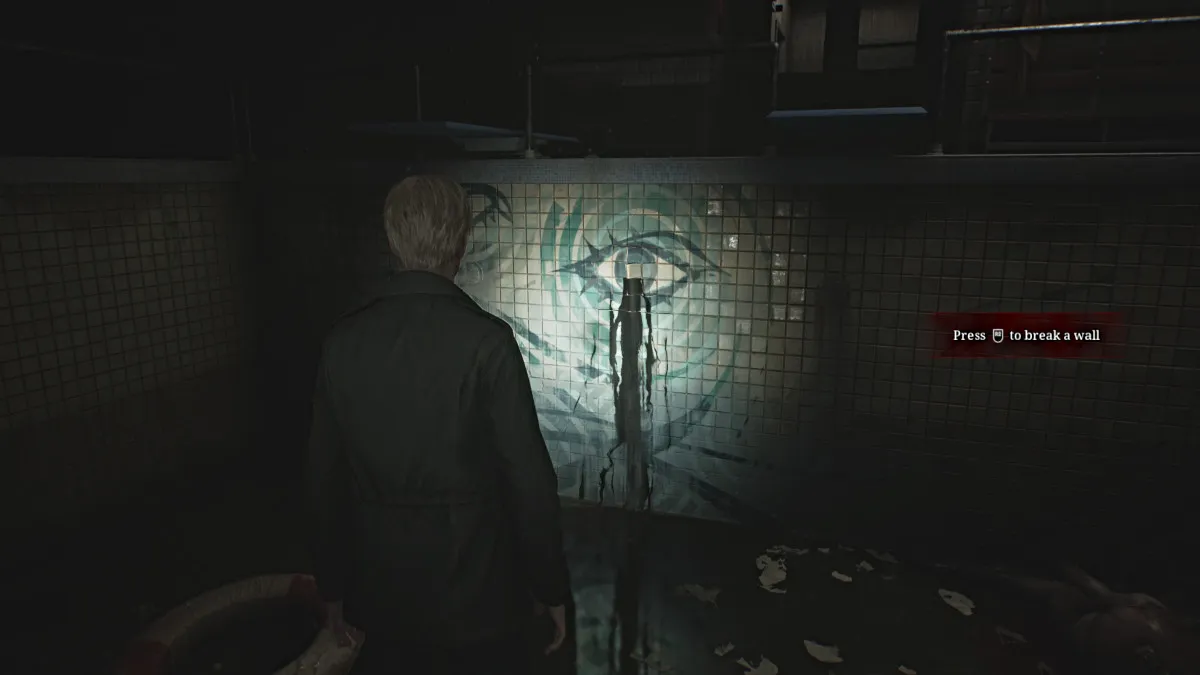
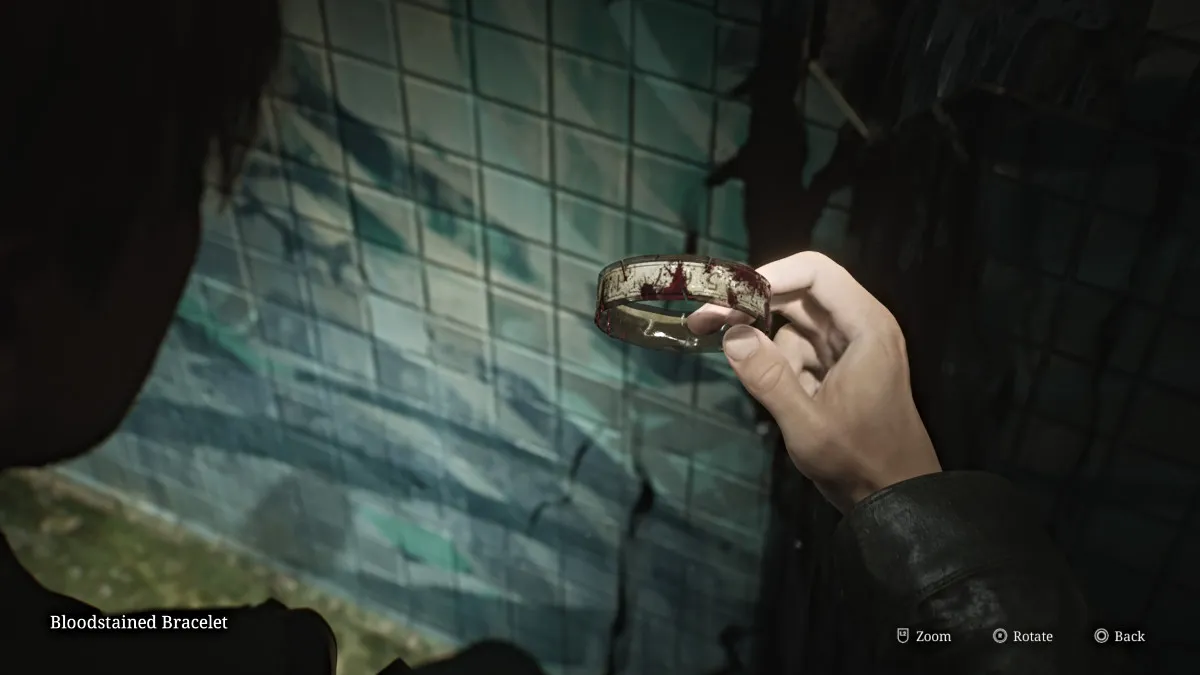
Con eso, regrese nuevamente a la piscina y use la llave de mantenimiento en la puerta del pestillo para acceder a la bomba y drene la piscina por completo. Baja en él y aplasta los mosaicos donde el ojo con fugas es para obtener el brazalete manchado de sangre , el tercero y el último que necesitas.
Recomendamos que se abran el camino de regreso a la farmacia, ya que muchos de los monstruos que mataste en el jardín anteriormente, incluidos los de la piscina, revivirán y atacarán y no quieres desperdiciar una munición y salud preciosas al respecto. .
Antes de regresar a la sala del director, primero debe terminar de explorar el resto de la sala interior en el lado oeste. Salir a la farmacia y desbloquear la puerta de la escalera del noroeste. A continuación, diríjase al interior de la cocina , donde puede encontrar una botella de removedor de moho sentado cerca del horno, puede usar esto para limpiar la litografía mohosa que obtuvo anteriormente si aún necesita el código en el bloqueo combinado en el piso 3.
Hay poco más que encontrar aparte de una munición de pistolas en el pequeño baño frente a la cocina, y con cáscaras de escopeta en el área de la cafetería cercana. Una vez que hayas terminado de explorar, regresa a la habitación del director.
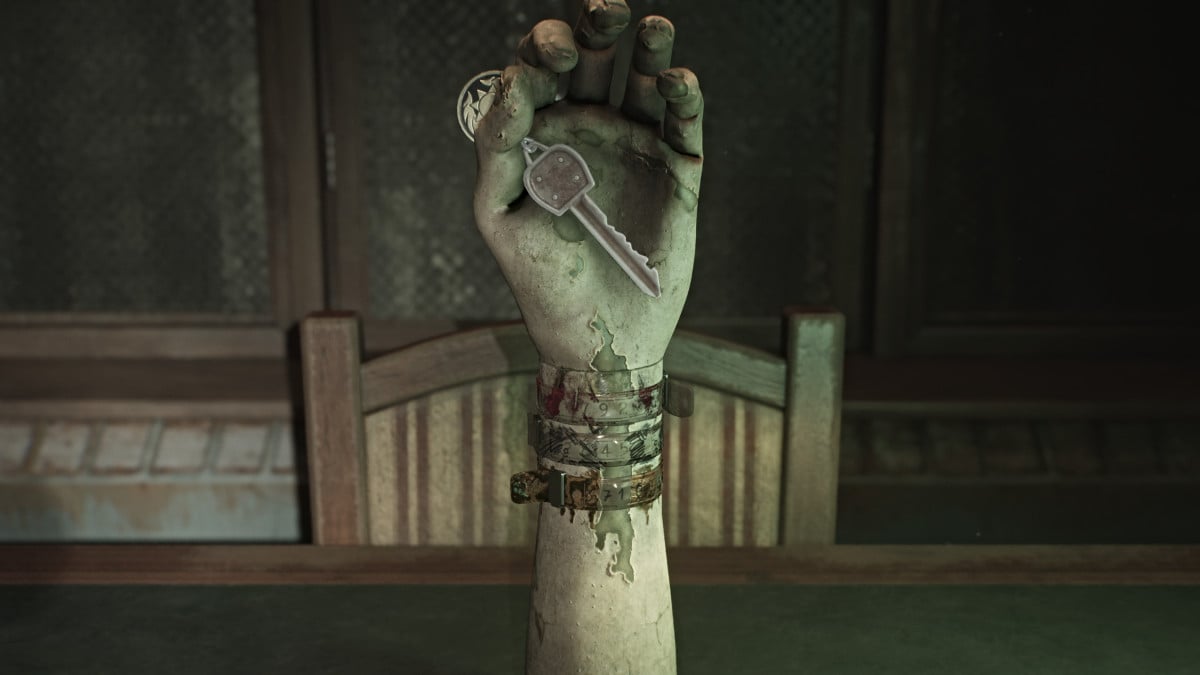
Coloque el resto de las pulseras que obtuvo en el brazo de maniquí, momento en el cual luego debe organizarlas en el orden correcto y 'girarlas' para que los conjuntos correctos de números estén hacia afuera. El orden correcto (dificultad estándar) de arriba a abajo es el brazalete manchado de sangre, el brazalete marcado y el pulsador sucio con los números: 92, 45, 71 alineados de arriba a abajo.
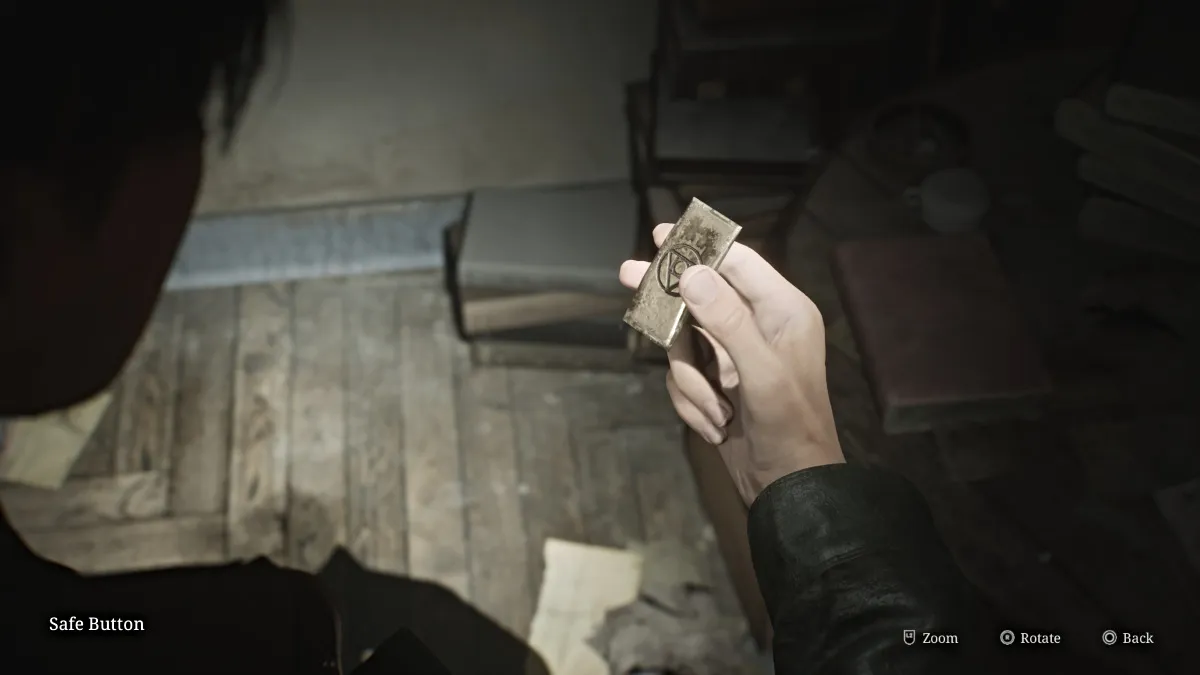
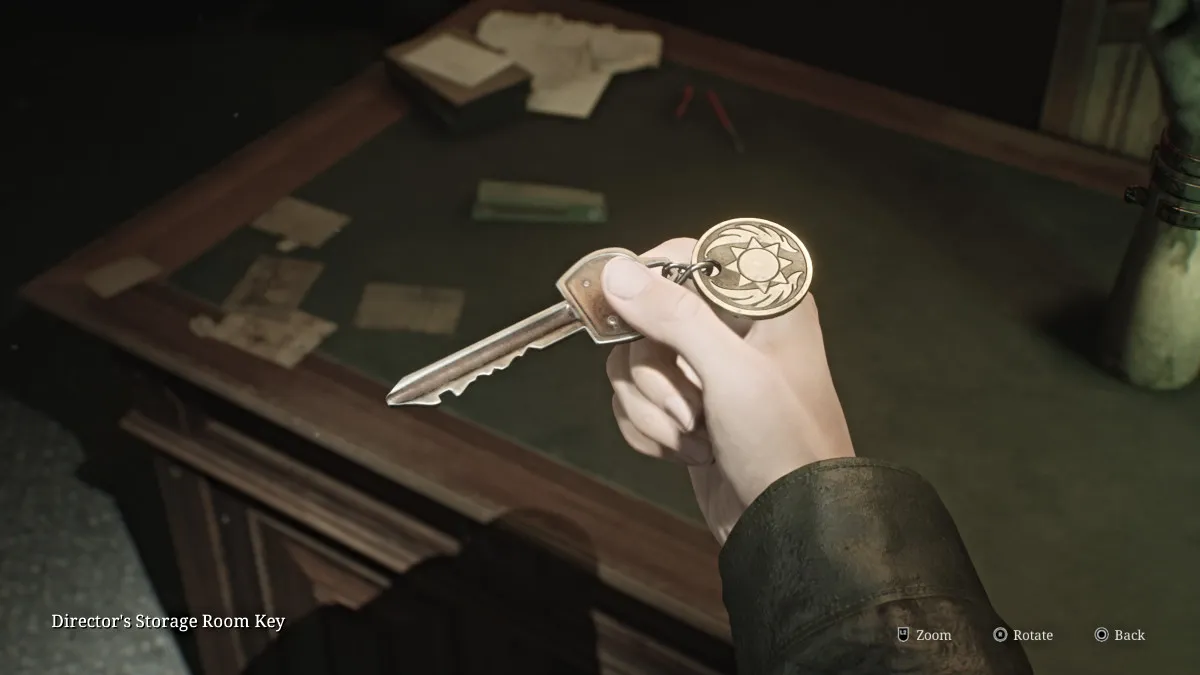
Una vez hecho esto, la mano se abrirá para que tome la llave de la sala de almacenamiento del director . Ve y úsalo en la puerta cerrada cercana y dirígete adentro. Allí encontrarás el botón seguro que falta en un escritorio y en el estante frente a él, otro rompecabezas.
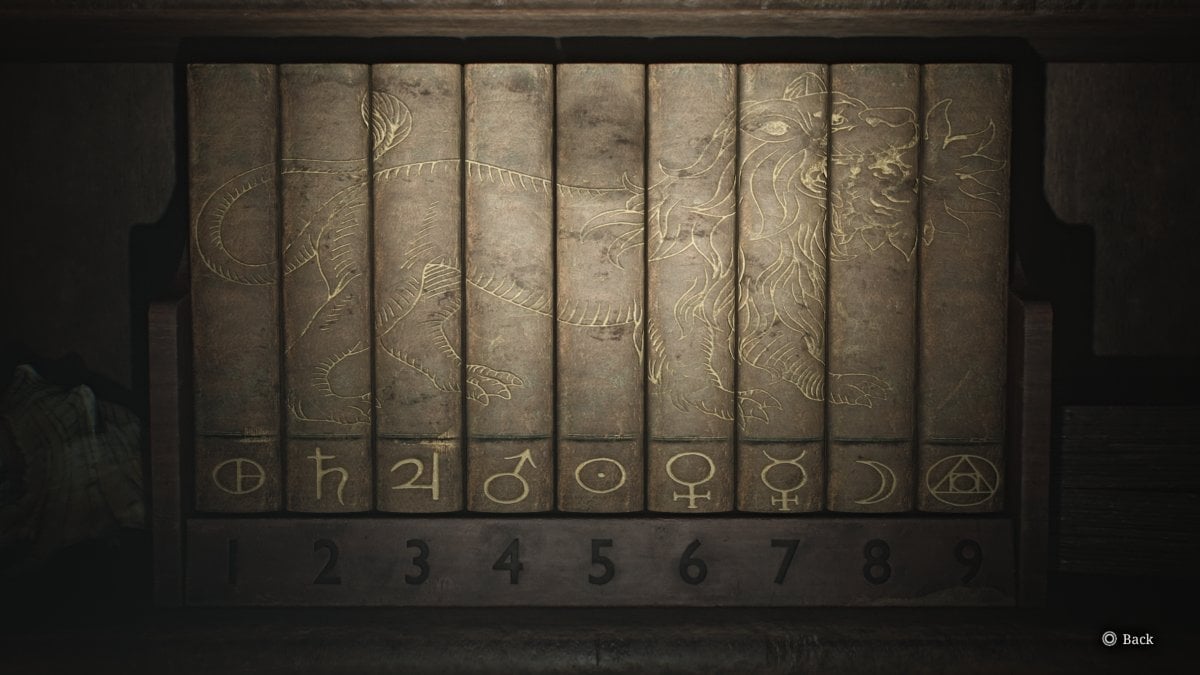
En este caso, debe organizar los nueve libros para que sus espinas coincidan y formen la imagen de un león que respiran el fuego (como se ve arriba). It may seem like there's no reward afterward, but in fact the order of the symbols at the bottom is a clue for what you need to punch into the Director's Safe. Your other clue is the set of numbers from the bracelets.
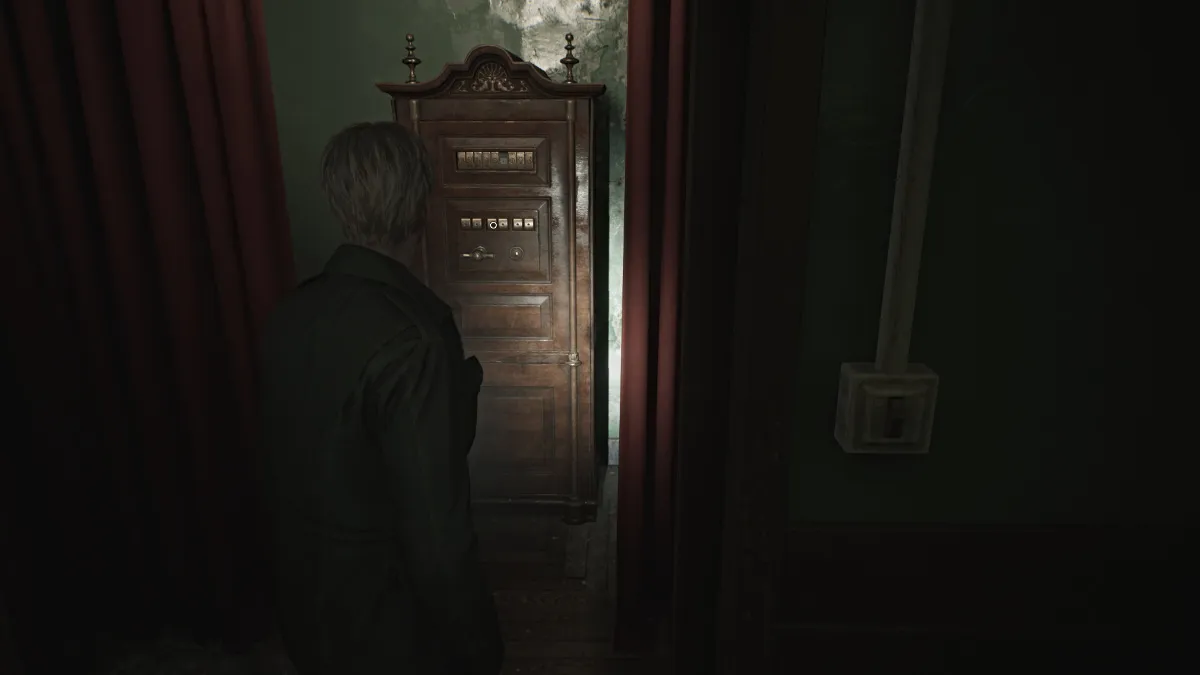
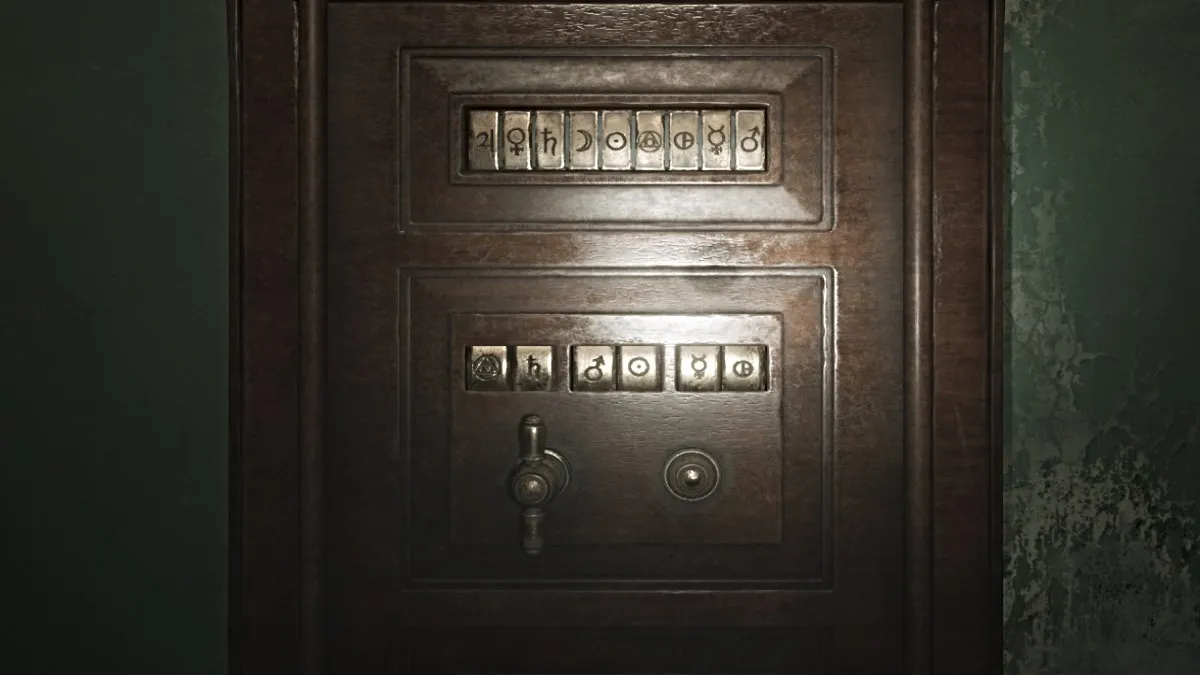
With that, go over to the safe, place the missing button you found into it, and use both your clues to figure out the correct symbol combination. Essentially, '92-45-71' from the bracelets is the numerical order of the combination, and you need to equate that to the symbol order from the book puzzle, all to form a cryptogram of sorts.
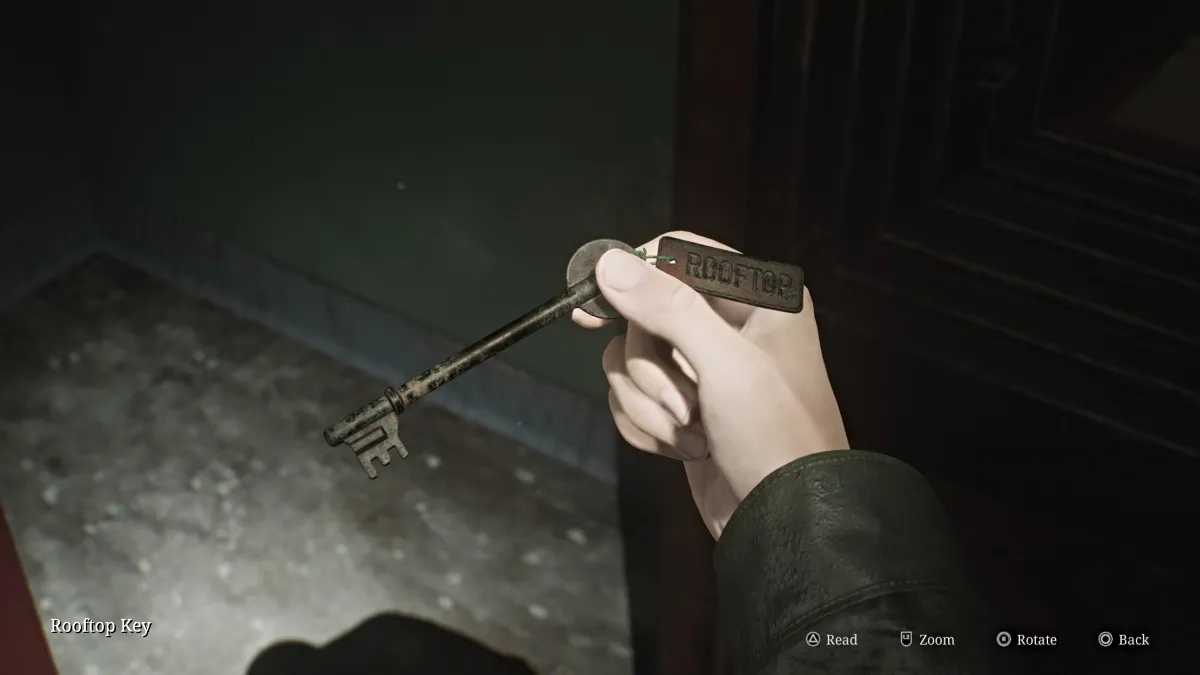
Once the correct combination is done (seen above), the safe will open and inside you can retrieve the Rooftop Key and the Safe Note , which gives some foreshadowing about the key taking James where he needs to go, and that "pain" will be involved, yay.
With that, go back and use the Red Save Point and start your journey up to the roof of Brookhaven.
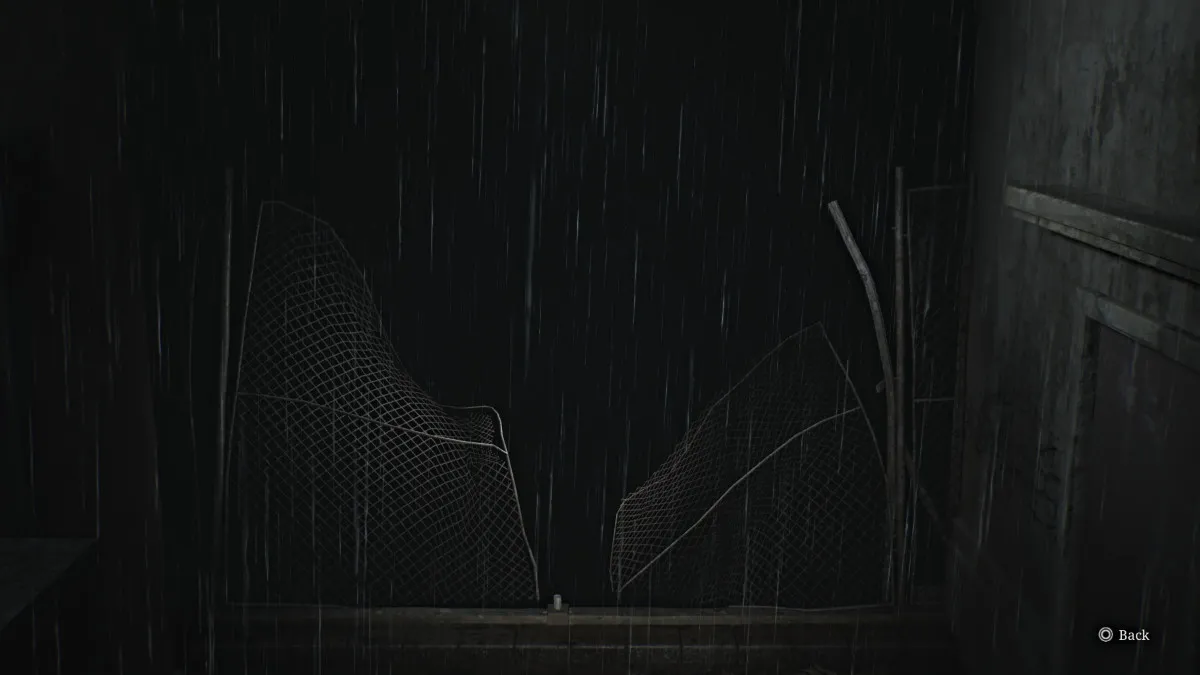
Once you arrive on the roof, first hang a right onto the nearby metal catwalk that has Shotgun Shells sitting at the end of it. Then go back to where you were and instead go straight, until you find an entrance to another metal catwalk that takes you around the left side of the roof.
At the end of it, you'll find another Glimpse of the Past (seen above) which happens to be the spot where James was shoved off the roof by Pyramid Head in the original game. However, that doesn't seem to be the case here.
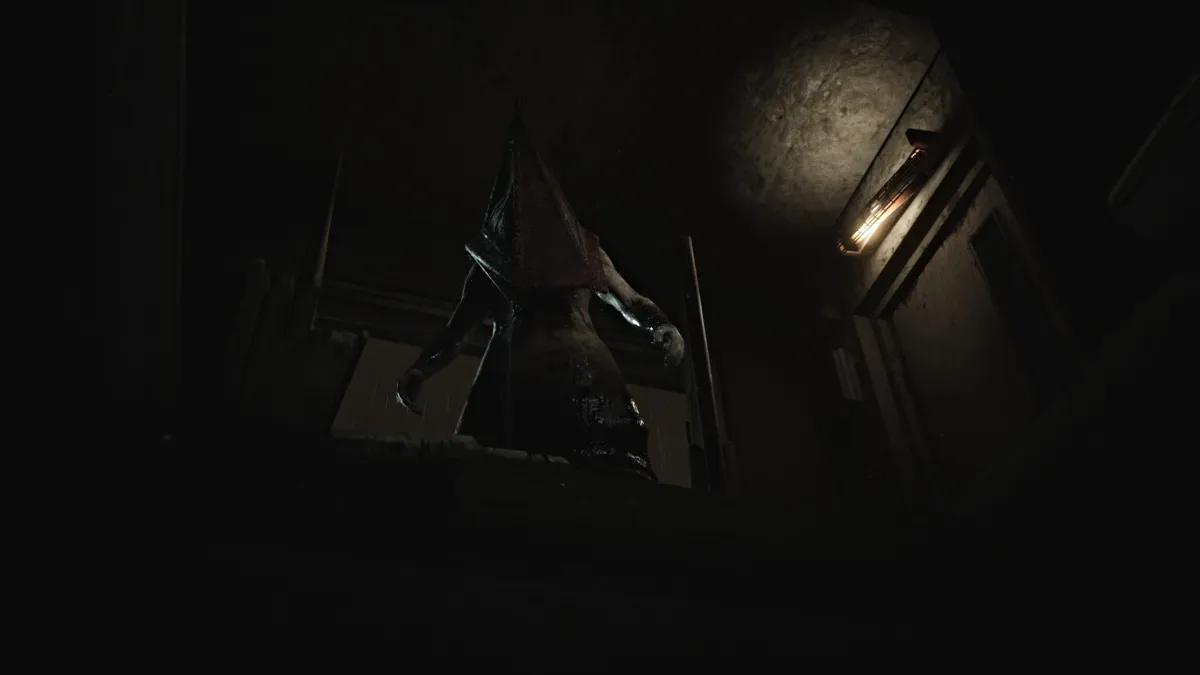
Now, go and investigate the yellow double doors that lead back inside. In what looks like the top of a wooden lift, you'll find the Page From a Diary on the floor. Pick it up, and as you try to go back through the doors, Pyramid Head will suddenly appear and grab James by the throat. This time, he shoves James down through the shaft, sending him back to the third floor.
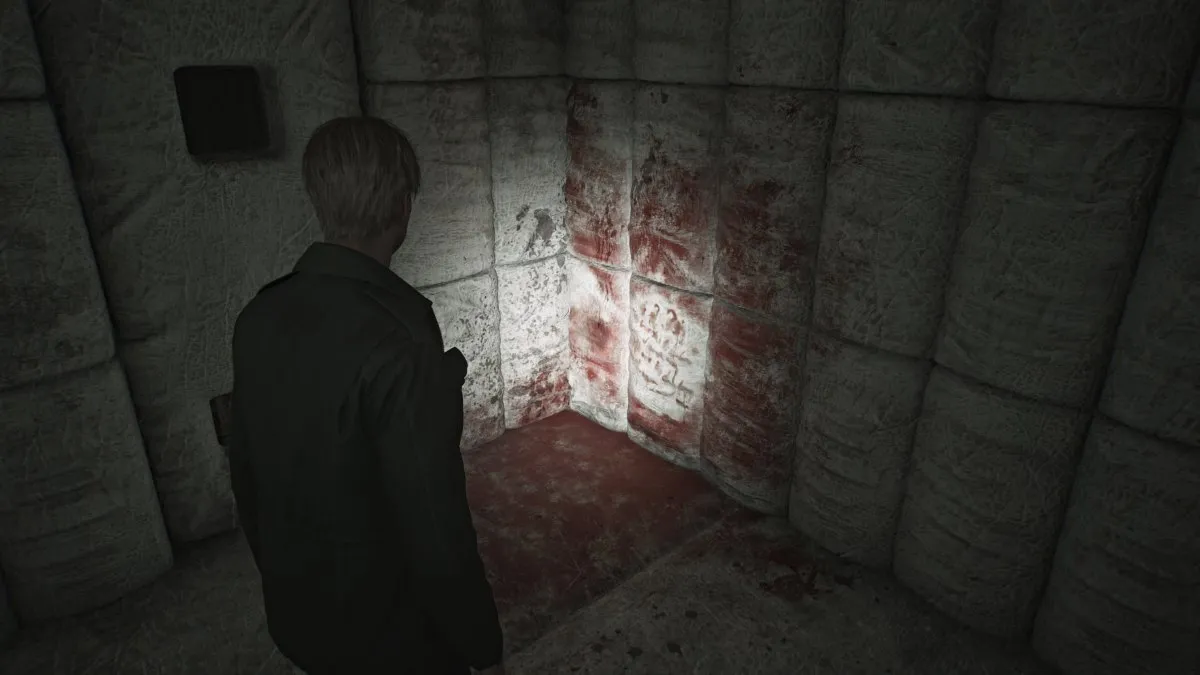
After James collects himself, you'll notice that you landed right on the opposite side of the huge 'Restricted Area' gate where Laura was last seen. First go investigate the Hydrotherapy Room , where you'll find Shotgun Shells , a Health Drink , and a Syringe . Next, when checking the padded rooms, in Room 13 you'll find another Glimpse of the Past covered in blood.
Continue on ahead and through the next set of yellow doors. Soon a cutscene will show James finally finding Laura in a room playing with teddy bears. He pleads for her to stop running and tell him how she knows about Mary. Laura seems hesitant to say much, but admits that she and Mary were friends and that they met at the hospital "last year".
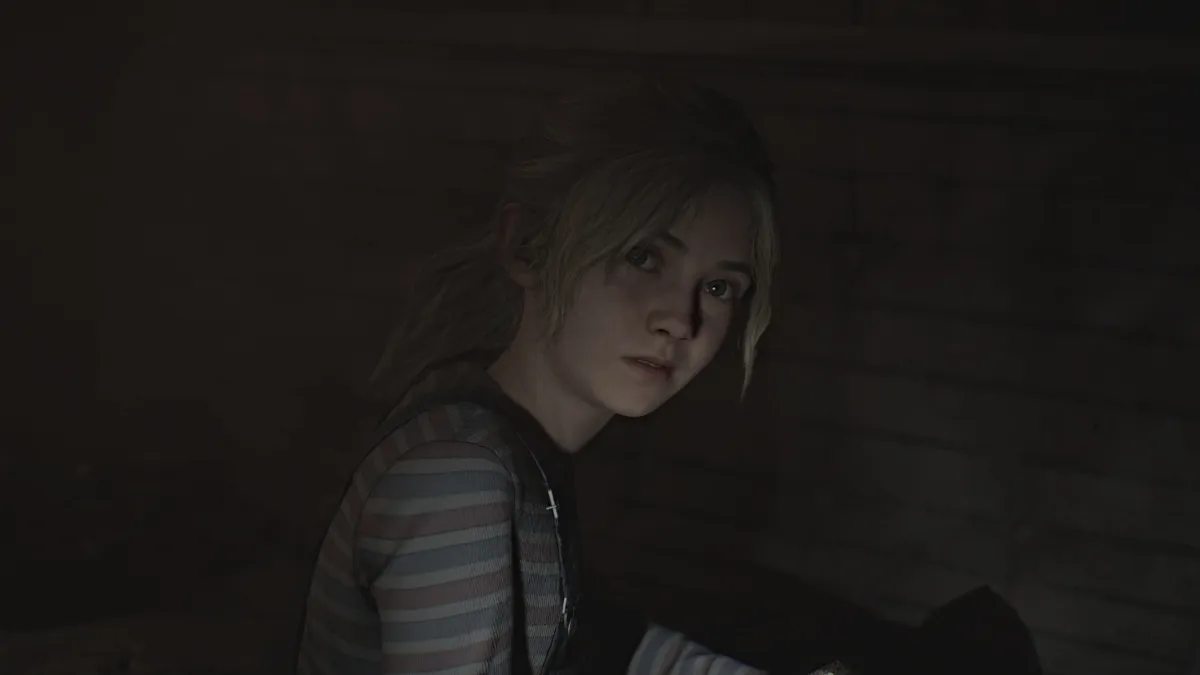
In confusion, James lashes out and calls Laura a liar, who immediately grows cold again and decides to play a trick on him. She baits him to another room nearby with the promise of another letter from Mary. The noise riles up a different kind of monster from within the walls, and now it's time for another boss fight.
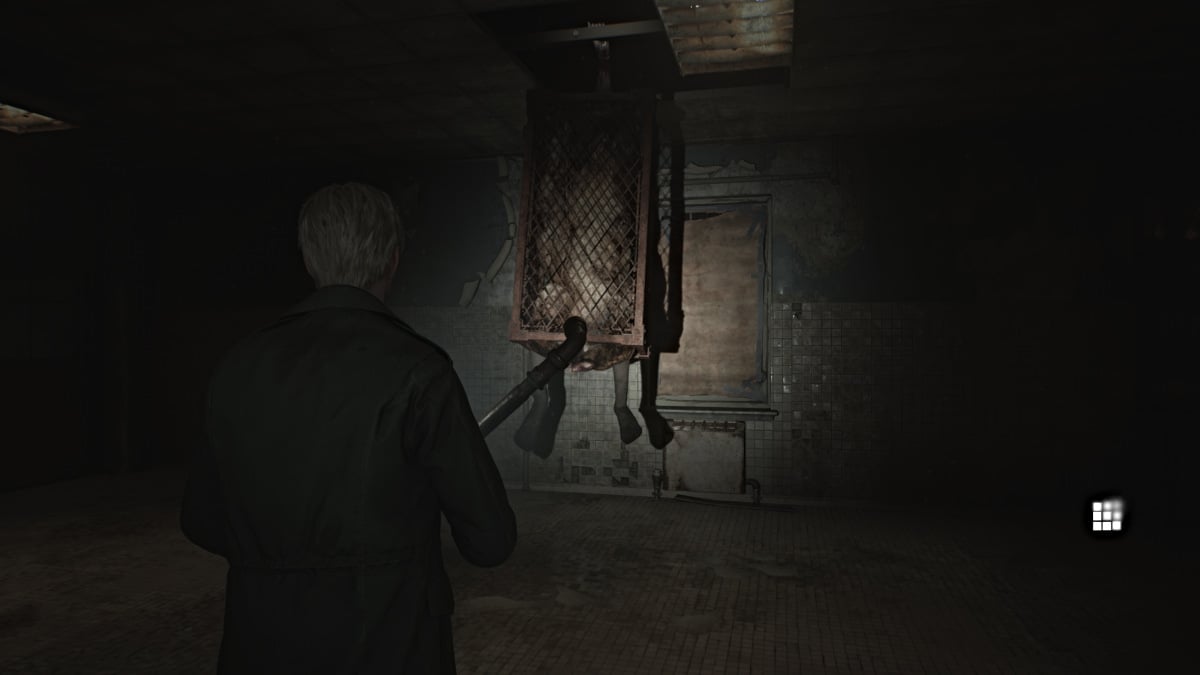
As the second boss fight in the game, Flesh Lips is as dangerous as it is disturbing to look at. Encased in a metal cage hanging from the ceiling, Flesh Lips will start the fight by essentially playing peek-a-boo with James, popping out from random places in the ceiling. Again, keeping your distance is a big priority.
While you can use both your Handgun and Shotgun to deal damage, Shotgun is king in this fight as you'll soon realize. Start by shooting its legs (shooting the cage won't do anything), and make note of the Shotgun Shells scattered around the room for your use.
The more damage you deal to it, its cage will start to come apart, allowing you to start damaging the body within as well. Eventually, this will cause Flesh Lips to take on a different form, using the metal bars from its cage like spider legs to chase you around the room.
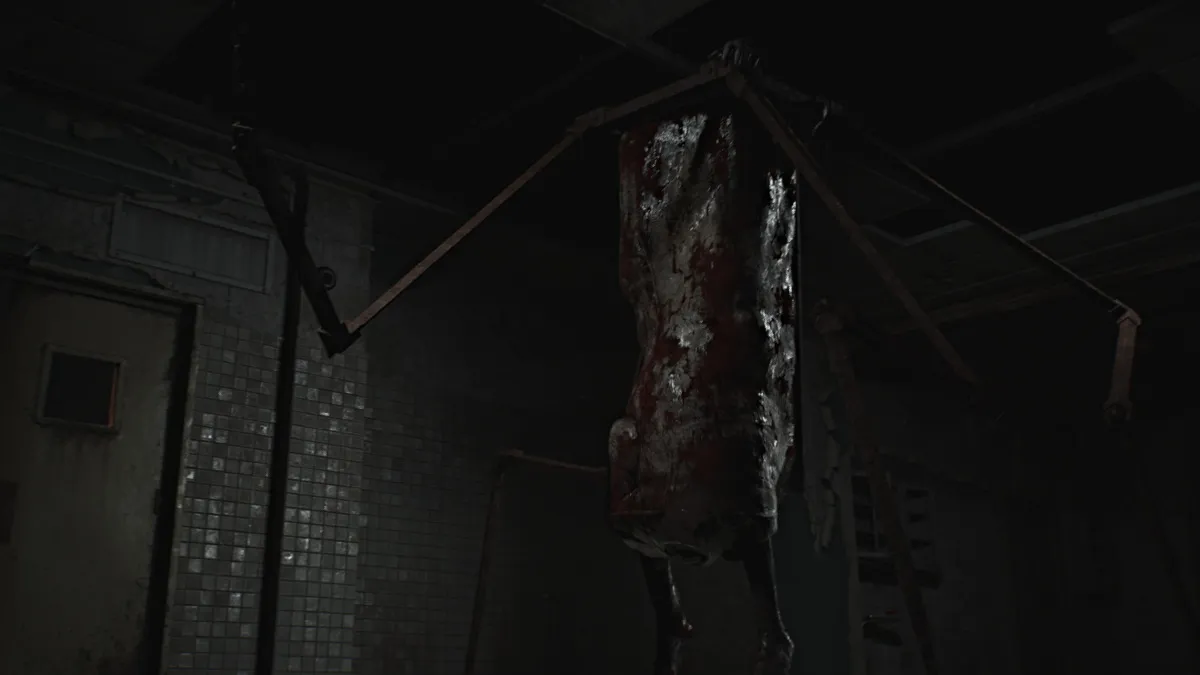
Deal damage as fast as you can, as this boss hits like a truck and you may find yourself swigging Health Drinks faster than you can blink. Occasionally it will emit a screaming attack that, while terrifying, just serves to stun you for a moment.
Eventually, Flesh Lips will collapse dead and James will go over to assess the damage. Suddenly, a second Flesh Lips monster will appear and capture James, dragging him through the ceiling and into an ominous cutscene that eventually lands us back in the Otherworld.
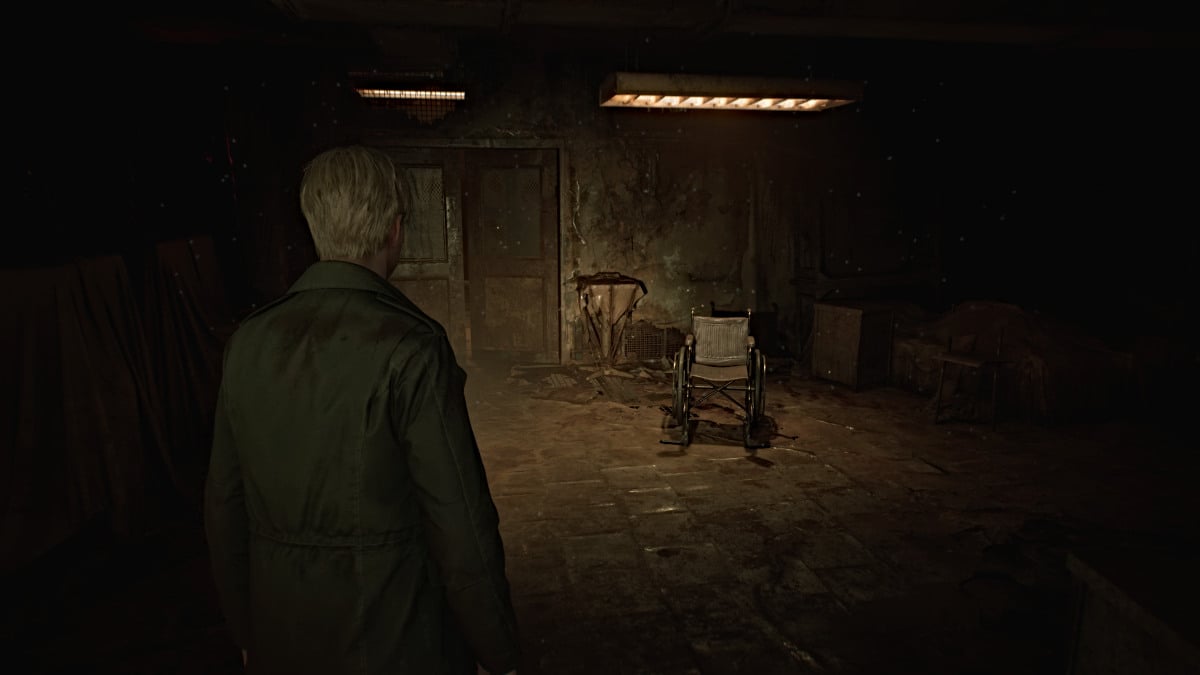
After being dropped off near the hospital's garden area, get your bearings and check your map. You'll notice that all of your markings have been wiped clean and that Brookhaven's version of the Otherworld spans every floor, including the Basement. So you've got a lot of exploring ahead of you.
Start off by going through the Dayroom and picking up some ammo there along with a Syringe and the Evaluation Card, Patient #3141 from the wheelchair in the middle of the room. Head out into the hall and use the Red Save Point to your left.
Much of the first floor is blocked off right now by large gaping holes in the floor and locked doors, so your only path is to the Elevator. Notice that it's missing the button for the Basement level , and you'll need to find it to reach there. For now head to the second floor.
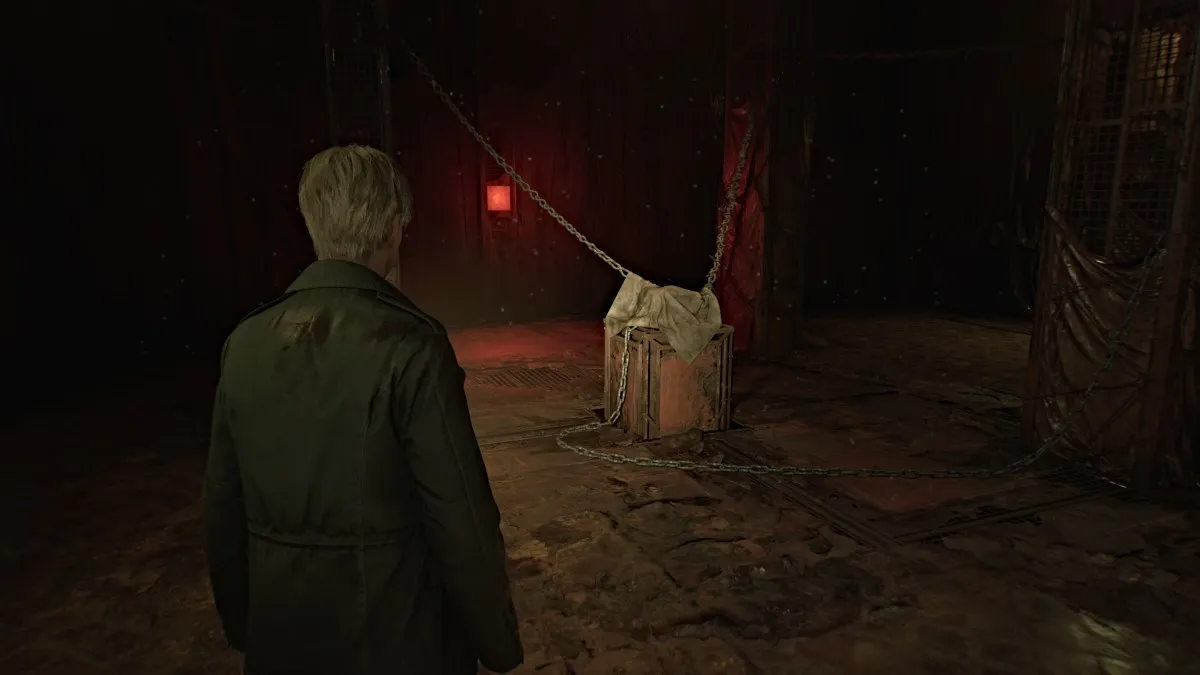
Once there, head right, and near the Nurse's Office , you'll see something sitting on top of a crate, chained and covered up (with a convenient Red Save Point behind it). Uncover it to find a lock box sealed with two numerical locks and a keyhole, meaning you'll need two codes to unlock it, as well as a key .
While we can provide you with the correct codes for the locks to help save you some legwork, before you can use those you need to find the key first. To do that, you need to get to the third floor.
First, investigate the nearby Nurse's Office for items and watch out for the Bubble Nurses who now wield knives instead of pipes. You'll find both Handgun Ammo and Shotgun Shells here, as well as a Health Drink . Cross your way over to the Treatment Room , and then take the crawlspace at the south wall into the Women's Locker Room . In there, you'll find a Syringe and more Shotgun Shells .
Circle around the hallway to the northwest stairwell, which you can take up to the third floor.
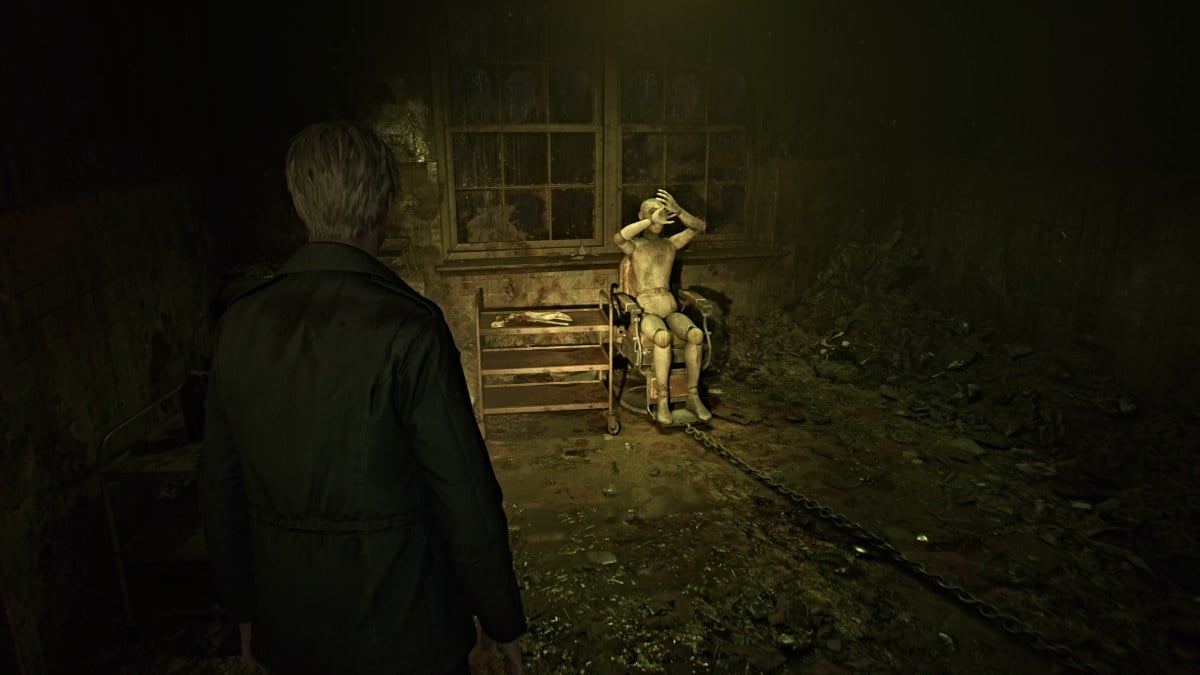
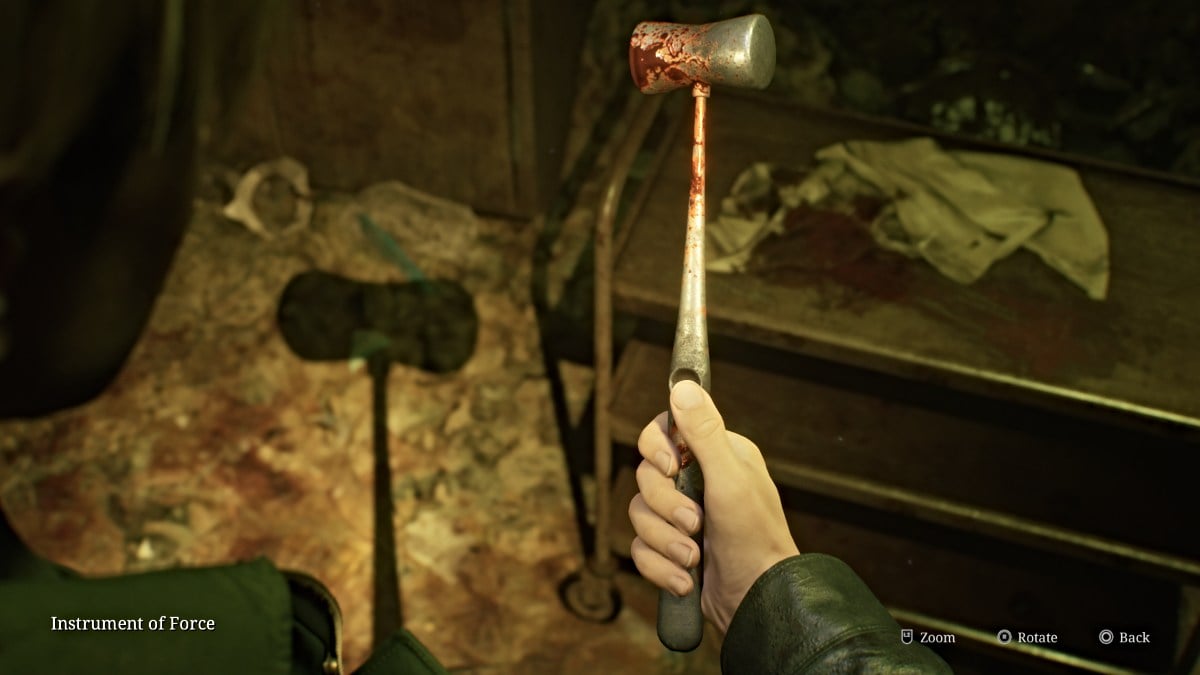
Once there, first head into the X-Ray Room and pick up The Procedure memo from the operating table. Over in Exam Room 4 you'll find a mannequin (no, not the monster) in a surgical chair with its hands in front of its face (seen above). Pick up the Instrument of Force from the tray nearby. This is one of two tools you'll need to get what's hiding inside the mannequin.
Make your way through Exam Room 5 and watch for another Bubble Nurse and Lying Figure in the hallway. Grab some Handgun Ammo from the desk tucked in the corner near Room D3 . Go in there next for Shotgun Shells and a Mannequin that sneaks off to ambush you from around the next corner. Deal with it and retrieve the Health Drink from that corner.
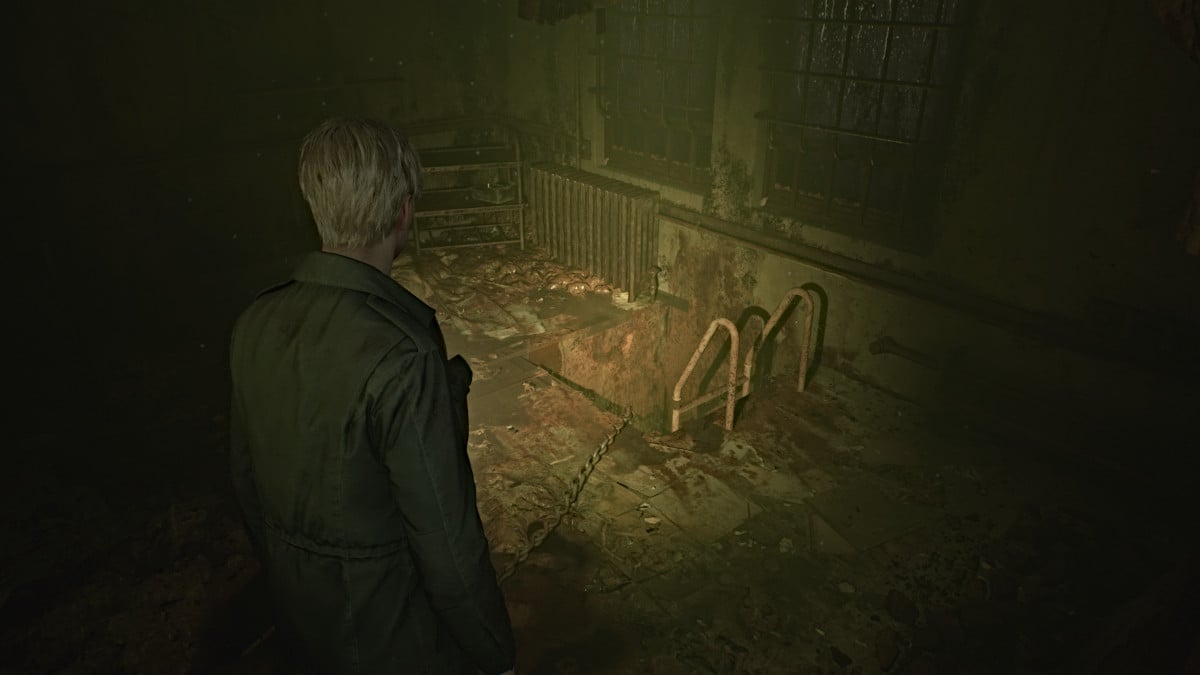
Backtrack to Room D2 and smash the wall on the north side to get in. Use it to cross over to Room D1 , where you'll find a ladder you need to climb down. This brings you down into the Kitchen on the first floor. Grab some Handgun Ammo from the Pantry area and ignore the back room behind it, as you'll only find a Mannequin in there. Explore the nearby Restrooms if you want for more Handgun Ammo and a Shotgun Shell .
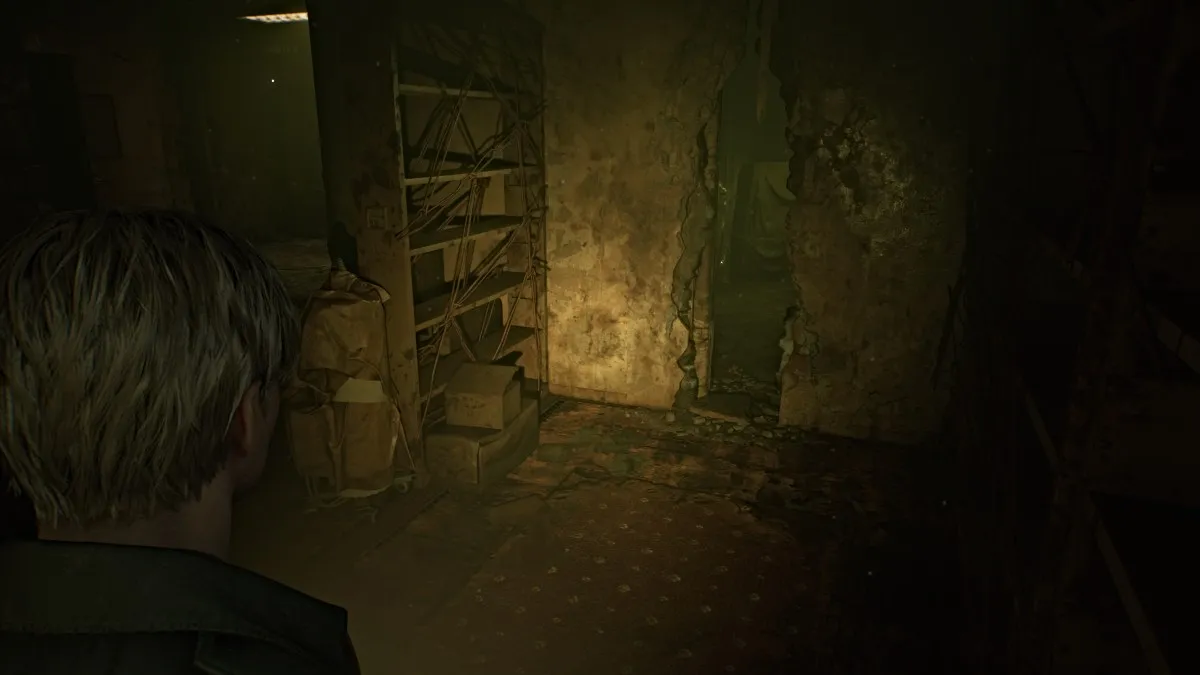
Head down the south side of the Kitchen and around to the Cafeteria . Deal with two Bubble Nurses and a Mannequin there then retrieve the Handgun Ammo on the middle table. Head into the Storage and Medical Records rooms next, where you'll find more Handgun Ammo , Shotgun Shells , and a Health Drink .
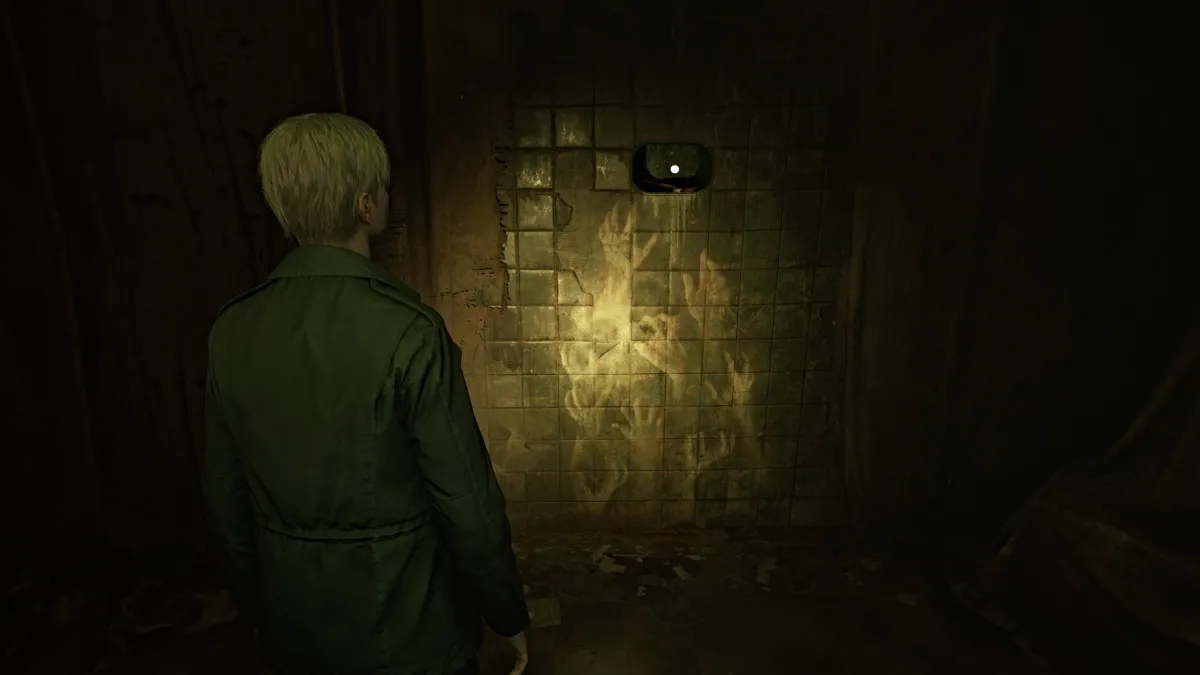
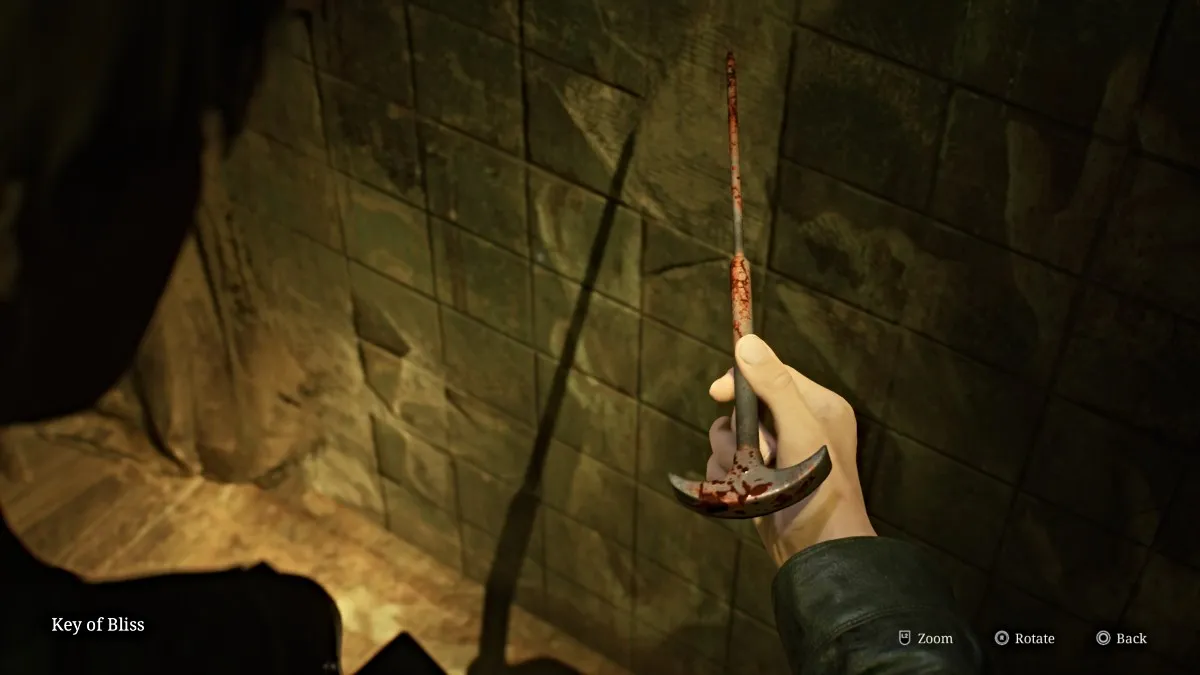
Slip through the wall crack near the back into an unmarked room, and on the wall to your right you'll see a familiar hand mural (seen above), and above it in a crevice, the Key of Bliss, the other tool you need . Take it and make your way back up the ladder in the Kitchen.
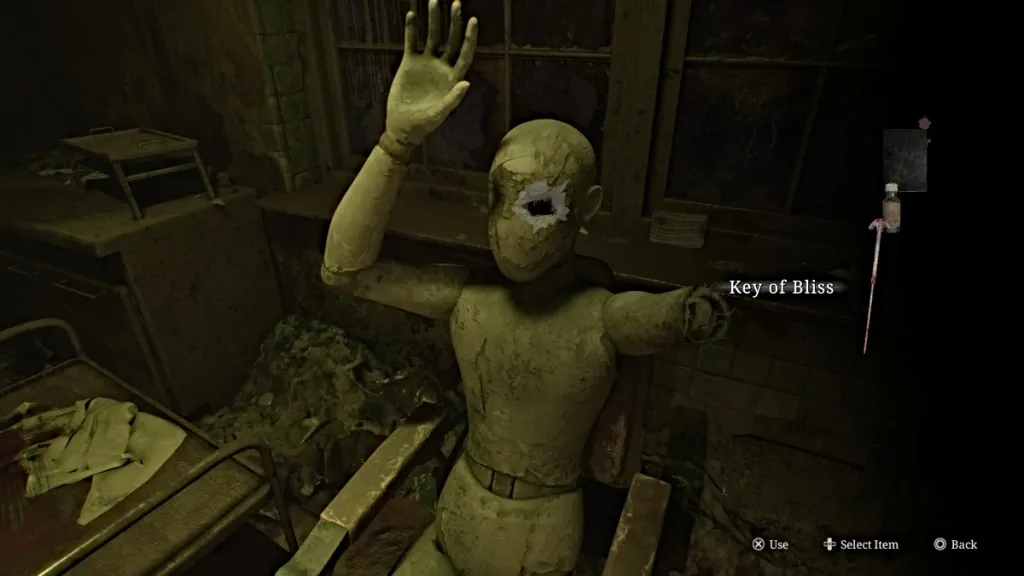
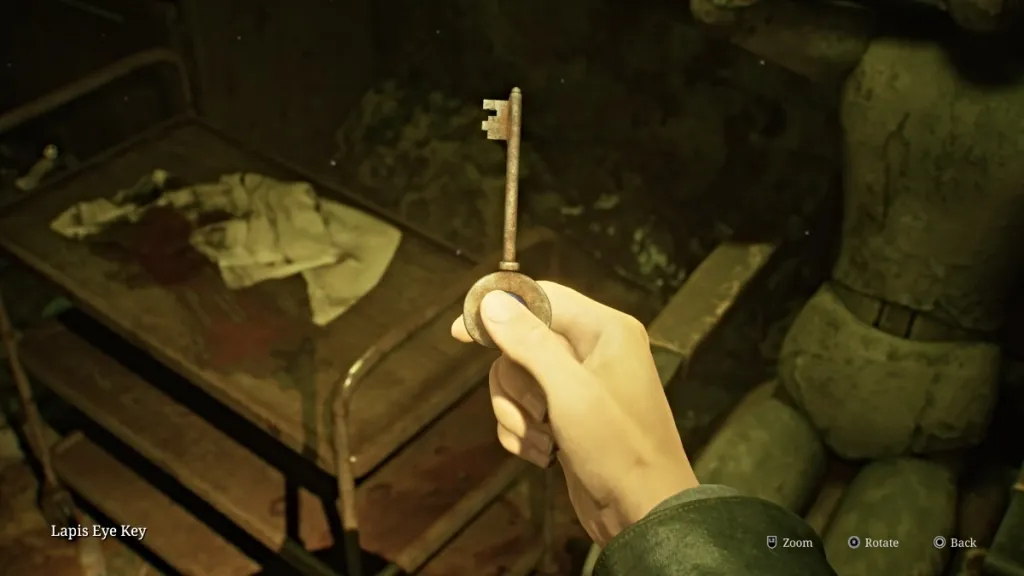
Head back to your mannequin friend in the surgical chair in Exam Room 4 . Use the Instrument of Force to break the right arm off, push the left arm away, and then use the Key of Bliss to brutally lobotomize the Lapis Eye Key from the eye socket. This is the key you need for the safe box.
With that done, make your way back down to the second floor via the stairwell.
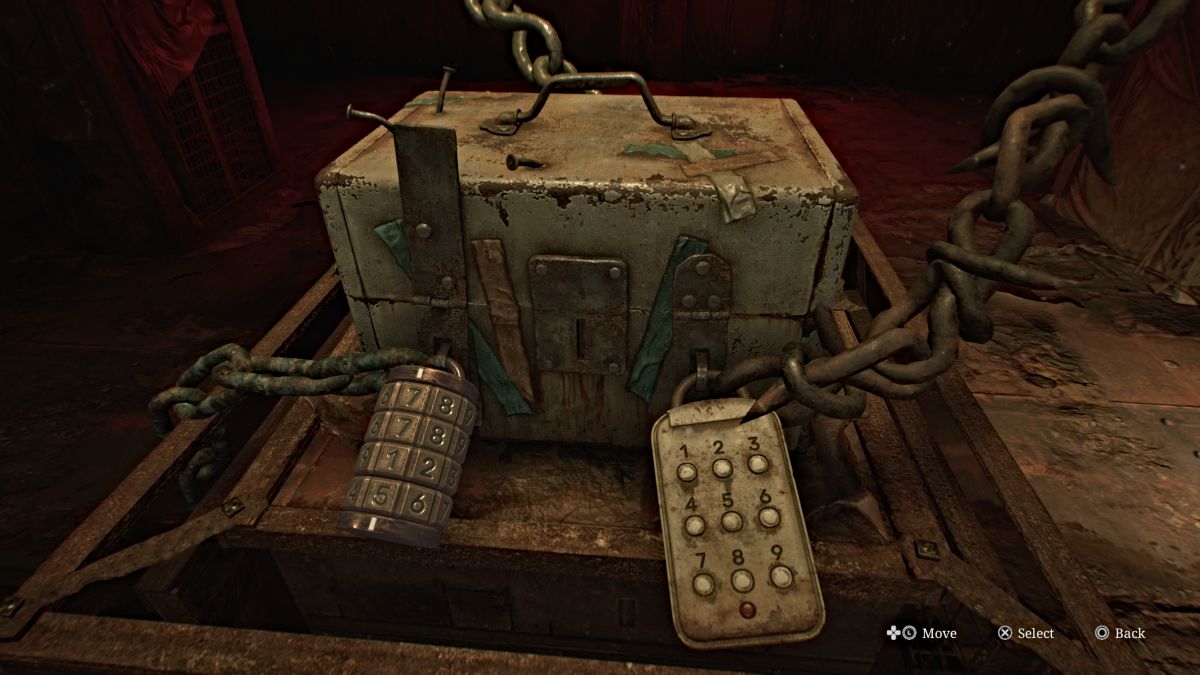
Head back to the chained box on the second floor, and first use the Red Save Point behind it. Use the Lapis Eye Key you just got on the box. This leaves the two numerical locks for you to crack. Luckily, we've got both of those codes figured out for you to save time.
If you're wanting to collect all of the memos in the game for the achievement, however, you should still visit Room M2 on the second floor for the Calendar Page , which provides the hint for the combination lock.
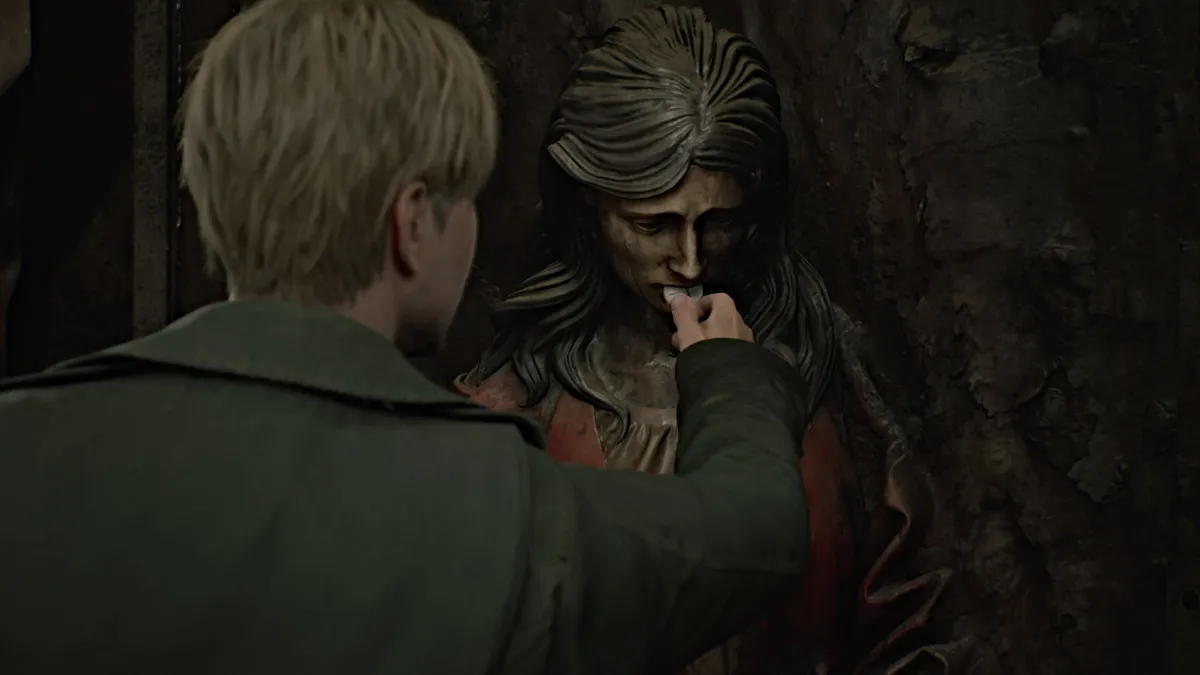
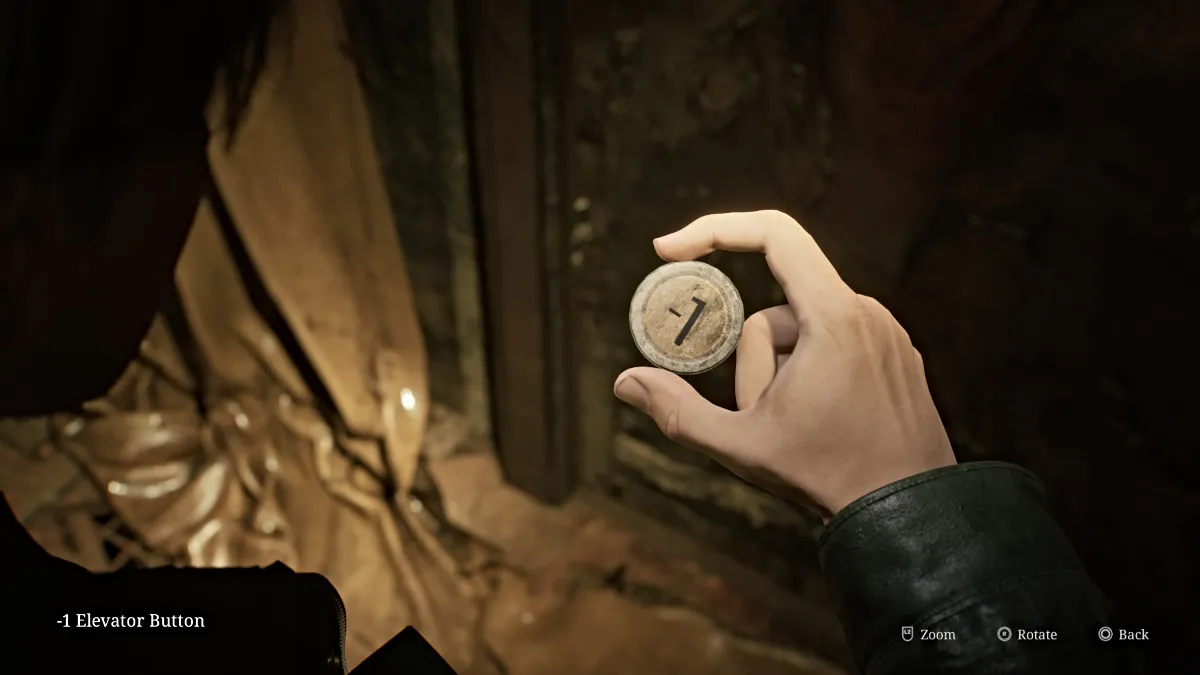
Once open, a cutscene will play where it's revealed that nothing is in the box, which leaves James dejected. However, a curtain nearby suddenly falls to reveal a strange door with a partial statue of a woman on it. James approaches it and finds the '-1' Elevator Button in its mouth, allowing you to use the elevator to reach the Basement .
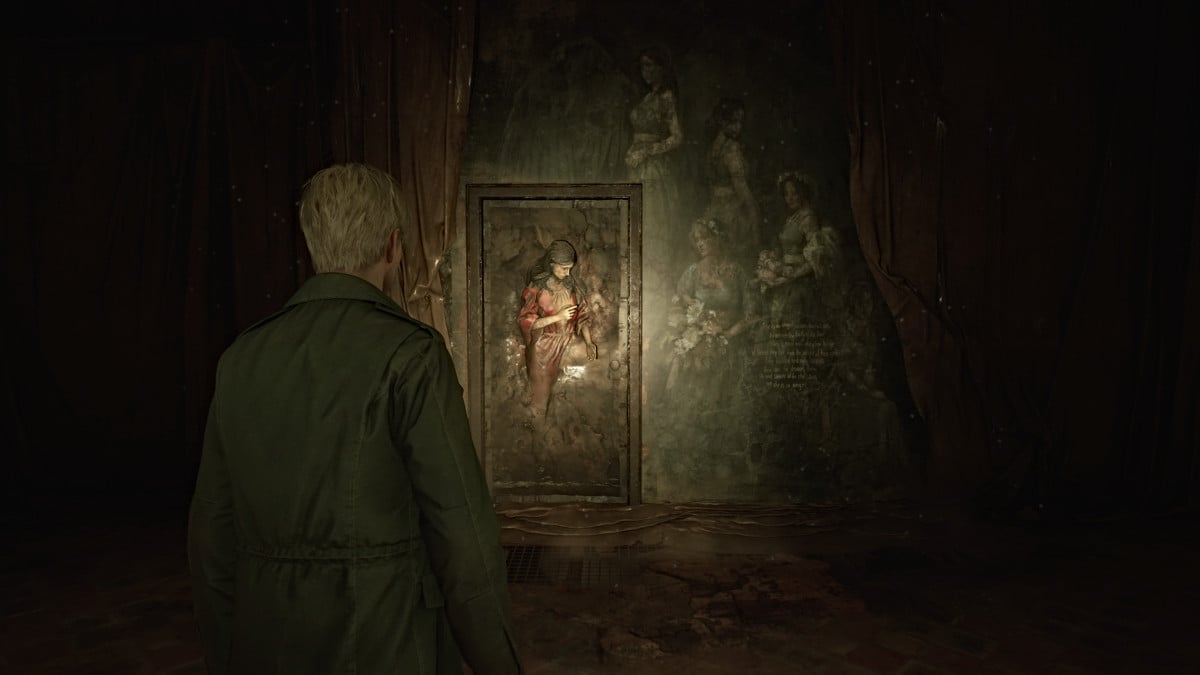
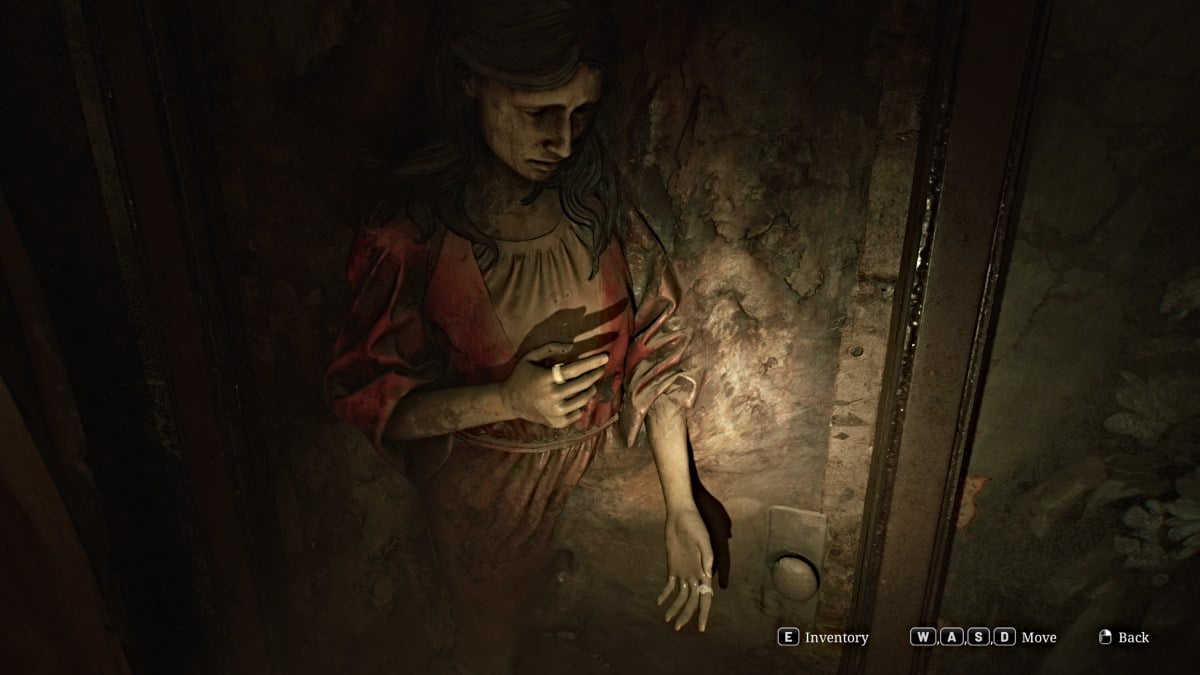
To open the Lady of the Door , you need to find the two rings missing from both her hands (seen above). To find one of them, the Basement is conveniently your next destination. Head to the Elevator and use the -1 Button to repair and take it down to the bowels of Brookhaven.
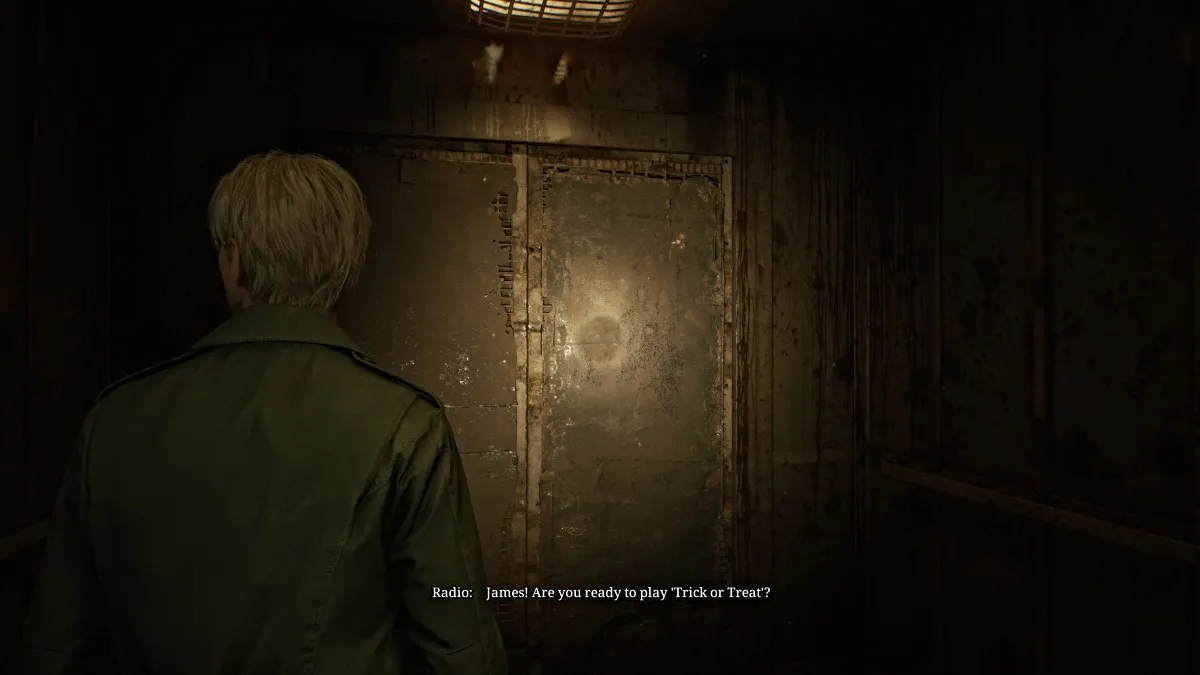
However, along the way, a mysterious voice will come over the radio system and enact a Trick or Treat game show just for James. It recites three quiz questions related to Silent Hill and its history that you'll need the right answers to when the time comes. So that you have them handy, here are the correct answers:
Soon you'll arrive in the Basement, and the right path is blocked so you'll need to navigate around on the left side of the floor. Check the Kitchen Disposal Room for some Handgun Ammo and Shotgun Shells then go through the Maintenance Room to get to the Generator Room . From there, head south into Laundry Storage where you can find Handgun Ammo then further into the Laundry Room and Storage Room which has a Health Drink .
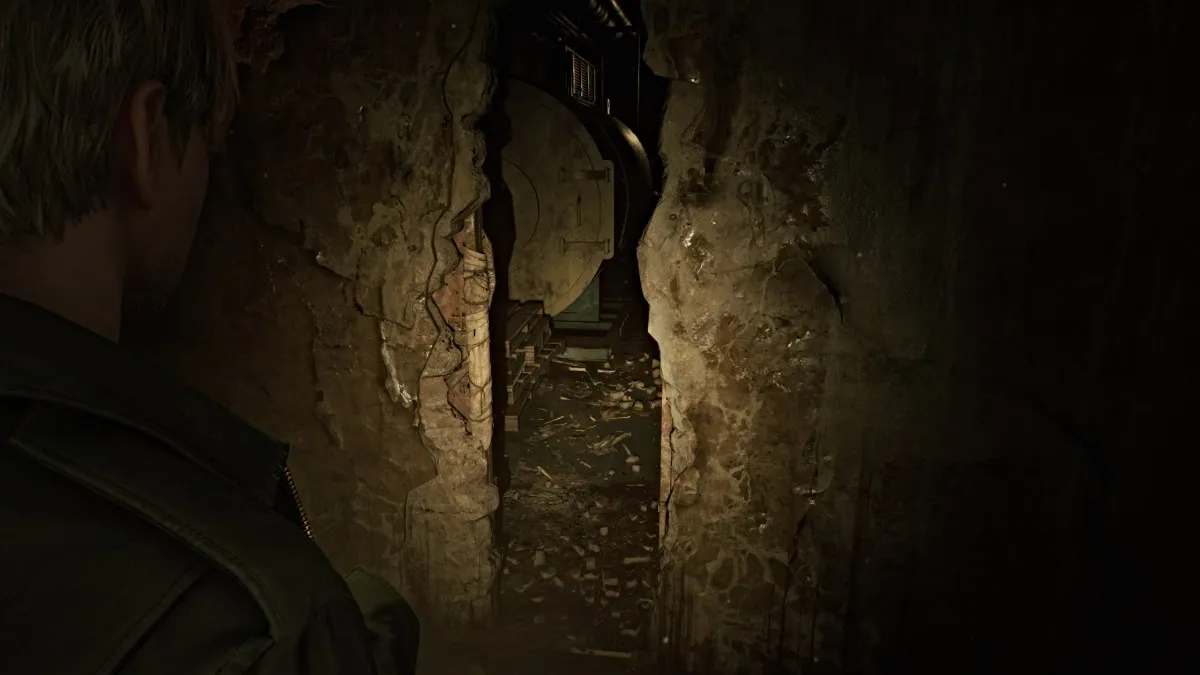
You'll come out on the other side of the huge gap in the floor, so you can continue down and around. The rest of the hallway is blocked, but a gap in the wall nearby will take you into the first Boiler Room . Cross into the second Boiler Room , deal with the Bubble Nurse patrolling the area, and then use the high crawlspace on the right side to make it out to the other side of the east hallway.
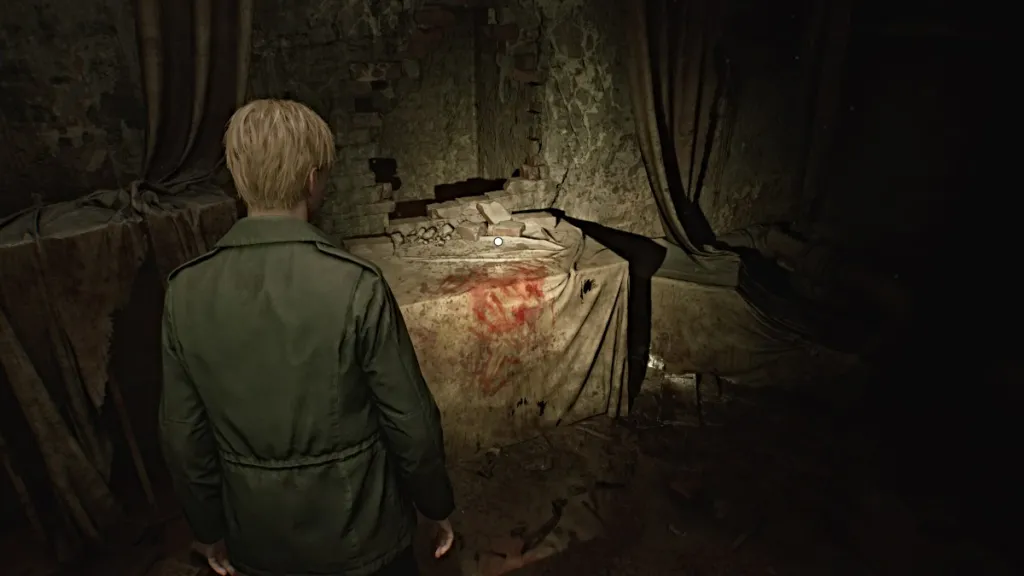
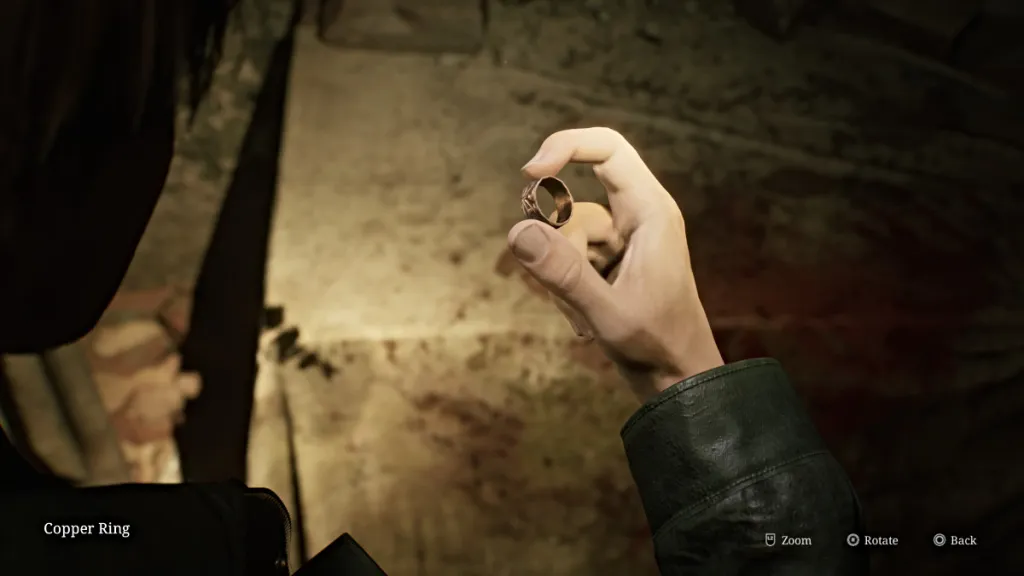
Your options are still very limited, so just go straight ahead through the next wall crack into the Pump Room . Sitting on a table to your right is the Copper Ring (seen below), the first of two that you need. As soon as you grab it a cutscene shows Maria suddenly appearing from the shadows, seemingly better than earlier.
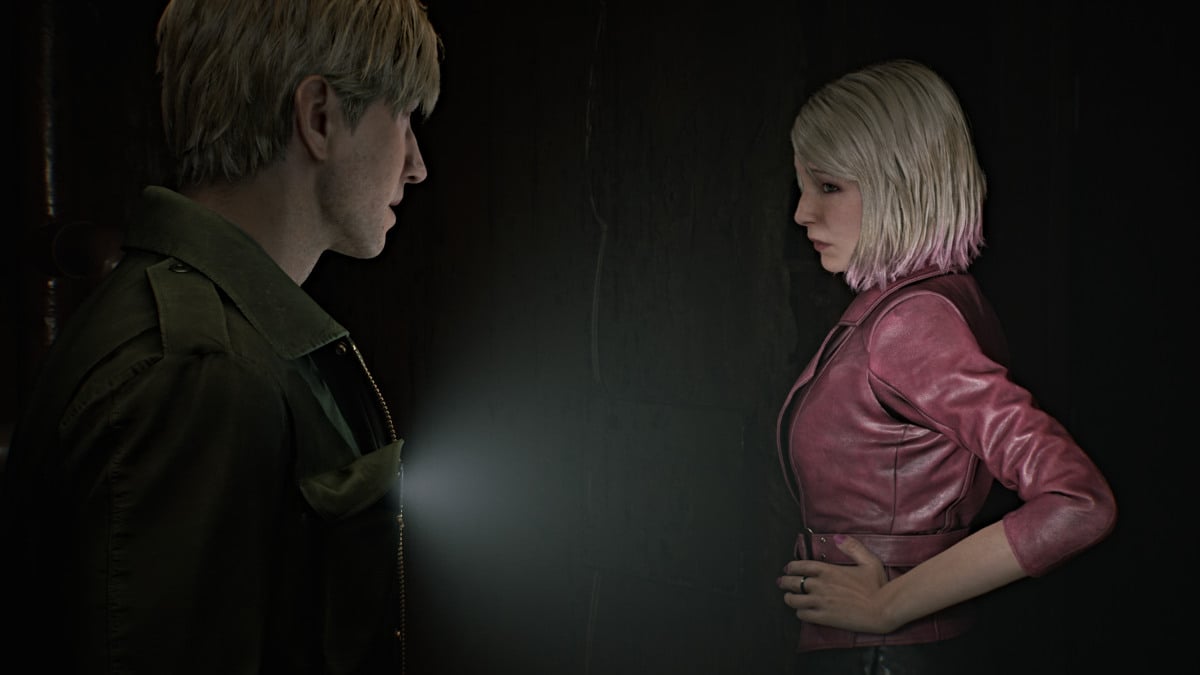
James almost mistakes her for Mary, which of course doesn't sit well with Maria. The conversation instead turns to Laura, with whom Maria feels a strange connection that she can't explain and just insists on finding her. With that, Maria returns as your companion.
Continue through the Pump Room and back out into the hallway. The Tech Room is blocked, so the only way forward is back up to the first floor . Make your way up through the rooms on the east side, starting with Exam Room 2 . Cross into Exam Room 3 where you can find a Syringe , then cut back into the hallway.
Follow Maria as she remarks about a "stroll in the rain", strangely unbothered by the Otherworld around them. The rest of the rooms on the right side are blocked, so the path takes you instead to the Pool area. Pick up the "They musn't know" Strange Photo from a nearby bench, then make your way around the pool (now a giant gaping pit) to the Shower Room , then across the hall to the Doctor's Lounge .
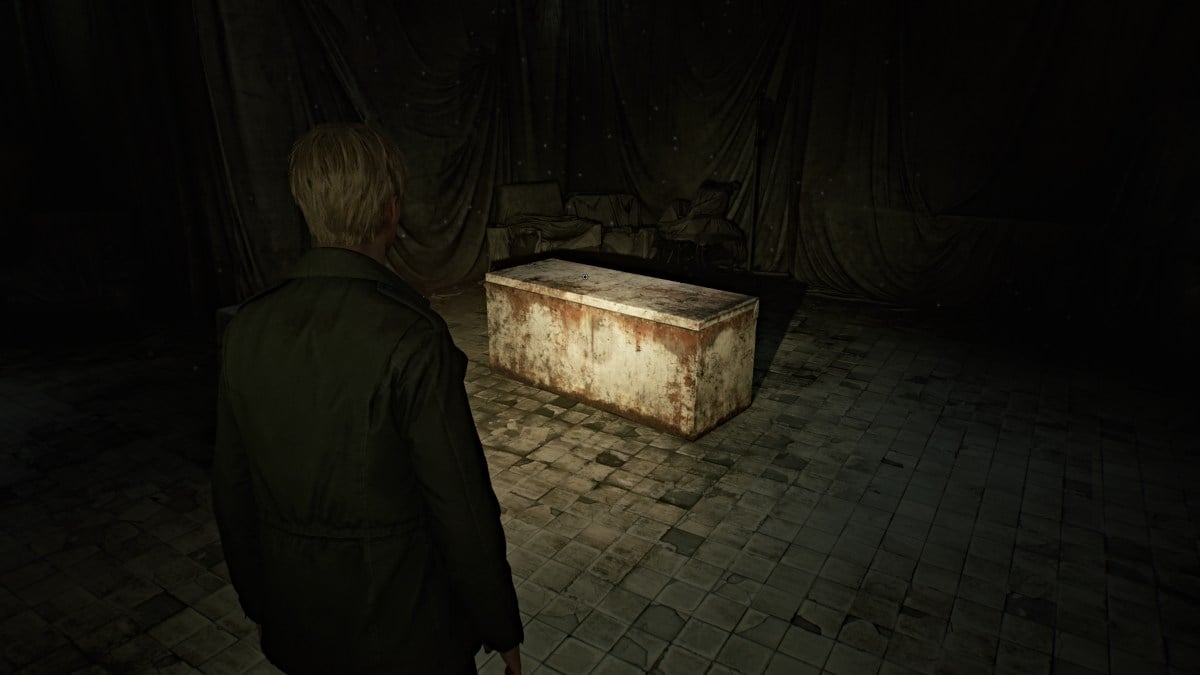
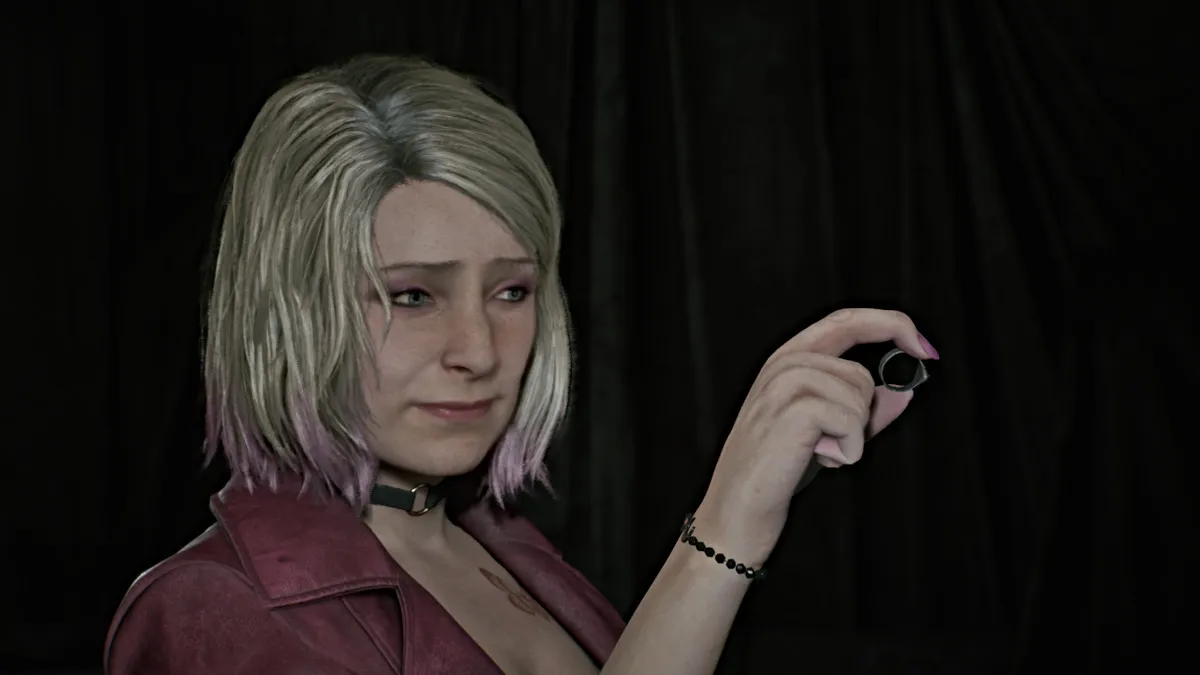
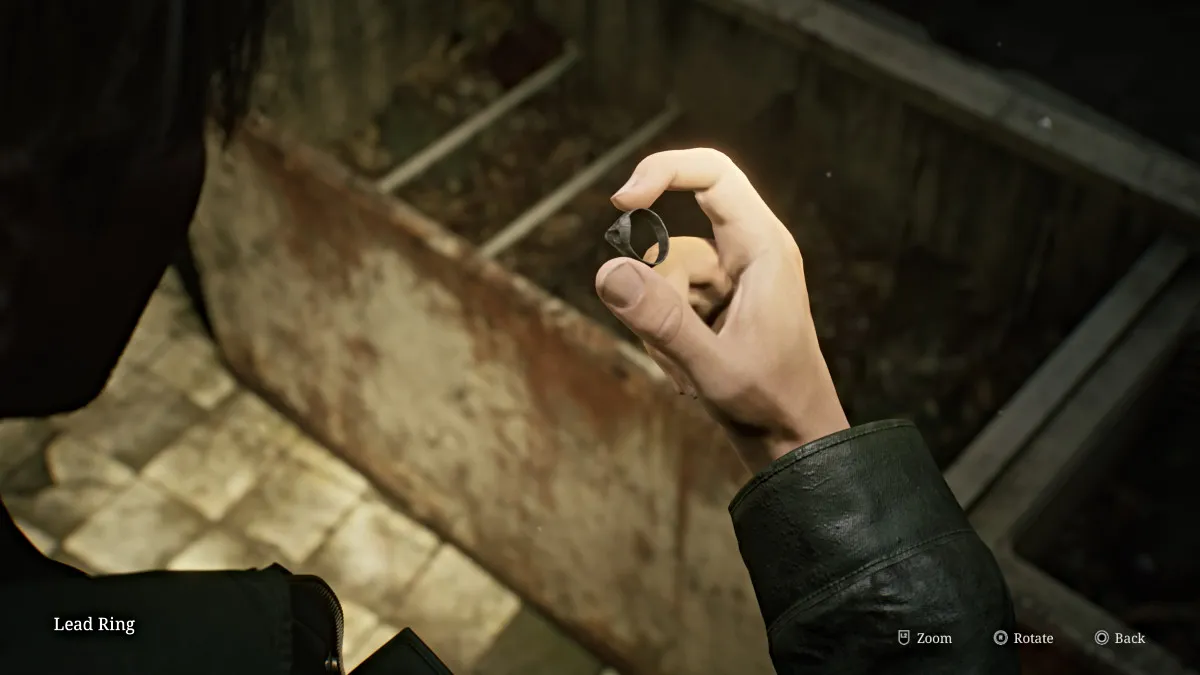
The room itself is mostly empty except for a large fridge that's been toppled over. James finds himself unable to open it alone and Maria teases him for it before offering to help with a hint of exasperation. They manage to open it together and upon peeking inside Maria finds a Lead Ring . It just so happens to be the other ring you need for the Lady of the Door.
Cross through the Locker Room to your left and pick up the Dissociated Note in there before continuing to the central hallway. Use the Red Save Point nearby before heading in the direction of the elevator. Before taking it though, head over to the Pharmacy , where you'll find an ornate box sitting on the counter.
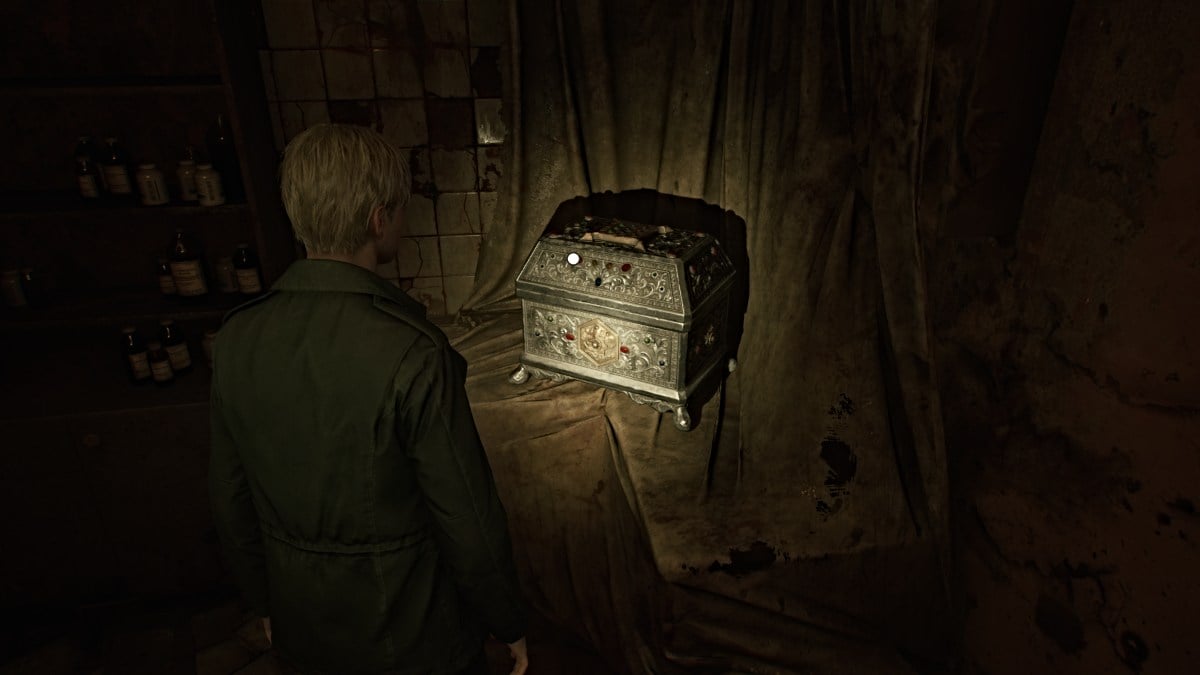
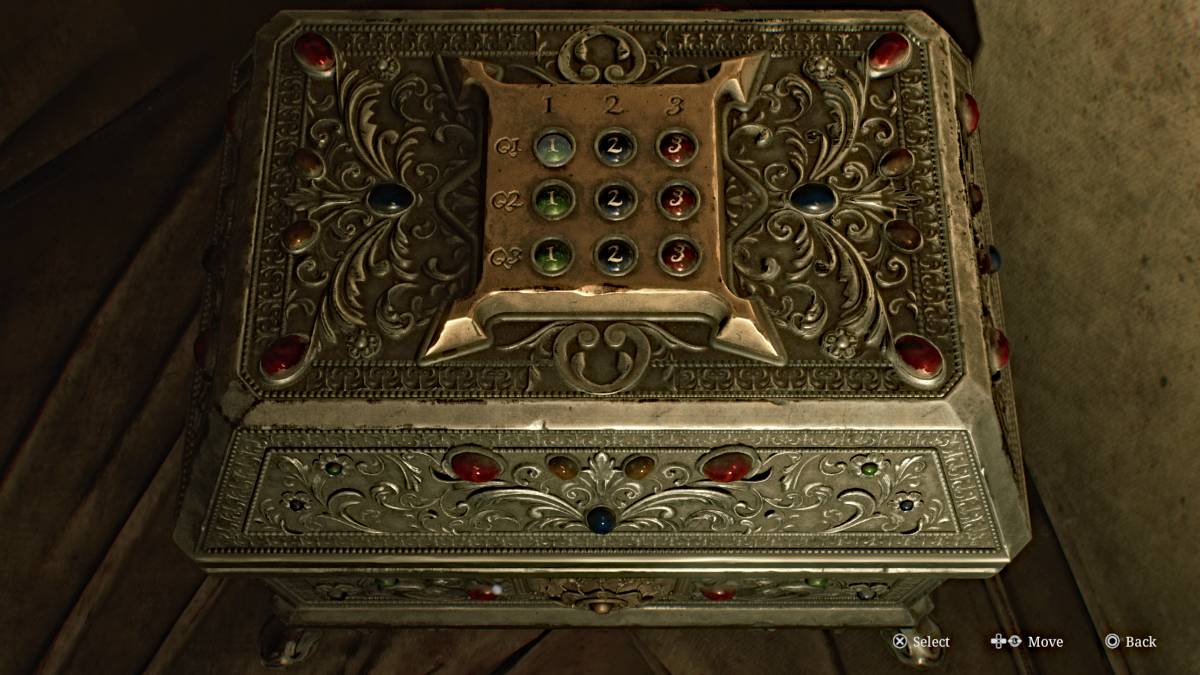
This is the "prize box" for the Trick or Treat quiz you received earlier, and you need to use the buttons on the top of it to punch in the correct answers. As mentioned earlier, the correct order is: 2,3,1.
If you punch them in correctly, you'll receive a nice reward of 5 x Shotgun Shells and 2 x Syringes . If you put the answers in wrong, you'll get pain instead, to put it lightly. When you're ready, take the elevator back to the second floor.
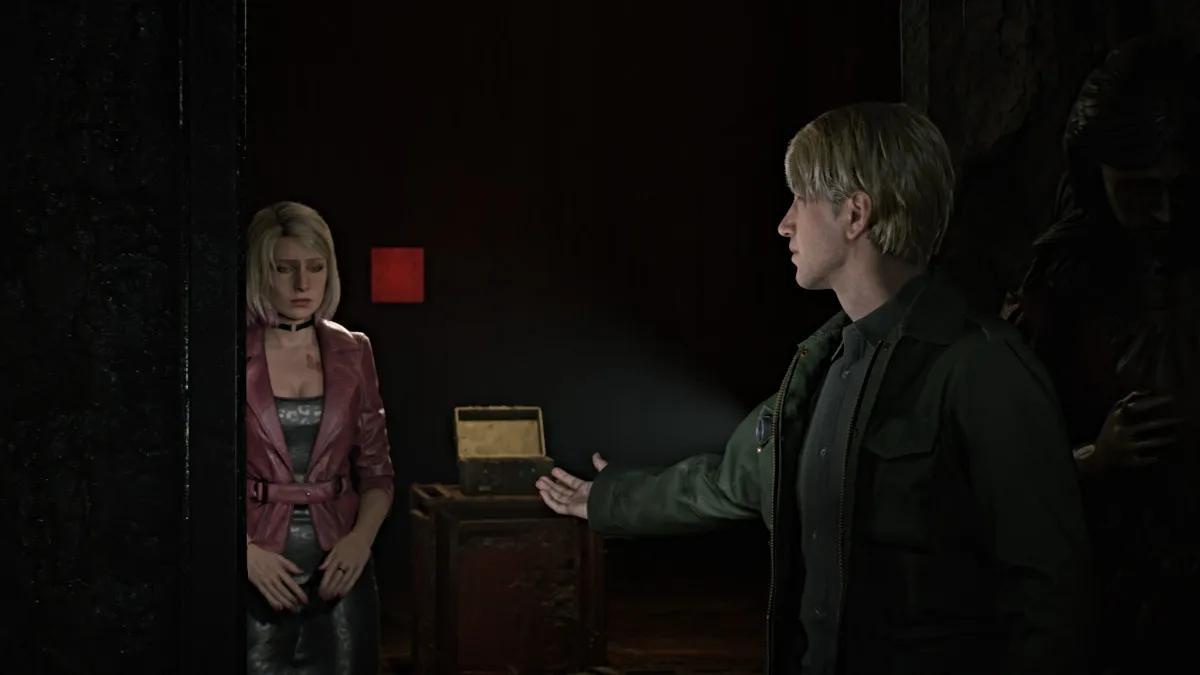
Once you're there, use the Red Save Point then go over to the Lady of the Door and place both rings on both hands. A cutscene plays as the door opens and James steps through, but Maria seems almost terrified to follow.
The path behind the door leads down a winding stairwell. Pick up the Ominous Note on the way down that reads, "It is done. Sick no more." Keep going down and there will be another Red Save Point for you to use if you haven't already. Continue down the steps and soon your map will be inaccessible, hinting that you've gone somewhere else entirely.
At the very bottom, go through the door and follow the path through the winding hallway. At a certain point, however, a cutscene triggers and James suddenly spots Pyramid Head approaching them, a spear in hand this time.
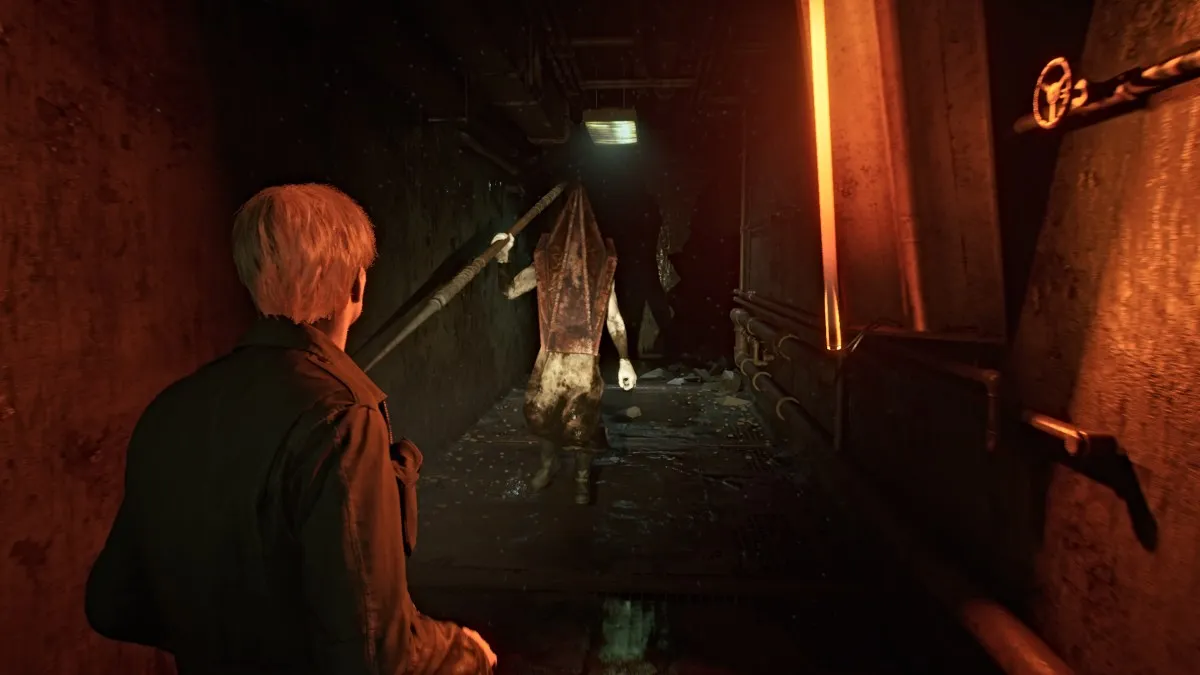
As soon as you regain control hit and hold your 'Sprint' button as Pyramid Head will be moving much faster this time, determined to catch both of you. Evade the obstacles that fall in your way and holes in the floor and keep going until you reach an elevator ahead.
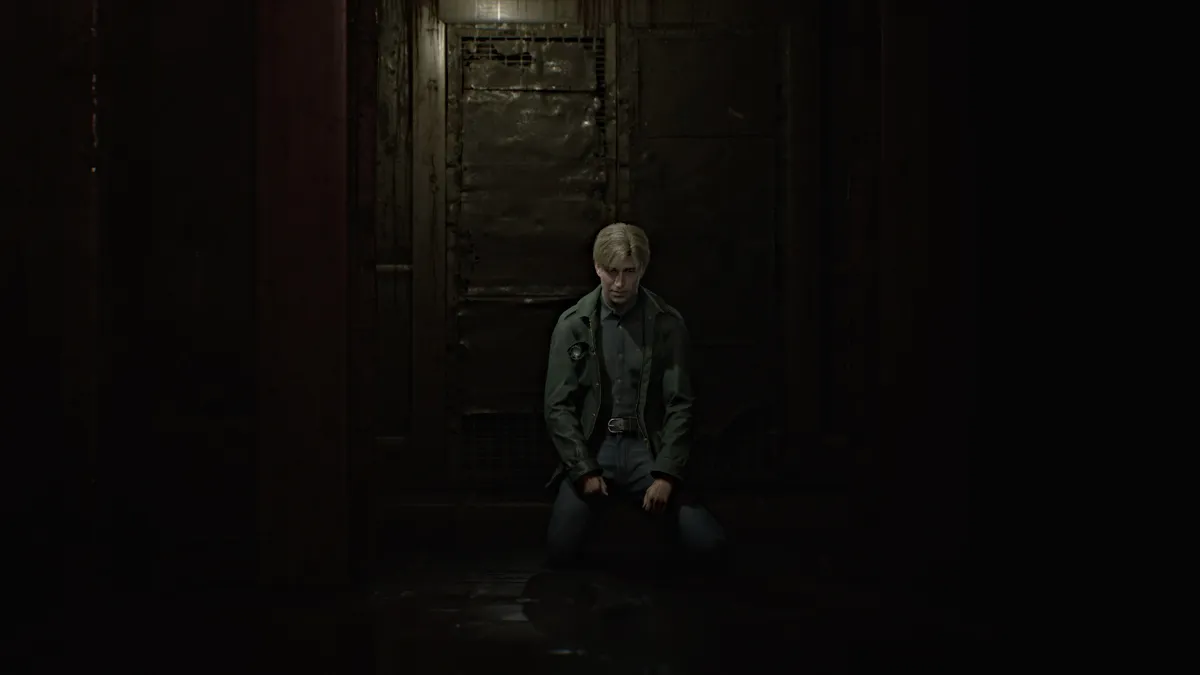
James gets in first but the elevator tries to force itself shut as Maria tries to get in. However, Pyramid Head catches up and impales Maria with his spear, killing her instantly as the elevator shuts closed.
Soon the elevator opens, bringing you back to the first floor. The music calms and the threat is gone, and no monsters are present. Make your way across to the Reception Office , and on the desk by the open window is the Hospital Entrance Key . James sees Laura run off down the street into the darkness.
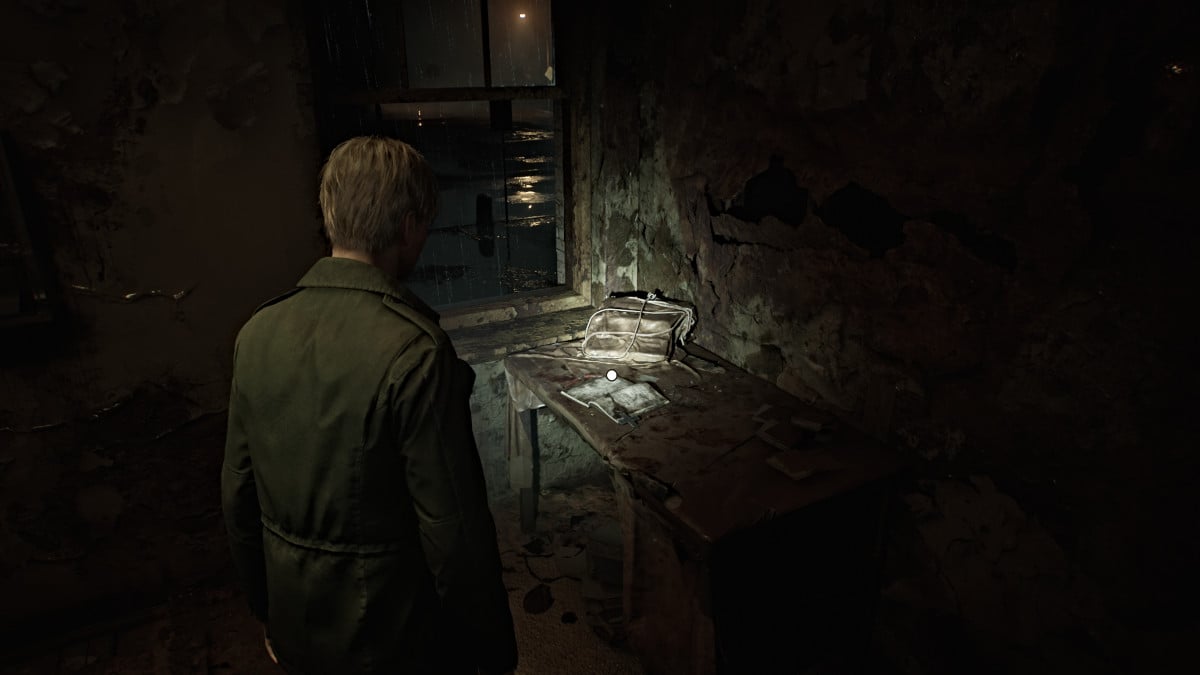

For now, make your way out of Brookhaven and into the stormy night.
Unfortunately, the Otherworld has now spilled out onto the streets and brought the monsters from the hospital with it, so tread carefully. Before you head straight to the story's next objective you can try to do some exploring in the area for items.
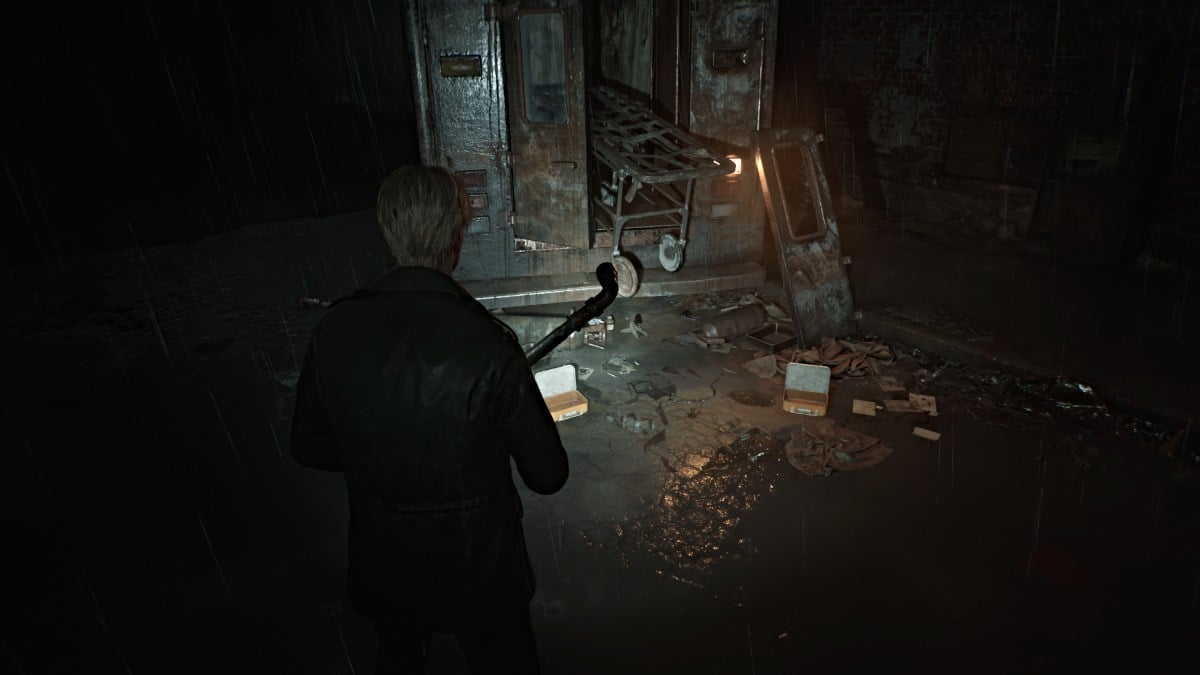
There isn't much to the left as the entire street is nothing but a chasm in that direction. There is a nearby wrecked ambulance that has a Health Drink and Syringe lying near it, if you feel up to dealing with the Bubble Nurses guarding it.
Head down the street to the right and you can find some Handgun Ammo and Shotgun Shells inside cars. Go through the door beyond a barricade near Heaven's Night and you can find more ammo in a nearby garage shed. Go all the way to the far right end of the street behind Heaven's Night where you'll see another shed area. On the right wall inside it you'll find a breakable spot, so tear it down and slip through.
Enter the Garage and grab the Syringe and Handgun Ammo , then use the Red Save Point on the wall. Head out and you'll catch Laura just beyond a gate ahead. Deal with the Bubble Nurse and Mannequin in your way first, then run to the far right corner where the door you used to get into Heaven's Night is. Some Handgun Ammo will be on the ground there.
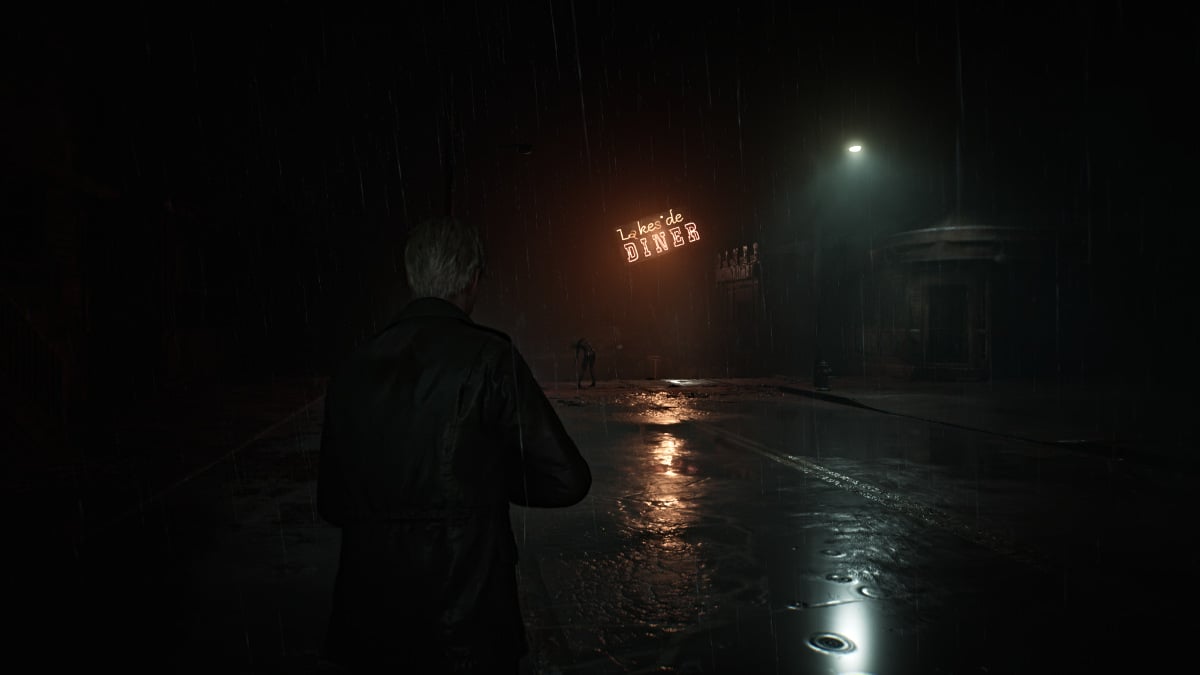
Backtrack to grab the handcart and push it in front of the gate, so you can jump over it. Soon you'll find yourself on Rendell Street and near the Lakeside Diner . First, grab Handgun Ammo sitting on the tire of a truck nearby then head towards the diner, then more on the front deck of a house on the left.
Deal with the Bubble Nurses in your way and then grab a Health Drink from one of the cars parked near the diner. Head inside and venture behind the counter for some Handgun Ammo and Shotgun Shells . Deal with more monsters in your way and use the double gate doors on the other side to leave.
Maneuver between the school bus and big rig truck, and you'll find more Handgun Ammo sitting on the bed of a pickup and Shotgun Shells on a barrel behind it. Pass through the gate back onto Rendell Street and head east. Be sure to check the front porches of the houses and cars you pass for more items.
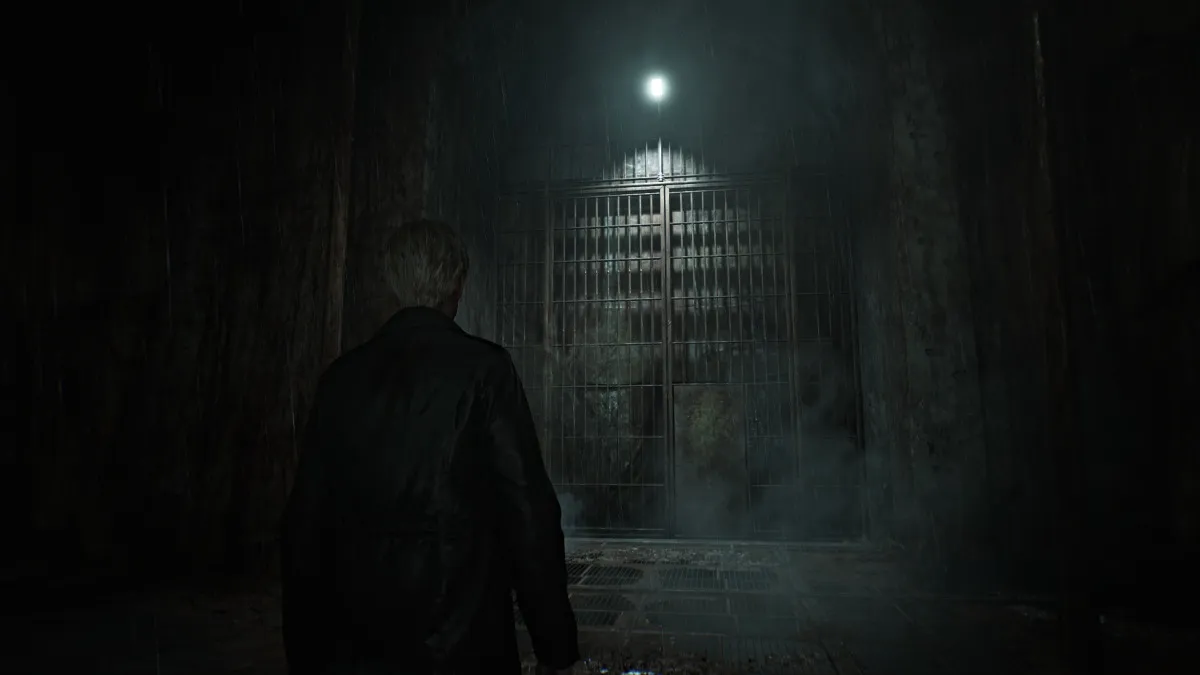
Soon you'll reach Munson Street , but there's nowhere to go but south towards the edge of your map. You'll catch another glimpse of Laura as she runs through a large gate, so follow her through. Cross the long and dark metal catwalk until you reach the other side.
Now you're back on the east side of town on Saul Street . Go into the Motor Home to your right, where you'll find a Red Save Point , Handgun Ammo , and the Note on a Map which has an ominously foreshadowing written message and a clue about where to go next for a "letter and a wrench ".
As you go further down the street, there will be a high crawlspace you can climb up and through to enter a warehouse. Navigate through it, pick up more ammo and deal with monsters along the way until you reach a breakable wall at the back of it. Slip through and continue on until you reach the other side of the chasm on Neely Street .
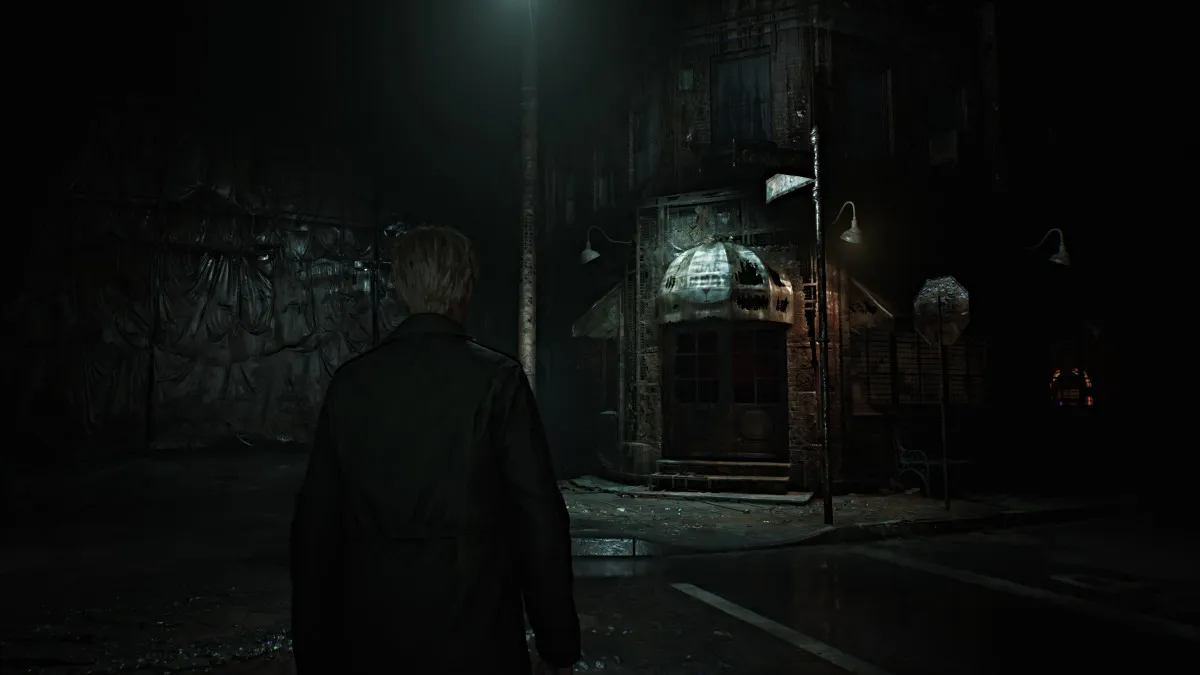
This will bring you face-to-face with Neely's Bar once again. Go inside and you'll see the jukebox is on, but rather than playing music it sounds like breathing. A threatening message on the wall behind it suggests that if he wants to see Mary "he should just die" but that he "might be going to a different place than Mary" when he does.
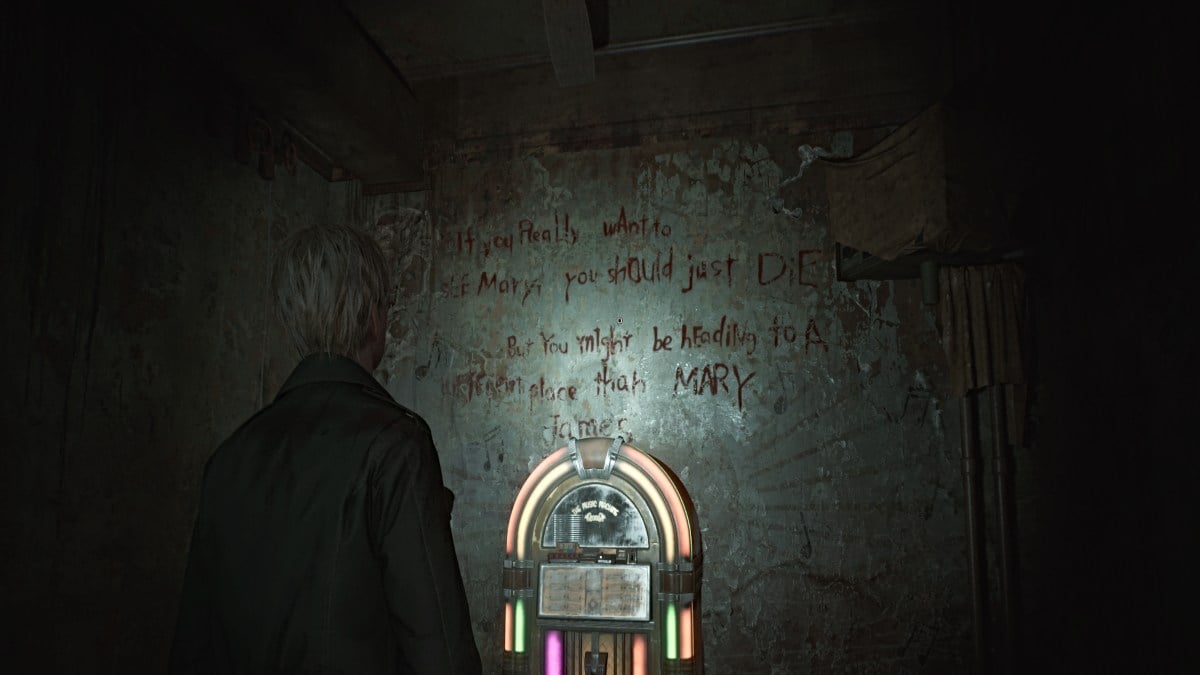
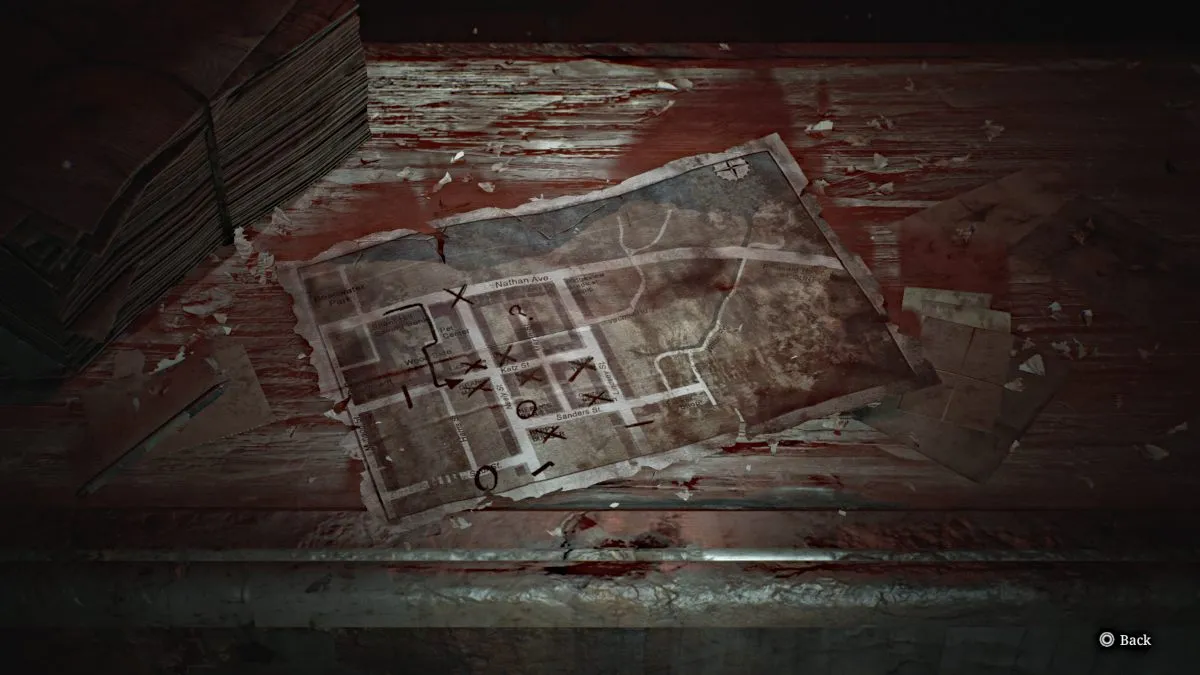
Go over to the counter to collect another Glimpse of the Past , then behind it for some ammo and a Red Save Point . Go to the door on the left that's slightly open and grab a Health Drink on your way out the back of the bar.
Go through the back alley area, grab some Handgun Ammo from a nearby car, a Health Drink on the ground near the chasm in front of you, and make your way around the corner to the back of a Laundromat . There will be a high crawlspace for you to climb up through.
Once inside, you'll hear a phone ringing somewhere nearby. Smash and grab the nearby Health Drink and deal with the two Bubble Nurses that approach you through the wall crack. Go through the crack yourself afterward, make your way through the front of the laundromat, and jump through the open window on the right to the street.
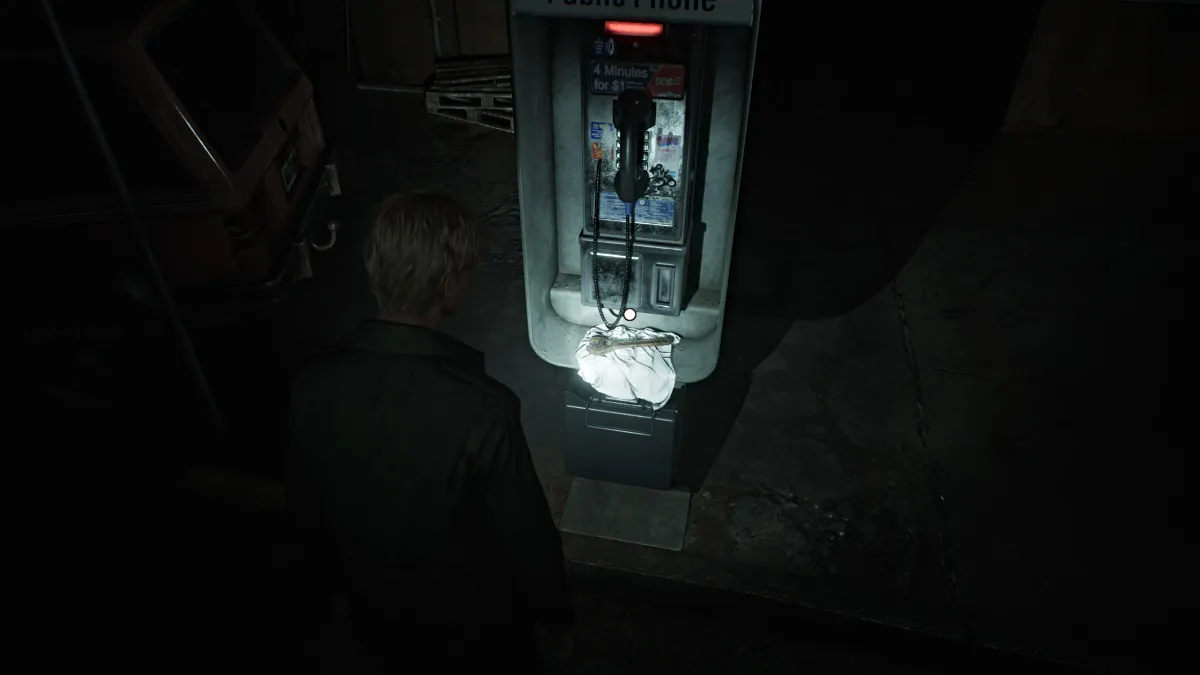
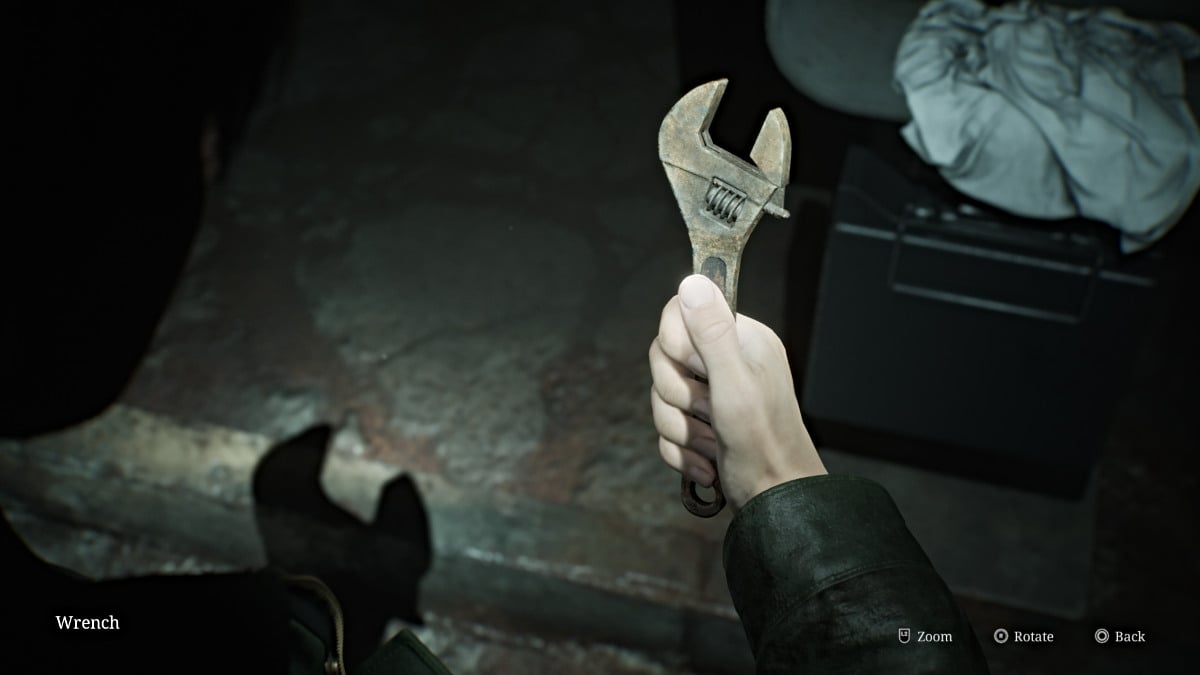
Turn left and you'll notice it's a payphone ringing. Walk over and answer it, but no one is on the other line. After James hangs up the phone, a piece of paper drops in the change slot. It reveals yet another message that implies that "the key is in the park, at the feet of the praying woman", and that "the wrench will open the gate". With that, pick up the Wrench sitting under the phone.
Now you'll need to head back north to Rosewater Park to find what you need. Head to Neely Street and run north until you reach a tall barricade with a door. Head through and you'll find another huge gate ahead. Use your Wrench to open it and pass through.
You'll find yourself going over another metal catwalk, but this time a new monster called a Mandarin is crawling beneath it. Even though it's beneath the grate, it can still attack you if too close, so keep your distance and keep running until you reach the end of the tunnel. Beyond that, you'll find yourself back in the same tunnel you used to enter Rosewater Park.
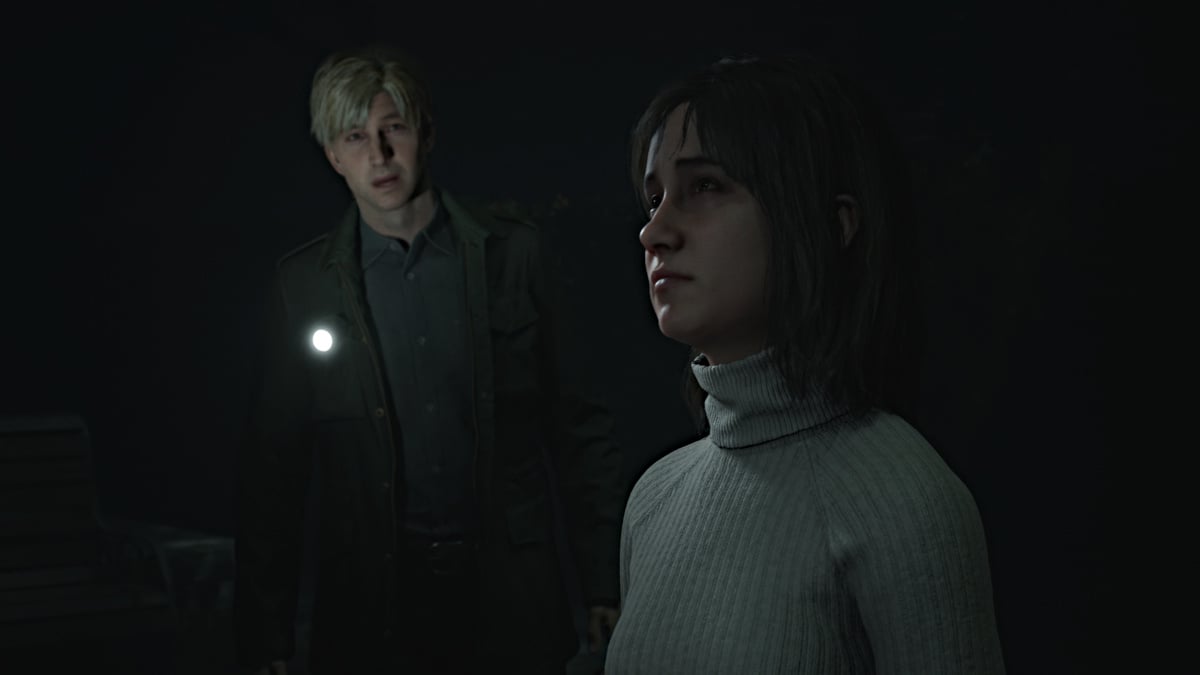
Head inside and make your way toward the west side of the entrance area. There are no items are monsters to worry about here, so just head straight for the iron gate on the west side . Follow the path straight across until you see what looks like a statue lit up ahead. Approach it and you'll notice that Angela is surprisingly there too.
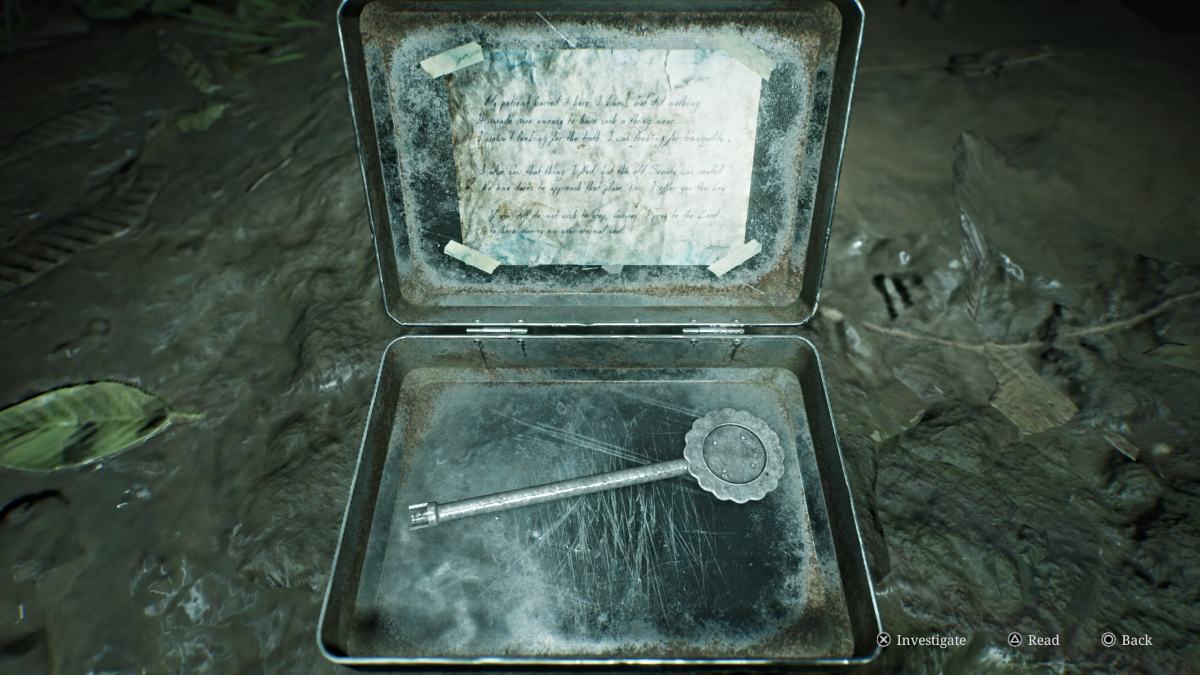
After the cutscene, interact with the praying woman statue and James will dig up a metal tin that contains the Historical Society Key . The Historical Society is located further west on Nathan Avenue , so leave the park and make your way there.
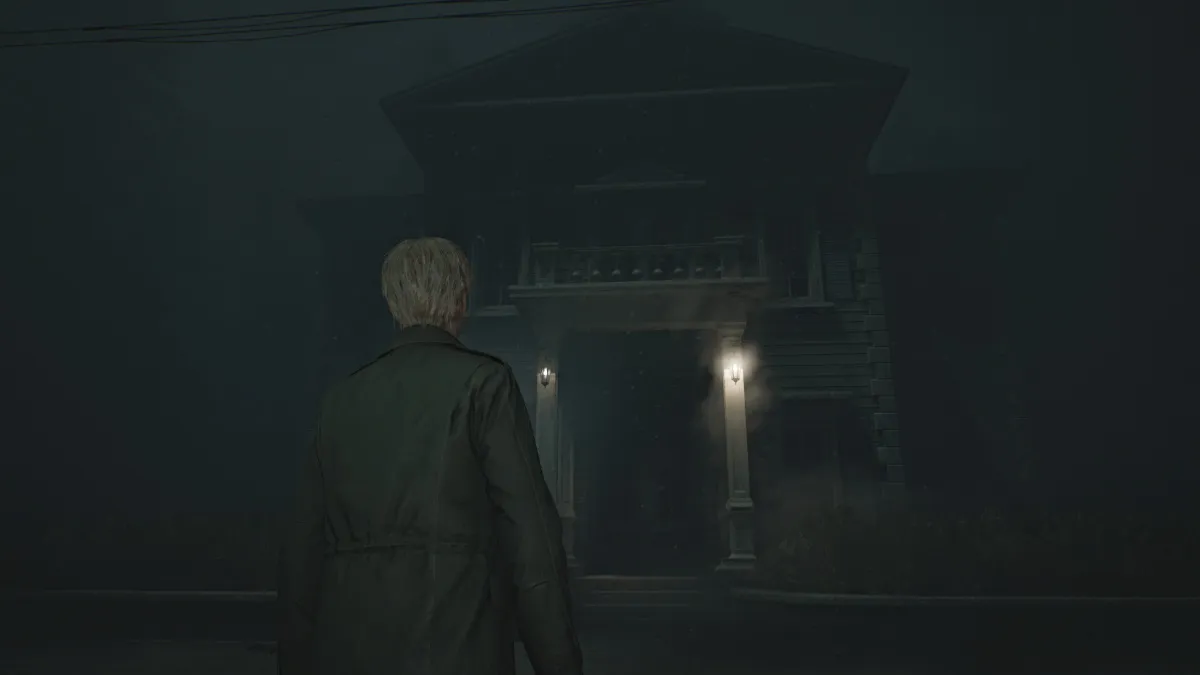
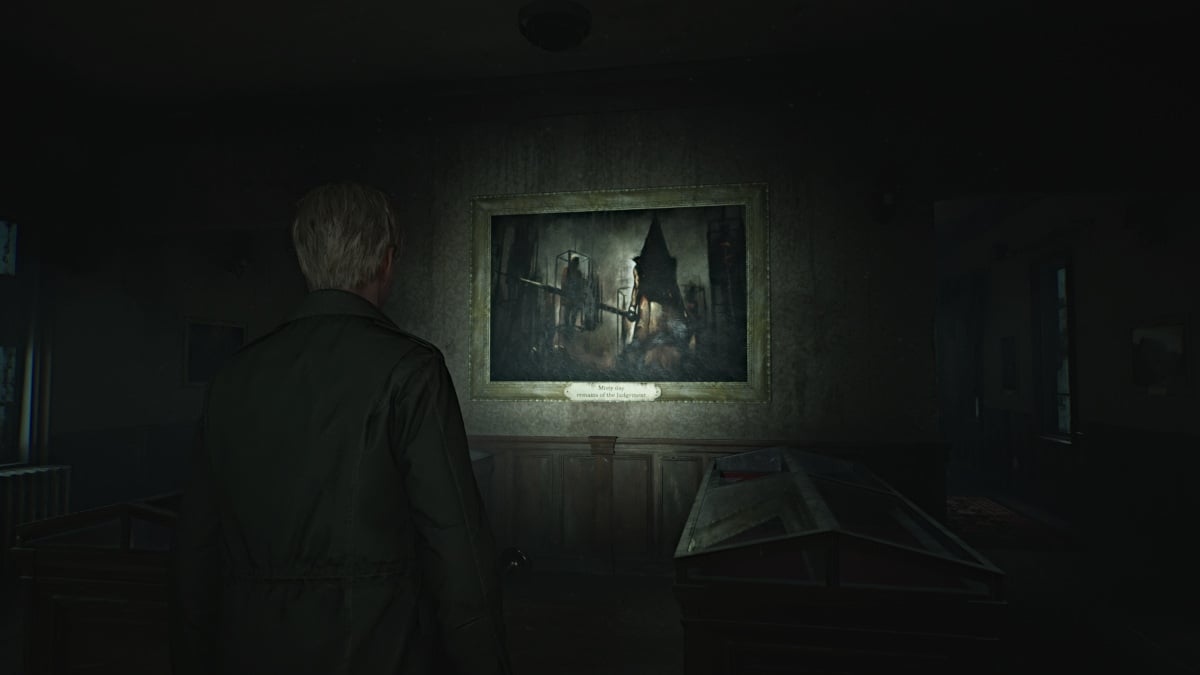
The journey along Nathan Avenue to the Silent Hill Historical Society is a somber and quiet one, as there are no monsters anywhere on the road. Soon enough you'll see the building lit up in the fog to your right. Use the Historical Society Key and head inside. Use the Red Save Point near the entrance.
As you explore, it's definitely hard to miss the portrait straight ahead that depicts Pyramid Head himself. Make your way toward the back of the museum and there will be a strange dark tunnel in the wall for you to enter. You won't be returning to the surface of Silent Hill for a while beyond this point .
The staircase you take down through the tunnel is very, very long, and the distant sound of foghorns accompanies your descent. That is a reference to the Little Baroness steamboat that sank in Toluca Lake decades earlier, of which there's a picture in the Historical Society.
This staircase seemingly takes you deep beneath the lake, but when you finally cross through a door at the bottom, you'll find yourself in Toluca Prison .
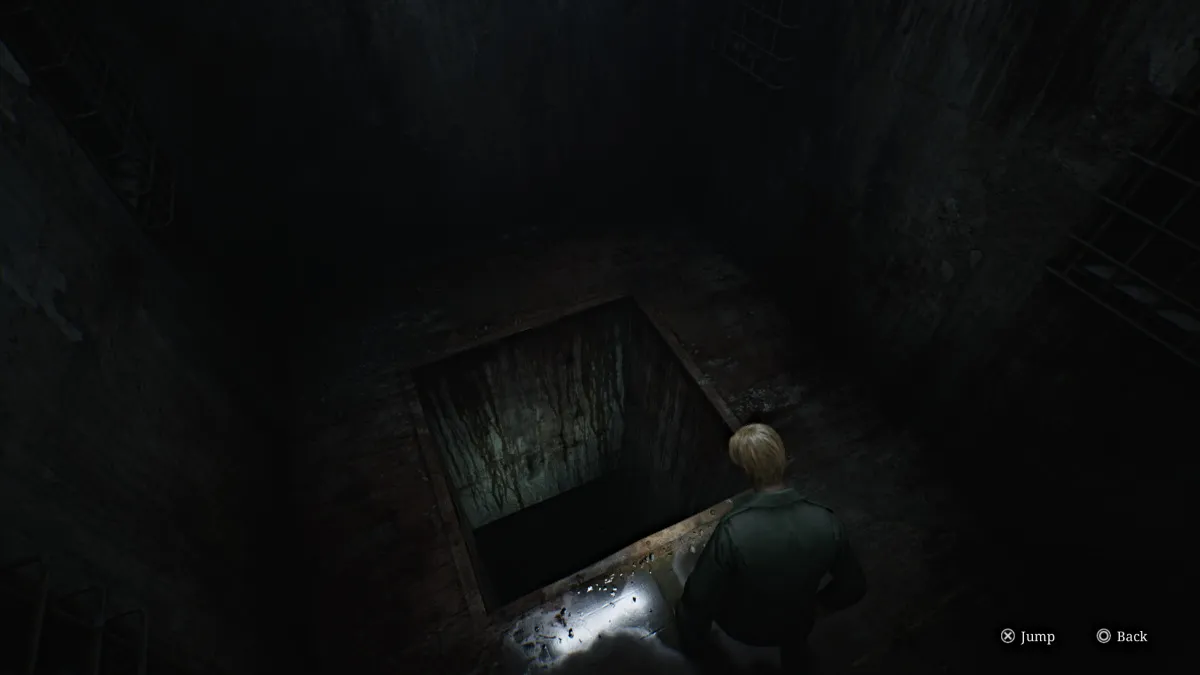
Grab the Syringe from a first aid kit on the table in the small room you pass through, then continue on through the next door. You don't have a map of this area yet, so keep an eye on your surroundings. The door to your right is locked, so head left down the hall . The path will diverge, and left is a dead end so go right .
You'll soon see another door, so go through it. Inside, you'll find nowhere to go but a large dark hole in the floor, forcing you to go deeper. Interact with it twice and James will hesitantly take the plunge.
Upon reaching the bottom, you'll find yourself in what looks like a well with no visible way out. There is a way out, however, and you just need to find the right spot on the wall to break through . Keep trying different spots until one lets you out and has a door on the other side.
You're now in what seems to be a flooded area of the prison, shaped like a maze. Go right and then turn left when you can and head straight towards the door ahead of you. Deal with the Lying Figure that blocks your way and you'll then see that there are two doors. The one in front of you is locked, so take the right door .
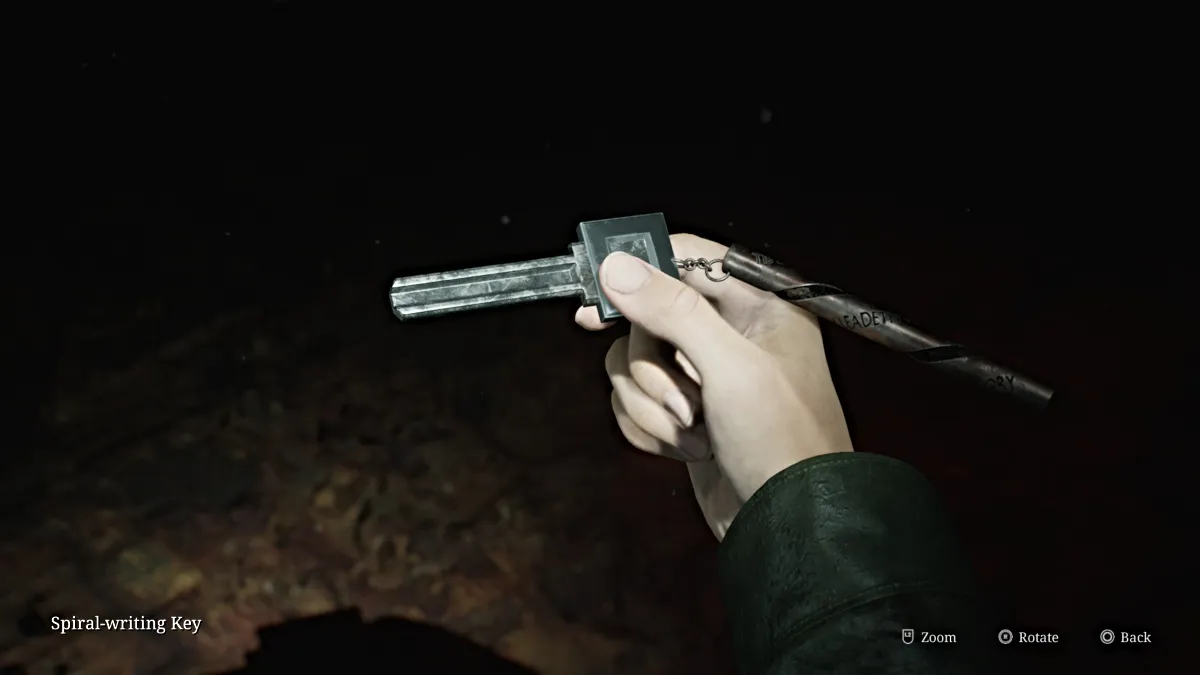
Down the hall ahead is what looks like another deep hole, but is blocked off by a locked prison gate. Backtrack a bit and go through the door on your right, where on the floor you'll find the Spiral Writing Key .
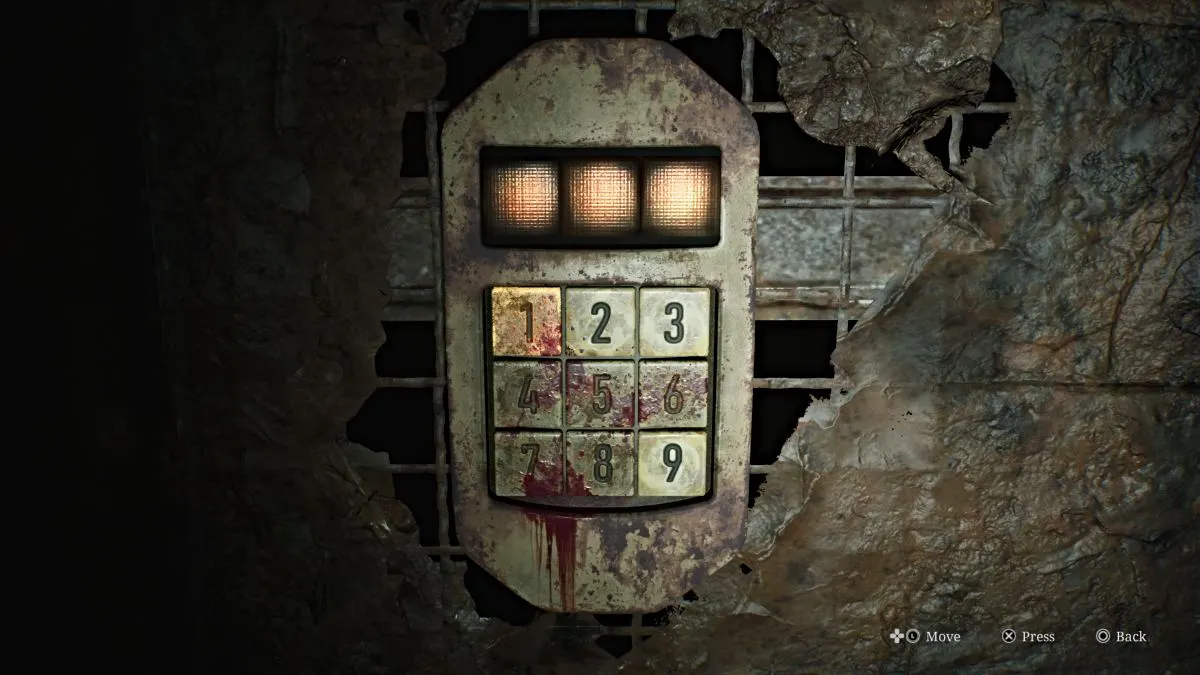
After picking it up, however, the lights will shut off and then turn back on to reveal the room suddenly covered in bugs who will bite James occasionally, causing damage.
To escape the room you need to use the keypad (seen above) and figure out the correct code, which is a random combination of the numbers 2, 3, and 9 (the only ones not covered in blood). The solution for every playthrough, regardless of difficulty, is entirely random , so it's an anxious test of trial and error. To help you out, here are all of the possible combinations for you to work through:
| 2-3-9 | 2-9-3 |
| 3-2-9 | 3-9-2 |
| 9-2-3 | 9-3-2 |
Once you break out, go back over to the locked prison gate and use the Spiral Writing Key on it, revealing the next hole for you to jump down. Interact twice to jump further into the abyss.
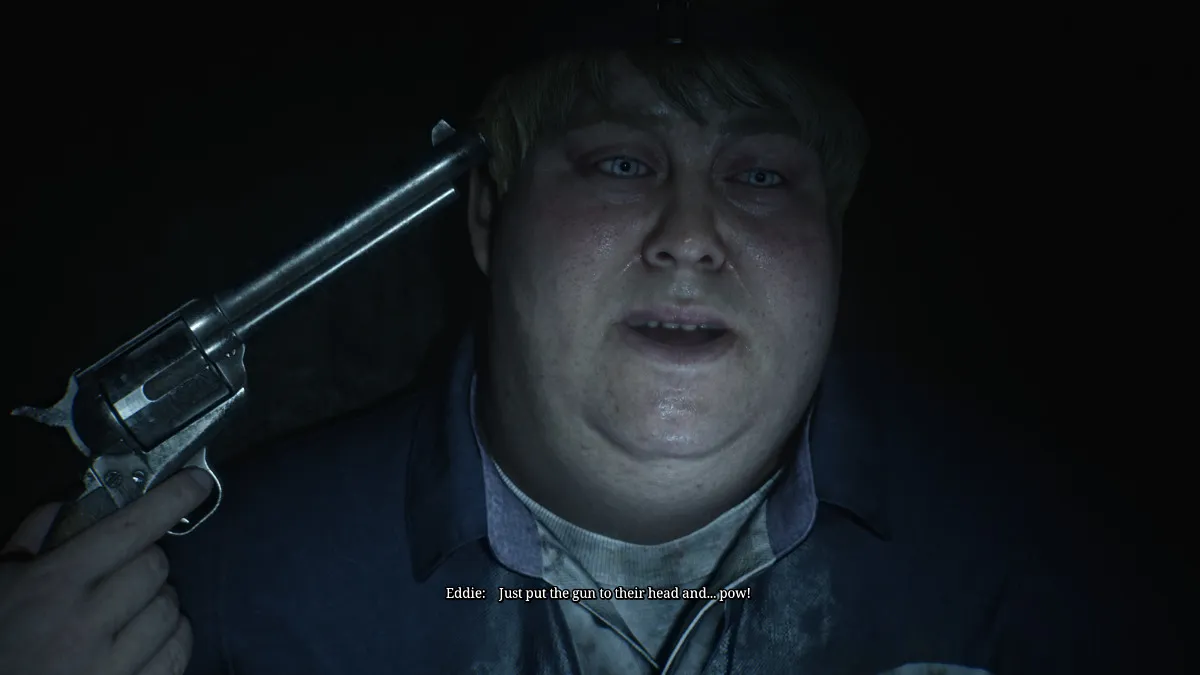
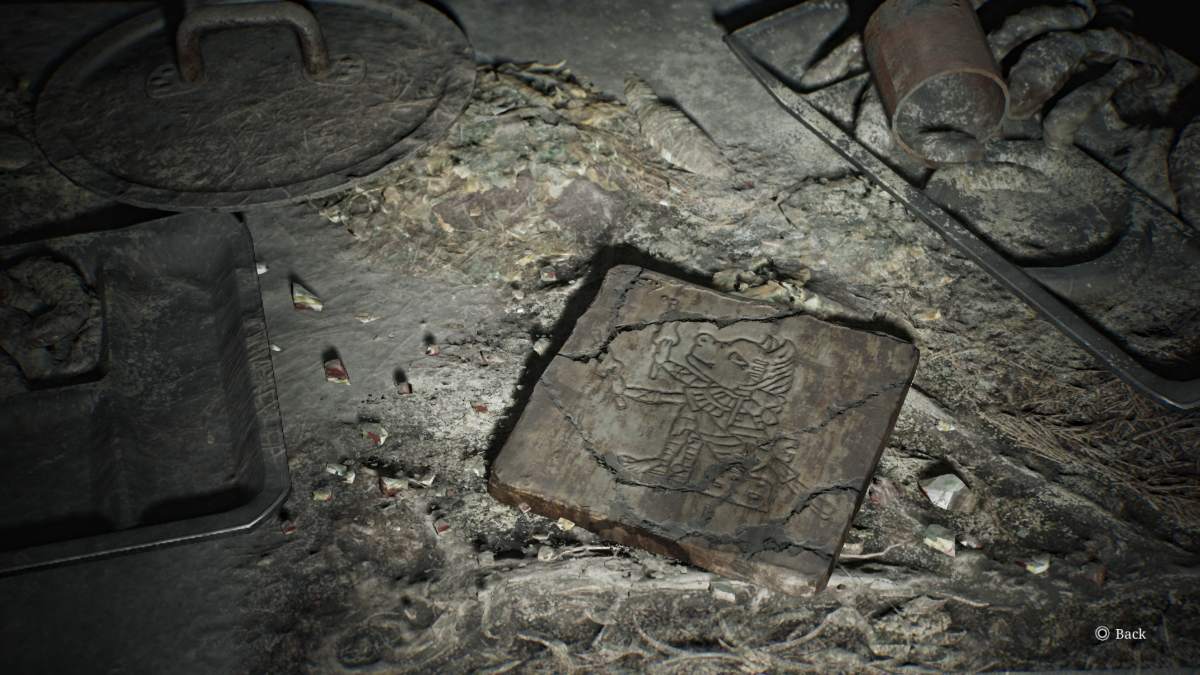
After your next fall, you'll land in the Canteen room of the prison. Grab a Health Drink from the food line at the back of the room, then explore the right side of the room to find a Glimpse of the Past on one of the tables. When you're ready, approach the body under the bright light hunched over a table, recently killed.
Eddie appears from the shadows, remarking that killing a person "ain't no big deal". James tries to understand Eddie's reasoning for what happened until it becomes clear that Eddie killed them for how they "looked at him". Eddie gets defensive when James reprimands him before opting to go off on his own.
Once he's gone, go through the same doors and ahead you'll find the prison's Armory . After using the Red Save Point , on the back wall, you can finally grab a map of the entire prison .
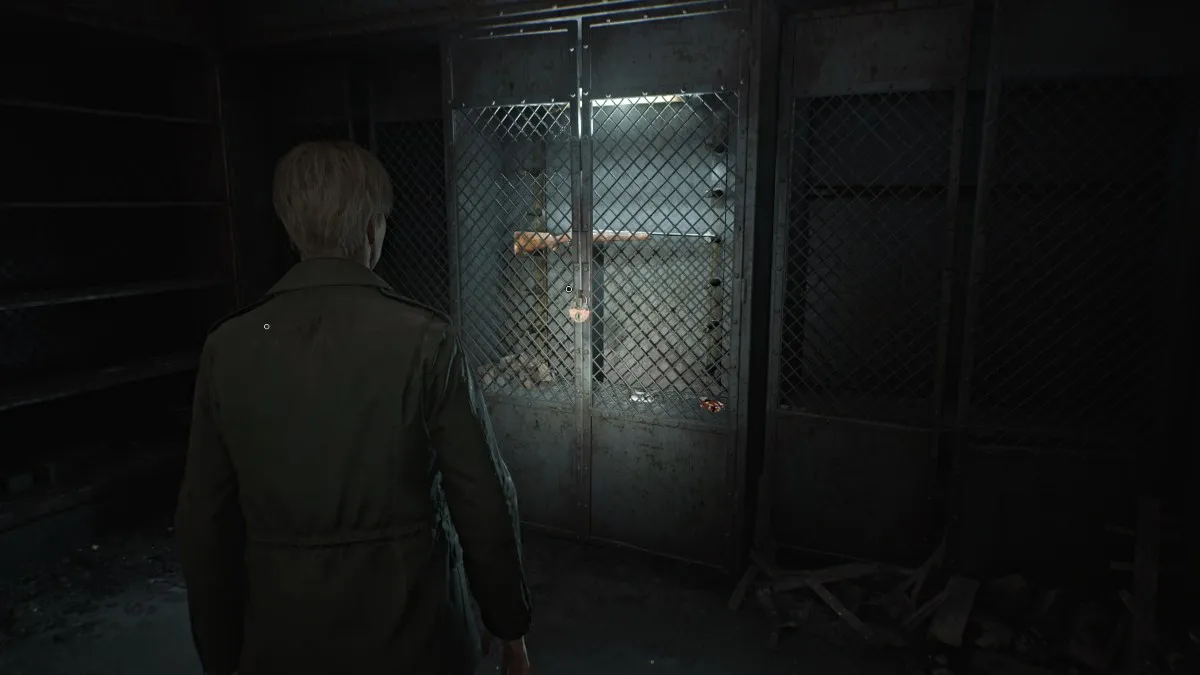
There's also Handgun Ammo , a Syringe , Rifle Ammo , and a Hunting Rifle weapon , though it's currently locked in a cabinet. You'll need to find the key for it, and thankfully there's a hint in the nearby Gun Cabinet Notice .
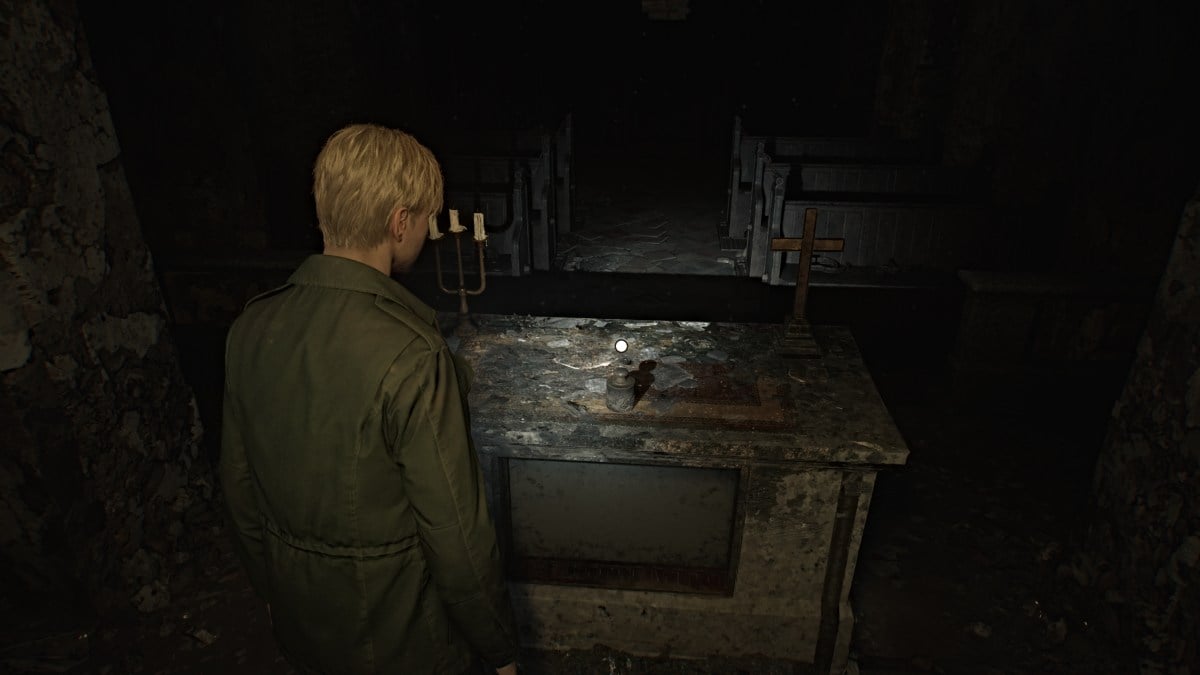
For now, start exploring the surrounding areas such as the Church to the left of the Armory. Inside you'll find an object called The Heaviest Weight up at the pulpit. Over in the Vestry you can find a Syringe .
Head next through the double doors to Block A and Block B . To your right as you enter, you'll notice a door with a Hornless Ox portrait on it. Meanwhile, over in Block B is a door with an Eyeless Boar portrait , the far end of Block A is a door with a Headless Serpent , and the door to the Basement has a Wingless Dove .
The levers on the walls can give you some temporary light in the block, as even with the flashlight it's uncomfortably dark. However, it will also send Mannequins scurrying up walls to the ceiling. Yep, you now have "Spider Mannequins" to deal with.
In Cell A3 you'll find Rifle Ammo and a Glimpse of the Past in the form of a shrine. In Cell A5 will be Handgun Ammo . Over in Cell A7 there's a crawlspace that takes you to Cell B1 , which has a Health Drink and a hiding Mannequin. Cell B3 has a breakable wall that lets you cross to Cell A9 and A8 , which has Shotgun Shells and another Mannequin.
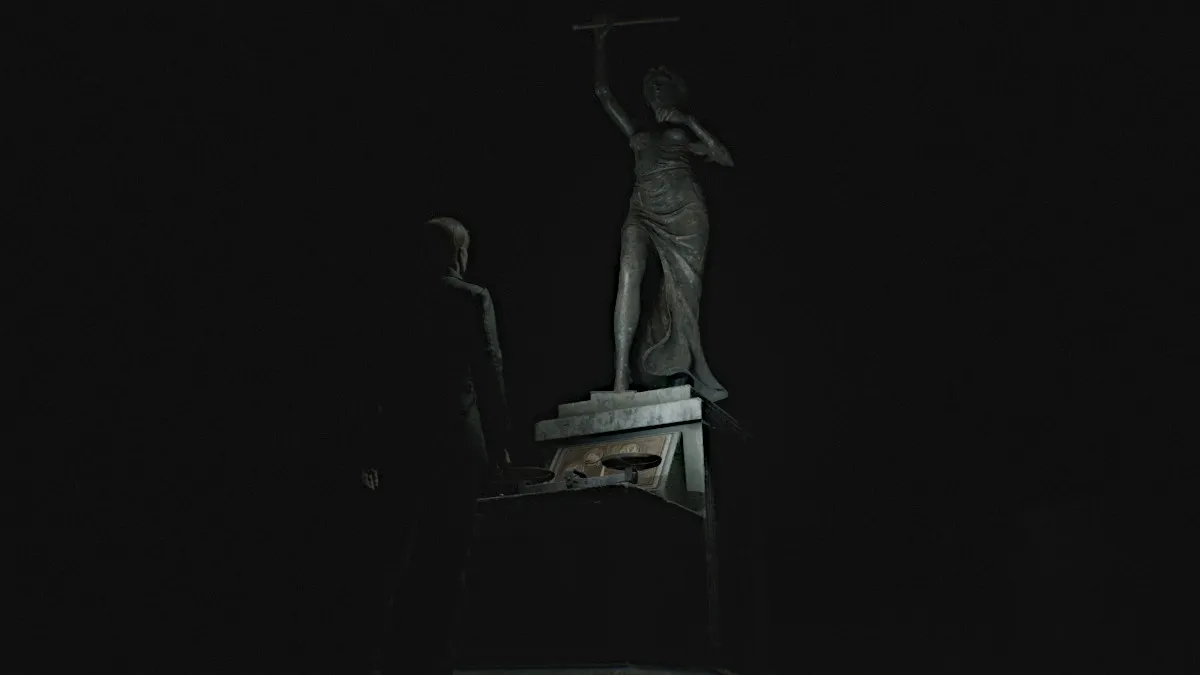
After exploring both blocks, head east down the hallway to the Yard , and use the Red Save Point to your left. This area is unbearably dark, but to keep your...bearings (aha), just run straight ahead. You'll hear a strange galloping noise circling around you, but rest assured there are no monsters in this area.
You'll soon see something ahead of you with a cover over it. Interact to pull it off, revealing a statue with a scale contraption at its base. This is where you put The Heaviest Weight to use, as you need to use it with the smaller weight already available.
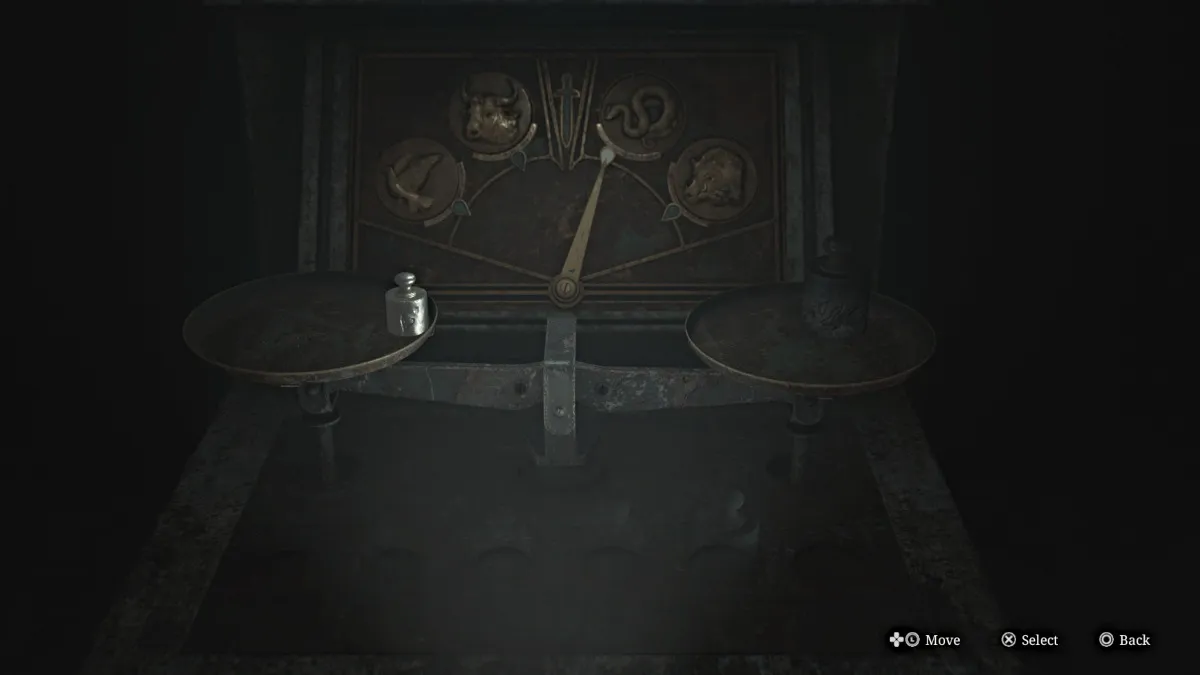
Place the smaller weight on the left scale, and the Heaviest Weight on the right scale , which will tip the arrow above it to the Serpent symbol. This means the Serpent Door within the prison has been unlocked. Head back inside.
The Serpent Door is over at the far end of Block A, to your left after returning from the Yard. Head through it and you'll pass by a lit room with an electric chair in it.
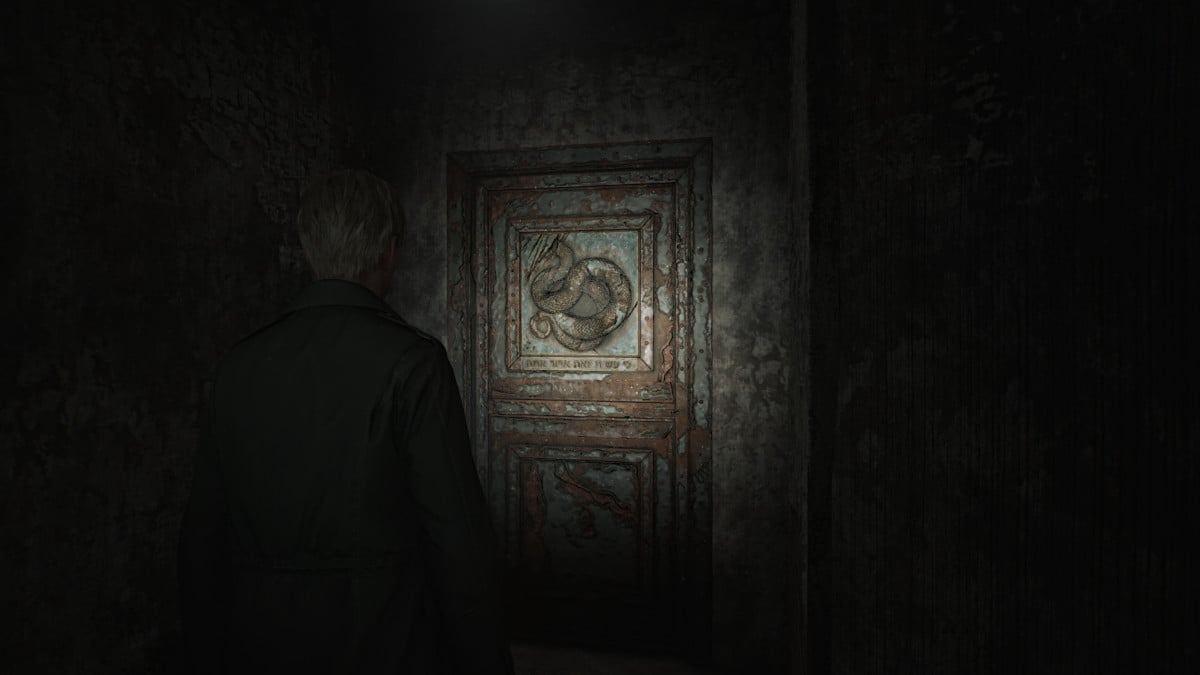
Enter the Guardroom , where you can find a Syringe , Shotgun Shells , and another wall lever you can use to light your way while keeping the spider crawling Mannequins at bay.
Make your way down the block, and in Cell E4 you can grab the Family Photo (memo). Further on, the room next to the Death Chamber has some Handgun Ammo . Now make your way across to the other side of the block, which has much higher ceilings crawling with spider Mannequins. Do your best to keep the lights on as you explore and deal with them when they jump back down to attack.
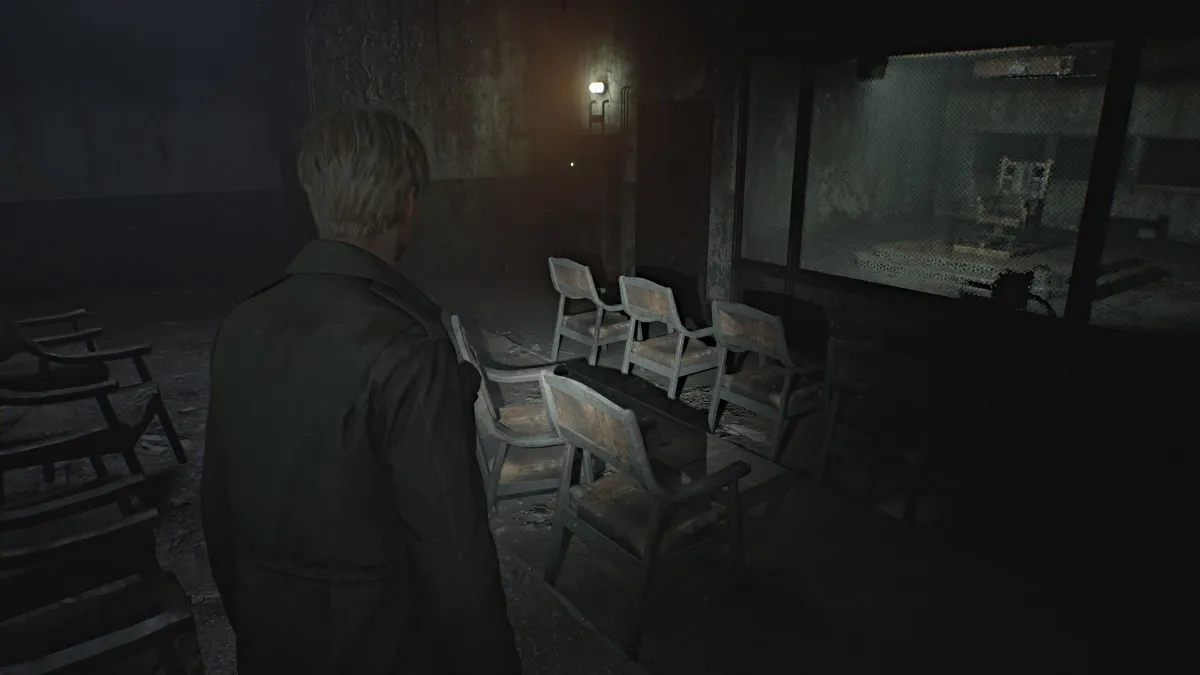
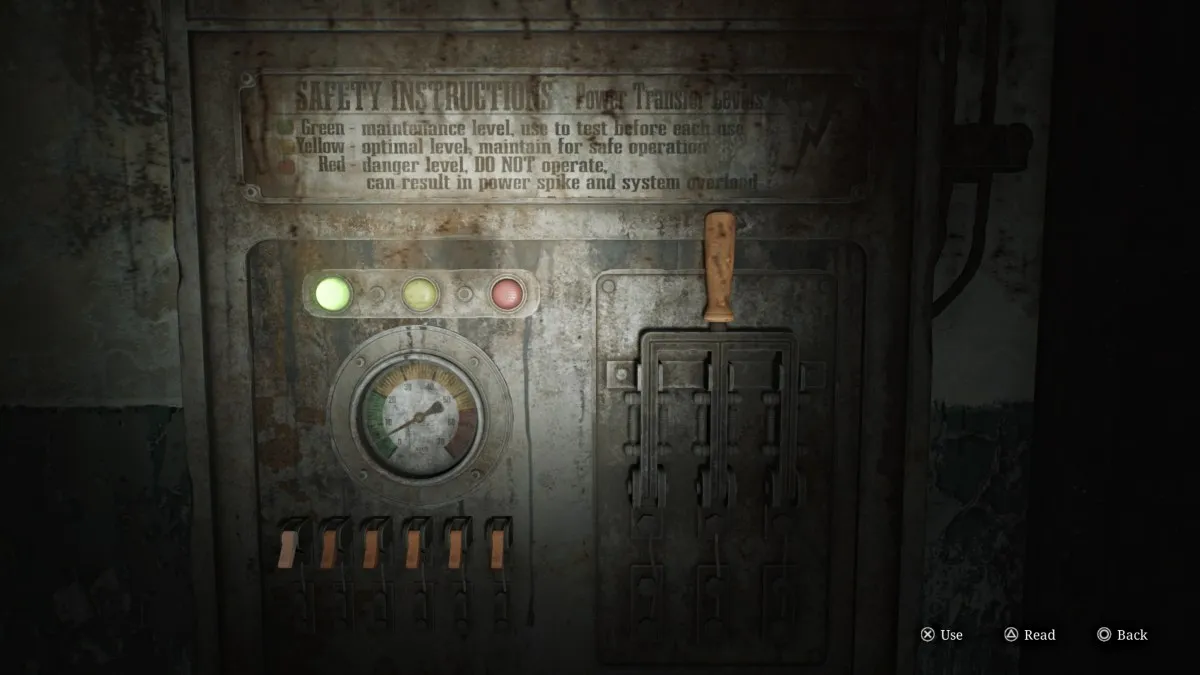
Investigate the rooms on the northeast side, including the Witness Room where you'll find, Handgun Ammo , a Red Save Point , and the machine used to operate the electric chair. Interact with it and you'll see a power gauge along with a sequence of switches and the lever to pull when ready.
The instructions note that you don't want to throw the lever when the power is in the red, but that's actually exactly what you want to do. You'll need to press the switches in the correct order to where they're all turned on at once , sending the power to maximum. Once you have, pull the lever which will overload the power system and automatically unlock all cell doors in the area.
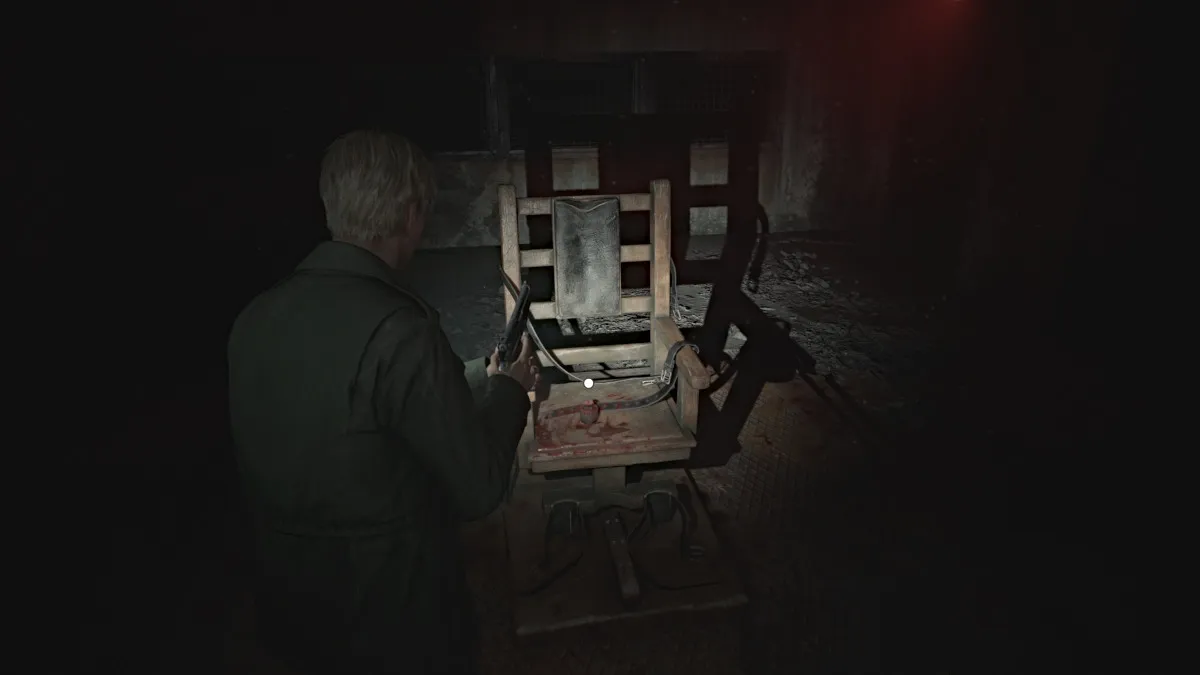
This means you can now enter the Death Chamber and claim the Medium Weight sitting on the electric chair. Now you need to focus on making it through the rest of the block alive, as the alarms have riled up all monsters in the area, and you can no longer use the lights. The path you came in is blocked so exit via the Death Chamber.
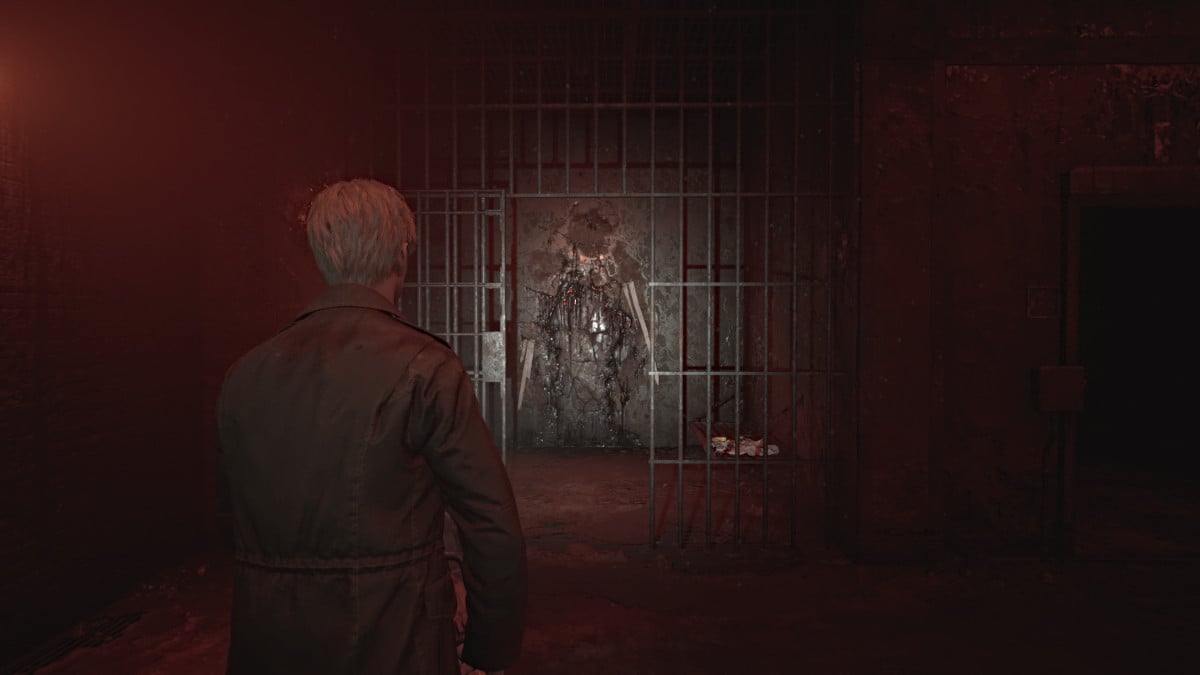
Explore the open cells to find more Handgun Ammo , Shotgun Shells , and a Health Drink . In Cell E1 near the start of the block is a breakable wall, so bash it down to get to the other side of the block. You can find several more Shotgun Shells in the cells on this side. When ready, go into Cell E10 and slide through the wall gap into the Witness Checkpoint area.
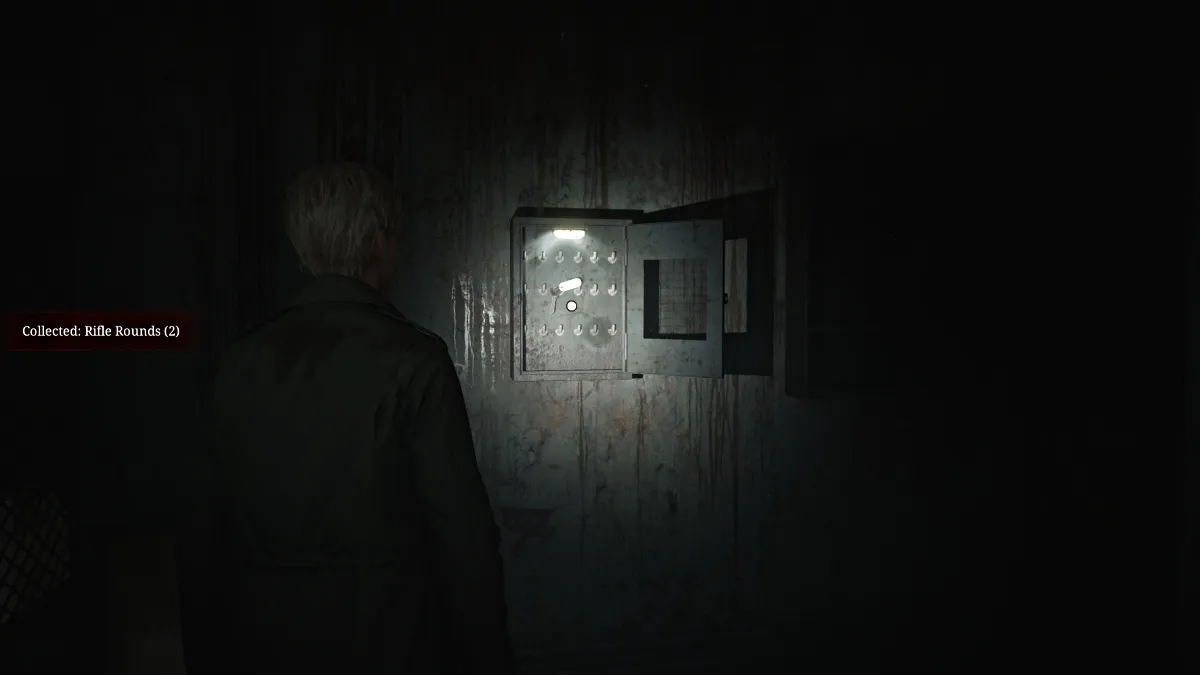
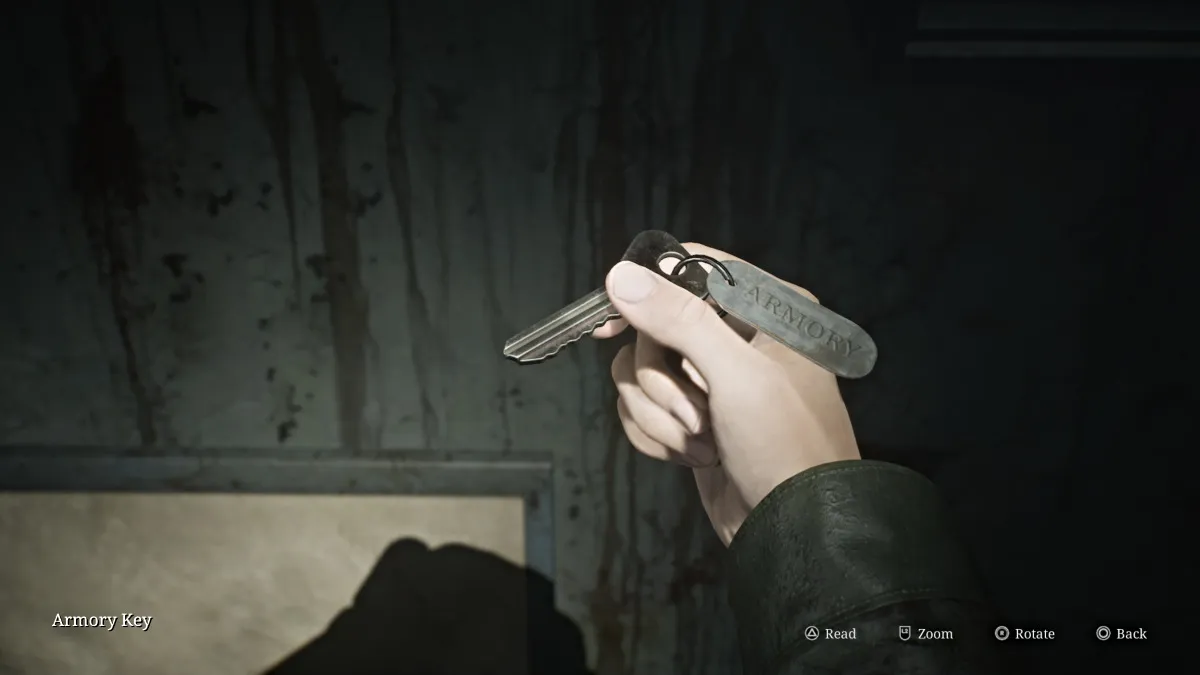
Pick up the Handgun Ammo and Health Drink you find here, as well as the Armory Key hanging in a cabinet on the wall. This will allow you to go and claim the Hunting Rifle . Head back to the Armory and do just that, then use the Red Save Point before heading back to the Scales of Justice statue in the Yard.
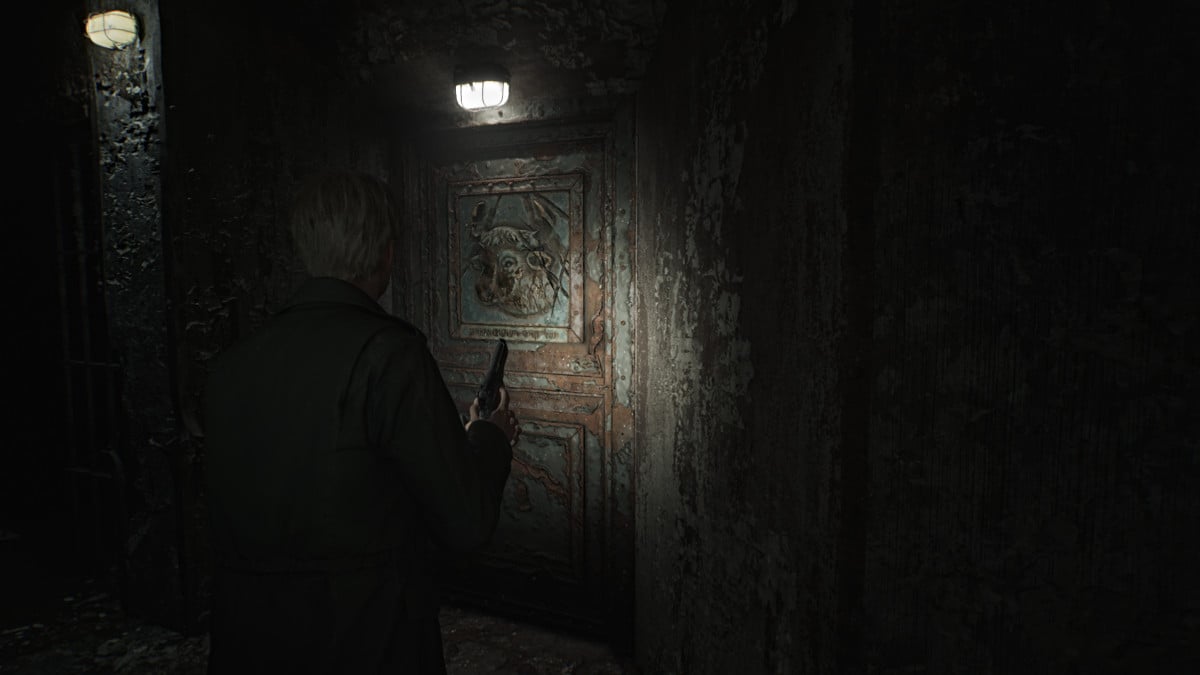
Once you return to the statue in the Yard , your next objective is to place the smallest and Heaviest Weight on the left scale, and your newly acquired Medium Weight on the right scale . Upon doing so, the Hornless Ox Door (seen above) near the entrance to the entire block will unlock.
Head back and through the new door then up the stairs to the second floor of the prison. This area is absolutely crawling with spider Mannequins, so keep your wits about you as you progress through. Go down the first row of cells on the right and use Cell C2 to cross into C3 . Cell C4 has a crawlspace but requires a key to be unlocked . Grab the Health Drink from Cell C5 then head to the Guardroom on the right side.
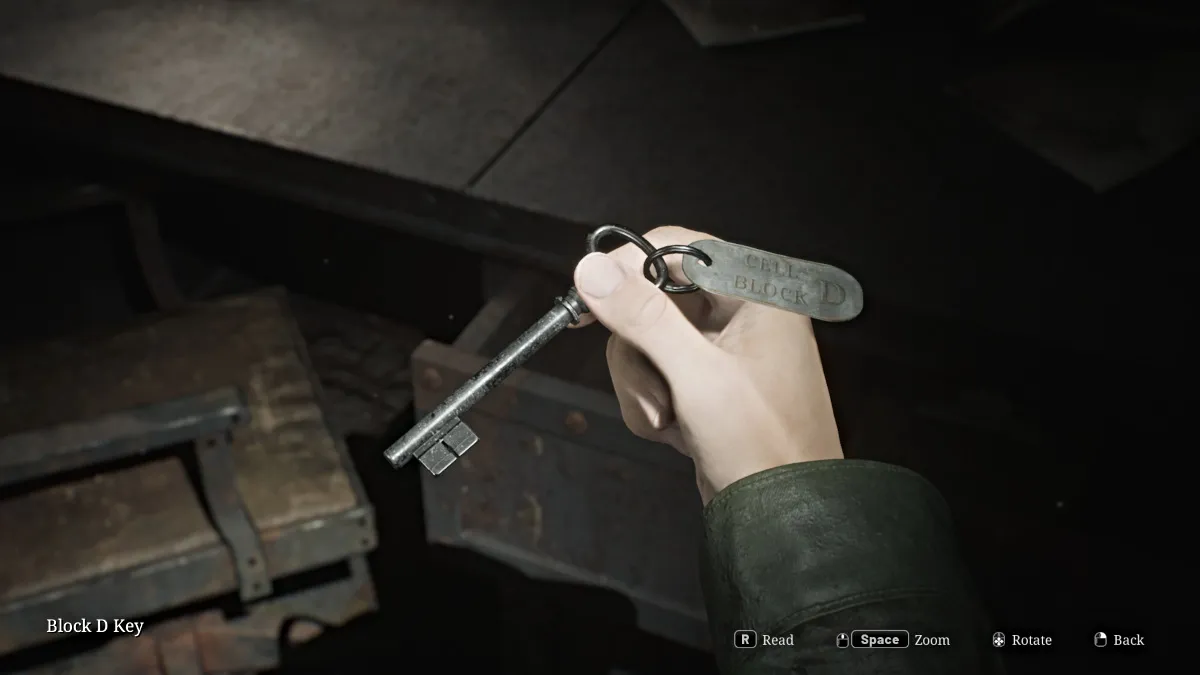
Inside you'll find the Block D Key in a desk drawer along with a Red Save Point , some Handgun Ammo , and a prison guard's notes about something important in Cell D5 . Start making your way to the other side of the block. Use the breakable wall to get into Cell C6 for a Health Drink and a Syringe . Continue down the walkway and use the Block D Key on the door ahead to get into D Block.
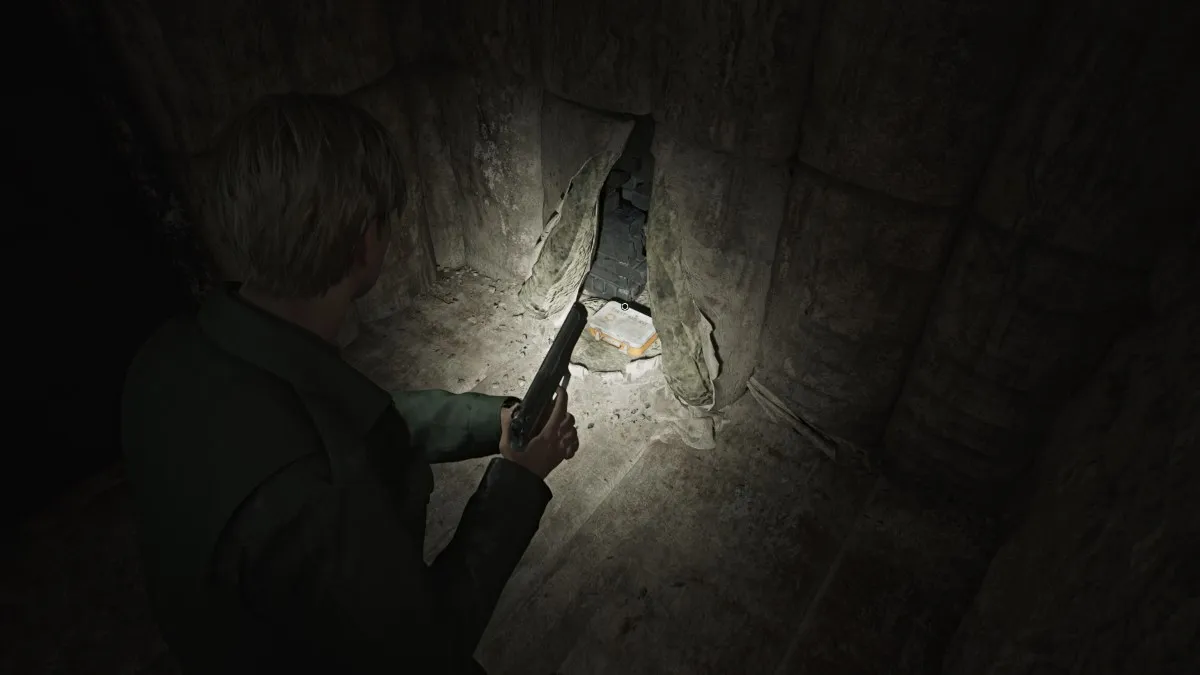
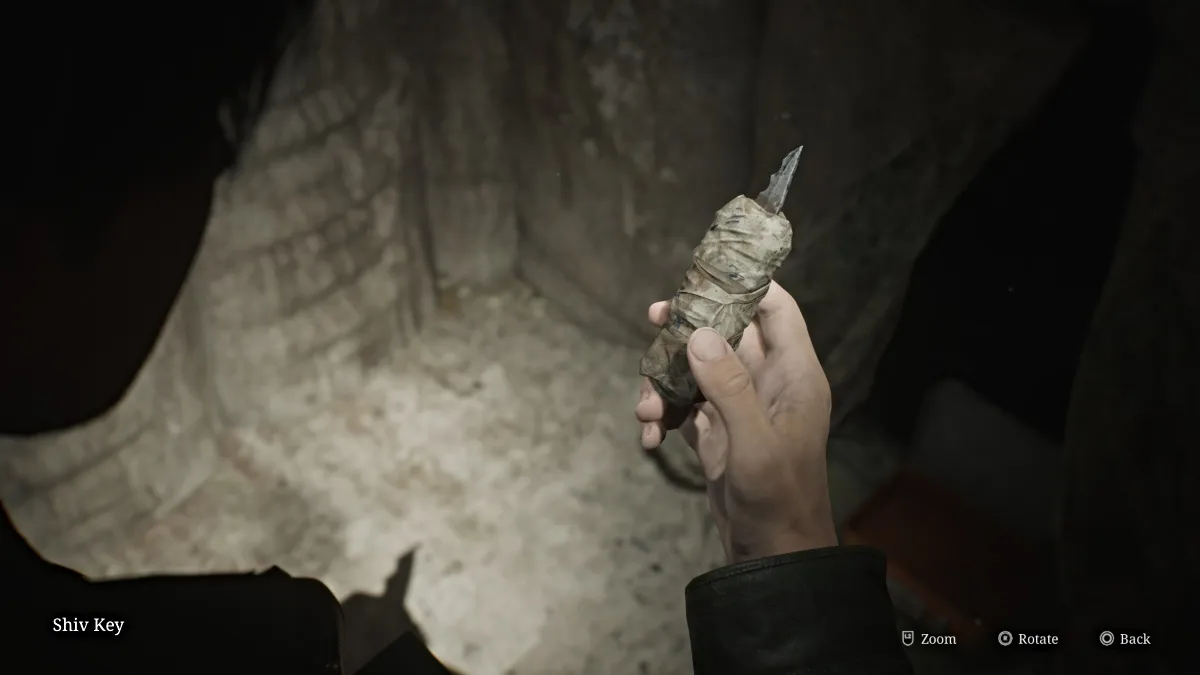
Keep the lights on as you make your way around to Cell D5 , which is a padded room. Inside a first aid kit box you'll find the Shiv Key , and the Threatening Note on the wall that says "we could both use a bath". With that, head back across to the C Block and use the Shiv Key on Cell C4 .
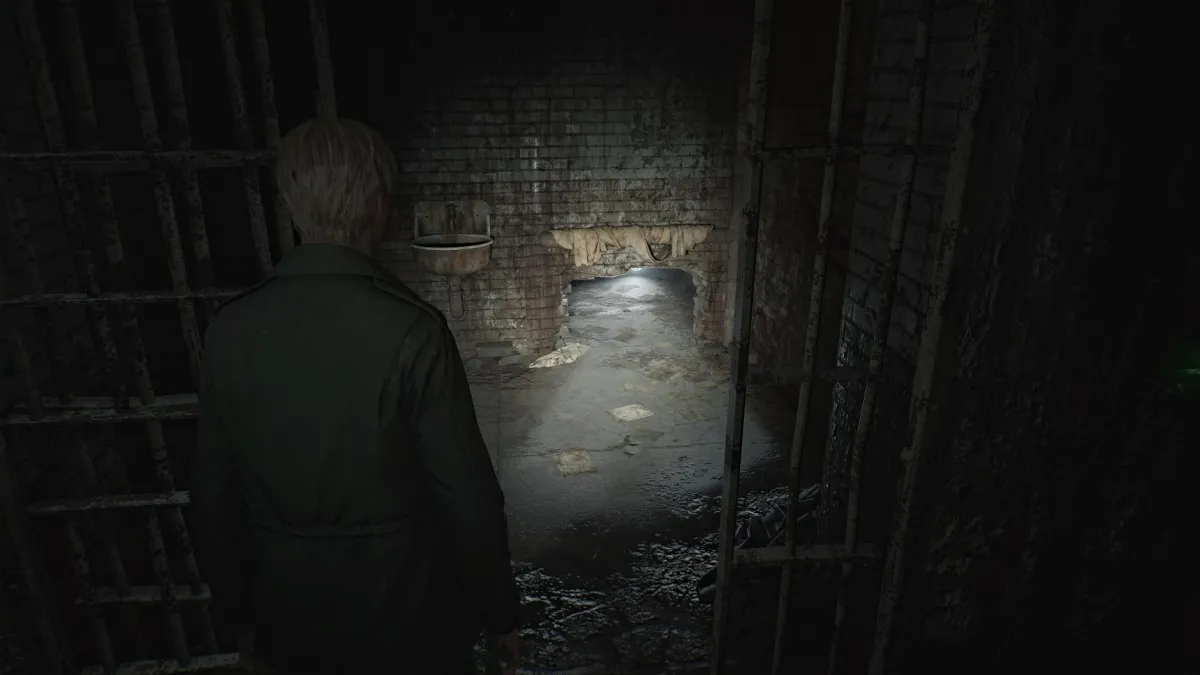
Slip through the crawlspace and grab the Paranoid Note off the pipe. Slip between the pipes on the left side, then down through another crawlspace.
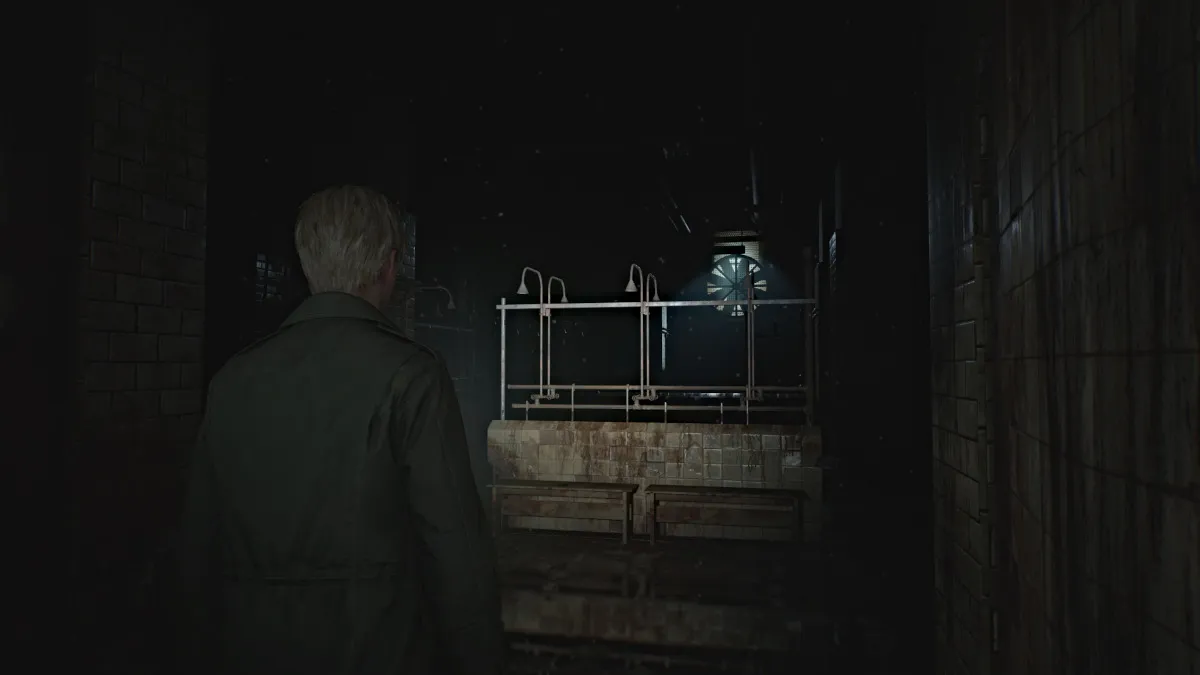
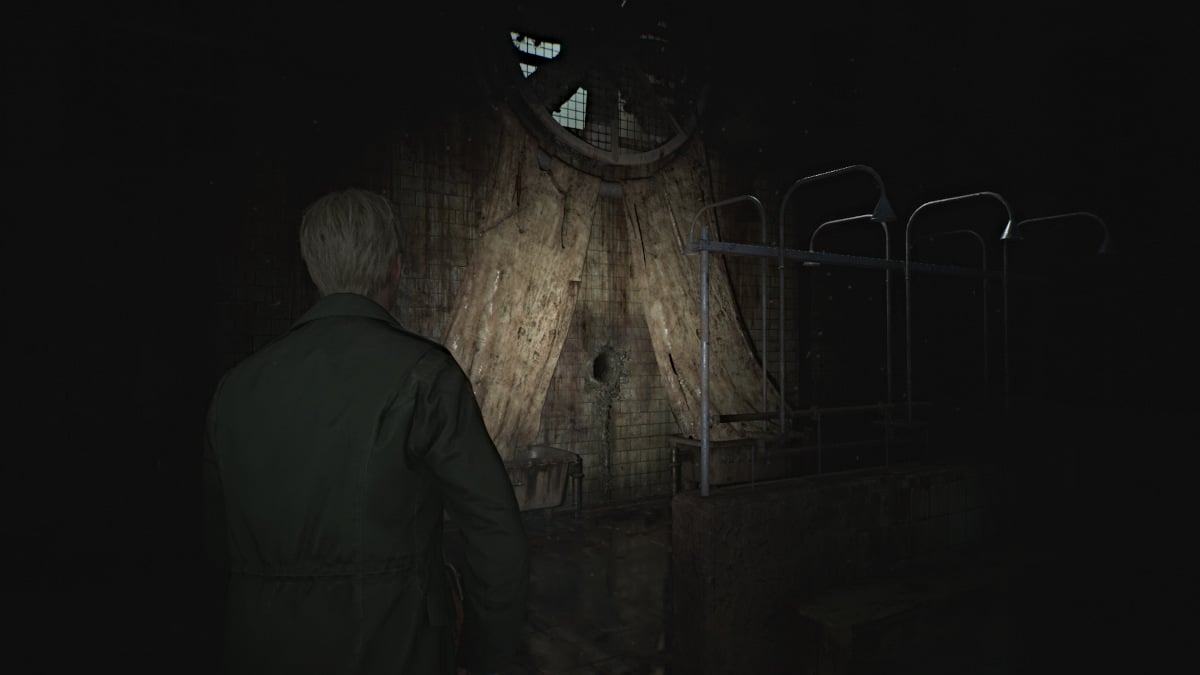
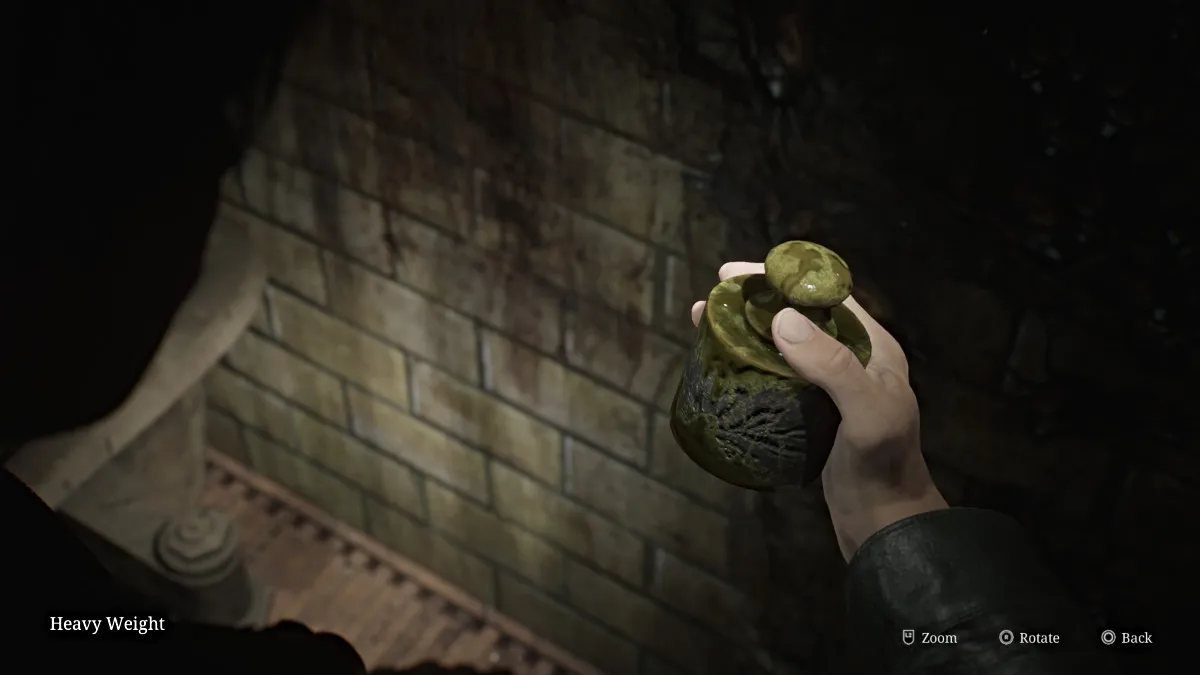
This brings you to the Toilets Room , where you can find some Handgun Ammo on a bench and a Health Drink in a stall. Head over to the Showers area next and deal with the Bubble Nurse patrolling the center of the area. Make note of all the corpses scattered everywhere too, because they won't be still for long.
Venture up the right side of the room, where you'll find another tablet-shaped Glimpse of the Past on the floor.
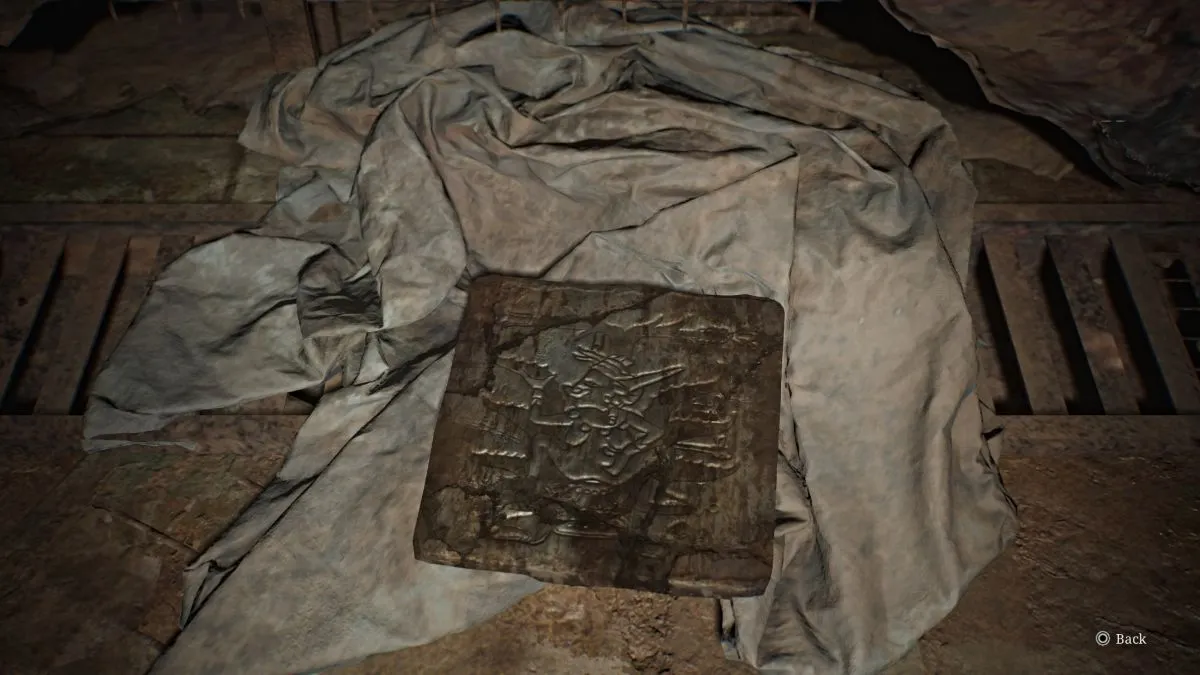
Head towards the back and underneath the rotating fan you'll find a strange "curtain" structure with a hole in the wall that obviously you'll need to have James stick his hand in. Interact with it and you'll obtain the Heavy Weight (seen above).
This will rile up several monsters in both rooms and rather than fight them all, bum rush back to the crawlspace in the Toilets Room and escape through. Make your way all the way back through the block and out the Ox Door.
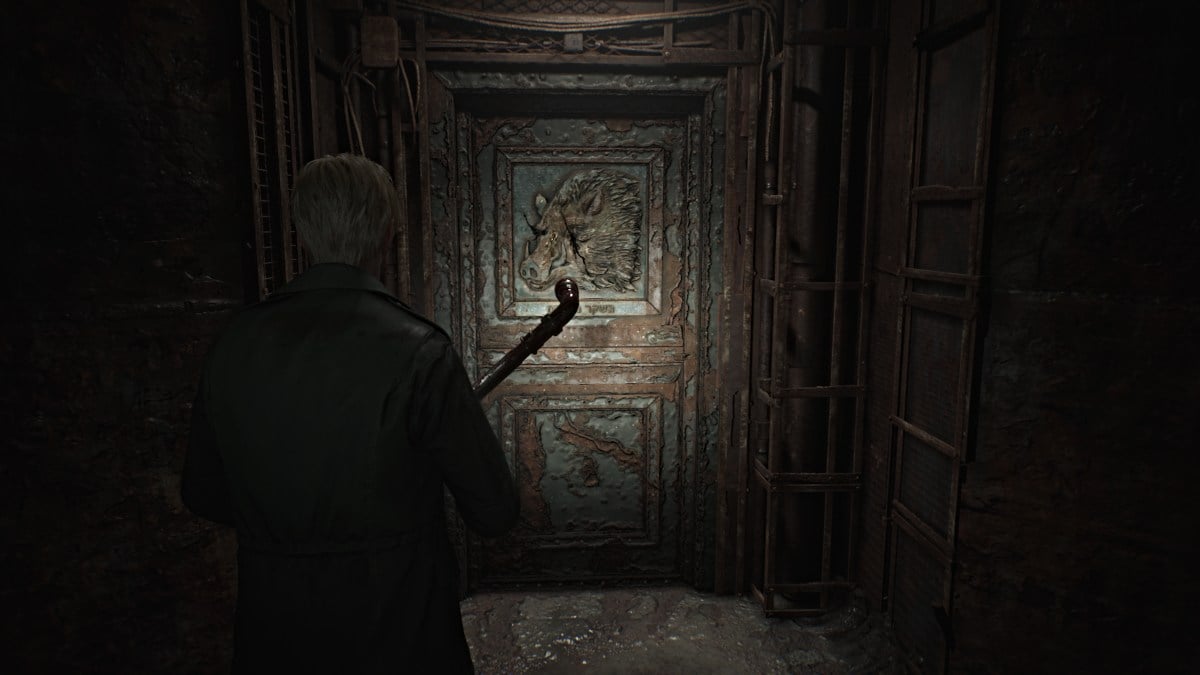
Once again, head back to the Yard to complete the next step of the Scales of Justice. This time, place all of the weights you have on the right scale, except for the smallest weight which you'll put on the left scale. This will unlock the Eyeless Boar Door next which leads to the Administrative Section of the prison. Head back inside and straight ahead to that door, which will be on your right.
Head inside and take the hallway around the Warehouse room, which you can access from the door on the left side. In there, you'll find a couple of monsters along with some ammo and the "Old Man's always prepared" Strange Photo .
Now make your way to the Visitation Room , and grab the Prisoner's Note from station 7 before backtracking to station 5 where you can jump through to the other side.
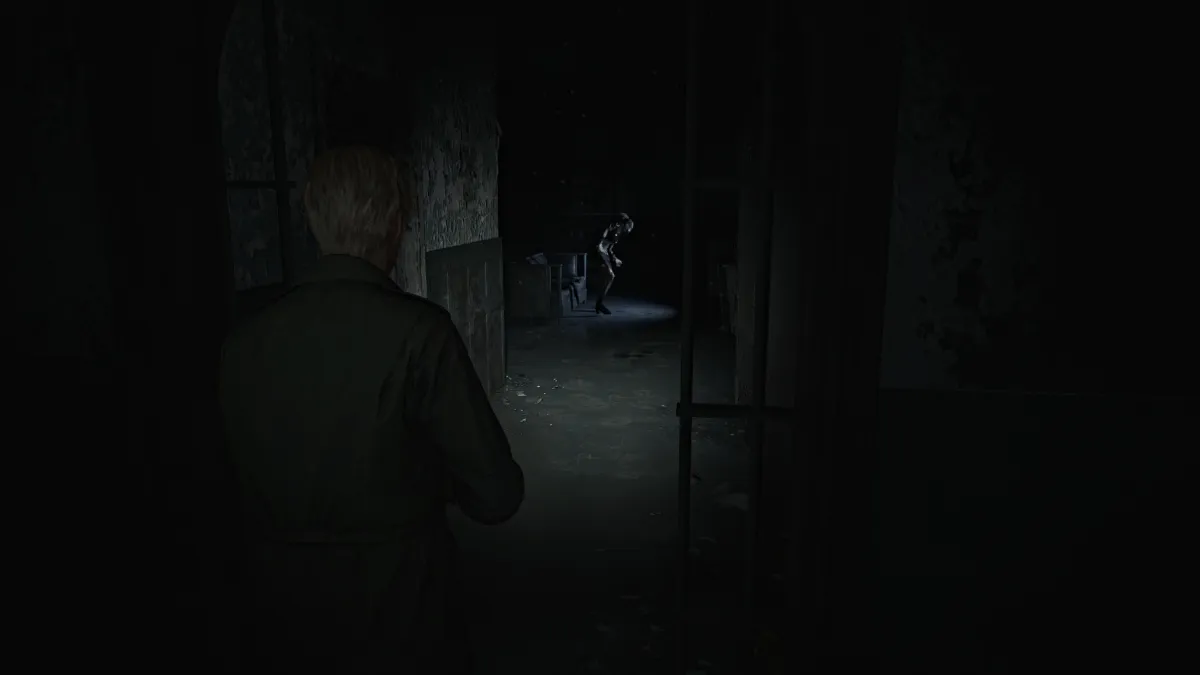
Grab the Shotgun Shells from station 7 before moving on towards the Break Room . On the way there, stop in the Women's Restroom for a Health Drink and a surprise in the last stall, then the Men's Restroom for a Red Save Point .
Cut through the Break Room , grab the Handgun Ammo that's in there, then head north to the Infirmary . As expected, there are a few Bubble Nurses to deal with in there, so fight your way through them to the very back room of the Infirmary. There you'll find Shotgun Shells , a Health Drink , and the Upper Floor Key .
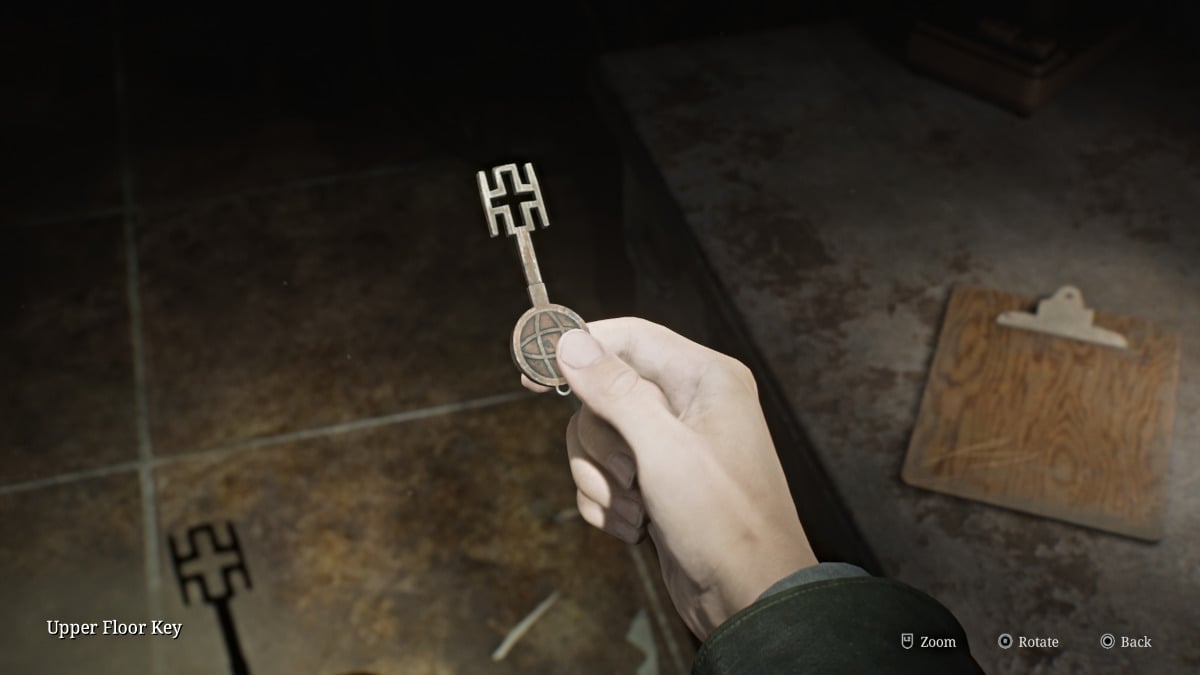
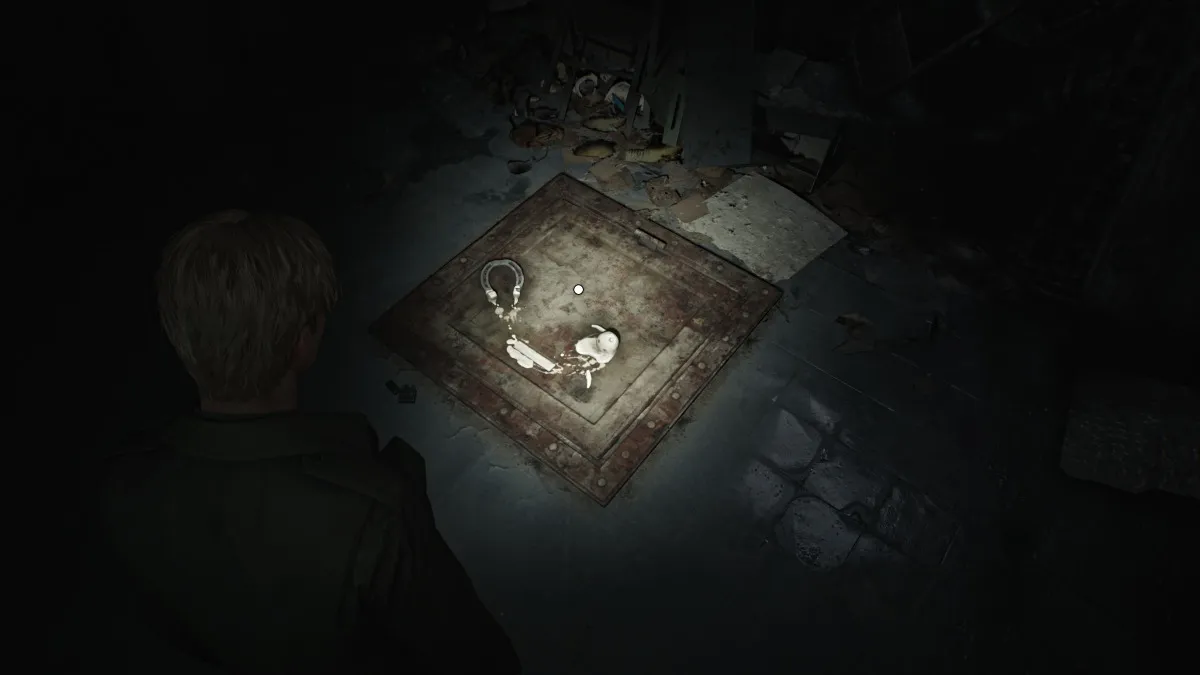
Backtrack on the other side of the Break Room to find another Glimpse of the Past on the floor in front of you, consisting of a horseshoe and a melted wax figurine.
Run back over to the Restrooms and use the Upper Floor Key on the locked gate near the Men's Restroom (by the wall that says "Reap What You Sow"). Take the stairs all the way up to the Warden's Office on the third floor, use the Red Save Point in the nearby storage room, and grab the Handgun Ammo there as well.
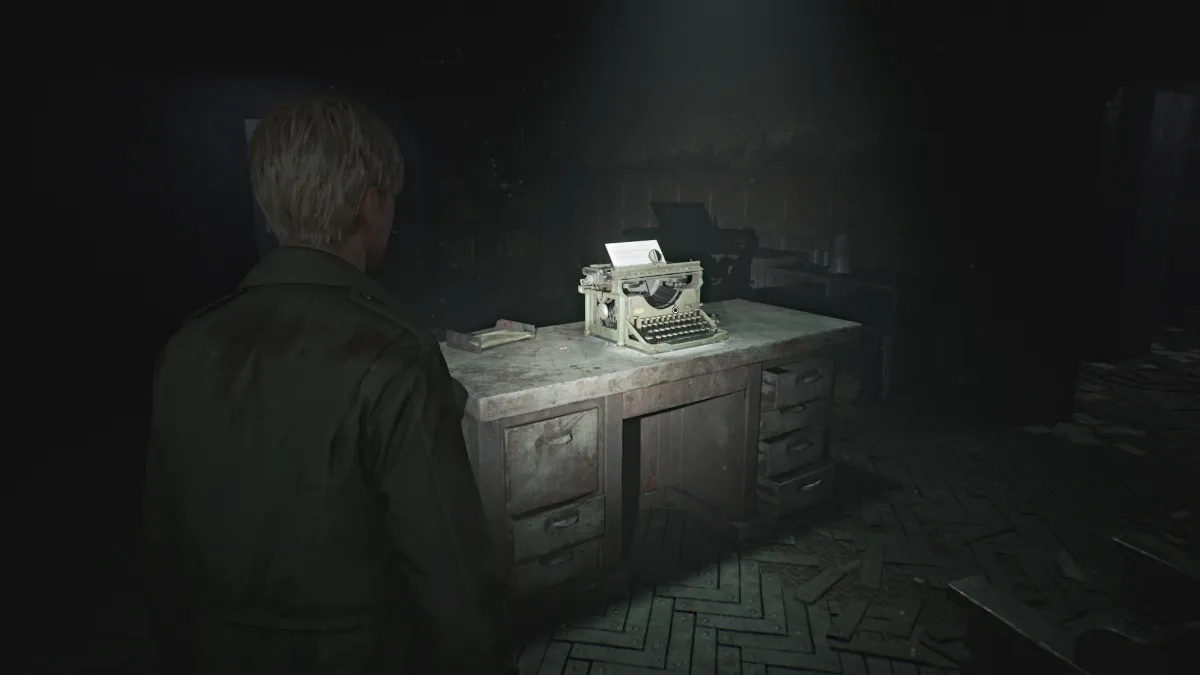
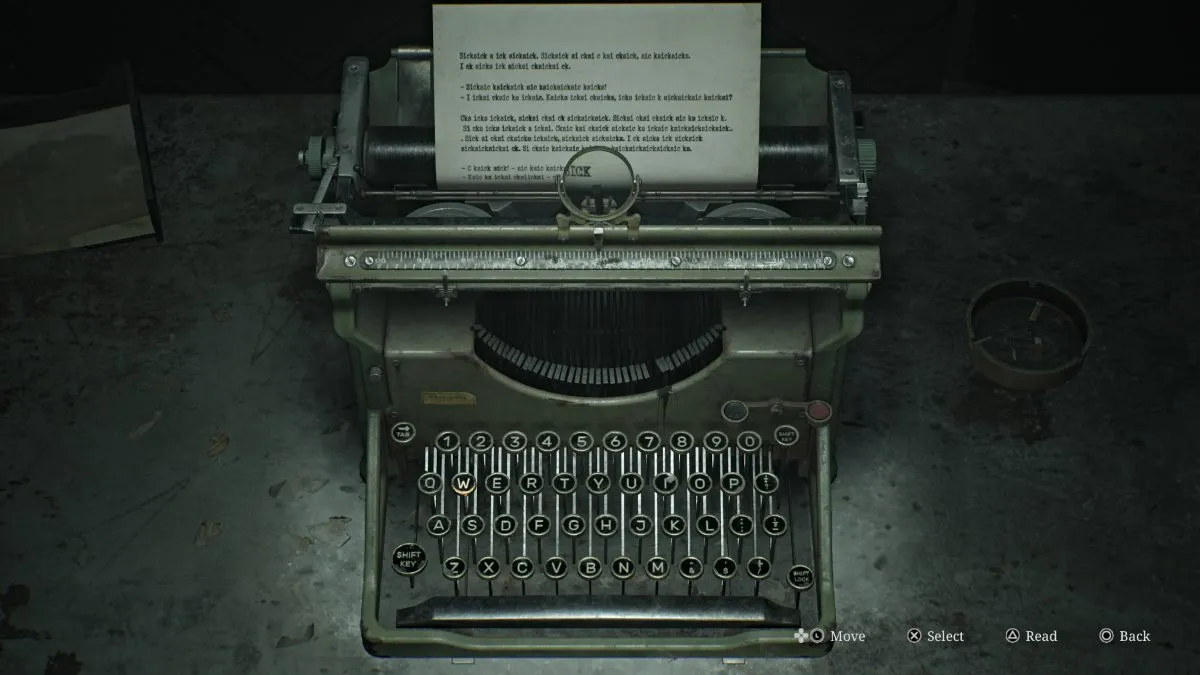
Go back into the office where there's a typewriter on the desk. The paper set in it has the word "sick" typed endlessly, and all you need to do is type repeatedly (any keys) until the desk drawer underneath opens. Inside you can claim the Light Weight . Now you need to make your way back to the Yard once again for the next step.
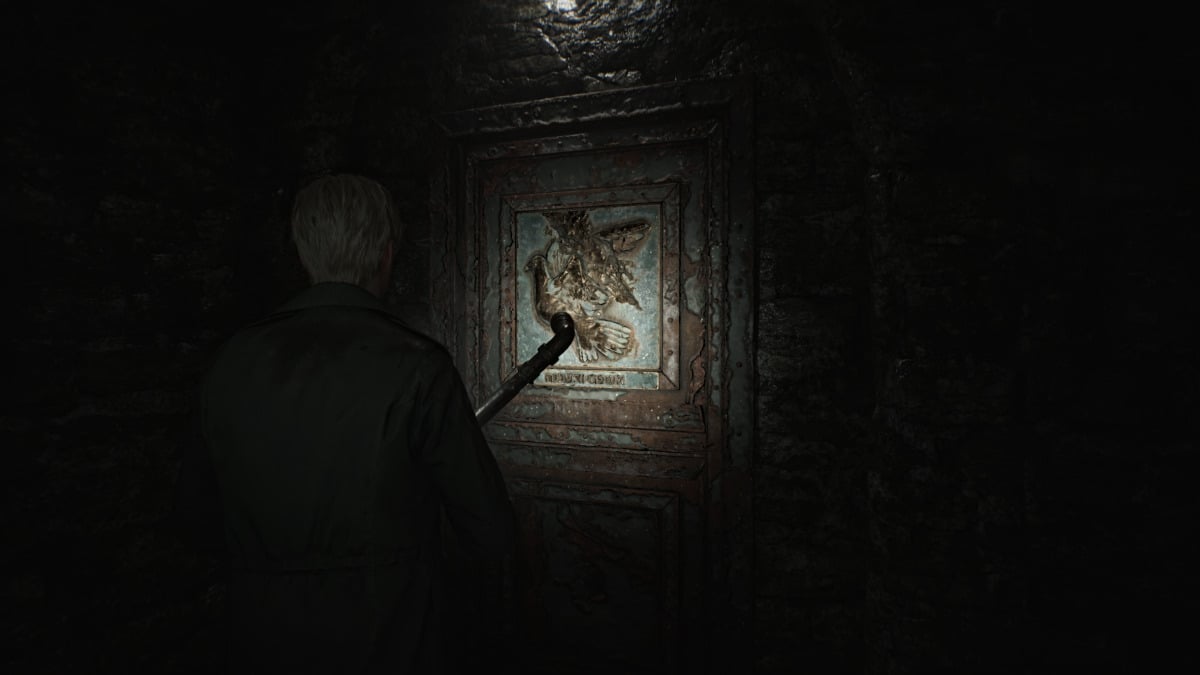
Once you're back at the Scales of Justice, this time you'll need to place every weight on the left scale, except for the Medium Weight which you put over on the right scale . This will open up the Wingless Dove Door , which leads to the Basement level . Head back inside and immediately turn left to find the door down a flight of stairs.
Once inside, start exploring the lower half of the cell block and when you look inside Cell F6 you'll notice the last weight you need sitting on a sheet. For now, go over to Cell F9 and bash through the breakable wall to get to F10 , where there's a ladder you can take up to unlock one of the doors on the first floor.
Head back down and make your way through all the sneaky Mannequins to Cell F14 and grab the Health Drink there. In F16 you'll notice piles of books and glyphs painted on the walls. If you wait long enough, you'll hear an otherworldly voice chanting something.
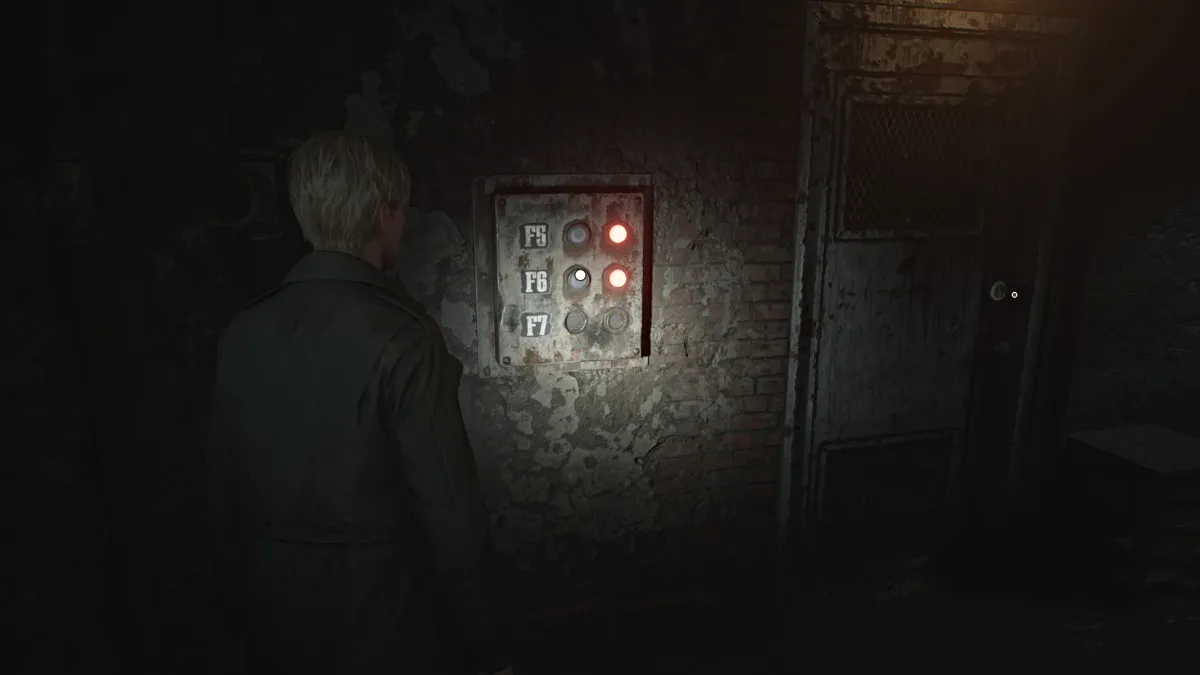
Use the crawlspace on the other side of the hall to get into the next room. Grab the Shotgun Shells from the desk, and view the note on the wall that mentions a prisoner being moved to Cell F6 , where the weight you need is. Go over to the button panel where there are options lit for Cells F5 and F6.
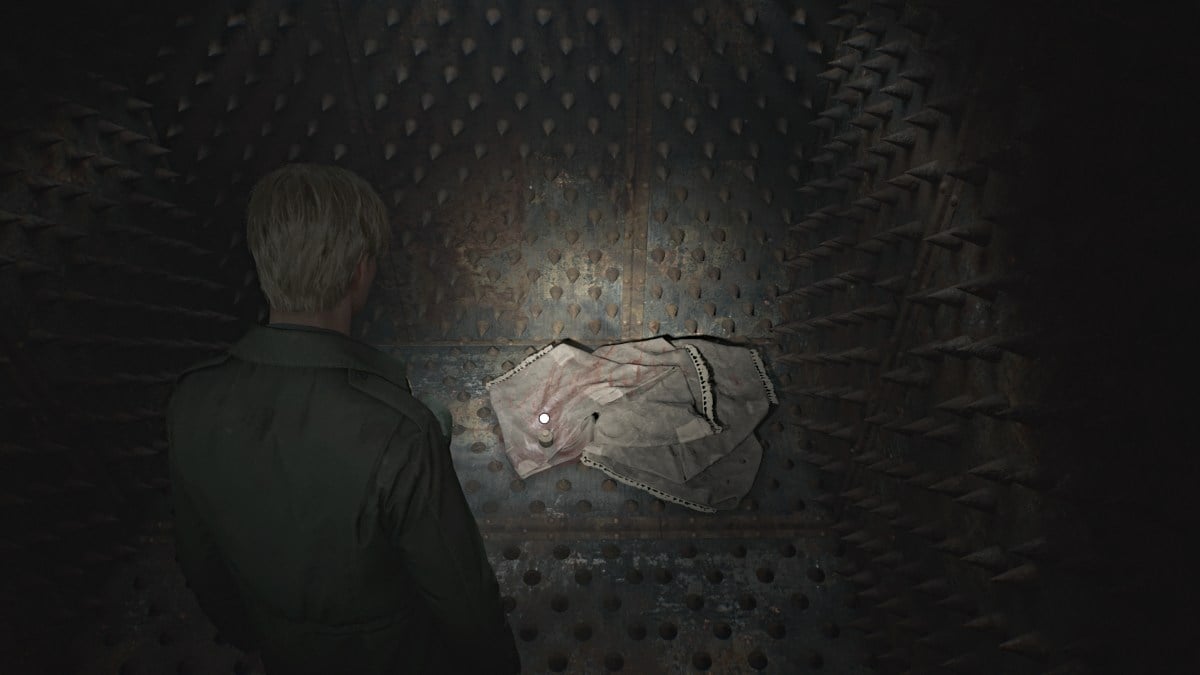
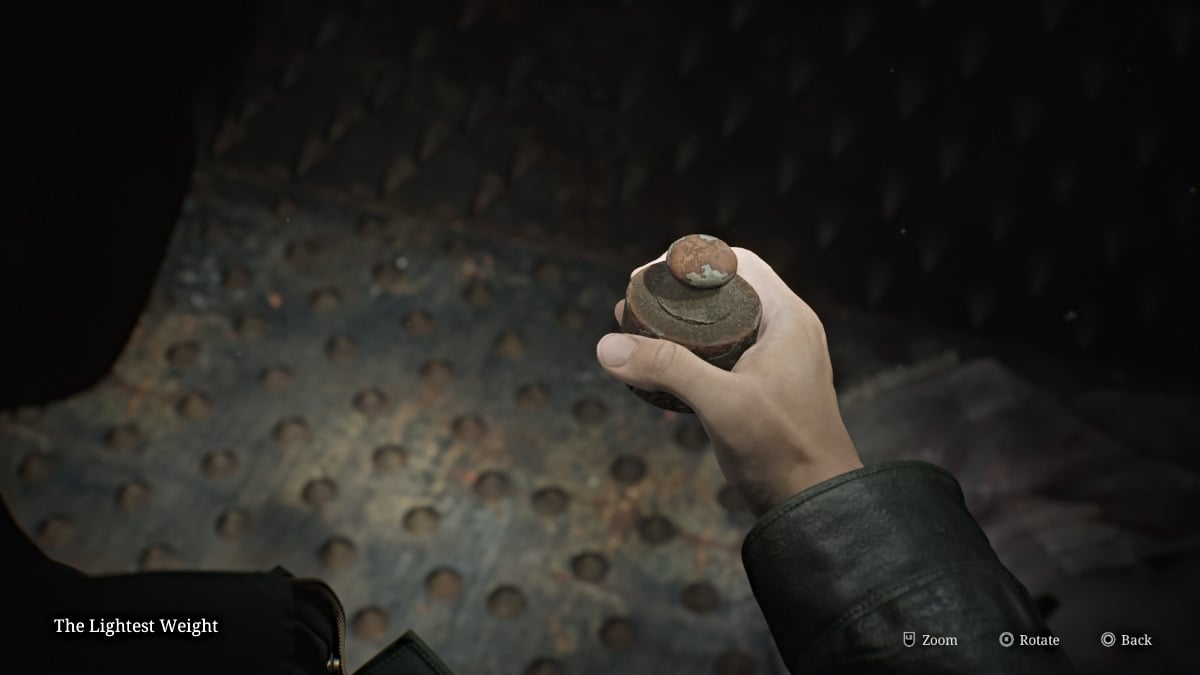
Press F6 and head over to claim the Lightest Weight from inside the cell along with the Confession memo. The door will slam shut temporarily for a nice jumpscare but you'll be able to leave soon enough. Remember to use the ladder in Cell F10 to get out since the entrance is caved in.
Time to head back to the Scales of Justice for the final time.
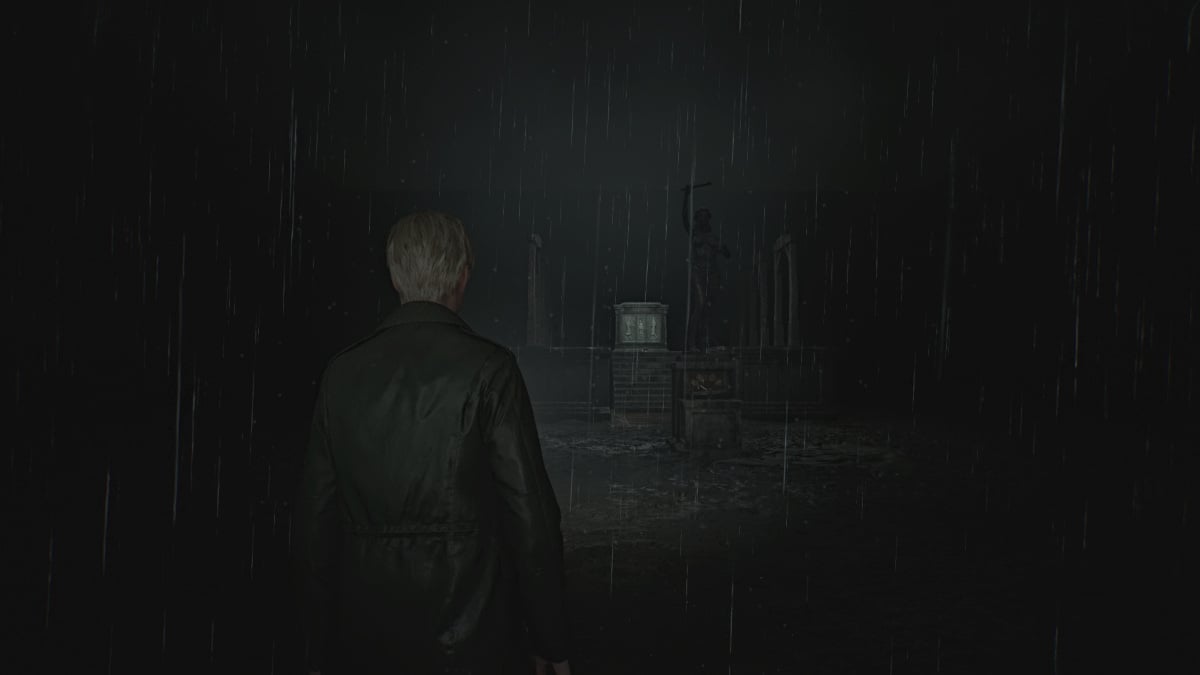
Head back out into the Yard , where it's now raining somehow (being that you're supposedly miles underground). Go over to the Scales of Justice and this time, do the following to perfectly balance the scales:
Putting all the scales back in their respective slots underneath the scale first can help you figure out which weight is which if you're having difficulty. Once the weight is balanced and the arrow centers on the sword symbol, something will fall out of the statue's hand and it's the Execution Lever . This is what you'll need for the next puzzle ahead.
For the Gallows Puzzle , place the Execution Lever in the slot on the platform between both rows of Gallows. The slab in front of you will open to reveal six criminals and their sins, and six slates depicting justifications for those sins.
You'll need to sort out which slates go with which passages regarding the sins of various criminals, and some passages can be different depending on your playthrough and difficulty. At the end, you'll need to choose which criminal was "justified" in their actions, or acting in self-defense.
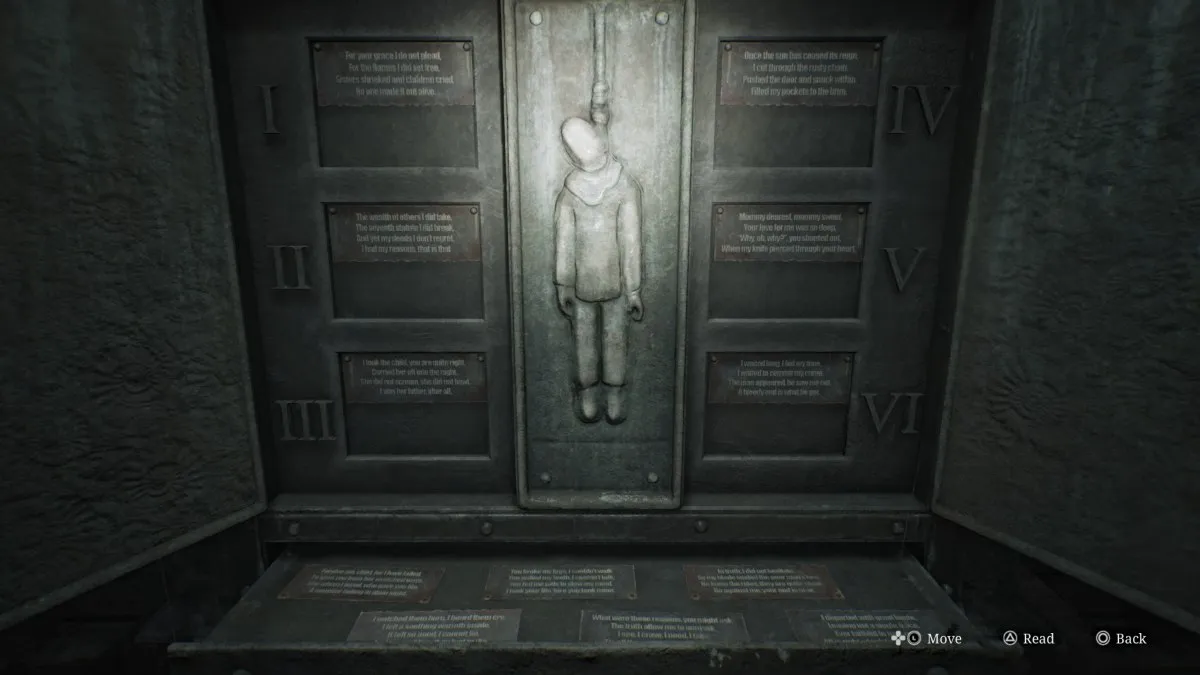
This is arguably the most difficult puzzle in the entire game, but to help you match up the slates with the correct passages, here are the possible answers for each.
| Passage No. | Poema | Possible Answers |
|---|---|---|
| I | For your grace I do not plead, For the flames I did set free, Sisters shrieked and children cried, No one made it out alive. | Answer #1 - Though the young ones' deaths I mourn, Their tormentors are no more, On young souls the nuns did prey, Took their innocence away. Answer #2 - I watched them burn, I heard them cry, I felt a soothing warmth inside, It felt so good, I cannot lie, And for my bliss, they had to die. |
| II | The wealth of others I did take, The seventh statute I did break, And yet my deeds I don't regret, I had my reasons, that is that. | Answer #1 - The reason, if I have to say, Was to survive another day, To them, it was a loaf of bread, To me, a cherished step ahead. Answer #2 - What were those reasons you might ask, The truth allow me to unmask, Veo. I crave, I need, I take, 'Tis all the sense it needs to make. |
| III | I took the child you are quite right, Carried her off into the night, She did not scream, she did not bawl, I was her father, after all. | Answer #1 - Forgive me, child, for I have failed, To save you from her wretched ways, She whom I loved, who gave you life, A monster hiding in plain sight. Answer #2 - My only daughter, joy of days, They wanted to take you away, Hush, little baby, and be still, If I can't have you, no one will. |
| IV | Once the sun has ceased its reign, I cut through the rusty chain, Pushed the door and snuck within, Filled my pockets to the brim. | Answer #1 - So my guilt is plain to see, I had robbed the pharmacy, Yet, I did so not for gain, But so I could ease the pain. Answer #2 - I departed with great haste, Leaving not a single trace, Ever faithful to my creed, All is right, which feeds my greed. |
| V | Mommy dearest, mommy sweet, Your love for me was so deep, "Why, oh, why?", you shouted out, When my knife pierced through your heart. | Answer #1 - You broke my legs, I couldn't walk, You pulled my teeth, I couldn't talk, You fed me pills to slow my mind, I took your life 'fore you took mine. Answer #2 - You were, oh, so kind to me, Filled my heart with joy and glee, In the end, it was for naught, "Why, oh, why?", you ask. ¿Por qué no? |
| VI | I waited long, I bid my time, I waited to commit my crime, The man appeared, he saw me not, A bloody end is what he got. | Answer #1 - In truth, he was less man than beast, And on my flesh and soul he'd feast, My will to live he'd try to break, There is so much a man can take. Answer #2 - In truth, I did not hesitate, As my blade sealed the poor man's fate, He knew the rules, they are quite clear, Go against me, your end is near. |
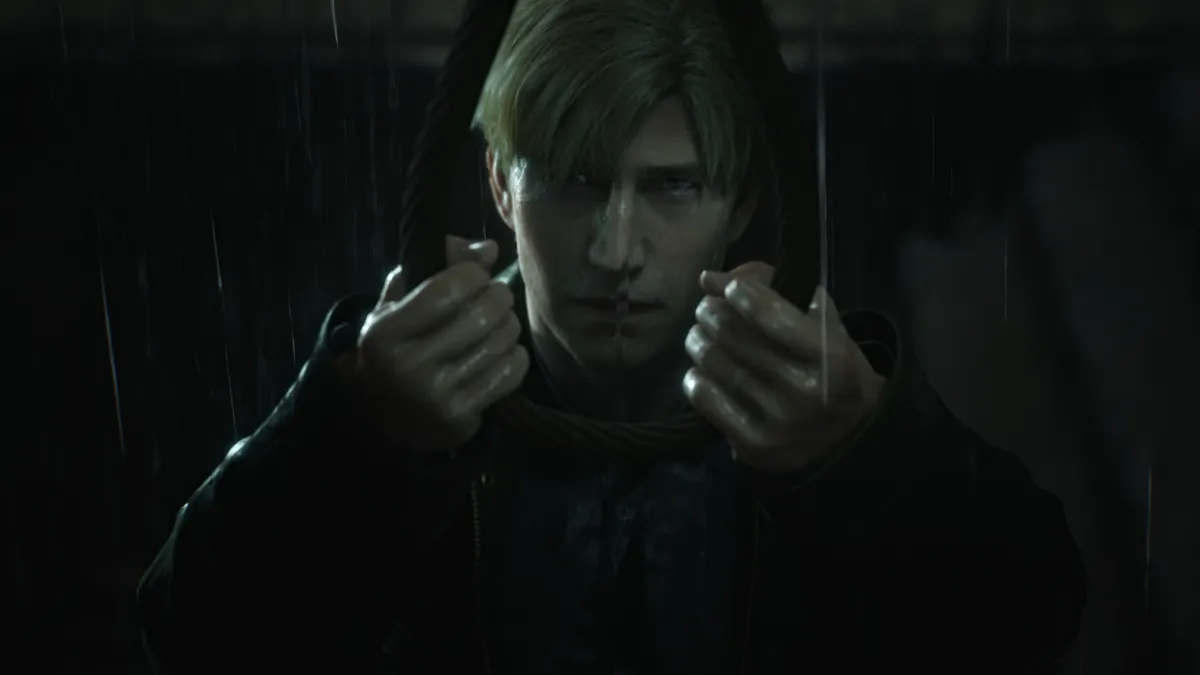
For the passage(s) that has Answer #1 as their choice, that will be the one you want to choose as innocent or "justified". More than one passage may indicate innocence based on this, and you need to decide which one best describes self-defense or defense of another (such as a child).
When you've made your choice, go over to the corresponding noose and pull it down.
If you guessed correctly, you'll fall through the platform and land inside The Labyrinth . If you guessed wrong, you'll instead fall into a room with several monsters you'll need to run through and make your way back up to the Gallows and try again.
After successfully completing the Gallows Puzzle, ahead of you will be not one but two more massive holes to jump into, sending you to a depth clearly beyond reality. Afterward, you'll take a mineshaft elevator down to a floor with a Red Save Point . Use it and enter through the door ahead.
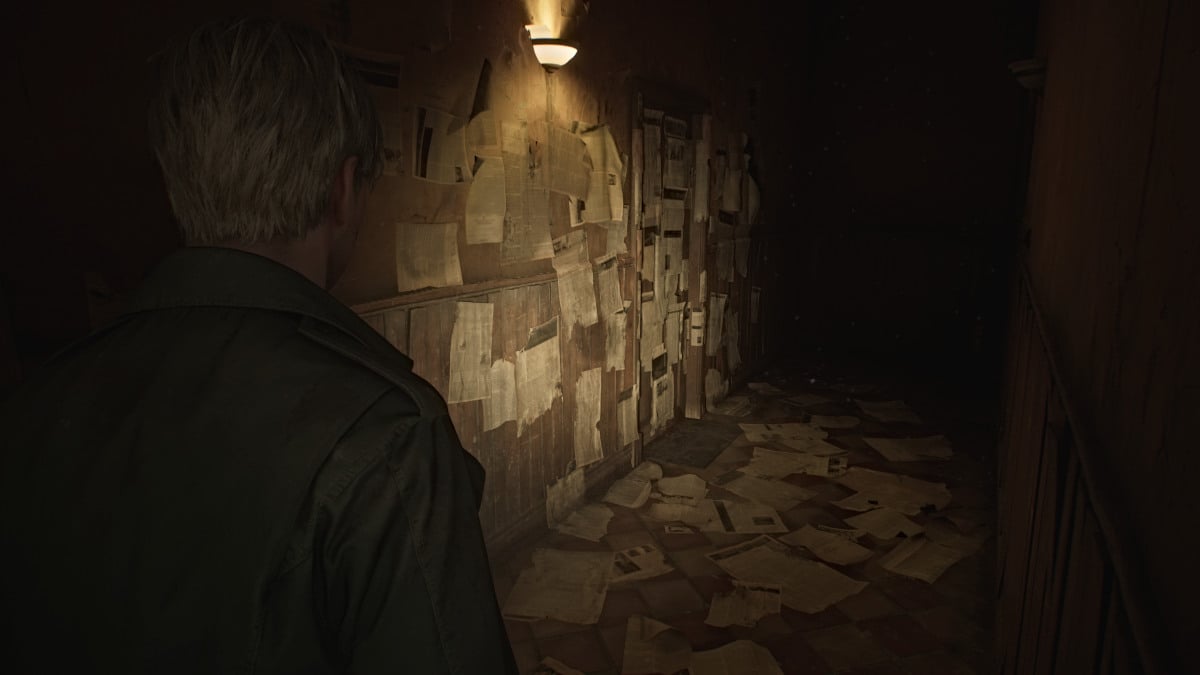
Follow the path through what resembles an apartment hallway, and you'll hear whispers behind the doors you pass. If you budge the doors, they'll hush in response. Keep going until you reach a section of the hallway decorated with newspaper clippings, including a bloodied one on the floor you can read about the murder of Thomas Orosco, Angela's father .
Suddenly, Angela's screams can be heard from behind the door ahead, alluding to a conflict with her father. Go inside, grab the Health Drink and Shotgun Shells from the kitchen area, then take a deep breath and go through the darker door on the left, where you'll see one of two more doors. The one in front of you is likely the bedroom of Angela's brother.
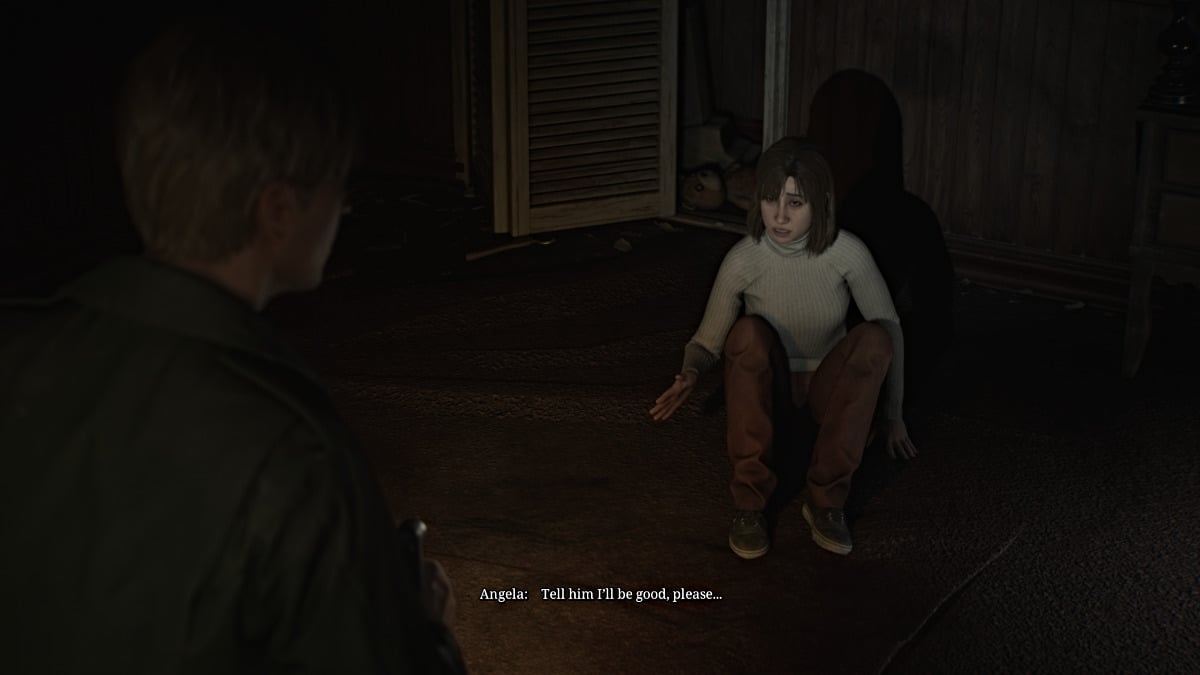
Go to the one on the left, where you'll find Angela cowering inside. Before James can figure out what's wrong, a much larger monster called the Abstract Daddy suddenly attacks and slams him through a wall. Take a deep breath and prepare for one of the most challenging and emotionally devastating fights in the game.
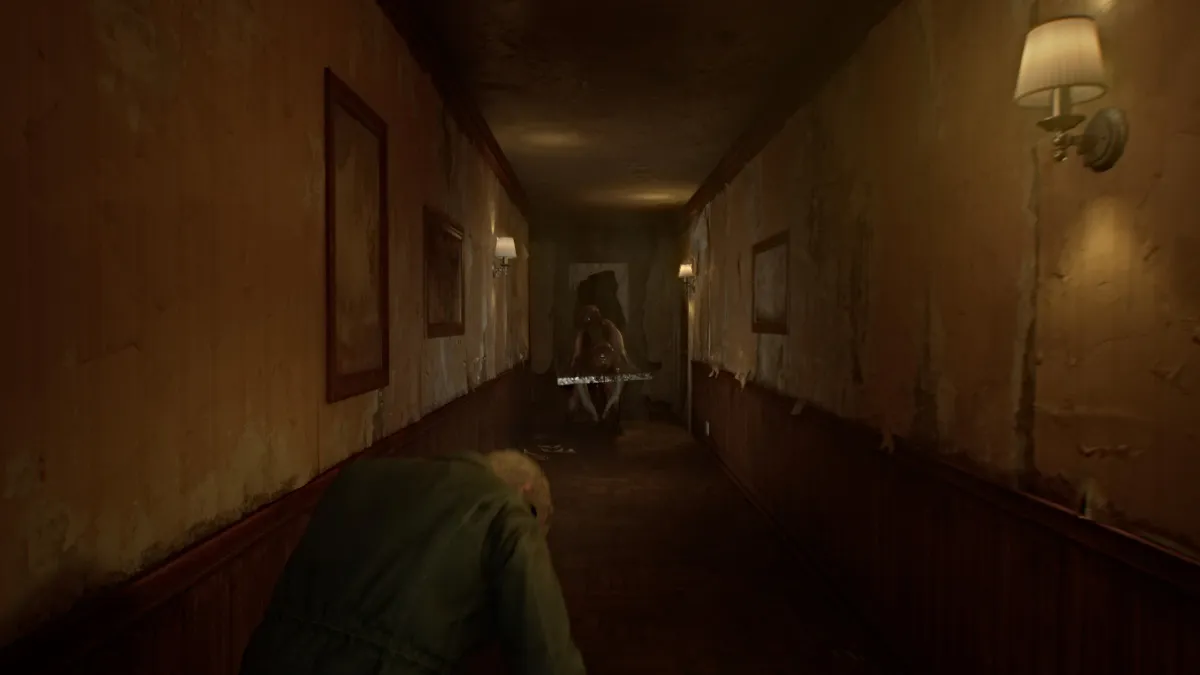
If it wasn't already obvious, Abstract Daddy is the disturbing manifestation of Angela's intense trauma from being sexually abused by her father as a child, and its physical form is meant to embody that. It makes it one of the most intense and consequential fights in the game.
The battle begins with Abstract Daddy confronting you in the hallway, and once again, keeping your distance from him is imperative. If he manages to charge and grab you, he can deal significant damage in each instance, so be sure to keep your health topped off.
You may initially think you're fighting him in tight quarters, but the "arena" has suddenly taken the form of a seemingly endless maze within Angela's home. This allows you to land hits on Abstract Daddy while constantly keeping your distance. Prioritize your Hunting Rifle and Shotgun for dealing damage, and time your shots well because he has an insane amount of health.
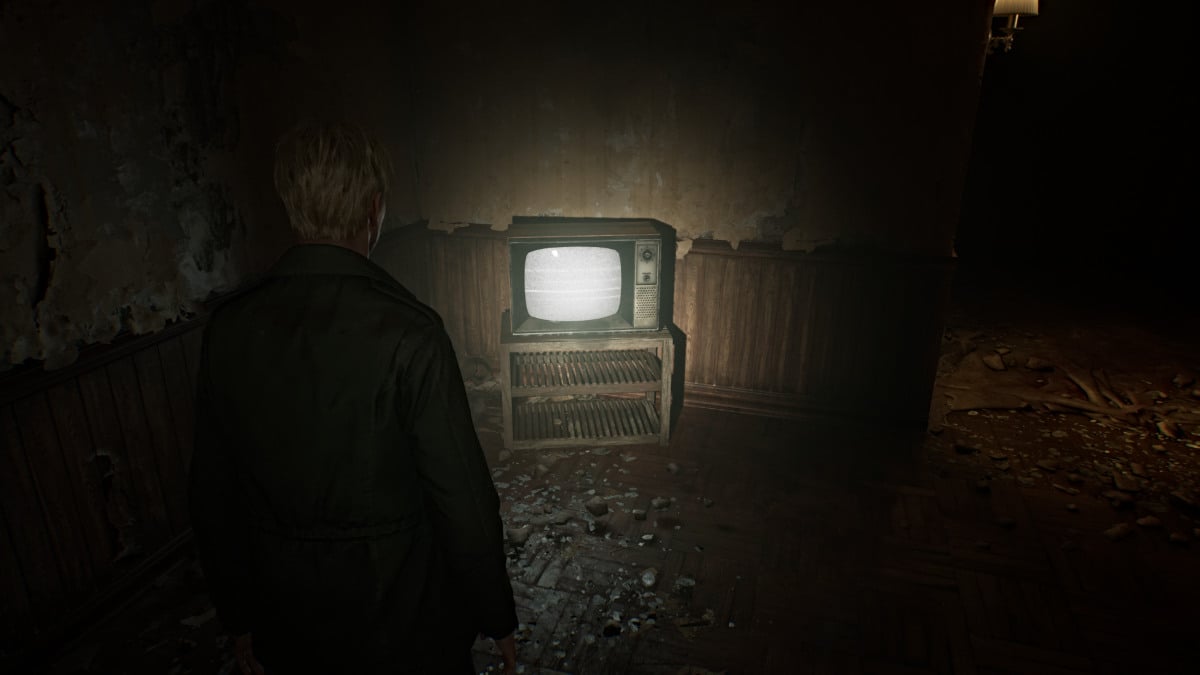
At certain junctions when you've dealt enough damage, Abstract Daddy will disappear briefly, allowing you time to recover and reload your weapons . Make sure to explore everywhere you can for extra ammo and health. As you travel through the maze, you'll see Angela fleeing in terror herself, and occasionally a scratchy recording of her father will play, further inferring his verbal abuse.
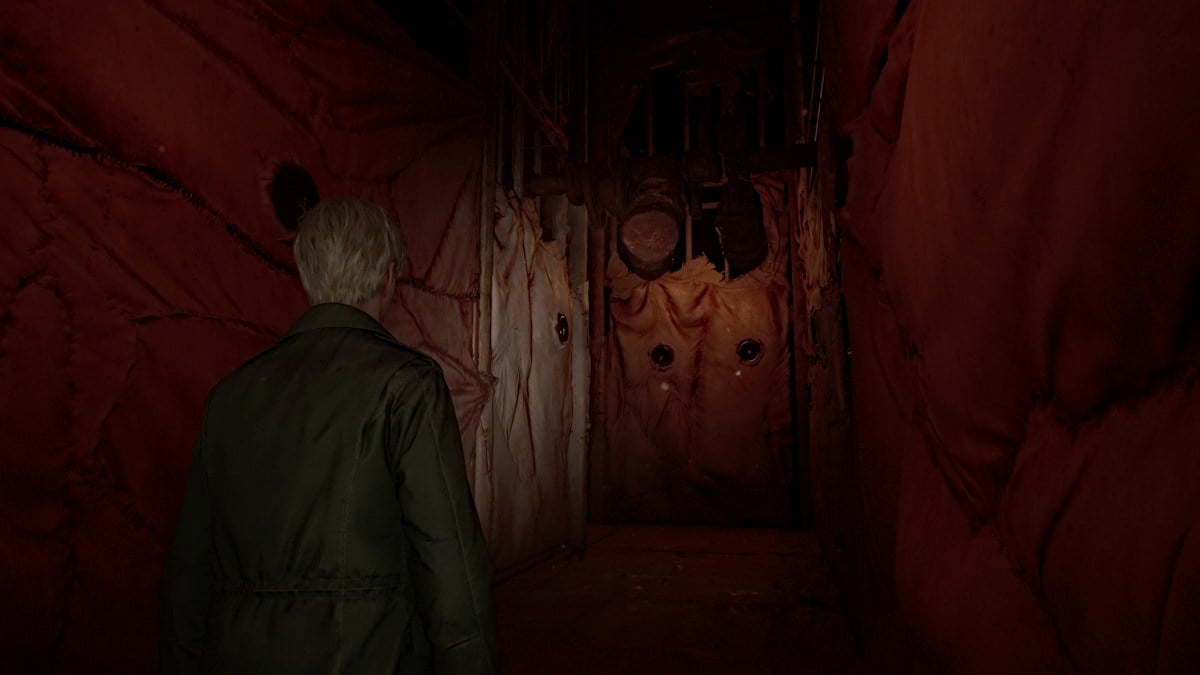
The fight occurs over multiple phases, and at least three times you'll need to trigger the next one by finding a static TV and smashing it with your pipe. The further into the fight you go, the more the environment changes into something closer to the Otherworld, and the walls turn...well, "fleshy".
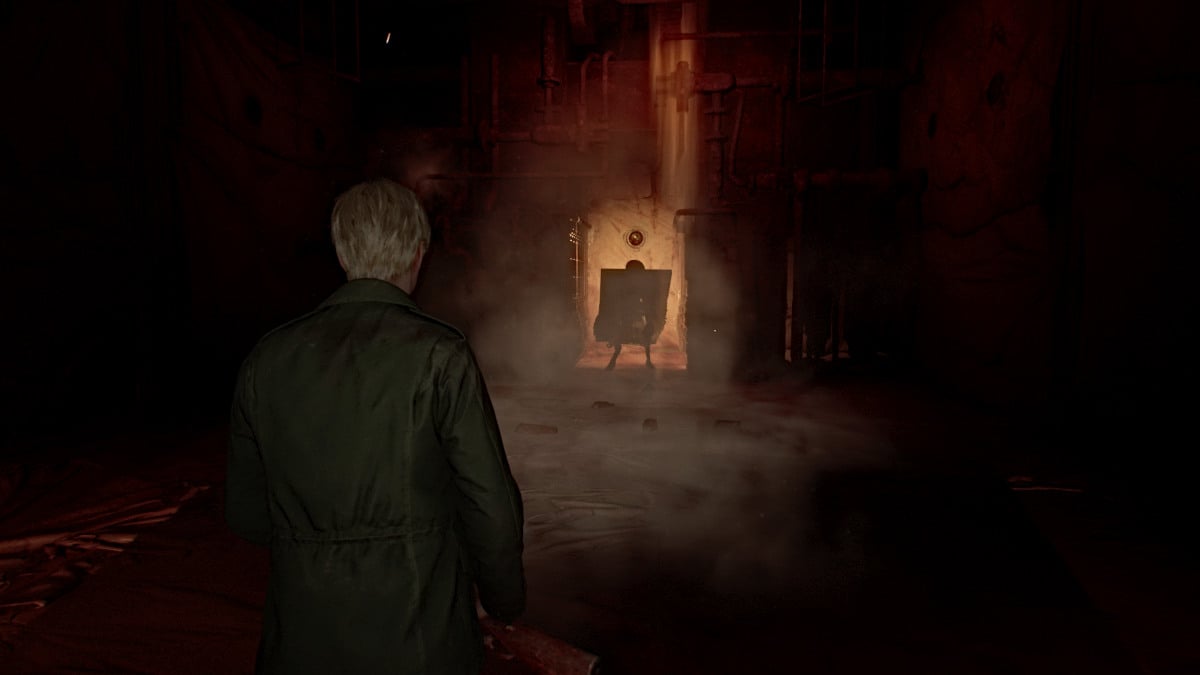
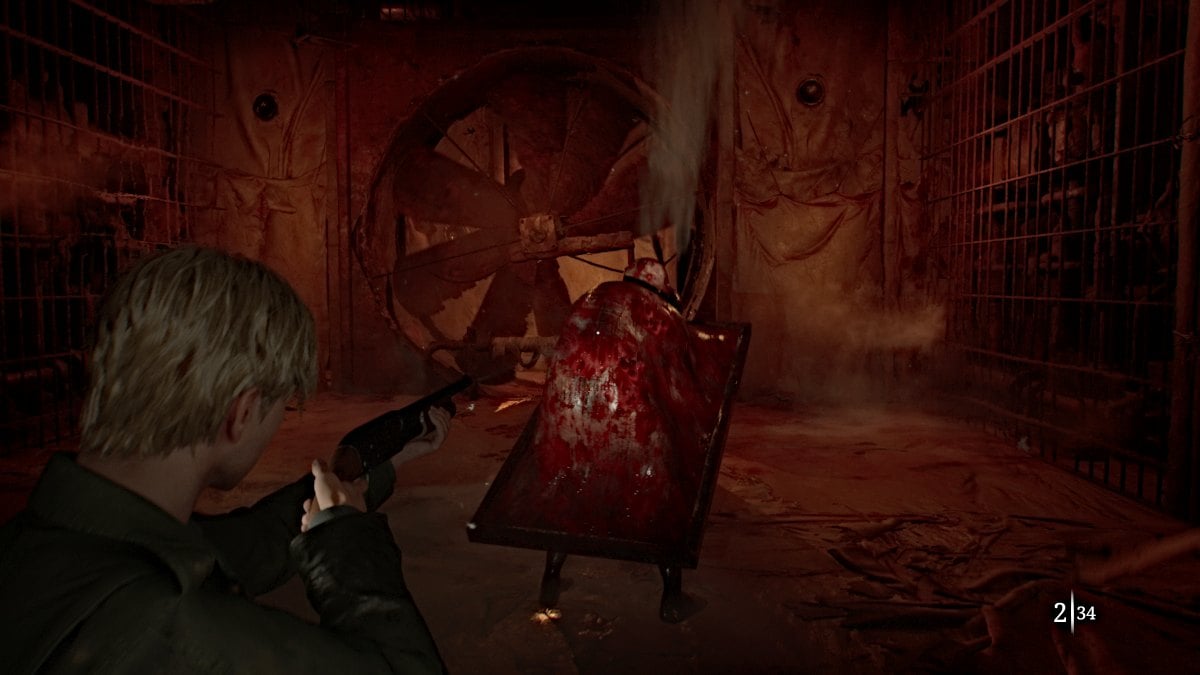
Eventually, you'll arrive at the final phase of the fight in a wide-open area. By this point, you've likely exhausted most of your ammo if not your health stores as well, so make use of the items spread around the room. Keep dealing damage, and Abstract Daddy's attacks will gradually slow down and become easier to dodge. Soon enough, he'll go down and a cutscene will follow.
Angela approaches in rage and slams a TV on top of the Abstract Daddy, killing it. The environment has also returned to the way it was before the fight began. James tries to console Angela though to little effect, and the two argue over his possessiveness of Mary and how he treated her while she was sick.
Soon enough, Angela will retreat and now you're free to explore the rest of the Labyrinth.
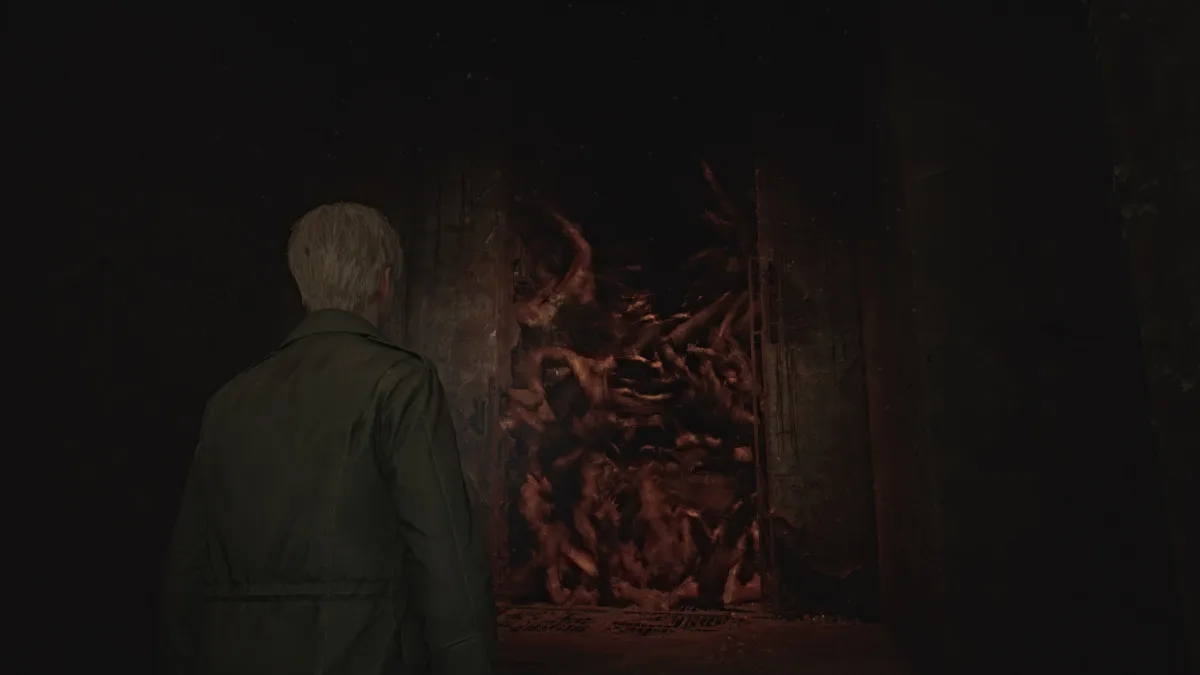
After you move on from "Angela's apartment", you'll soon find yourself in a strange, maze-like area, and in front of you a barrier made of what looks like monsters from Silent Hill. If you try to cross through it, James will feel nauseous and back off, so you need to find a way to remove it. James will call it the "Strange Wall" on your map.
For now, head right and use the Red Save Point along the way. Go all the way across (the door to your right is locked) and down the stairwell and through the door ahead. On the other side is something, or rather someone, that James definitely didn't expect to see.
Maria is "alive" and well, sitting in a cell, and chides James for seeming to think she had been killed by Pyramid Head "in that long hallway". She laughs and muses about how he was "always so forgetful". She eerily sounds like Mary, which James notices and mentions. However, she rebuffs that she's not "his Mary", and insists that she's all he needs since she's "real".
Grappling with the situation, James starts to walk away and says with some hesitation that he'll find a way to get her out of the cell.
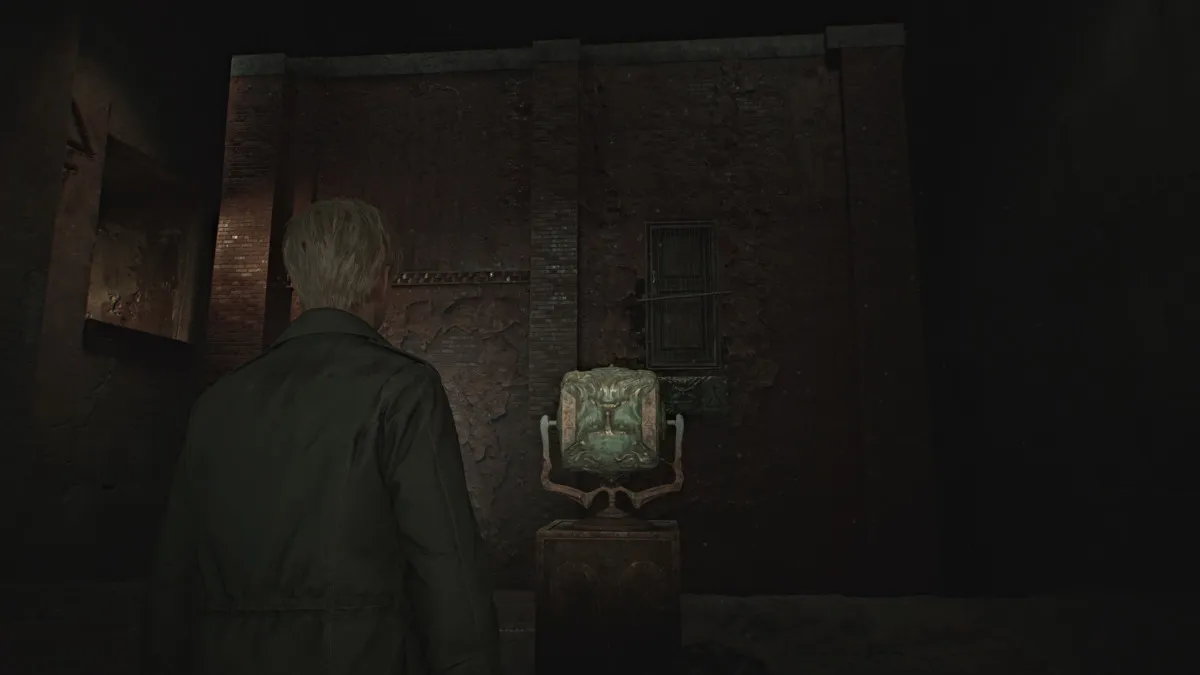
Head back up the stairs to the path you walked before, and now you'll find the Rotating Cube Puzzle contraption in the center of it, along with what looks like an entire building in the chasm next to you. The rotating cube features different faces on each side, along with different symbols.
Depending on how you turn it, the building in front of you will rotate as well and reveal new paths and three other main areas for you to explore. Those areas include: the Rotten Area, the Desolate Area , and the Ruined Area .
This puzzle serves as the focal point of the Labyrinth, and your goal here is to use it to access each of those different areas one by one. For easy reference, here are the symbols required for each area:
| Símbolo | Area Unlocked |
|---|---|
| Upward-facing triangle with a cross underneath | Rotten Area |
| Infinity symbol with a vertical line above crossed through twice | Desolate Area |
| Downward-facing triangle with a cross underneath | Ruined Area |
| None (side axis of the cube) | Opcional; Find the "Your best buddy!" Strange Photo inside the cube itself. |
So for now, you'll want to start with accessing the Rotten Area . Turn the cube in the proper direction, then go into the building and take the stairs that lead up to the path on the left side. Go down the hallway and at the end there will be three doors, for each of the three areas. Go through the Green Door on your left to enter the Rotten Area.
You'll start in a hallway completely covered in bugs, so move through carefully and watch out for where the floors switch to metal grates, as Mandarins will be lurking beneath. Remember that all of your maps for the Labyrinth are hand-drawn, so you have to learn the area as you go.
After that first metal grate path, turn left and find some Handgun Ammo on a dresser (which you're probably starved for after Abstract Daddy) at a dead end. Backtrack to the main hallway and continue on until you see a door ahead. Go through it and you'll enter a room with a Suspended Cage high up, three other different doors, and a Red Save Point .
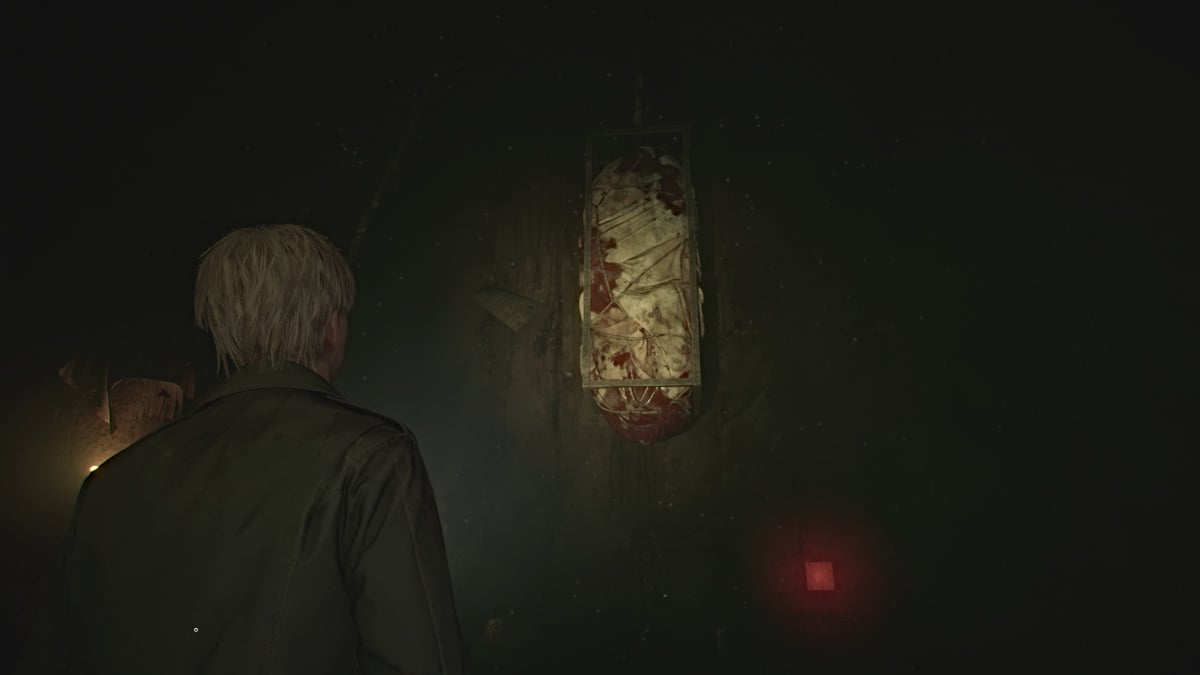
To bring down the Suspended Cage you'll need something to cut its tether, so for now head through the door to your left.
Go down the hall, grab Rifle Ammo from a small cabinet on your right, and continue straight to the open door at the end. Be extra careful here as not only are there bugs everywhere, but the floor of the entire main hallway area is metal grating, so Mandarins will be patrolling.
Keep your distance from them (these seem to be invincible so don't waste your ammo) and make your way down the hall until you reach the second left. Take it and follow the next hallway until you find another door. Inside the floor will be normal, so you get a breather. Deal with a couple of Mannequins lurking there and claim a Syringe and Handgun Ammo .
Take the pushcart in the room over to the high crawlspace near the door, and climb up and through to the next room over. Inside you'll notice the fridge in the kitchen shaking nonstop. Approach it and through all the lovely muck that pours out from it, James will find a small can of Lighter Gas . Grab the Handgun Ammo and Health Drink nearby as well.
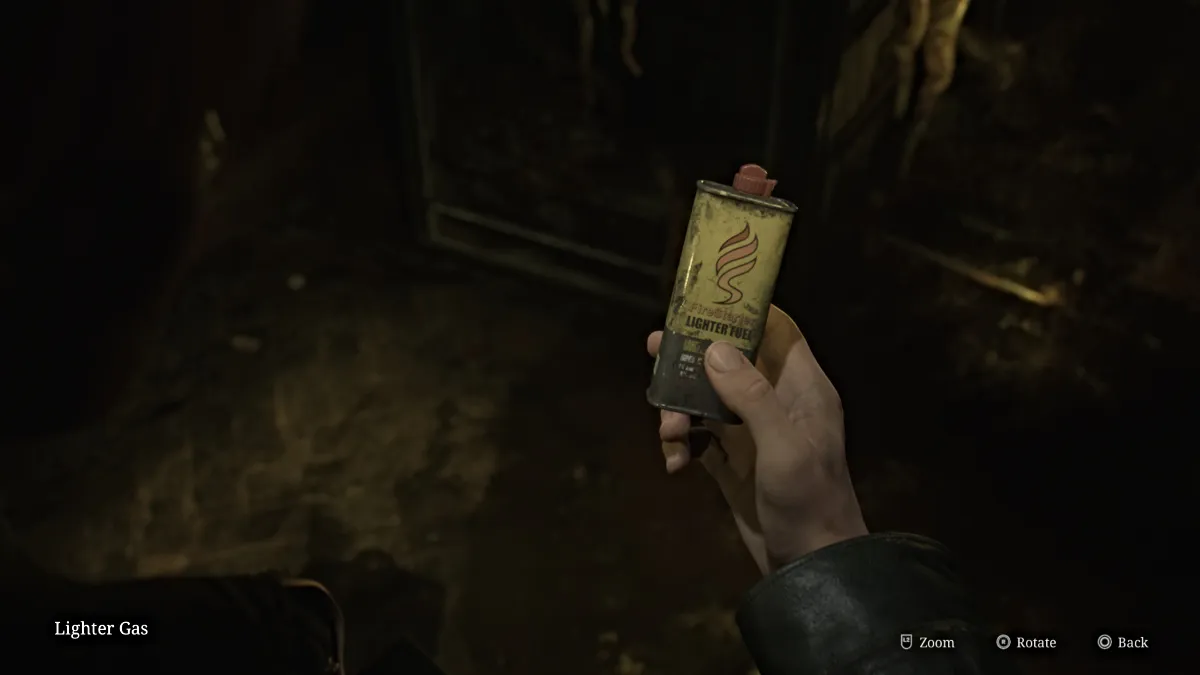
Carefully make your way back out into the main hallway and bum rush your way back to the Suspended Cage Room.
Now take the door to the south and sprint across the grated hallway all the way south until you can leapfrog over a box and find a set of double doors ahead of you. Go through them and grab a Health Drink on your way through the next door ahead. Watch out for a Mannequin in the dark and grab Shotgun Shells from a small cabinet.
In the next room you'll find a bed that's been brutally split in half (could venture a guess who did that) and on the wall behind it a hole oozing blood. James knows the deal by now, so go over and interact with it until you pull out the Lighter Wick .
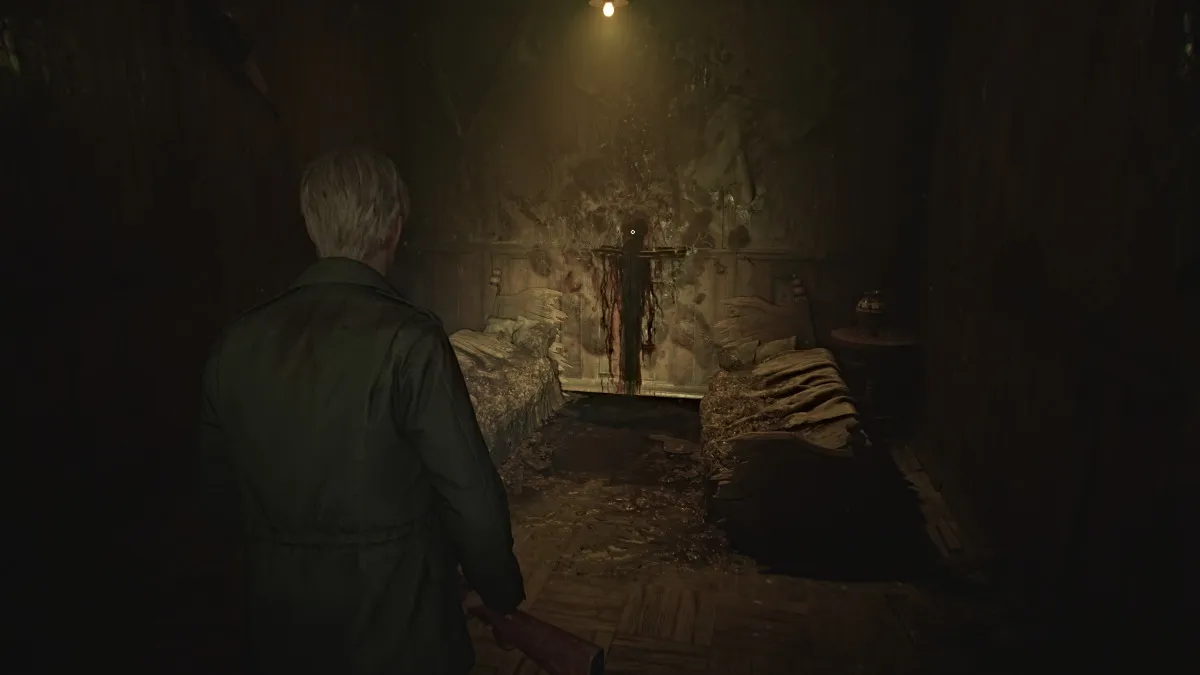
Now, before you go back to the Suspended Cage room, exit through the door beyond the bedroom, and run down the hallway until you can turn right and follow the path to another door. Go through and inside is just one huge room with a desk right in the center. Deal with the Bubble Nurse patrolling it and then check the drawer to claim the Iron Key .
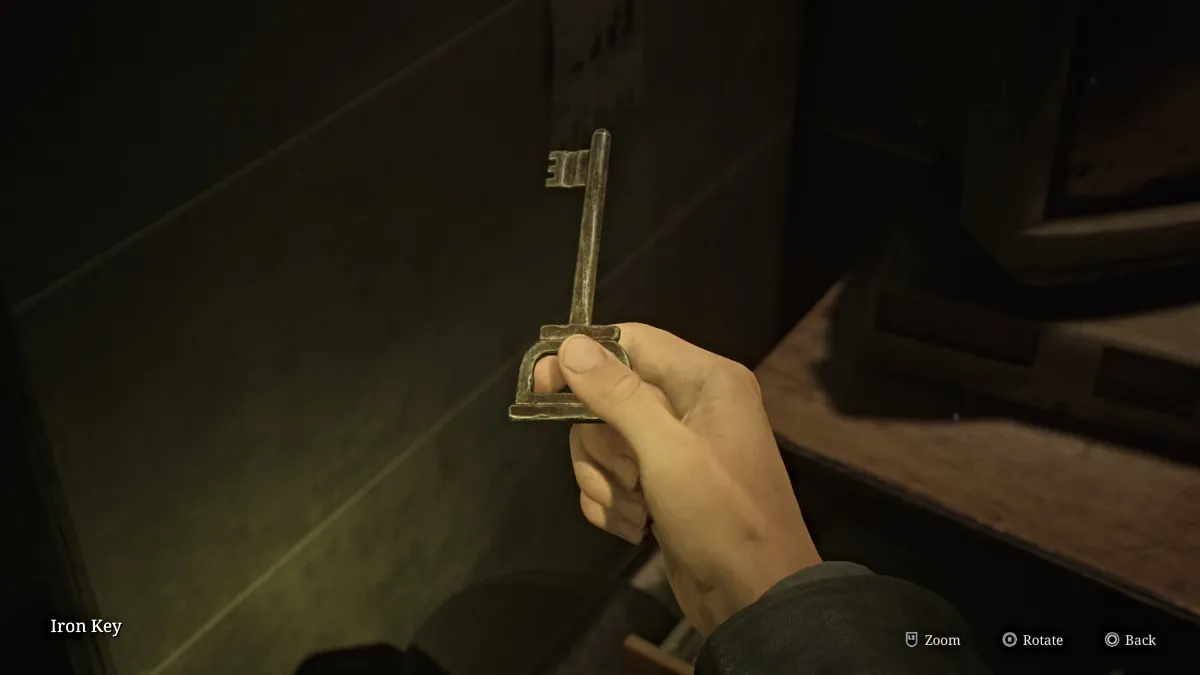
Now make your way back to the Suspended Cage Room and go back through the first door you went through where you found a locked door requiring a key. Use the Iron Key to unlock it and you'll find a bathroom inside. Interact with the nearby bathtub and James will quickly learn that the liquid bubbling inside it is too acidic for him to touch. This means you need to drain it somehow.
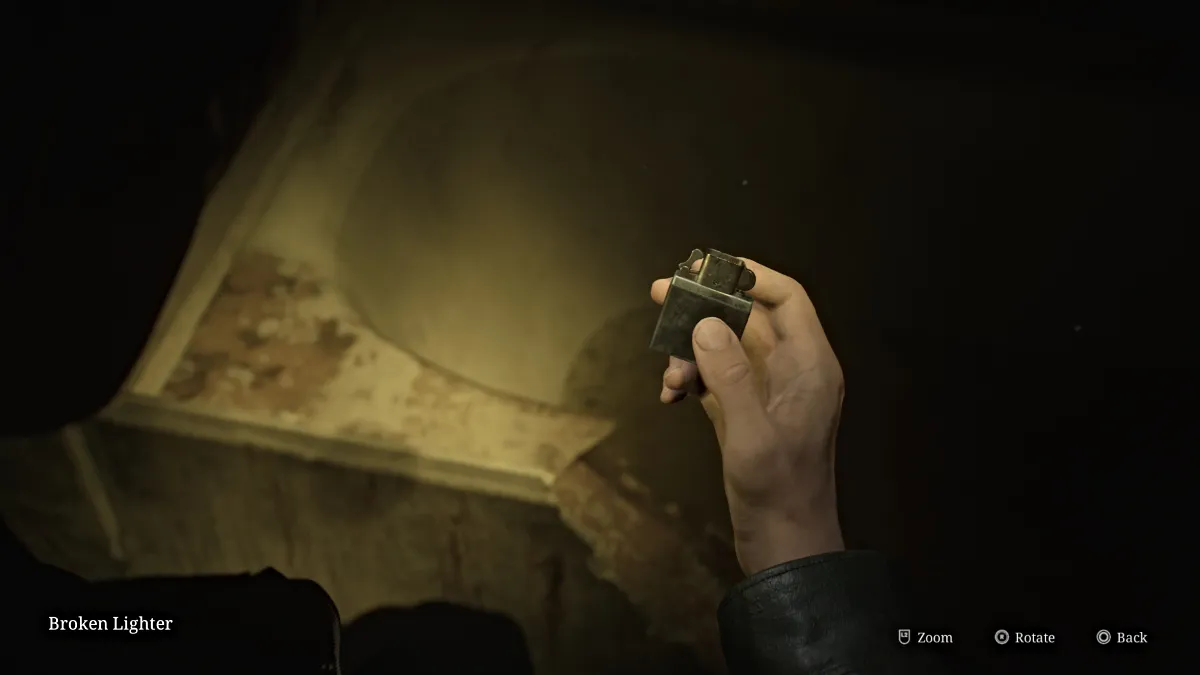
Go through the nearby gap in the wall and follow the narrow hallway all the way down until you reach a bug-filled room with a red crank. Turn it until the pipes burst and the tub breaks open, draining all of the bad stuff out so you can reach your prize. Return to it to claim the Broken Lighter .
Return to the Suspended Cage room and combine the Broken Lighter with the Lighter Gas and the Lighter Wick to make an actual Lighter . Use it on the tether holding up the cage and soon the entire thing will fall and break through the floor, leaving a large hole behind, perfect for you to jump through. Use the nearby Red Save Point and then do just that.
This brings you back to the Labyrinth Center with the Rotating Cube Puzzle, and now it's time to move on to the next area. Turn the cube to the appropriate direction (as seen in the table above) to unlock the Desolate Area next. Run through the building and back up to the left-side path, and this time take the door straight ahead.
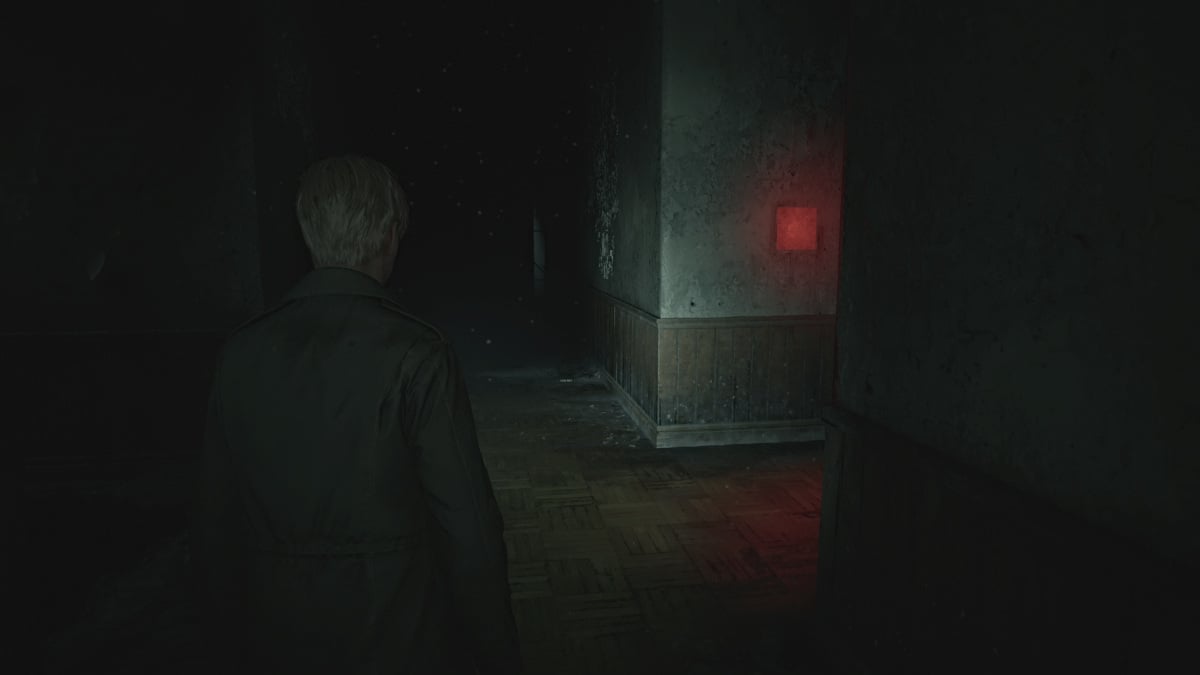
Upon entering the Desolate Area , use the nearby Red Save Point and make note of the locked door to your right, and the ladder to your left. Continue straight ahead and find the second door on your right and go through it. There will be a wall crack by a closet for you to take to the room adjacent, where you'll find some Rifle Ammo , Shotgun Ammo , and a Mannequin hiding behind a bookshelf.
Backtrack to the small bedroom where you find a Health Drink and Ladder II . Go down it to reach the Flooded Level , and follow the path until you find a hole you can peek through to see a key (which you will need).
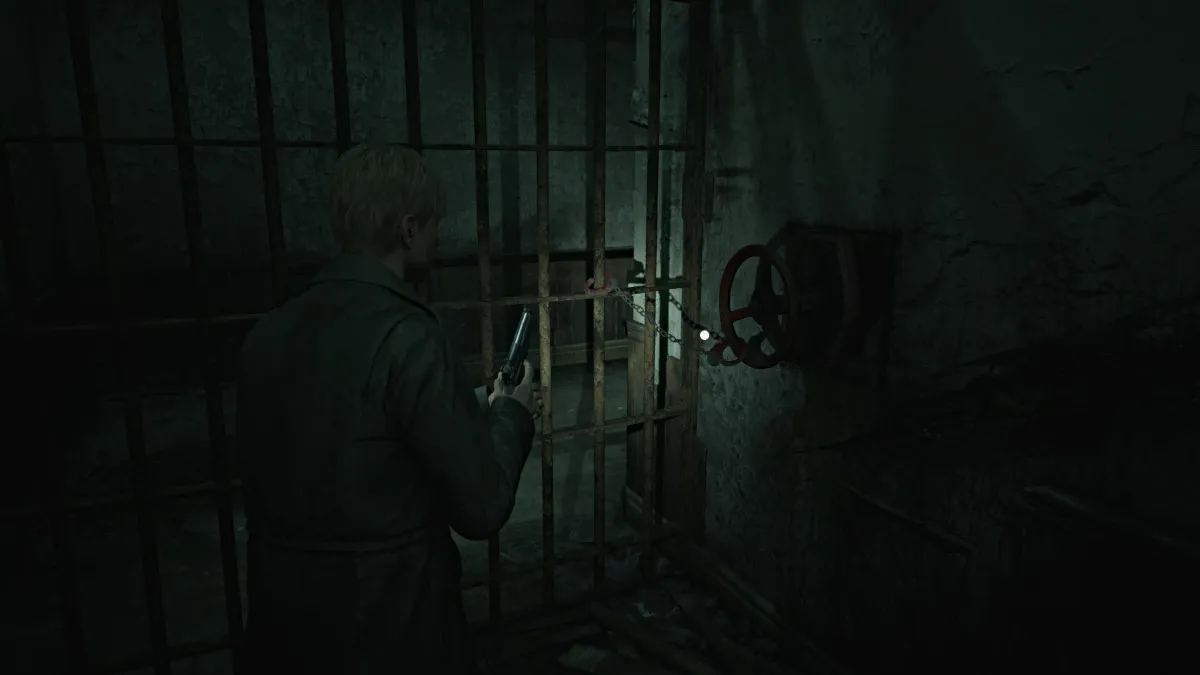
Keep going and you'll see that the door to that room is locked. Make your way south until you find Ladder I and climb up, where ahead of you will be the Handcuffed Gate (seen above). You'll need a certain key you already saw to unlock it, but for now, go through the door to your left.
Follow the hallway until you can make two rights to find another ladder that will take you back down to a cave area. Follow it until it brings you to the room where you spotted the key. Pick up the Small Key and head back to Ladder I to use it on the Handcuffed Gate . Now you can access the rest of the Desolate Area.
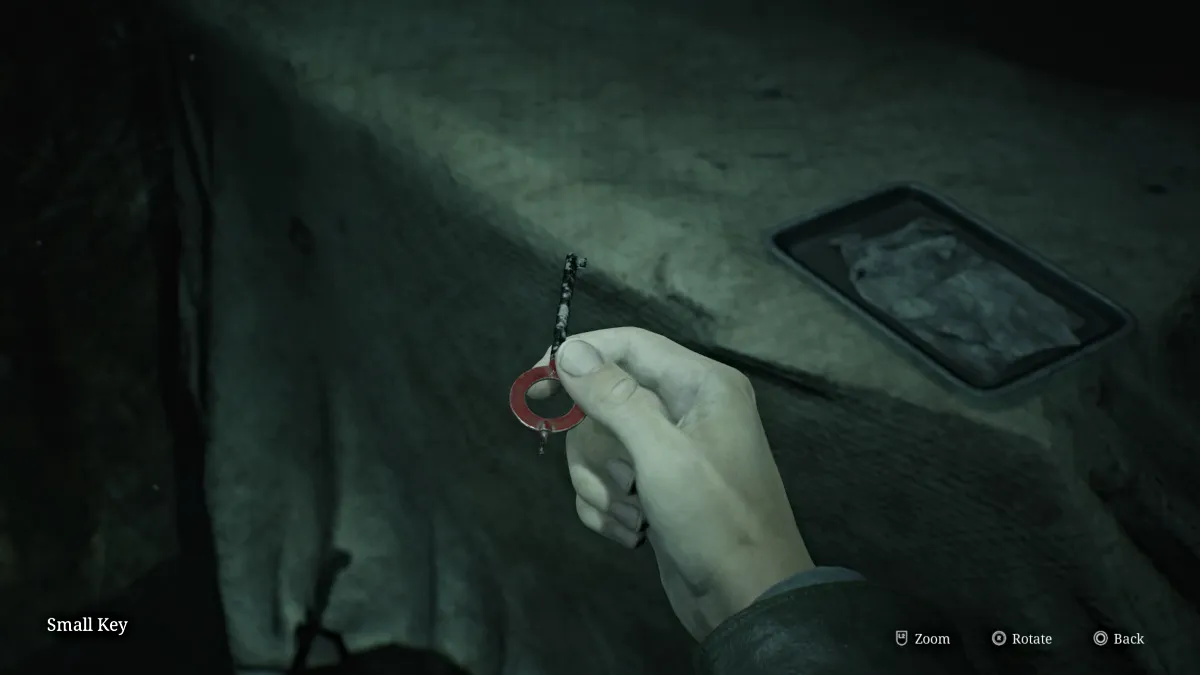
Follow the corridor to the next room and look for a pushcart you can use to reach a high crawlspace. Climb up and through and continue until you find Ladder IV to take back down to the Flooded Level . Another crawlspace ahead will bring you to a Wire Barrier that prohibits you from going forward. You'll need something to help get rid of those wires.
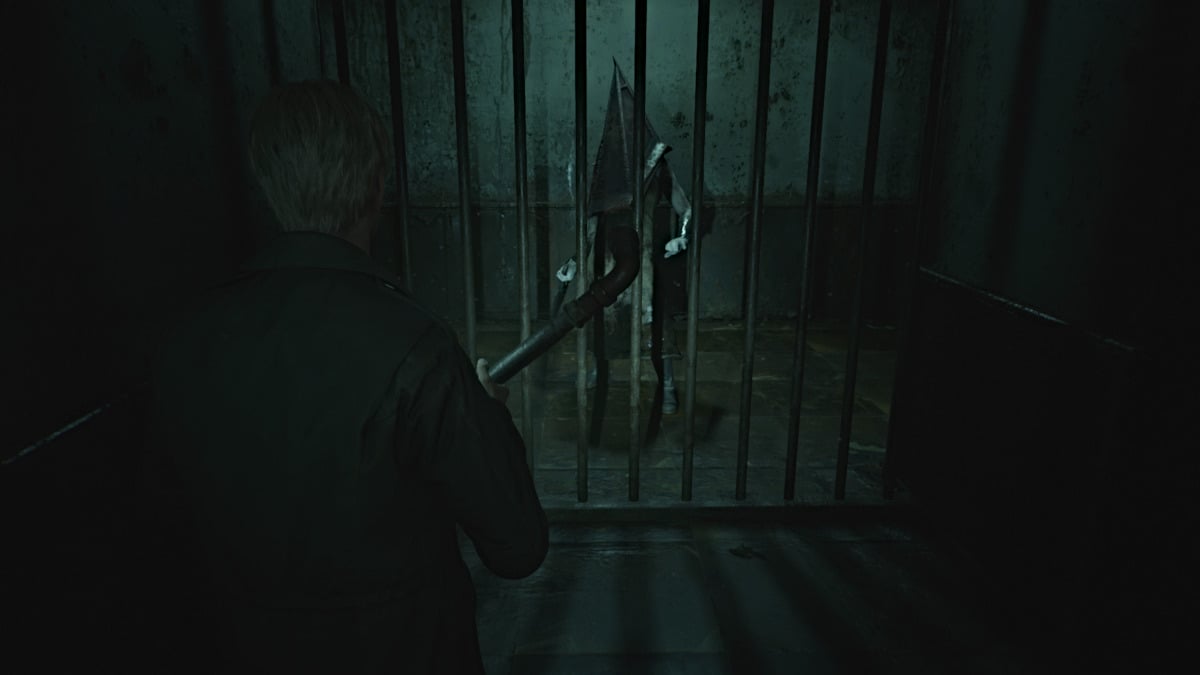
Go through the next hallway on the right, full of bugs of course, and suddenly Pyramid Head will appear and start giving chase. This is not a boss fight, you're simply in his domain now and need to avoid him at all costs while completing your objectives.
Go up Ladder V and follow the long hallway up until you can turn left, but quickly go right for some Handgun Ammo in a dresser at the dead end. Backtrack and go left through the wide open door to the room where you can remove a set of Wirecutters from a broken fuse box.
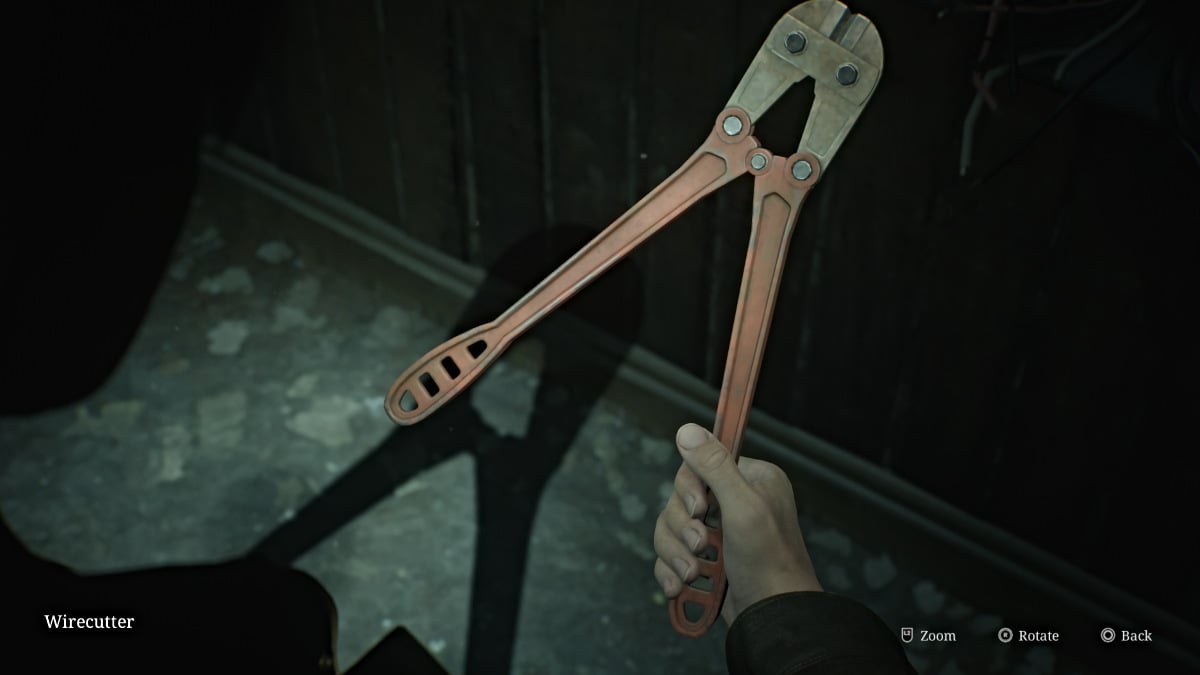
As tempting as it might be, do NOT take the south corridor past the fuse box as that will bring you back to the tunnel with the crawlspace that caved in after passing through, meaning you'll have to backtrack much further around the map.
Instead, go back down Ladder V to the area where Pyramid Head was, but he'll no longer be there. Instead, you'll have to deal with Mandarins and other monsters in your way.
For some extra items and a Strange Photo you can make your way to and up the ladder you initially passed while evading Pyramid Head. Otherwise, head back to the tunnel with the barrier of Wires and use the Wirecutters to get through. Go down the next ladder ahead, and grab a nearby Health Drink before dropping down another hole that brings you back to the Rotating Cube Puzzle once more.
Be sure to use the Red Save Point nearby to save all your recent progress. Now it's time to turn the cube in the appropriate direction for the Ruined Area . Remember, the symbol is an upside-down triangle with a cross underneath . Cross through the building and up the path to where you can now take the red door to the right.
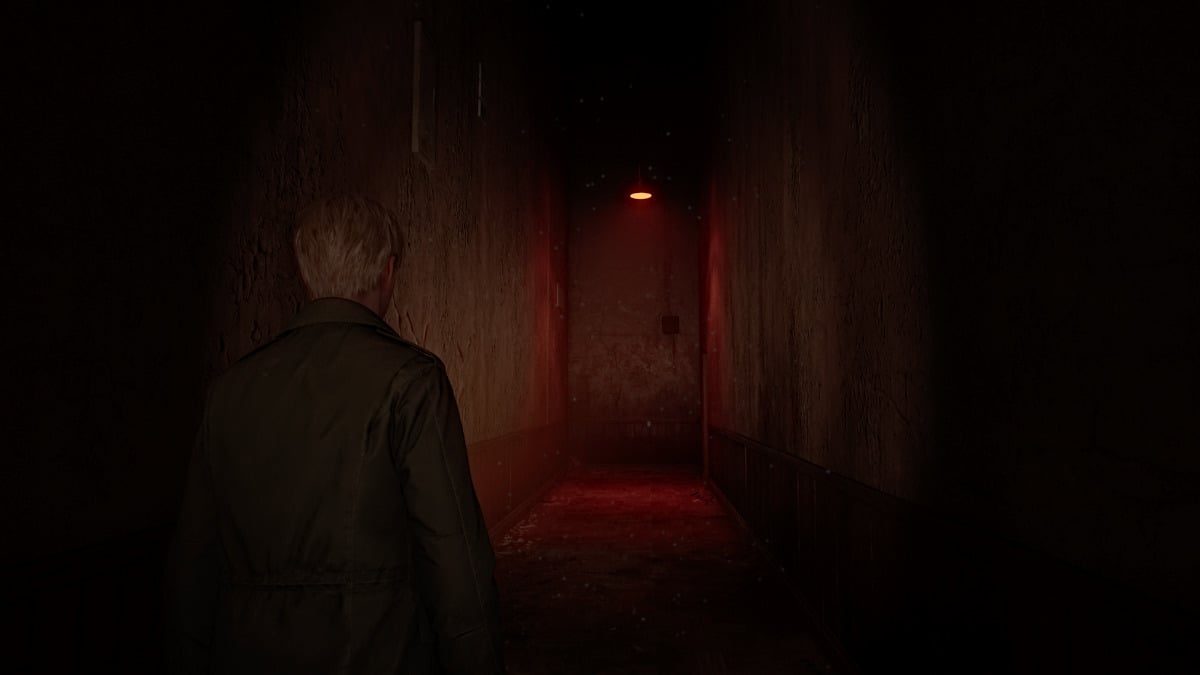
The Ruined Area of the Labyrinth is quite different from the other areas in that it's essentially a monster gauntlet. You'll enter different areas where you need to defeat various monsters to progress forward. Make sure to gather all of the ammo and health items in the areas first, then go interact with the red door at the back for the alarm to go off and the monsters to come alive .
In the first two areas, it'll be mostly regular monsters such as Lying Figures, Mannequins, and Bubble Nurses. The third area will be full of bugs and you'll need to kill Mandarins crawling beneath the floors. The Shotgun and Hunting Rifle are best for those.
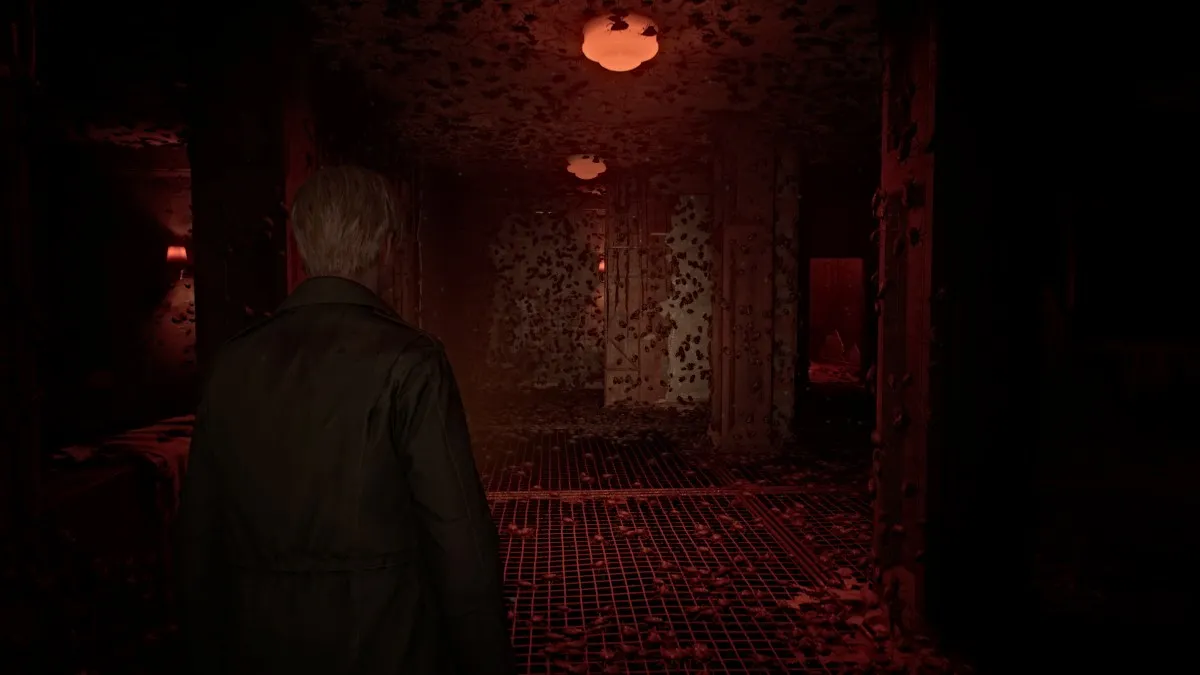
At the end of it all, you'll get a gracious Red Save Point , which we recommend because soon after you'll run into Pyramid Head yet again. He'll give chase and you need to run in the other direction until you reach a familiar-looking barrier made of monsters. This time, however, you're able to get through before Pyramid Head catches you. Continue on into the next room, where you'll find Maria at last, but it seems it's too late once again.
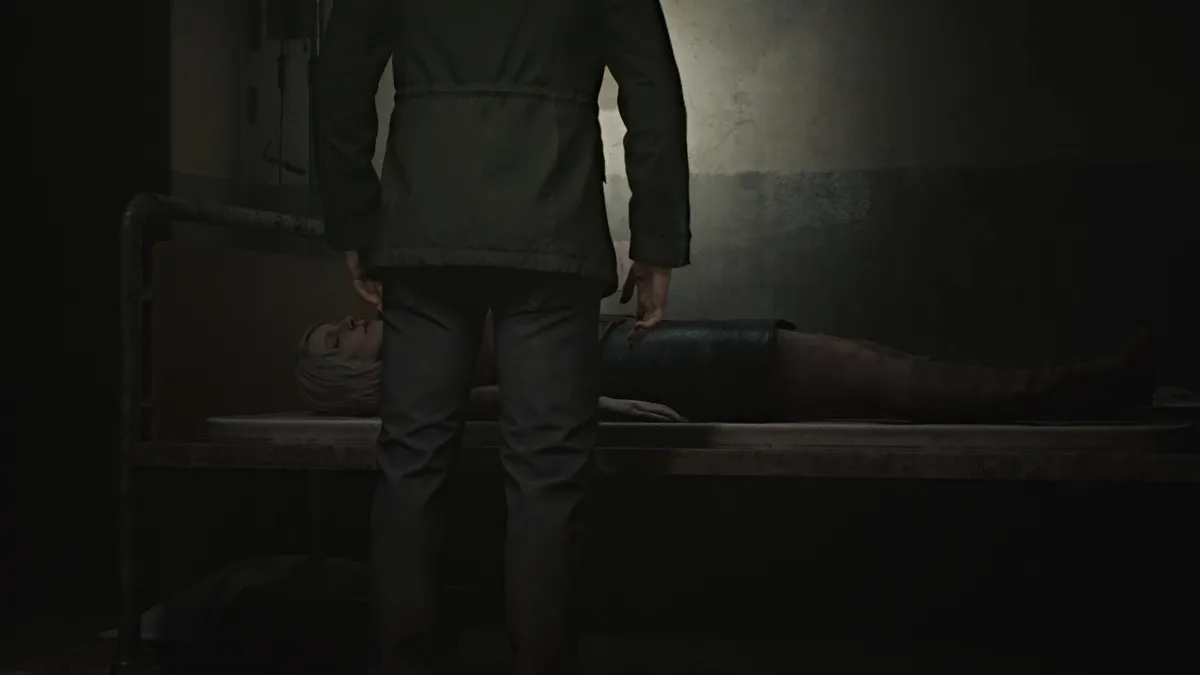
James finds himself overcome with grief at the sight of Maria clearly dead and murdered (likely by the same culprit), and him unable to help her in time. Likely a similar grief to the loss of Mary, he whispers her name and leaves, powerless to do anything else.
Once you leave the room, head up the stairs to where the Rotating Cube Puzzle normally is, but now it's been brutally destroyed, and among the rubble is the Great Knife , Pyramid Head's main weapon.
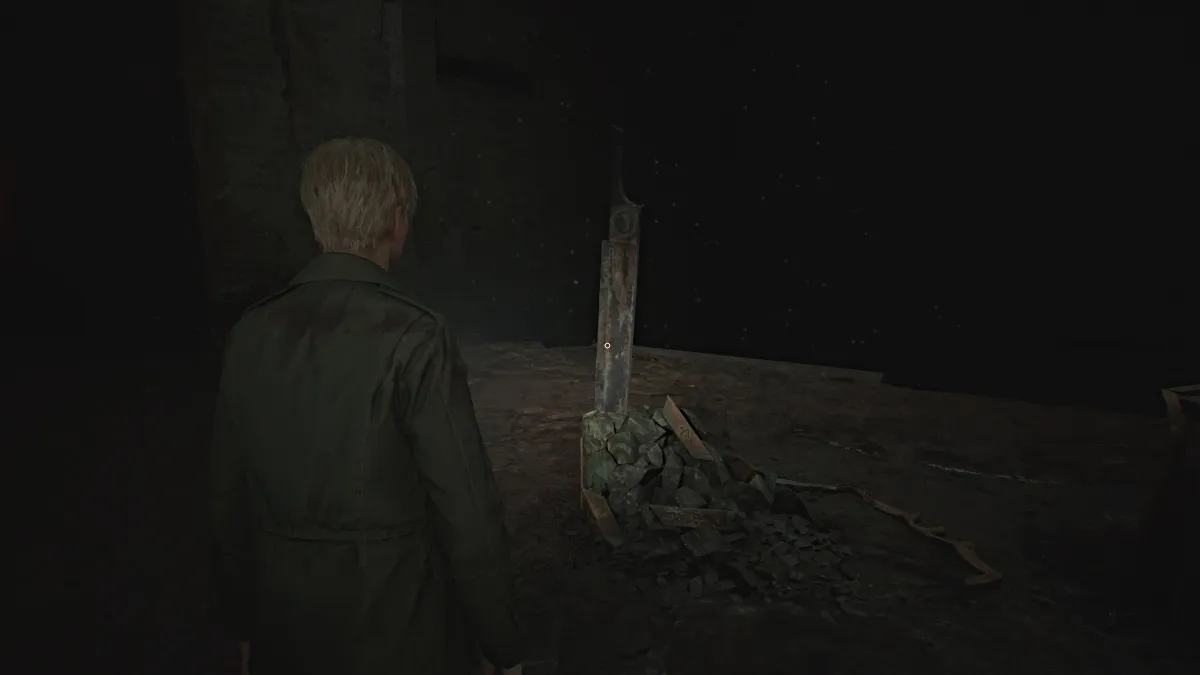
Interact with the Great Knife and James will pry it loose, allowing you to wield it, sort of. Drag it left toward the Strange Barrier and you'll now be able to pass through it. Drag the Great Knife all the way until you're completely through the barrier with a ladder ahead of you. You can now drop it and continue on (sorry, you can't keep it in your inventory this time).
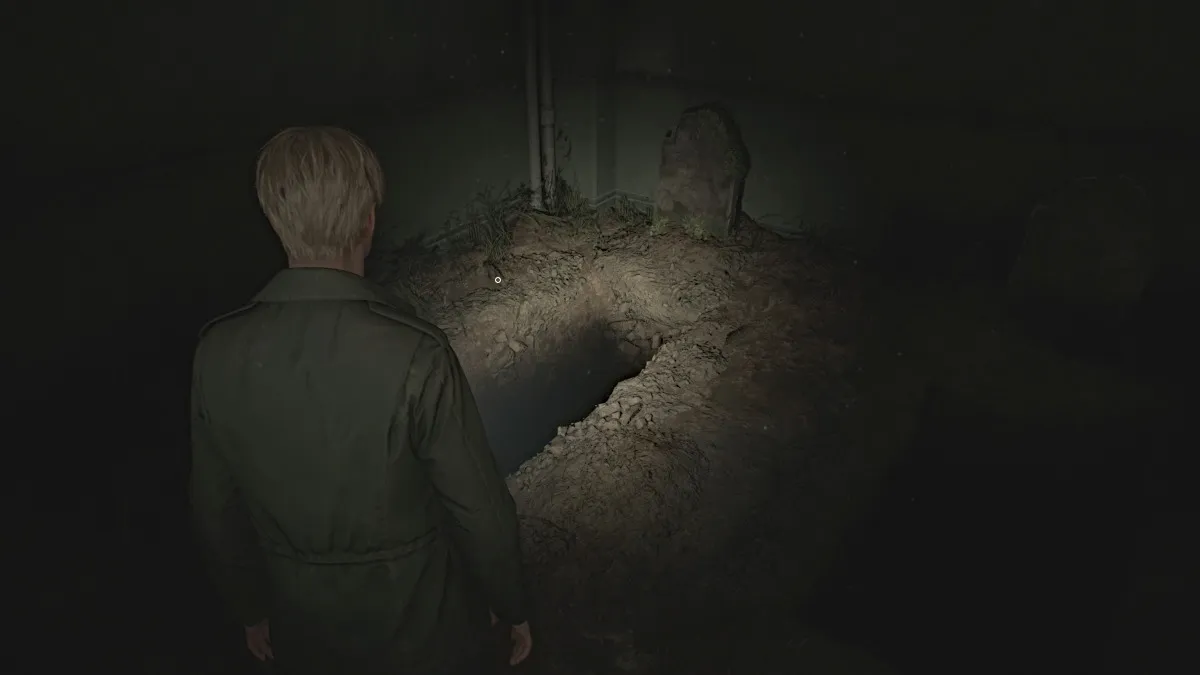
After climbing the ladder, follow the hallway until you can climb back down another ladder, which leads you to a small cemetery area. You can salvage some Shotgun Shells and a Health Drink here. Among the gravestones you'll find three that are of particular importance: Angela Orosco, Eddie Dombrowski, and James Sunderland.
To progress onward, you'll need to jump down into the hole that is your grave. When you're ready, take the plunge to the deepest reaches of the abyss, where your final adversary of the Labyrinth will be waiting. Follow the long hallway ahead of you, and at the end will be a freezer door soaked in blood. Go through it, and Eddie will be on the other side.
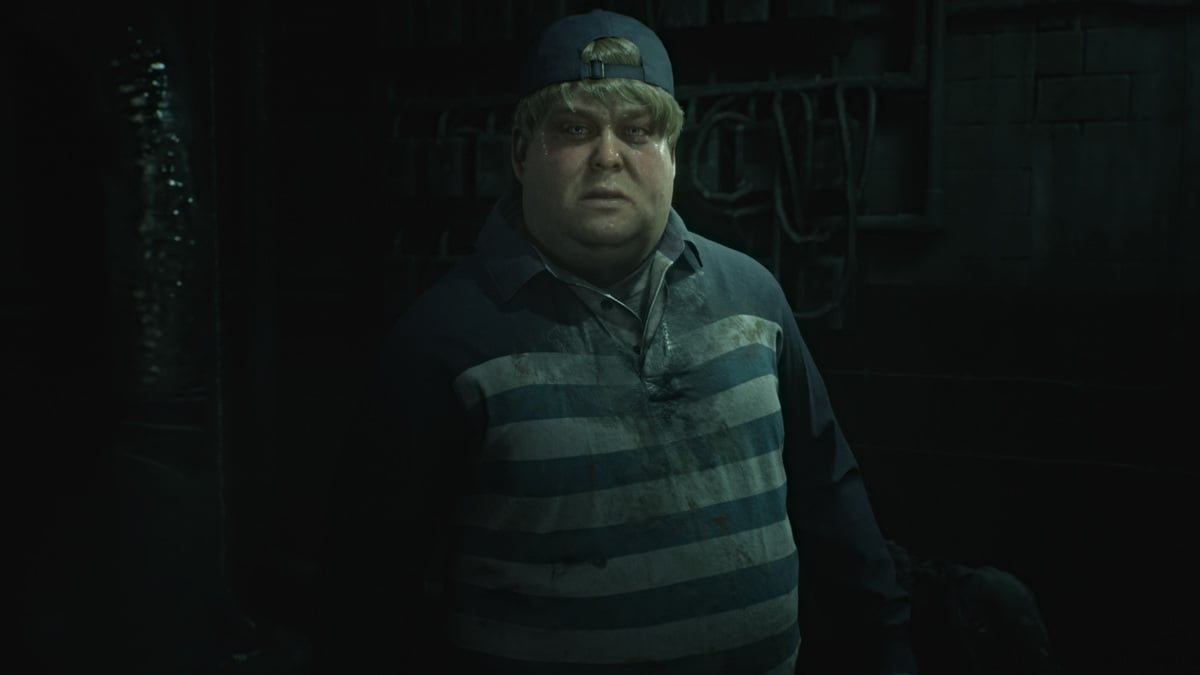
Clearly having lost himself, Eddie claims the corpse in front of him has been following him the whole time, laughing and insulting him. He then accuses James of doing the same, and that Silent Hill called them both because they're "not like other people". Determined to punish James the same way, he coerces him to the meat freezer for a fight.
Grab the Health Drinks on both sides of the room, make sure your guns are reloaded, and then follow Eddie through the same door.
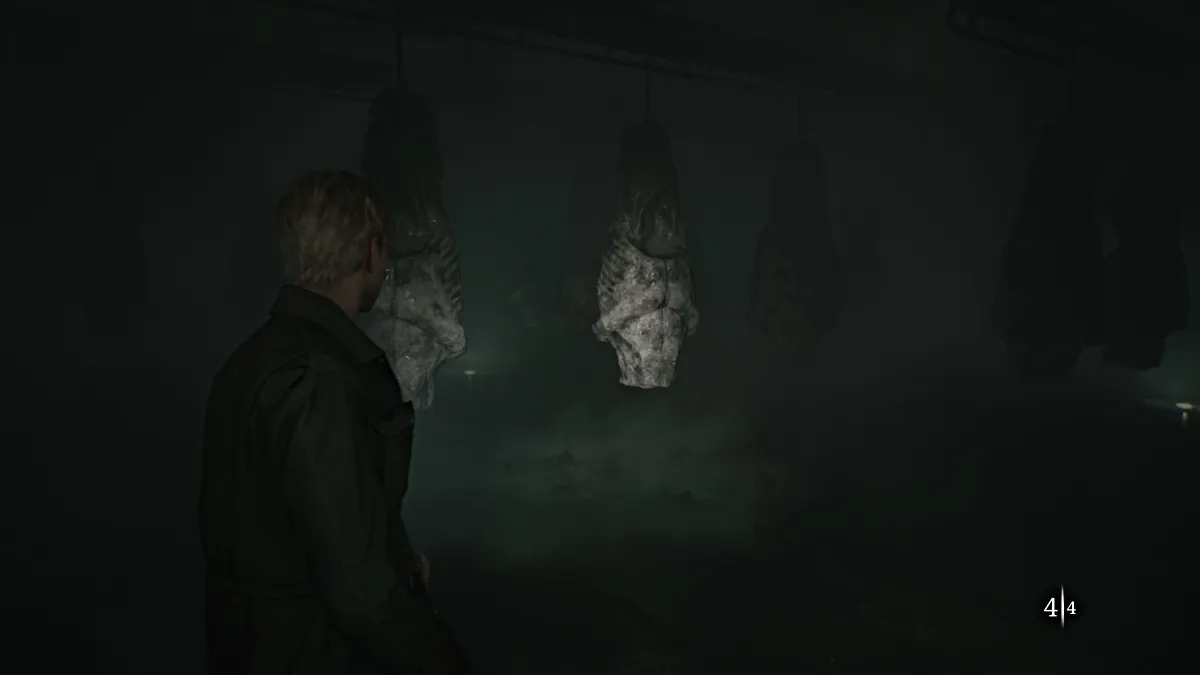
Make your way into the freezer and Eddie will officially engage you in a fight, and you'll want to avoid getting shot by him as much as possible because even just one shot from his gun hurts a lot .
Use the hanging sacks of meat for cover as Eddie circles around for sneak attacks. Do your best to keep him in your sights, or at least a sense of where he is, at all times. There will be some extra Shotgun Shells scattered around the walls of the room.
Shoot him enough times and he'll shoot a gas pipe that fills the room with fog, making it harder to spot where he is. Do your best to keep your back to a wall while waiting for him to approach. After a few more shots, the conveyors of meat will start to rotate, and you'll need to be wary of being caught in the open.
Be extra vigilant as Eddie will get more aggressive now with more gunshots and will attempt to sneak behind you for a pistol whip. Keep damaging him as much as possible and soon he'll succumb to his wounds and collapse, dead.
There's nothing left to do, so find the black double doors and open them to find your way out. Go through one more door, and you'll find yourself somehow back outside at the edge of Toluca Lake.
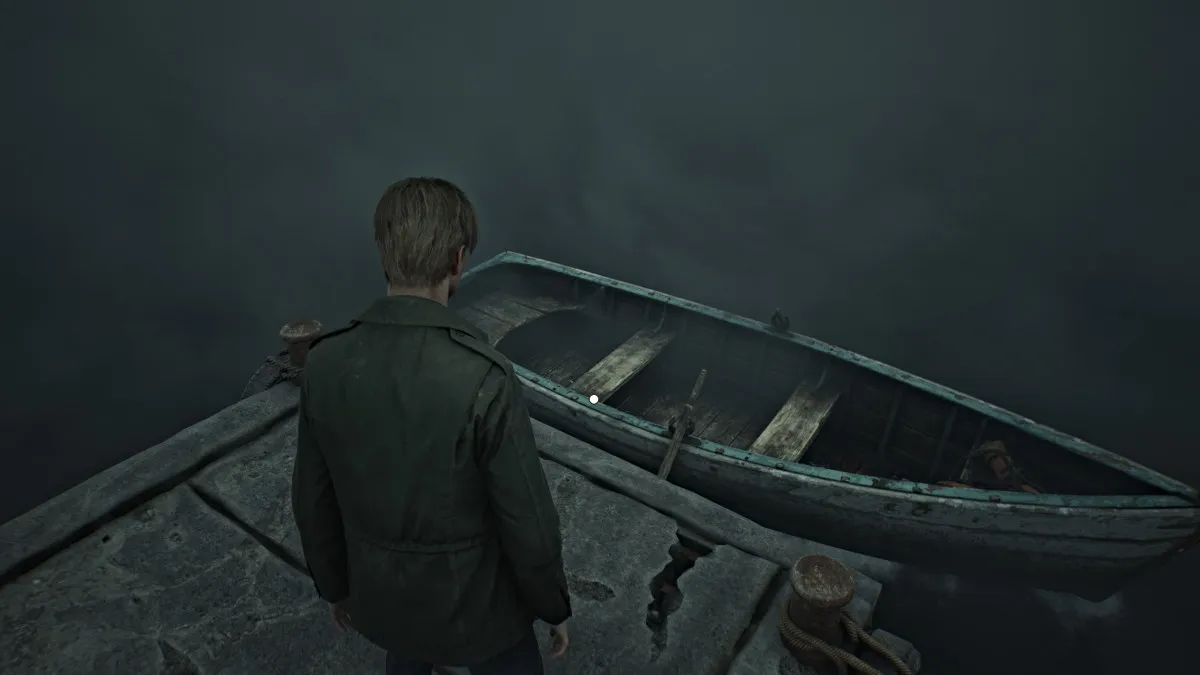
With all that James has experienced so far, it's now time to go to the one other "special place" Mary could be, which is the Lakeview Hotel . To get there though, you'll need to get across Toluca Lake, meaning you'll need a boat of some kind. Walk down the pier after using the Red Save Point and a small rowboat will be waiting for you.
After James climbs in and starts rowing, you'll soon need to take over yourself. You can control both oars separately (to turn if you veer off-course) with the appropriate controls or together at the same time to row straight.
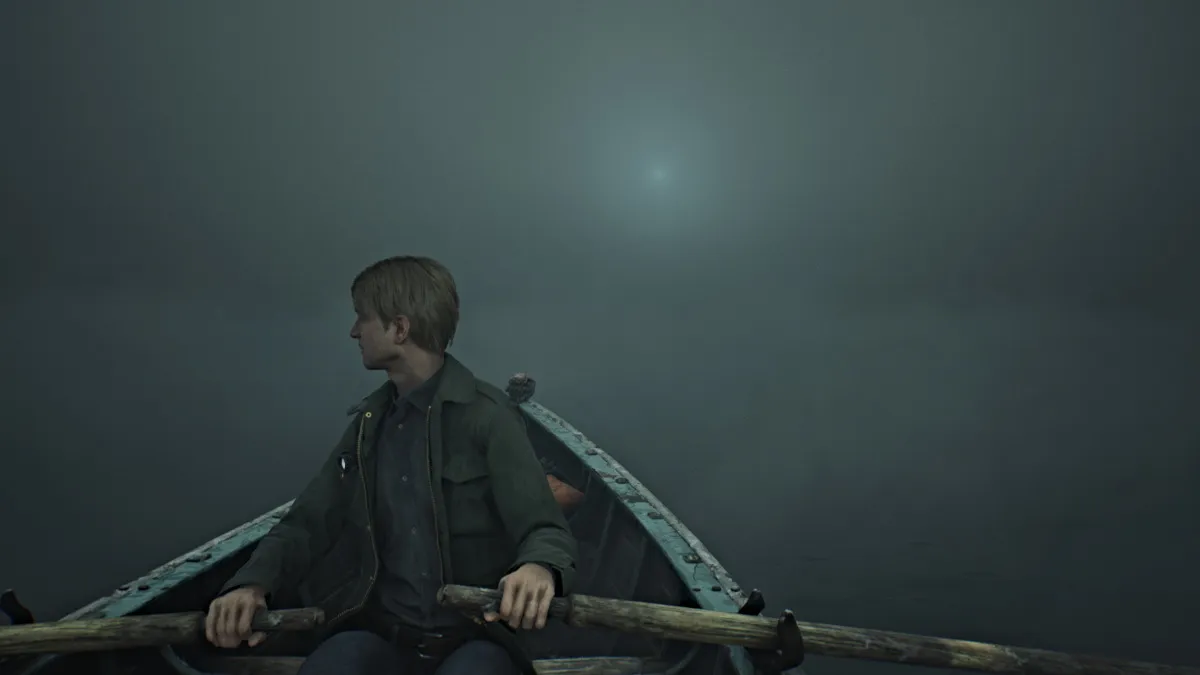
Your goal is to follow the light in the distance, which is coming from Lakeview Hotel. As you get closer, the light will grow bigger and brighter, so follow it until James reaches the pier in front of the hotel.
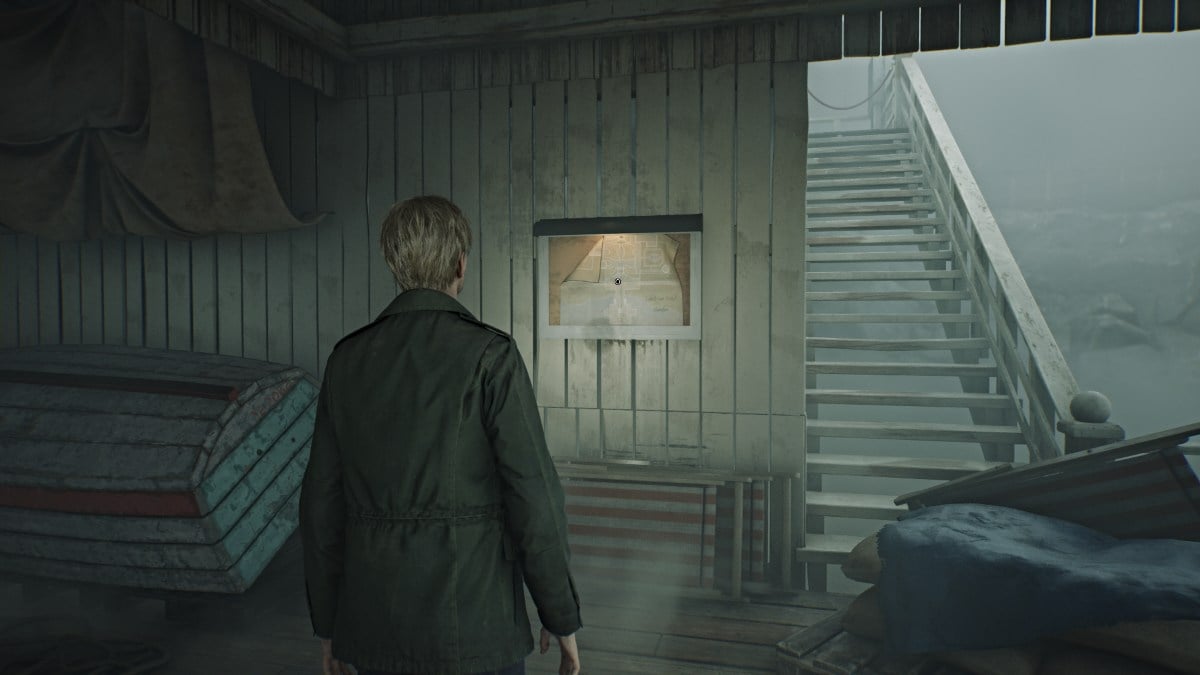
After another brief cutscene, you'll find yourself at the Lakeview pier. Go immediately to your right where you should spot the Lakeview Hotel Garden Map posted on a wall. Take it to get a look at where you are, which is the massive front entrance to the hotel.
For now, head up the central stairs and north in the direction of the garden area. Go up the next set of stairs and head left to find some Handgun Ammo in a gazebo. Now run to the far right side and on a small bench will be the Rotten Apple . Take it and make your way up the east side of the garden. Inside the Fish Fountain, you'll find a Glimpse of the Past in the form of a broken music box.
There's nothing else of note outside for now, so head to the hotel's entrance where you'll hear a piano being played inside.
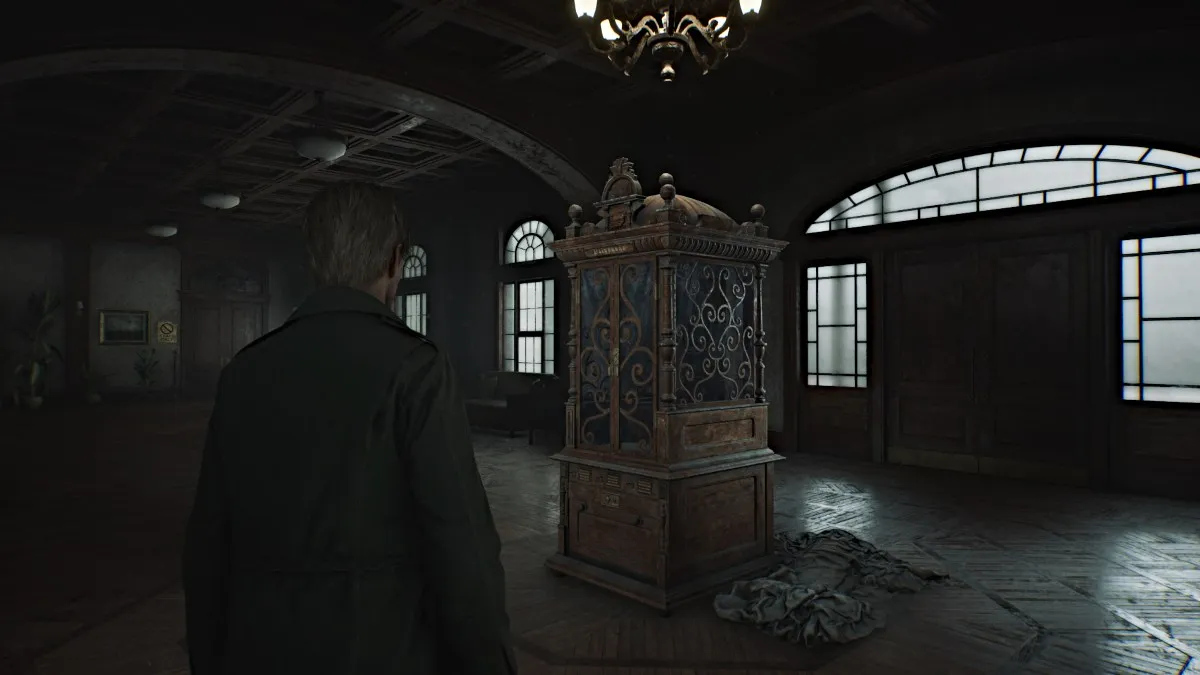
Go through the double doors and head right to collect the Lakeview Hotel 1F-3F Map , which also shows a map for the Venus Tears Bar in the Basement. Now, circle around to the front of the lobby, where you'll see a large and ornate Music Box (seen above) that requires a special key to open it.
Backtrack a bit and go inside the Check-In Room on the right to find a Red Save Point , a keyring that contains both the Room 312 Key and the Ornamental Key , and the Receptionist Memo that mentions the videotape James and Mary left now being kept in the Employee Section of the first floor .
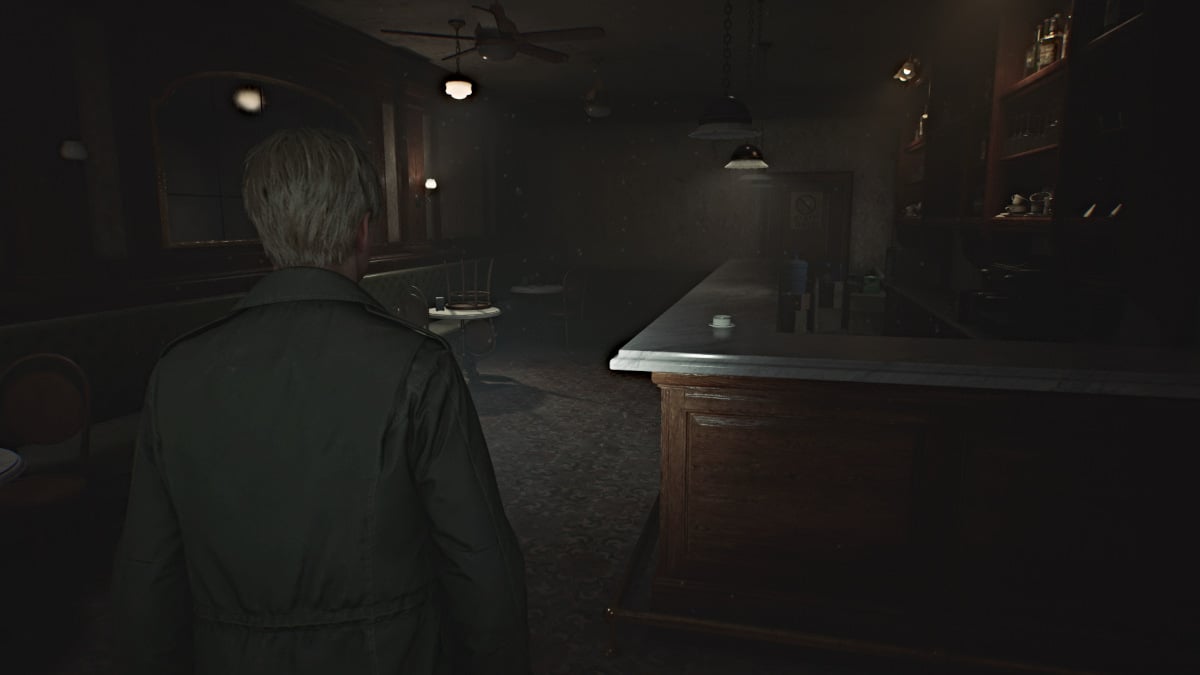
Go check out the far right side of the lobby for some Handgun Ammo and head into Cafe Toluca . Grab a Health Drink from one of the tables, then go behind the bar to find the Room 102 Key at the far end. Go around the corner to find a breakable spot in the wall, letting you through to the Lost and Found Room. There you'll find more Handgun Ammo and the Lost and Found Note .
Go back to the Music Box machine and use the Ornamental Key to open it. Inside you'll see that three figurines are required to play the music reels. For now, head down the left side of the lobby and through the open door on the left, where the piano tunes are coming from.
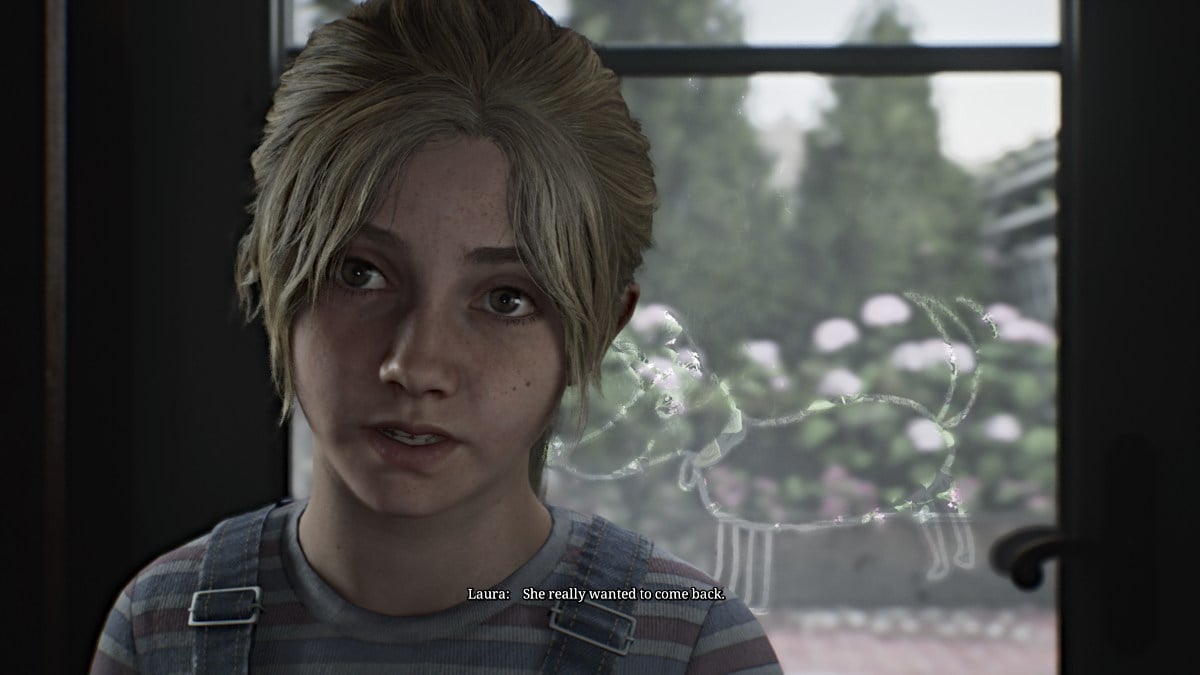
While looking around in the Lake Shore Restaurant , James gets startled by Laura hiding near the piano. The two of them talk about Mary and how they both want to find her for very similar reasons. In a letter from Mary addressed to Laura, it's revealed that Mary cared deeply for her and even hinted at adoption, if things had been different and she wasn't sick.
After James reads the letter which ends with Mary wishing Laura a happy eighth birthday, he asks her how old she is. Laura reveals that she turned eight "last week". That would mean that James' timeline of events has completely crumbled, as Mary didn't die three years ago after all, or even last year. If that letter is real, then Mary died only days ago.
Before James realizes that, however, Laura says that there was a second letter for James. She hands the envelope to him, but somehow it's empty. For now, she runs off to look for it.
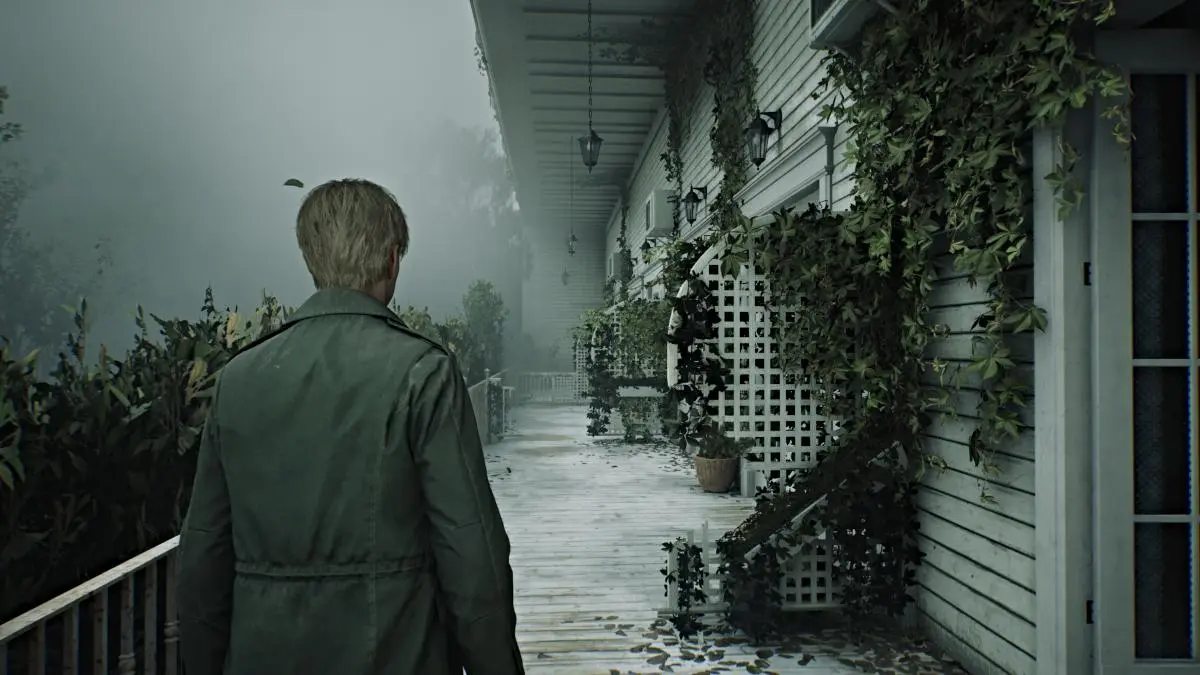
After leaving the Restaurant, follow Laura to the hotel rooms on the east side of the floor . As soon as you go through the parlor doors, however, you'll see that monsters are dwelling in the halls. Deal with the ones in your way and check the small cabinet outside Room 101 for some Handgun Ammo . There's nothing of note in that room, so go to Room 102 .
Use the key to get in, and inside you'll find a nice trove of useful items, including a Syringe , Health Drink , Shotgun Ammo , and Rifle Ammo .
Leave the room, and right across from the door, there's a crawlspace that leads into Room 103 . Slip through and grab the Health Drink from the bedside table before heading out to the patio. To the right, you'll notice that you can go all the way across to the other side. Every other room along the way is locked from the patio side, except for Room 106 at the very end.
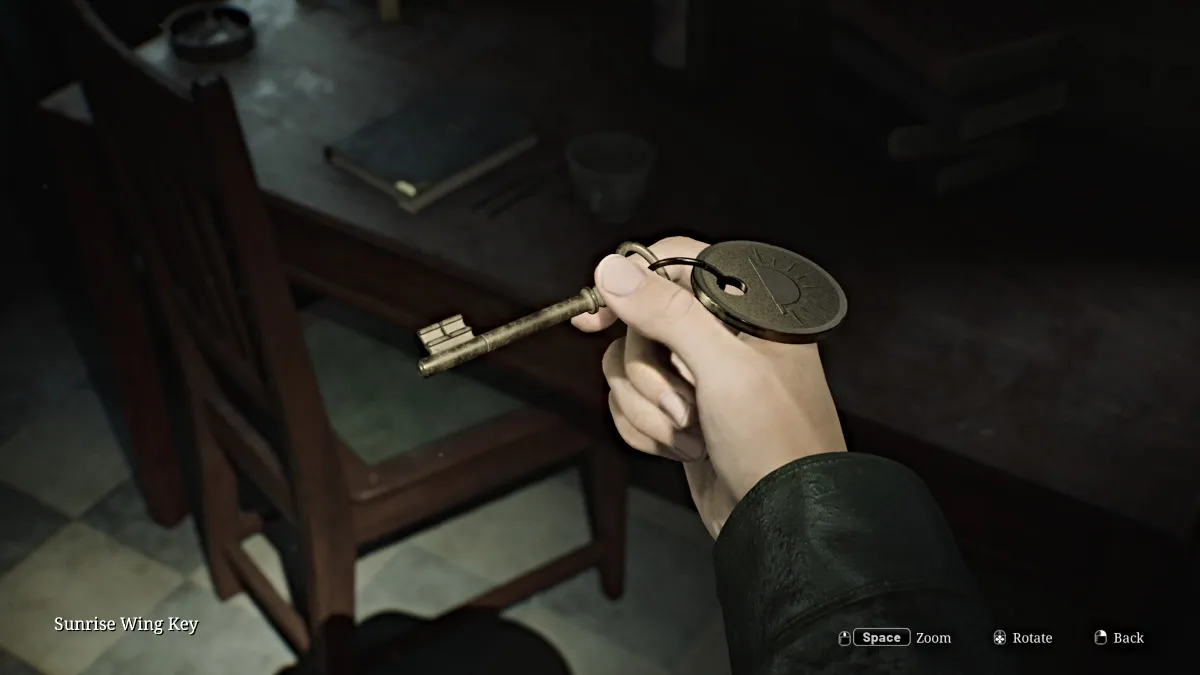
Go inside and check the bedside table for some Handgun Ammo , then go out into the hallway. A couple of Mannequins will ambush you in the dark, so take care of them first. Go check Room 104 , the only other accessible room on that side for the "aftermath..." Strange Photo and some Rifle Ammo .
Room 107 at the far south end requires a key to get in, so for now check the Utility Room nearby. Inside there's some Handgun Ammo and the Sunrise Wing Key , which unlocks an area of the second floor. Afterward, go unlock the door nearby that leads back to the front entrance area, if you want.
For now, make your way back to the lobby and up to the hotel's second floor.
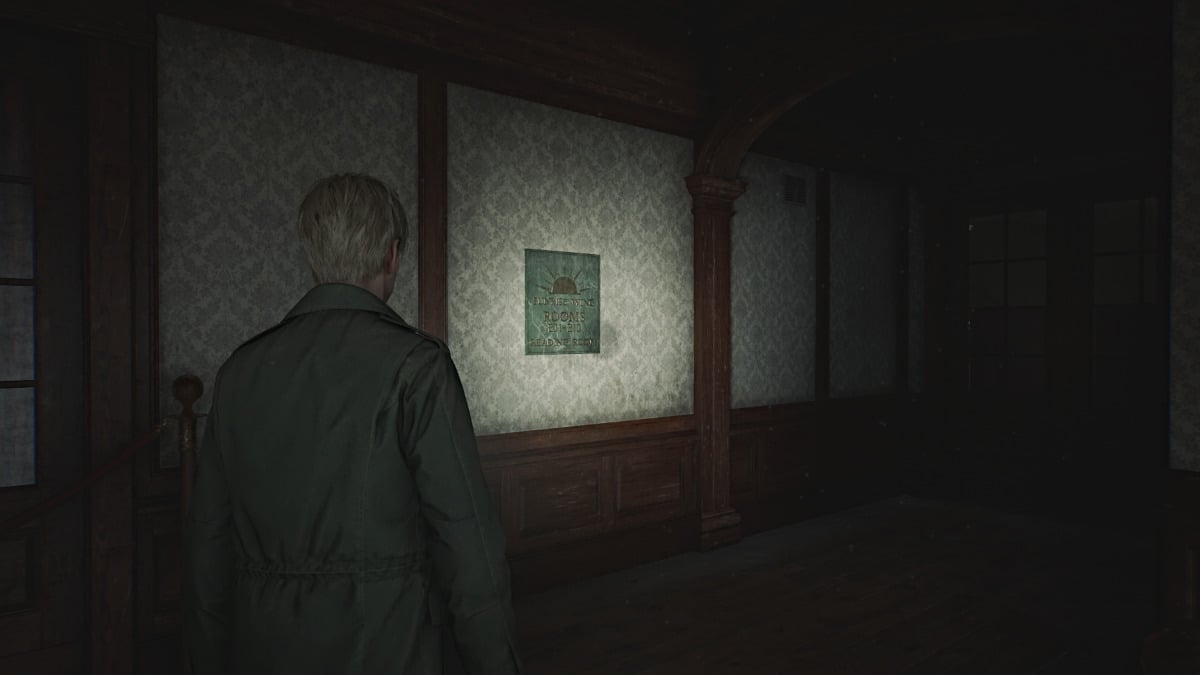
Upon reaching the second floor, you'll notice that the west half of the floor is locked off. So for now, go to the east side, which happens to be the Sunrise Wing where you can use the key you just got. Head inside and watch out for more lovely spider Mannequins crawling the walls and ceilings.
Before you investigate the Reading Room, duck into the Cloakroom on your left, which gives you access to the Hall room next door. Go in there and grab the Room 202 Key from a couch on the left side, then deal with a couple of Mannequins to get to the back of the room where you'll find the Ripe Apple (yum).
The patio is accessible and leads to the west side of the floor, but hold off on that for now.
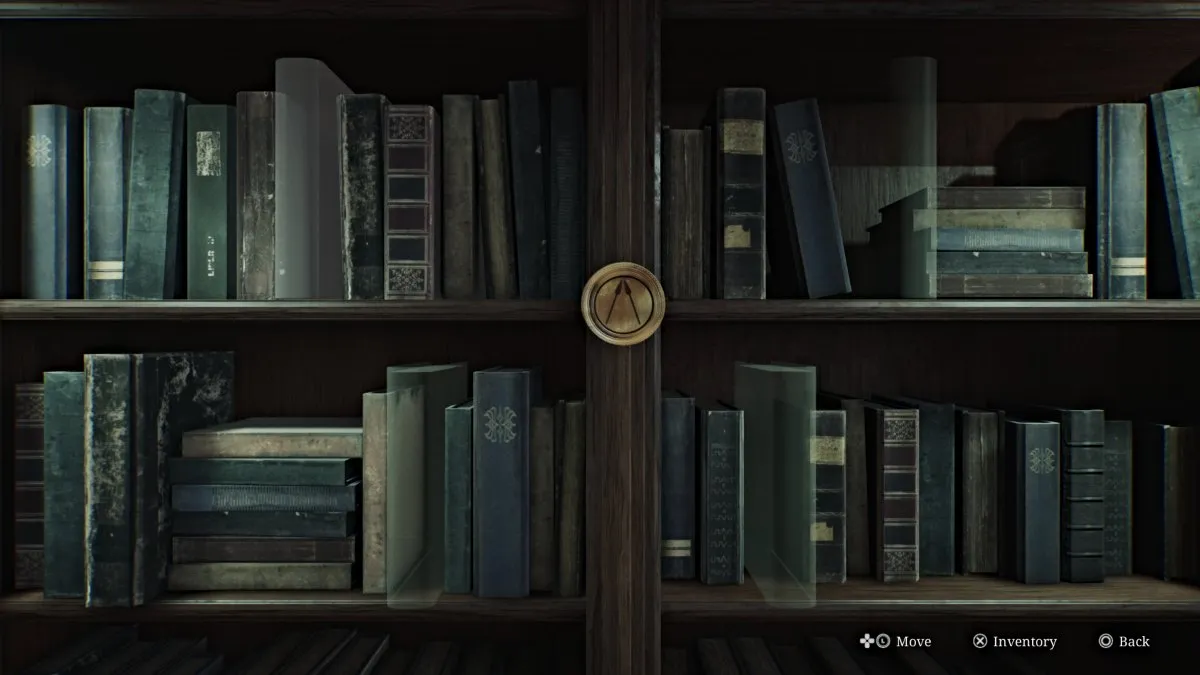
Now head into the Reading Room on your right, which James has marked on the map. Inside will be a Red Save Point along with four books you can pick up, including:
You'll need to place these books in the correct spots on the nearby bookshelf with a bronze emblem marked with two spears. Notice that the spine of each book has a different gold symbol, including an Eagle, Angel, Lion, and a Bull .
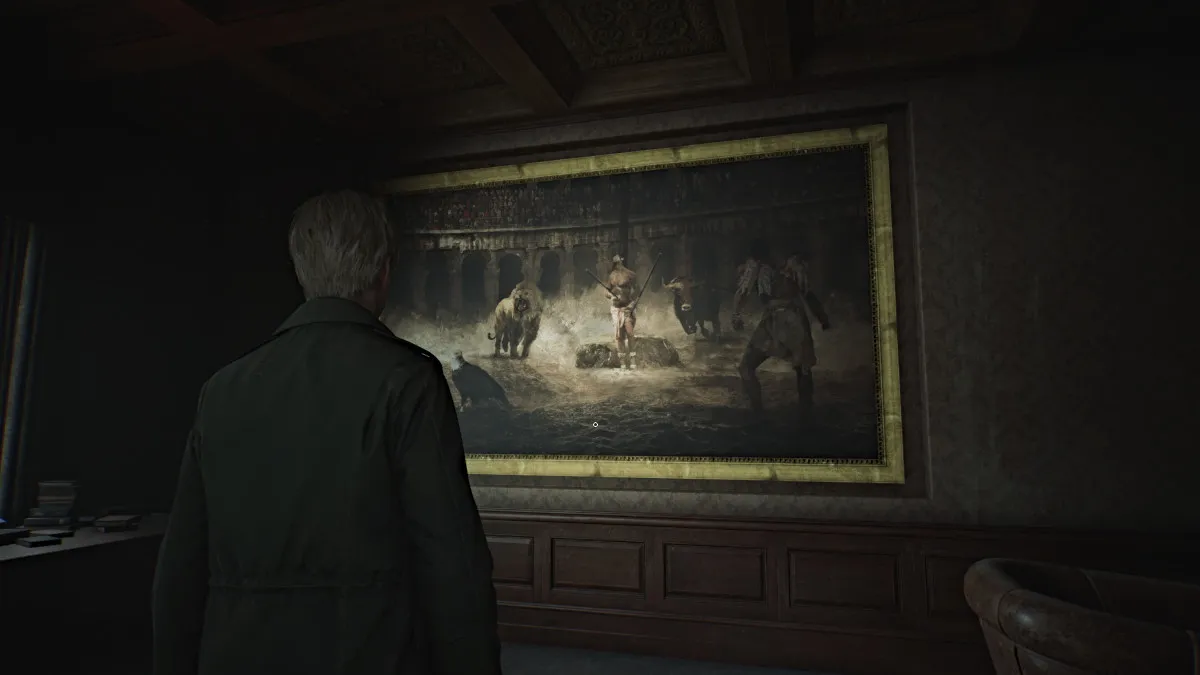
Next, look at the huge painting on the opposite wall, and you'll notice that it contains all of the aforementioned symbols as painted subjects. Two are in the background while the other two are in the foreground . Based on that, the books need to go on the shelf in the following order:
| Libro | Ubicación |
|---|---|
| The One Who Soared (Eagle) | Top Right Slot |
| Revelations: A New Understanding (Angel) | Top Left Slot |
| Stalwart to the End (Bull) | Bottom Left Slot |
| Pride Before the Fall (Lion) | Bottom Right Slot |
Once done, the bookshelf will slide back to reveal a secret room that also connects to Room 205. Go inside where you'll find a series of Photos (#1-3) in the room along with a Briefcase that requires a letter-based combination to open.
Normally, to figure out the code you would need to replace the broken light bulb in the nearby Vanity Mirror with a new one. To do that you need to find the Paint Can (Room 318), the Can Opener (fallen book in Lake Shore Restaurant), and the new Lightbulb (locked left side of Garden area; use Boltcutters to access).
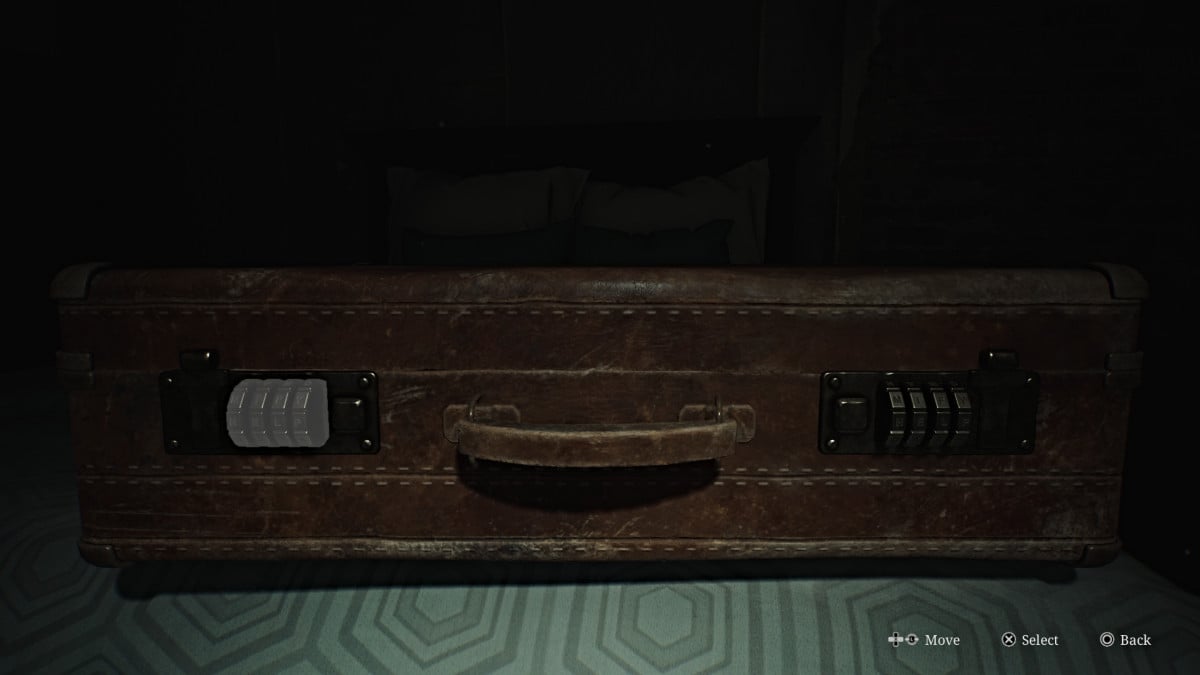
However, if you'd rather save time, the correct combination (Standard Difficulty) is "DEED DONE" . So input "DEED" on the left combination lock and "DONE" on the right one. Inside the Briefcase will be the Employee Elevator Key .
Up top, only Room 209 is accessible but has nothing valuable (only a Mannequin to jumpscare you). Head south and into Room 206 , where you can use a crawlspace to enter 207 and claim some Rifle Ammo . Double back out to the hall and Room 204 will have a Health Drink and Handgun Ammo for the taking.
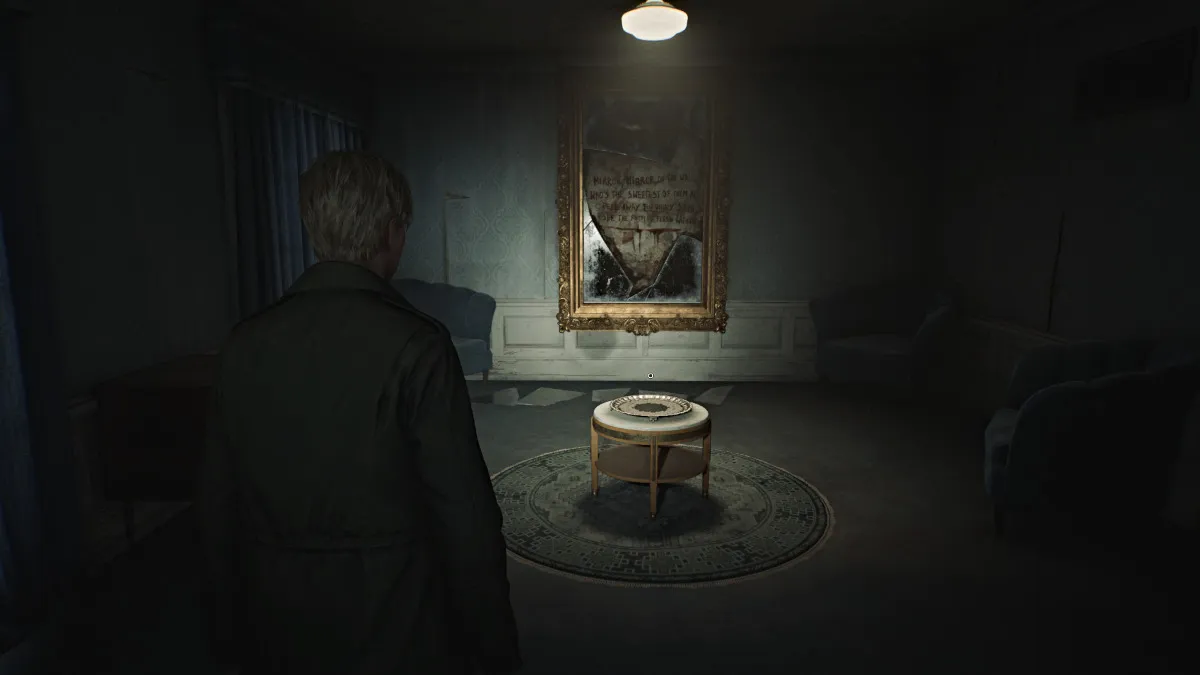
Finally, go to Room 202 and use the key you got to enter. Inside you'll find an ominous room with a small table and a platter on top of it. On the wall behind it is a broken mirror with words inside written in blood. "Mirror, Mirror, on the wall, Who's the sweetest of them all, Peel away the shiny skin, See the rotting flesh within."
On the floor beneath the mirror are five broken shards . A sixth one can be found in the bedroom on the opposite side; grab it before you start the puzzle. When ready, you first need to place either the Ripe Apple or Rotten Apple on the platter. For the sake of completing the puzzle, your choice doesn't matter.
Next, you'll be required to place each of the broken shards on the floor back into the mirror in the correct spots . The last one will be the one you took from the bedroom.
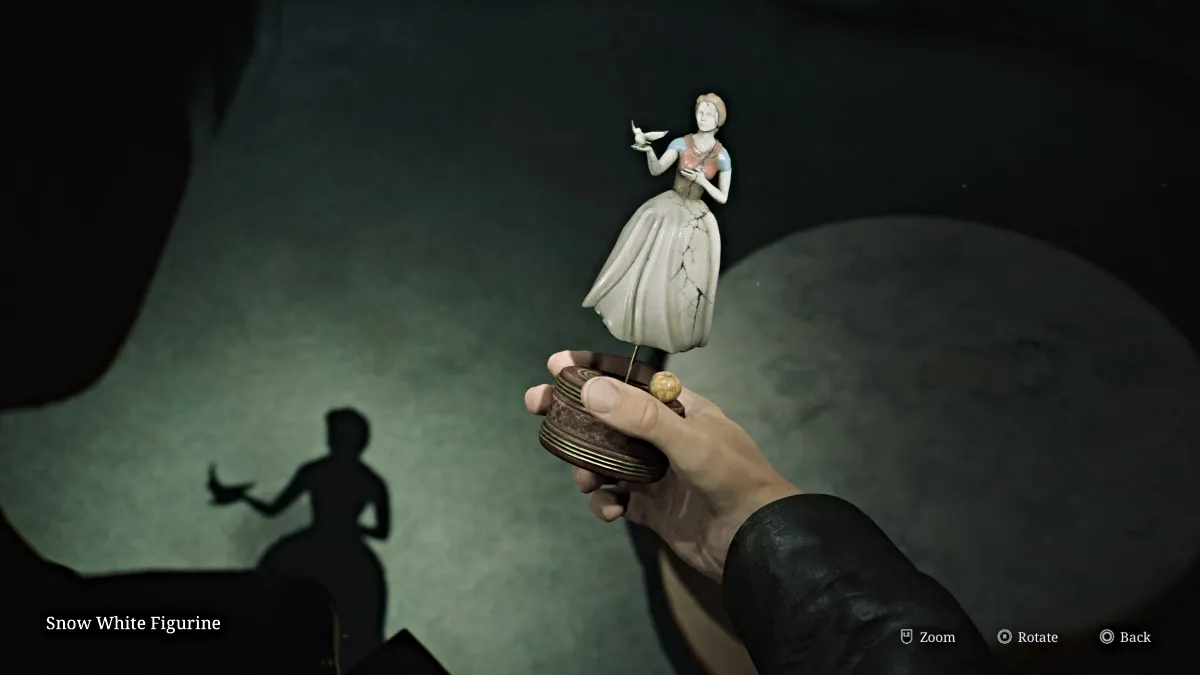
Once done, the mirror will reform and you'll then want to head to Room 201 next door to claim your reward, the Snow White Figurine .
Now make your way back through all of the spider Mannequins to the Cloakroom , and cut through the Hall room to the extended patio outside. Use it to reach the Nurse's Office on the left side of the floor, where you'll find a Bubble Nurse and a medical record sitting on a desk with the initials "MSS". Mary's perhaps?
Go out to the hallway and unlock the double doors to your left to make the Sunset Wing on the west side accessible. Go straight and around the corner to get some Shotgun Shells from a drawer. Bypass the Employee Elevator Room for now (for a specific reason) and explore the rest of the rooms on the floor first.
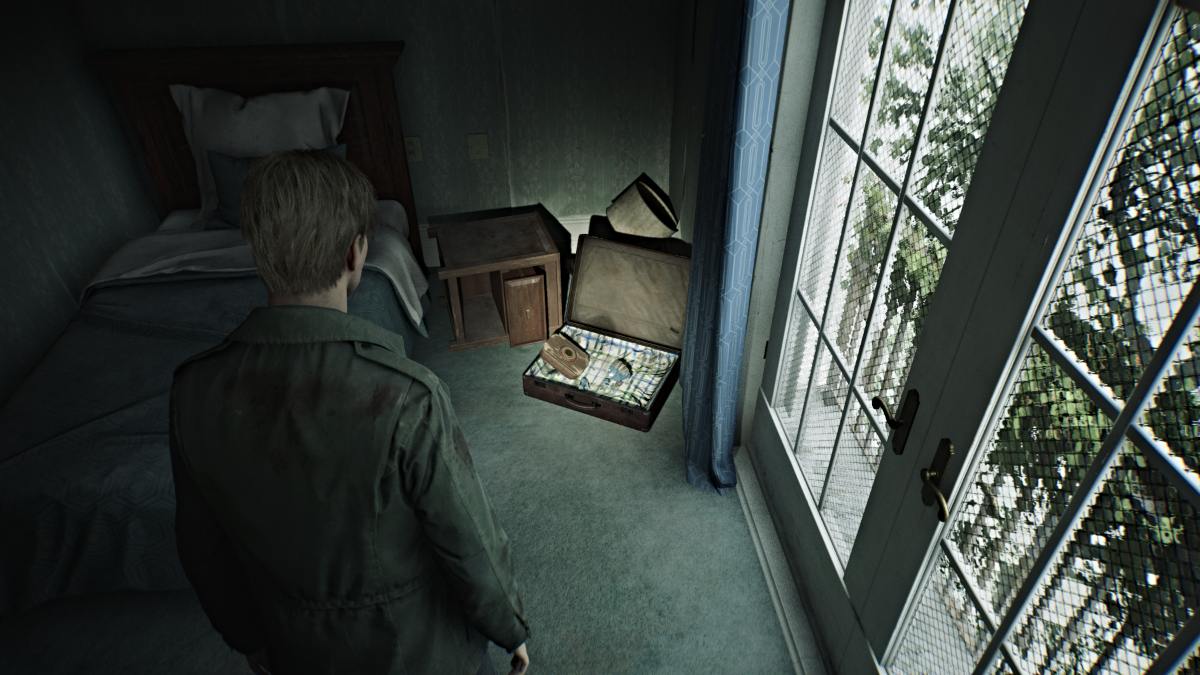
Note that the third floor is accessible from this side . Grab some Shotgun Shells from the drawer near Room 214. Go straight up the hall to the window at the far north end, where a Mannequin will be hiding and some Rifle Ammo on a table. Double back and turn right to find more Rifle Ammo at the end of that hall.
Inside Room 212 you'll find another Glimpse of the Past in an open briefcase. Leave and now head up to the third floor.
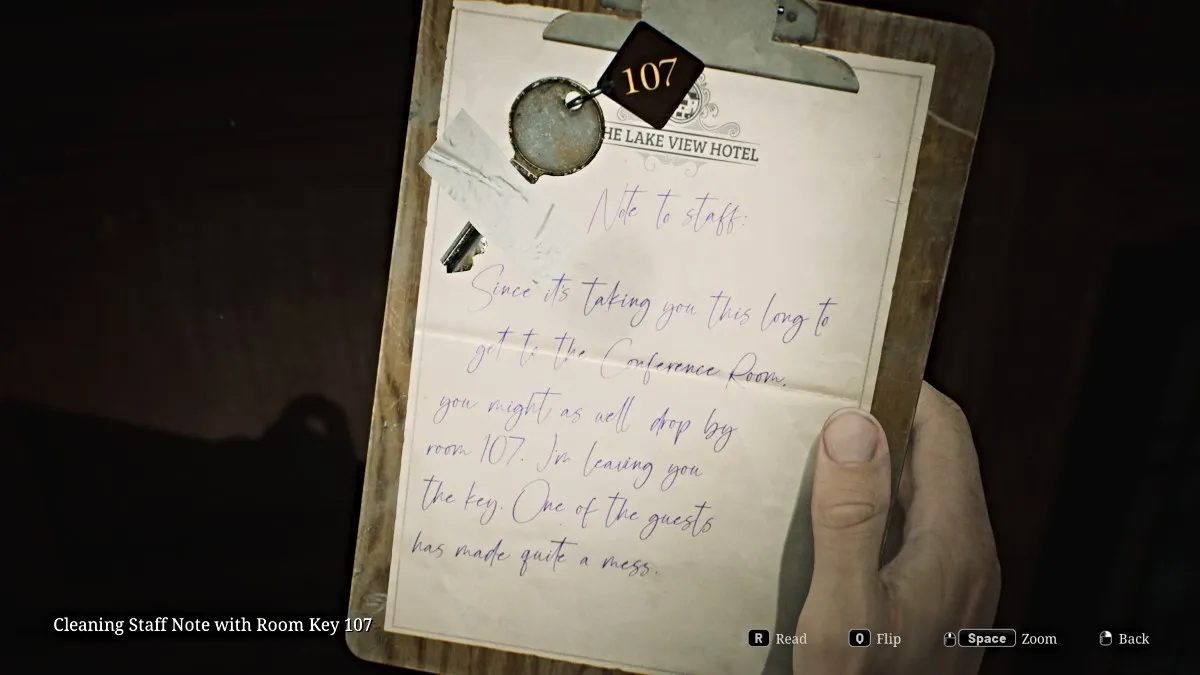
Go up the stairs to the third floor and first head into the Conference Room in front of you. Go across the room and pick up the Cleaning Staff Note With Room 107 Key off the fireplace. Now interact with the fireplace itself, and you'll notice one of the Music Box Figurines is stuck inside it . You'll need something to unlock the fireplace first.
For now, run back out into the hallway, and you'll notice double doors locked by an iron gate. If you approach it, Mary's voice will suddenly shout for James, surprising him. You'll need a key to access that part of the floor, however. For now, go check the Utility Room around the corner, where you'll find Handgun Ammo , Shotgun Ammo , and a set of Boltcutters (used to unlock the outside Garden's left side).
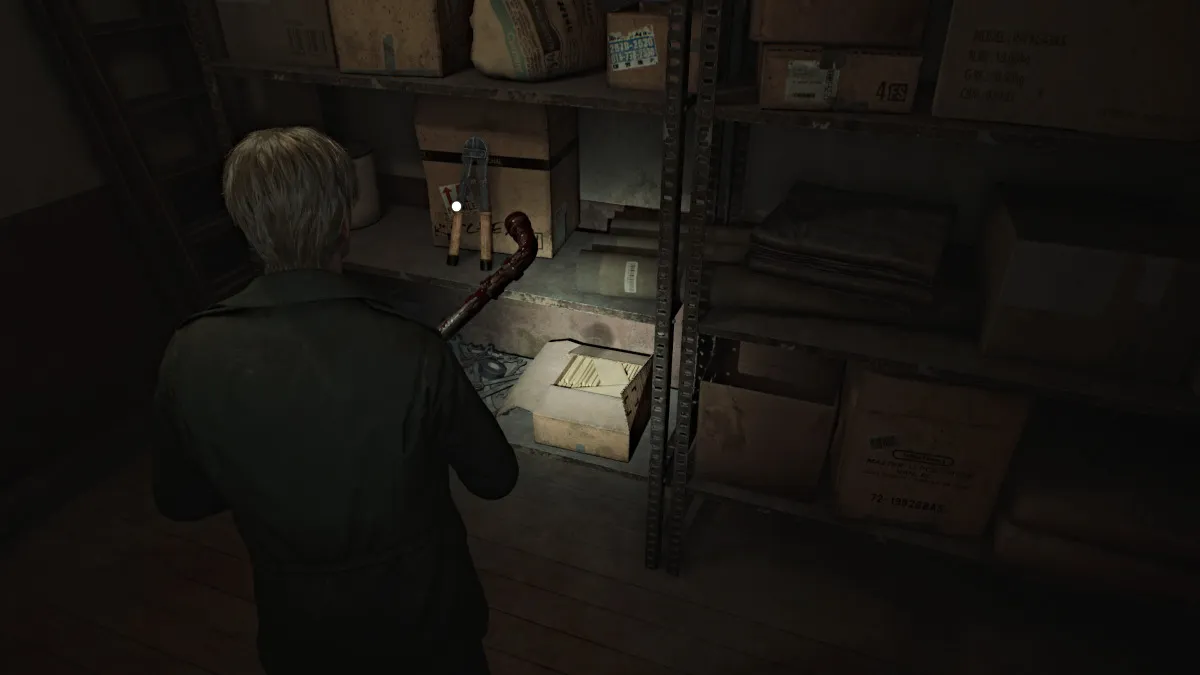
Double back around the hallway to where you see a bright red 'Exit' sign. This will take you outside and down a stairwell (grab the ammo from the table on the way down) to the second floor, into the southeast corner you couldn't access before.
First go into Room 215 , where you'll find a breakable wall that will take you to 214 . Unlock the door in there, and you now have a handy shortcut to the other side of the Sunset Wing.
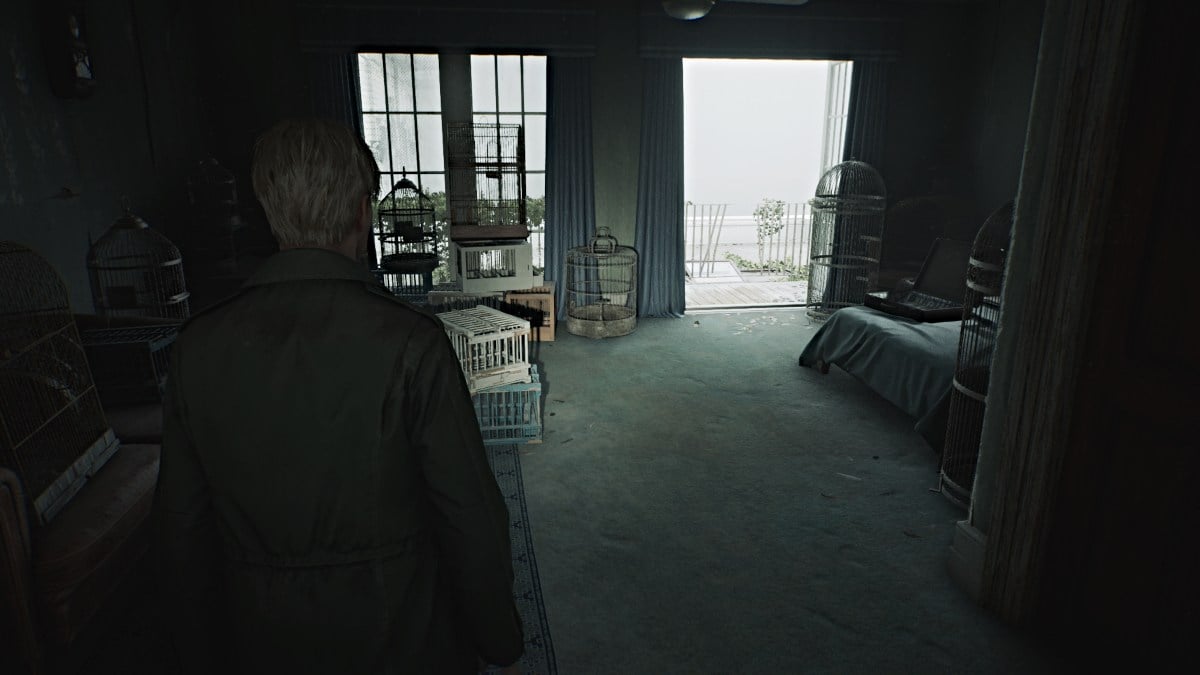
Now double back to Room 217 , a room full of bird cages where the patio doors will blow open, making another path for you. Grab the ammo from the suitcase on the bed and go look outside, where you'll see another red book lying on the glass ceiling across the way. Use your Handgun to shoot the cracked glass plate underneath it, so it falls into the Lake Shore Restaurant below.
Use your new shortcut and head all the way back down to the first floor and to the restaurant, where the book will be lying on top of a box. Interact with it, and it will open to reveal the Can Opener (for the Paint Can, if you're uncovering the briefcase code yourself). Take it and then head to Room 107 , now that you have the key for it.
Unlock it and go inside. First, pick up the Cleaning Staff Note #3 from the nearby table, then a Health Drink from the bathroom, and then head outside to the patio area.
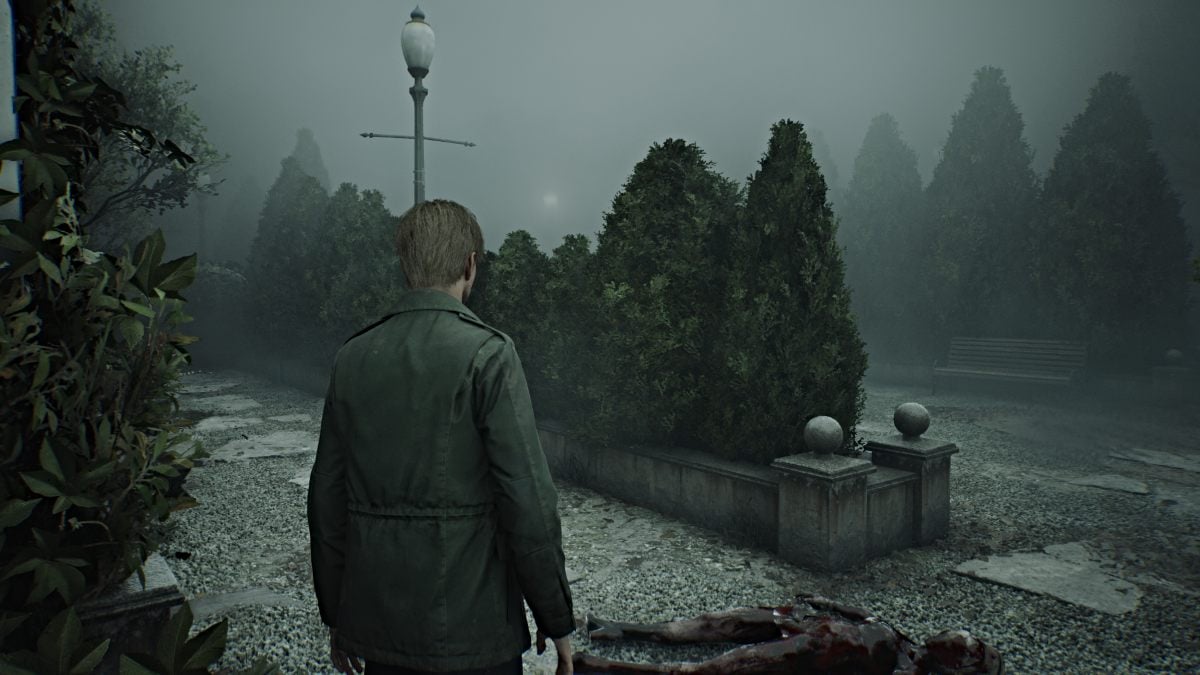
Turns out that this leads to the east side of the Garden area that you couldn't access initially. Grab Shotgun Shells from the table near the doors then start exploring the area. Deal with the monsters patrolling the grounds and make your way to the gazebo in the back corner. Inspect the overturned cleaning bucket and you'll get the Fireplace Key .
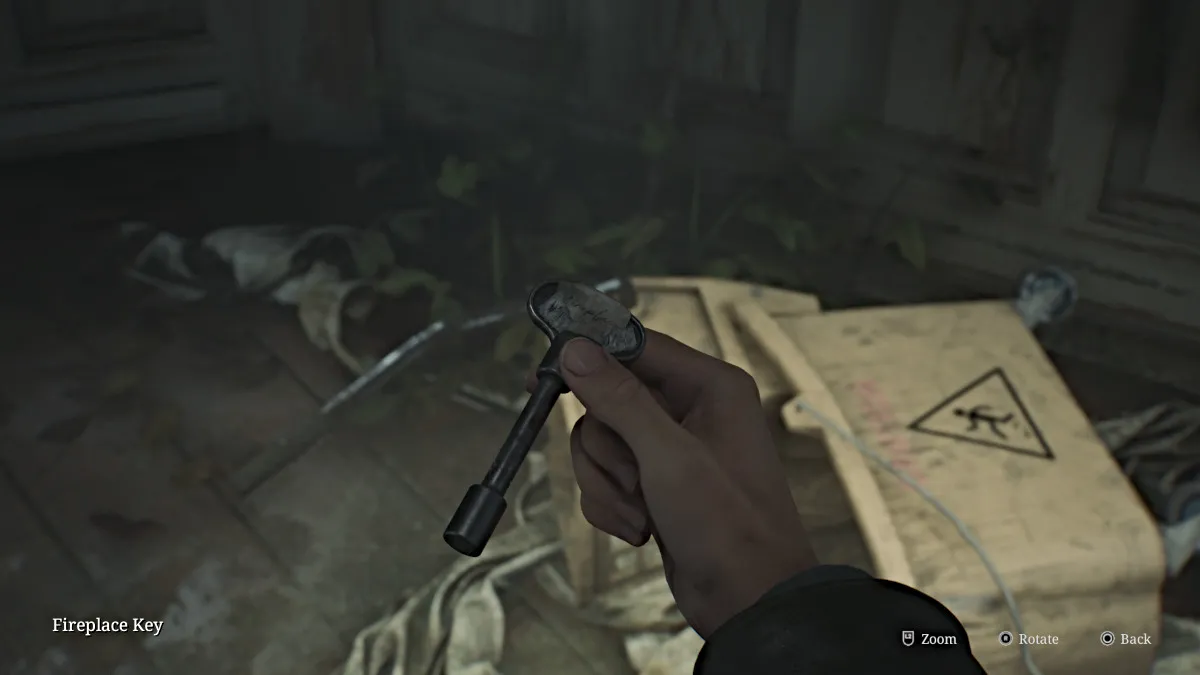
Now you can head back up to the third floor to put that key to good use.
Make your way back up to the third floor of the hotel (notice that some walls and windows are starting to wither) and go into the Conference Room . Run over to the fireplace and use the Fireplace Key to unlock it and retrieve the Cinderella Figurine .

A cutscene follows that shows a huge Mandarin enemy burst through the side of the room and attack James. While it may look like it at first, this isn't a boss fight. Just unload some Shotgun Shells (or whatever you have) into it until it dies.
Go into the side room the monster came from and grab a Health Drink and ammo from the phone table, then turn your attention to the shelf ahead. Push it out of the way to reveal a breakable wall. Bust through it to get into Room 317 . The wall behind you will collapse, so the only way forward is outside.
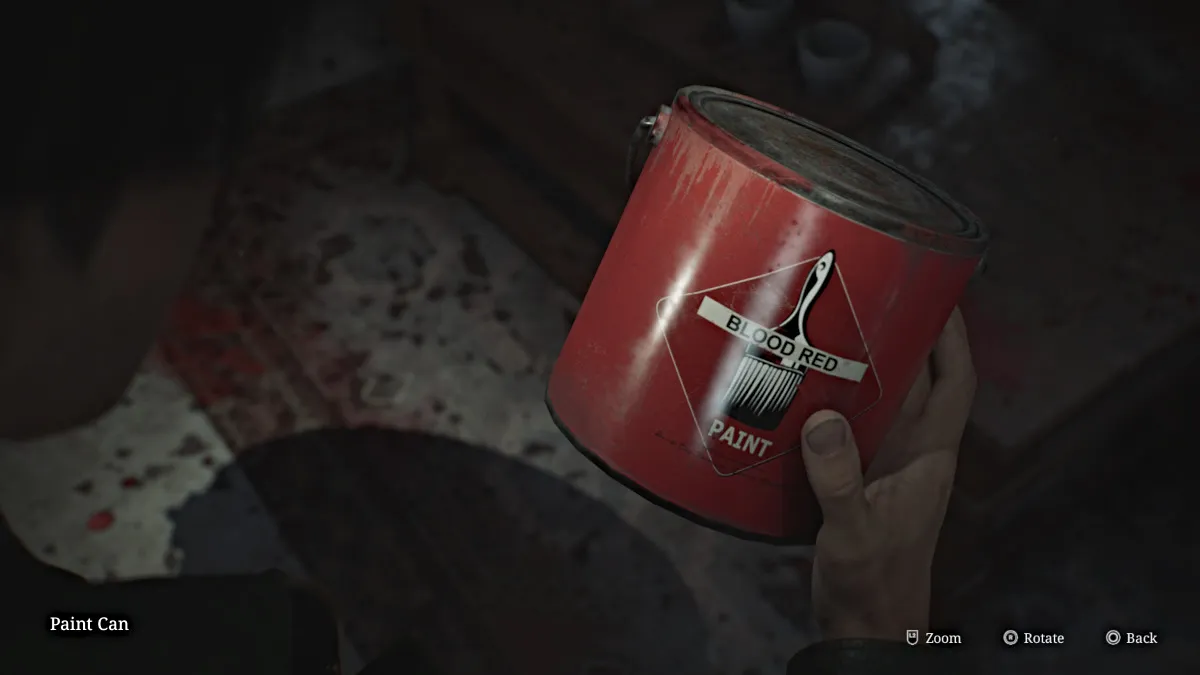
Hop across the low fence to the patio of Room 318 and go inside to see what looks like a catastrophic mess of blood on every surface, but it turns out to be red paint. There's an unopened Paint Can for you to claim, and you can combine it with the Can Opener to open it. You just need a Lightbulb to dip in the paint itself, which is at the fish statue in the Garden area.
You can take all those items back to Room 205 behind the Reading Room and use them on the Vanity Mirror to reveal the aforementioned code.
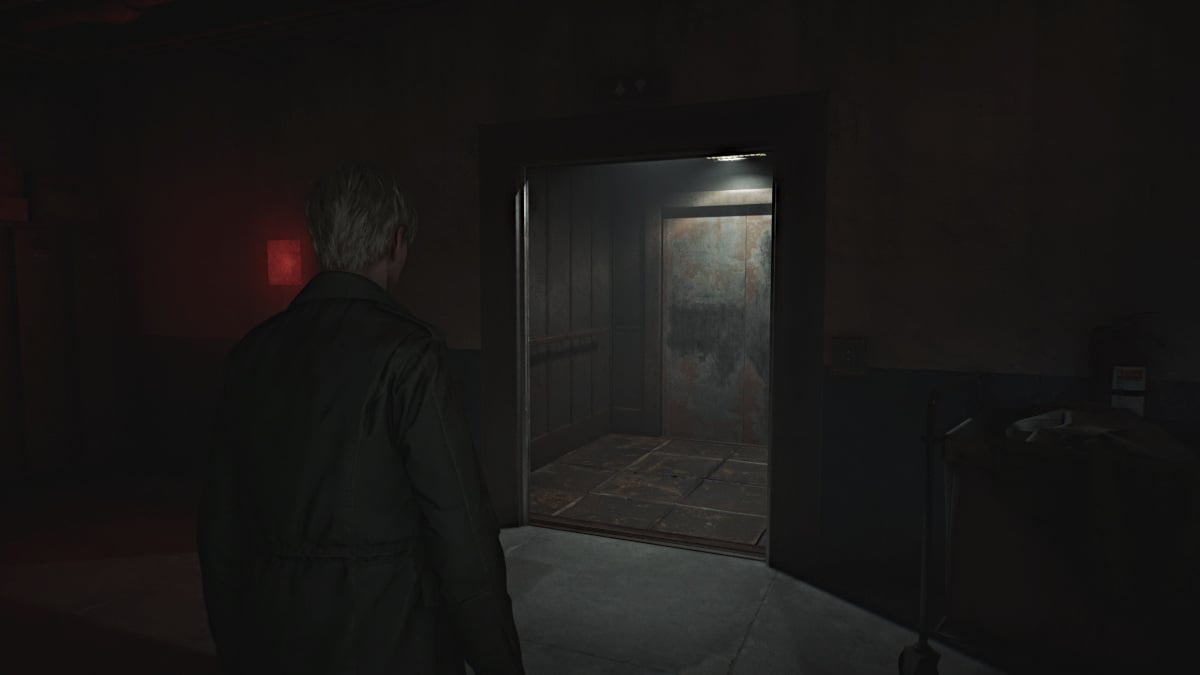
Once you've taken care of everything mentioned up to this point, it's now time to head back to the Employee Elevator Room on the second floor. If you attempt to go into the elevator immediately, you'll notice a loud alarm go off, meaning there's too much weight present.
In other words, you're going to need to offload everything you're carrying. Your weapons, your healing items, your flashlight, your key items, everything.
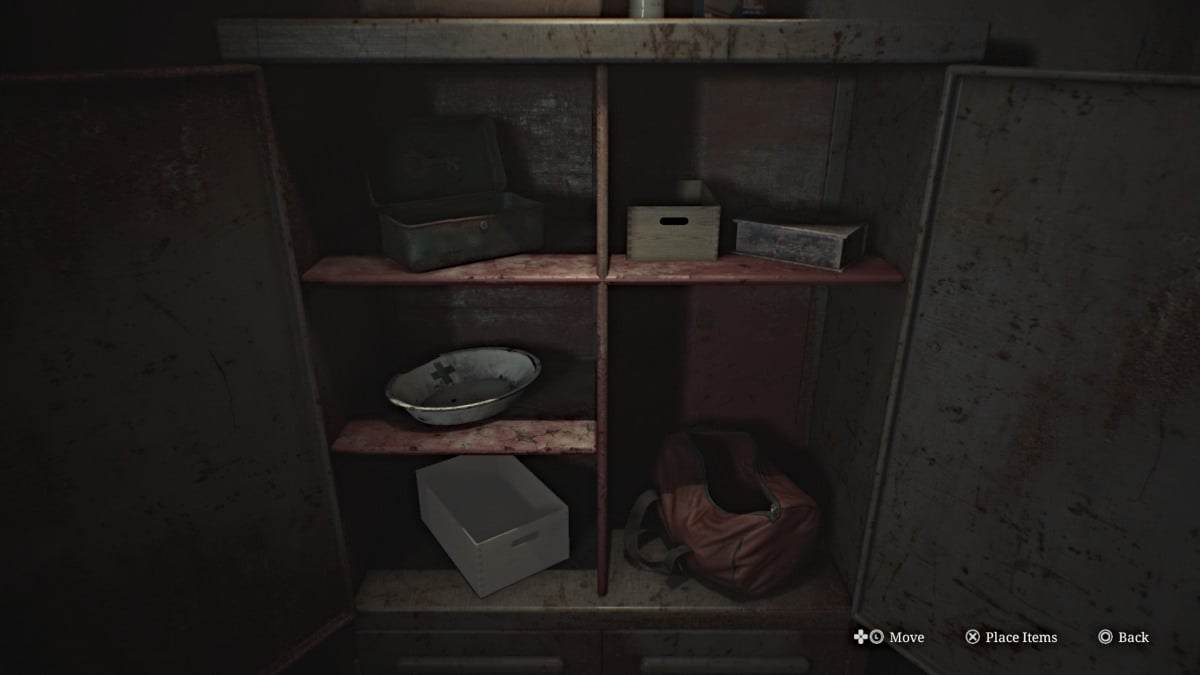
Use the Red Save Point inside, and then interact with the nearby cabinet. Inside, you'll see containers for each type of item you're carrying. Start dumping everything you have into them, however, you're oddly allowed to keep your photo of Mary , her letter (which if you look is now strangely blank), her handkerchief, and Angela's Knife .
Now you can enter the elevator and take it to the first floor , the only place you can go. Be forewarned, there are Mandarins patrolling these areas, and you will need to do your best to sneak around and avoid them since you have no means of killing them. If you walk quietly and keep your distance, they won't detect you.
Jump into the Break Room across the hall in front of you first, and grab the map for the Employee Section of the hotel(since you had to leave your other map behind). Now go to the Break Room Safe on the other side of the room.
The safe requires a keypad code to unlock it, and normally to figure it out you would need to solve the Gem Box Puzzle located in the Manager's Office and find all of the gems around the floor to do so.
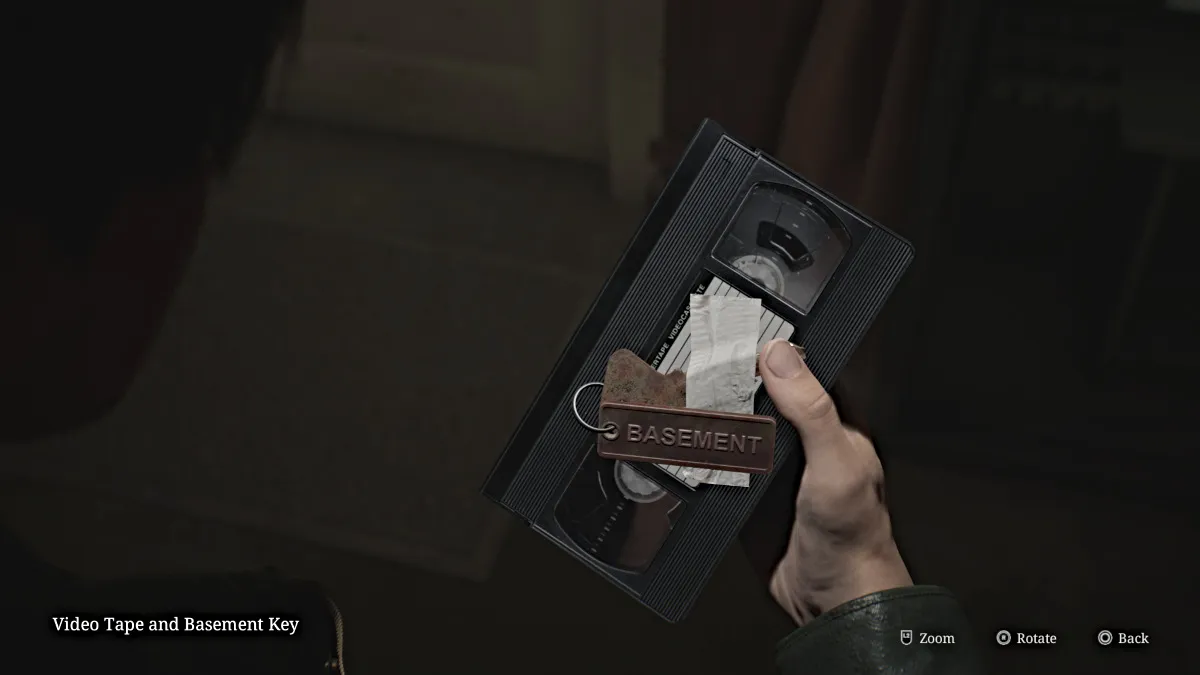
However, since this area is especially dangerous, we have the code for you to help save both time and your health. The correct code for the Break Room Safe is 7414. Inside you'll find the Video Tape and Basement Key , which will allow you to go to the Basement level of the Employee Section.
Tiptoe past the Mandarins and unlock the door to the stairwell that will take you down there.
Upon reaching the Basement level, check your map and carefully make your way south to the Maintenance Room first, avoiding the one patrolling Mandarin as you go. Once there, pick up the blue Pump Valve sitting on a table.
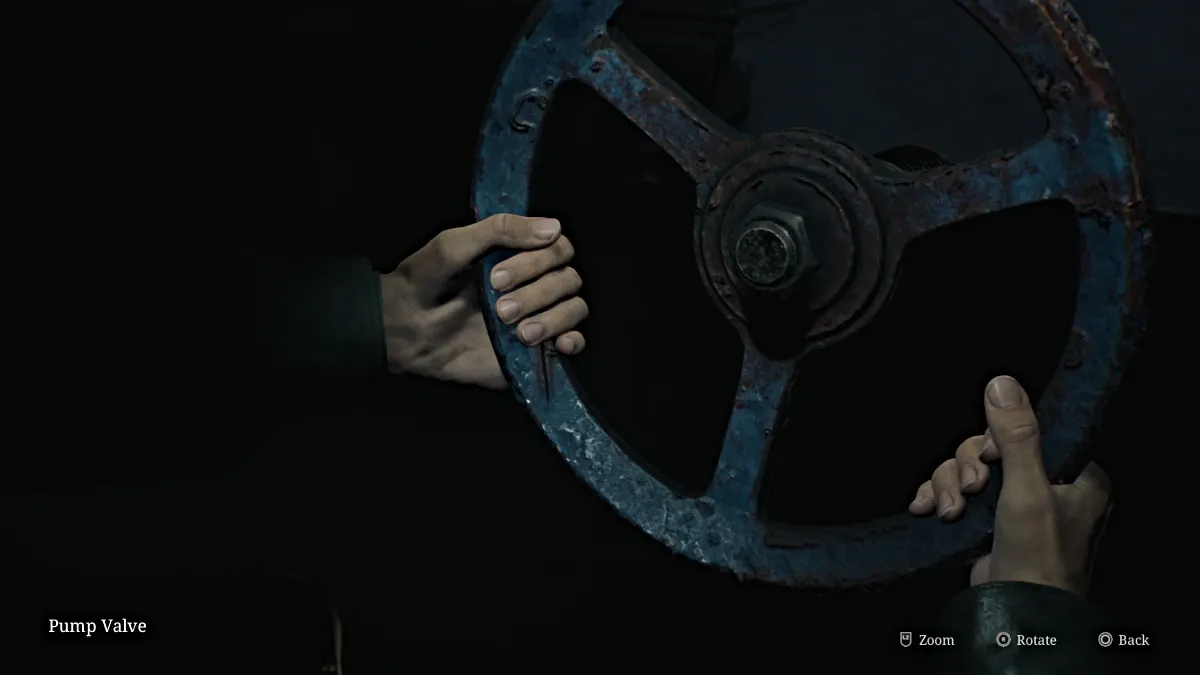
Exit the room via the gap in the wall to save yourself time on the Mandarin's patrol route (we recommend tailing it and then shortcutting up the middle once it's passed back around) and now head for the Liquor Storage Room .
Go inside, slide through another gap in the wall on the left side (wait for the Mandarin to pass before you do), and use the Pump Valve to cut off pressure from a nearby steam valve that's blocking access to the Boiler Room . Once done, go into the Boiler Room and grab the Venus Tears Bar Key hanging on a pipe by the boiler.
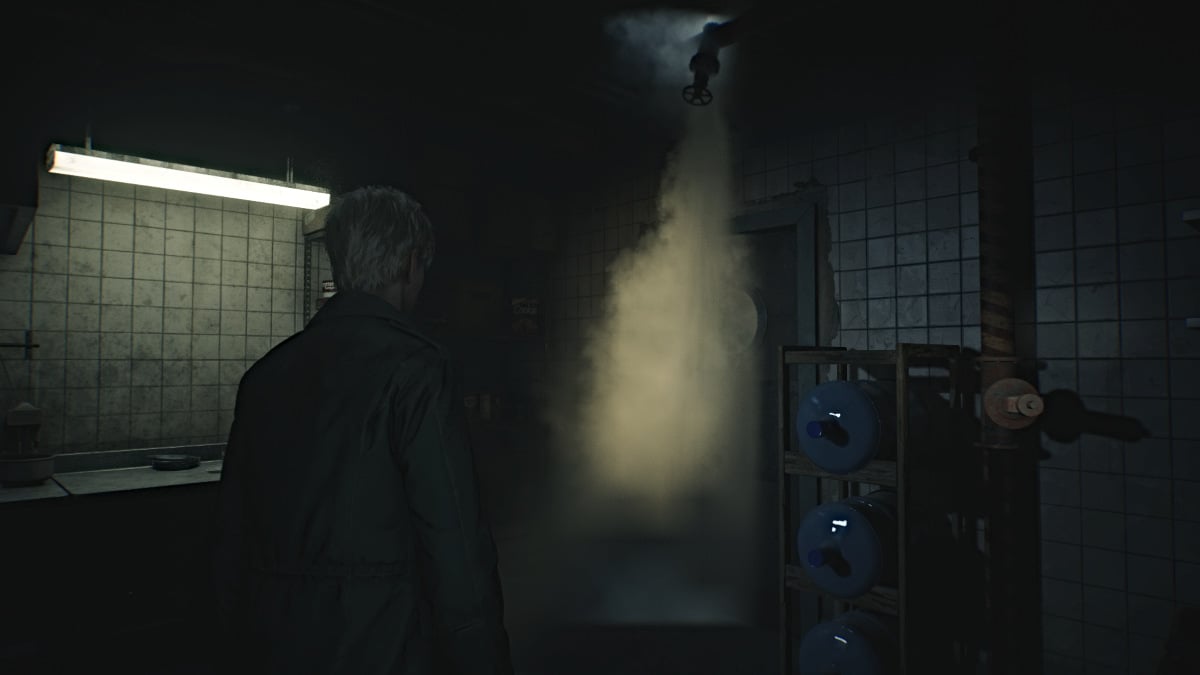
Leave the room and grab your Pump Valve because you'll need it one more time. Use the key to unlock the door to your left to the Venus Tears Bar Kitchen and go in. There will be one more spewing steam pipe that you need to depressurize, so use the Pump Valve nearby to do so.
Go through the next door to the bar itself, where you'll find a broken jukebox underneath a shattered aquarium that's flooded the room. Grab the "Better leave..." Strange Photo behind the bar, then go over and pick up the Little Mermaid Figurine off the floor, then use the Red Save Point nearby.
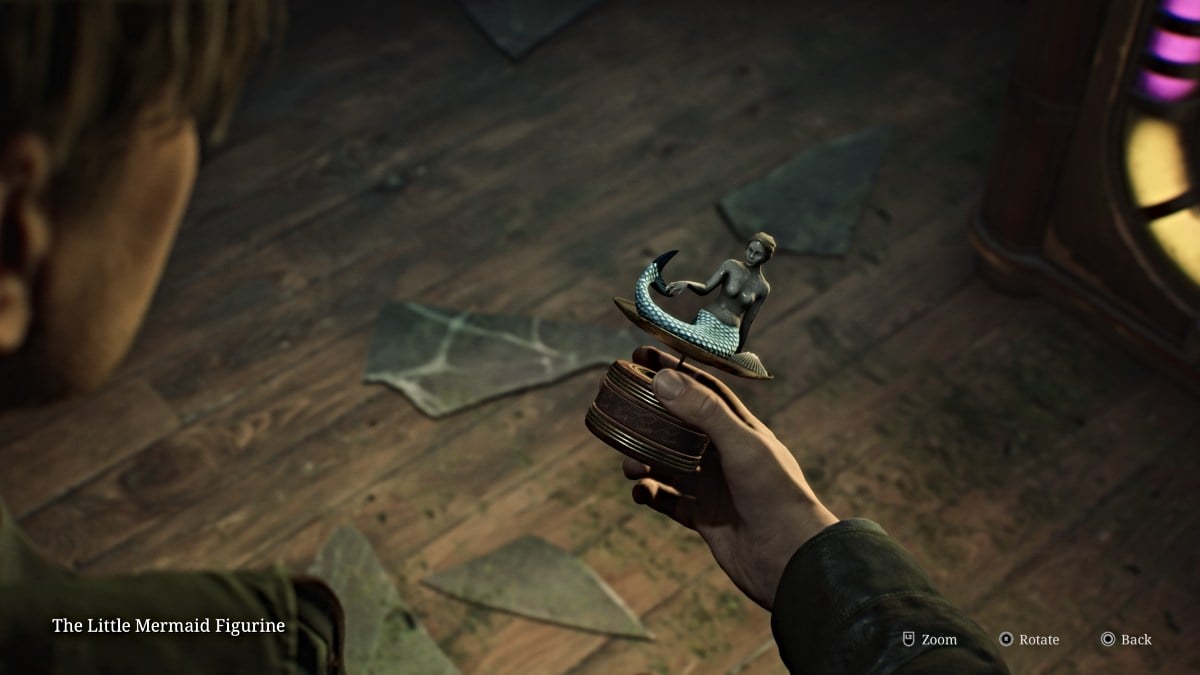
Leave the Venus Tears Bar through the front entrance and now make your way back up to the second floor to quickly reclaim your items from the Employee Elevator Room. Once that's done, head back down to the first floor where the Music Box is, now that you have everything you need.
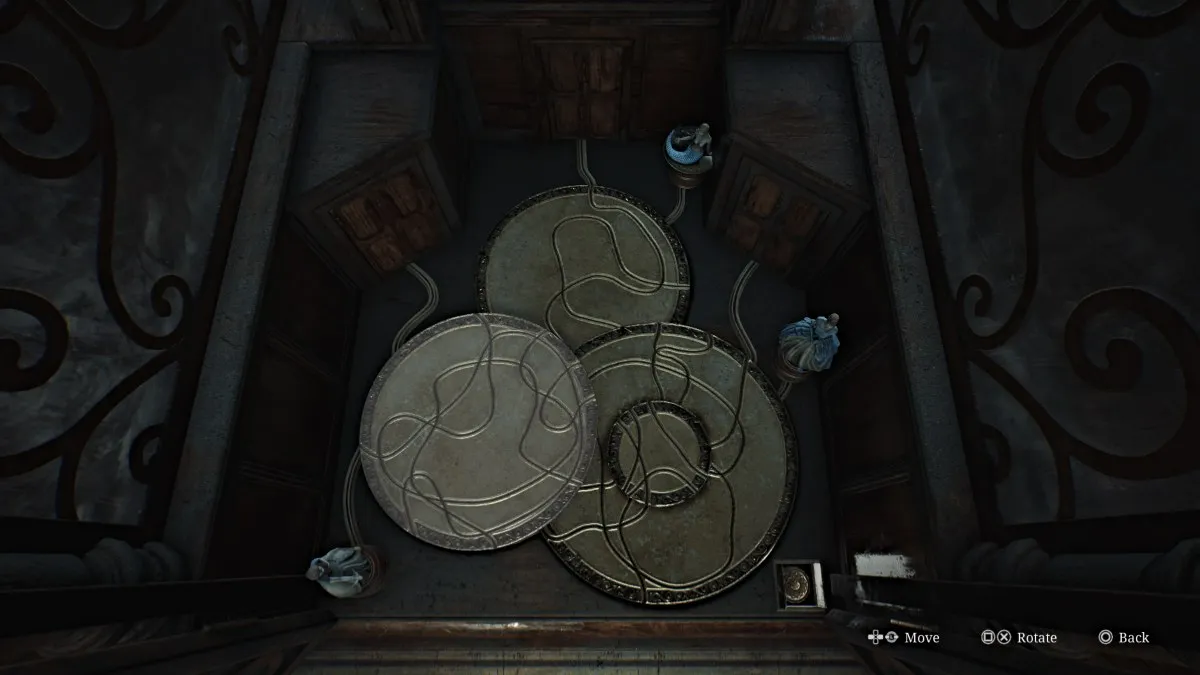
Approach the Music Box and look inside to place the three figurines you've collected in their respective spots. Your goal is to send those figurines along the correct track etched into the discs to their correct doors.
To do that, you need to rotate the discs inside the machine until they form the correct paths to the correct doors. The solution for all three figurines is:
Once you've aligned the tracks, press the button at the bottom right and the machine will prepare the sequence. However, there's one more step to complete.
You can now view the poems for the respective princesses on the facade of the machine, and there is a key above each passage (seen below). Your goal here is to turn each key the correct number of times, according to the numbers mentioned in each passage.
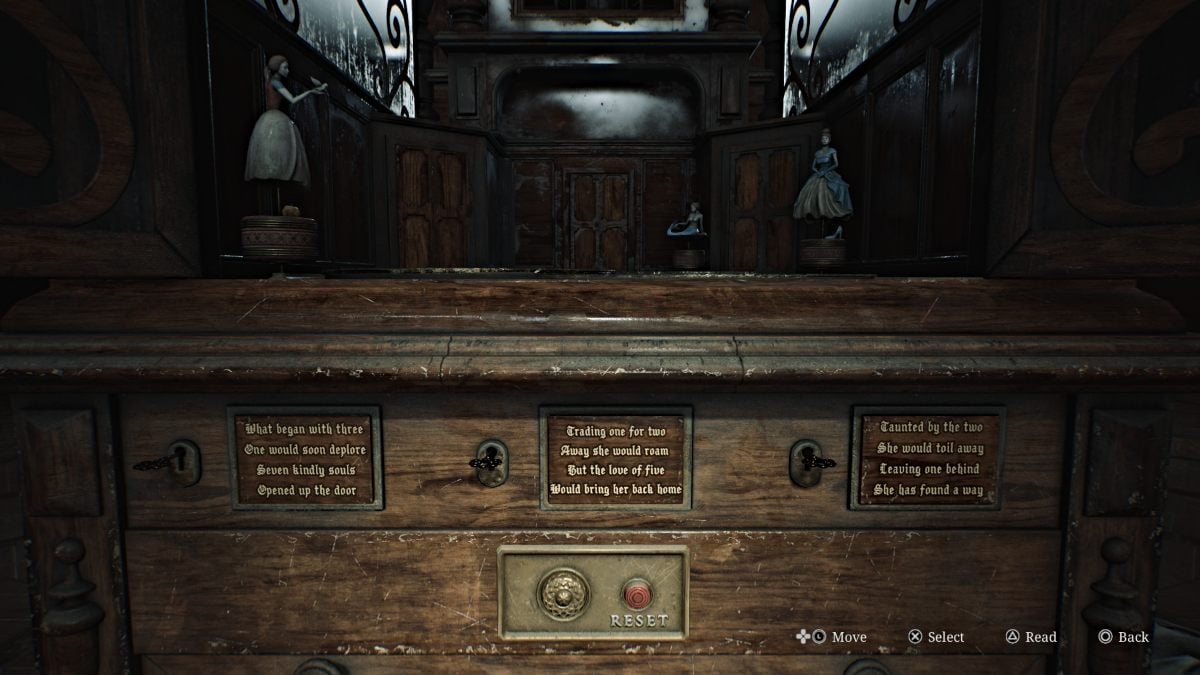
For Snow White, turn her key seven times. For Little Mermaid, turn her key five times. Finally, for Cinderella, turn her key one time.
Once you do, a familiar tune will play for James and he'll receive the 3F Corridor Key . This will unlock the gated hallway on the third floor, where you heard Mary's voice.
It's now time to face the music, literally?
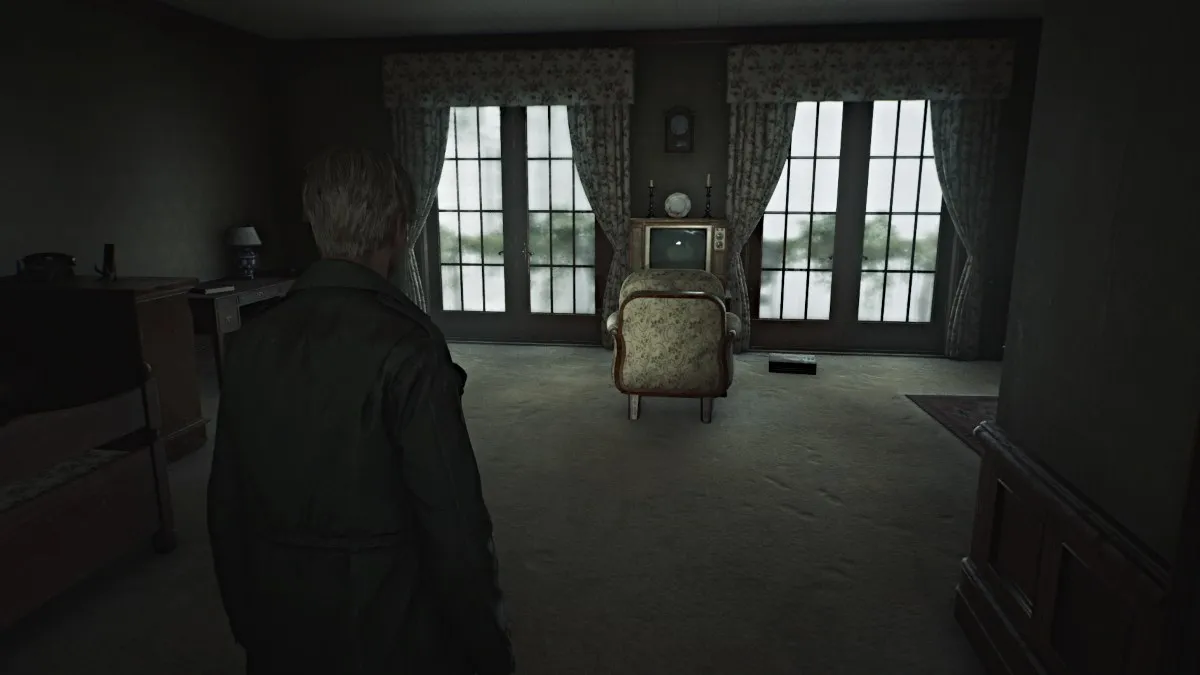
Go all the way up to the third floor and use the 3F Corridor Key on the gate. Go down the hall to the last room on the right and use the Room 312 Key to enter.
As you'll recall, this is the room where James and Mary stayed during their last visit to Silent Hill. Despite his assumption, Mary doesn't seem to be here either, but there's a TV with a VCR for your use. Go over and put the Video Tape you got from the Basement inside the VCR.
During the cutscene, the tape begins with the final moments of their visit to the town, and Mary asking James to bring them back one day. At one point she coughs, and the tape devolves into a mess of static and unstable images. However, among them a sequence plays of James approaching Mary in her bed and suddenly suffocating her with a pillow, revealing that he actually killed her.
James sits in silence, at last faced with the actual truth that he's subconsciously denied this entire time, to the point of believing Mary was dead for three years yet actually still alive (in fact it was only days, thanks to Laura's information).
After an emotional scene with Laura, the room transforms, though not into the usual version of the Otherworld. Instead, everything in the room is burnt and drenched in water, as if in the aftermath of a fire. Mary's voice suddenly calls out to James on his radio.
Once you have control, leave the room.
With the truth now known, the rest of the hotel appears to also be burnt, soaked, and falling apart. Go into Room 314 and grab Handgun Ammo from the bedside table, then go into the bathroom and through the wall gap to the hallway. There's more Handgun Ammo inside a table drawer to your right.
Also, be aware that there are NO monsters in Lakeview's Otherworld, so you can travel freely without having to worry.
The only way forward is south down the hall, so head that way and duck through the debris. You'll notice there's a high crawlspace to your left as you pass. Go down the hall and to the left where there's a pushcart for you to use. Crawl into the room ahead first where there's an ominous message scratched on the wall and a Syringe on a table.
Take the pushcart down the hall to the crawlspace, but it quickly collapses through the floor, ruining that plan. Instead, jump down the hole that's been made, bringing you to the second floor. Go down the hall and grab a Health Drink from Room 207 before going into the nearby Restroom .
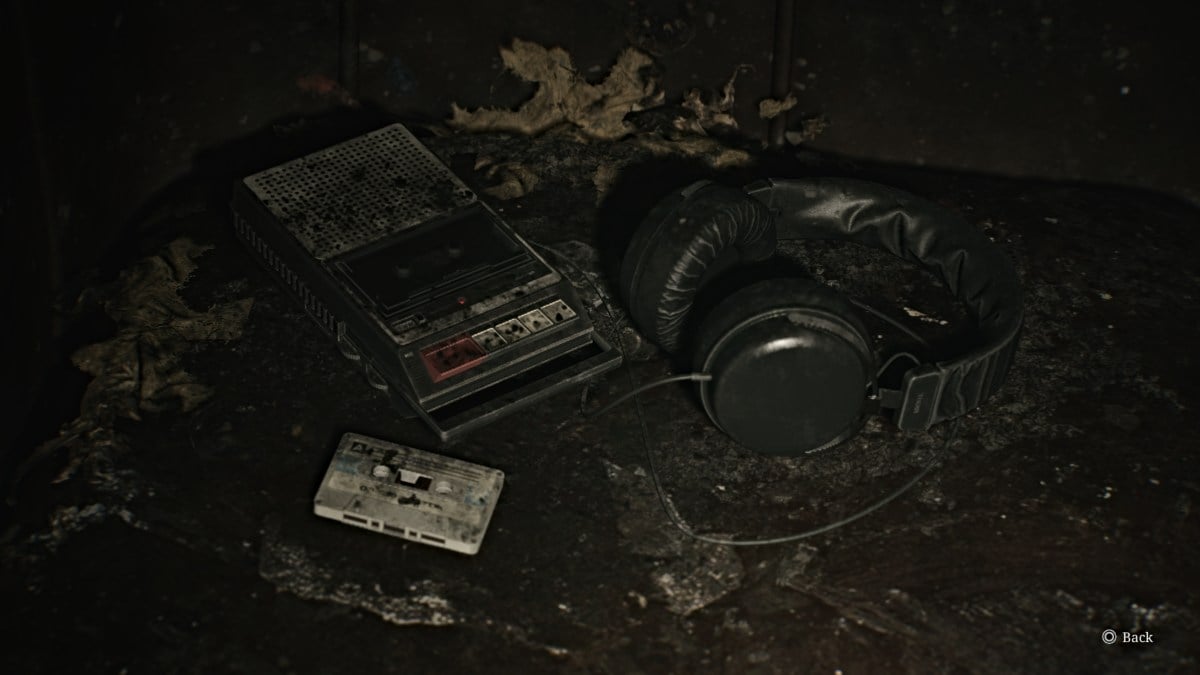
Use it to cross over into the Reading Room , and you'll find a Glimpse of the Past (seen above) sitting on a nearby couch. Use the Red Save Point then leave the room through the double doors. Go across to the Cloakroom and into the Hall. In the back left corner, you'll see the lit Elevator through a hole in the wall, which you need to get to.
To do that, go to the right side of the Hall and look up to spot a crawlspace. Use the shelf under it to climb through to the Nurse's Office . Make your way around through the office, listen to an ominous tape recording on the table if you wish, and then continue through the wall crack to the hallway. Follow it all the way to the Elevator and take it down to the Basement .
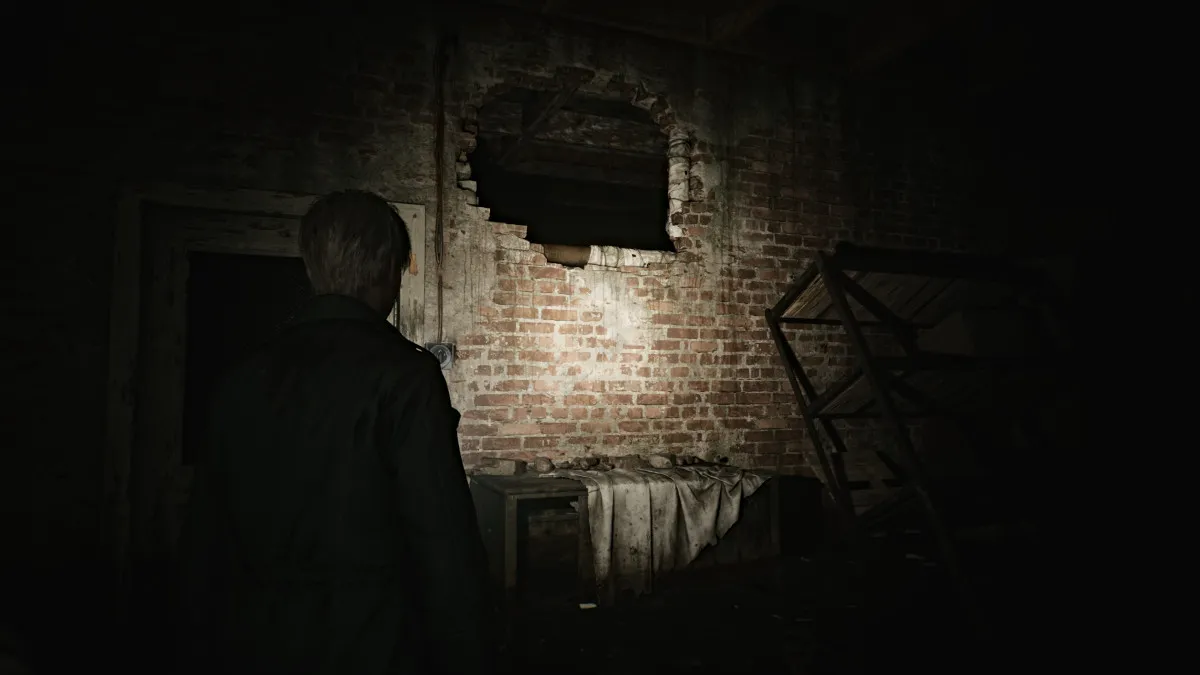
Once you exit the elevator, make your way through the flood to the Venus Tears Bar . Use the Red Save Point behind the bar and then head through the kitchen area and then to Liquor Storage . Grab the Rifle Ammo that's in there and then use the high crawlspace in the wall beside the locked door to get out.
Ahead of you will be a door that's glowing strangely bright from the other side. Head over and go inside, where a cutscene will play with Angela standing on a fiery stairwell.
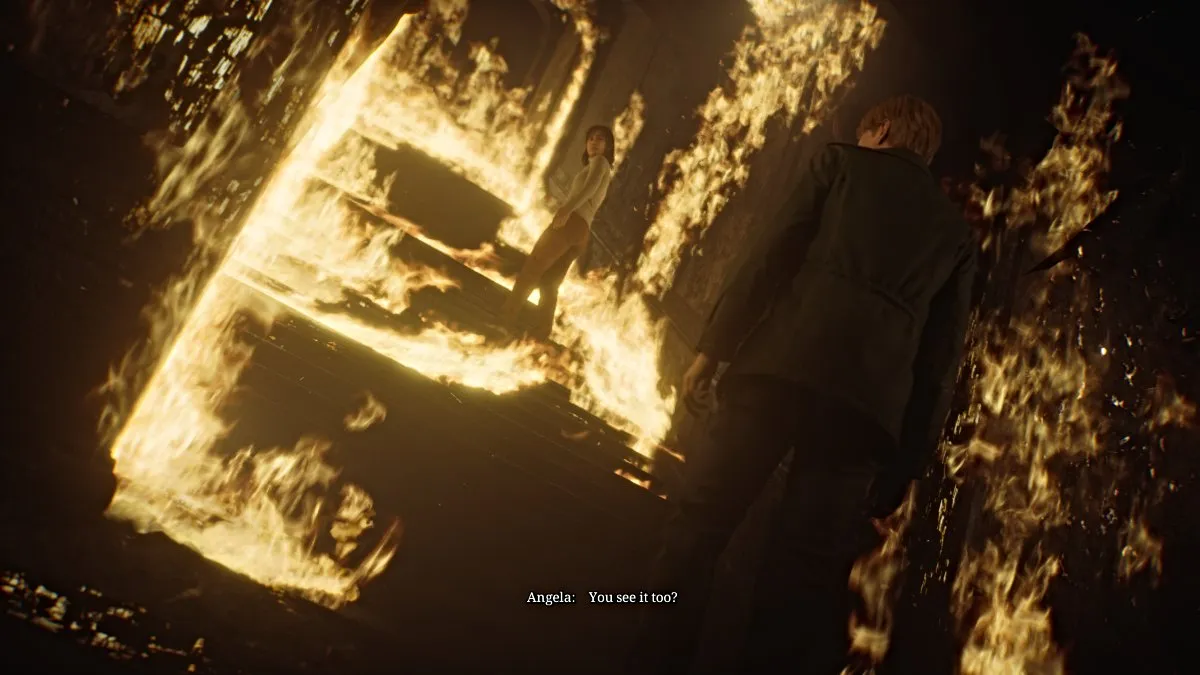
This serves as Angela's final farewell as she goes up the stairs, her fate unknown but hinted. James leaves to continue on.
Make your way through the rest of the Basement, where you'll notice there are now some monsters but they will not attack James . They're entirely passive, so just leave them be and save your ammo . Go into the Manager's Office, cross into the TV Room, and follow a hall that leads off the map.
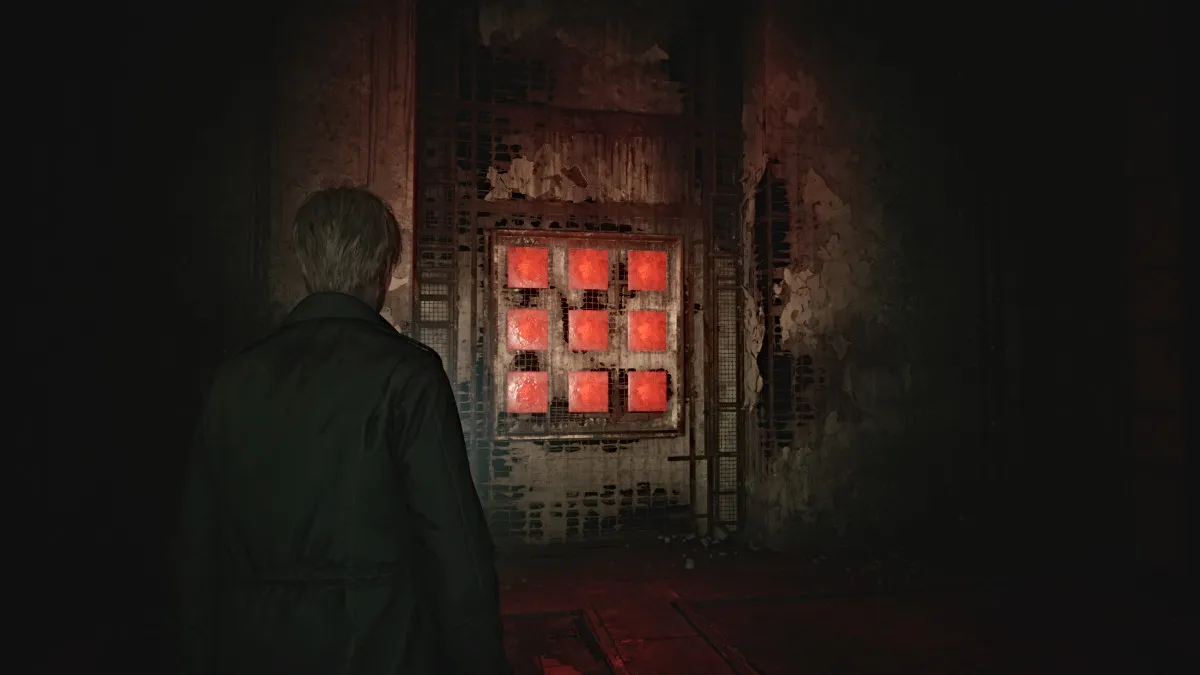
Continue until you come across a set of nine Red Save Points . The game obviously insists that you save here, so do so. With that, take a deep breath and go through the double doors ahead.
Inside is a seemingly dark and empty room, but suddenly Mary...or rather, Maria's voice yells for James. Once again she's "alive" but held captive now by two Pyramid Heads. Despite James' pleas, they proceed to stab Maria dead once again, and he yells in frustration.
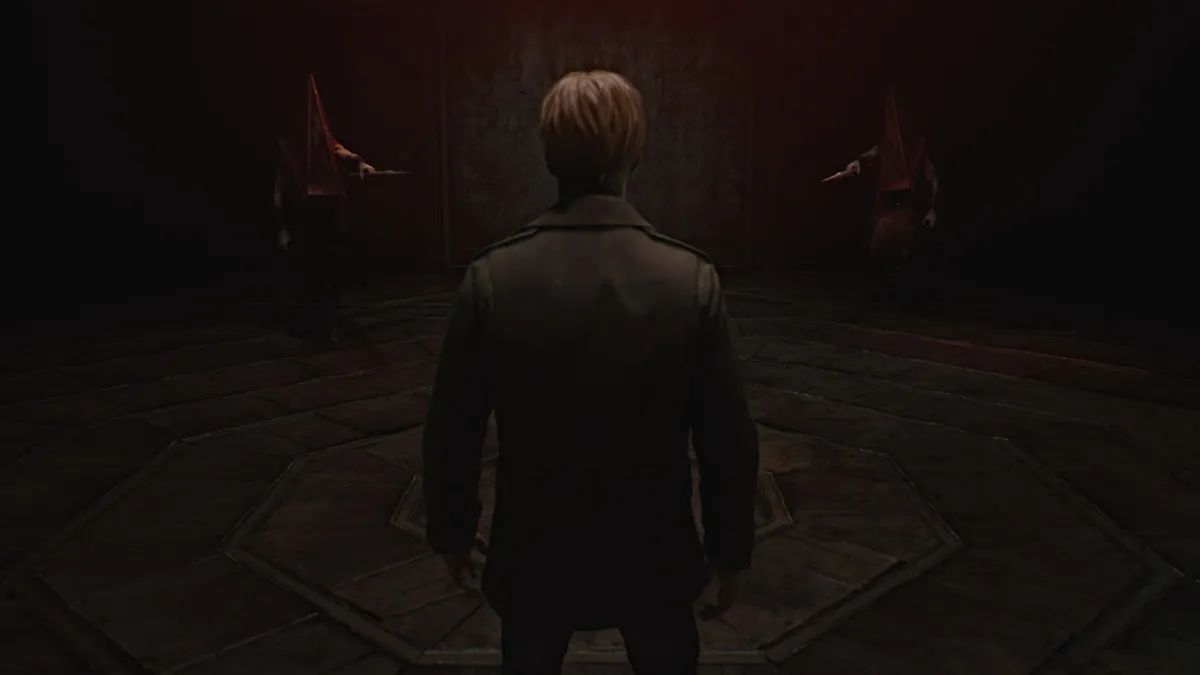
He finally makes his confession of needing Maria, an alluring shadow of his deceased wife, to soothe his pain and at the same time punish him for what he's done. That punishment has clearly been dealt, and James declares, "I don't need you anymore", likely referring to both Maria and Pyramid Head.
With that, they both approach James with spears in hand, ready to test that declaration.
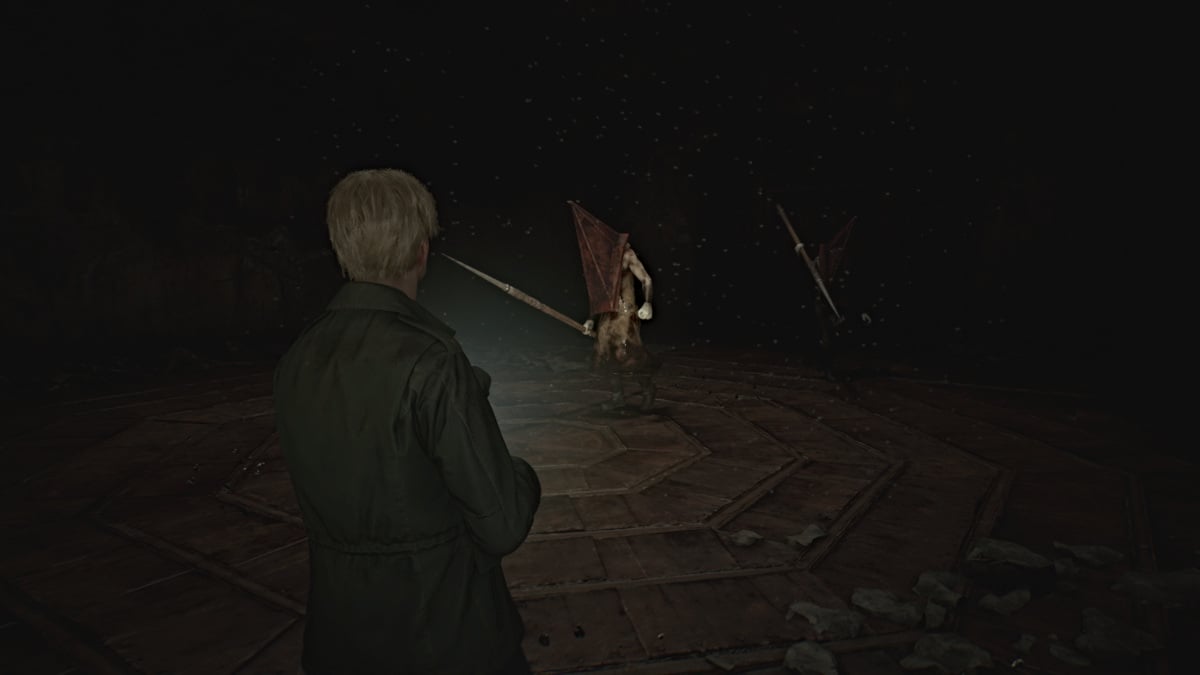
As soon as James says, "I'm ready", the battle begins. Both Pyramid Heads will quickly advance toward you with their spears, and your goal here is to deal as much damage as possible to both of them. You'll need every bullet you've got, and if you need more, there are plenty of ammo boxes and Health Drinks scattered around the room .
Starting with the Hunting Rifle is optimal, as it has the best range with the most damage dealt. After that, you can interchange between the Handgun and Shotgun as needed. Keep your distance as they'll both attempt various lunge and stabbing attacks with their spears. Kite them around the room while unloading as many shots as possible, and eventually, a cutscene will trigger.
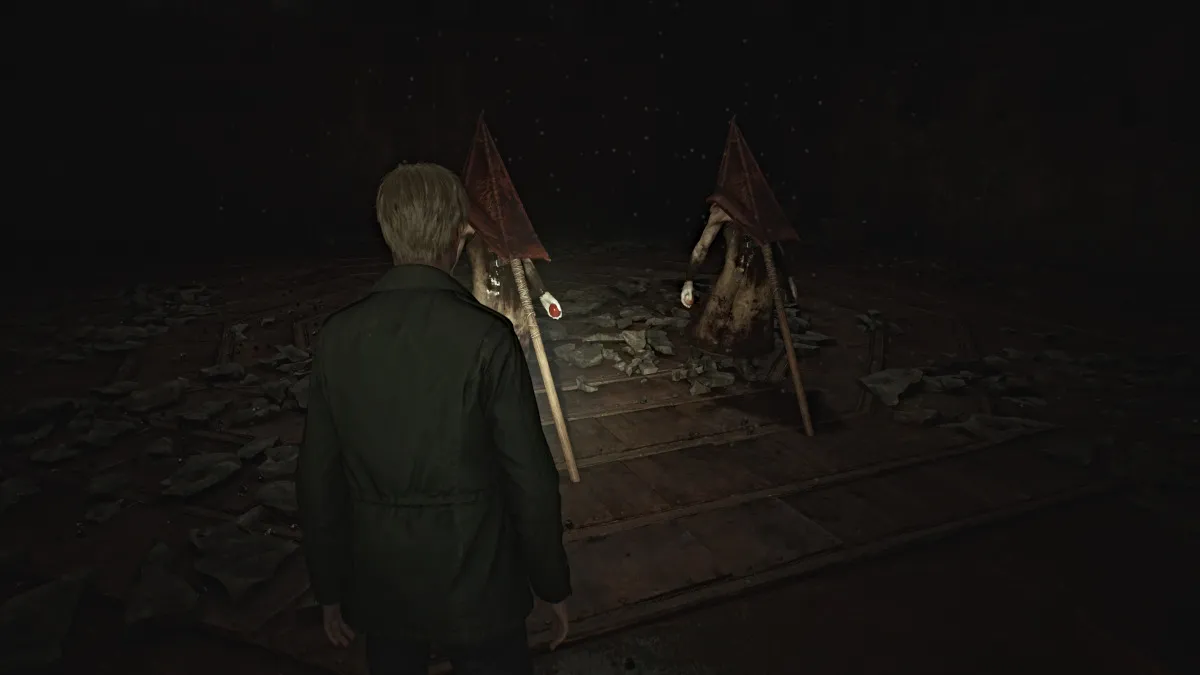
Both Pyramid Heads will go to the center of the room and ceremoniously impale themselves with their own spears. Their judgment has been made, so their presence is no longer needed.
Approach them and take the Scarlet Egg and Rust-colored Egg from their hands. Use these to unlock the doors that lead out.
You'll arrive back outside on a metal walkway, where there are several more ammo cartridges to pick up, along with a Syringe and the "SHAPE FORCES THE MIND" Strange Photo at the back right corner.
Reload all your weapons, top off your health, and head all the way up the stairs until you reach the top of the building. From here, a cutscene with Mary will play that's influenced by your decisions up to that point in the game. How you treated Maria, whether you looked at certain items often, whether you kept your health high or low, etc. They will all affect the subsequent ending as well.
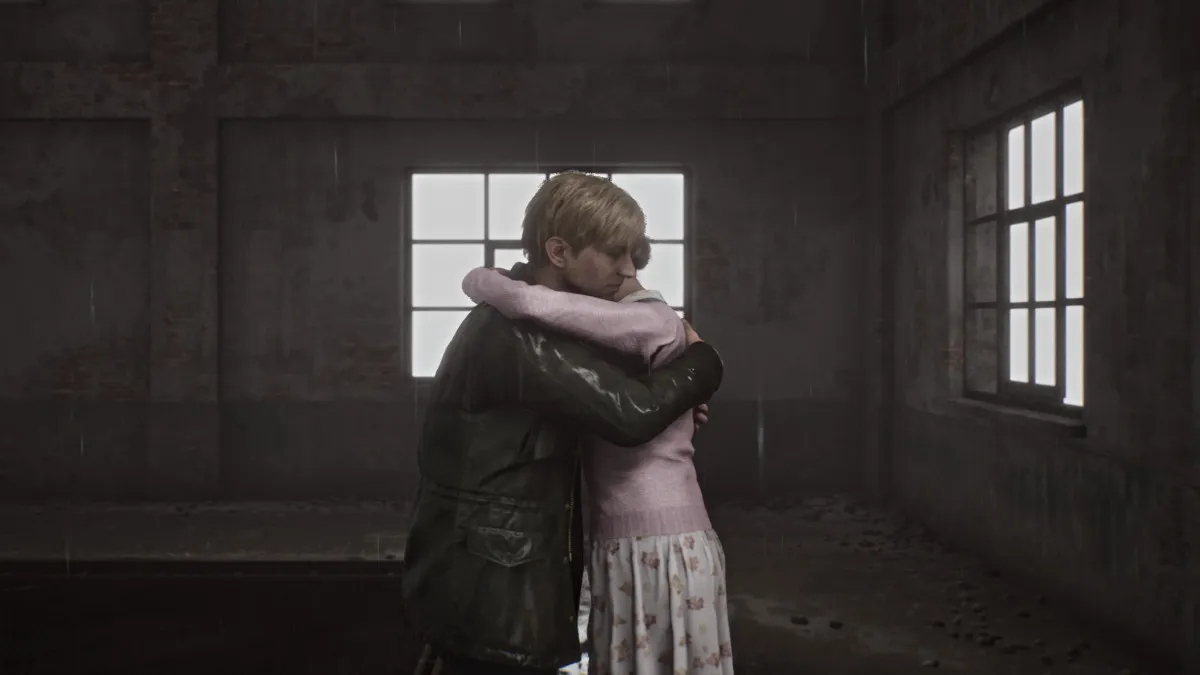
Once Mary (or Maria) succumbs to her turmoil and transforms into a monstrous version of herself, you'll be forced to fight her to ultimately bring peace or at least some sort of finality.
Like the Flesh Lips boss much earlier in the game, she'll be encased in a floating cage, and you'll need to keep your distance and deal damage, preferably with either your Hunting Rifle or Handgun . She also uses flocks of moths to chase and deal ranged damage to James, while also using a tentacle appendage to deal brutal stabbing attacks.
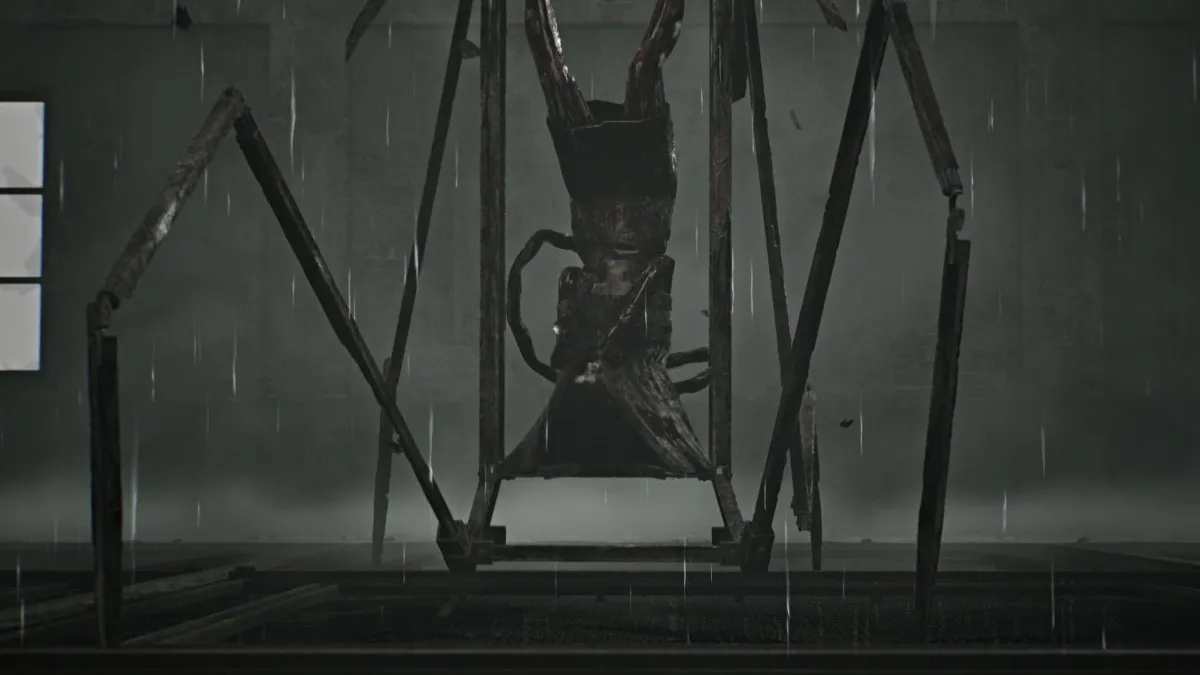
Once you deal enough damage, the cage surrounding Mary will morph into something akin to a spider, also similar to Flesh Lips' second form. She'll force James down into a dark passage area right underneath the metal platform, and you'll need to do damage whenever she appears from above.
The final phase of the fight will collapse the entire area, and you'll need to keep shooting while dodging her charge and swing attacks with her metal "legs". Her attacks hit hard, so be sure to stay topped off as much as possible. This is the final boss of the game, so make use of everything you have.
Eventually, her cage will collapse, leaving her unable to move and mumbling James' name. Go over and shoot one last time to end the fight.
Afterward, your designated ending will play out, again depending on your actions up to now. ¡Felicidades!
Below we've listed all 43 unlockable achievements/trophies in Silent Hill 2 Remake, including 31 hidden ones. Unlocking all of them will require multiple playthroughs.
| Achievement/Trophy | How to Unlock |
|---|---|
| Me hiciste feliz | Collect all other trophies/achievements en el juego. |
| No hay vuelta atrás ahora | Try to leave Silent Hill in the Observation area. (Walk down the opposite direction on the road at the start of the game until James turns back.) |
| Disfrute de su estancia | Llega a Silent Hill. |
| Bonito y acogedor | Llegue a Wood Side Apartments. |
| ¡NO vayamos de fiesta! | Shoot all the balloons in Wood Side Apartments. (Shoot all balloons in the "Welcome Home" apartment; recommend saving before doing so to recover the bullets used.) |
| De otro mundo | Ingresa al Otro Mundo por primera vez. |
| Aprobado | Made your way out of Blue Creek Apartments. |
| Misterioso | Conoce a María. |
| Todo parece en orden | Descubre el secreto de la Habitación 106. |
| Sobras | Find the pizza in Pete's Bowl-O-Rama |
| Aceptado | Llegue al hospital Brookhaven. |
| Combustible de pesadilla | Derrota al labio de carne. |
| Alone Again. | Survive the Chase in Brookhaven Hospital. |
| hacia el abismo | Llegue al final de la larga escalera. |
| Imperdonable | Derrota al papá abstracto. |
| Santuario interior | Find His Room. (When Pyramid Head first chases you in the Desolate Area of the Labyrinth, run left past a ladder and through double doors to find his lair. Quickly exit after to avoid getting caught by him.) |
| un ser humano | Mata a Eddie. |
| Un rayo de esperanza | Llegue al hotel Lakeview. |
| Azote del Lago de Toluca | Pase 10 minutos en el lago Toluca. |
| Verdaderamente Especial | Obsoleto |
| It's Bread. | Interactuar con el pan. |
| Obselete | Destruye lo que no necesitas. |
| That Part of Me. | Derrótala. |
| Leñador | Encuentra la motosierra. |
| Despiadado | Acaba con 50 enemigos con un ataque de pisotón. |
| No es gran cosa | Mata a 75 enemigos con armas a distancia. |
| Trauma por fuerza contundente | Mata a 75 enemigos con armas cuerpo a cuerpo. |
| You Never Know... | Intenta abrir puertas cerradas 50 veces. |
| Roto | Destruye 50 ventanas. |
| Haciendo las paces | Reach the "Leave" ending |
| Círculo vicioso | Reach the "Maria" ending |
| Única salida | Reach the "In Water" ending |
| Desafía incluso a la muerte | Reach the "Rebirth" ending |
| El chico más bueno | Reach the "Dog" ending |
| Sombrero de papel de aluminio | Reach the "UFO" ending |
| Vi esa ciudad | Completa New Game Plus en cualquier dificultad. |
| Silencio de radio | Completa el juego sin usar la radio. |
| James of All Trades | Kill at least one enemy with Wooden Plank, Steel Pipe, Handgun, Shotgun and Rifle in a single playthrough. |
| Piezas sin arreglar | Recoge todas las fotos extrañas en una sola partida. |
| Archivista | Recoge todas las notas en una sola partida. |
| Más rápido que la niebla | Complete the game in under 10 hours. |
| As Close as You Like | Termina el juego sin matar enemigos usando armas a distancia. |
| Fiesta como si fuera 2001 | Ver todos los finales clásicos (Dejar, María, En el agua, Renacimiento, Perro). |
| ecos | Sea testigo de todos los destellos del pasado en una sola partida. |
There are a total of eight possible endings in Silent Hill 2 Remake, and each has its own requirements to be unlocked. Only three specific endings ("Leave", "Maria", and "In Water") can be obtained during your first playthrough, while the rest can be unlocked during New Game Plus.
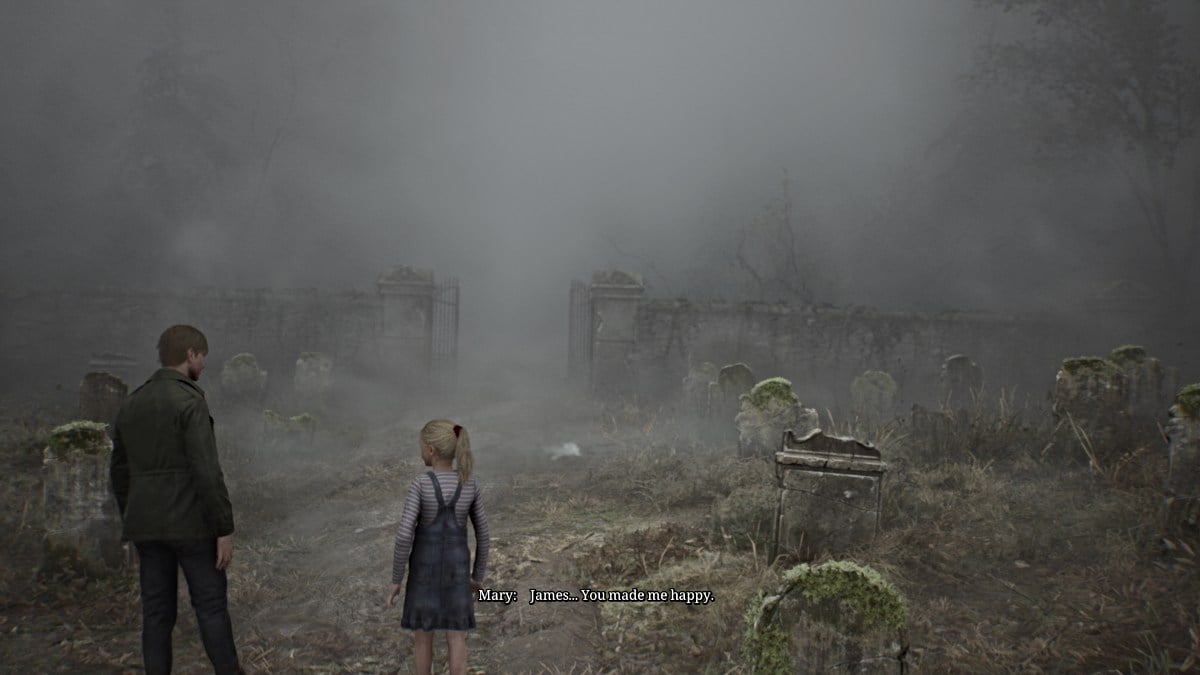
This is the "Best" ending for Silent Hill 2 Remake, as the story ends with James leaving Silent Hill with Laura in tow, having received forgiveness from Mary and realizing that he's allowed to move on. He and Laura leave Silent Hill together, and it's assumed that James adopts her as his daughter, since Mary wasn't able to.
Requirements for this ending:
Getting this ending also unlocks the 'Making Peace' achievement .
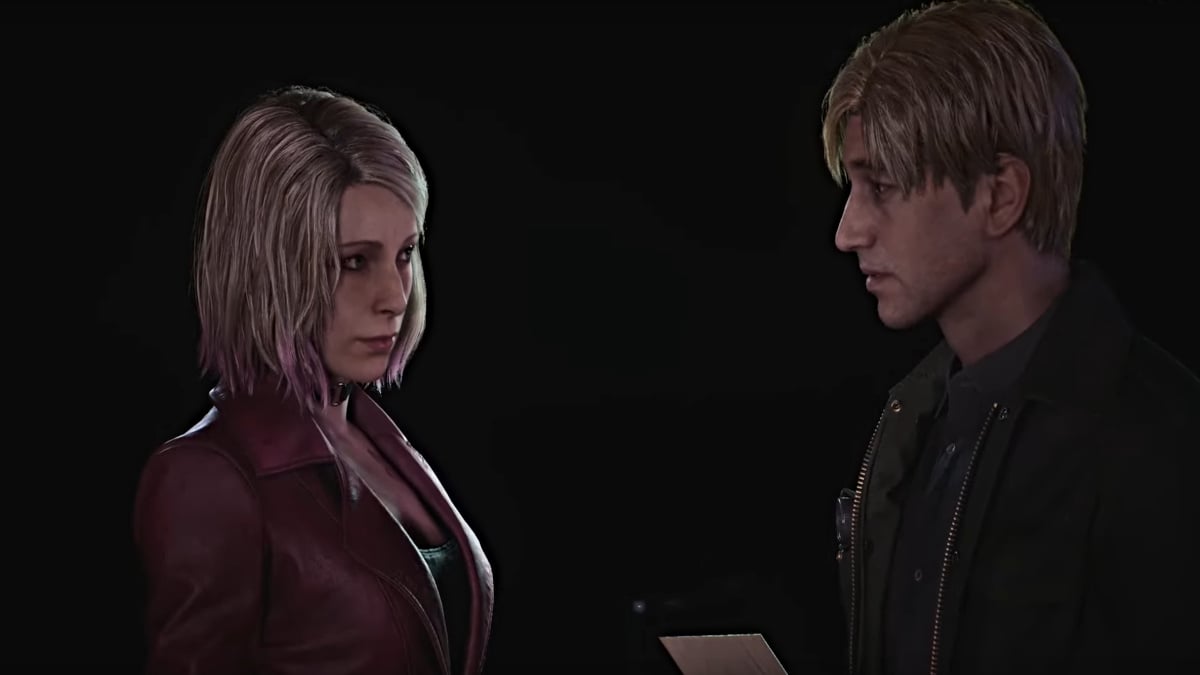
This is the designated "Bad" ending, as James instead leaves Silent Hill with Maria, having chosen her over Mary. At one point, Maria lets out a coughing fit and James acts annoyed, telling her to do something about it. He's learned nothing from his journey and Maria is likely doomed to succumb to the same illness that took Mary, the cycle beginning all over again.
Requirements for this ending:
Getting this ending also unlocks the 'Vicious Circle' achievement .
Debatably another "bad" ending, this is absolutely the most tragic ending in Silent Hill 2 Remake. After everything, James finds himself unable to move on from Mary's death and confesses that he simply can't live without her in his life. James drives his car into the depths of Toluca Lake in an attempt to reunite with Mary in death.
Requirements for this ending:
Getting this ending also unlocks the 'Only Way Out' achievement .
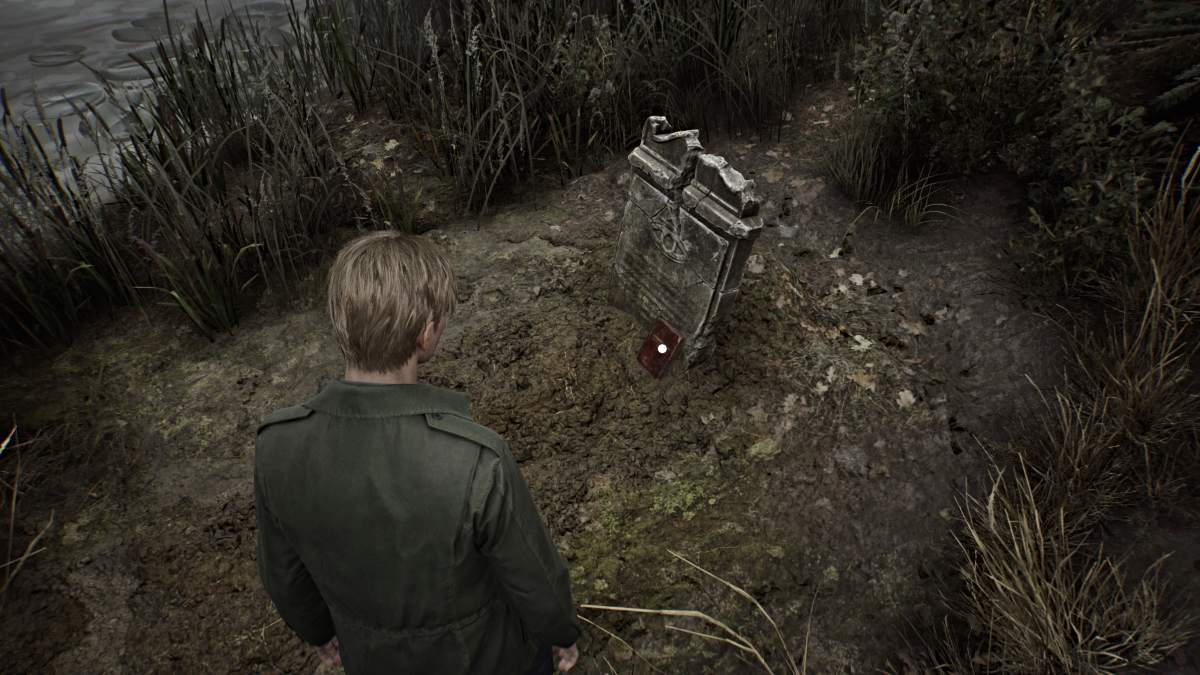
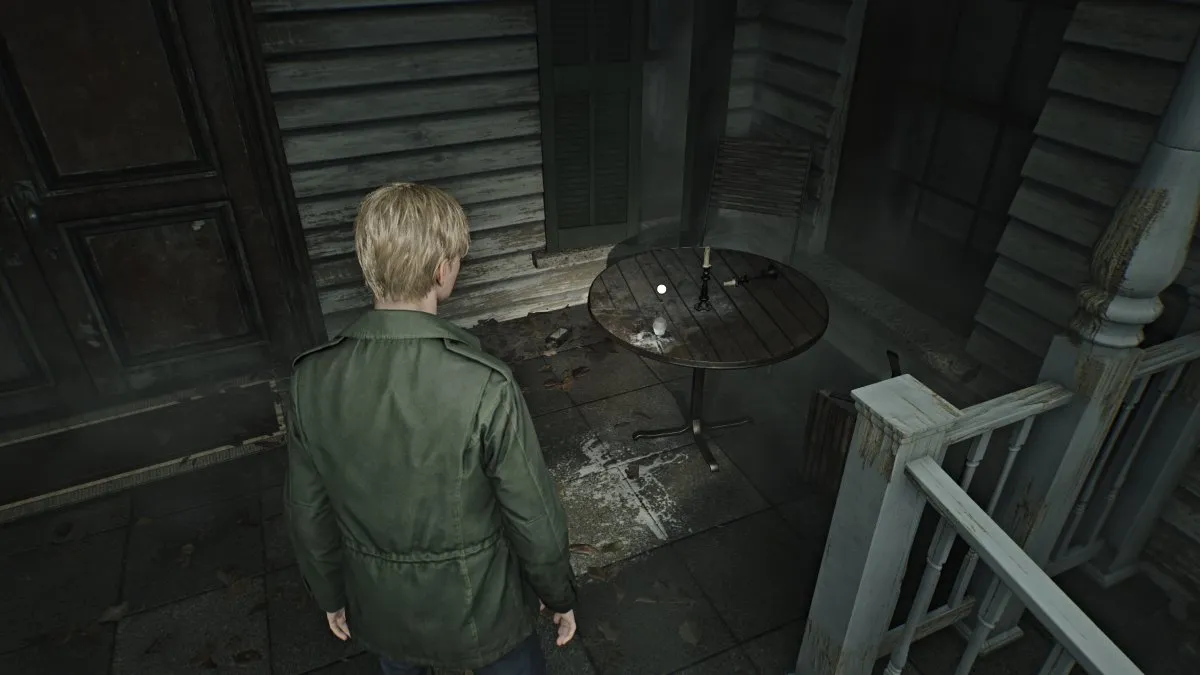
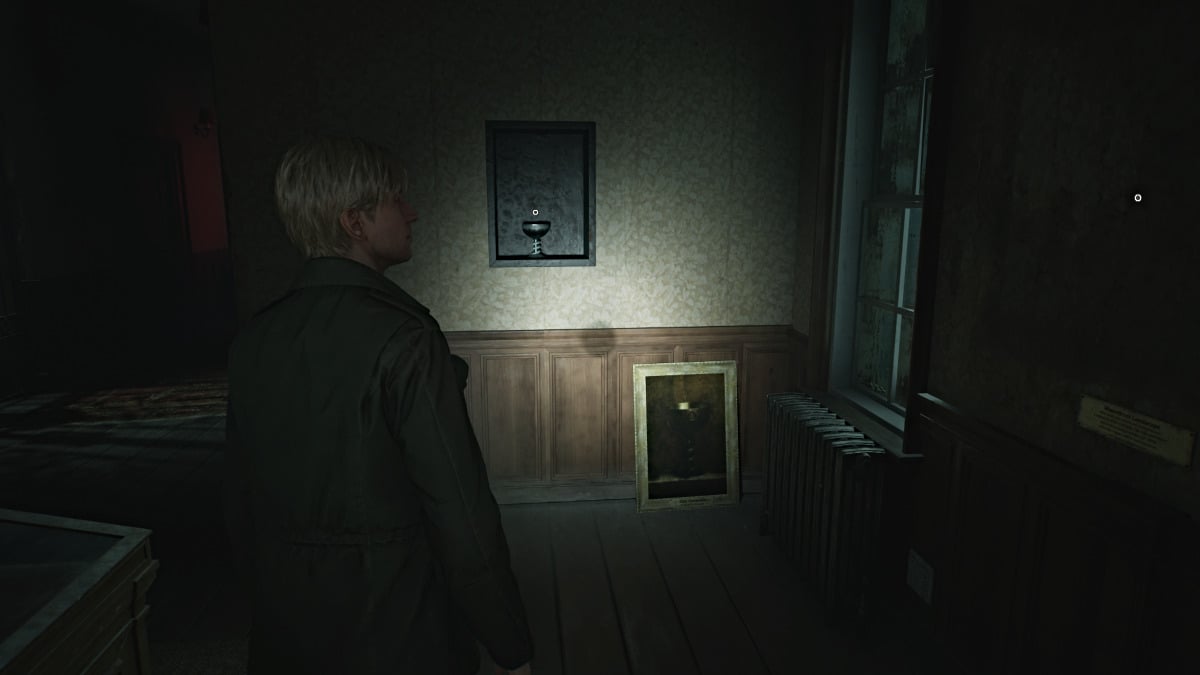
In this ending, after obtaining all the necessary ritual items James takes Mary's body and rows out to the island in the middle of Toluca Lake, where an old church is located. While its history is shrouded in mystery, James is determined to revive Mary using a strange ritual there, and we never know if it actually works.
Requirements for this ending:
Getting this ending also unlocks the 'Defy Even Death' achievement .
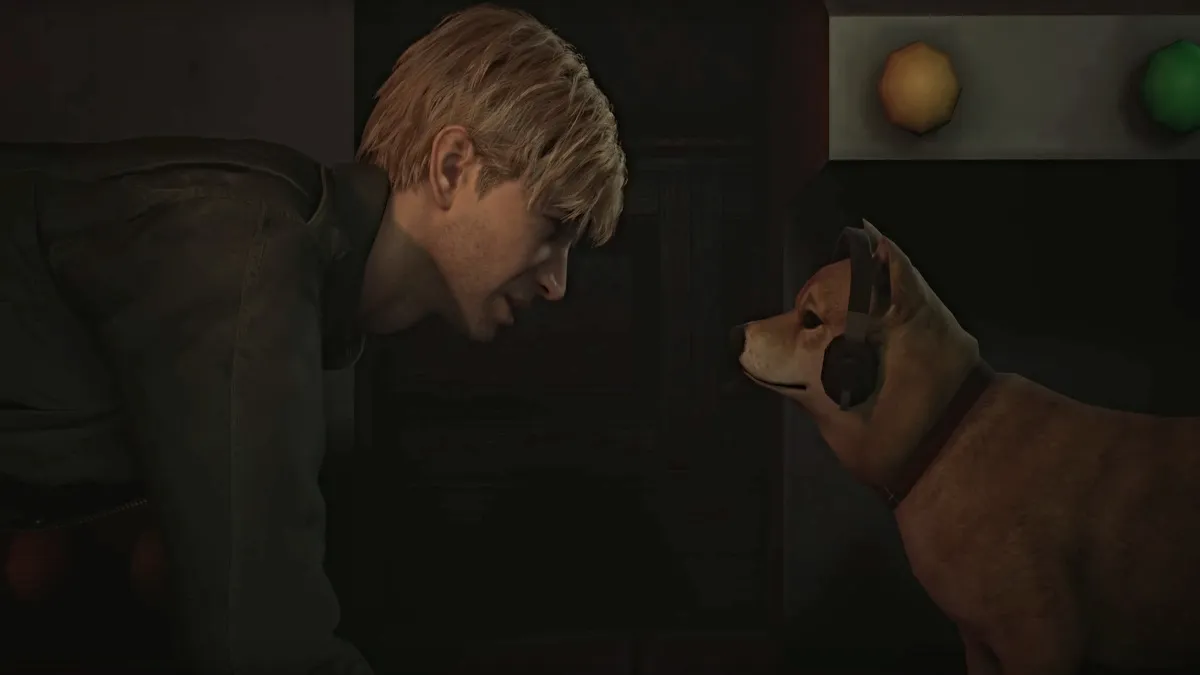
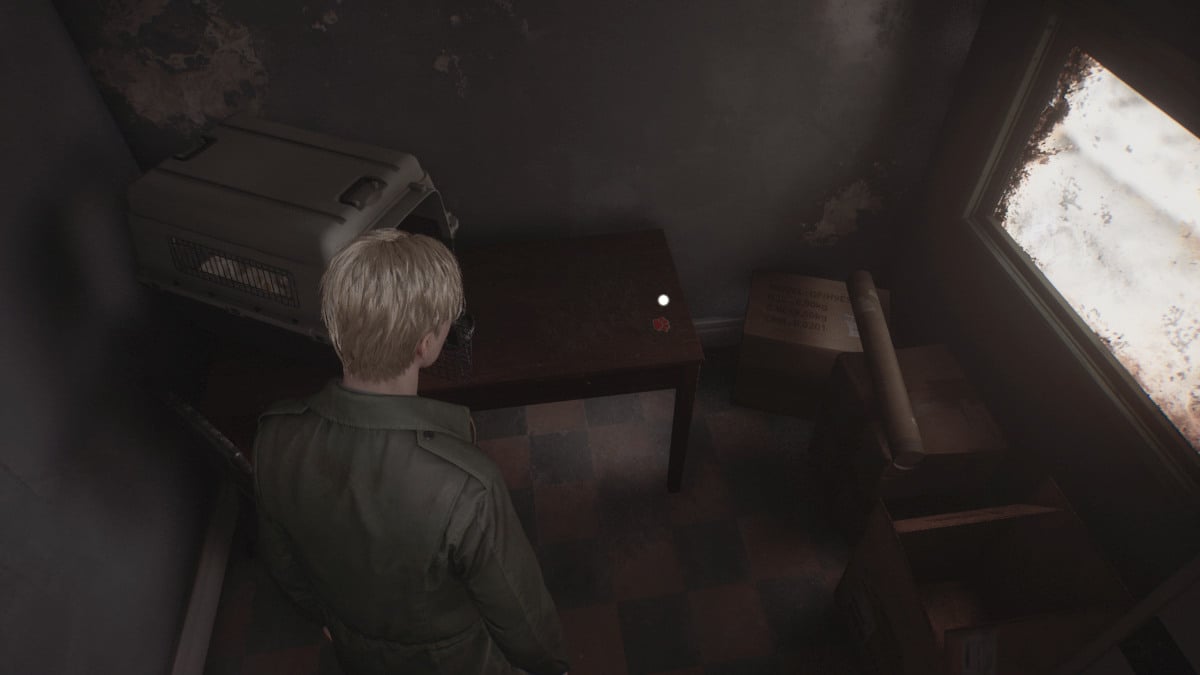
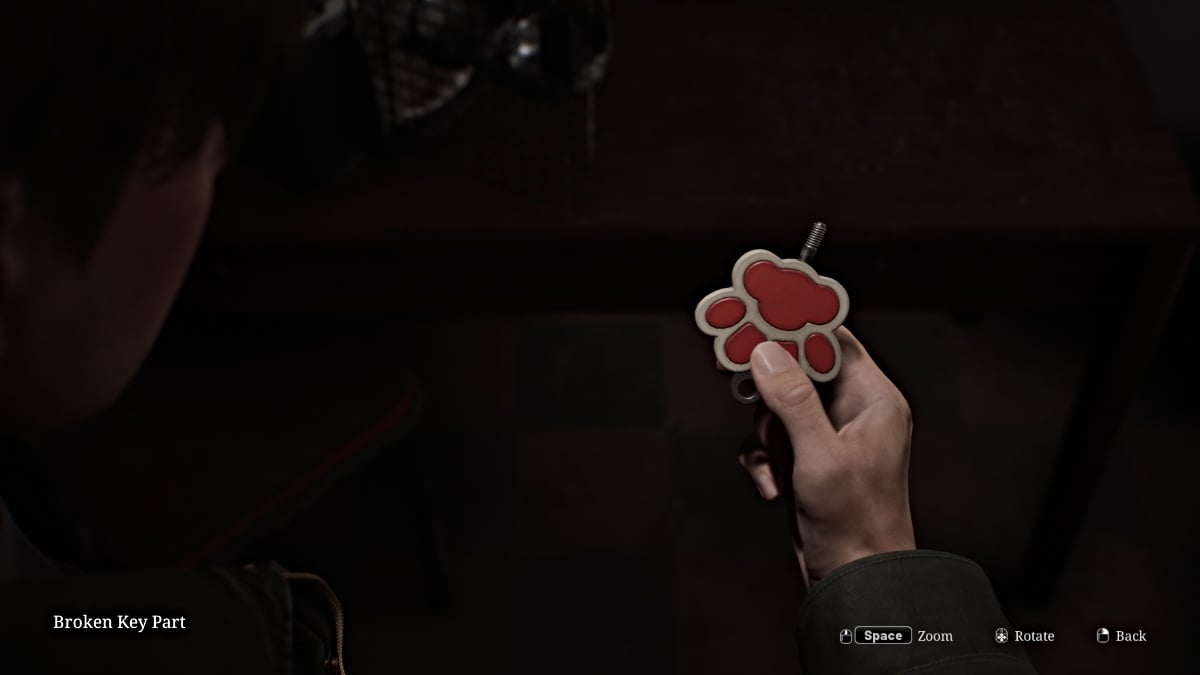
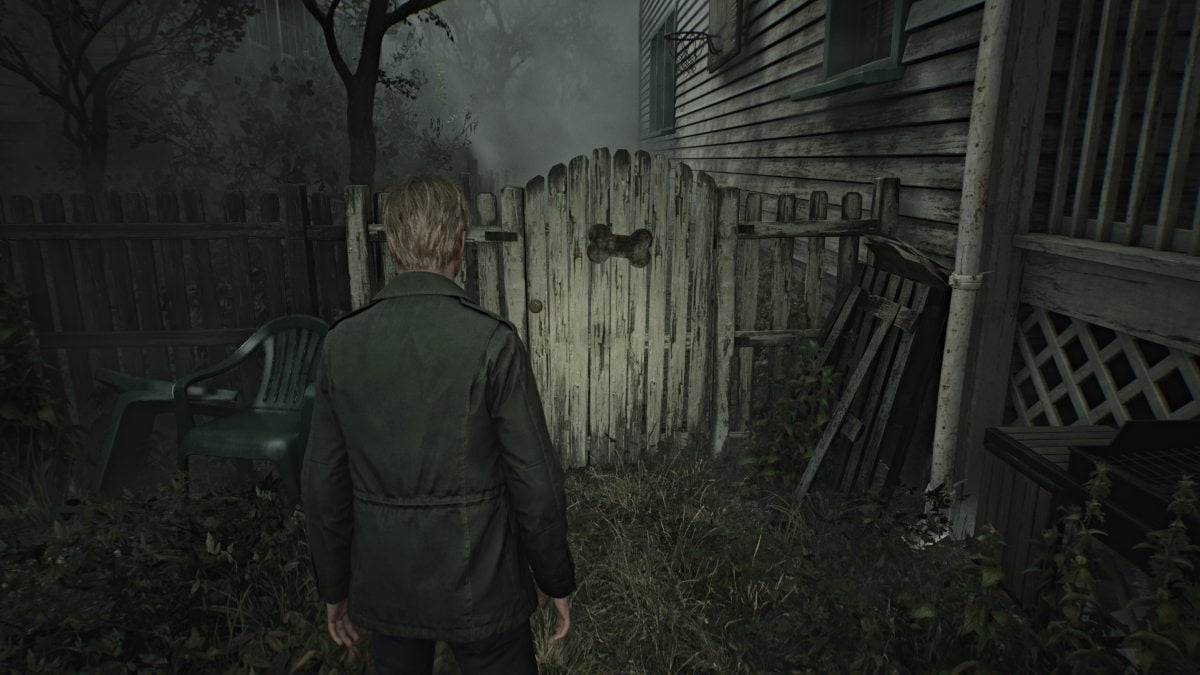
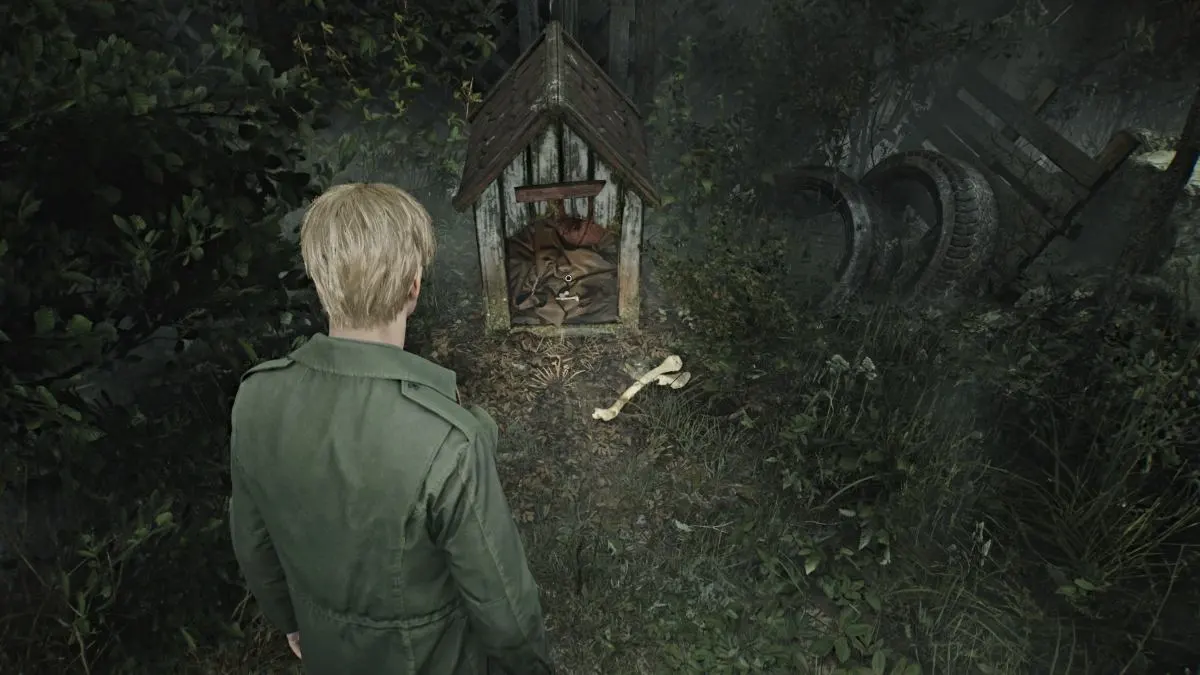
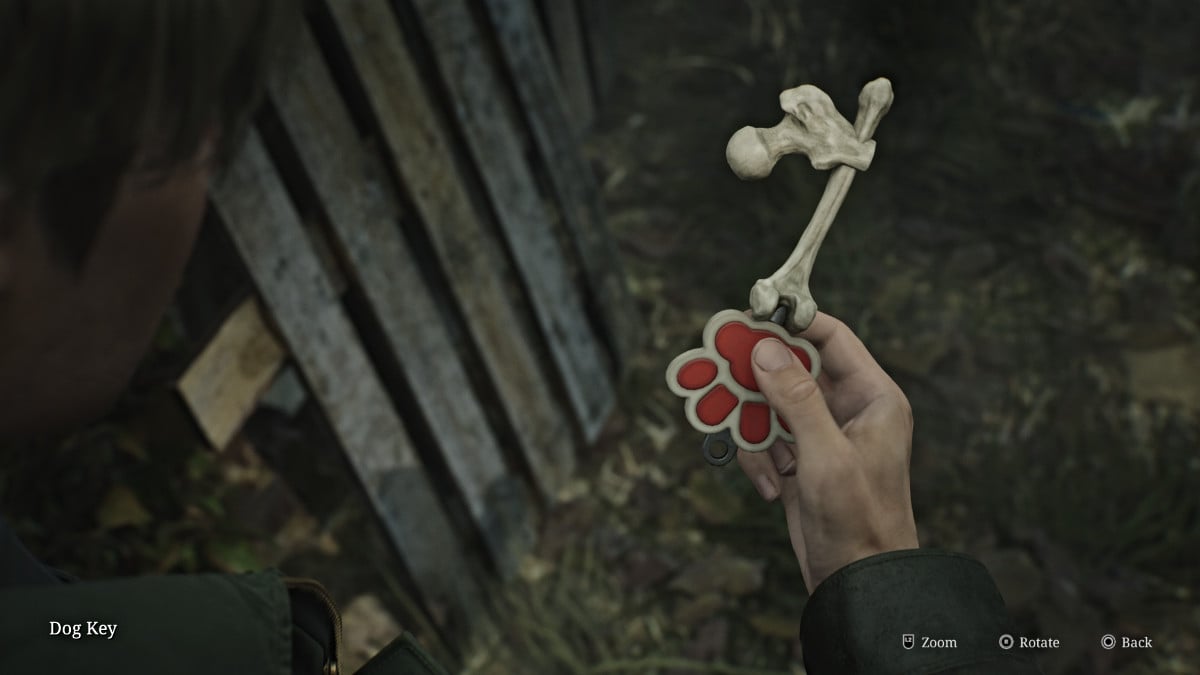
This is one of the game's two comical endings, and probably its most infamous. It has James open a door at the Lakeview Hotel to reveal a Shiba Inu dog named Mira sitting at a big computer console, controlling everything that's happened in Silent Hill up to that point.
Requirements for this ending:
Getting this ending also unlocks the 'The Goodest Boi' achievement .
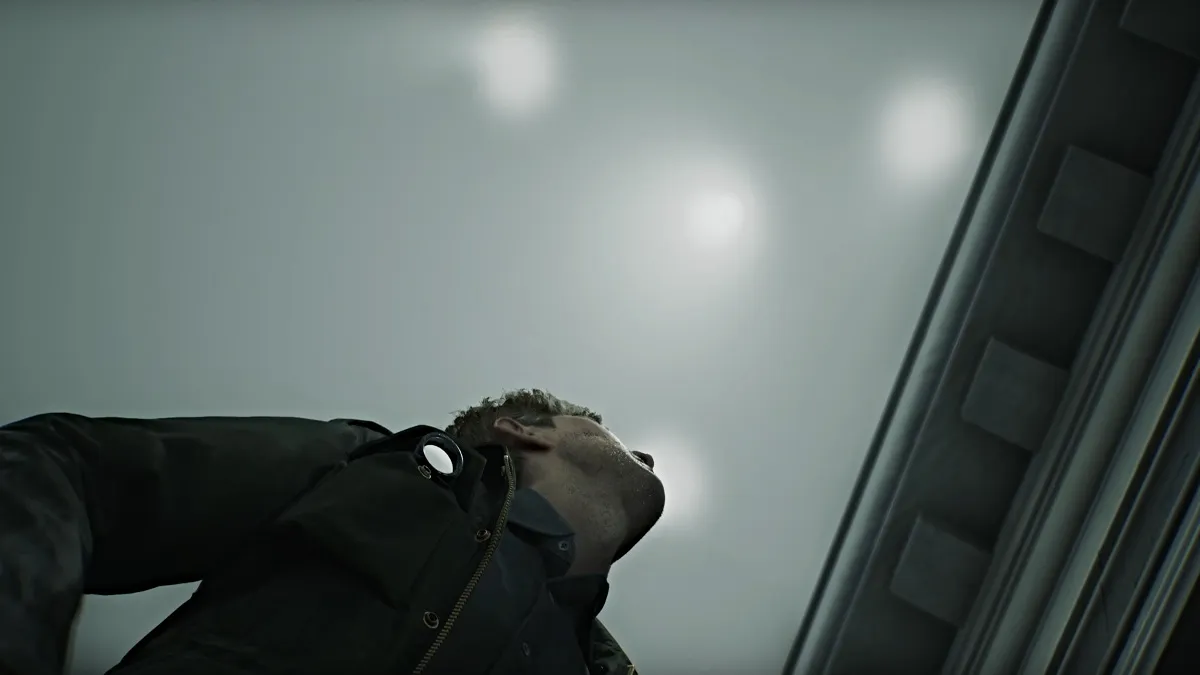
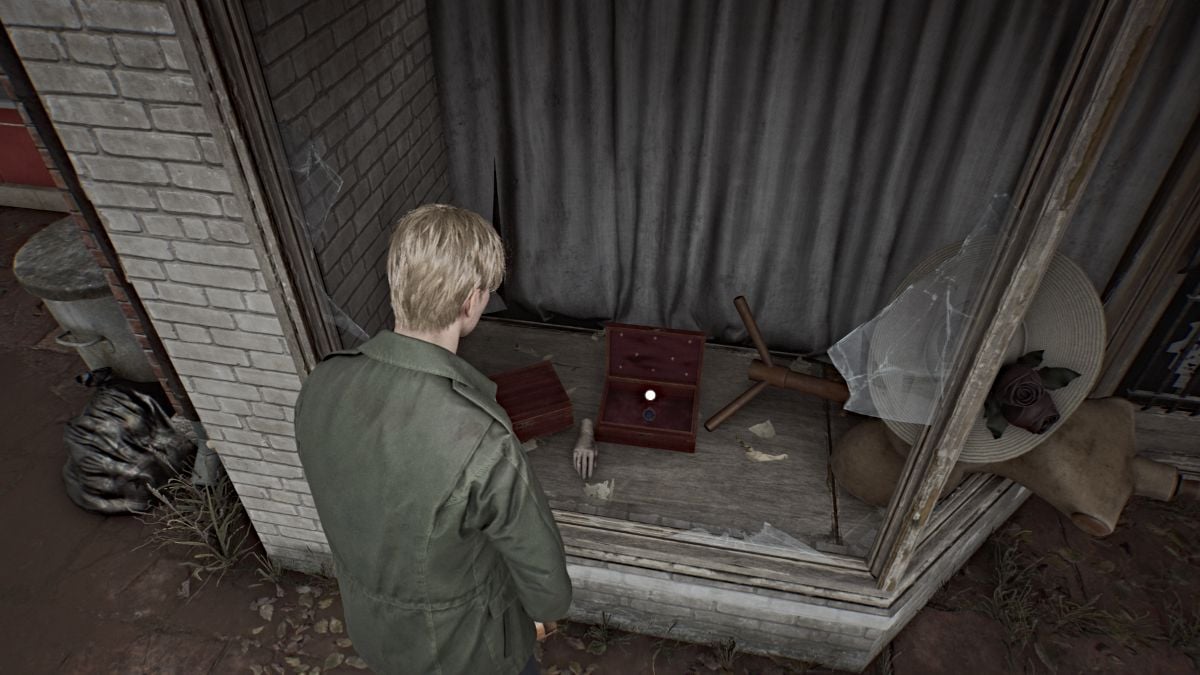
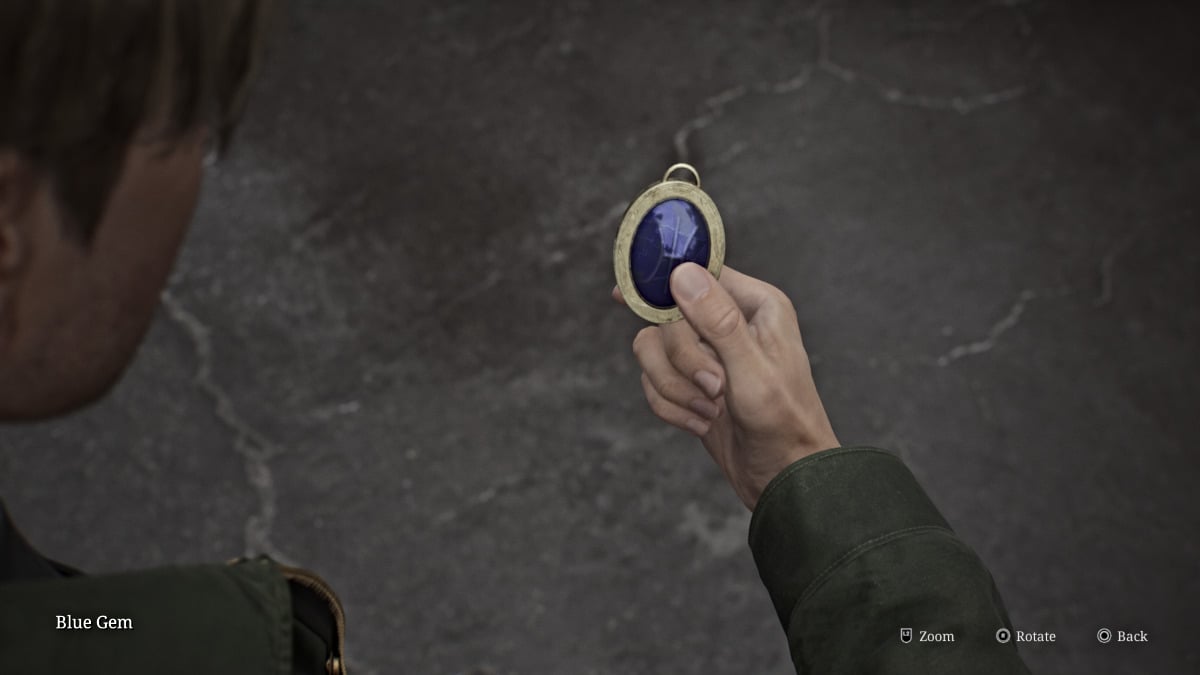
The second comical ending, presented as a silent film sequence, also takes place at the Lakeview Hotel and sees aliens actually visit James along with a hilarious cameo of a character from the original game.
Requirements for this ending:
Getting this ending also unlocks the 'Tinfoil Hat' achievement .
This is the first of two new endings added in Silent Hill 2 Remake, and it acts as a sort of expansion of the "In Water" ending. As James expresses that he simply can't live without Mary, in this version she appears next to him in the car, soothing him with her touch and voice.
James asks if she'll wait for him, and Mary insists that she's "always been waiting for him". The scene ends there, likely meaning that James chooses to live instead.
Requirements for this ending:
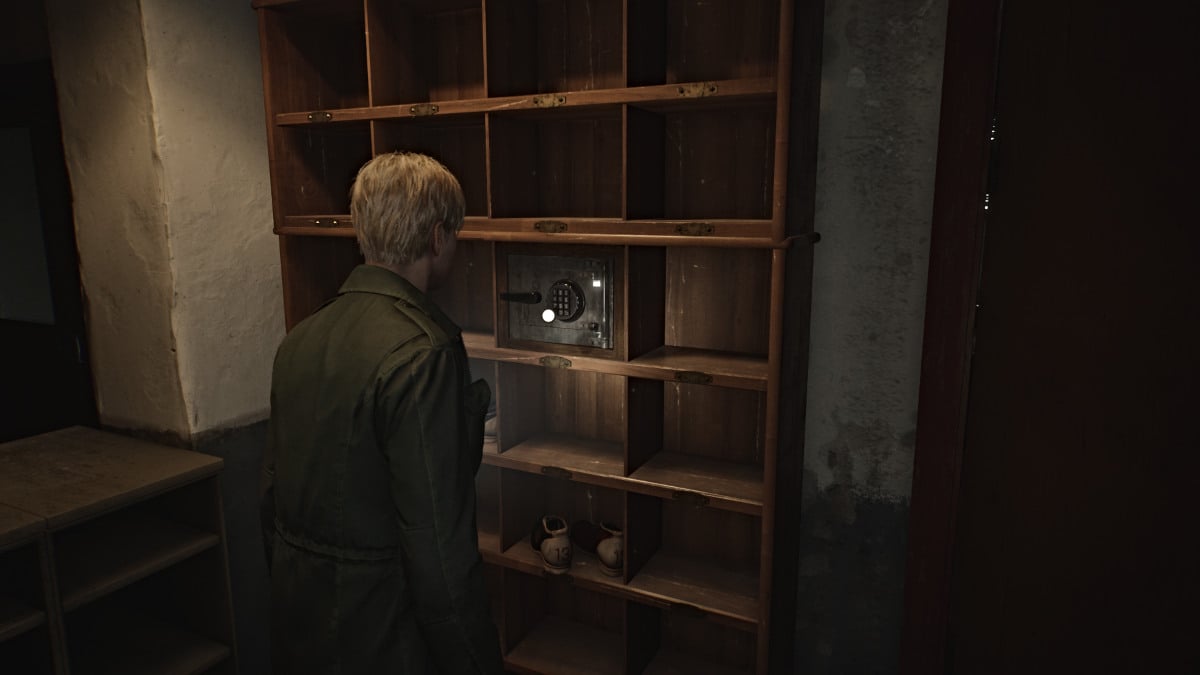
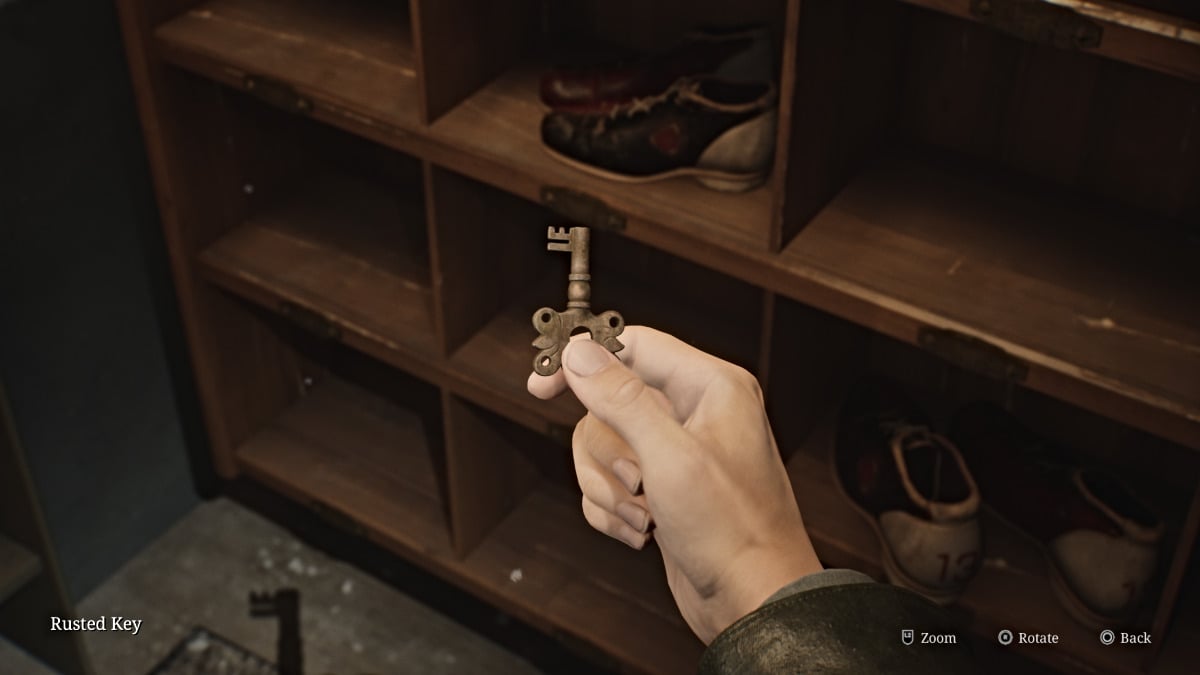
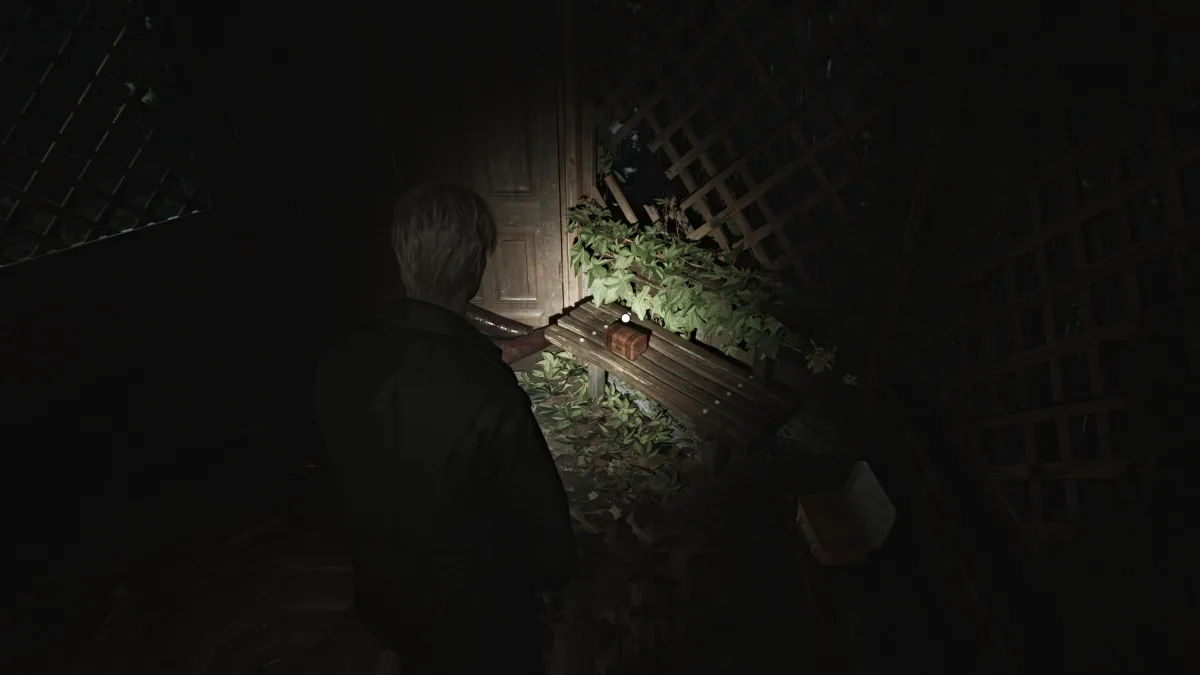
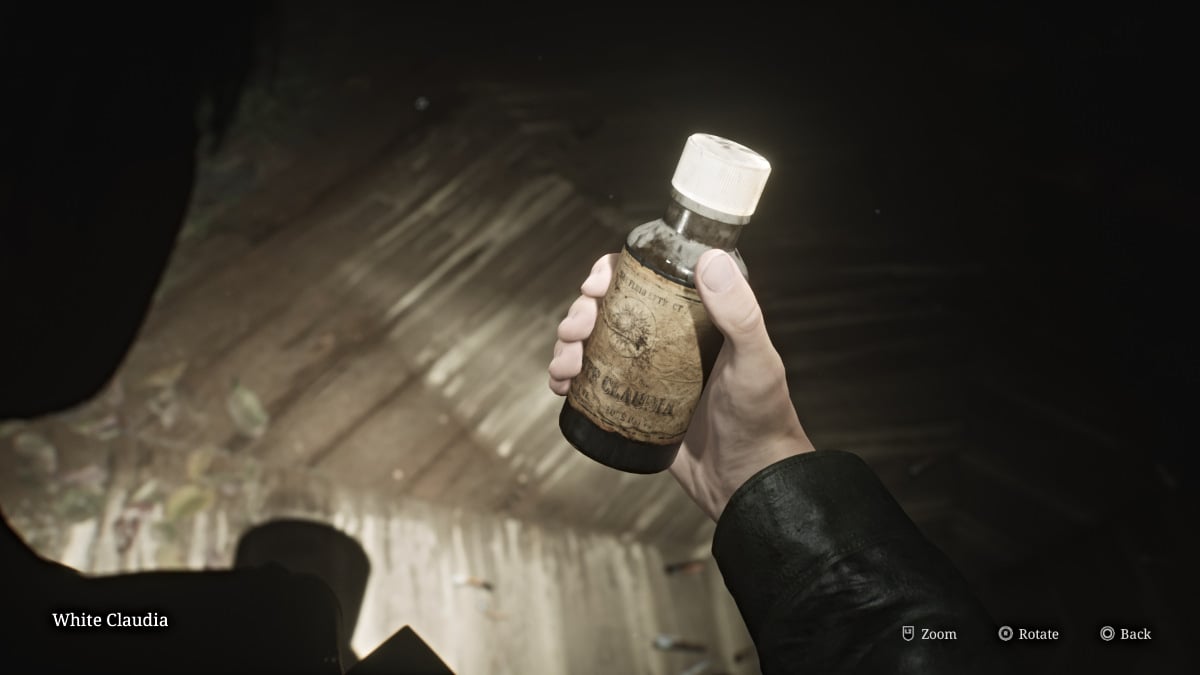
This is the second of two new endings added in Silent Hill 2 Remake, and it essentially presents the tape scene in the Lakeview Hotel much differently. Instead of the tape showing Mary's visible symptoms of illness and her death, James stays behind the camera in their hotel room and eventually puts it down as they continue packing. He promises to bring her back to Silent Hill, and the tape ends.
In the present, James is no longer sitting in the chair, seemingly gone. It alludes that because of the change in events on the tape, Mary was never sick and thus was never killed, meaning that the events of Silent Hill 2, at least for James, never happened.
Requirements for this ending:
Be sure to check out all of our latest gaming guides and news for the Silent Hill franchise here at Pro Game Guides, such as Silent Hill the Short Message walkthrough.