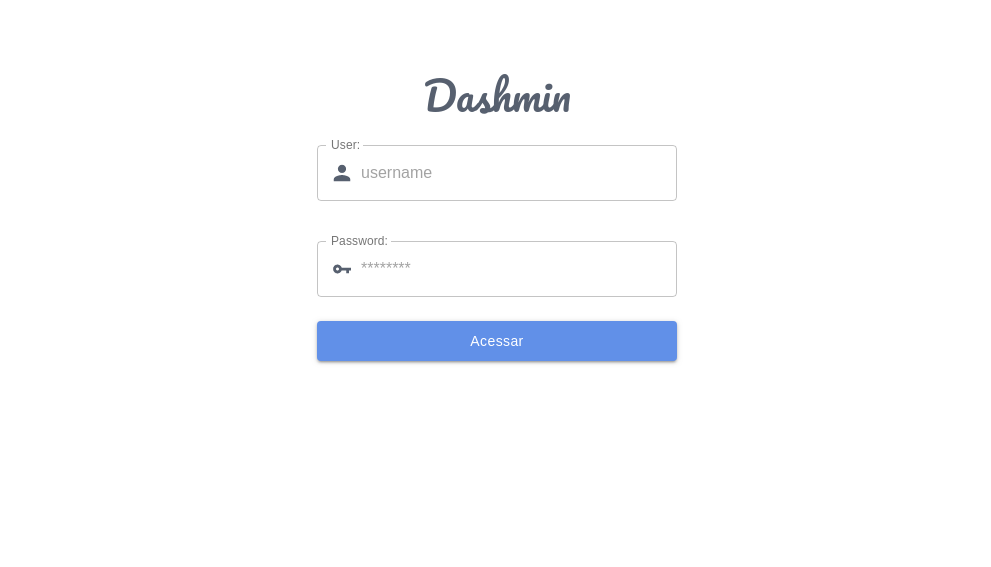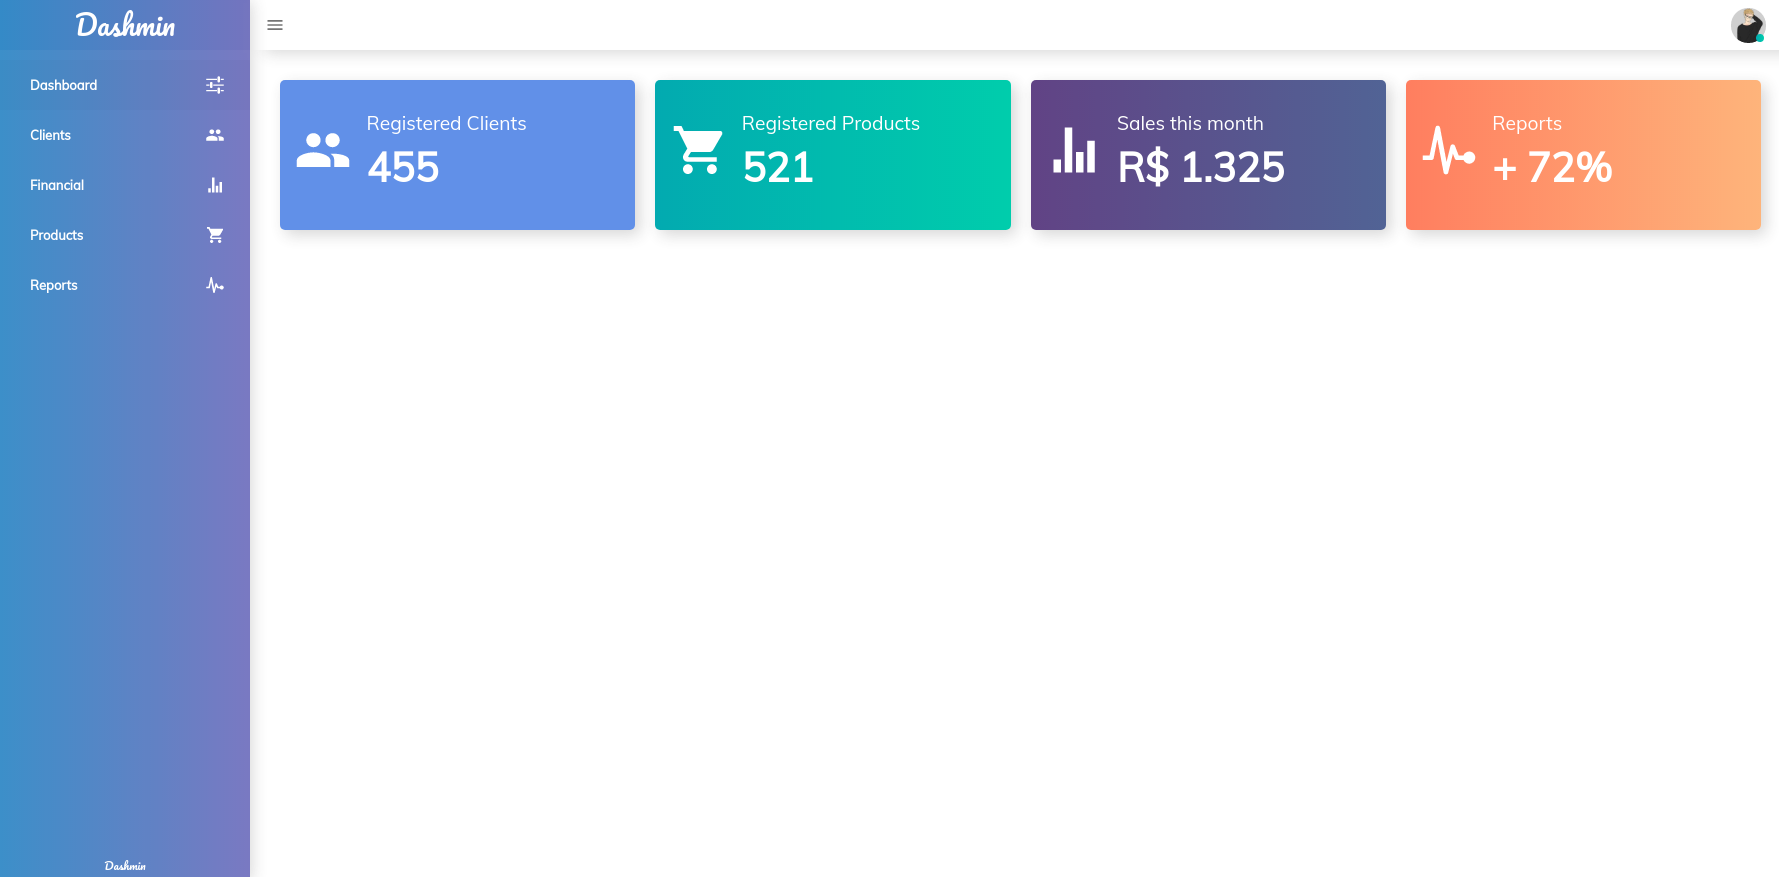
안녕하세요 개발자.. 대쉬민입니다! 이는 관리 시스템 개발에 도움이 되는 간단하고 우아한 기반에 지나지 않습니다. 아직 구성 요소가 많지는 않지만 Material UI 및 Reactstrap과 같은 유명한 라이브러리가 이미 통합되어 있으므로 그 중 하나라도 알고 있으면 페이지를 쉽게 만들 수 있습니다.. 사용하고 싶지 않은 경우 그런 분들은 도서관을 자유롭게 이용해주세요. 당신의 취향에. 그럼 시작해 보겠습니다.
DASHmin을 사용하여 관리자를 생성하려면 아래 설치 튜토리얼을 따르십시오!
├── assets
│   ├── logo.png
│   ├── login.png
│   ├── dashmin.png
├── node_modules
├── public
├── src
│   ├── components
│   ├── helpers
│   ├── routes
│   ├── services
│   ├── store
│   ├── views
│   ├── App.js
│   ├── index.js
├── .editorconfig
├── .env
├── .gitignore
├── .travis.yml
├── package.json
├── README.md
└── LICENSE.md사용자: dashmin 패스: 123
라이브 데모


이 프로젝트를 실행하려면 컴퓨터에 Node.js가 설치되어 있어야 합니다! 없으시면 https://nodejs.org/en/ 홈페이지에 가셔서 설명서에 나와있는대로 다운로드해서 설치해주세요!
저장소 복제를 시작하고 아래 명령을 사용하여 종속성을 설치합니다.
git clone https://github.com/hiukky/dashmin-react.git -b master nameOfYourProject
cd nameOfYourProject
yarn install
npm install
맞습니다.. 모든 종속성을 설치한 후 애플리케이션을 실행하고 모든 것이 올바르게 작동하는지 확인할 수 있습니다.
yarn run start
npm run start
준비가 된!! 모든 것이 잘 진행되었다면 브라우저 http://127.0.0.1:3000/에서 애플리케이션을 확인하세요.
Dashmin은 이미 모두 설정되어 있으므로 처음에는 src/views/YourView 에서 보기를 만든 다음 routes 의 경로 파일에서 사용할 수 있습니다.
views 디렉토리 내에서 렌더링할 보기 구성 요소를 만듭니다.
 // Imports
import React from 'react' ;

// Products
const Example01 = ( ) => (
  < div >
    < h1 > Example01 </ h1 >
  </ div >
) ;

export default Example01 ; // Imports
import React from 'react' ;
// Products
const Example02 = ( ) => (
< div >
< h1 > Example02 </ h1 >
</ div >
) ;
export default Example02 ; 뷰를 생성한 후 routes/index.js 로 이동하여 생성된 뷰를 가져옵니다.
 // Views
import Example01 from 'pages/example01' ;
import Example02 from 'pages/example02' ;
경로를 정의하십시오.
 // Routes
const Routes = {
  example01 : '/example01' ,
  example02 : '/example02' ,
} ;
경로를 정의한 후 정의 속성을 전달하여 const Dashmin 정의합니다. Dashmin에는 navbar , sidebar 및 content 에 대한 정보가 필요합니다. 그래서 그들에게 알리는 것이 중요합니다.
 const Dashmin = {
  // navbar
  navbar : {

  }

  // sidebar
  sidebar : {

  }

  // Content
  content : [

  ]
} navbar 에 user 및 buttons 개체가 포함된 드롭다운 개체를 입력해야 합니다.
 // Serices
import { logout }  from 'services/auth' ;

const Dashmin = {
  // navbar
  navbar : {
    // Dropdown
    dropdown : {
      // User Profile
      user : {
        avatar : 'https://i.imgur.com/NpICPSl.jpg' ,
        name : 'R o m u l l o' ,
        jobRole : 'Administrator' ,
      } ,

      // Buttons events
      buttons : {
        settings : ( ) => { } ,
        profile : ( ) => { } ,
        logout : ( ) => {
          logout ( ) ;
          document . location . reload ( ) ;
        }
      }
    }
  } ,
} sidebar 의 경우 brand 및 buttons 전달해야 합니다. brand 의 경우 전체 이름 max 및 약어 min 입력하여 조직 이름만 전달하면 됩니다. buttons 의 경우 name , icon 및 route 필요합니다.
Sobre os icones .. o Dashmin usa o React icons , então você pode simplesmente importar os icones que deseja usar e passar o component para icon.
 // Icons
import {
  IoMdOptions ,
  IoMdPeople ,
} from 'react-icons/io' ;

const Dashmin = {
  // sidebar
  sidebar : {
    // brand
    brand : {
      max : 'D A S H M I N' ,
      min : 'dmin'
    } ,

    // buttons
    buttons : [
      {
        name : 'Example01' ,
        icon : < IoMdOptions /> ,
        route : Routes . example01 ,
      } ,
      {
        name : 'Example02' ,
        icon : < IoMdOptions />
        route : Routes . example02 ,
      } ,
    ]
  }
} 마지막으로 내용 부분입니다. 왜냐하면 route 포함하는 객체 배열과 시각화 구성 요소를 상환적으로 view 수 있도록 전달해야 하기 때문입니다.
 // Views
import Example01 from 'pages/example01' ;
import Example02 from 'pages/example02' ;

const Dashmin = {
  // content
  content : [
    {
      route : Routes . example01 ,
      view : Example01
    } ,
    {
      route : Routes . example02 ,
      view : Example02
    } ,
  ]
}위에서 수행한 설정이 포함된 경로 파일입니다.
 // React
import React from 'react' ;

// Views
import Example01 from 'views/example01' ;
import Example02 from 'views/example02' ;

// Icons
import {
  IoMdOptions ,
  IoMdPeople ,
} from 'react-icons/io' ;

// Routes
const Routes = {
  example01 : '/example01' ,
  example02 : '/example02' ,
} ;

// Dashmin
const Dashmin = {
  // Navbar
  navbar : {
    // Dropdown
    dropdown : {
      // User Profile
      user : {
        avatar : 'https://i.imgur.com/NpICPSl.jpg' ,
        name : 'R o m u l l o' ,
        jobRole : 'Administrator' ,
      } ,

      // Buttons events
      buttons : {
        settings : ( ) => { } ,
        profile : ( ) => { } ,
        logout : ( ) => {
          logout ( ) ;
          document . location . reload ( ) ;
        }
      }
    }
  } ,

  // Sidebar
  sidebar : {
    // brand
    brand : {
      max : 'D A S H M I N' ,
      min : 'dmin'
    } ,

    // buttons
    buttons : [
      {
        name : 'Example01' ,
        icon : < IoMdOptions /> ,
        route : Routes . example01 ,
      } ,
      {
        name : 'Example02' ,
        icon : < IoMdOptions />
        route : Routes . example02 ,
      } ,
    ]
  } ,

  // Content
  content : [
    {
      route : Routes . example01 ,
      view : Example01
    } ,
    {
      route : Routes . example02 ,
      view : Example02
    } ,
  ]
} ;

export default Dashmin ;위의 단계를 수행한 후에는 이전에 앱을 실행한 적이 없다면 아래 명령 중 하나를 사용하여 앱을 테스트할 수 있습니다.
yarn run start
npm run start
준비가 된!! 모든 것이 잘 진행되었다면 브라우저 http://127.0.0.1:3000/에서 애플리케이션을 확인하세요.
? 머티리얼 UI
? 리액트스트랩
? 반응 아이콘
? 리액트 라우터 돔
? 리덕스
? 스타일이 지정된 구성 요소