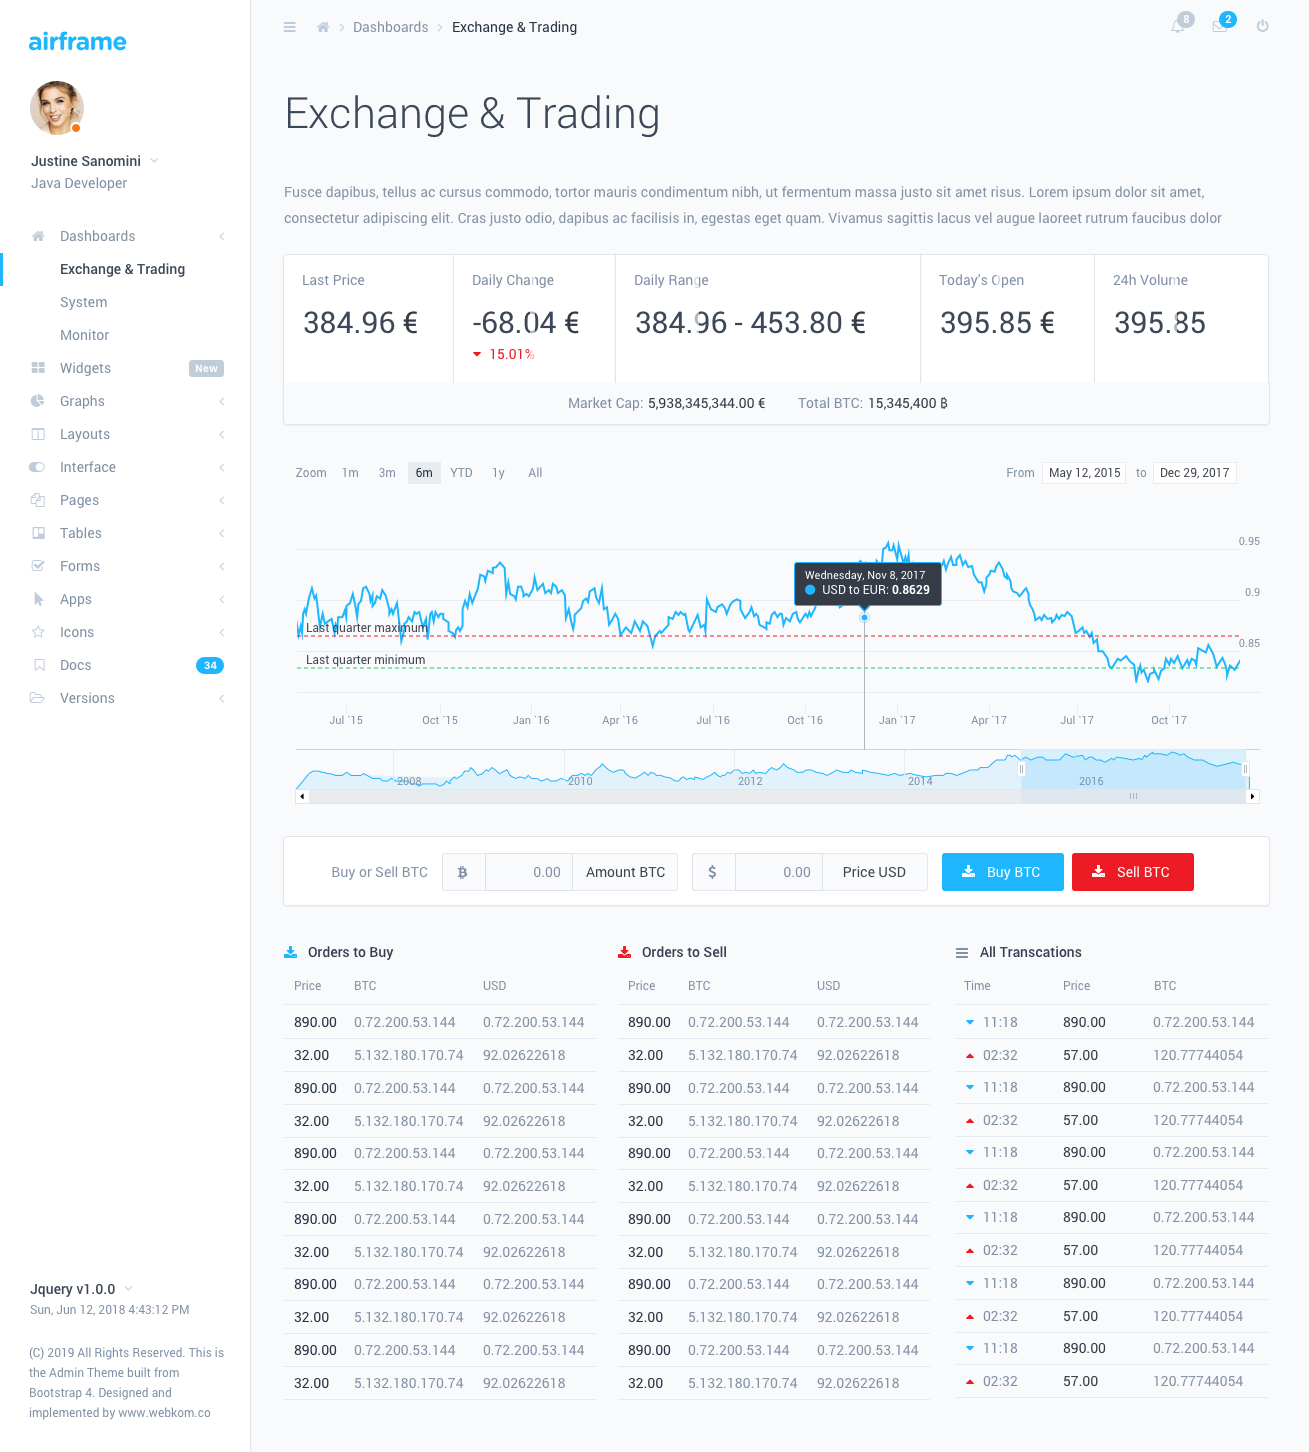
注意HTML/CSS 版本可在此處取得:https://github.com/0wczar/airframe
高品質儀表板/管理/分析模板,適用於任何智慧型手機、平板電腦或桌上型電腦。可作為MIT 許可證的開源版本。

機身儀表板採用簡約設計和創新的 Light UI,讓您能夠建立具有出色 UI 的令人驚嘆且功能強大的應用程式。專為大規模應用而設計,並提供詳細的逐步文件。
這個Airframe專案是一個典型的基於 Webpack 的 React 應用程序,React Router 還包含客製化的 Reactstrap。該專案擁有所有最新的依賴項,並將定期更新。該項目不支援SSR。如果您需要它 - 使用基於 NextJs 的版本。
機身儀表板擁有大量組件,可用於多種組合和變化。它可用於所有類型的自訂 Web 應用程序,例如CRM 、 CMS 、管理面板、管理儀表板、分析等。
托馬斯·奧恰奇克:
在嘗試執行開發環境之前,您需要在本機上安裝 NodeJs (>= 10.0.0)。
npm install 。確保解壓縮目錄中有一個名為.npmrc的檔案。這些檔案通常隱藏在基於 Unix 的系統中。
若要啟動開發環境,請在控制台中輸入npm start 。這將啟動一個啟用熱重載的開發伺服器。
要建立生產建置類型npm run build:prod 。過程完成後,您可以從/dist/目錄複製輸出。輸出文件已縮小並可在生產環境中使用。
您可以透過調整 Webpack 設定檔來自訂建置以滿足您的特定需求。這些檔案可以在/build目錄中找到。有關更多詳細信息,請查看 WebPack 的文檔。
關於該專案的專案結構的一些有趣的點:
app/components - 自訂 React 元件應該放在這裡app/styles - 此處新增的樣式不會被視為 CSS 模組,因此任何全域類別或函式庫樣式都應放在此處app/layout - 可以在此處找到AppLayout元件,該元件在其內部託管頁面內容;額外的側邊欄和導覽列應放置在./components/ subdir 中。app/colors.js - 匯出所有具有儀表板定義的顏色的物件。對於基於 JS 的元件的樣式很有用 - 例如圖表。app/routes - PageComponents 應該在這裡定義,並透過index.js導入。稍後會詳細介紹。路由組件應放置在/routes/目錄內的單獨目錄中。接下來,您應該打開/routes/index.js檔案並附加元件。您可以透過兩種不同的方式執行此操作:
靜態匯入的頁面將與所有其他內容一起在 PageLoad 上急切地載入。導航到此類頁面時不會有額外的加載,但初始應用程式加載時間也會更長。要新增靜態導入的頁面,應該像這樣完成:
 // Import the default component
import SomePage from './SomePage' ;
// ...
export const RoutedContent = ( ) => {
    return (
        < Switch >
            { /* ... */ }
            { /* Define the route for a specific path */ }
            < Route path = "/some-page" exact component = { SomePage } />
            { /* ... */ }
        </ Switch >
    ) ;
} 動態導入的頁面僅在需要時才會載入。這將減少初始頁面載入的大小並使應用程式載入速度更快。您可以使用React.Suspense來實現此目的。例子:
 // Create a Lazy Loaded Page Component Import
const SomeAsyncPage = React . lazy ( ( ) => import ( './SomeAsyncPage' ) ) ;
// ...
export const RoutedContent = ( ) => {
    return (
        < Switch >
            { /* ... */ }
            { /*
                Define the route and wrap the component in a React.Suspense loader.
                The fallback prop might contain a component which will be displayed
                when the page is loading.
            */ }
            < Route path = "/some-async-page" >
                < React . Suspense fallback = { < PageLoader /> } >
                    < SomeAsyncPage />
                </ React . Suspense >
            </ Route >
        </ Switch >
    ) ;
} 有時您可能會想要在導覽列或側邊欄中顯示其他內容。為此,您應該定義一個自訂的導覽列/側邊欄元件並將其附加到特定的路線。例子:
 import { SidebarAlternative } from './../layout/SidebarAlternative' ;
import { NavbarAlternative } from './../layout/NavbarAlternative' ;
// ...
export const RoutedNavbars  = ( ) => (
    < Switch >
        { /* Other Navbars: */ }
        < Route
            component = { NavbarAlternative }
            path = "/some-custom-navbar-route"
        />
        { /* Default Navbar: */ }
        < Route
            component = { DefaultNavbar }
        />
    </ Switch >
) ;

export const RoutedSidebars = ( ) => (
    < Switch >
        { /* Other Sidebars: */ }
        < Route
            component = { SidebarAlternative }
            path = "/some-custom-sidebar-route"
        />
        { /* Default Sidebar: */ }
        < Route
            component = { DefaultSidebar }
        />
    </ Switch >
) ; 您可以透過向應該包裝<Layout>組件的<ThemeProvider>元件提供initialStyle和initialColor來設定側邊欄和導覽列的顏色方案。
可能的initialStyle值:
lightdarkcolor可能的initialColor值:
primarysuccessinfowarningdangerindigopurplepinkyellow您可以使用元件中的ThemeConsumer在執行時變更顏色方案。例子:
 // ...
import { ThemeContext } from './../components' ;
// ...
const ThemeSwitcher = ( ) => (
    < ThemeConsumer >
        ( { onChangeTheme } ) = > (
            < React . Fragment >
                < Button onClick = { ( ) => onThemeChange ( { style : 'light' } ) } >
                    Switch to Light
                </ Button >
                < Button onClick = { ( ) => onThemeChange ( { style : 'dark' } ) } >
                    Switch to Dark
                </ Button >
            </ React . Fragment >
        )
    </ ThemeConsumer >
) ; ThemeConsumer提供的選項:
此儀表板中使用的插件: